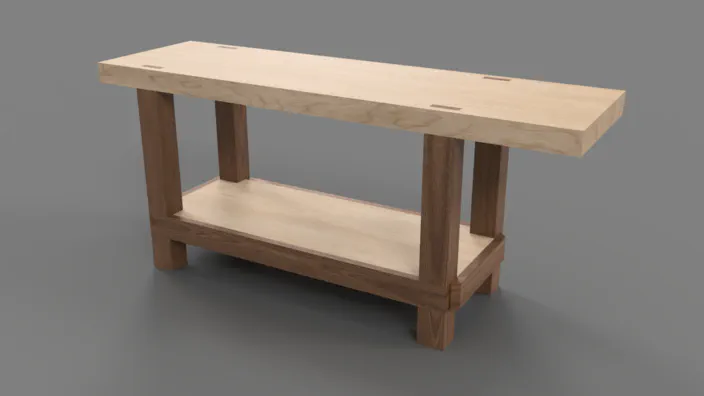
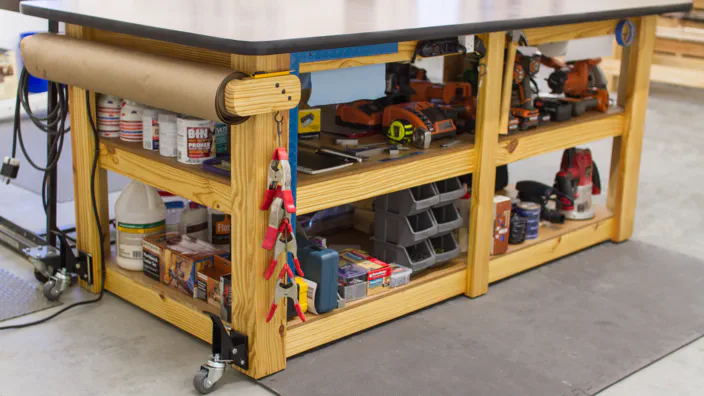
The workbench / outfeed table / assembly table that we built a little over a year ago has been one of the most useful additions to the shop so far. While we are wrapping up our first Roubo-style workbench build, I thought that now would be a good time to go over some of the improvements we’ve made to make this bench even more useful.
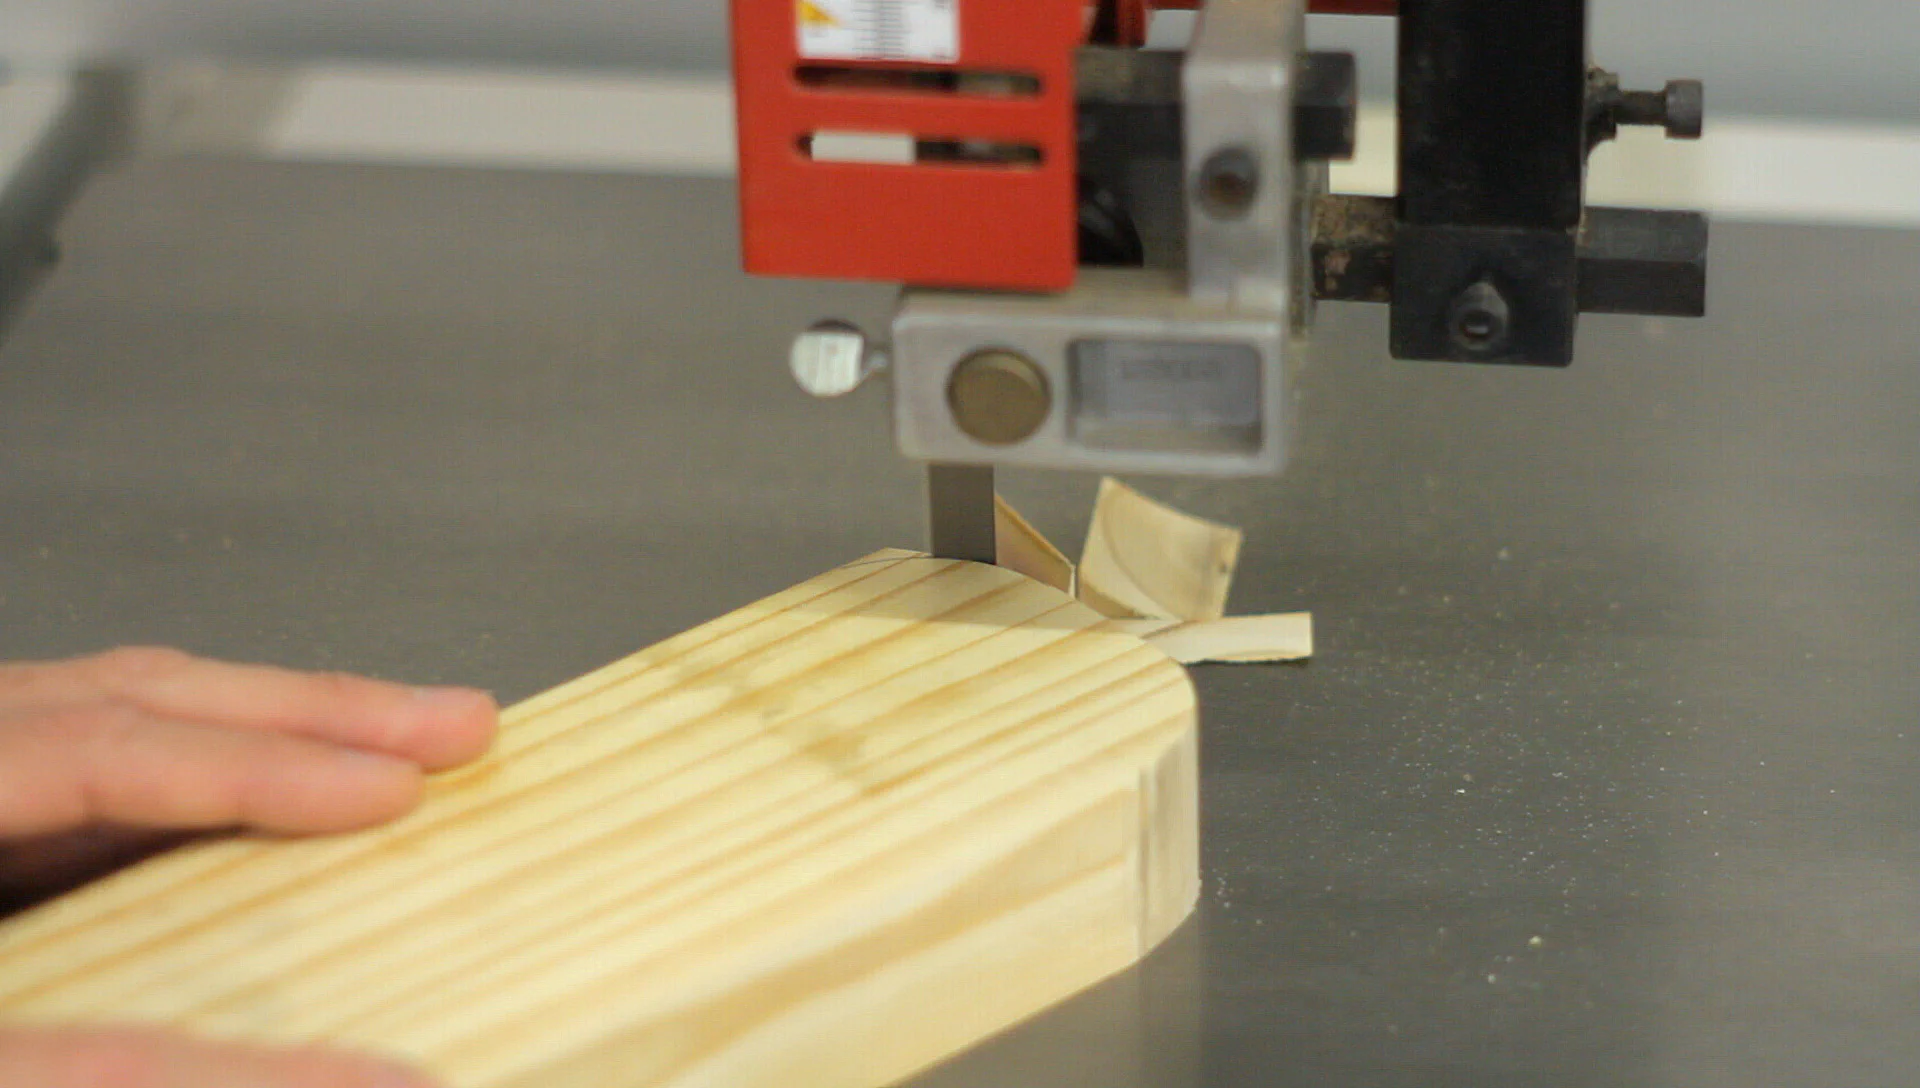
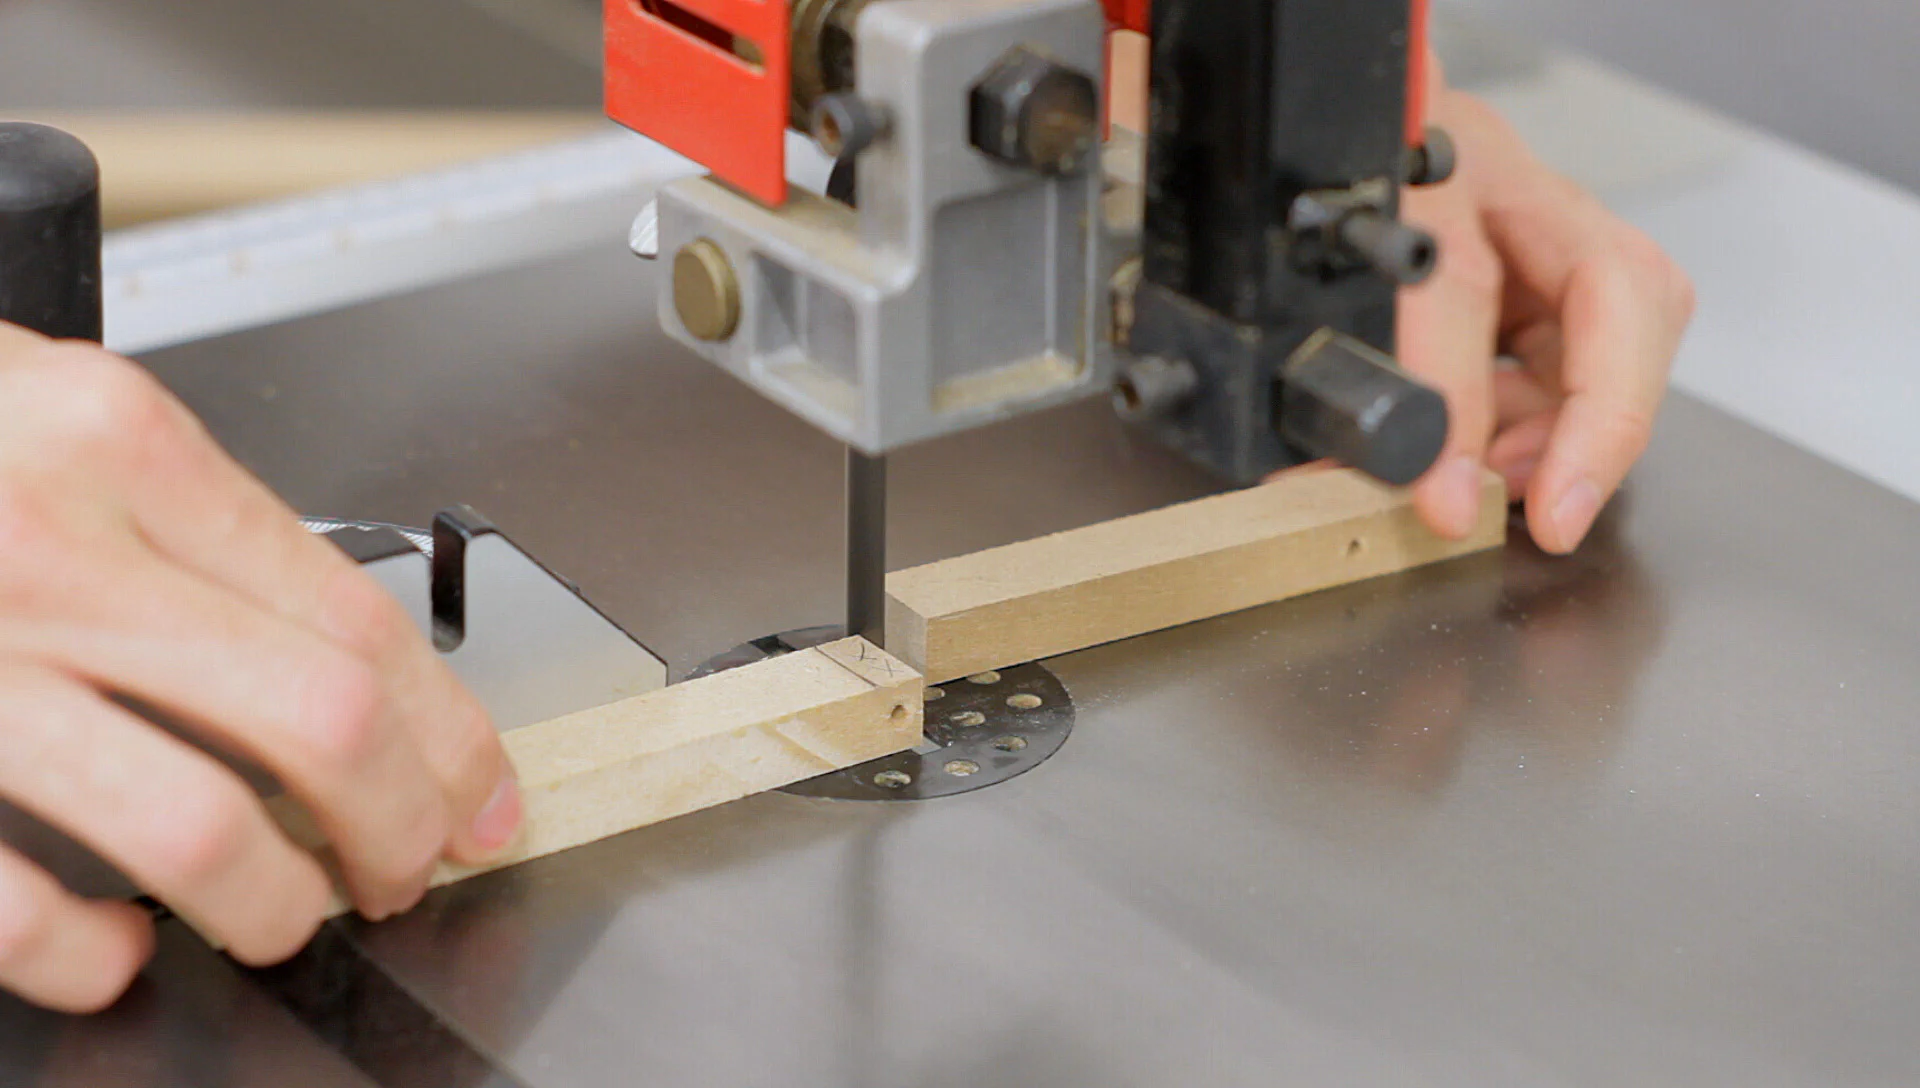
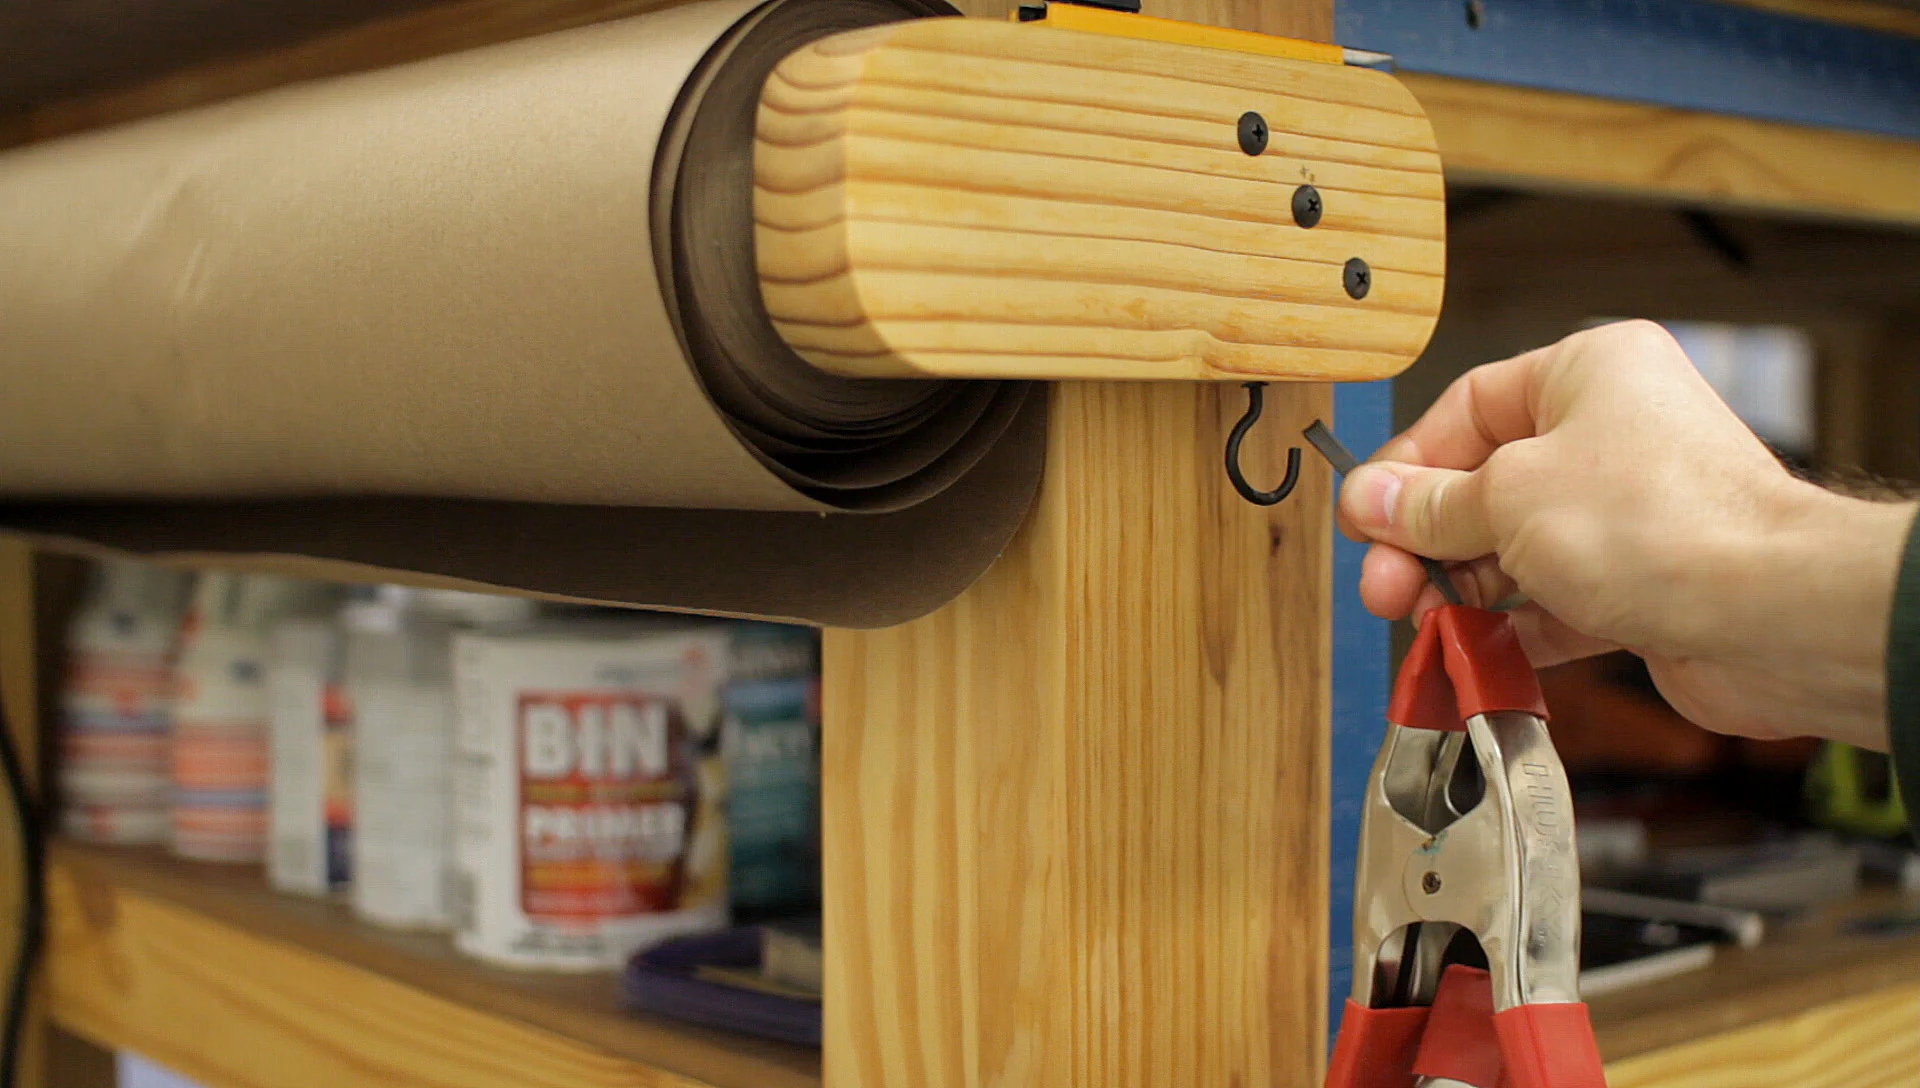
One of the first improvements that I wanted to make was to add a Kraft paper roll to one end of the bench to help protect the top during glue-ups and when applying finishes. I started by making the roll holders from some scrap 2x8s. I cut them to size at the table saw and then rounded off the corners at the bandsaw. I then smoothed the edges with my random orbit sander.

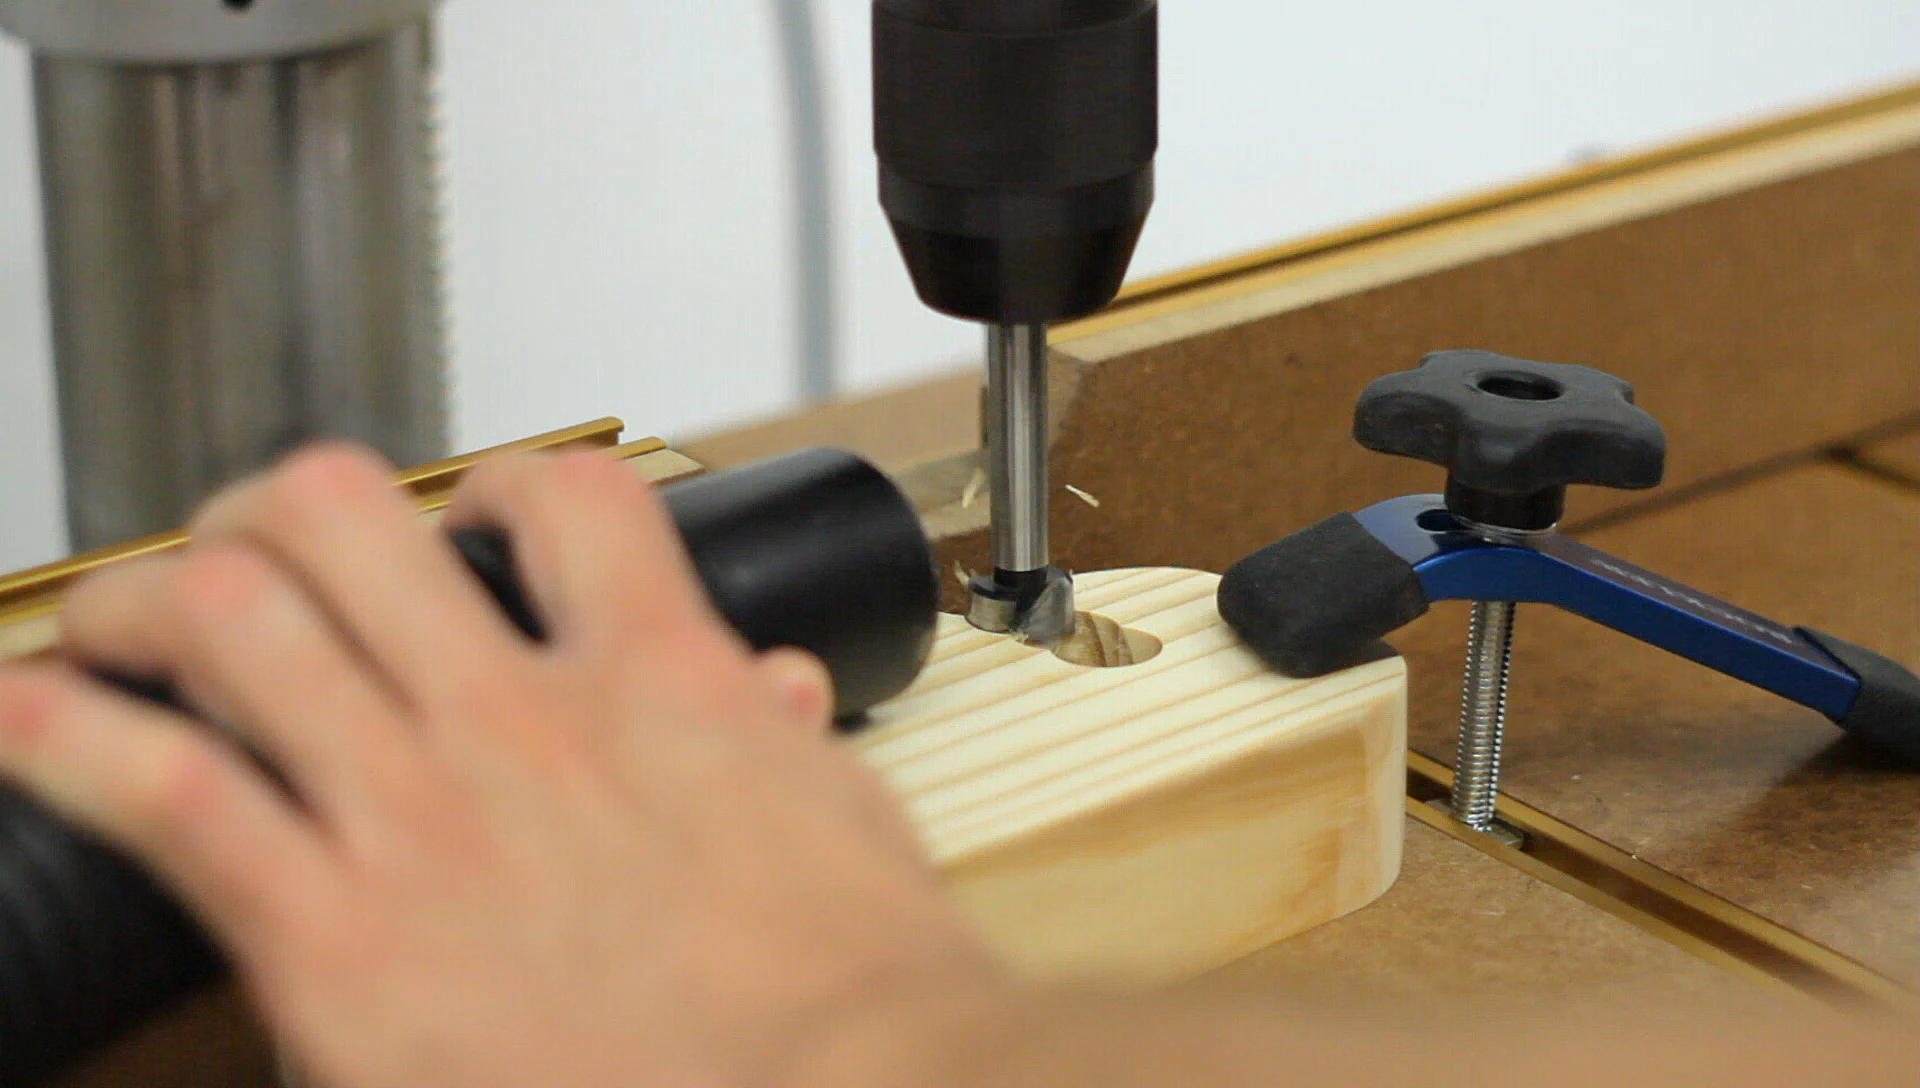
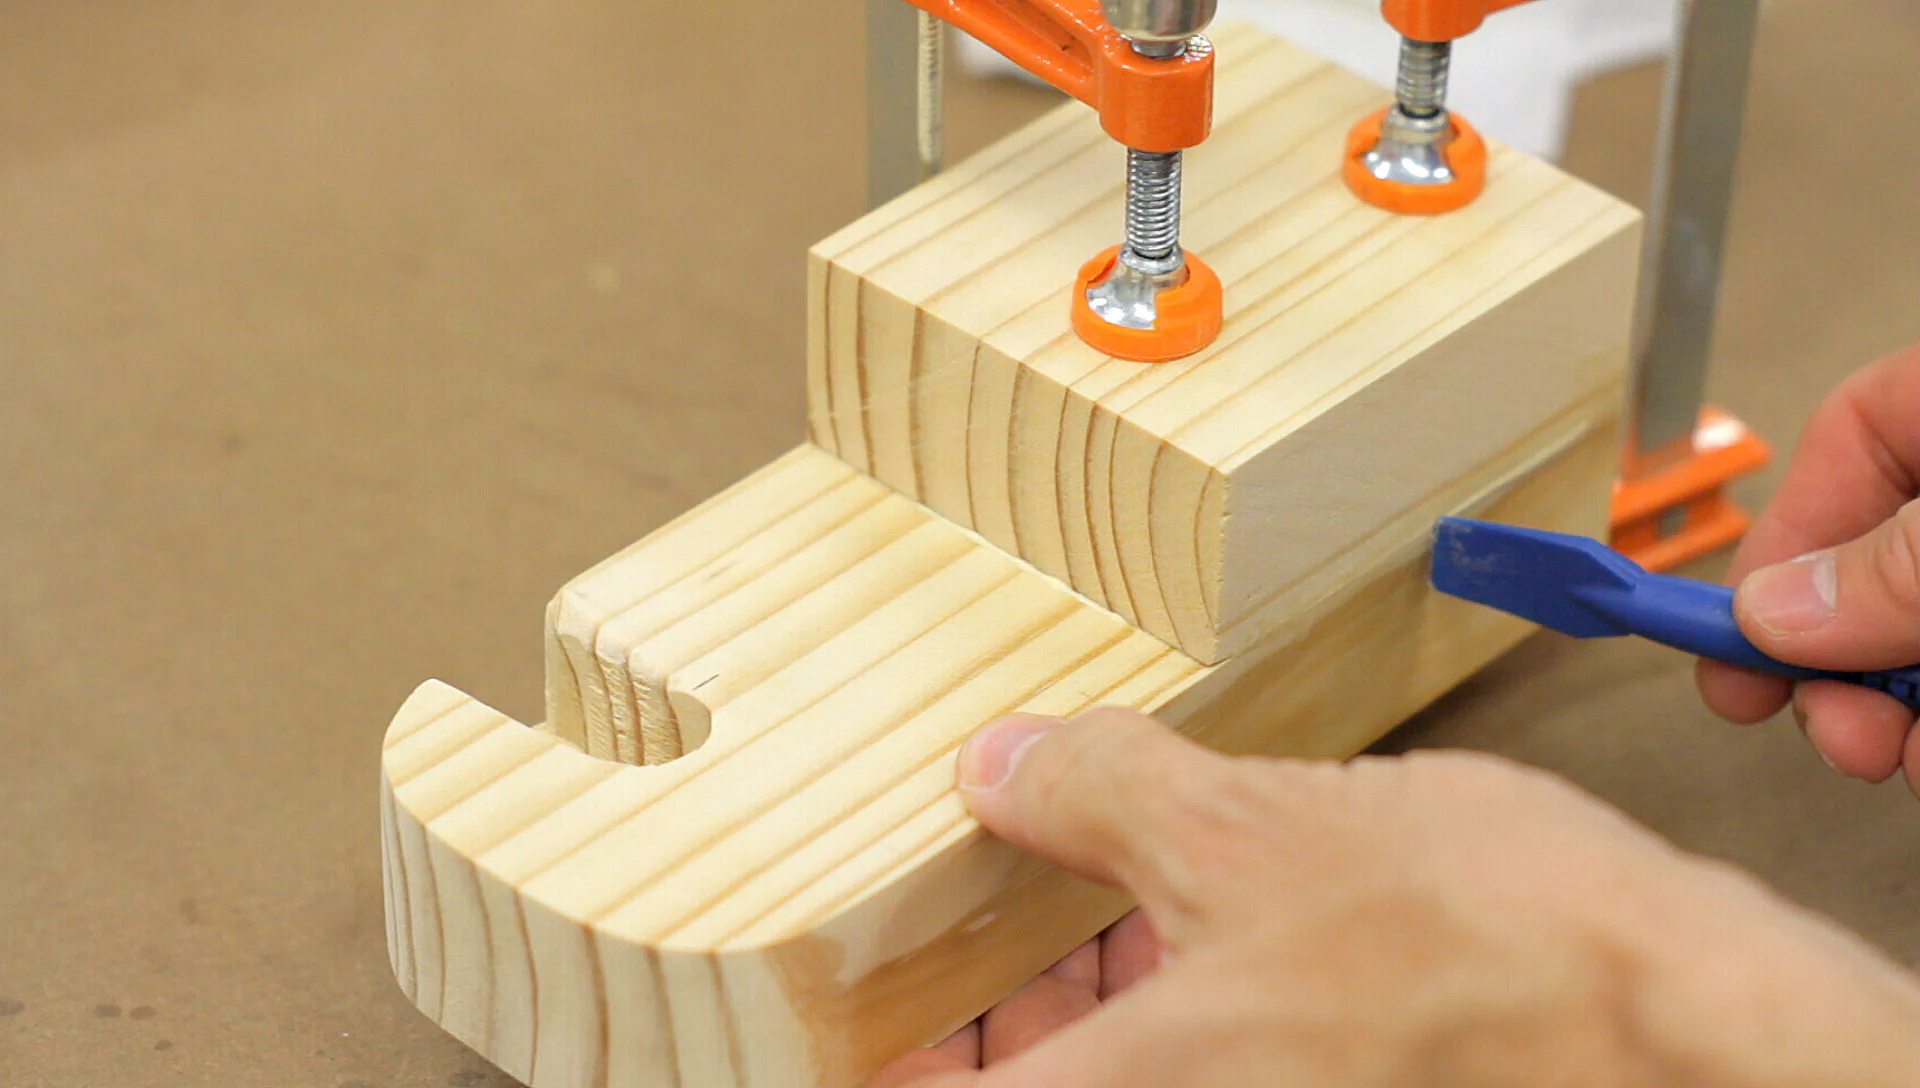
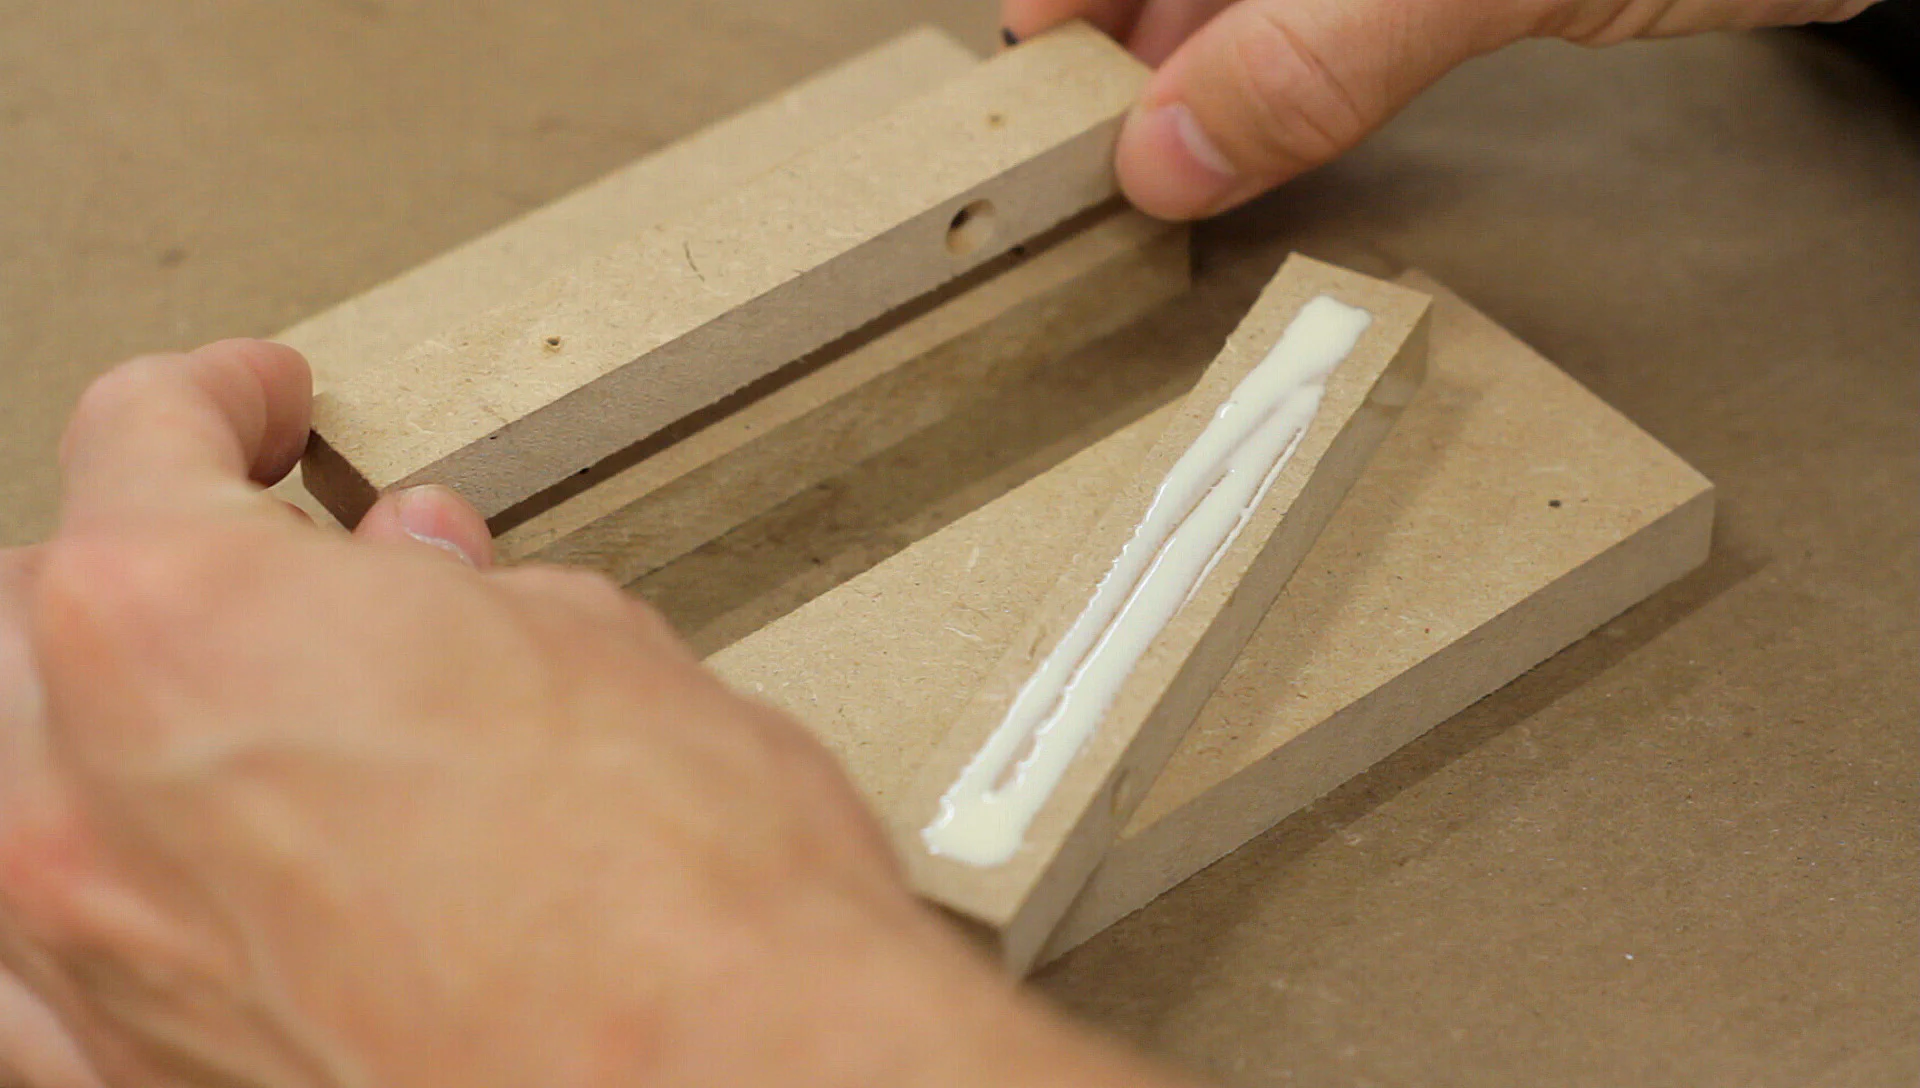
I then used a Forstner bit at the drill press to make a slot for the dowel that will hold the paper roll. After cleaning the slots up with a chisel, I glued a spacer block to the left side piece to make enough room for a full-sized roll.
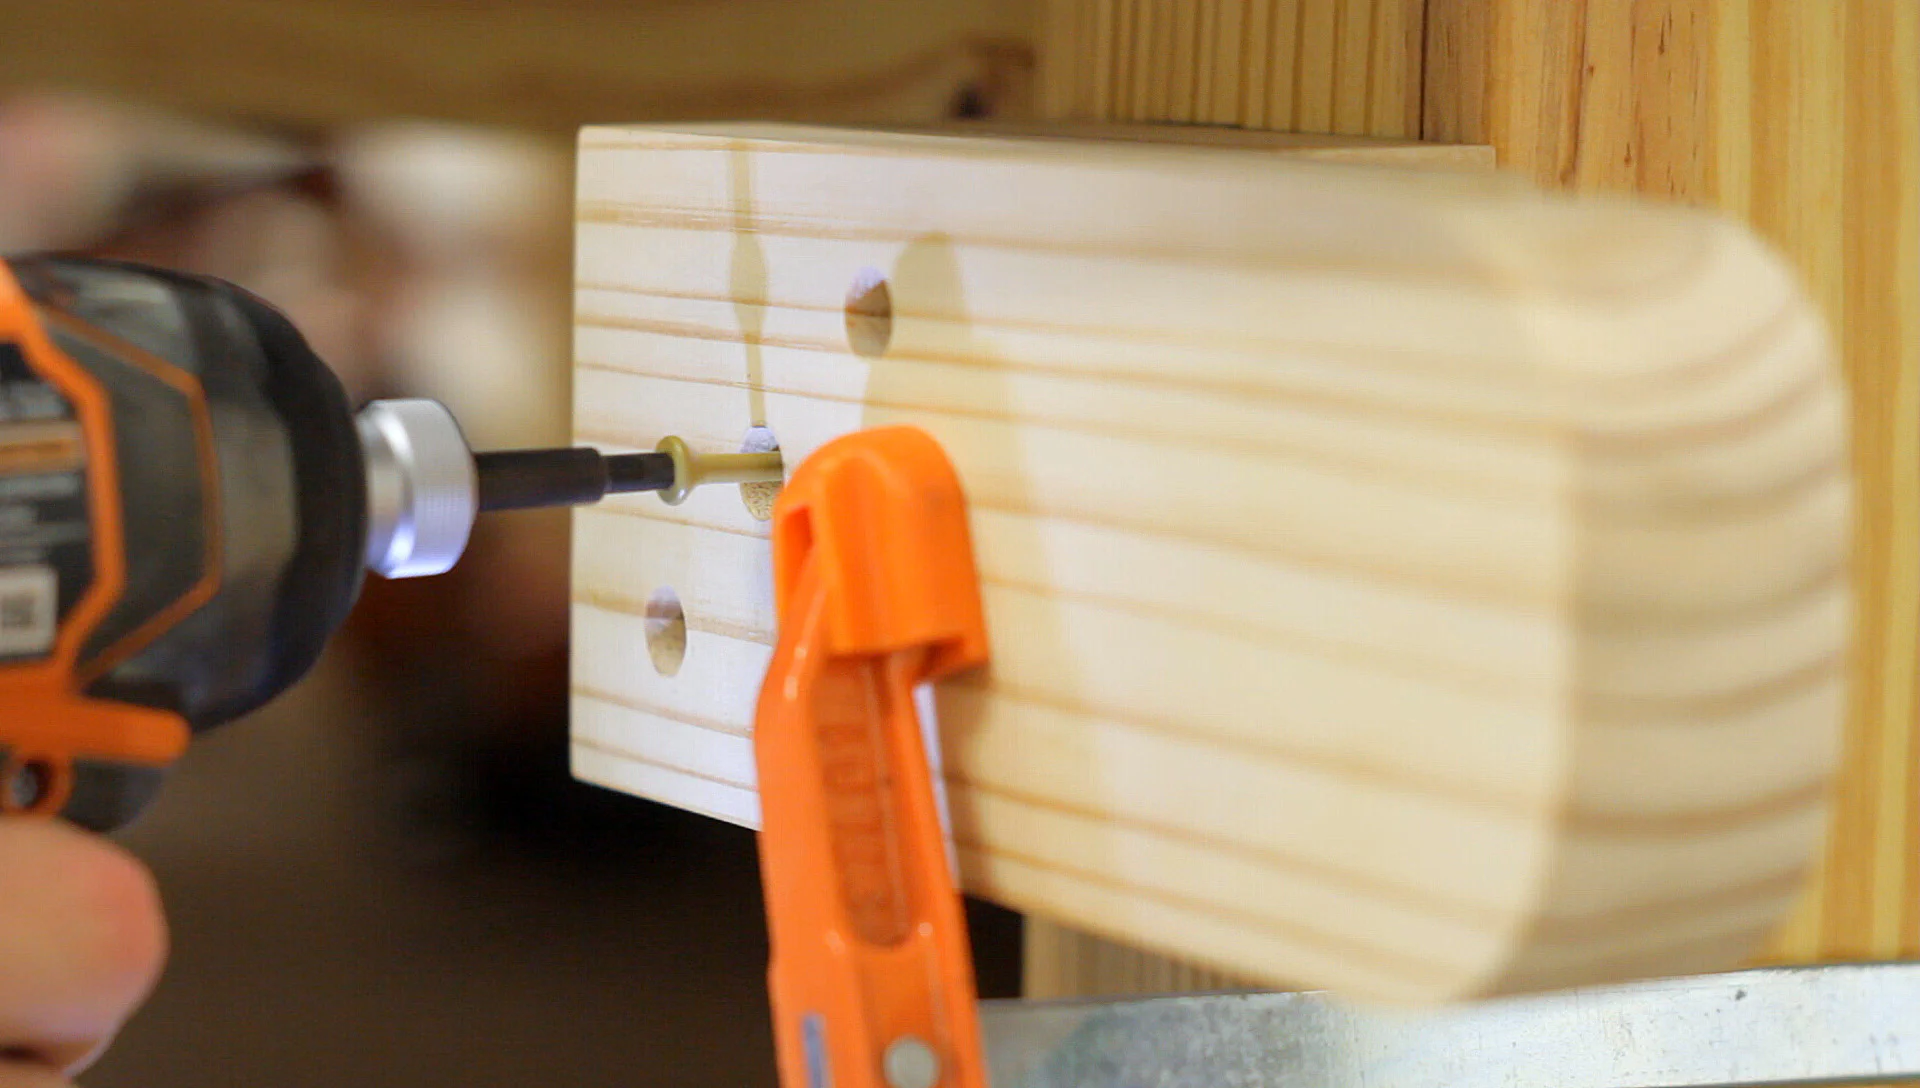
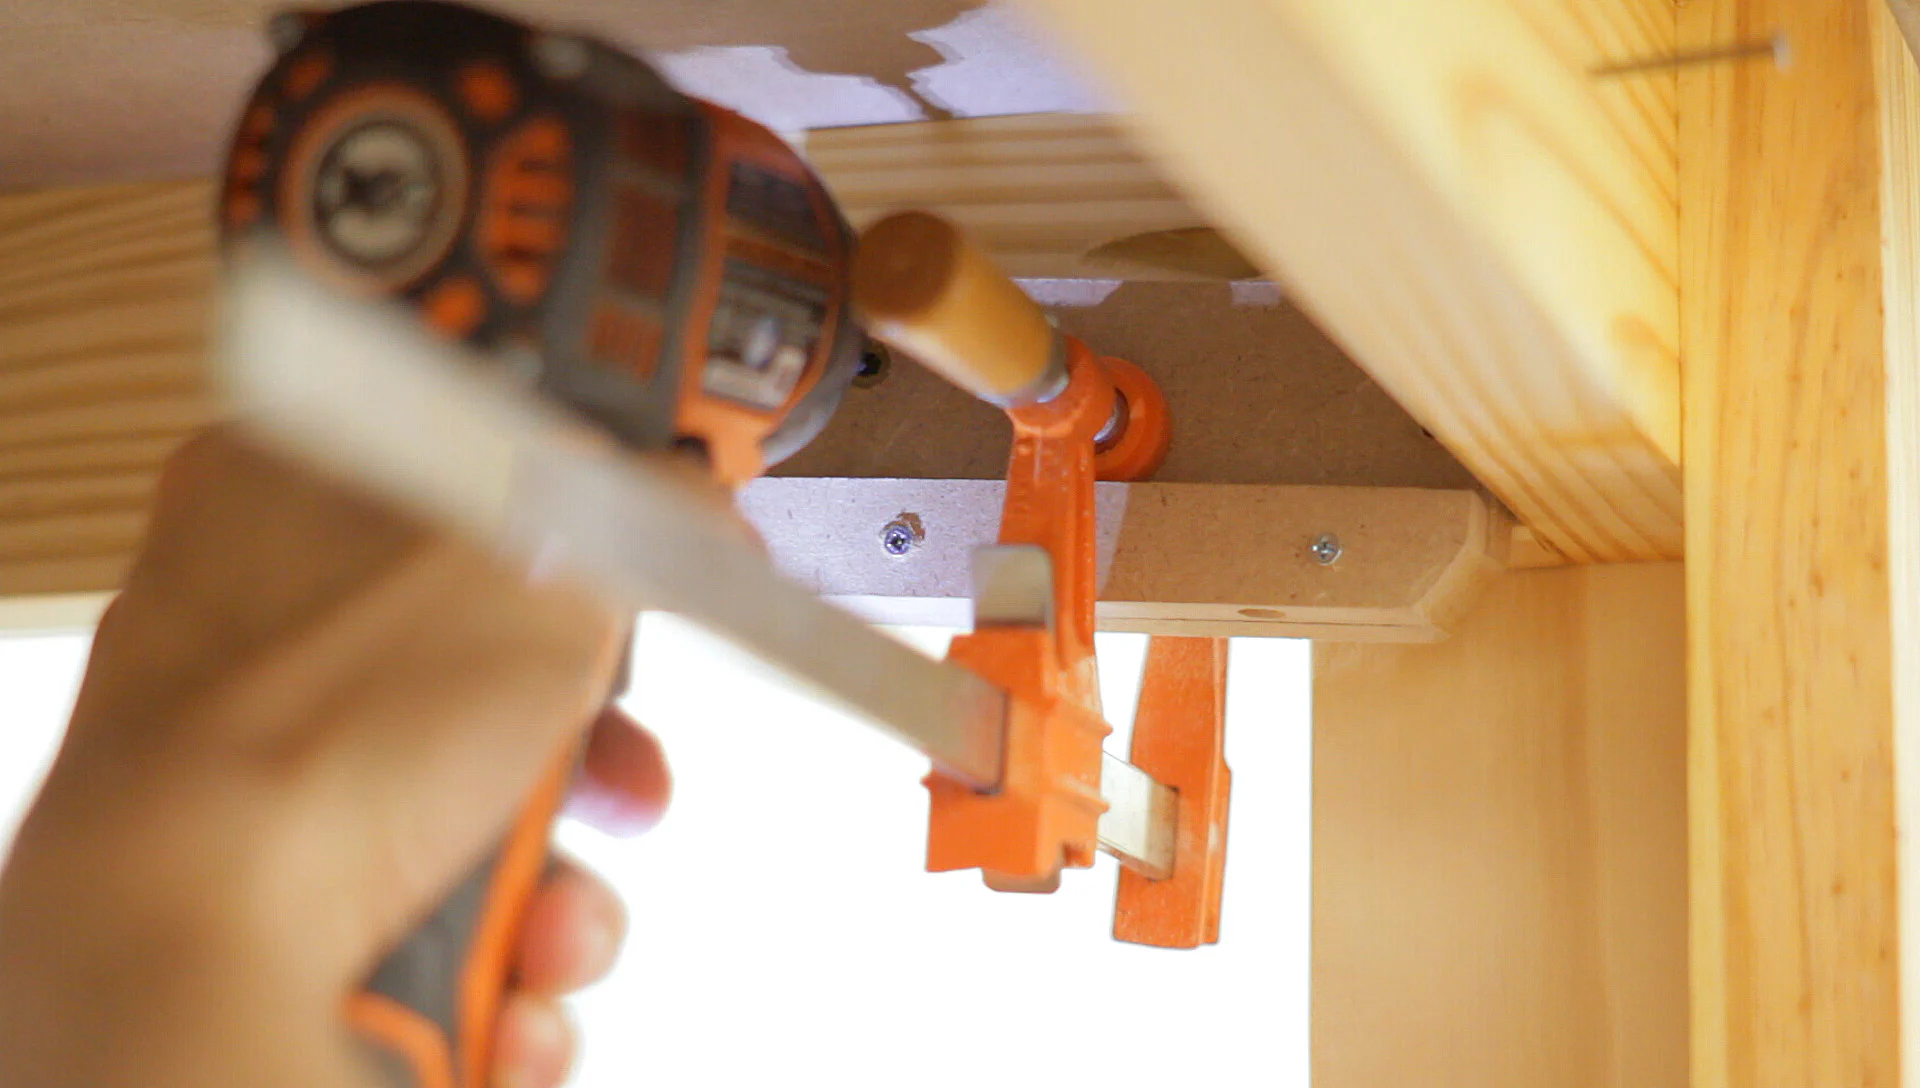
Then I marked where the brackets should go and clamped them in place before attaching them on both sides with a few screws.
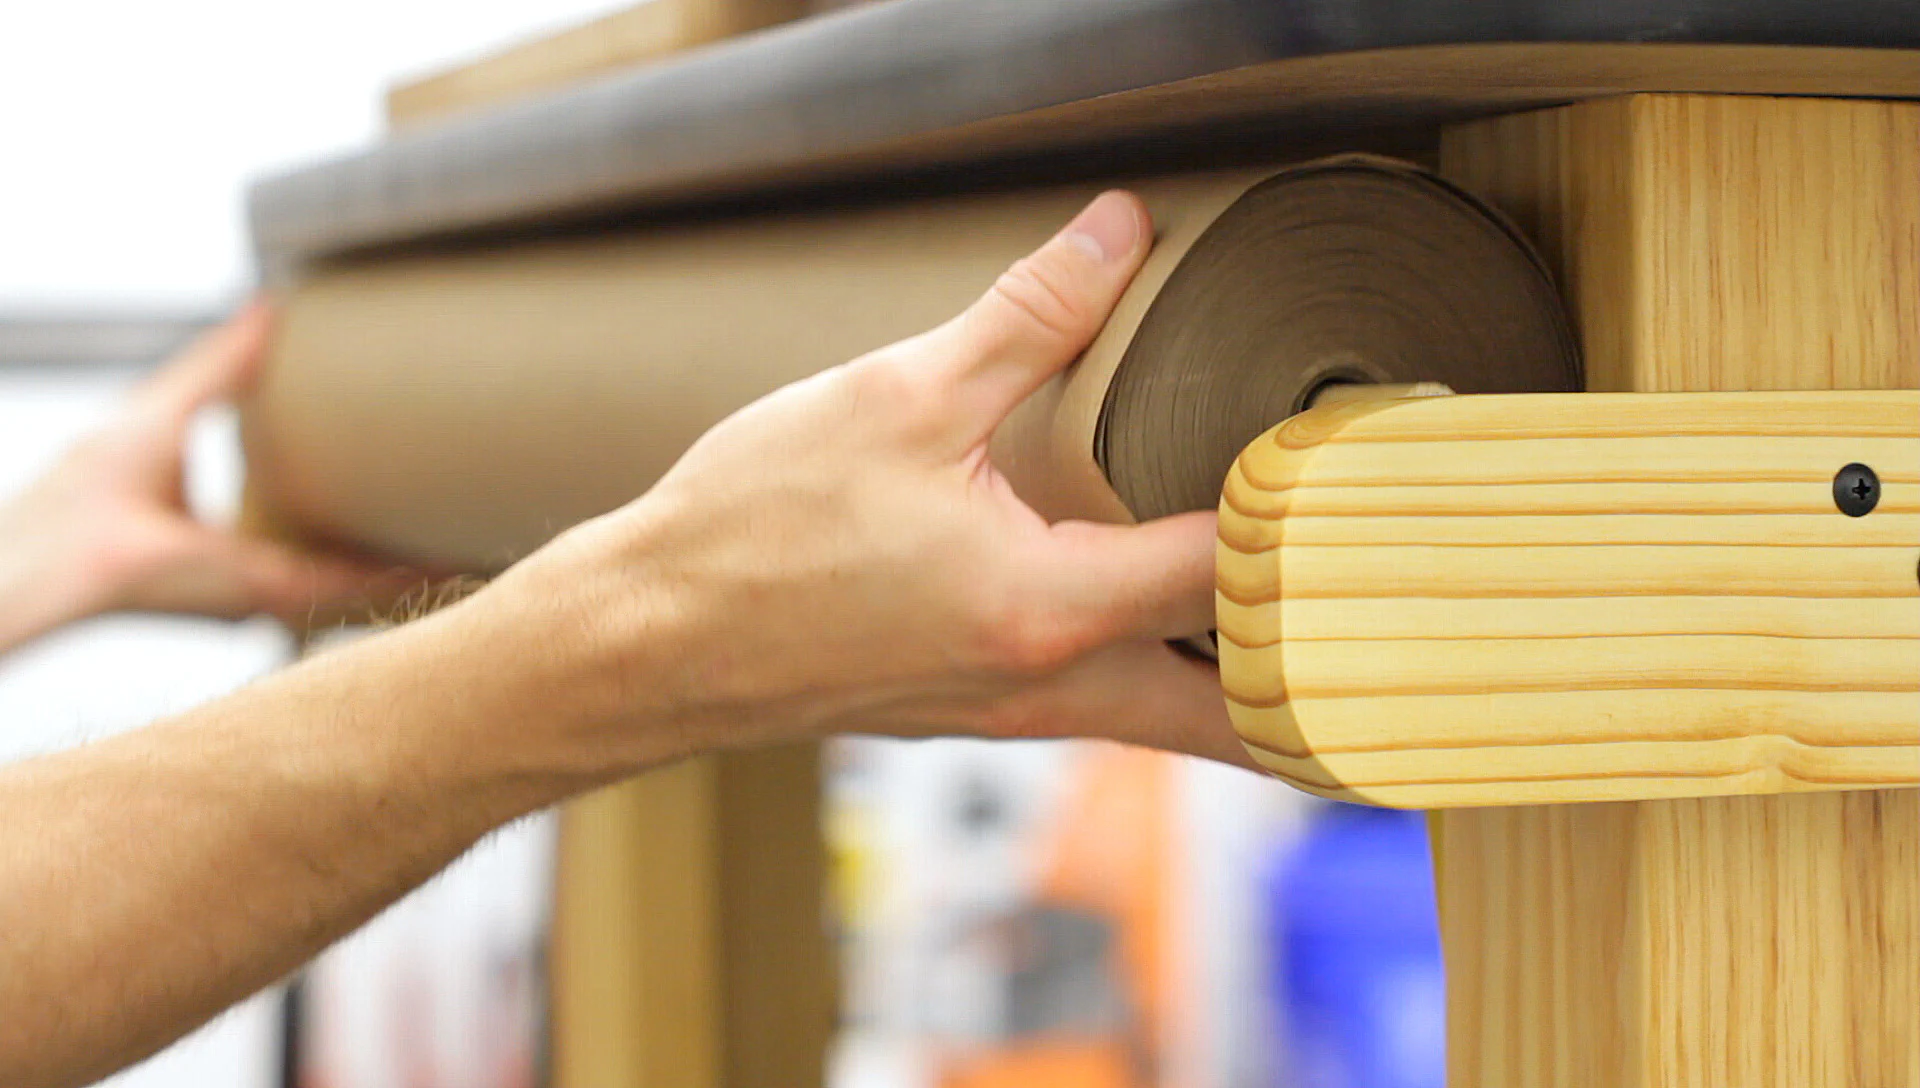
Finally, I applied a little boiled linseed oil and cut a piece of dowel to hang the roll on. It actually ended up working really well, and it’s easy to roll out and back up when needed.
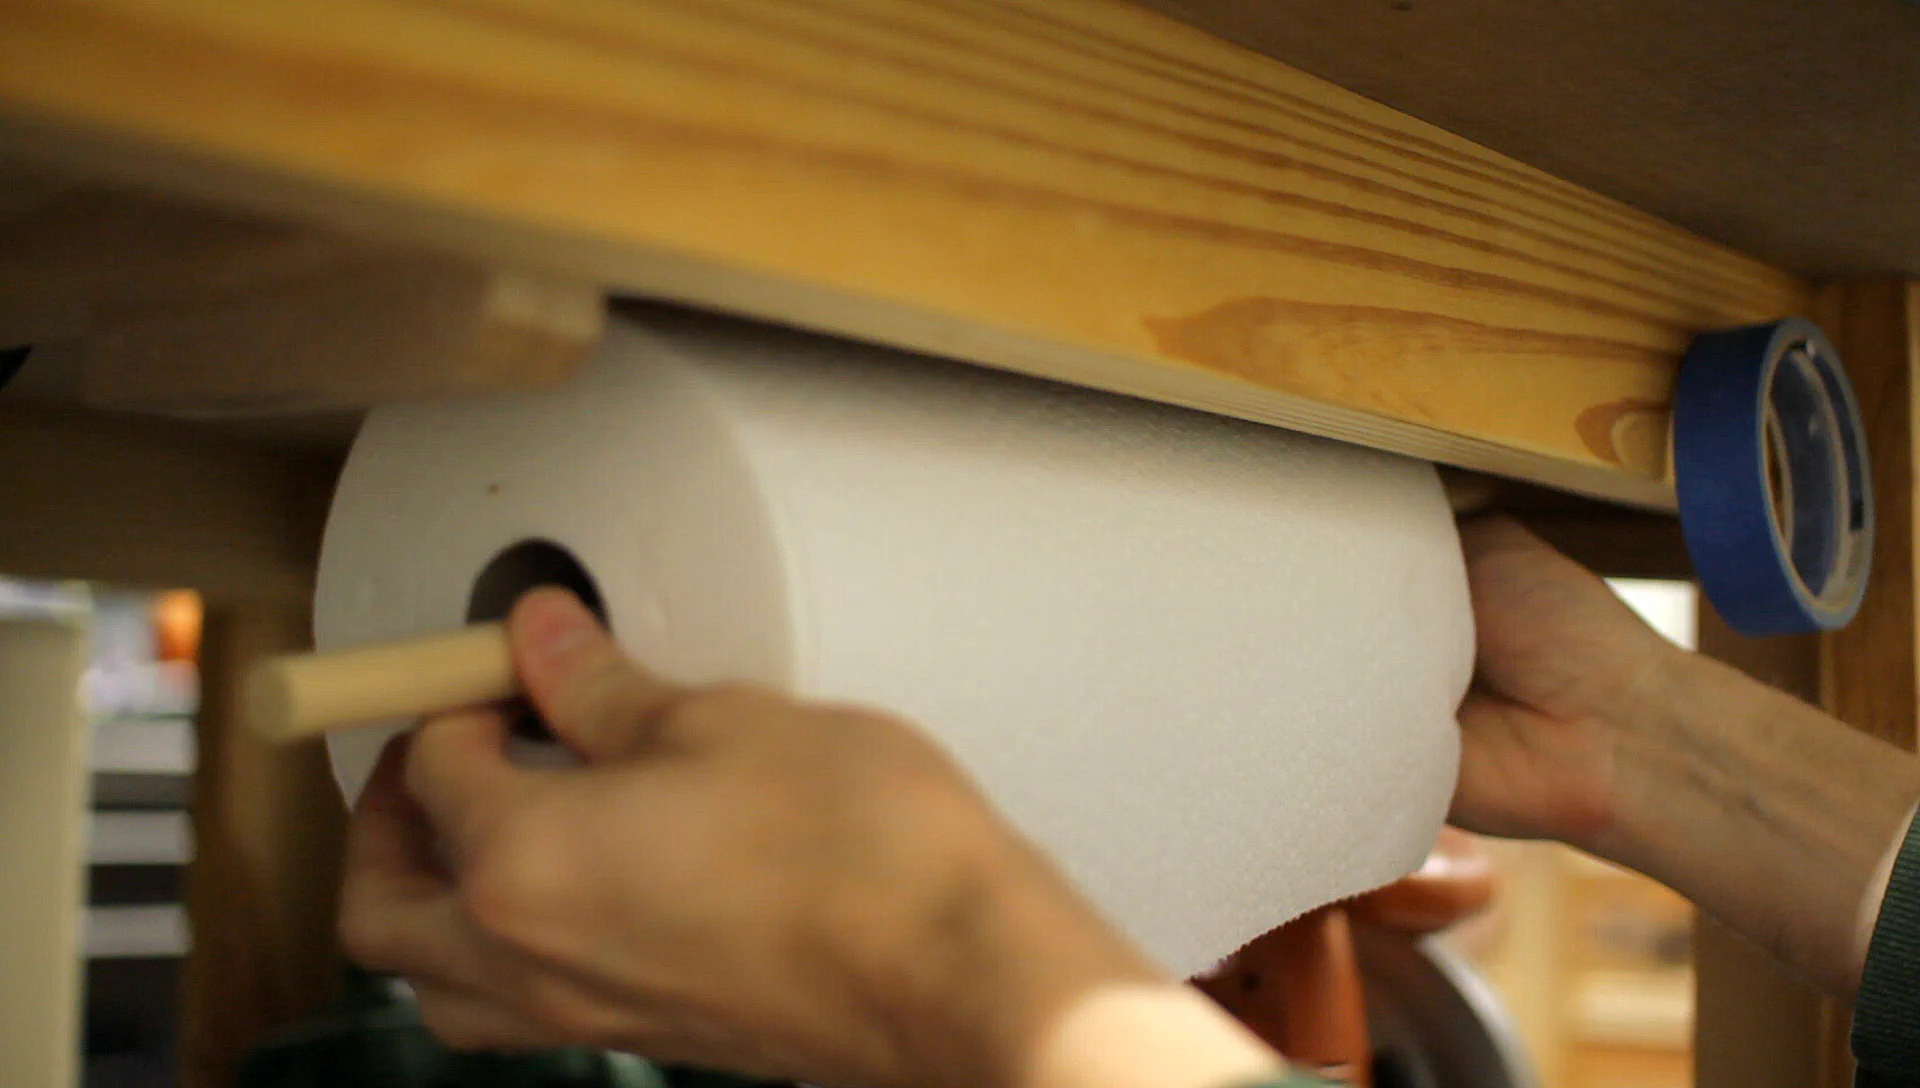
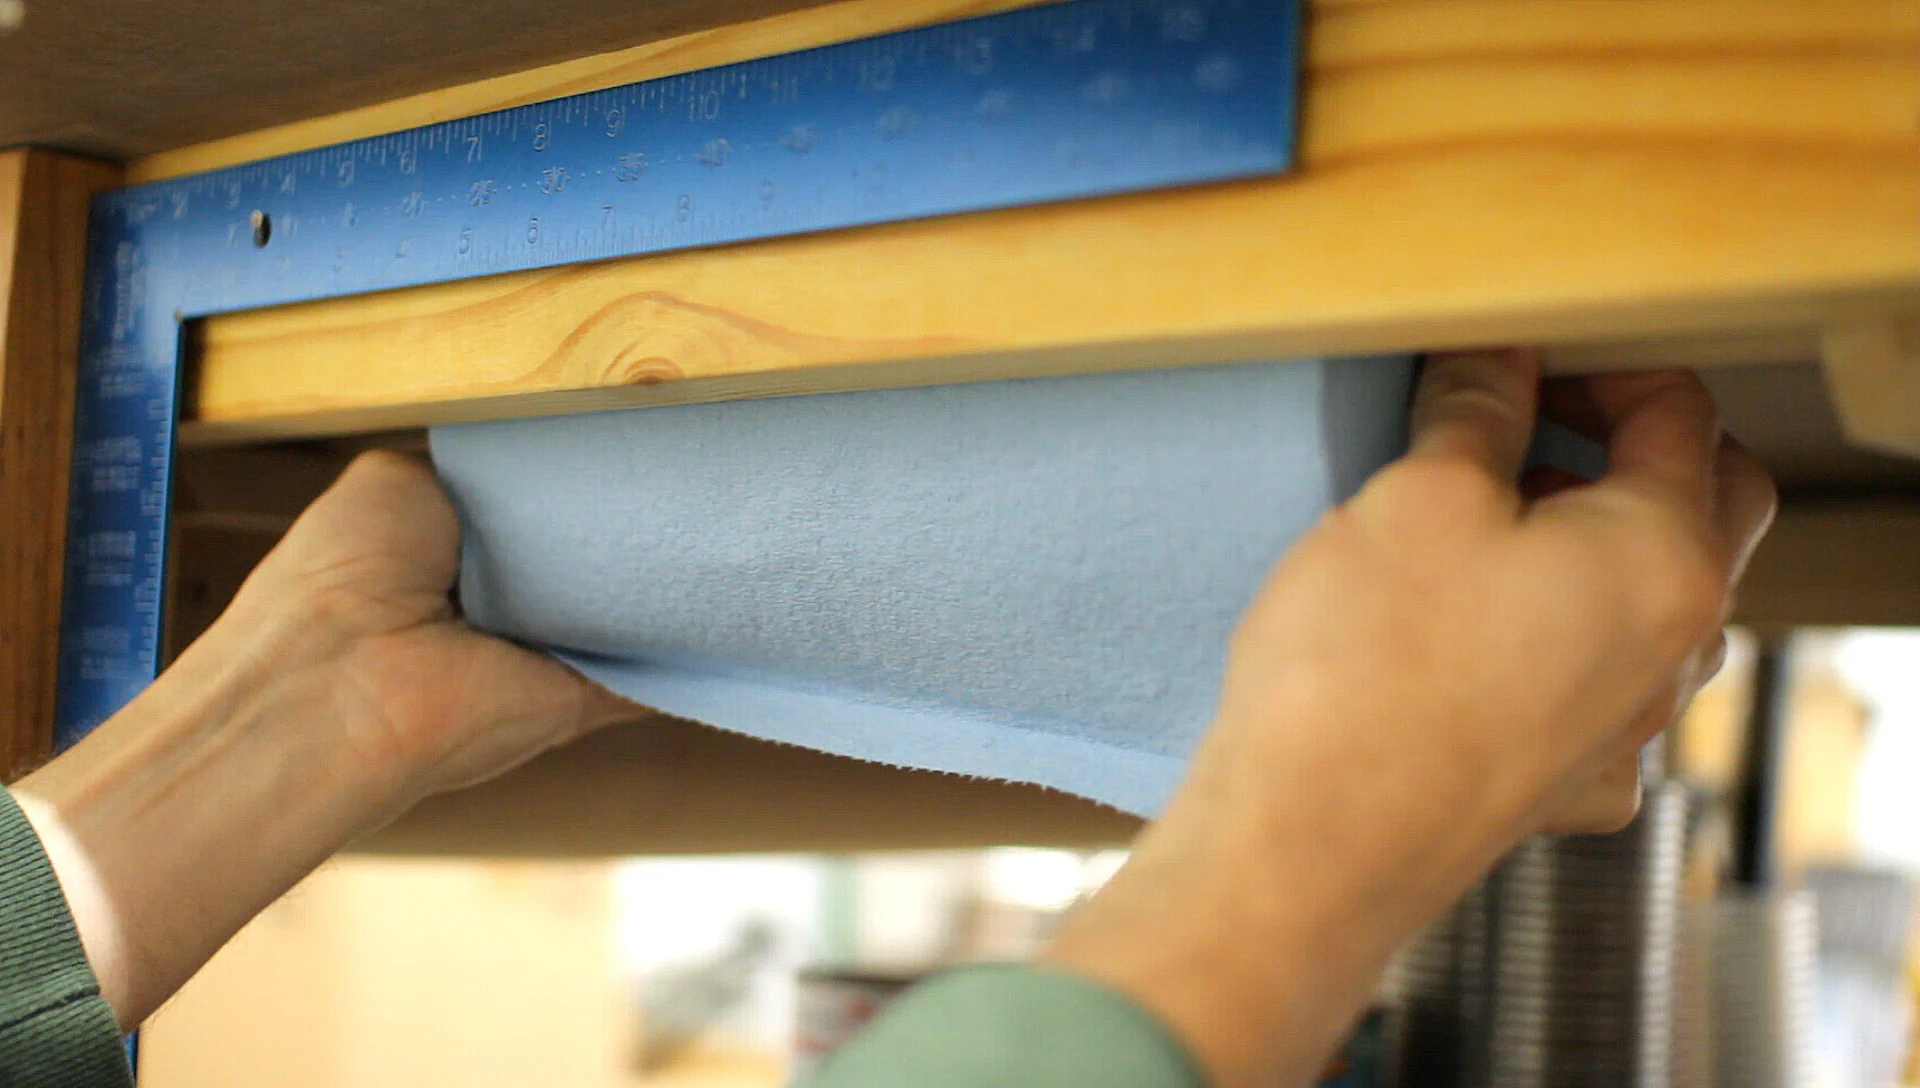
The next thing that I wanted to add was a paper towel holder since I always seem to need one while I’m in the middle of a glue up or applying a finish. For this, I simply cut a few small pieces of MDF on the bandsaw and glued them together to have something to hang a piece of dowel on from underneath the table.
It’s now easy to reach down with one hand and grab a towel and it worked so well I added a second holder for shop towels.
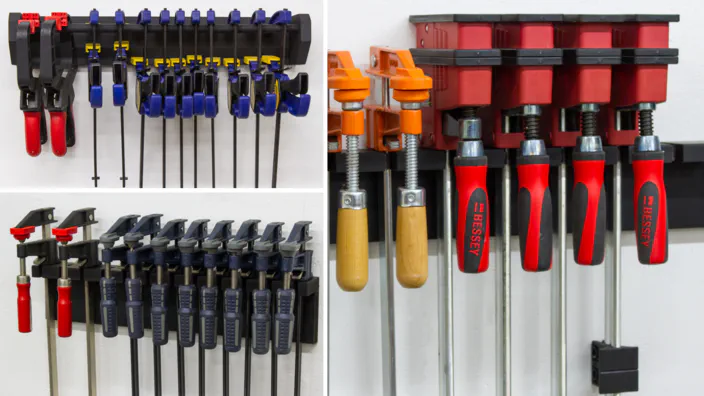
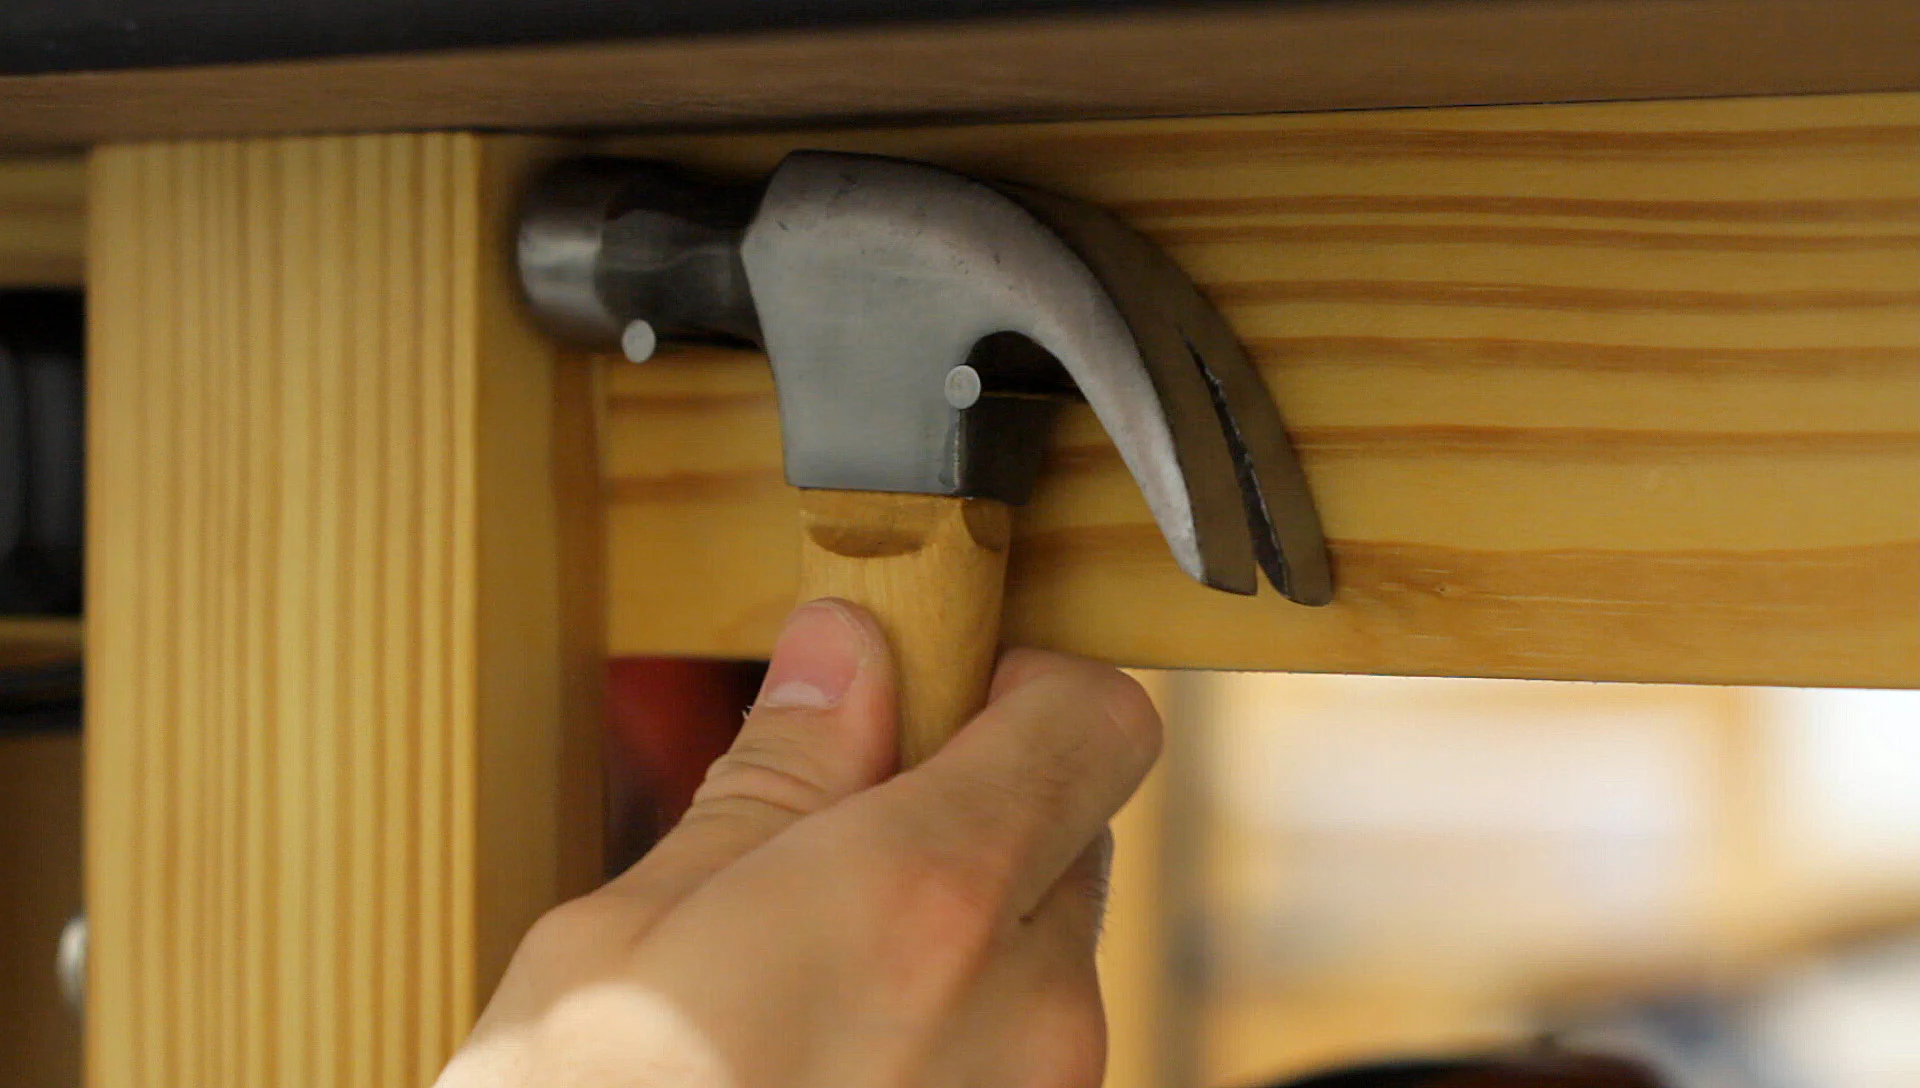
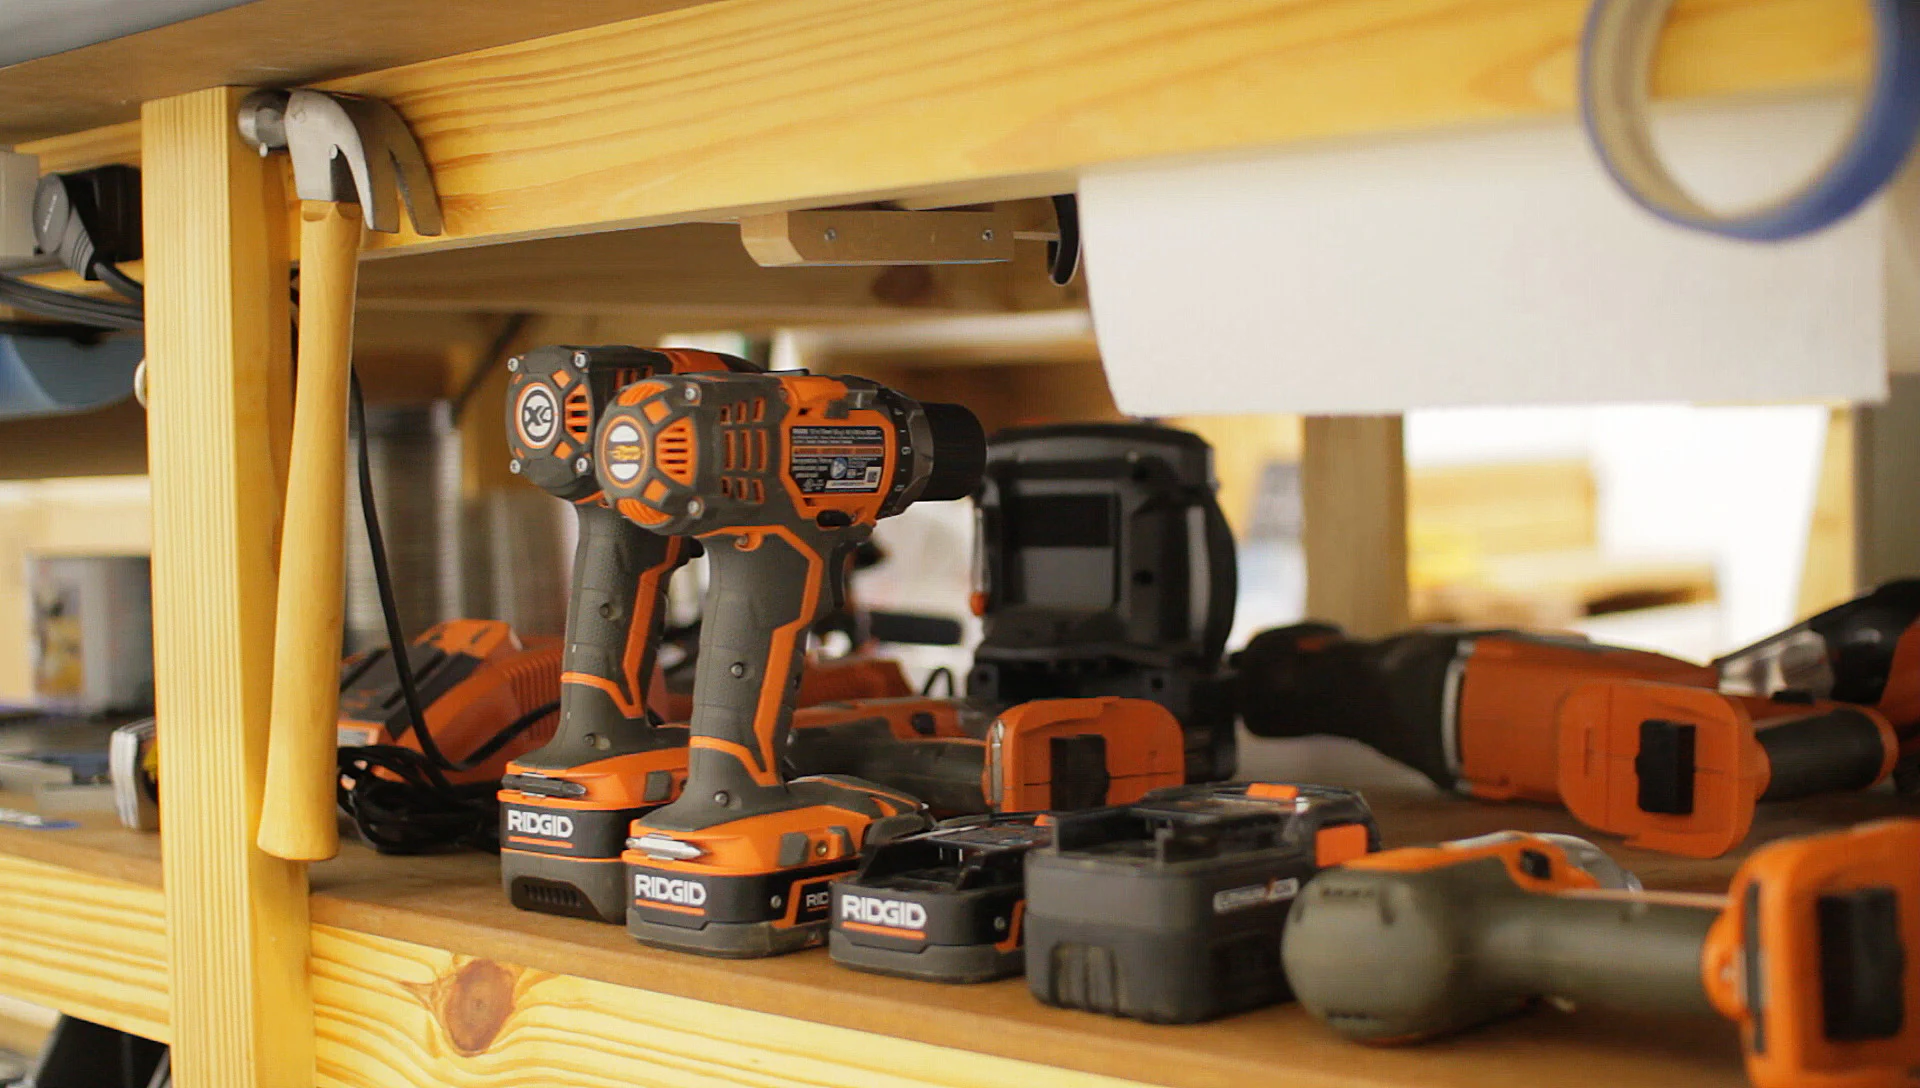
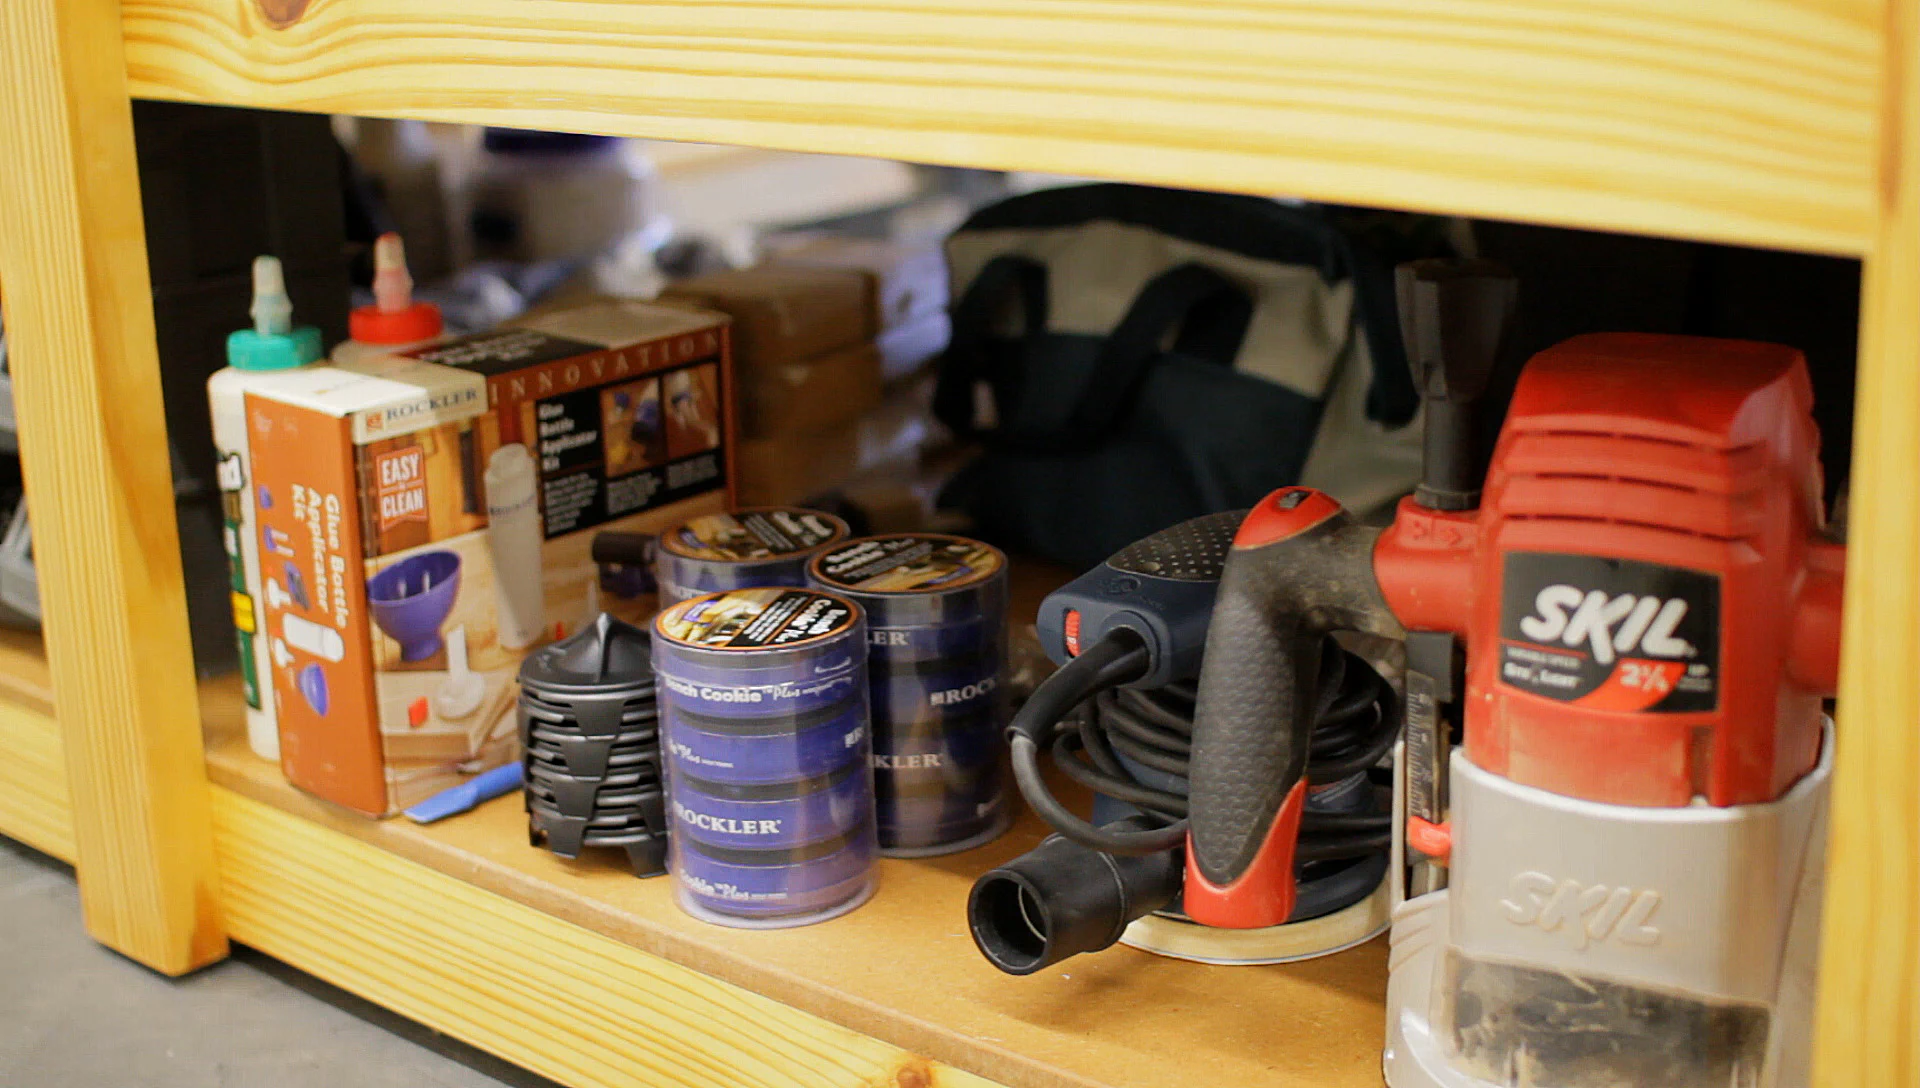
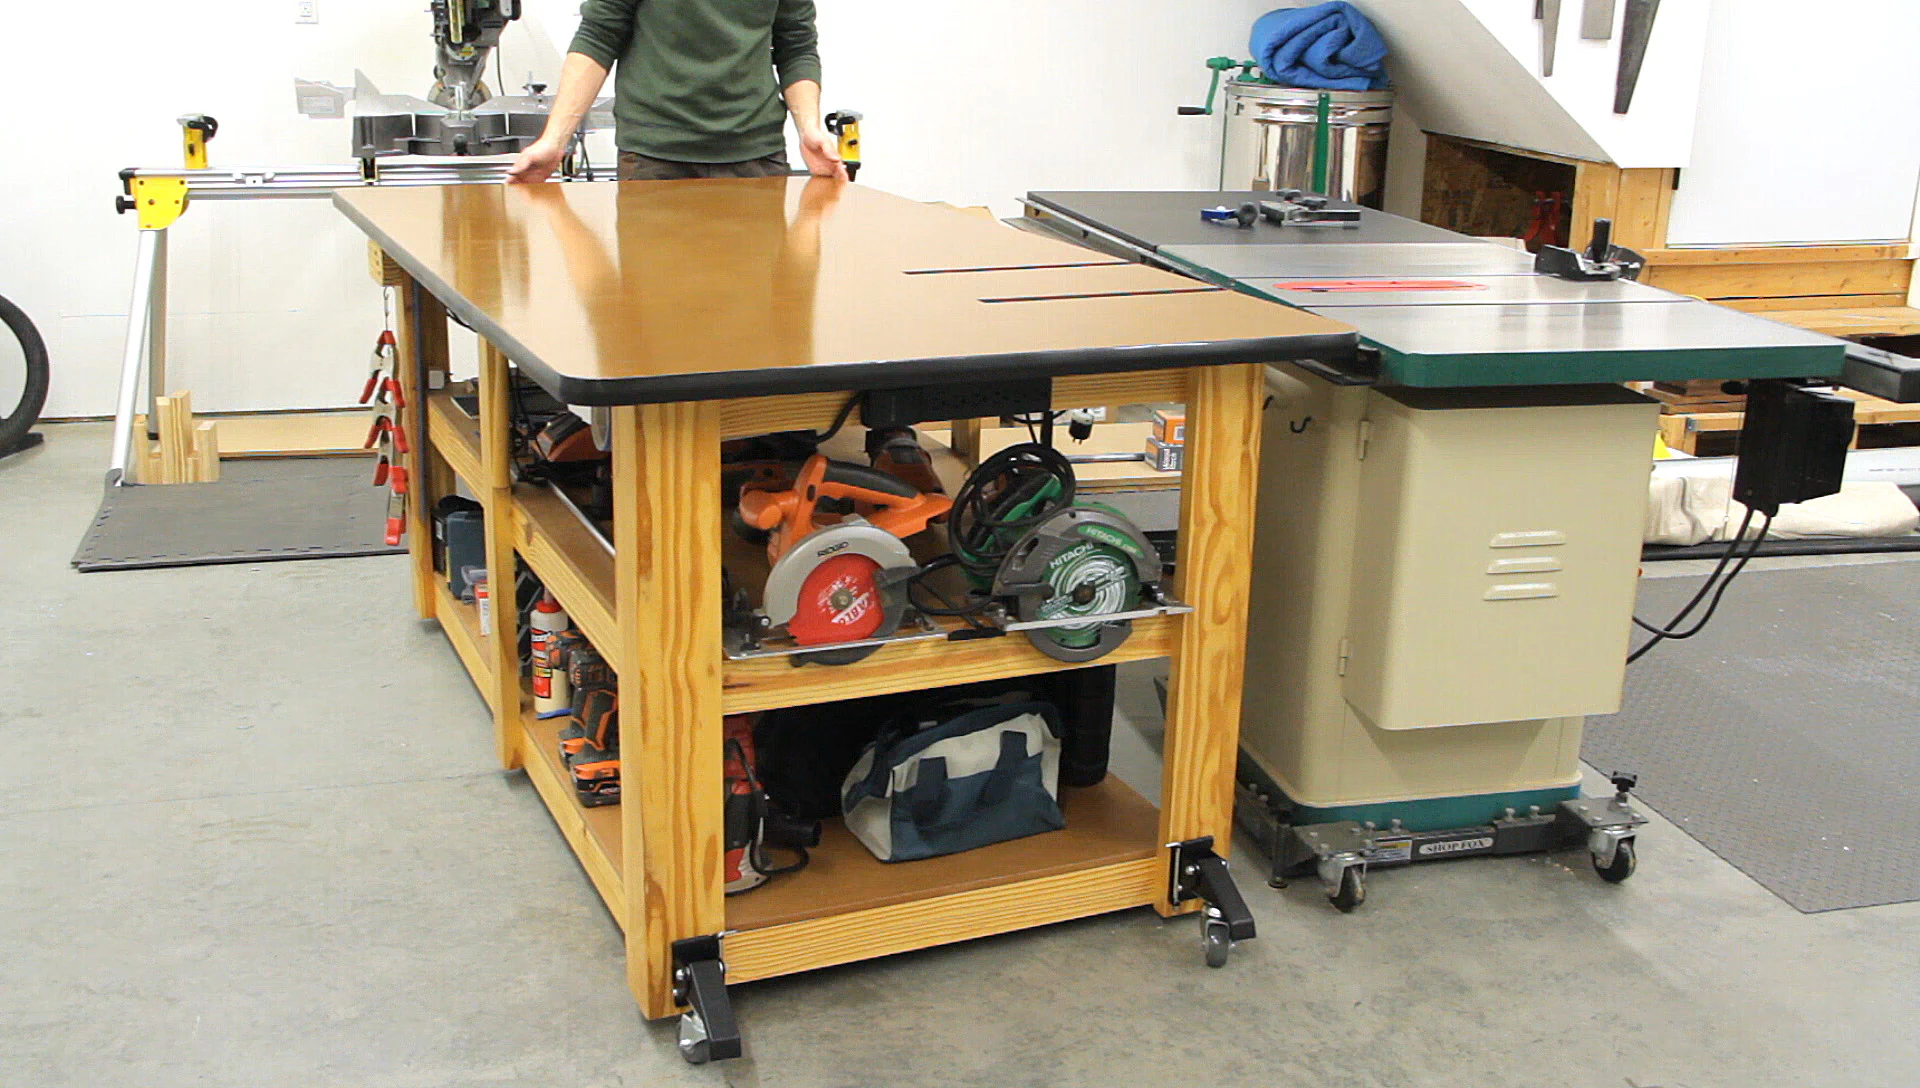
Next, I took some time to organize all the tools that I use the most at the bench and place them within reach. Some of these I mounted to the front with a few nails and others I made sure to place along the front of the shelves.
This included measuring tools, drills, drill bits, screws, glue supplies, my random orbit sander and router, and battery chargers for my cordless tools.
And since some of those need power, I ordered a surge protector with a long cord and mounted it to the front. I also picked up a separate small switch to make it easy to turn on and off my small shop vac when I’m using it with the sander or router.


Then I realized that if I had a second power strip on the right side of the bench, I could plug in my shop vac and clean the entire shop or setup my planer there without having to bother with an extension cord.

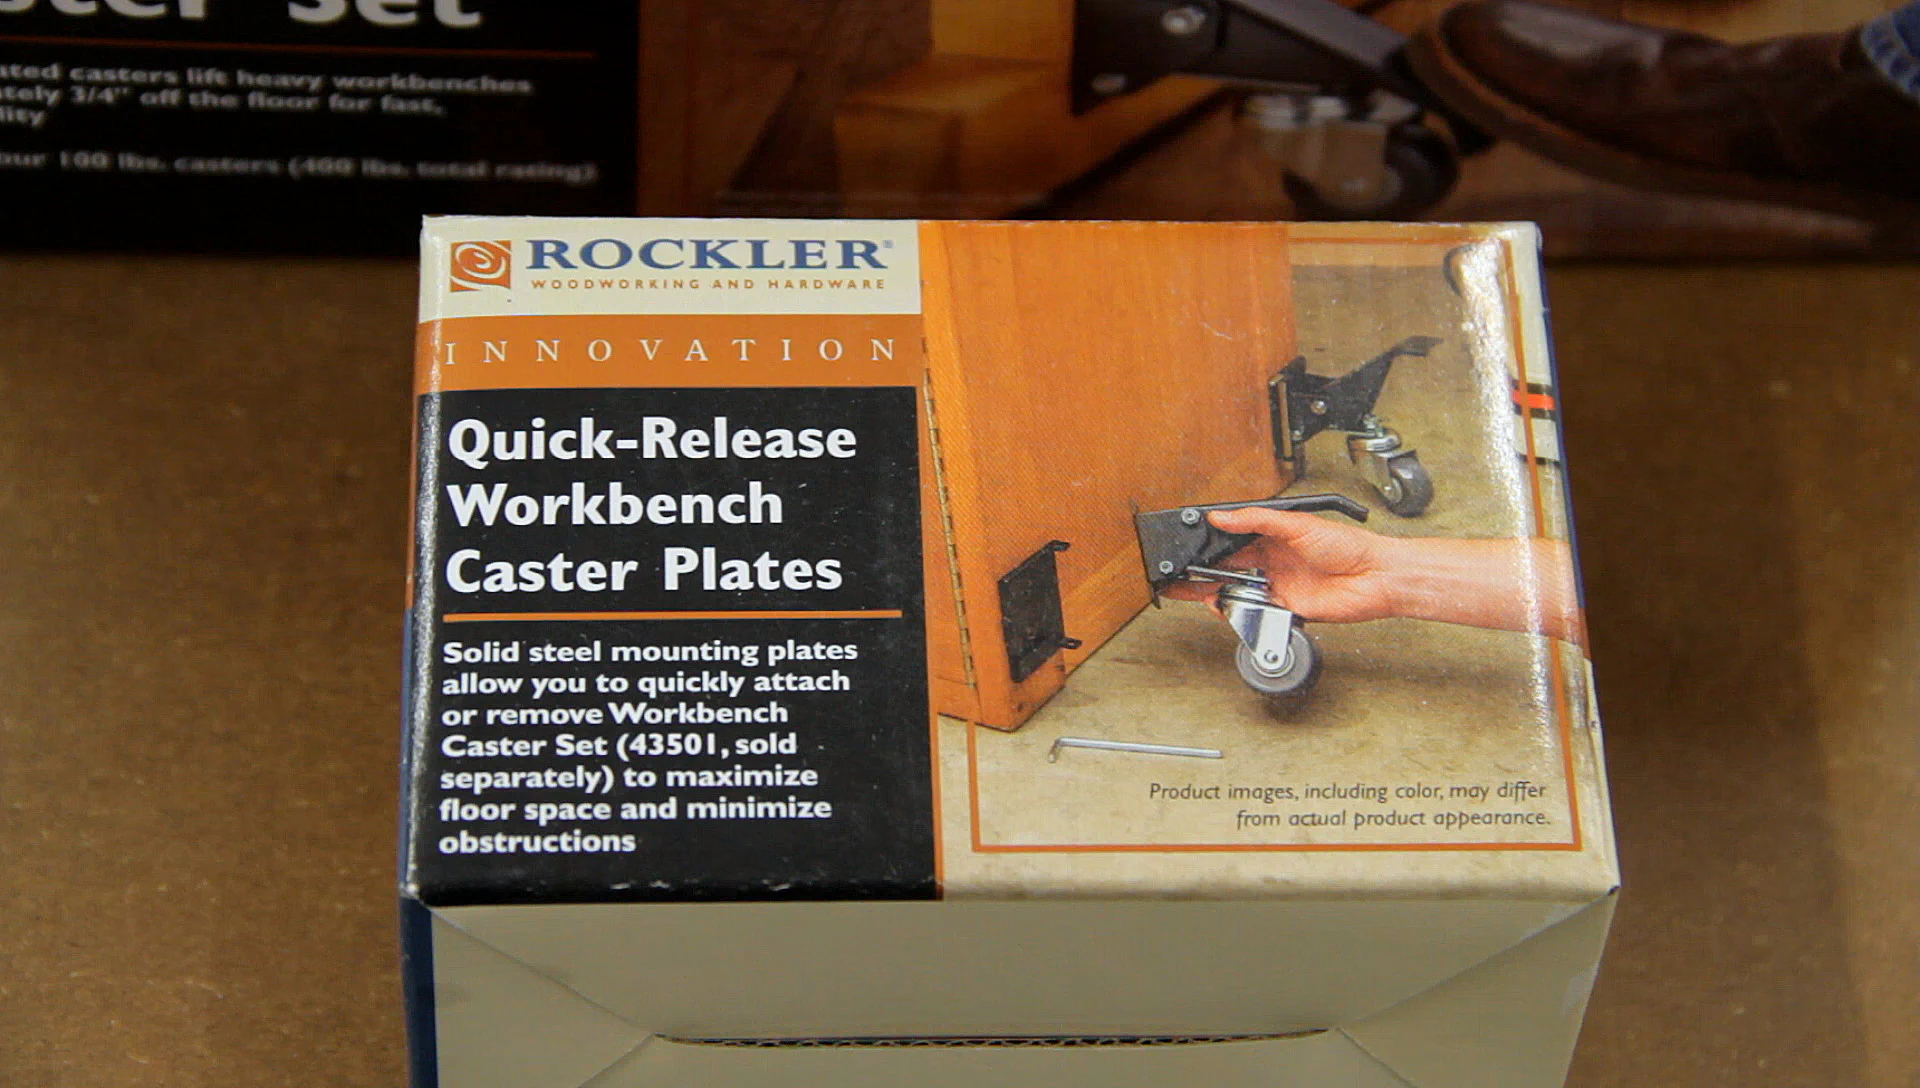
That took care of all of the power requirements, but I still wanted to find a way to move the bench around when needed. And for that, I used a set of workbench casters with quick release plates which ended up working really well.

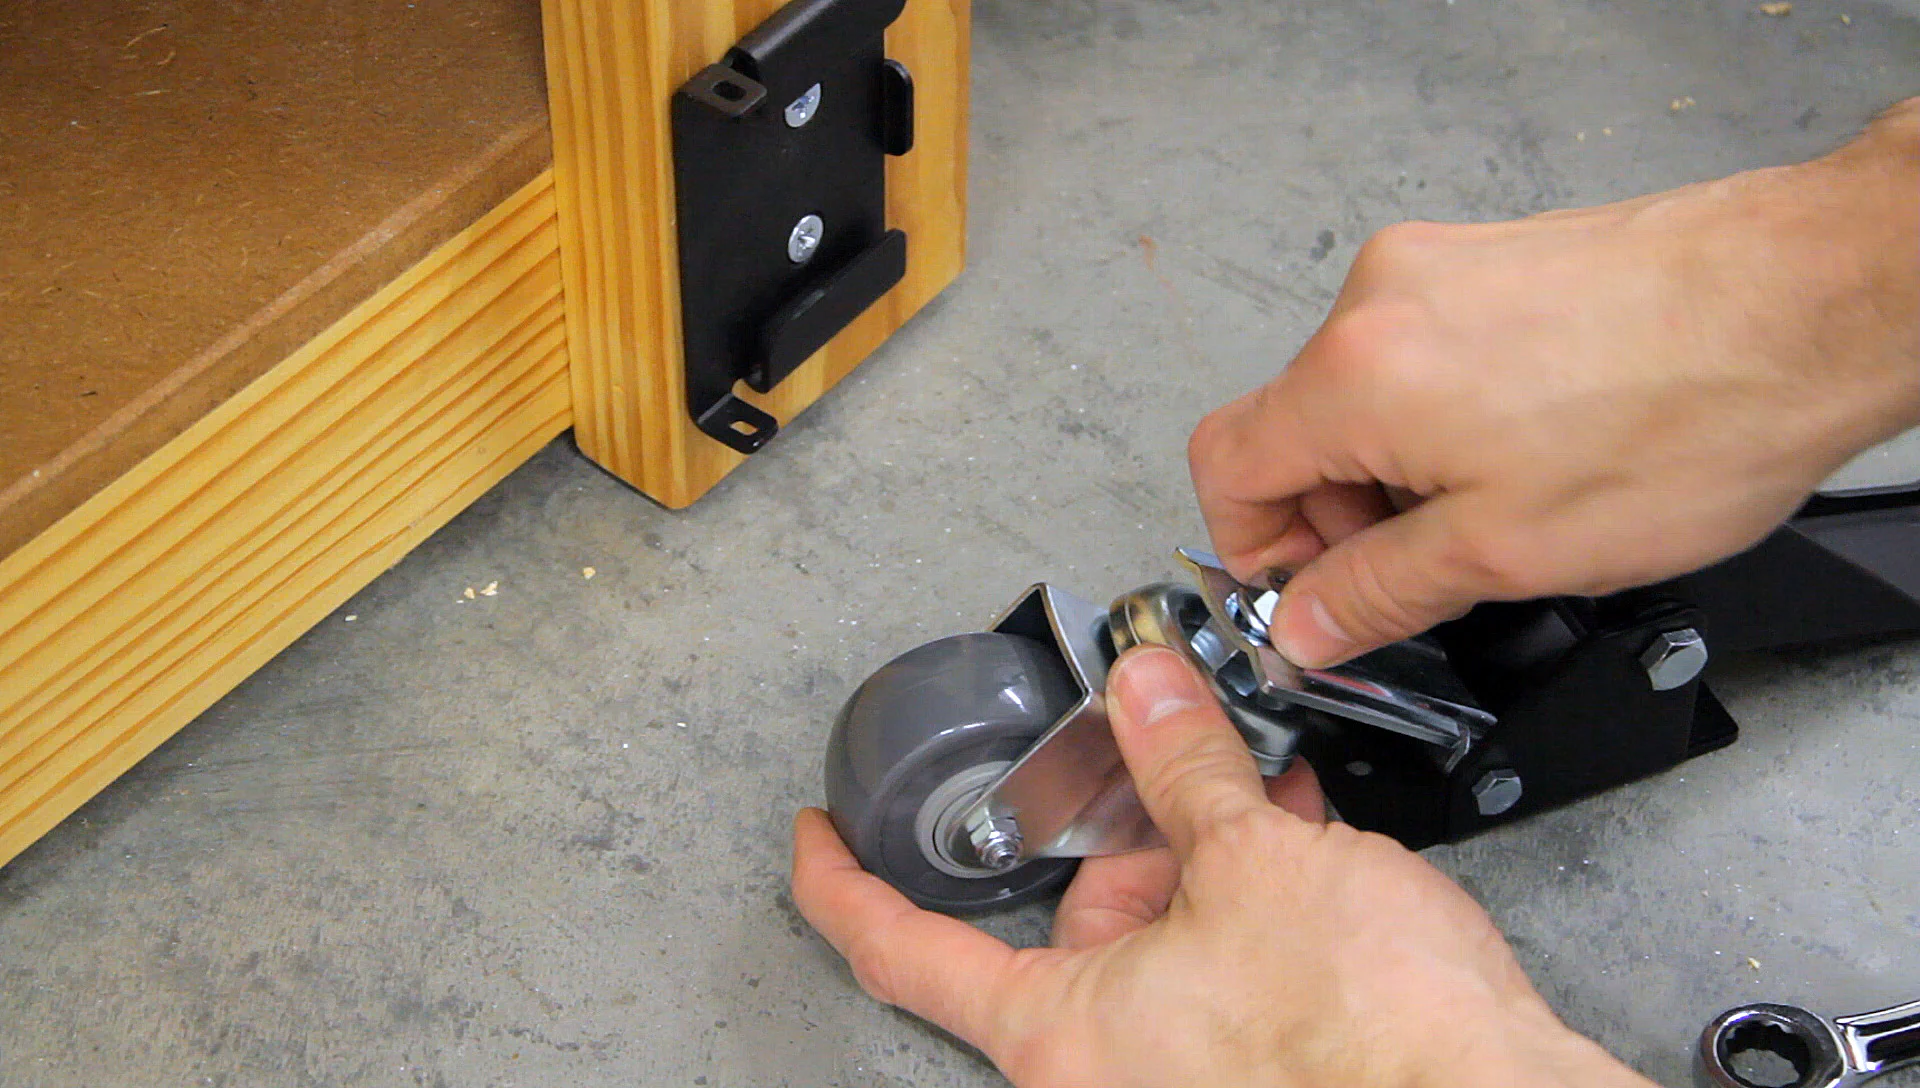
Since the included bolts are for 3/4" thick legs, I picked up some #14 wood screws to use. Then I simply predrilled and screwed the plates onto the legs at the correct height above the floor.


The casters just bolt on to the lever arm with the included lock washer and nut and then they can be slid into the quick release plate and secured with the included pin.
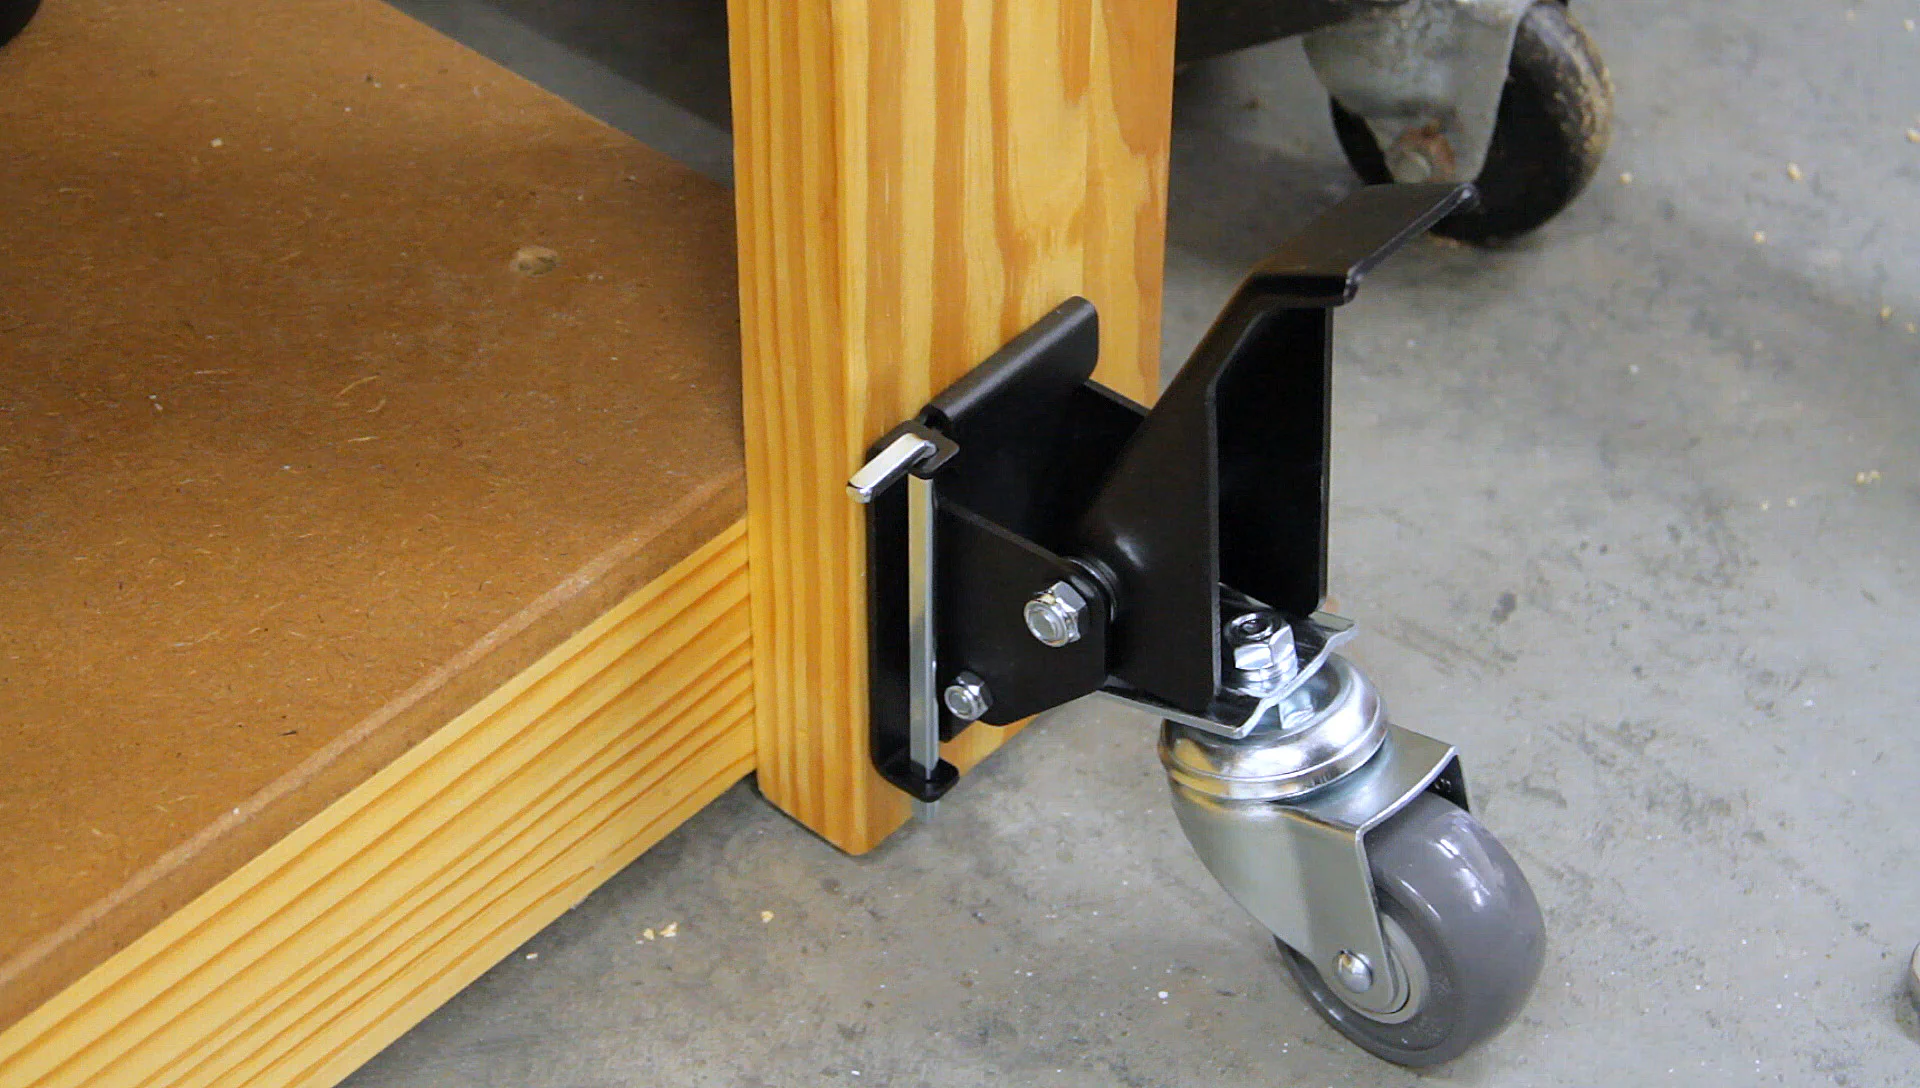
Since this bench and all the equipment weighs well over 300 pounds, I found lifting the top while engaging and disengaging the cam levers helped, but once they’re all engaged, moving it was very easy. And using the quick release plates make it very easy to remove the casters and swap them between other benches and tables.

Well, that finishes up all the improvements we’ve made so far. If you have some favorite upgrades that you’ve made to your workbench, be sure to leave a comment below!
If you haven’t already, be sure to subscribe to our mailing list below as we’ll be announcing a giveaway very soon and finishing up our Roubo-style workbench build next!
Tools & Items Used
Be sure to check out Our Workshop page for more details!