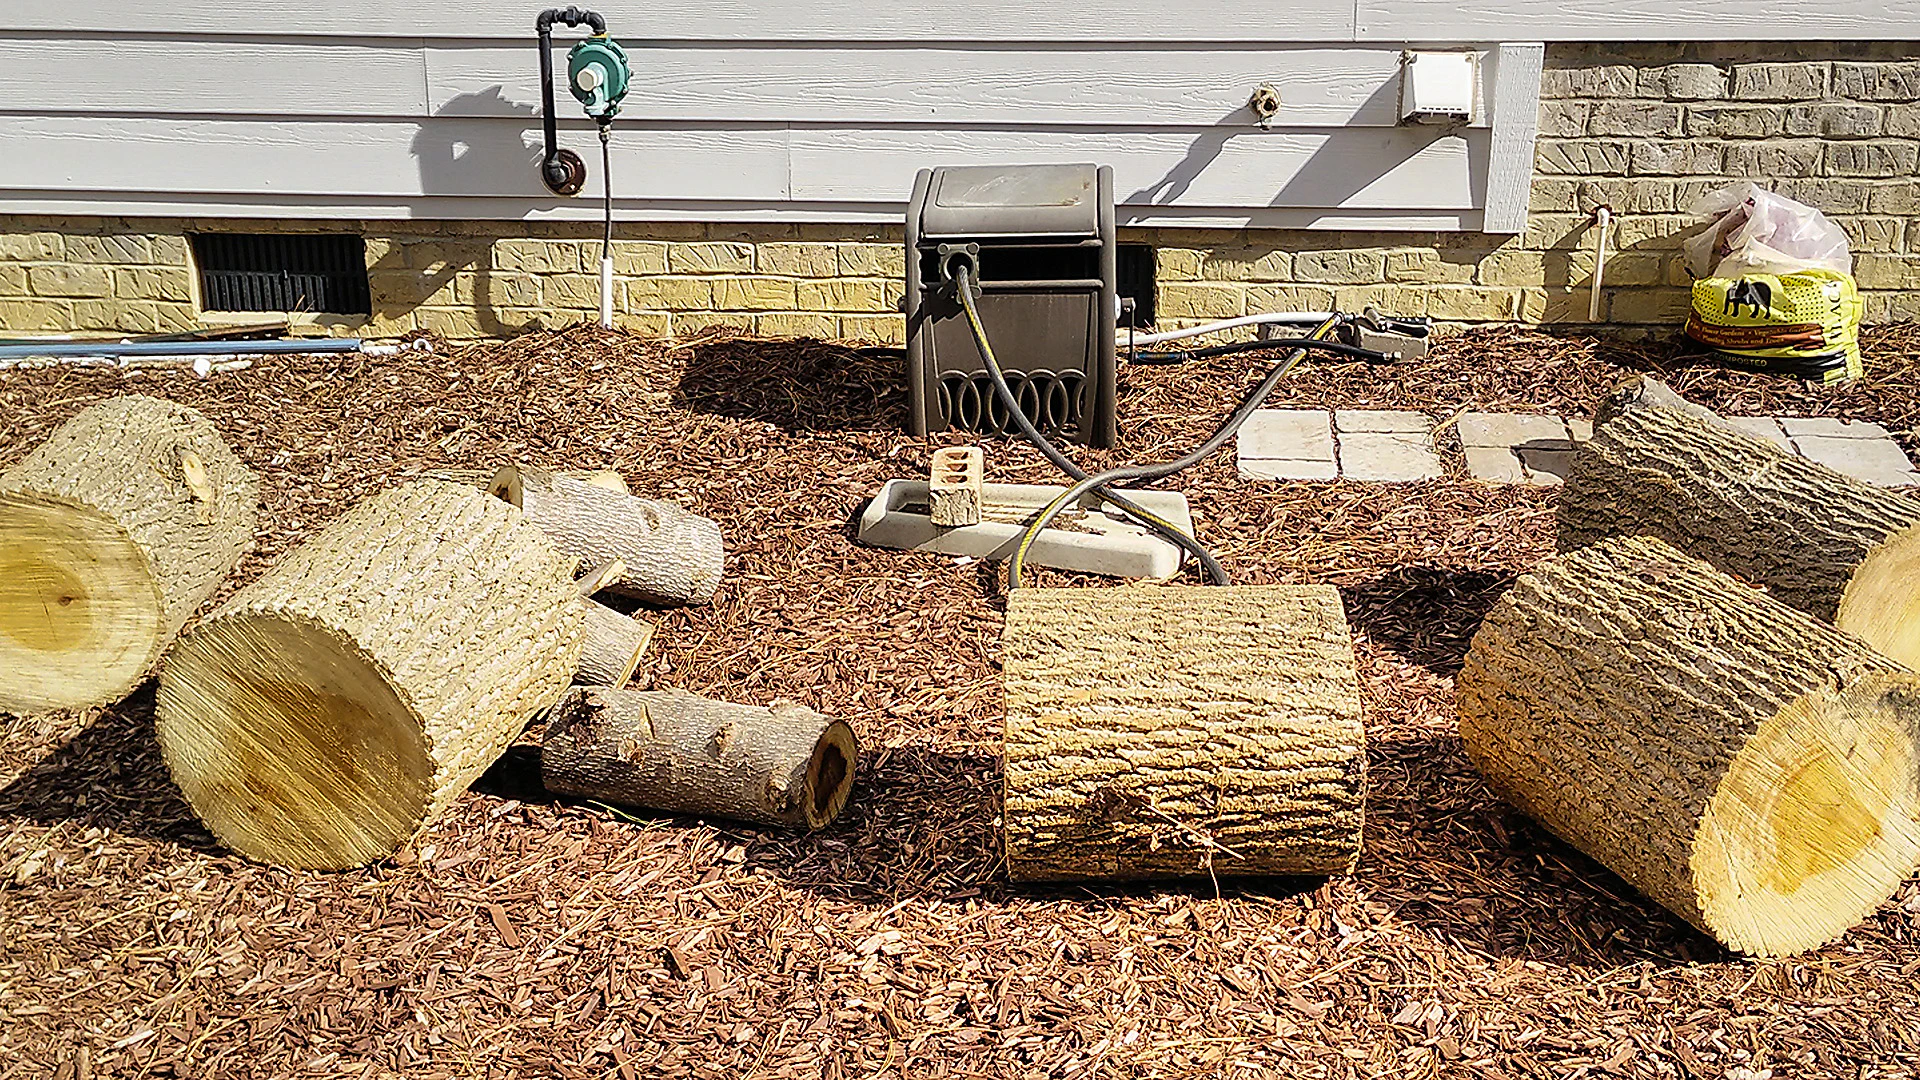
I’ve wanted to try milling small logs on the bandsaw for a while now, so after our neighbors had a couple of poplar trees taken down (and were nice enough to give us a few logs to experiment with), it was finally time to give it a try!

These logs were around 16-18" in diameter and about 2’ long. They were still fairly green having been cut about two months earlier.
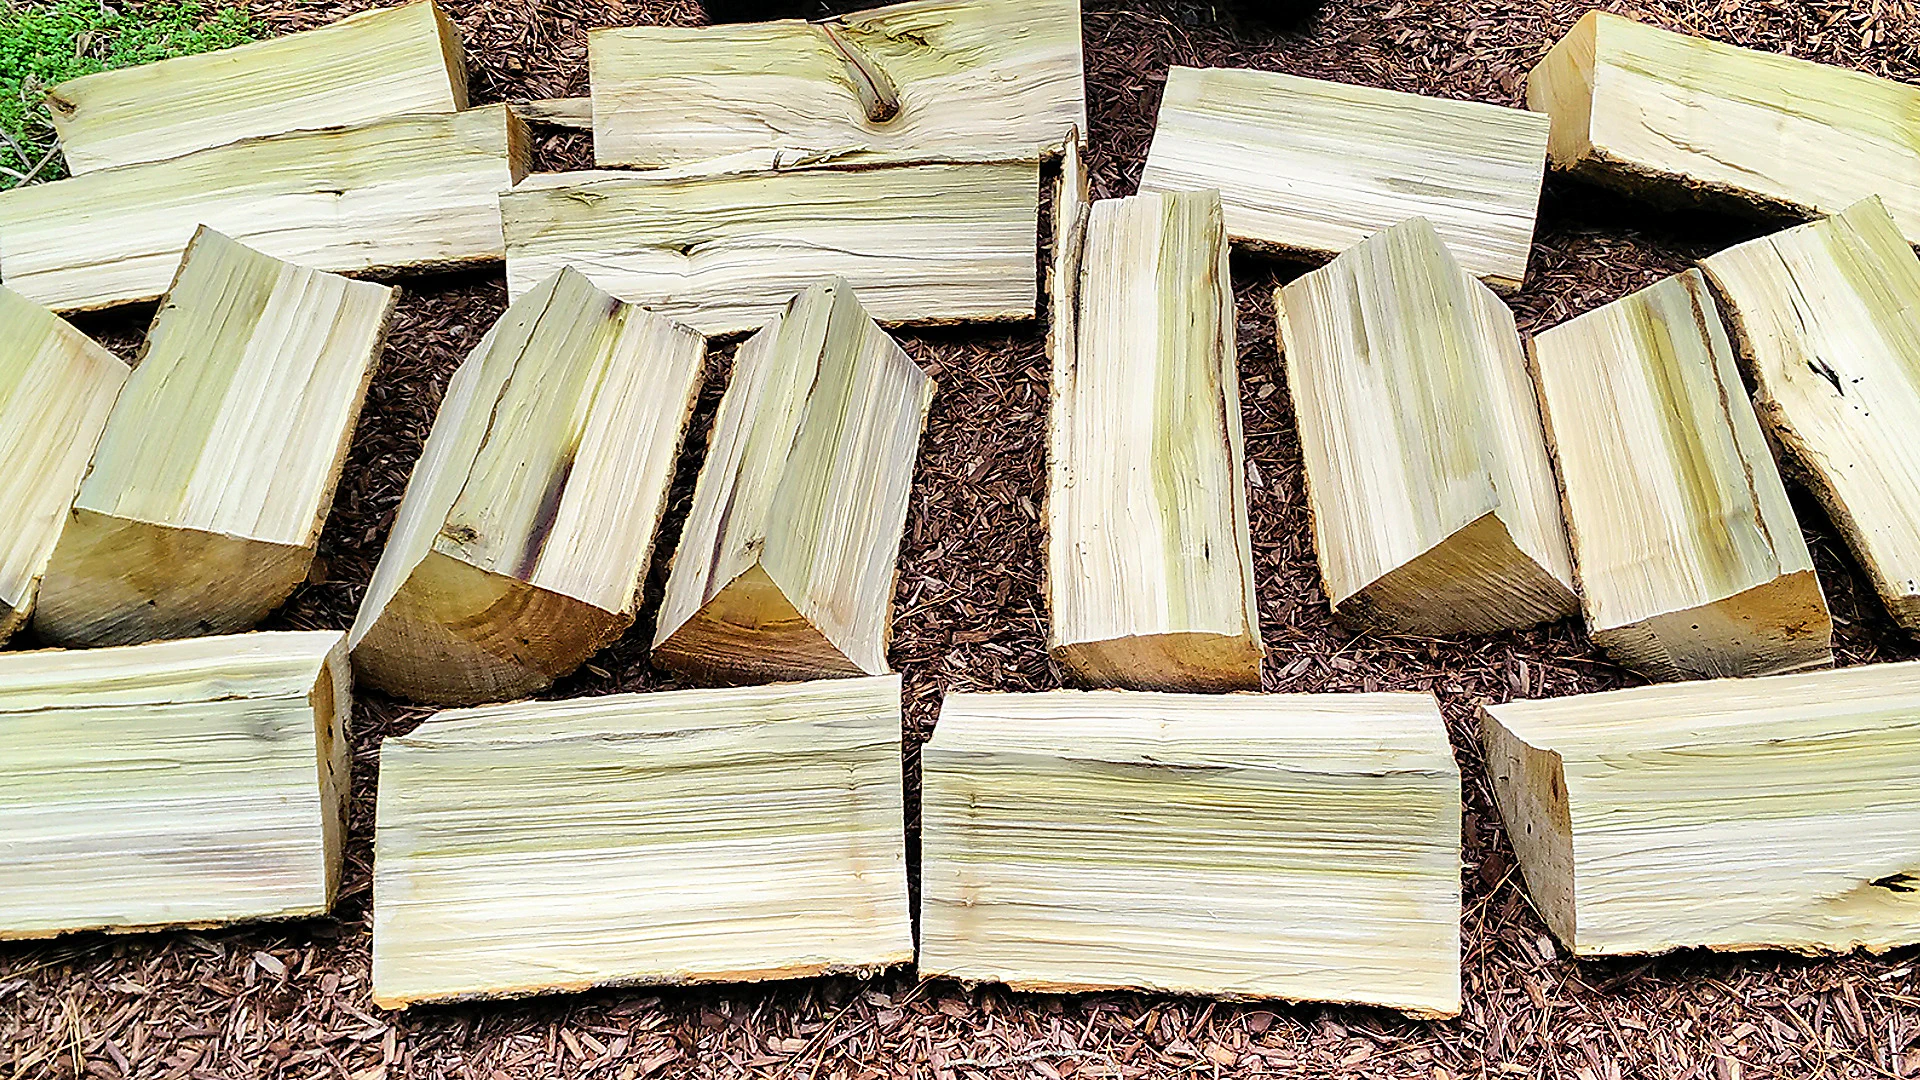
To make them a little more manageable, we used a wedge and sledgehammer to split them into quarters.
Once they were all split, I sealed the ones that were worth keeping with some latex paint to help prevent checking at the ends. I then decided to build a small sled from some scrap MDF and a spare miter bar.
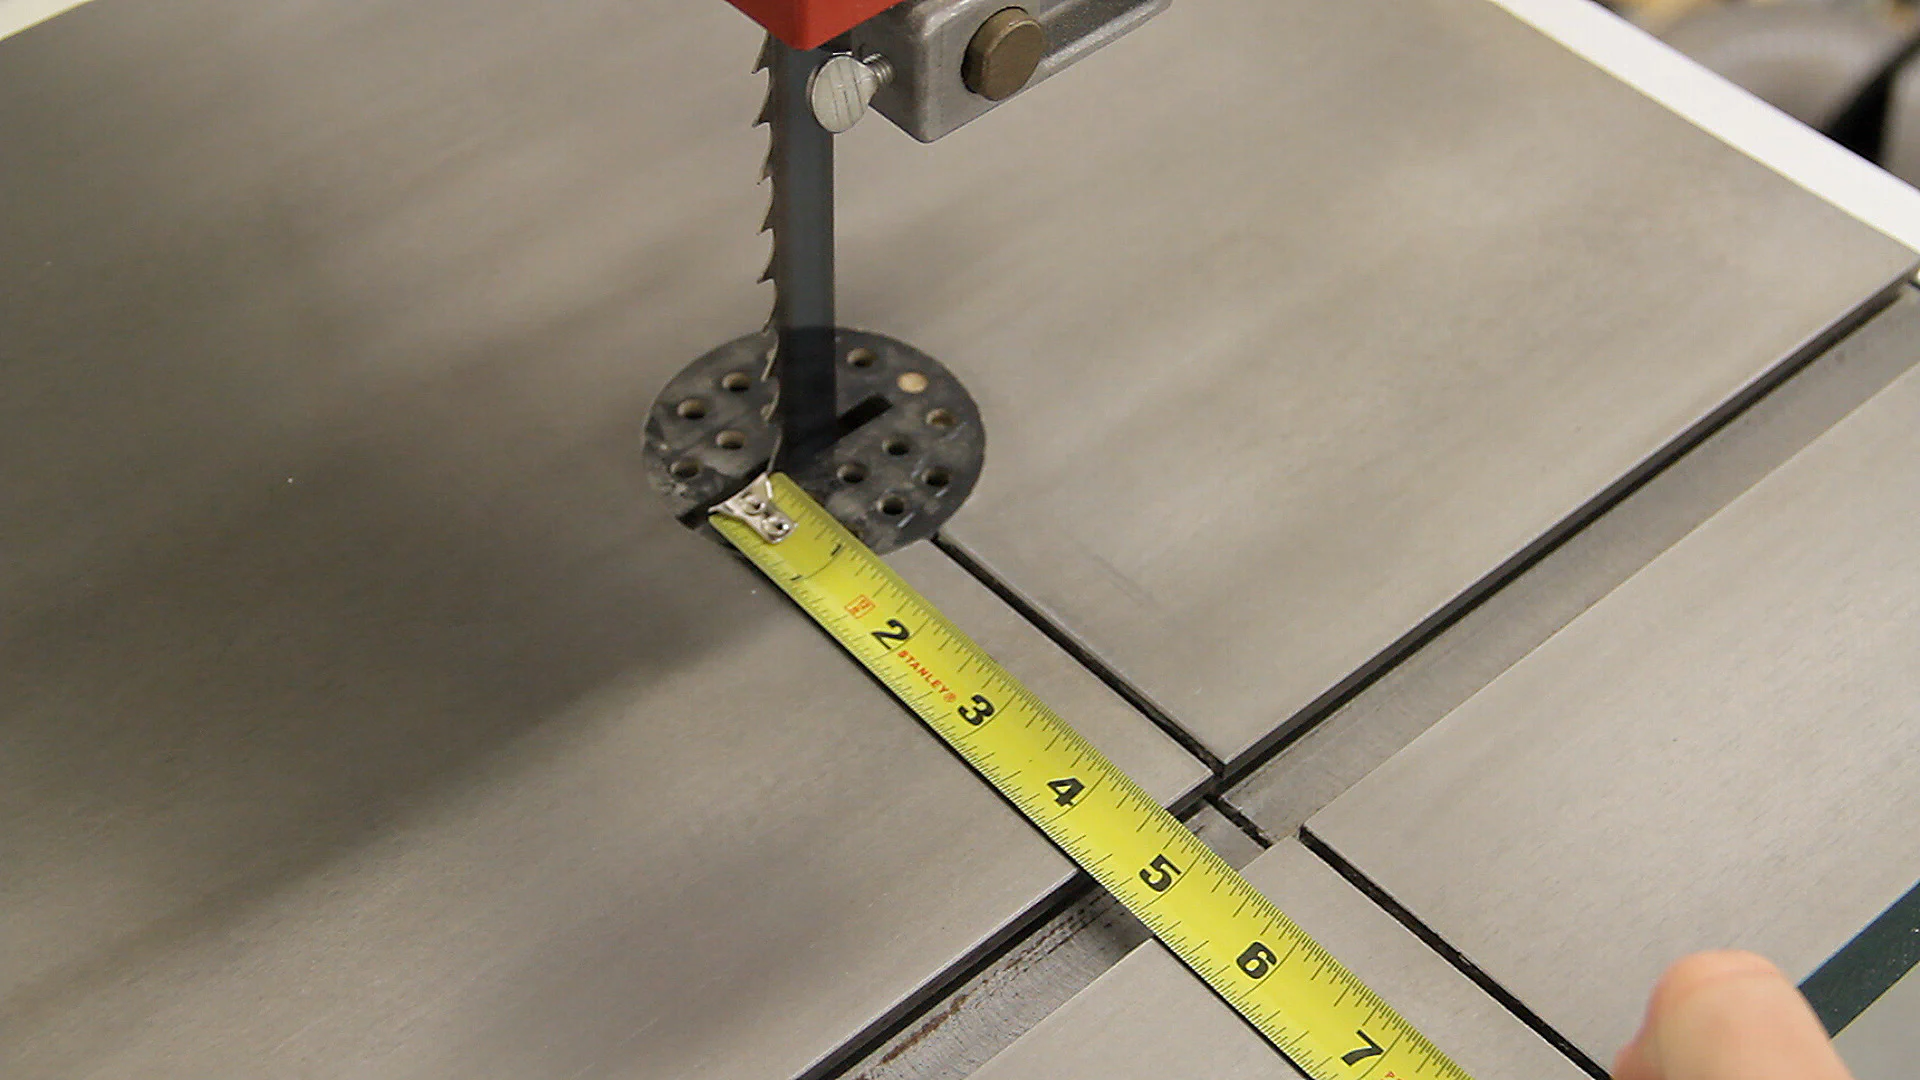
I started by measuring the distance from the miter track to the blade (minus about 1/8") and then transferred that to the MDF.
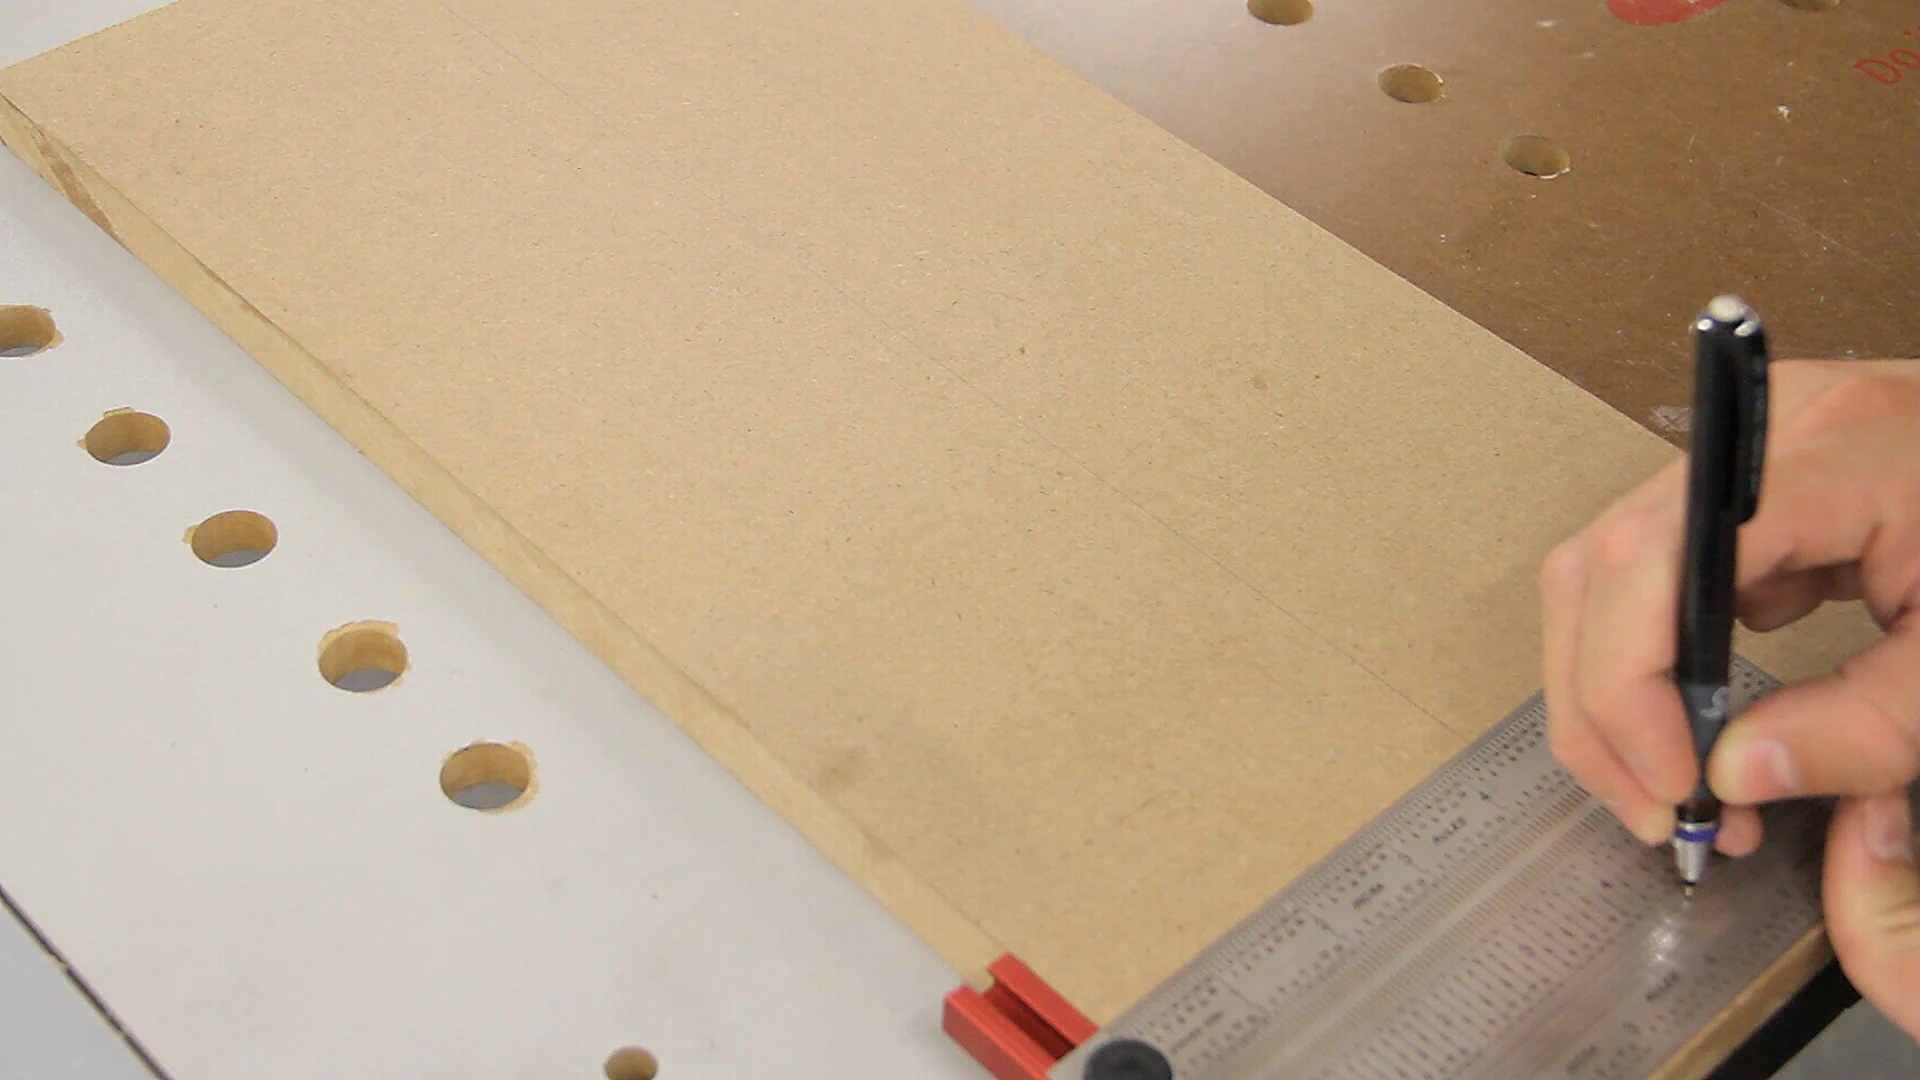
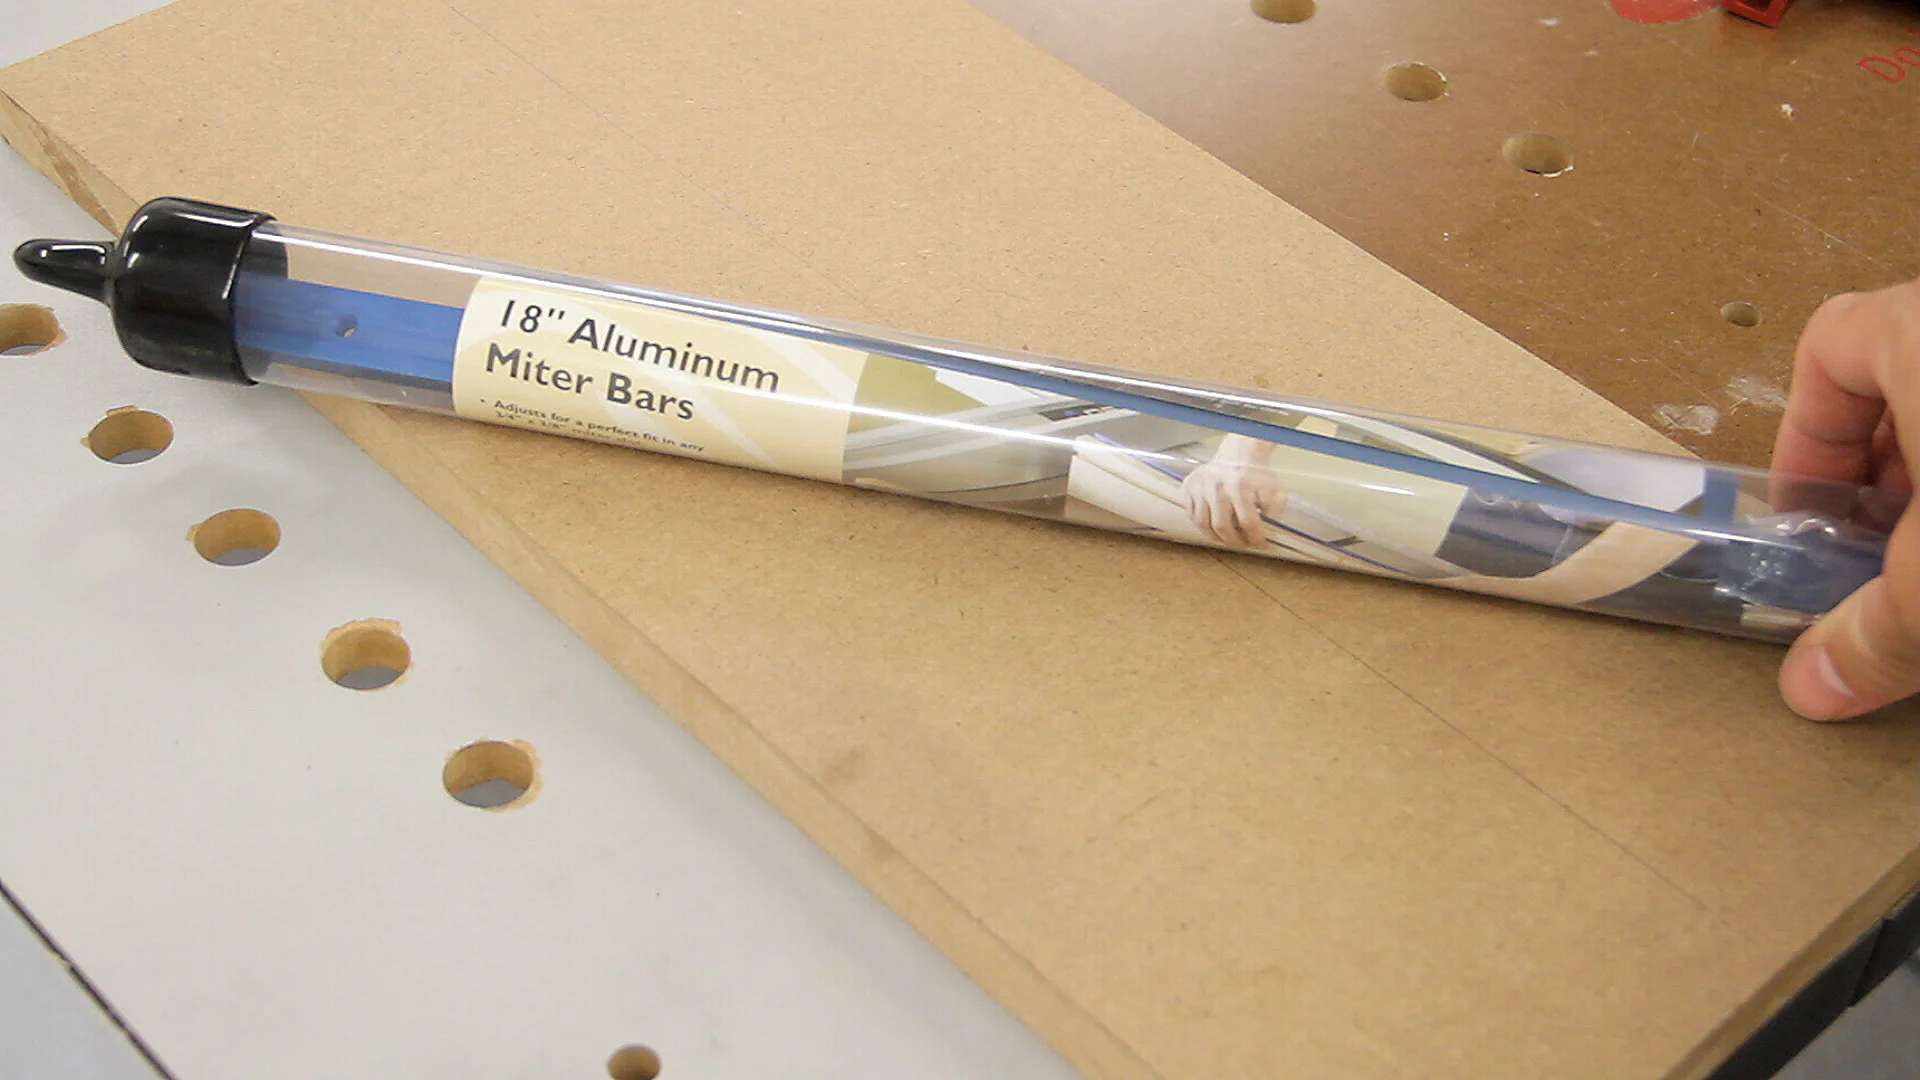
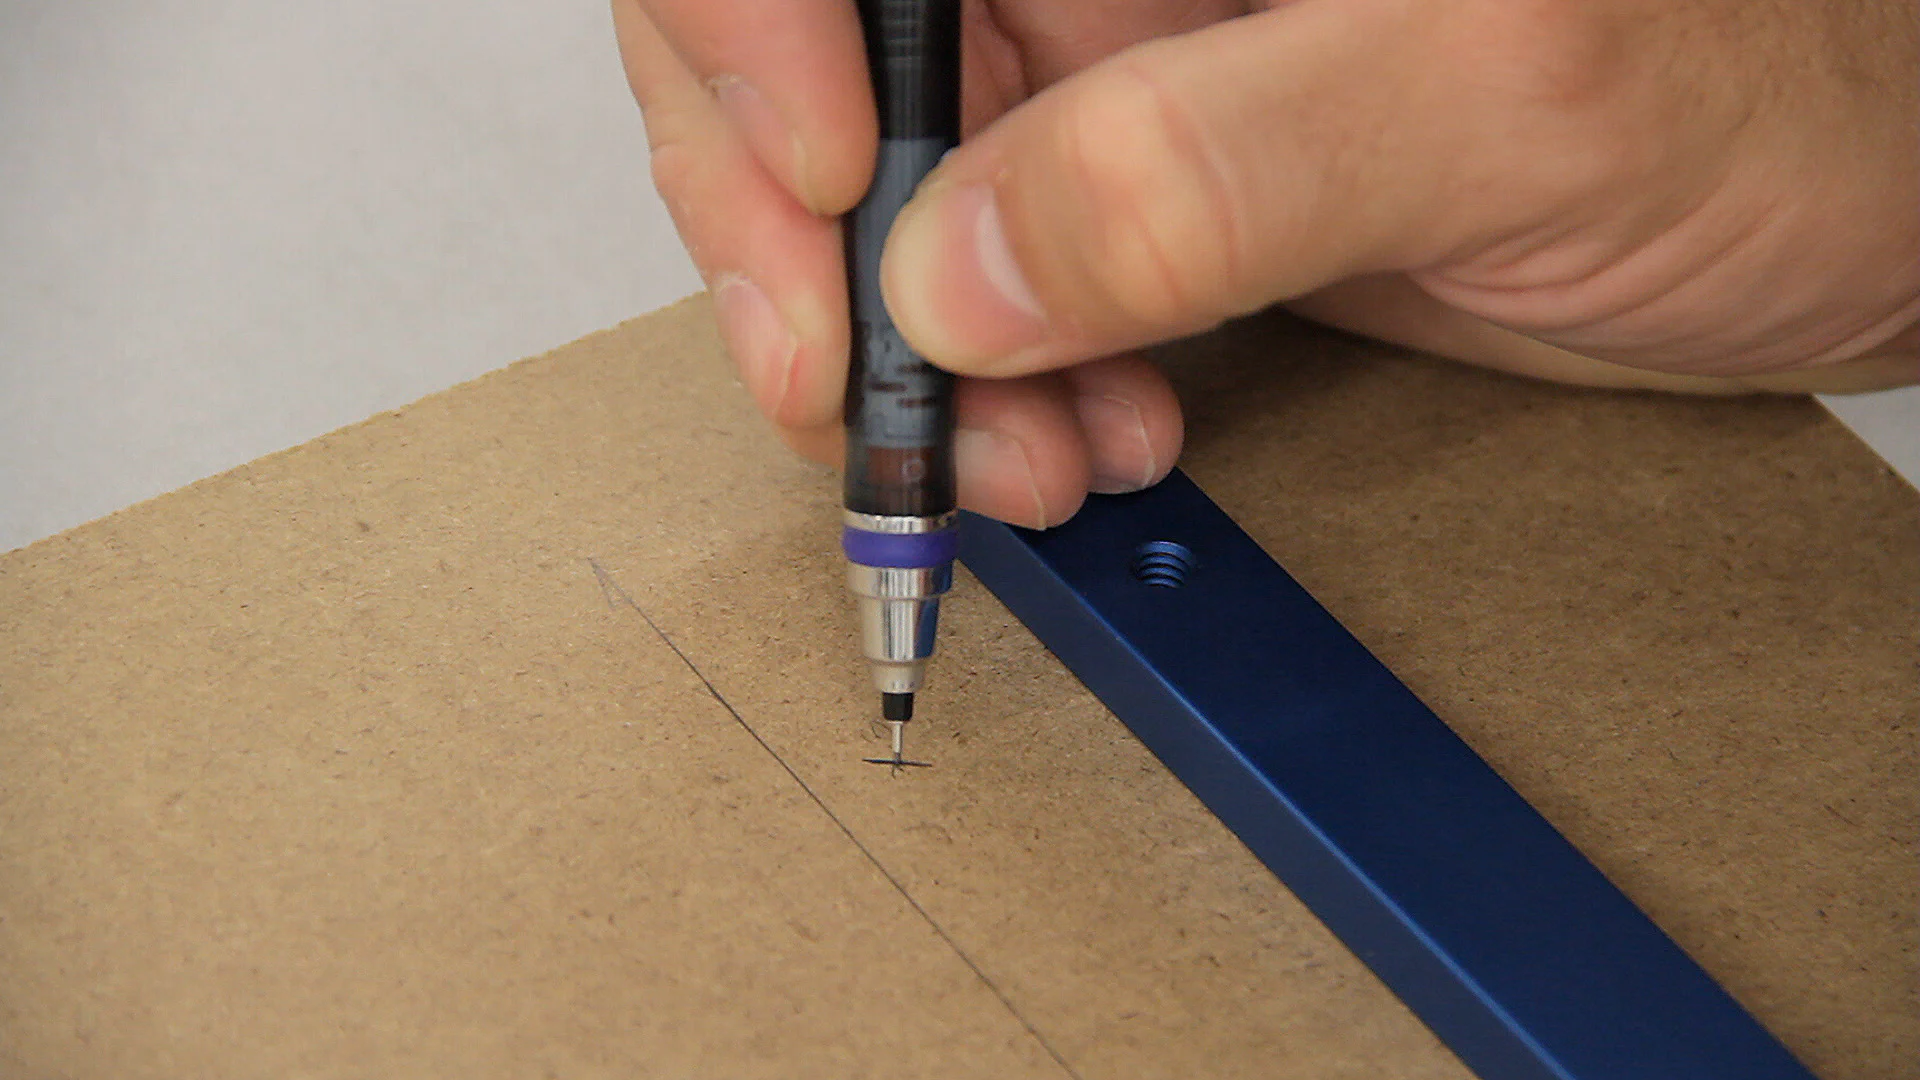
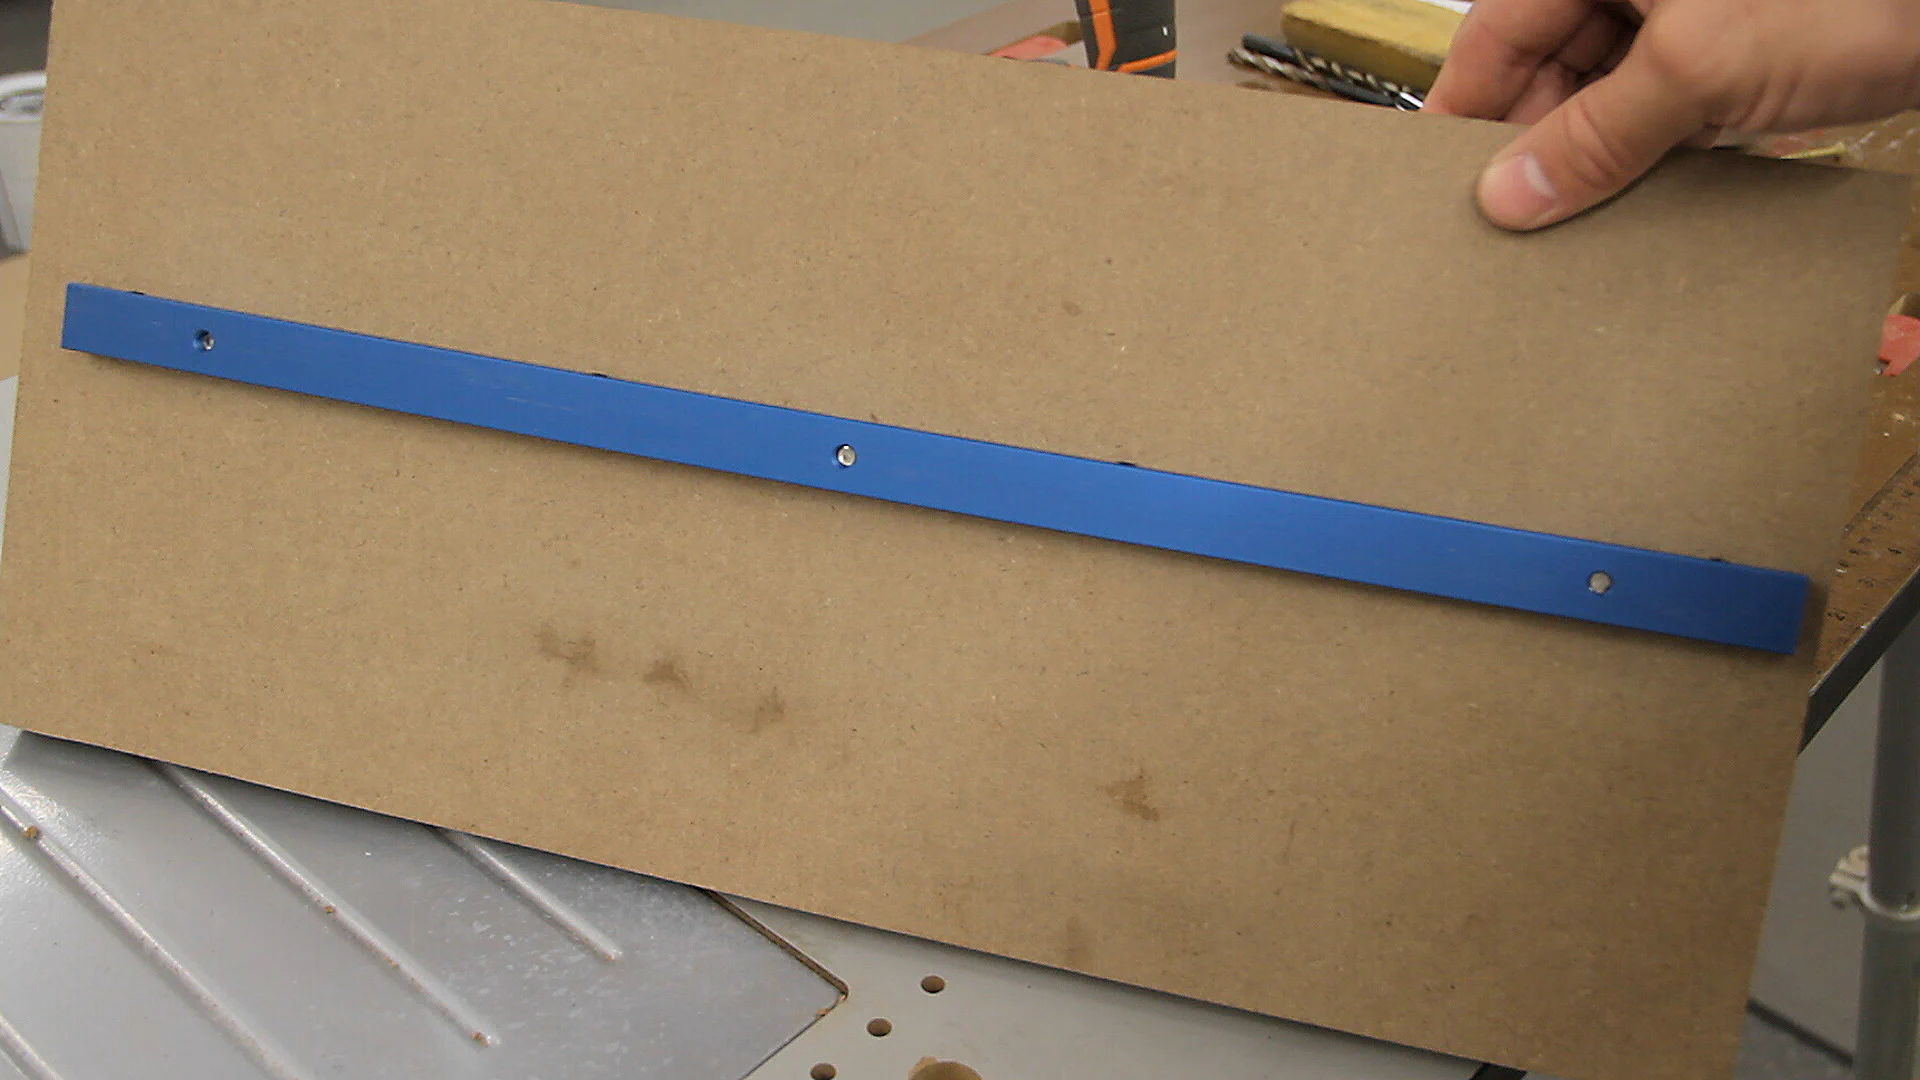
I then laid a piece of 18" miter bar on the line and marked the hole locations from the miter bar.
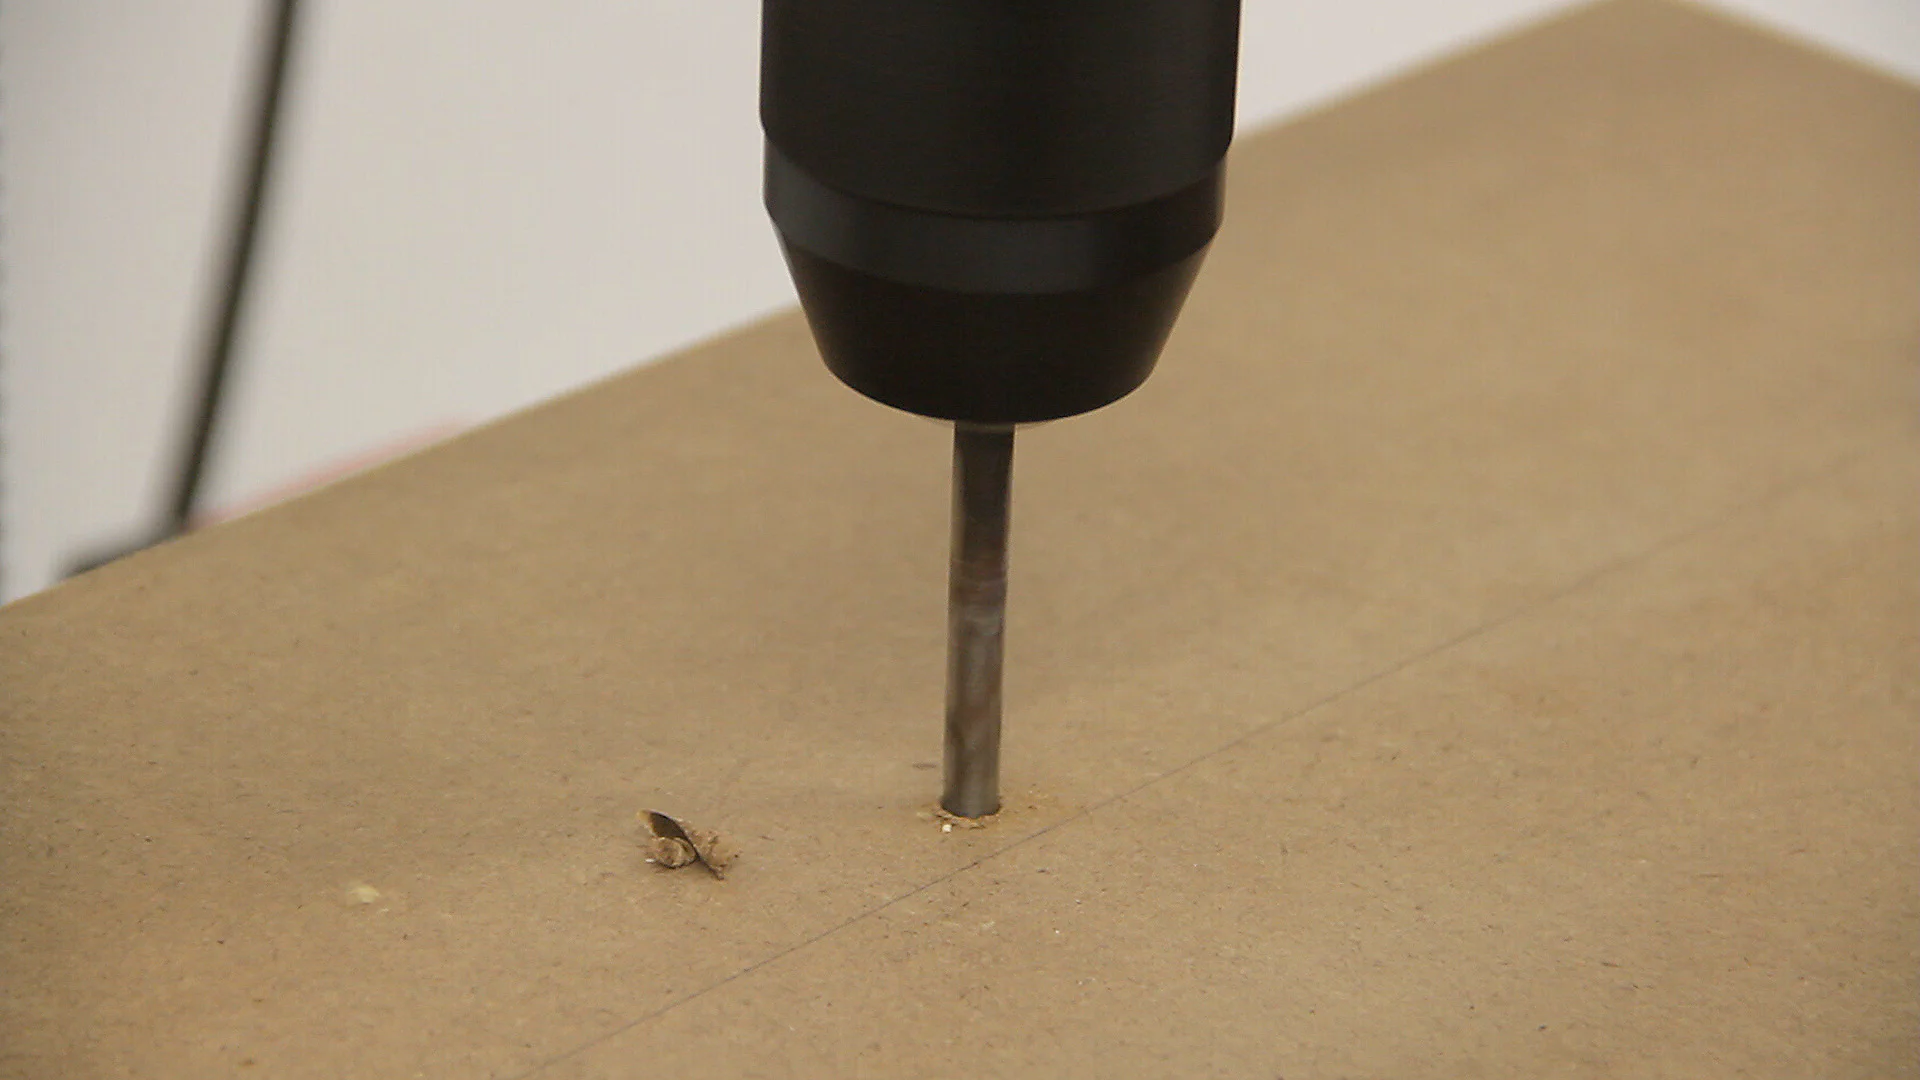
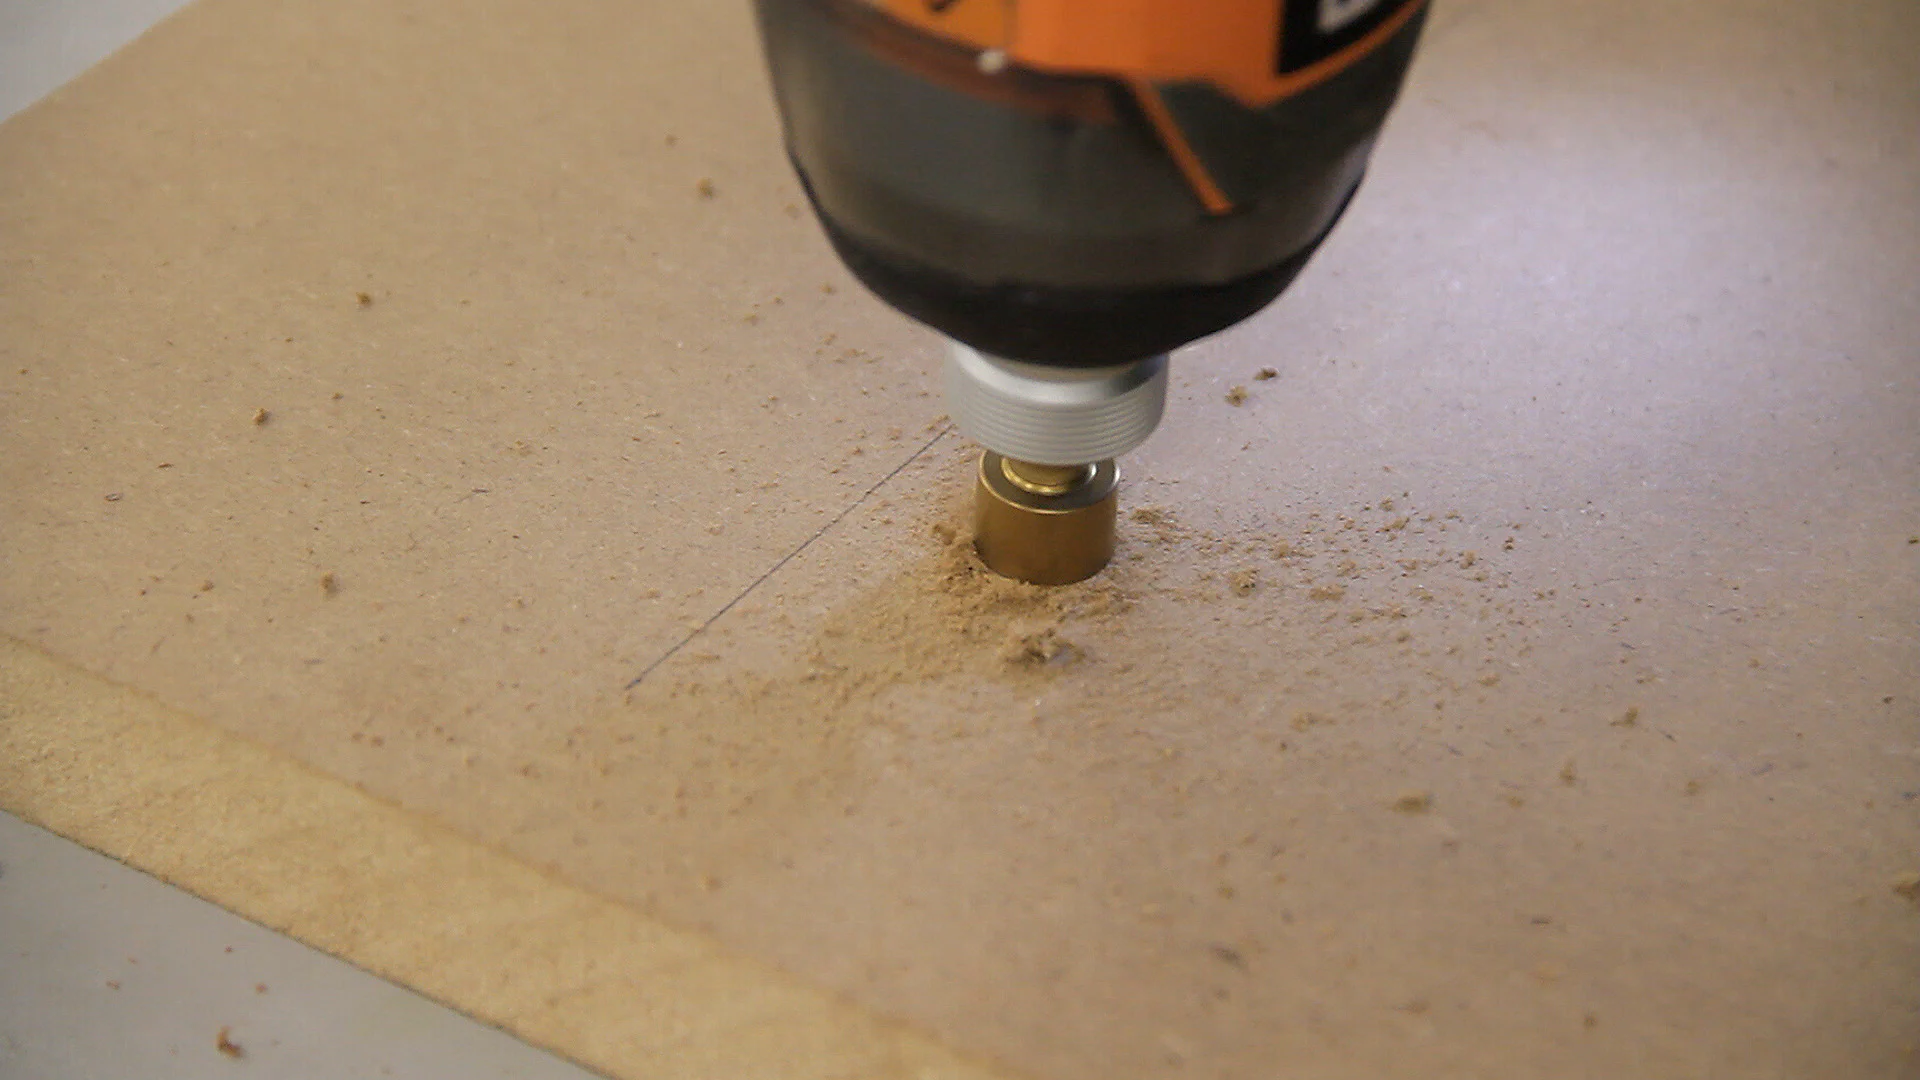
Next, I drilled countersunk holes in the MDF at the hole locations.
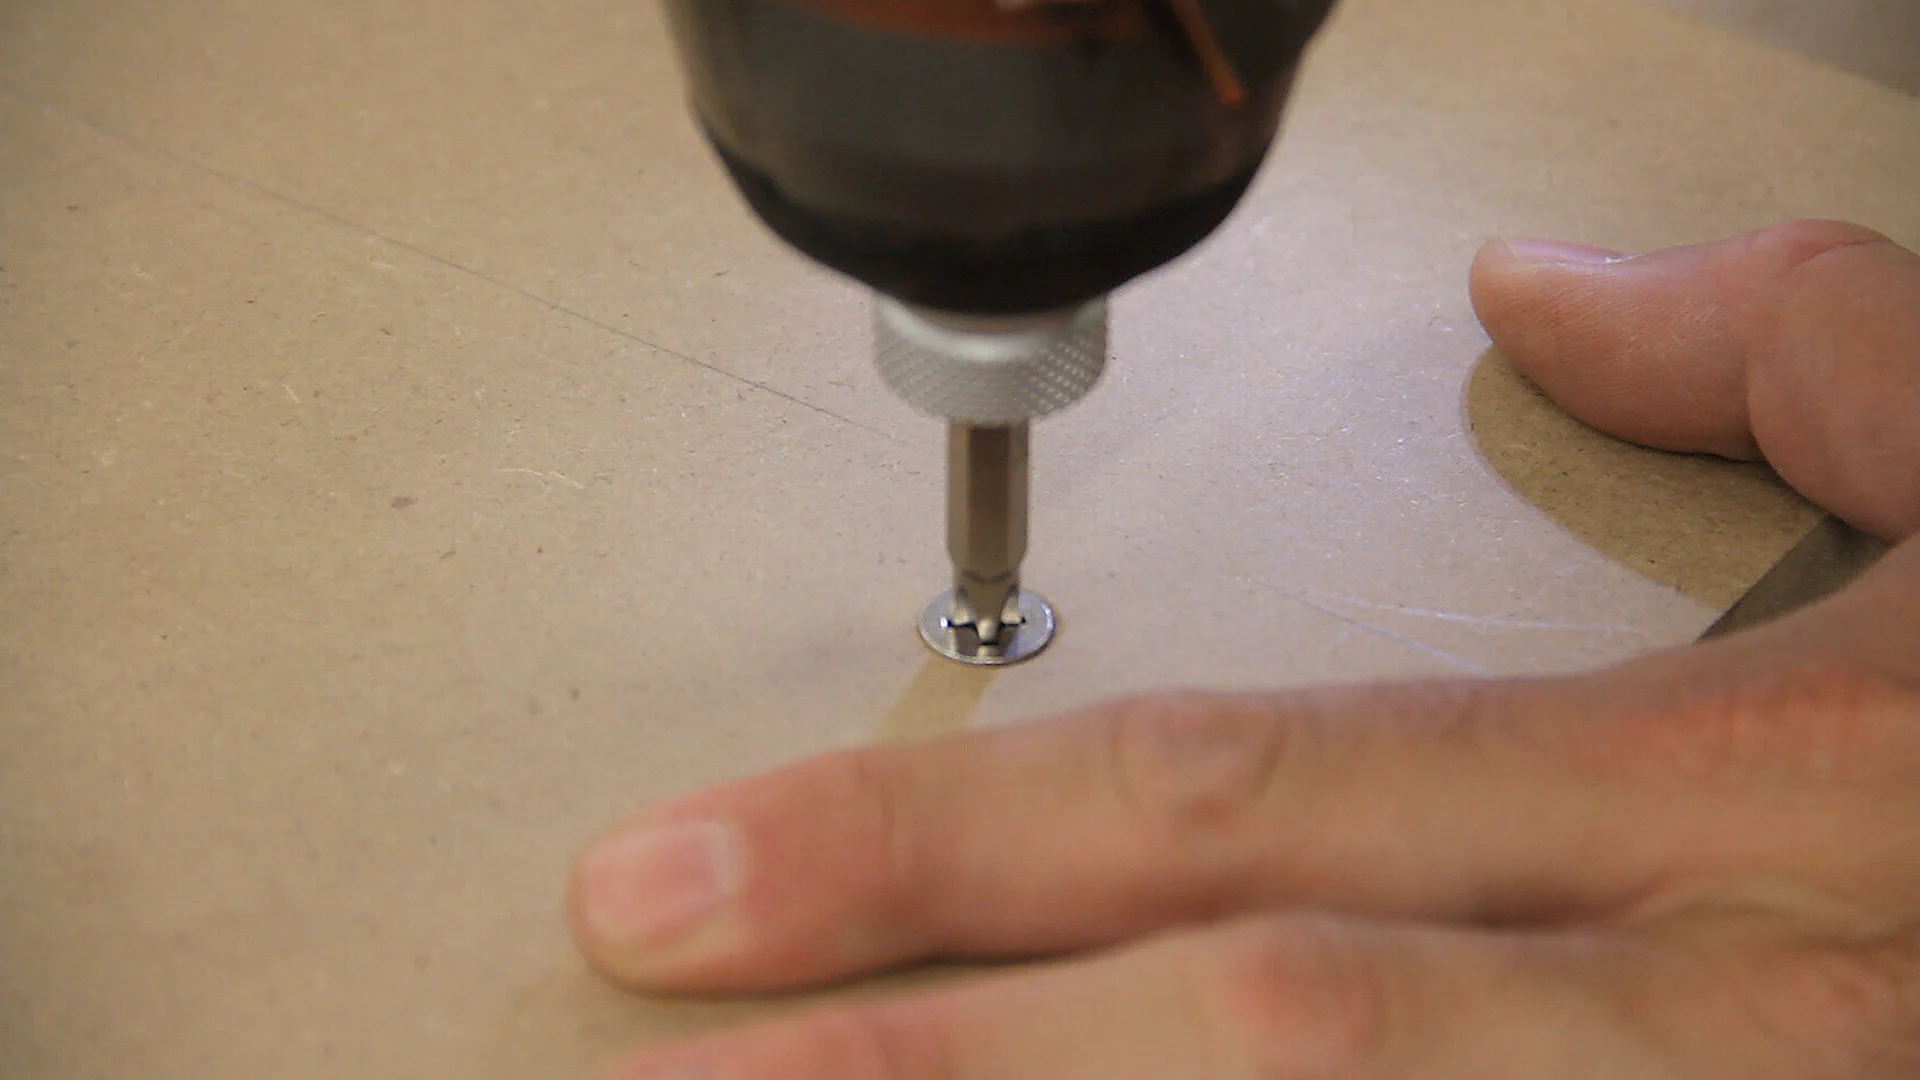
Then I attached the miter bar with 1/4 x 20 - 1" flat-headed machine screws.
To keep the logs from sliding around, I cut a piece of drawer liner and used a little spray adhesive to keep it in place on the MDF. For the first cut on each log, I also used wooden shims where they were needed to prevent the log from rocking. Then I simply eyeballed what needed to be cut off to leave a flat surface.
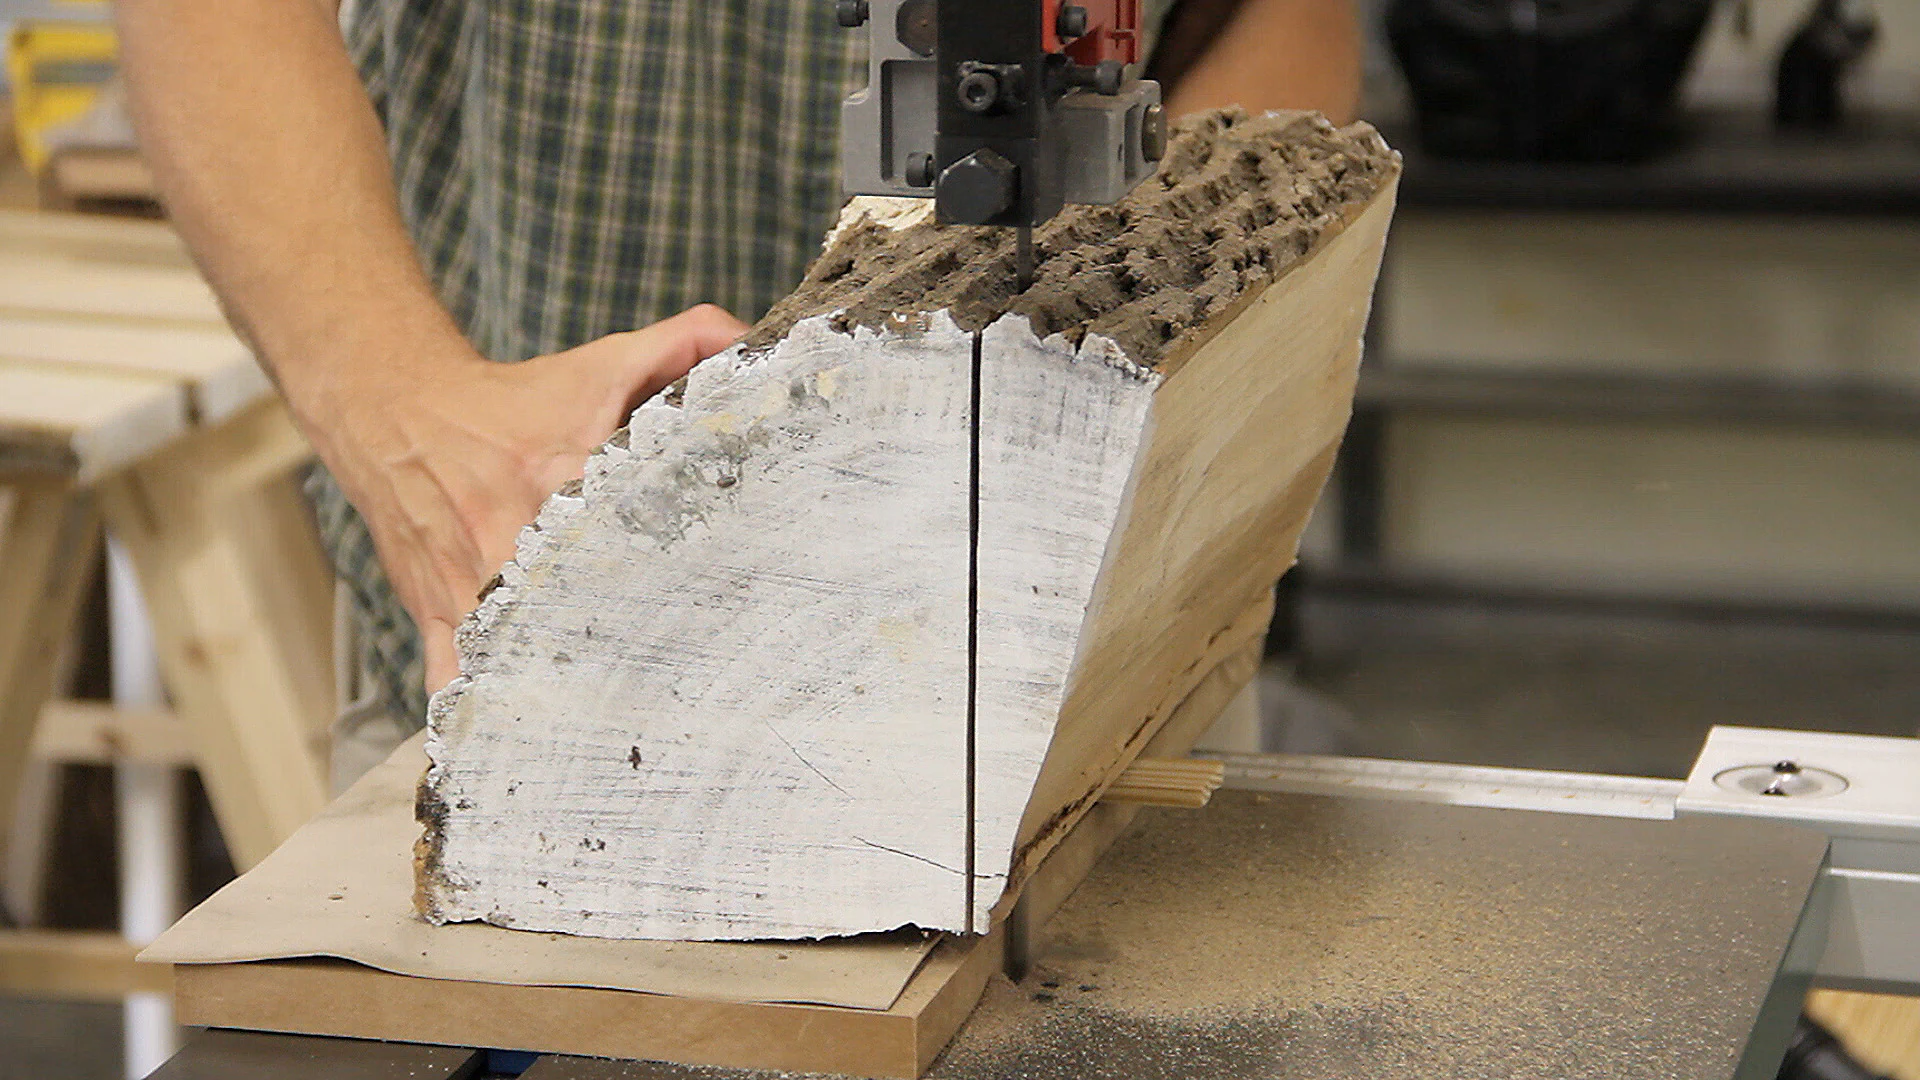
For these cuts, I used a 3/4" 2-3 TPI Timberwolf blade on the bandsaw which did a good job.

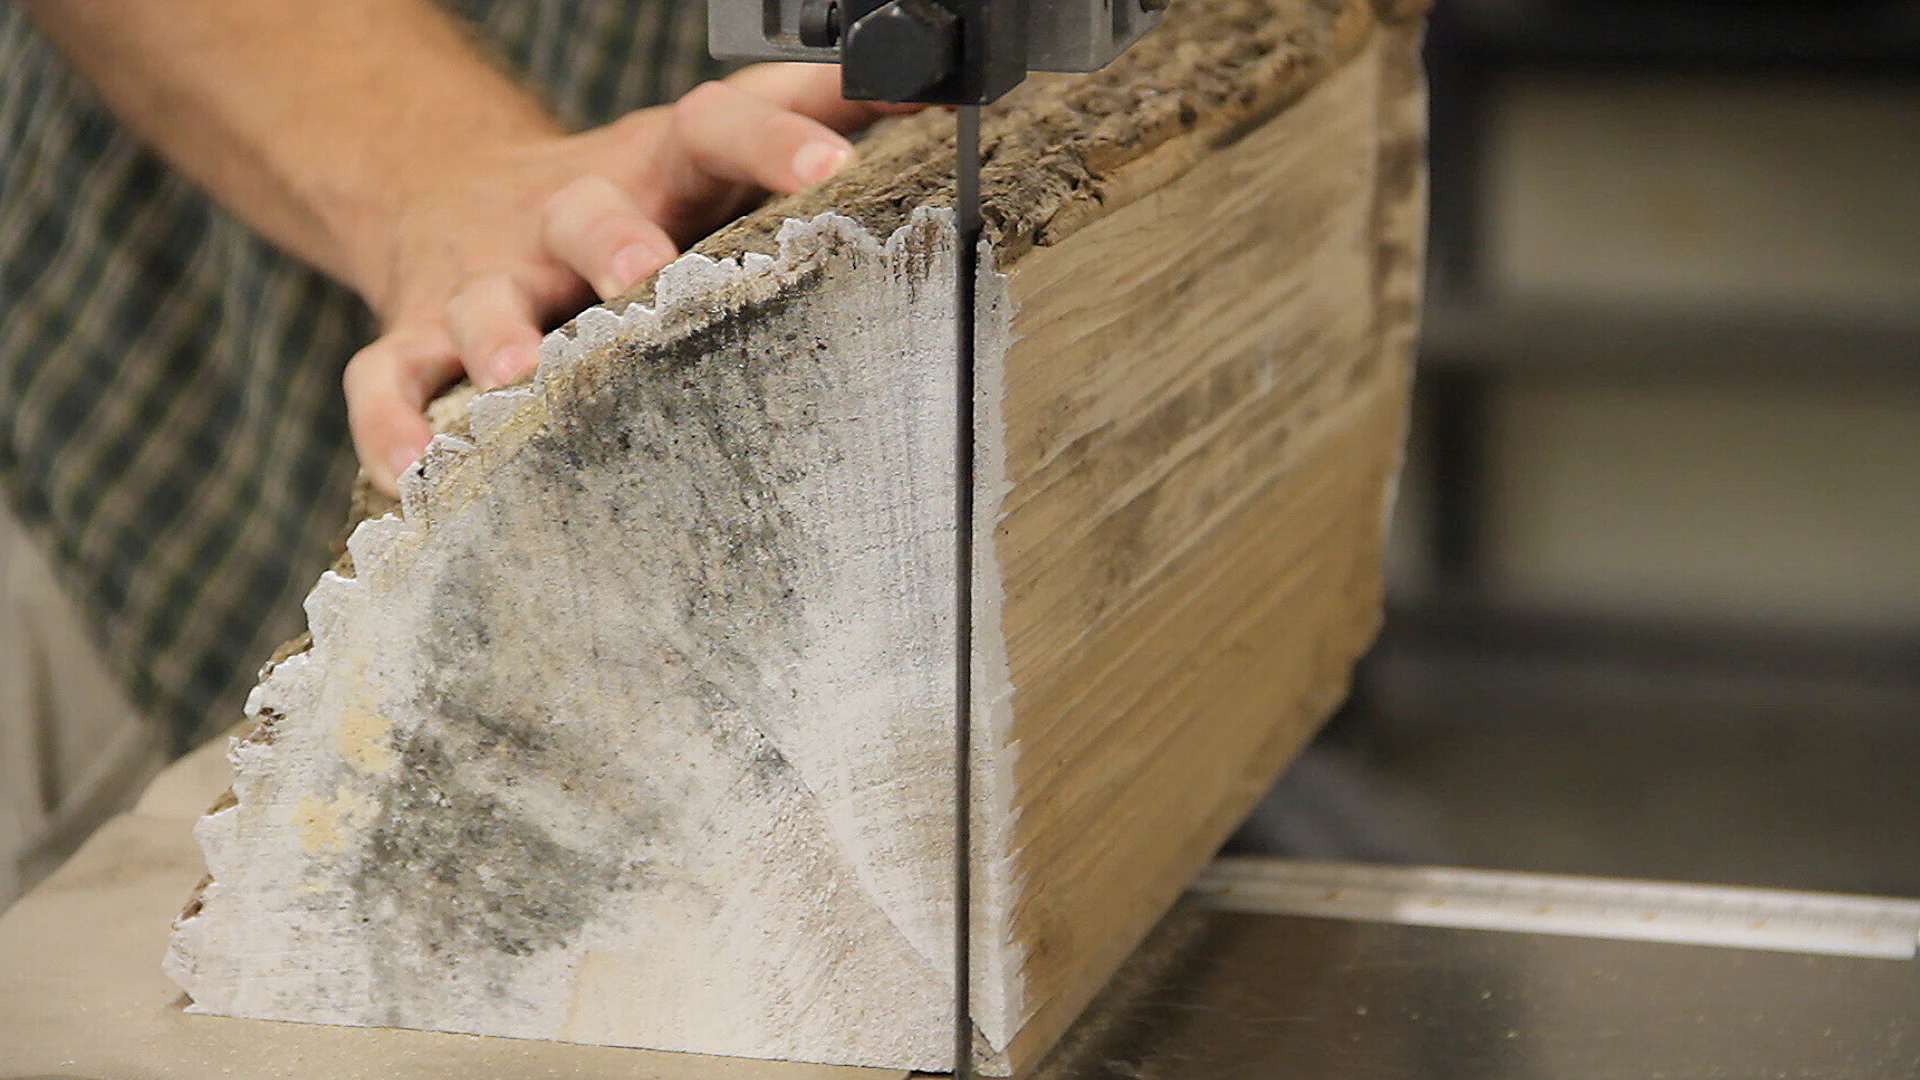
The second cut was much easier now that the bottom face was flat.
I did learn fairly quickly how important it is to check each log thoroughly with a metal detector. I got in a hurry on the 3rd log and hit a nail!
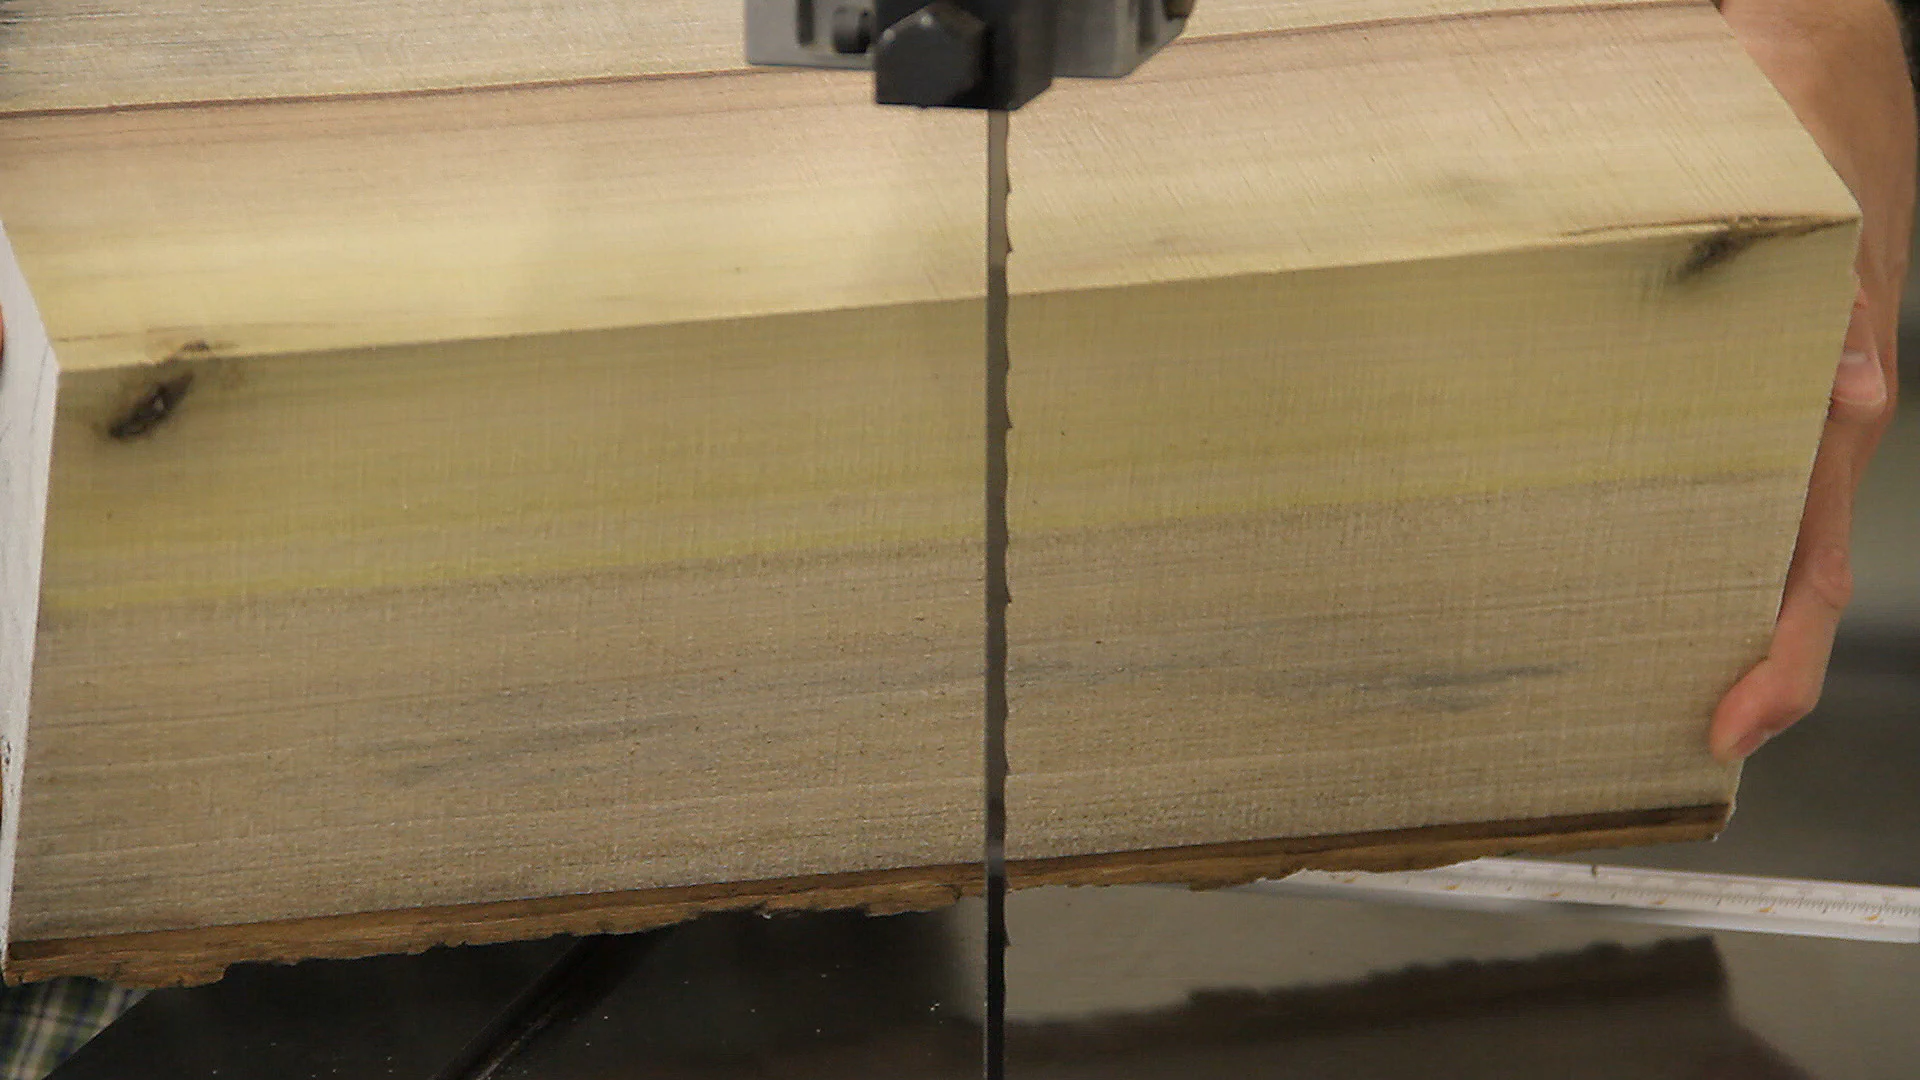
I decided to mill most of the boards around 1" thick, so after making the first two cuts, I removed the sled and set up the fence on the bandsaw. To produce mostly quartersawn boards, I rotated the log after each cut so that the face that was previously facing down was now against the fence.

And after several more cuts, I had a nice pile going.
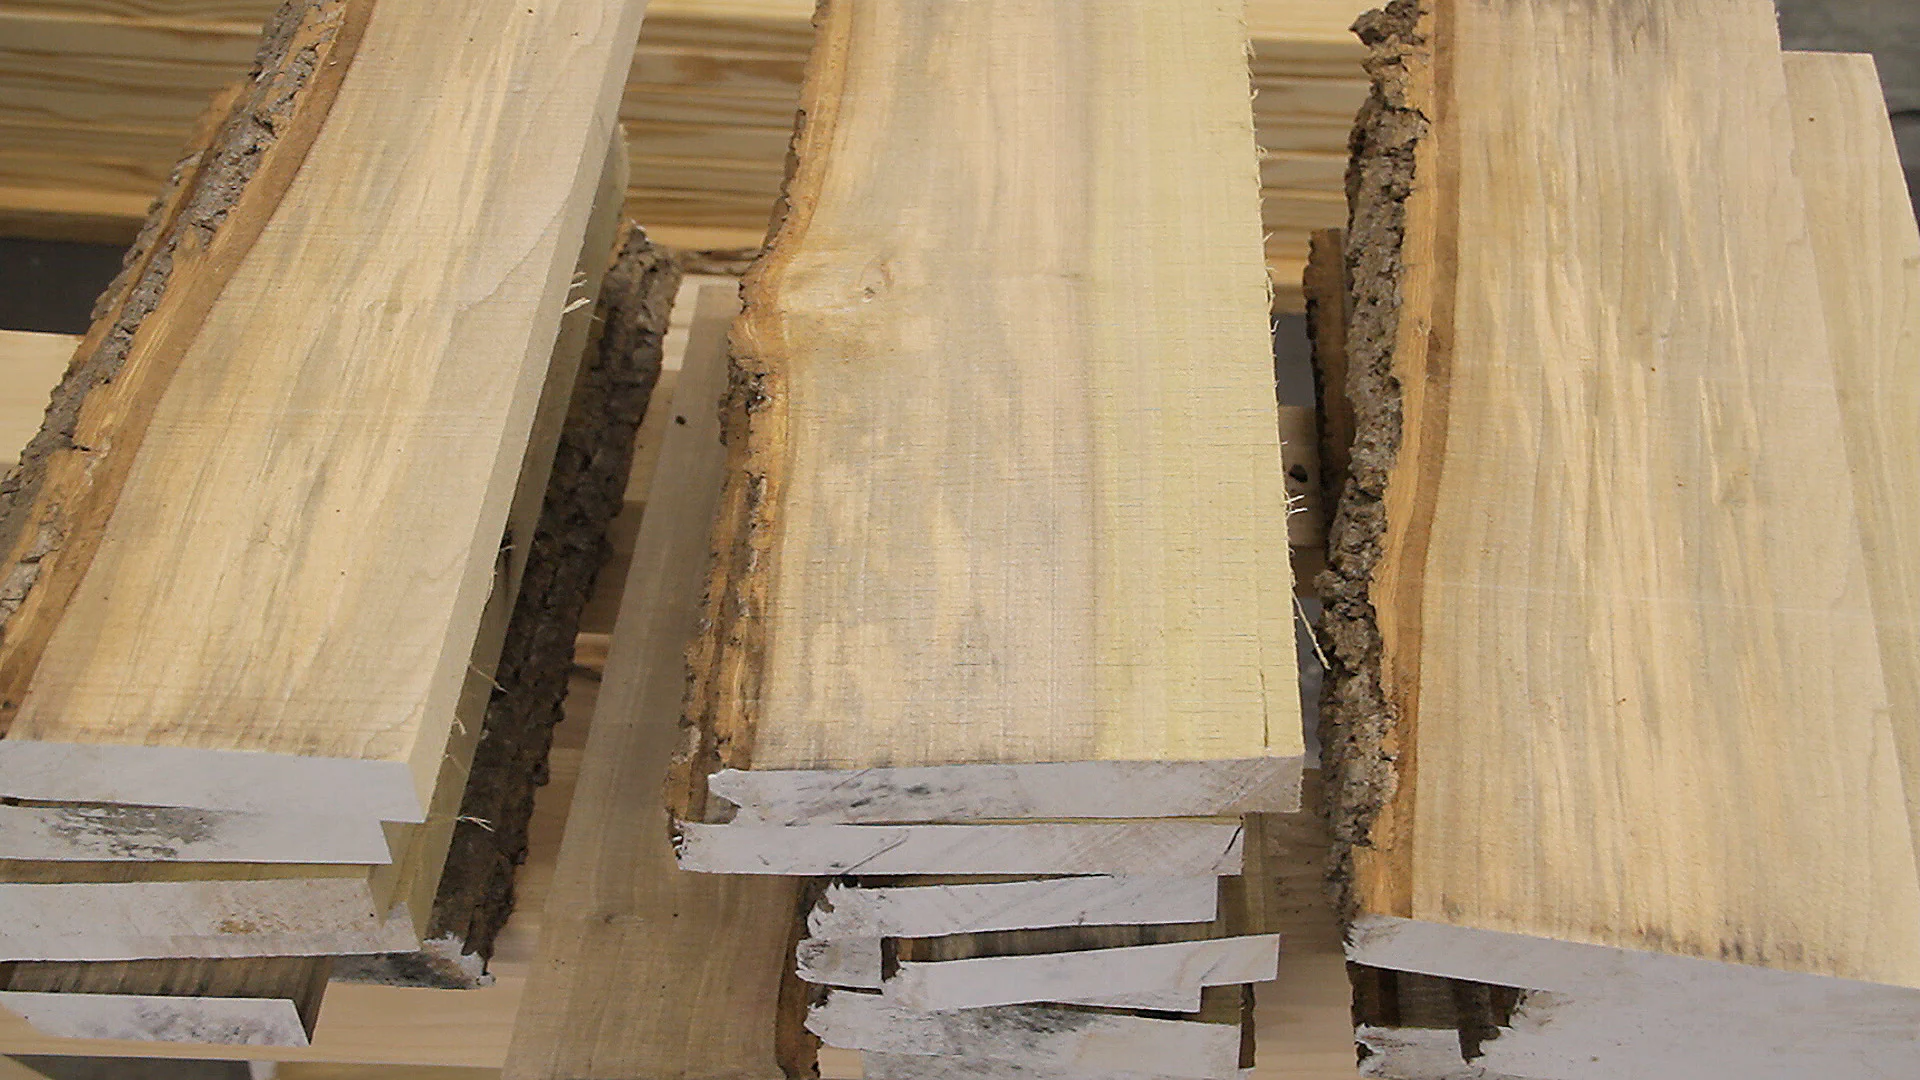
After making all the cuts, I stickered the boards in the attic to dry. (I left them unstacked in this shot to show just how many boards 4 whole logs produced.)
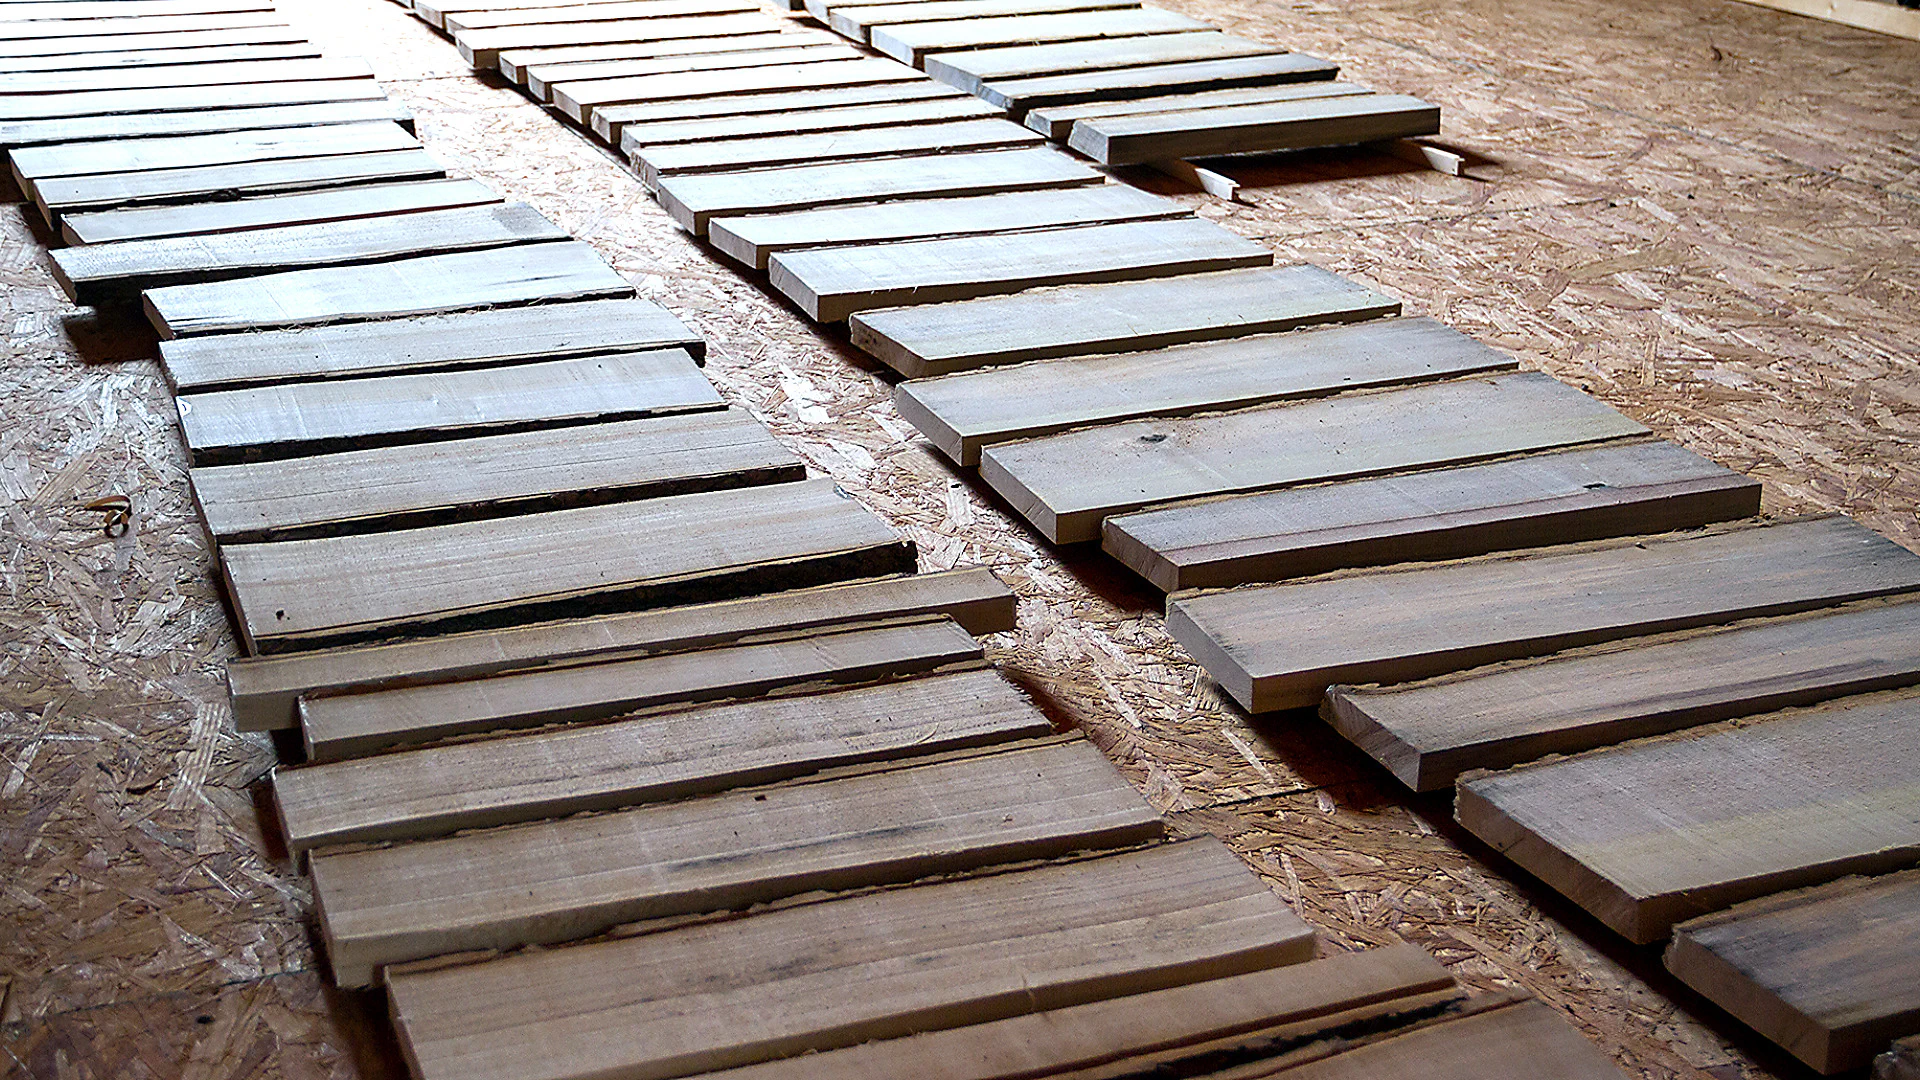
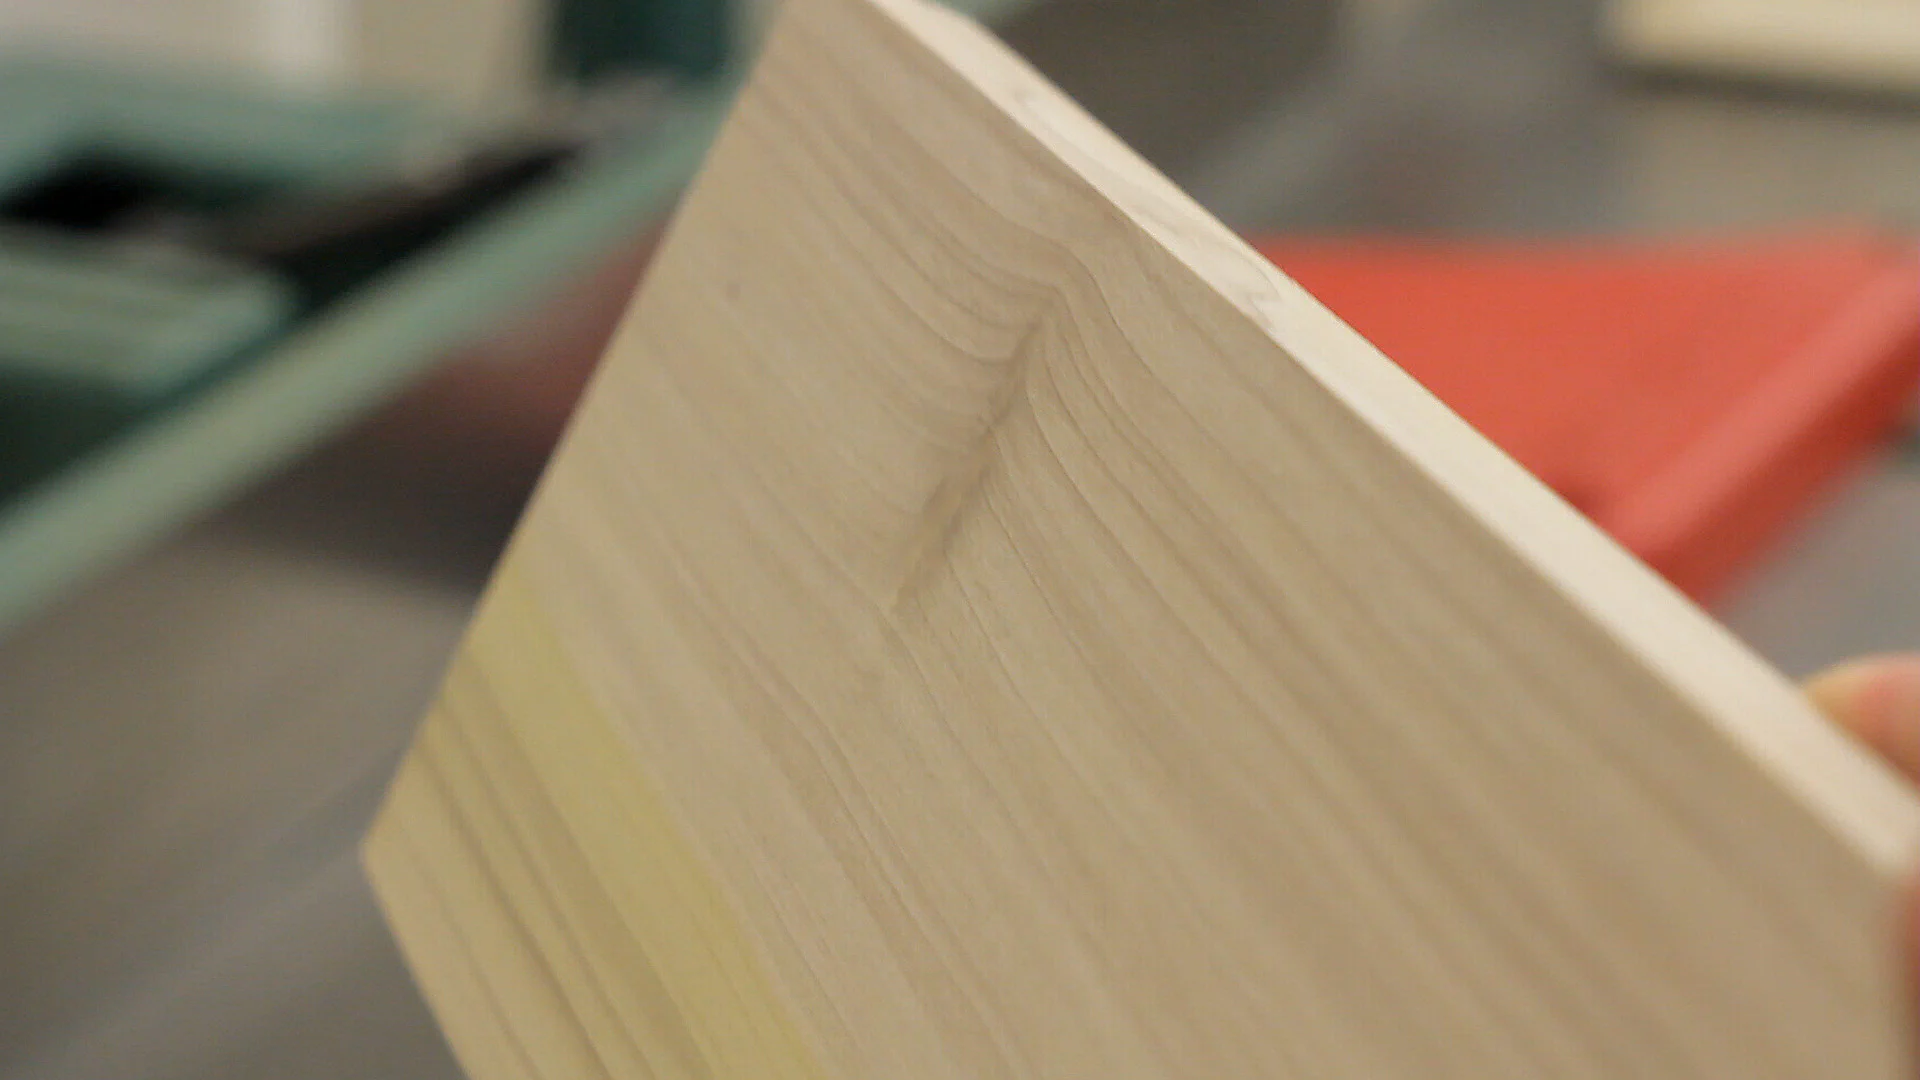
After leaving the boards to dry for six to seven months (and checking them with a moisture meter), they were ready to be used for drawers, boxes, and several other small projects.
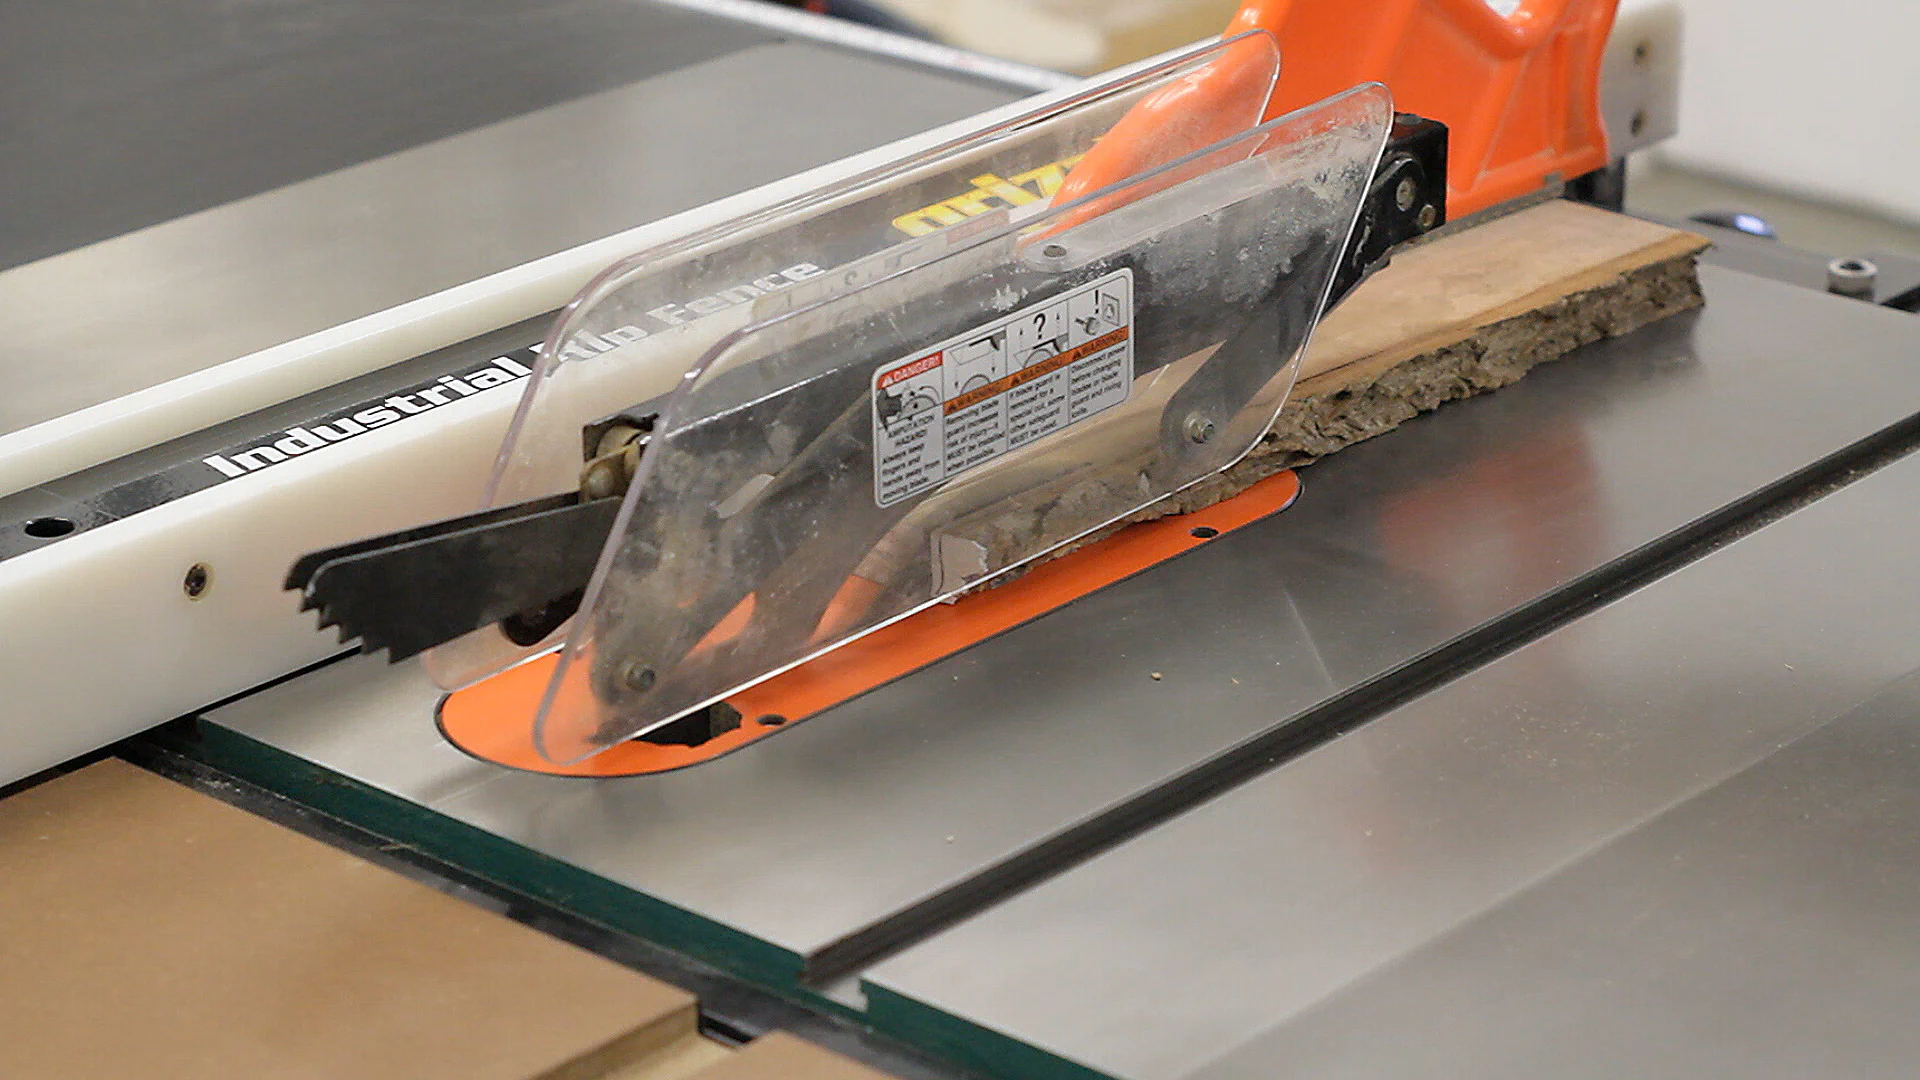
To prepare the boards, I started by ripping off the outer edge at the table saw.
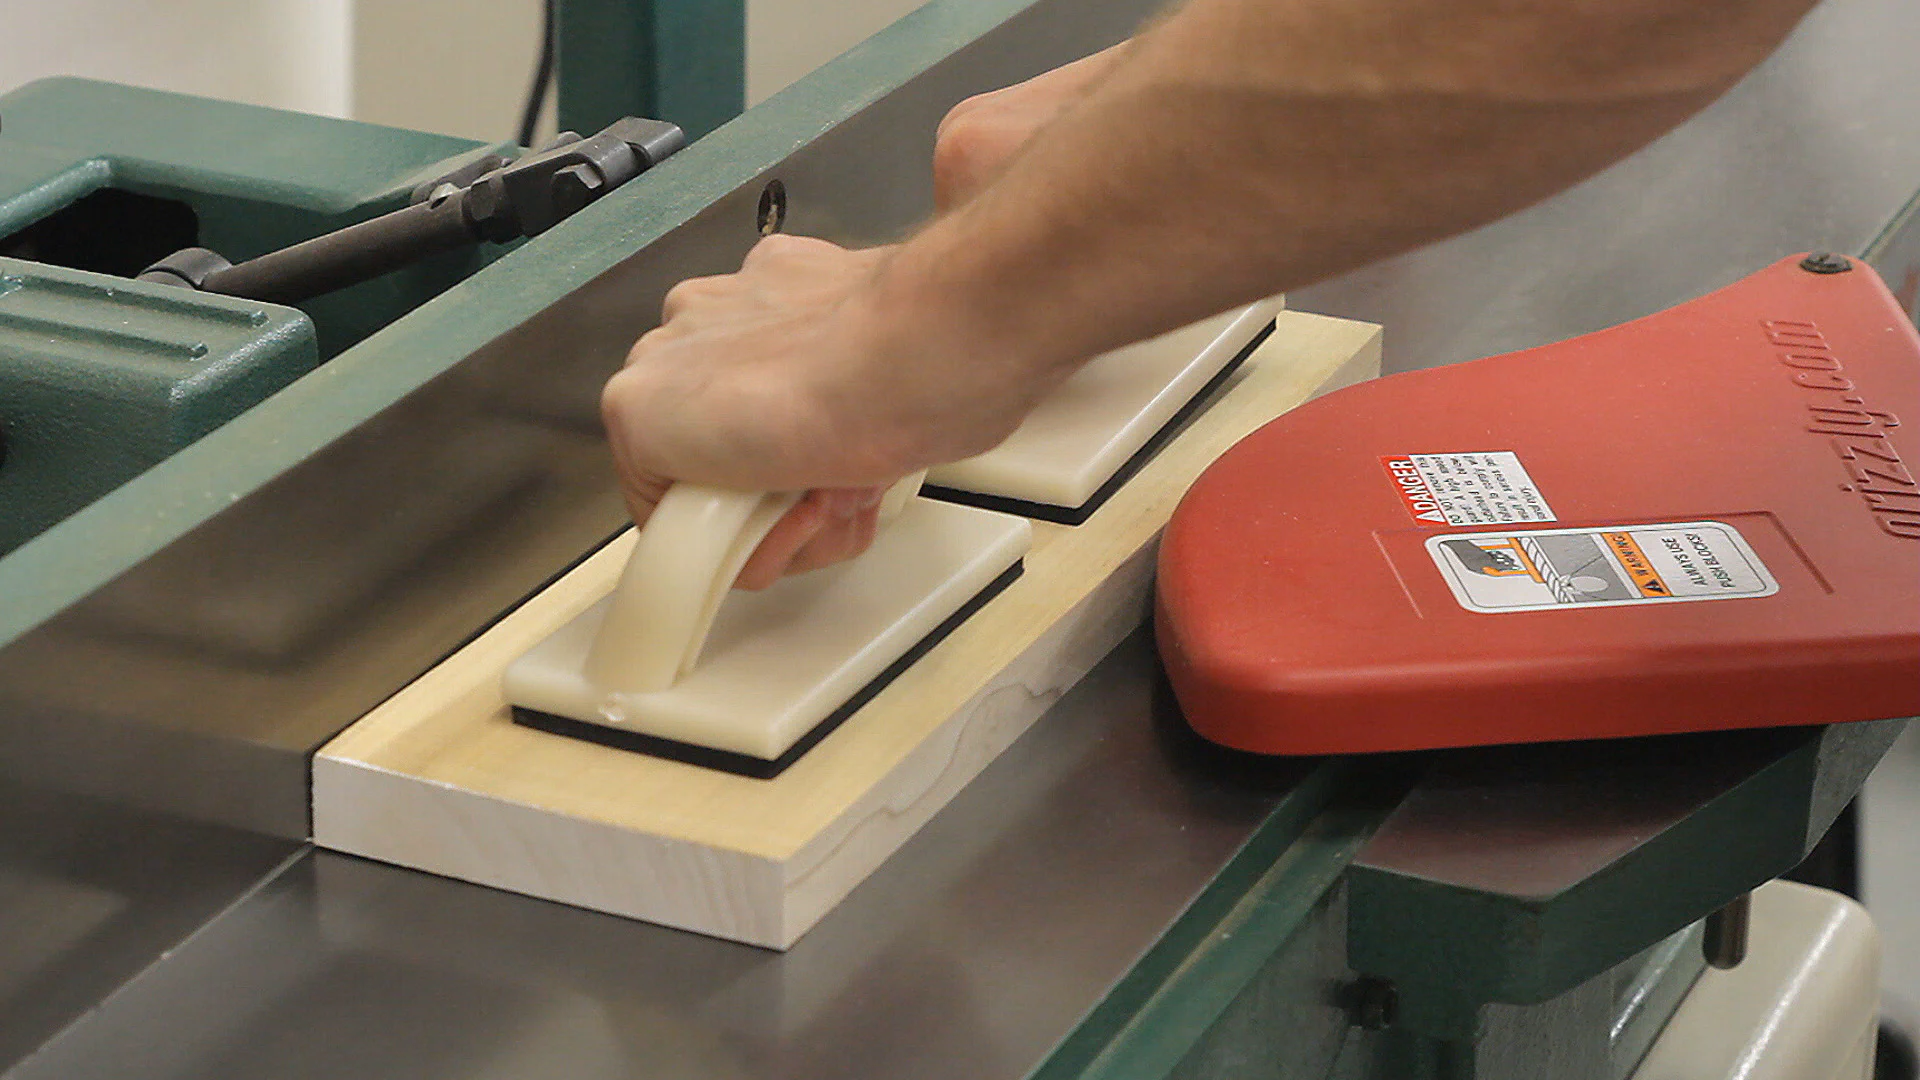
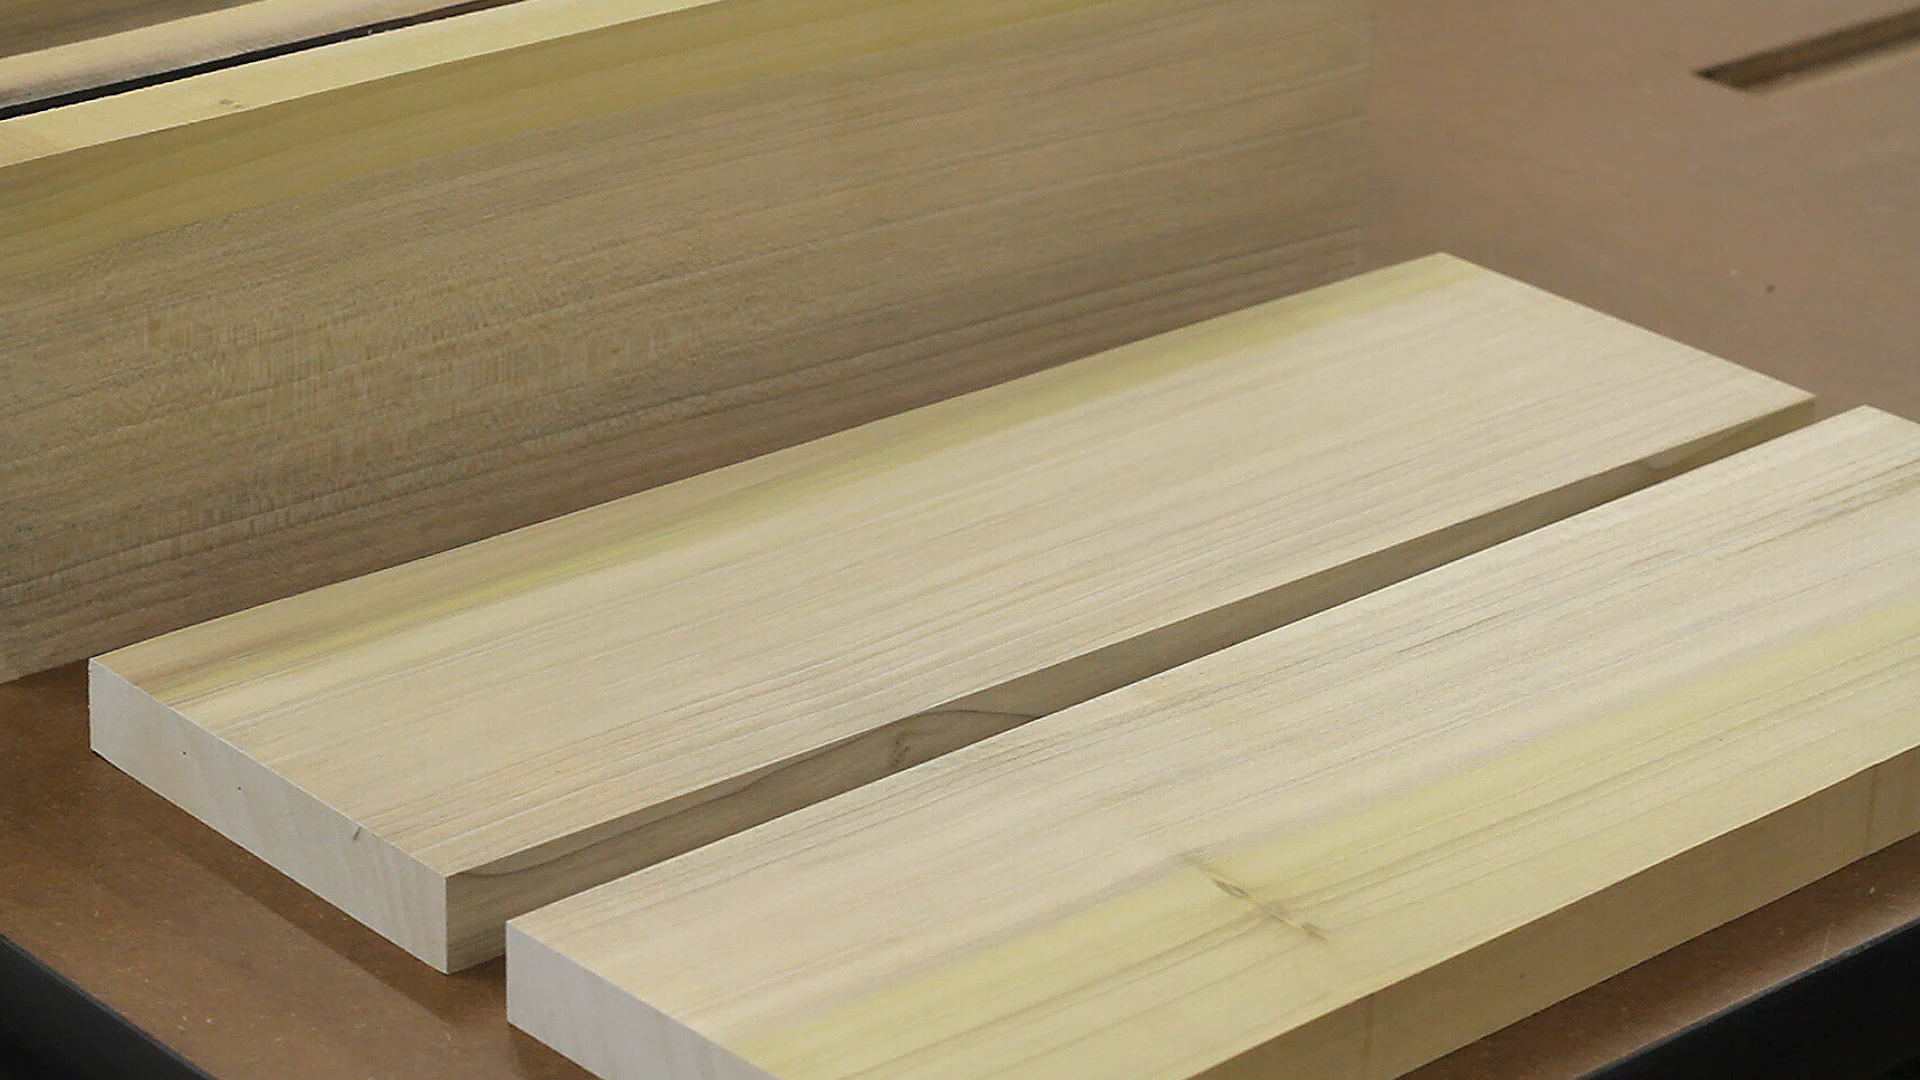
I then ran them through my jointer and planer similar to any other store-bought rough lumber.
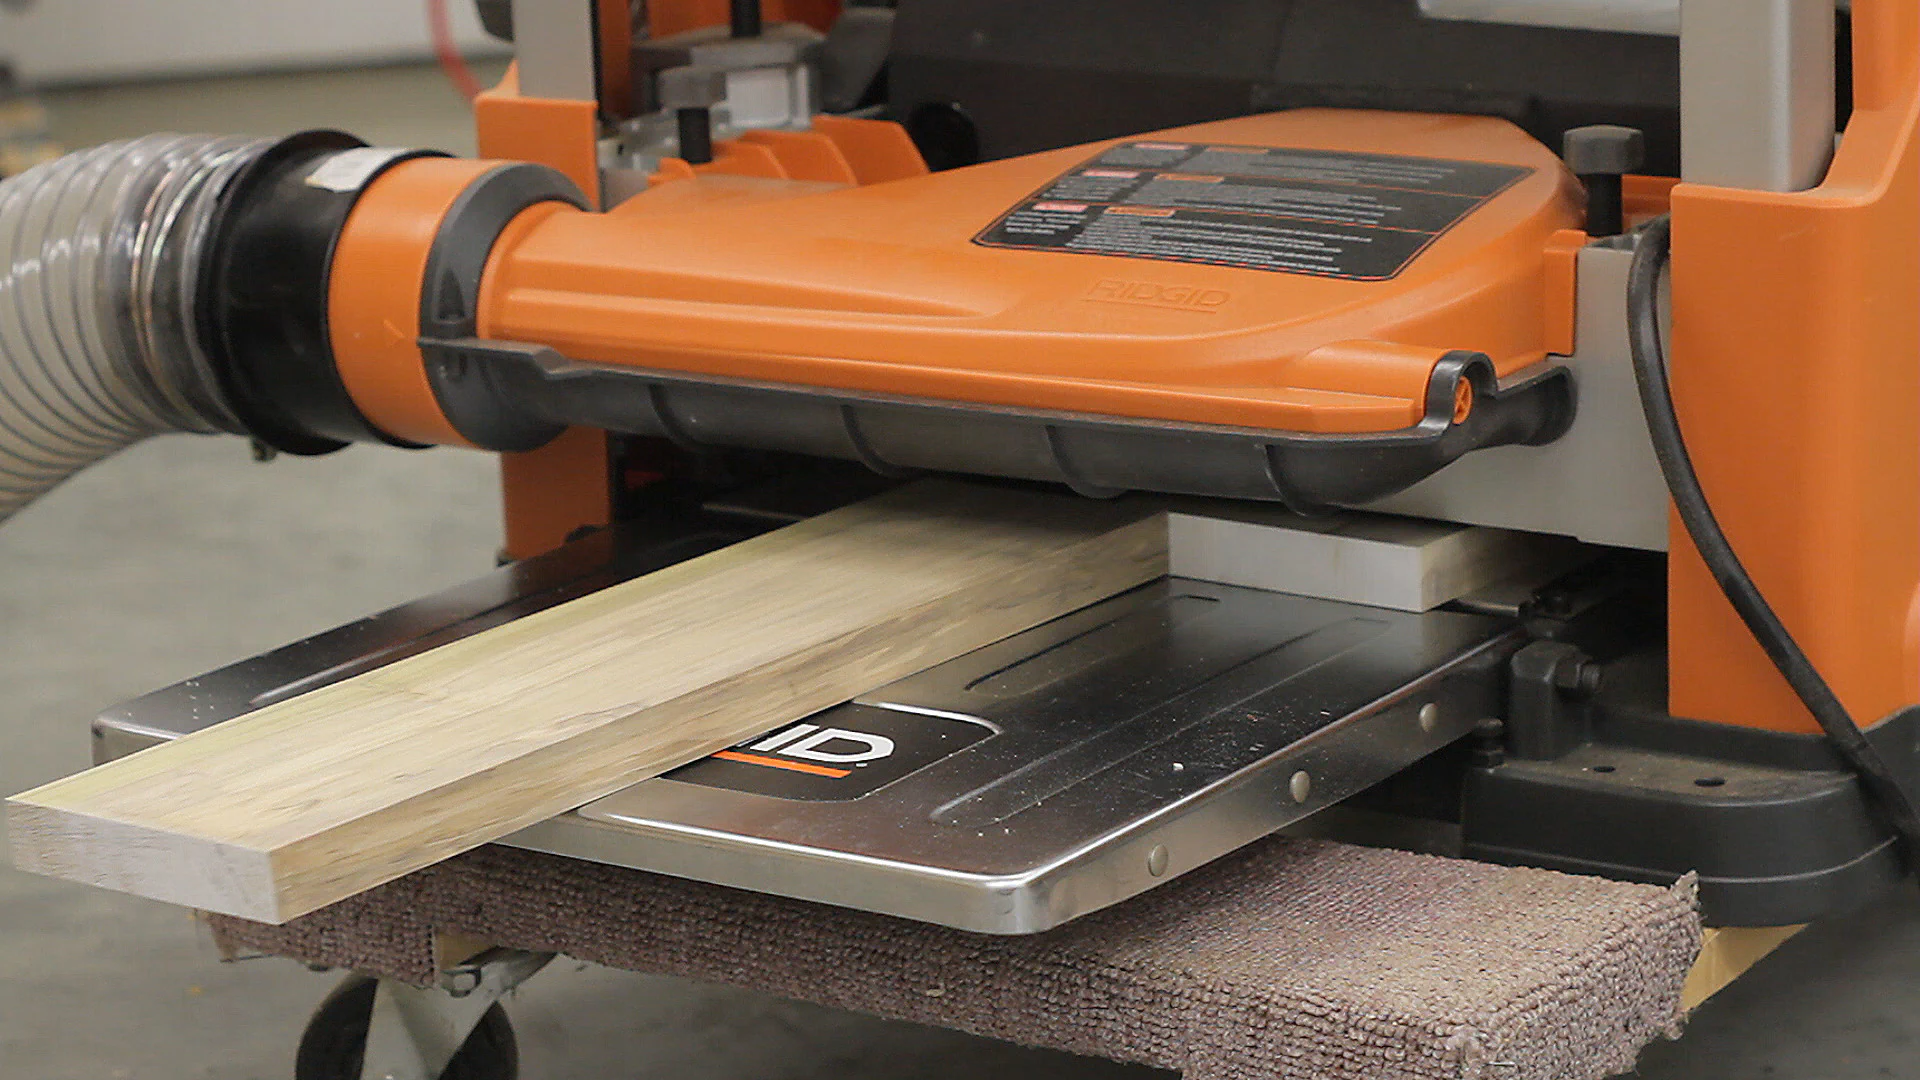
And with that, they were surfaced and ready to be used!
Apart from than the nail incident, the experiment turned out well. Next time I might try to remove some of the bark first and make a sled to accommodate logs that have only been split in half. This should save a little wear on the blade and waste a bit less material.
Sled Parts
- 3/4" MDF - 1’ x 2'
- Miter Bar
- 3 - 1/4 x 20 - 1" Flat Head Screws
Tools Used
Be sure to check out Our Workshop page for more details.
Grizzly 8" Jointer (G0586)
Ridgid 13" 3-Blade Thickness Planer (R4330) ( Latest version: R4331)