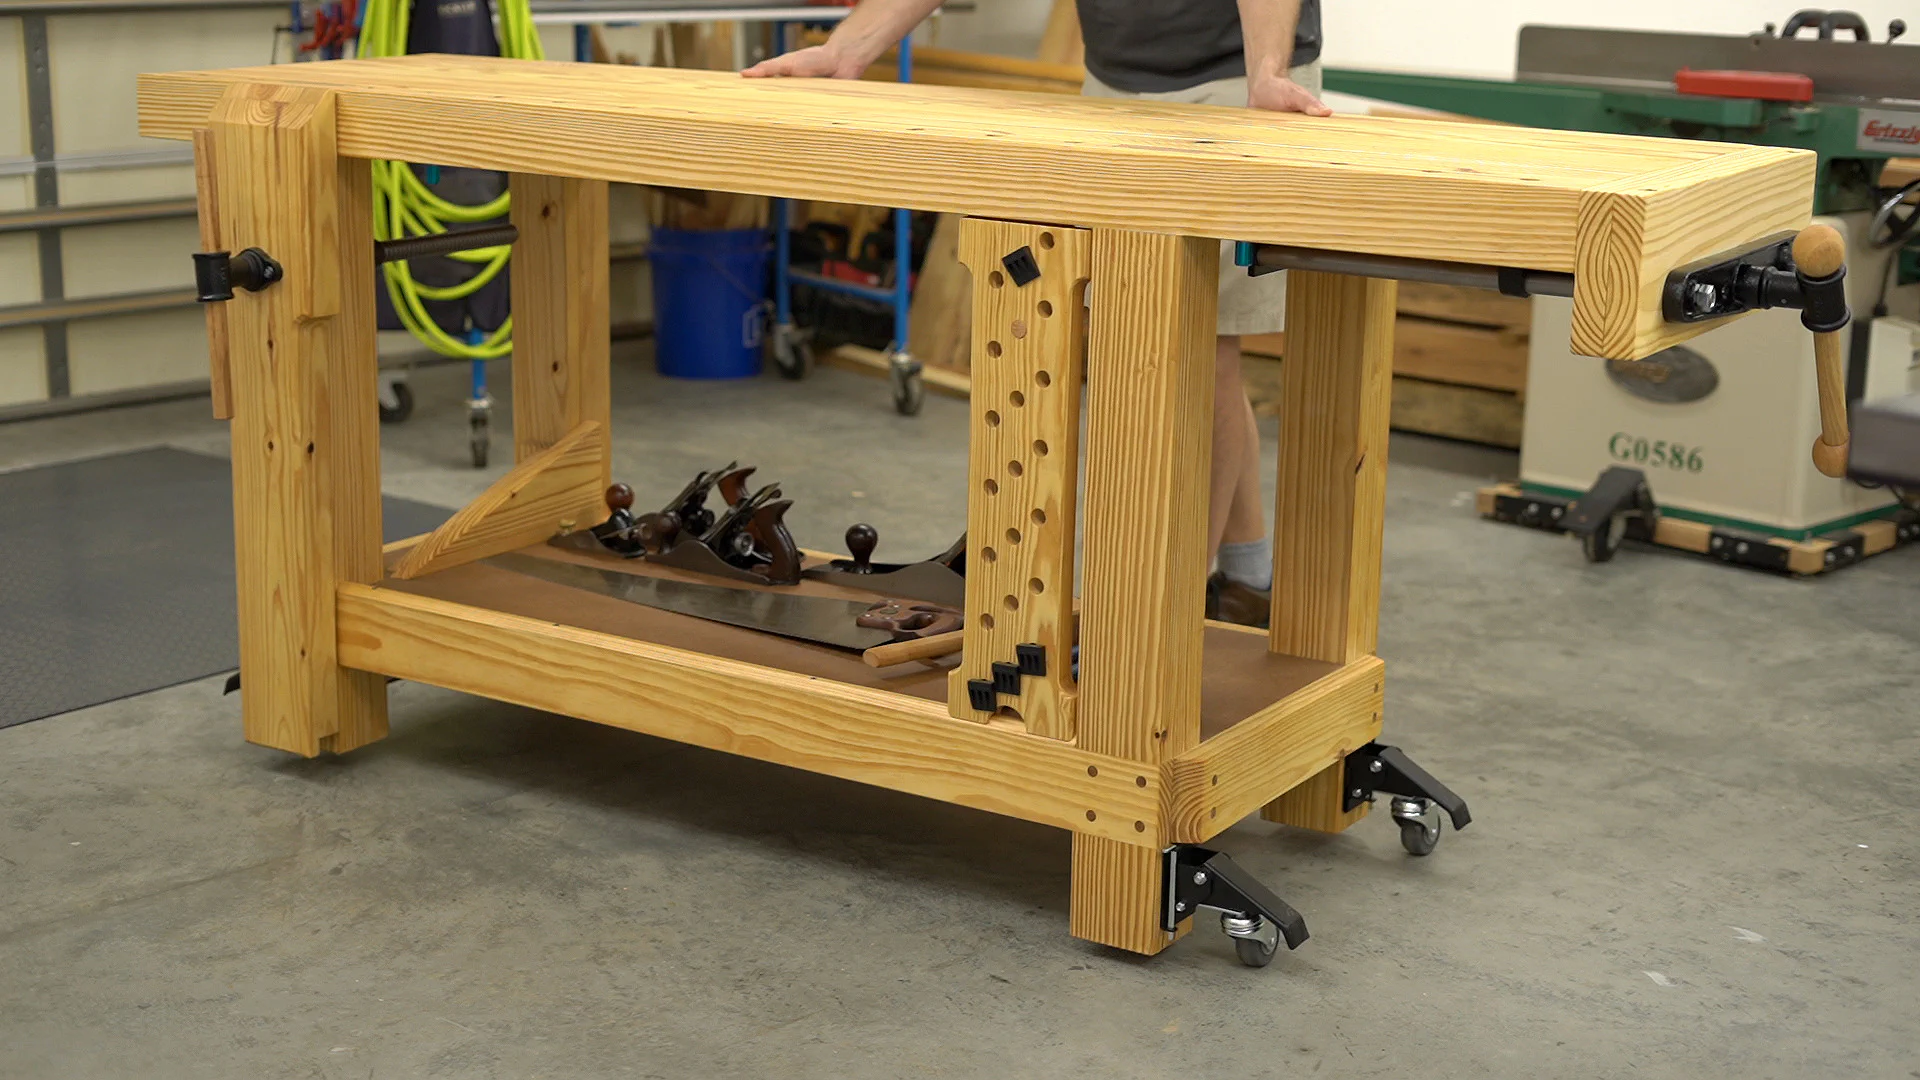
In this article, we’ll finish up our Roubo-inspired workbench by adding a quick-release end vise by Rockler as well as another set of quick-release workbench caster plates to make moving the bench around the shop much easier. At just over 35 pounds, the vise can seem a little intimidating, but luckily it separates into a few pieces which makes it fairly easy to install without having to flip one’s workbench upside down.
This vise comes with a nice wooden handle, but a pair of wooden jaws need to be built to match the workbench’s width and extend down about 3" below the bottom of the workbench’s top.
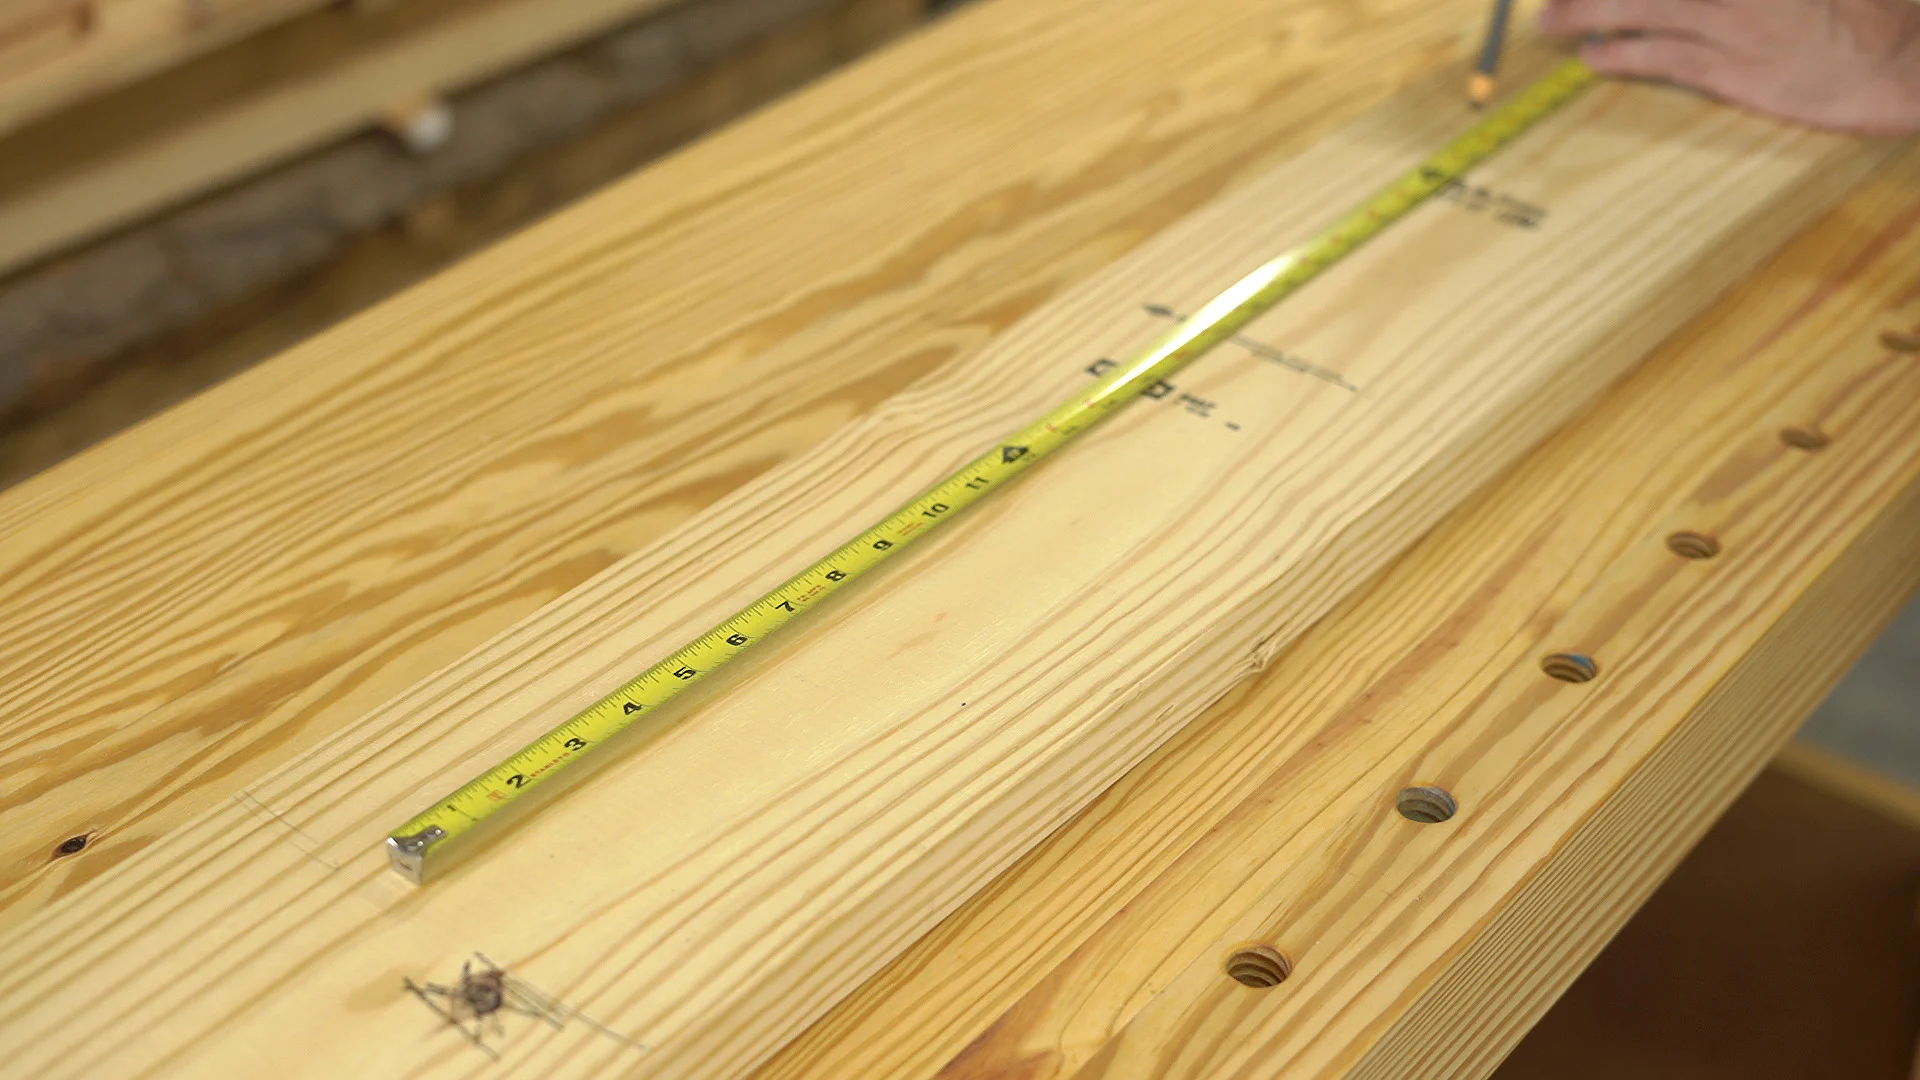
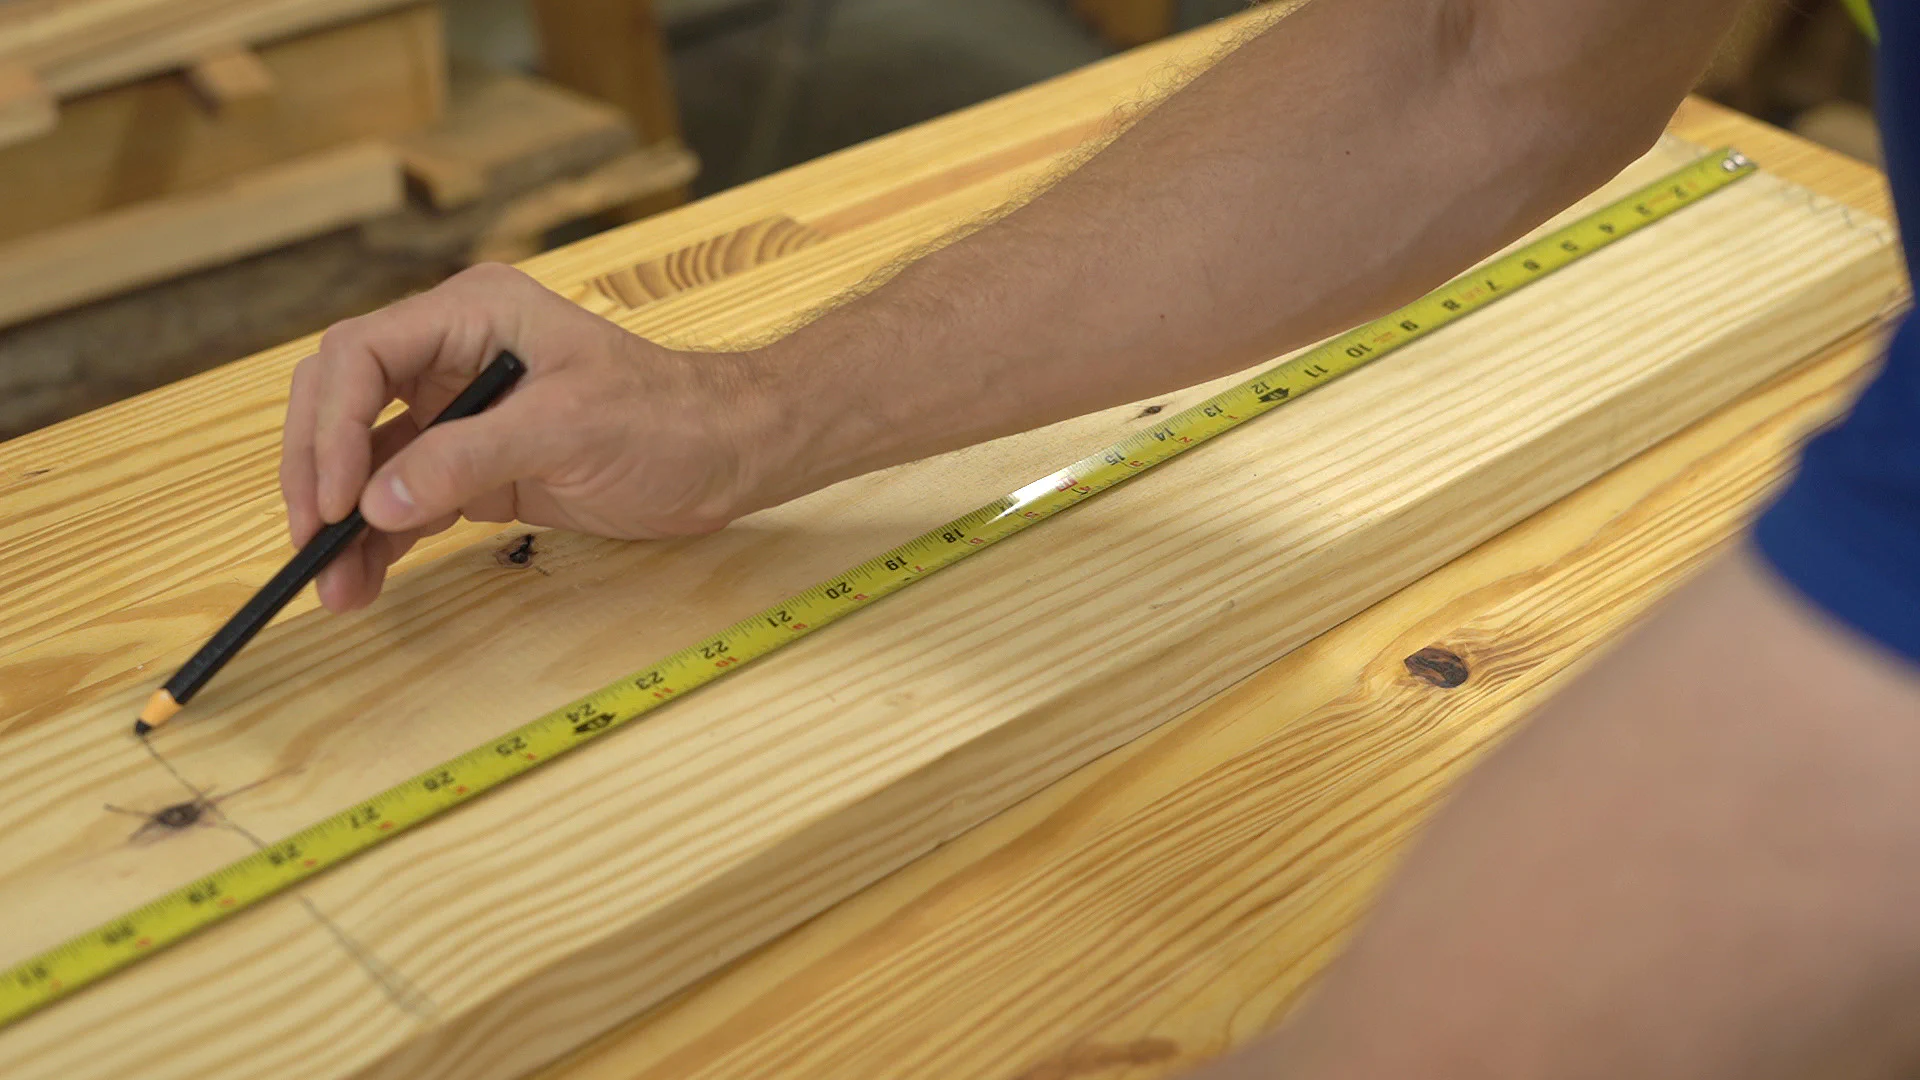
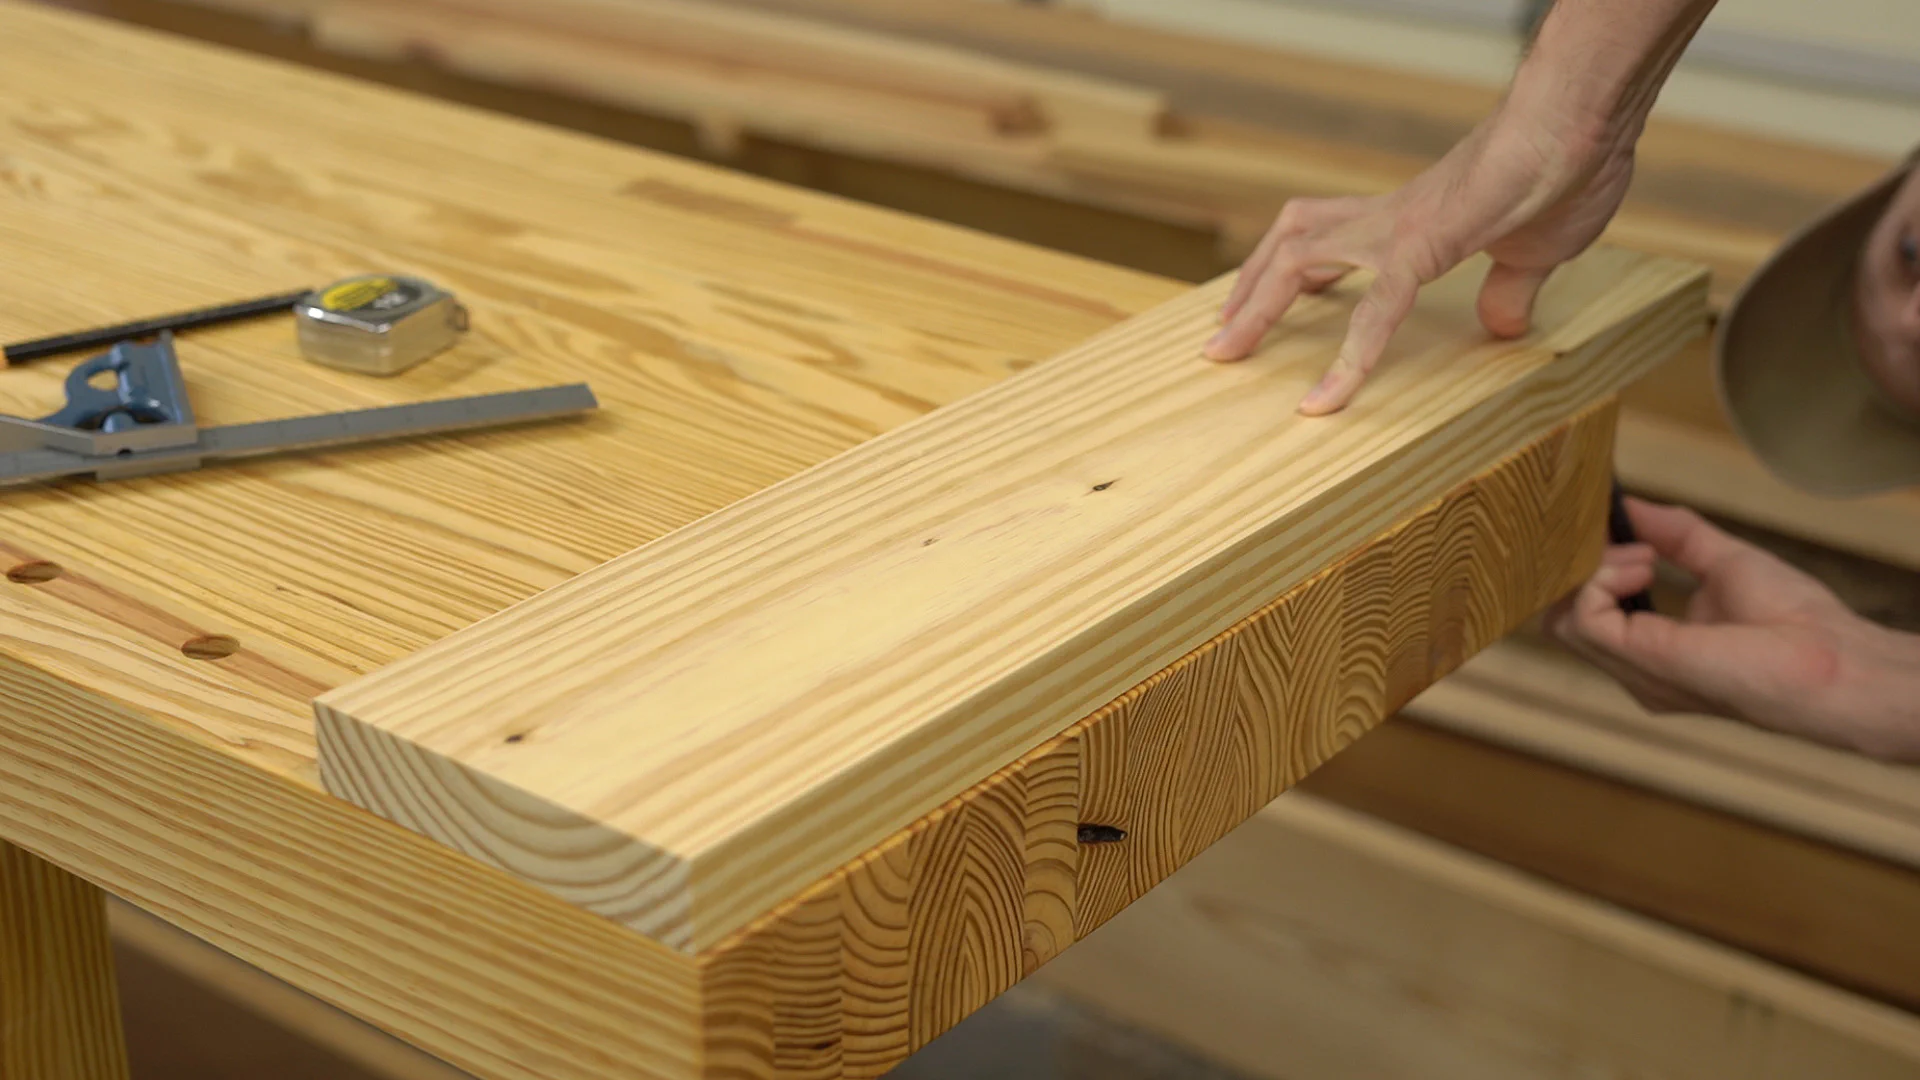
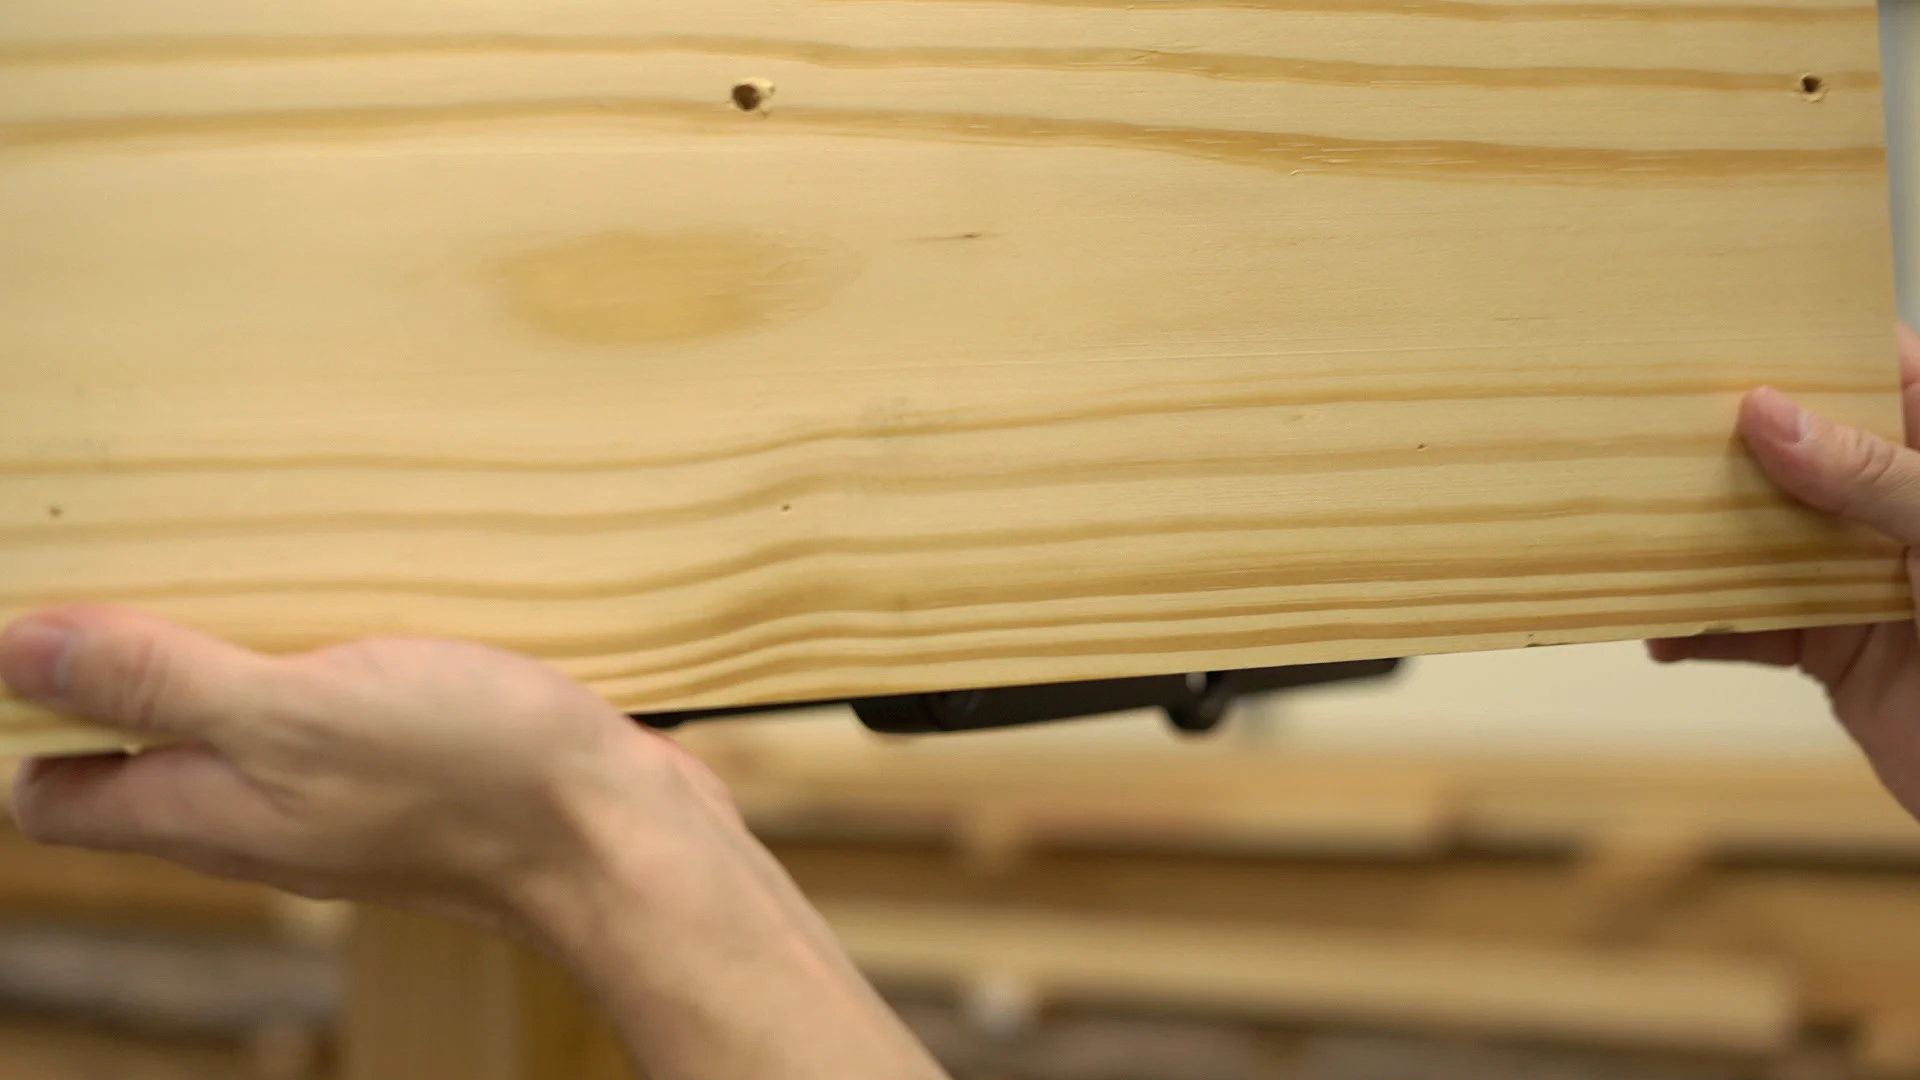
For my jaws, I used a 2x8 southern yellow pine board and marked off two knot-free sections that were roughly 6" longer than the width of my bench to account for planer snipe.
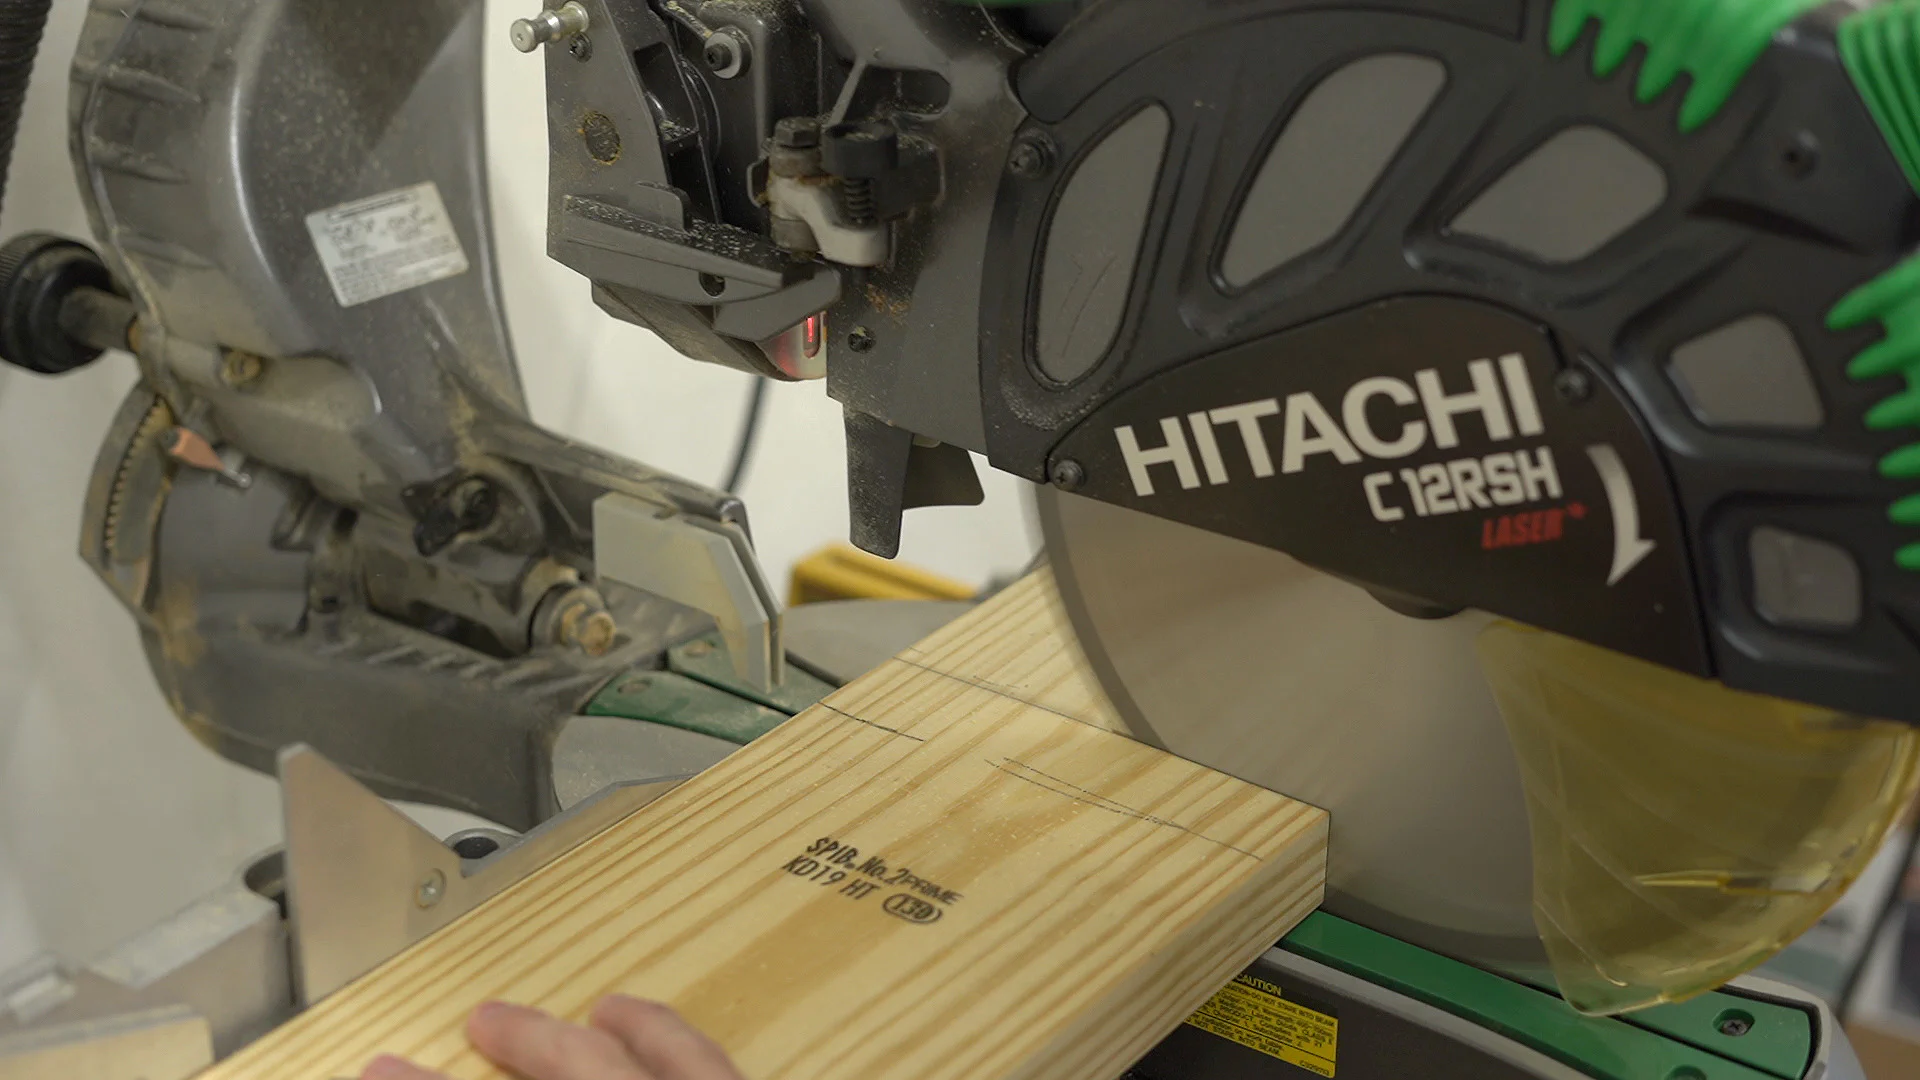
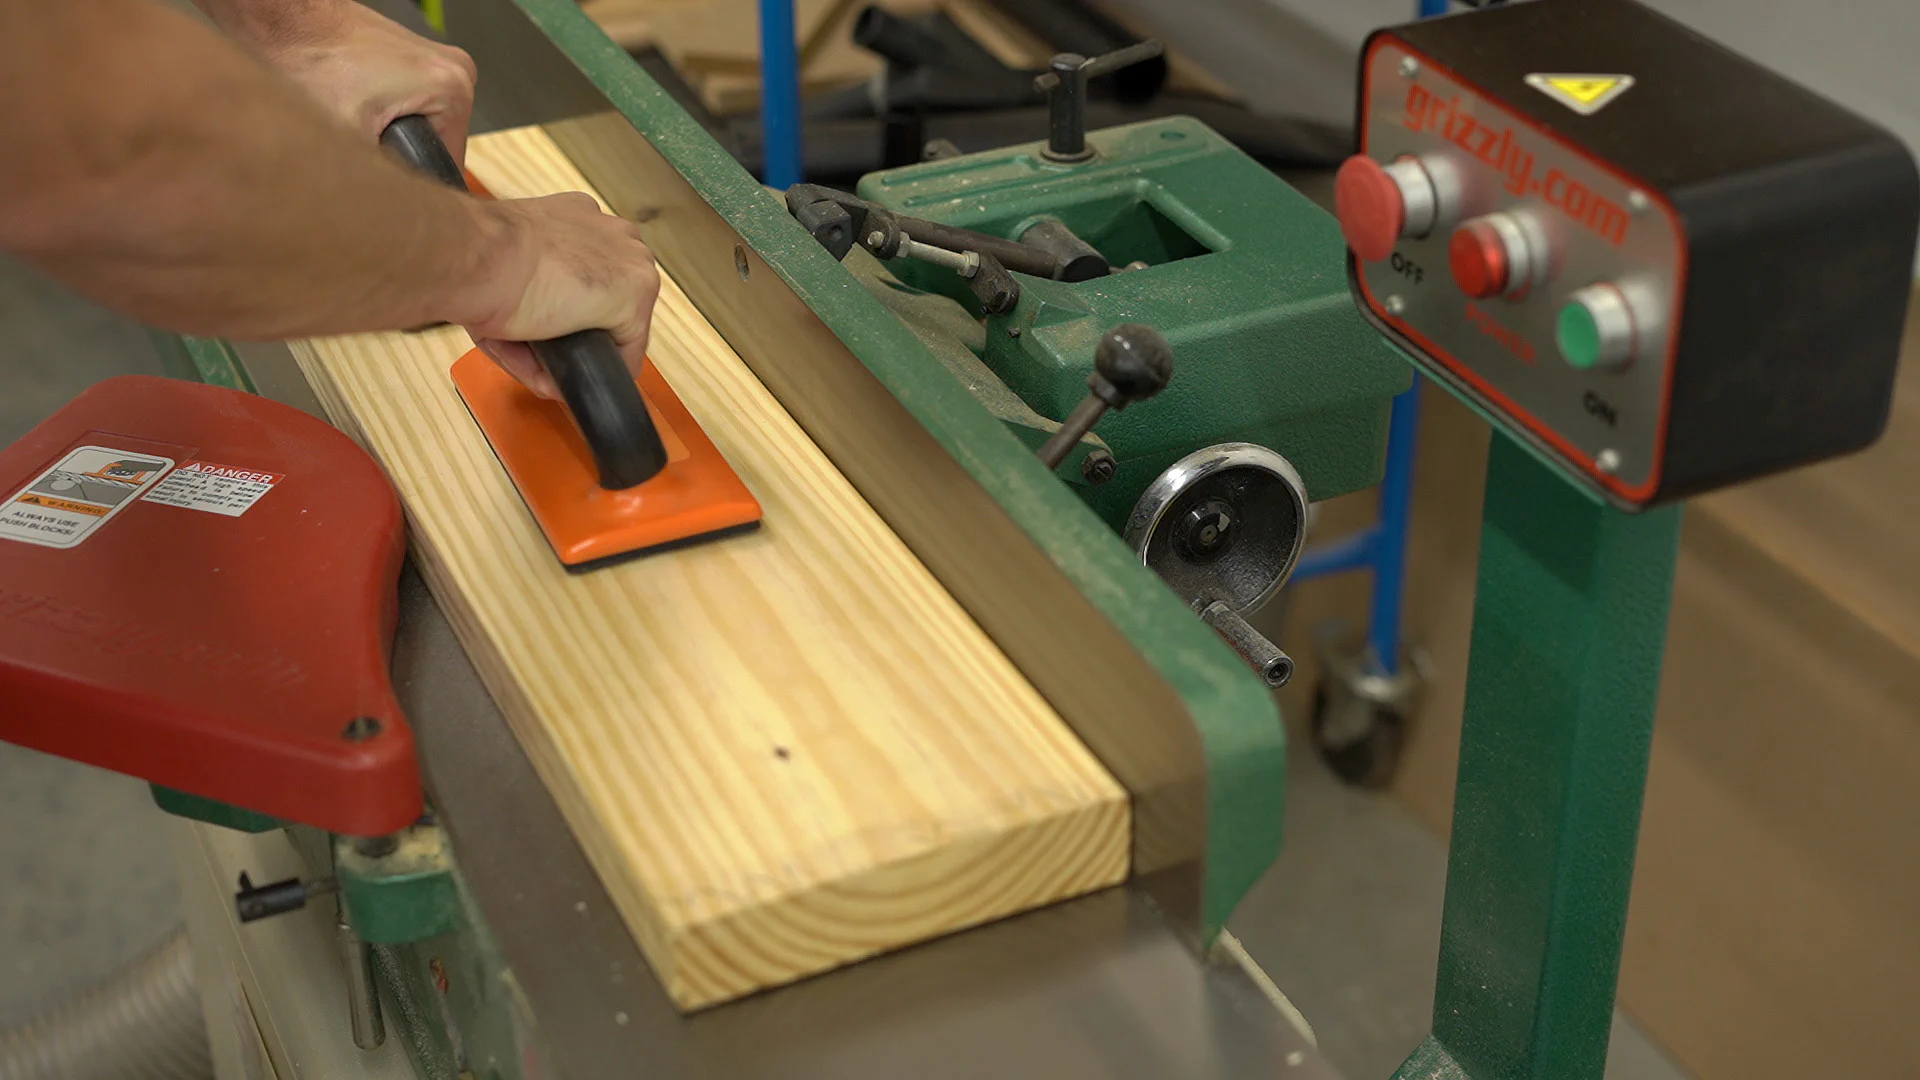
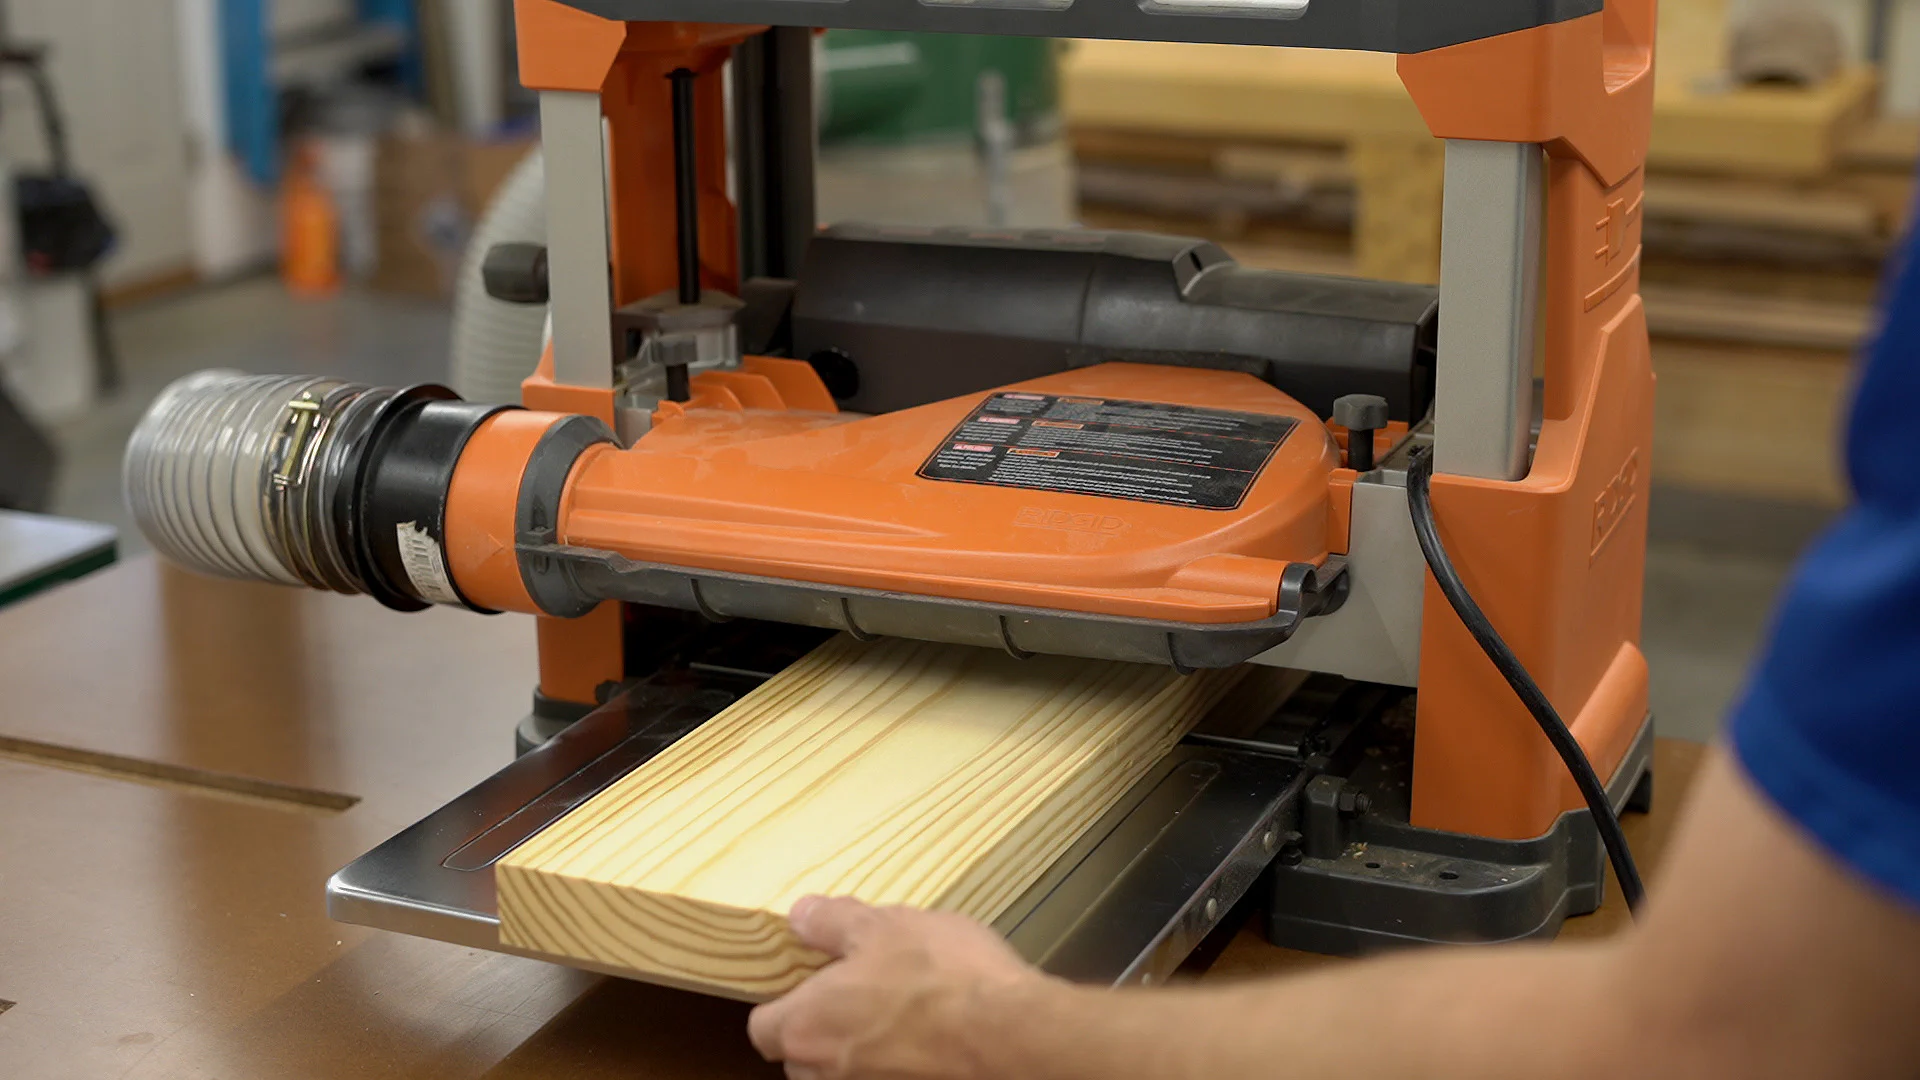
I then headed over to my miter saw and cut them to rough length before running the boards through the jointer and planer to surface them.
Next, I took them to the table saw and ripped the boards to what will be their final height.
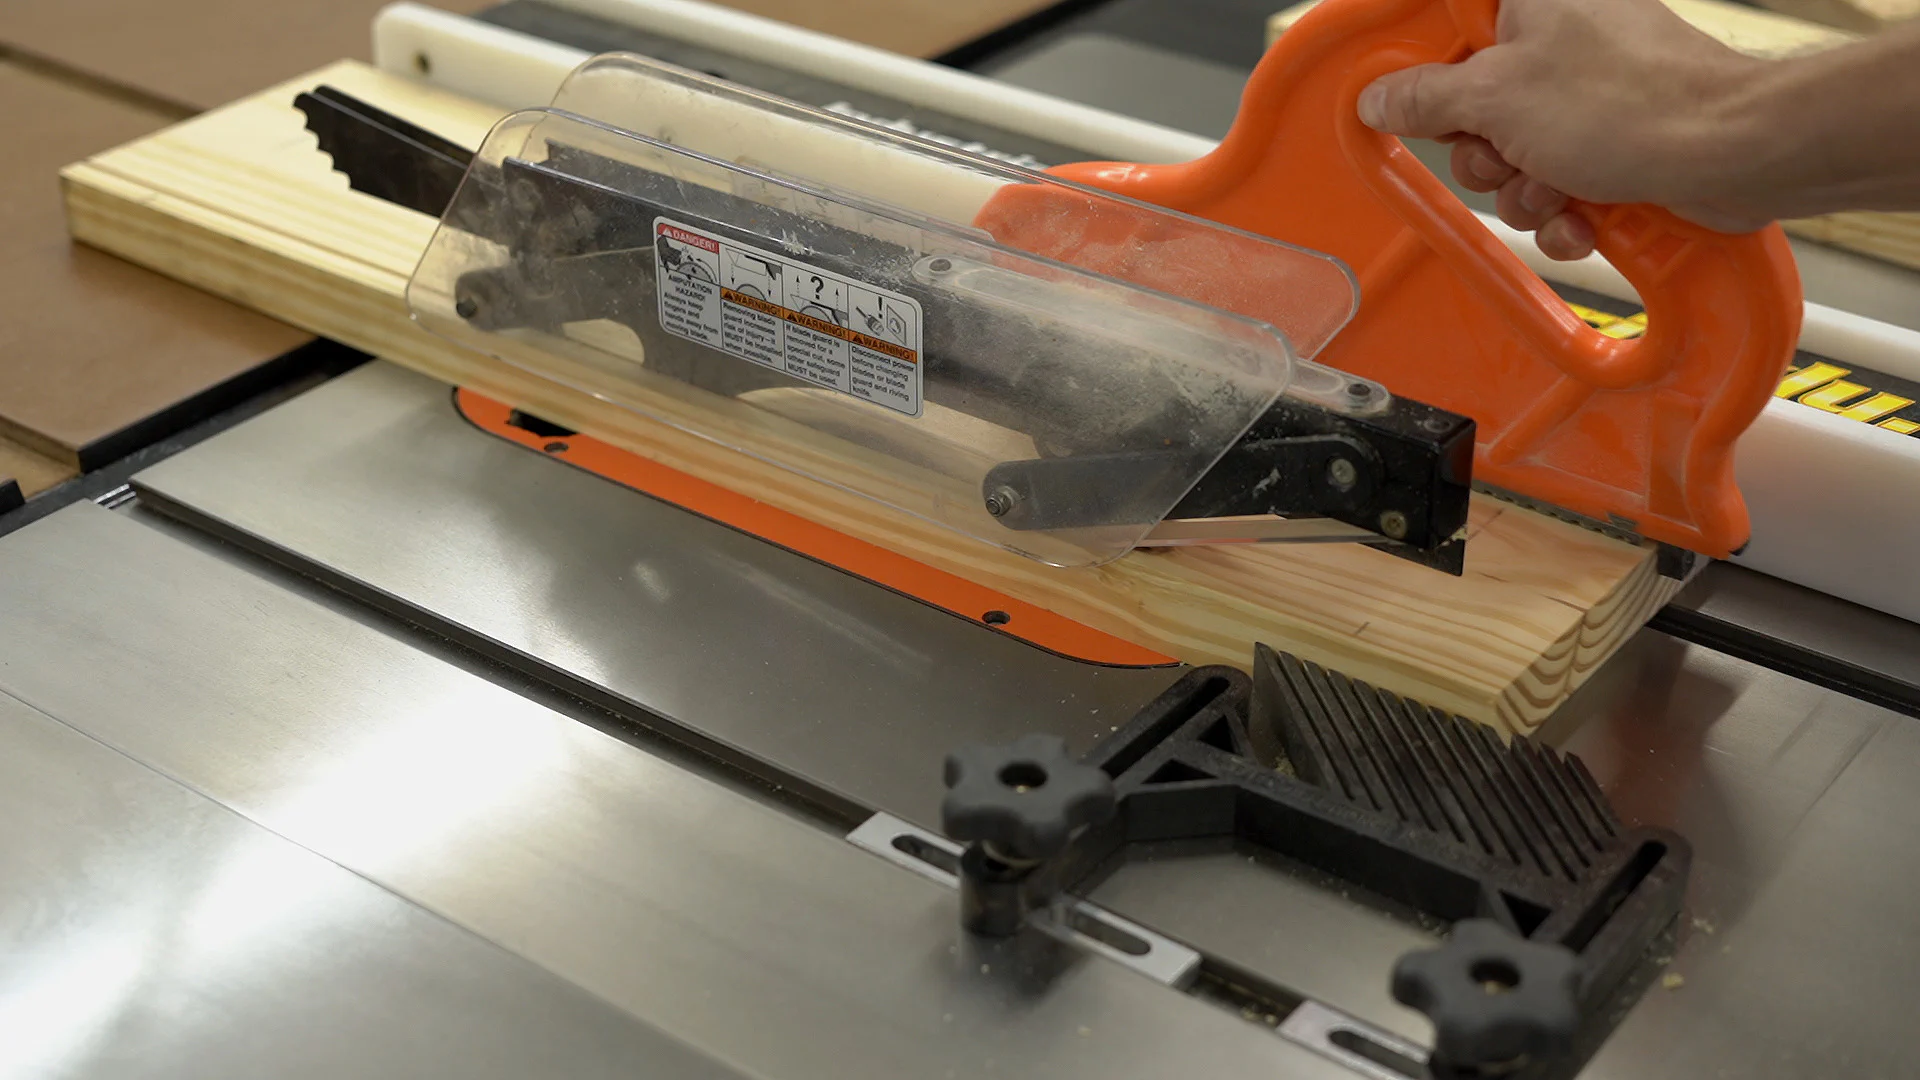
After trimming off the snipe from one end of each board, I then marked off their final width and cut both together at the miter saw to ensure that they’d end up the same size.

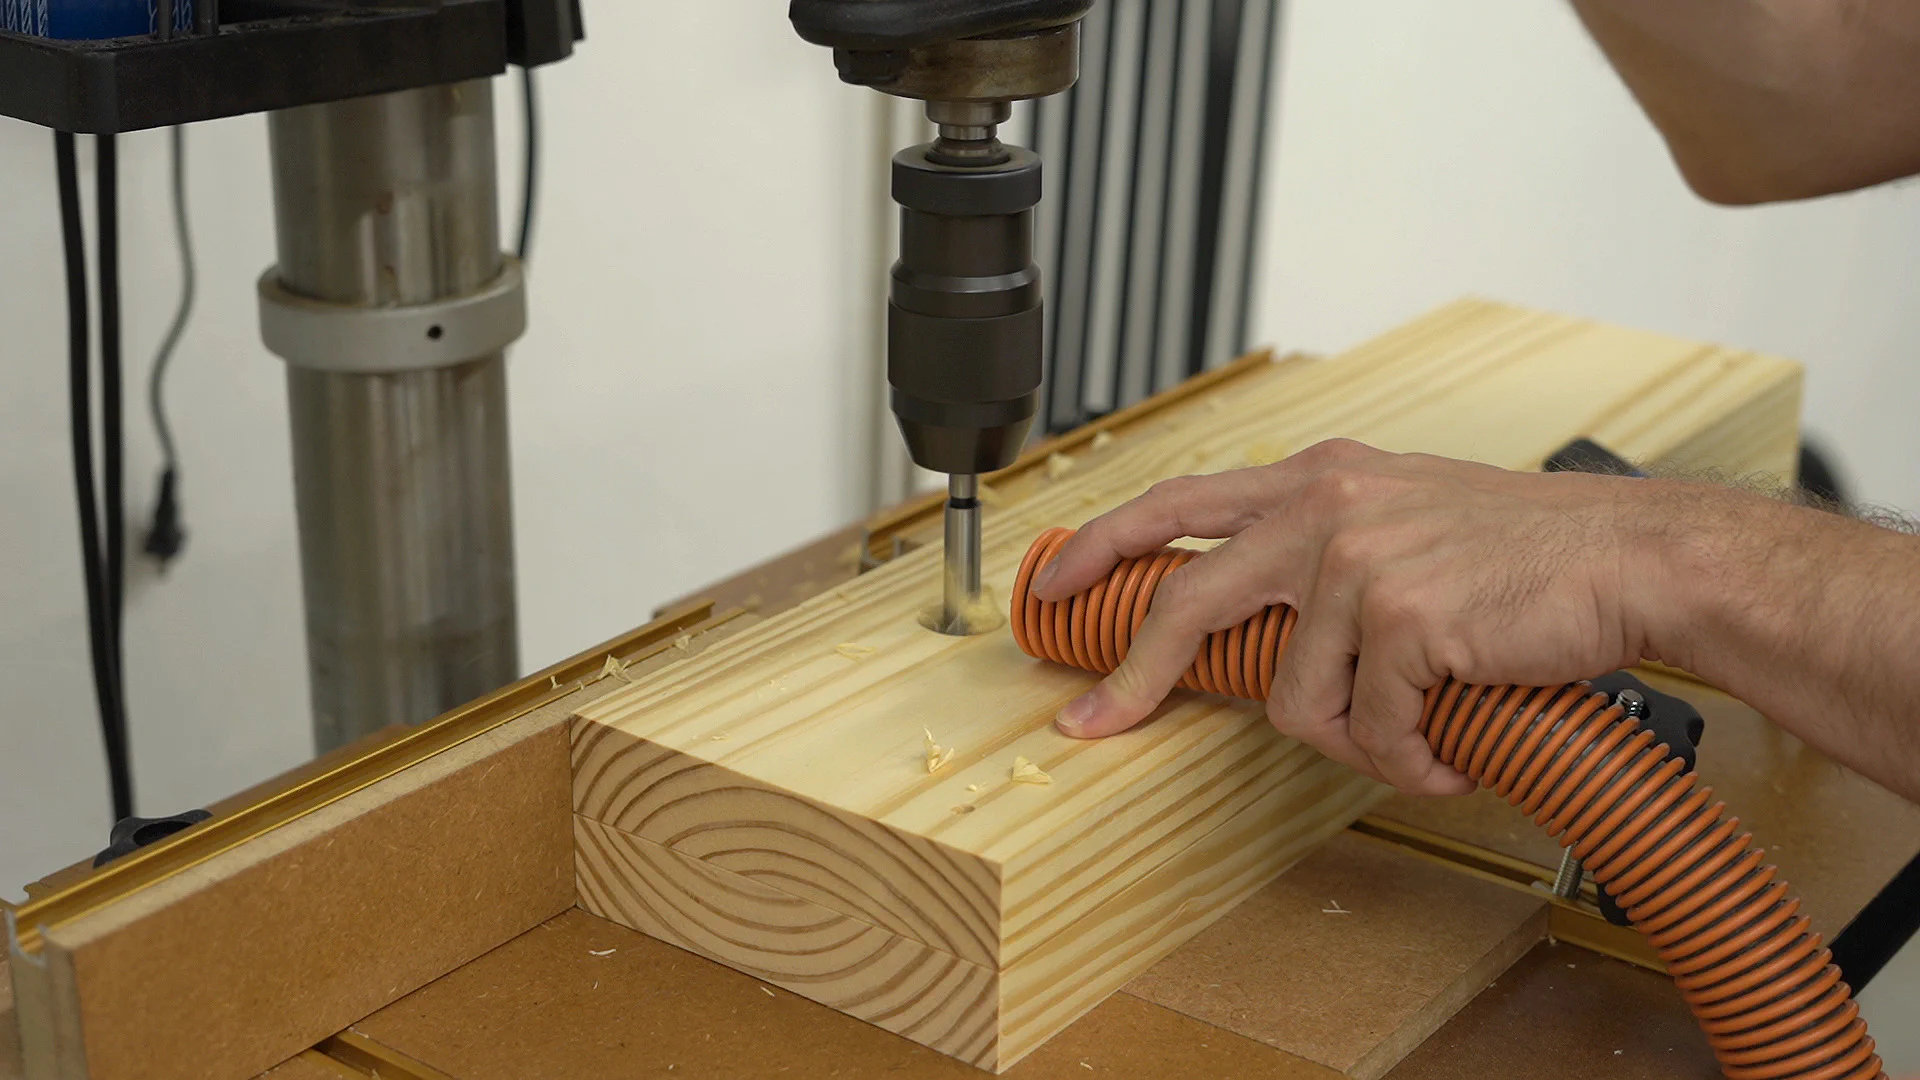
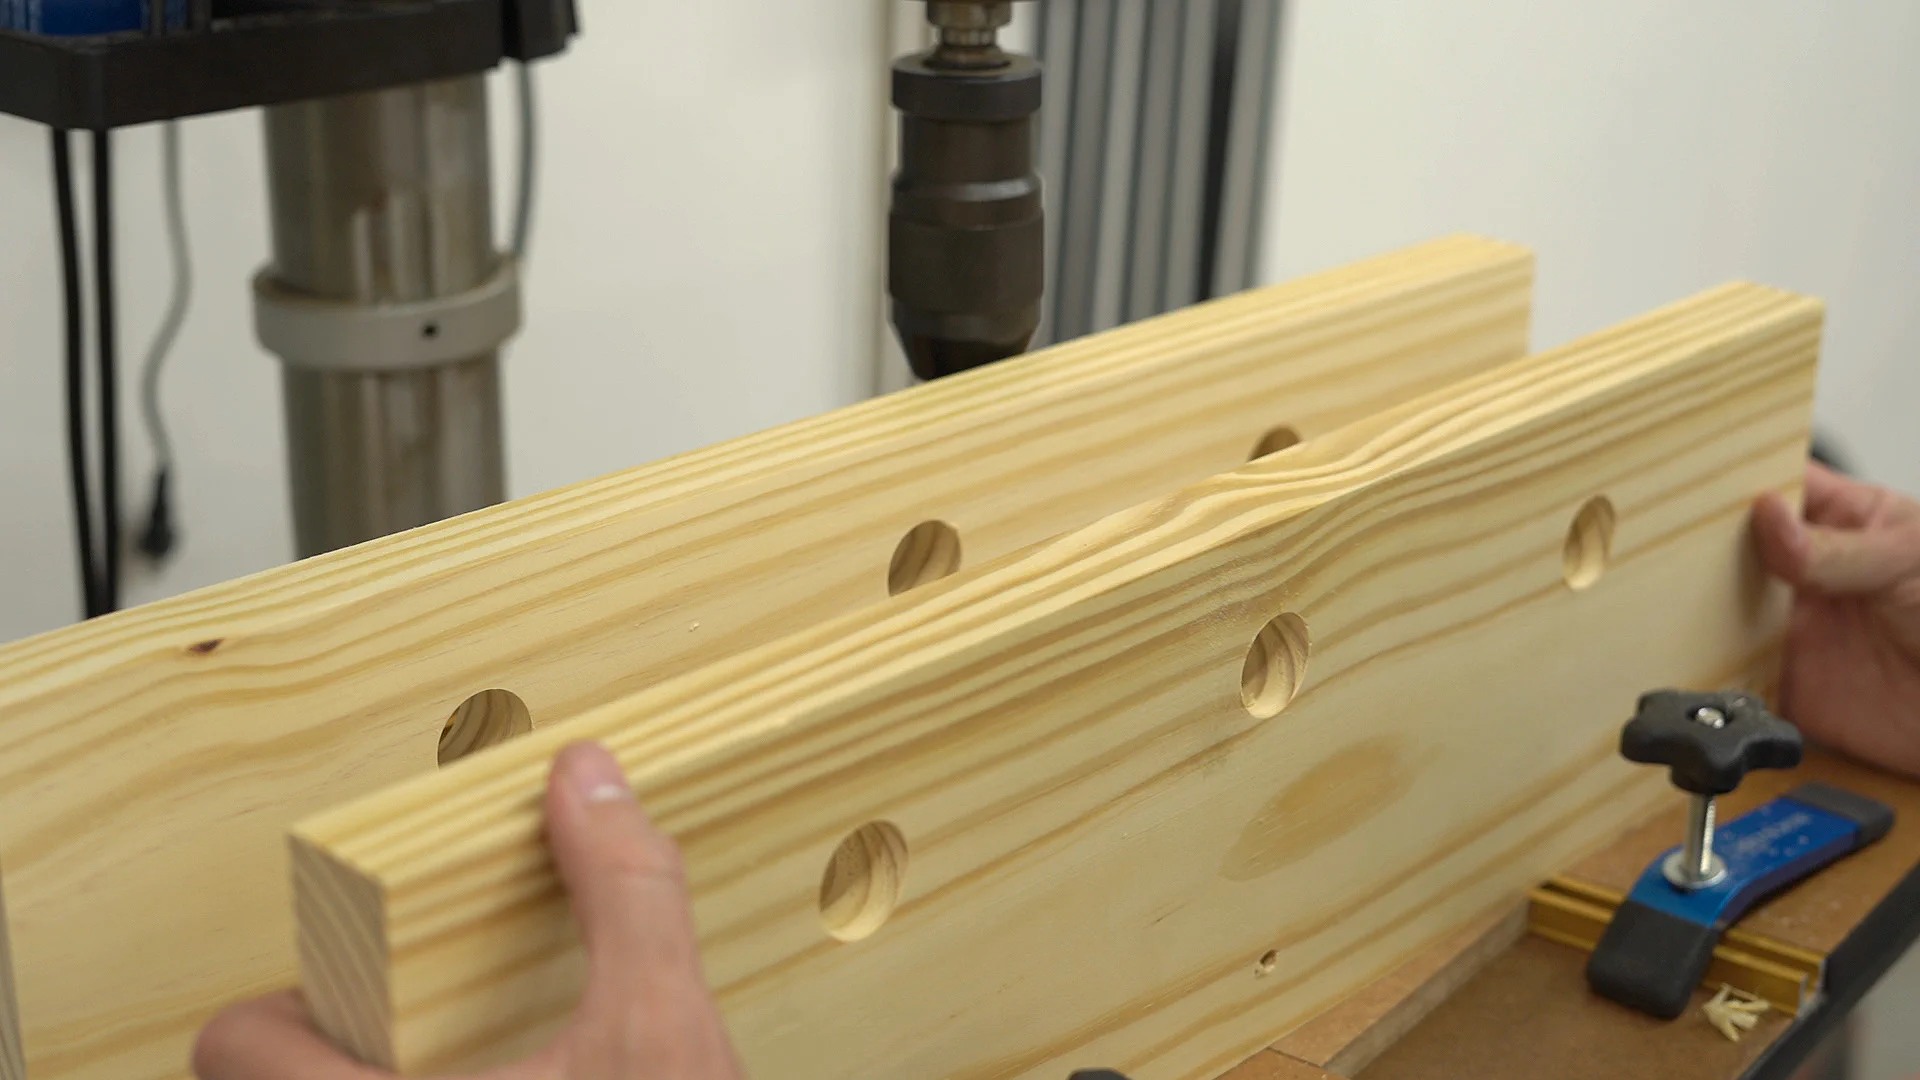
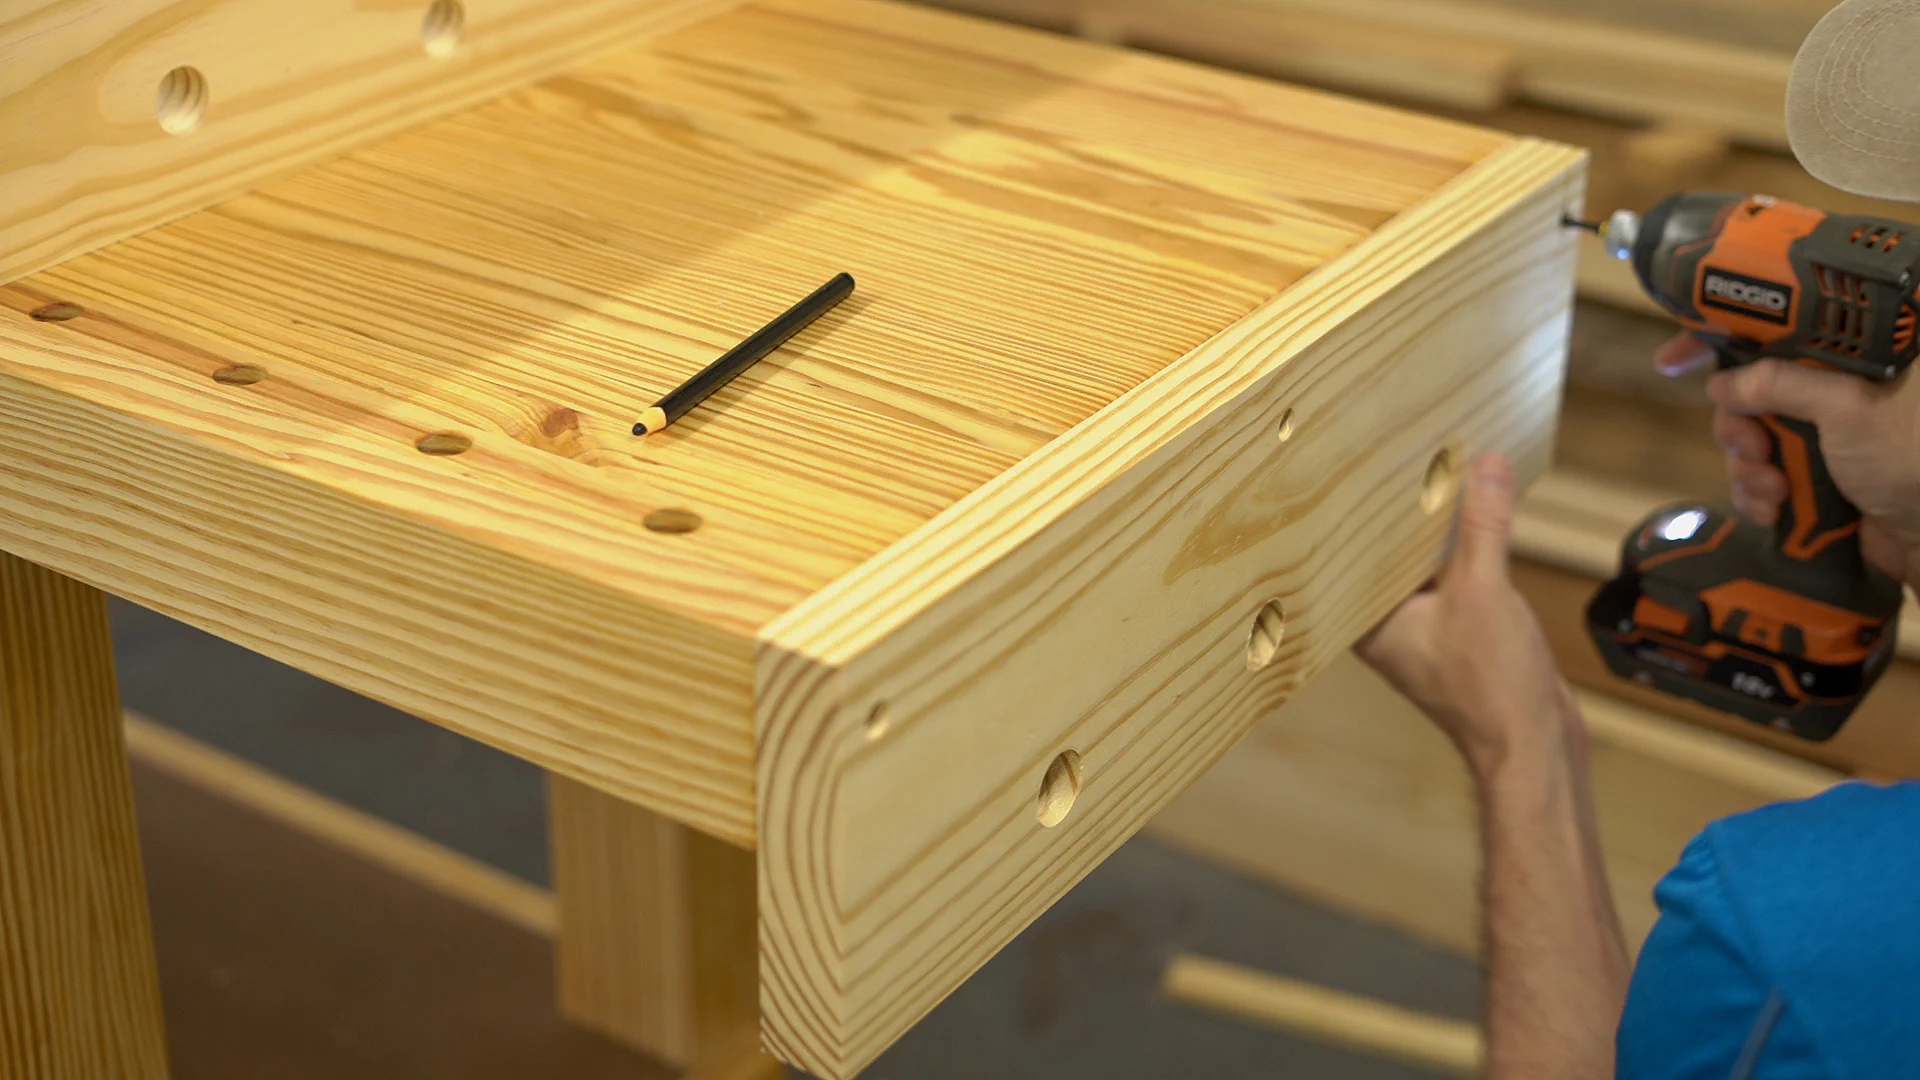
To make attaching the inner jaw to the bench easier, I took it to the drill press and made a few counter-bored mounting holes about an inch and a quarter from the top.
Then at the workbench, I secured the jaw to the end by running a clamp across the edge of it and the bench top since I didn’t have a clamp long enough to run down the length of the top.
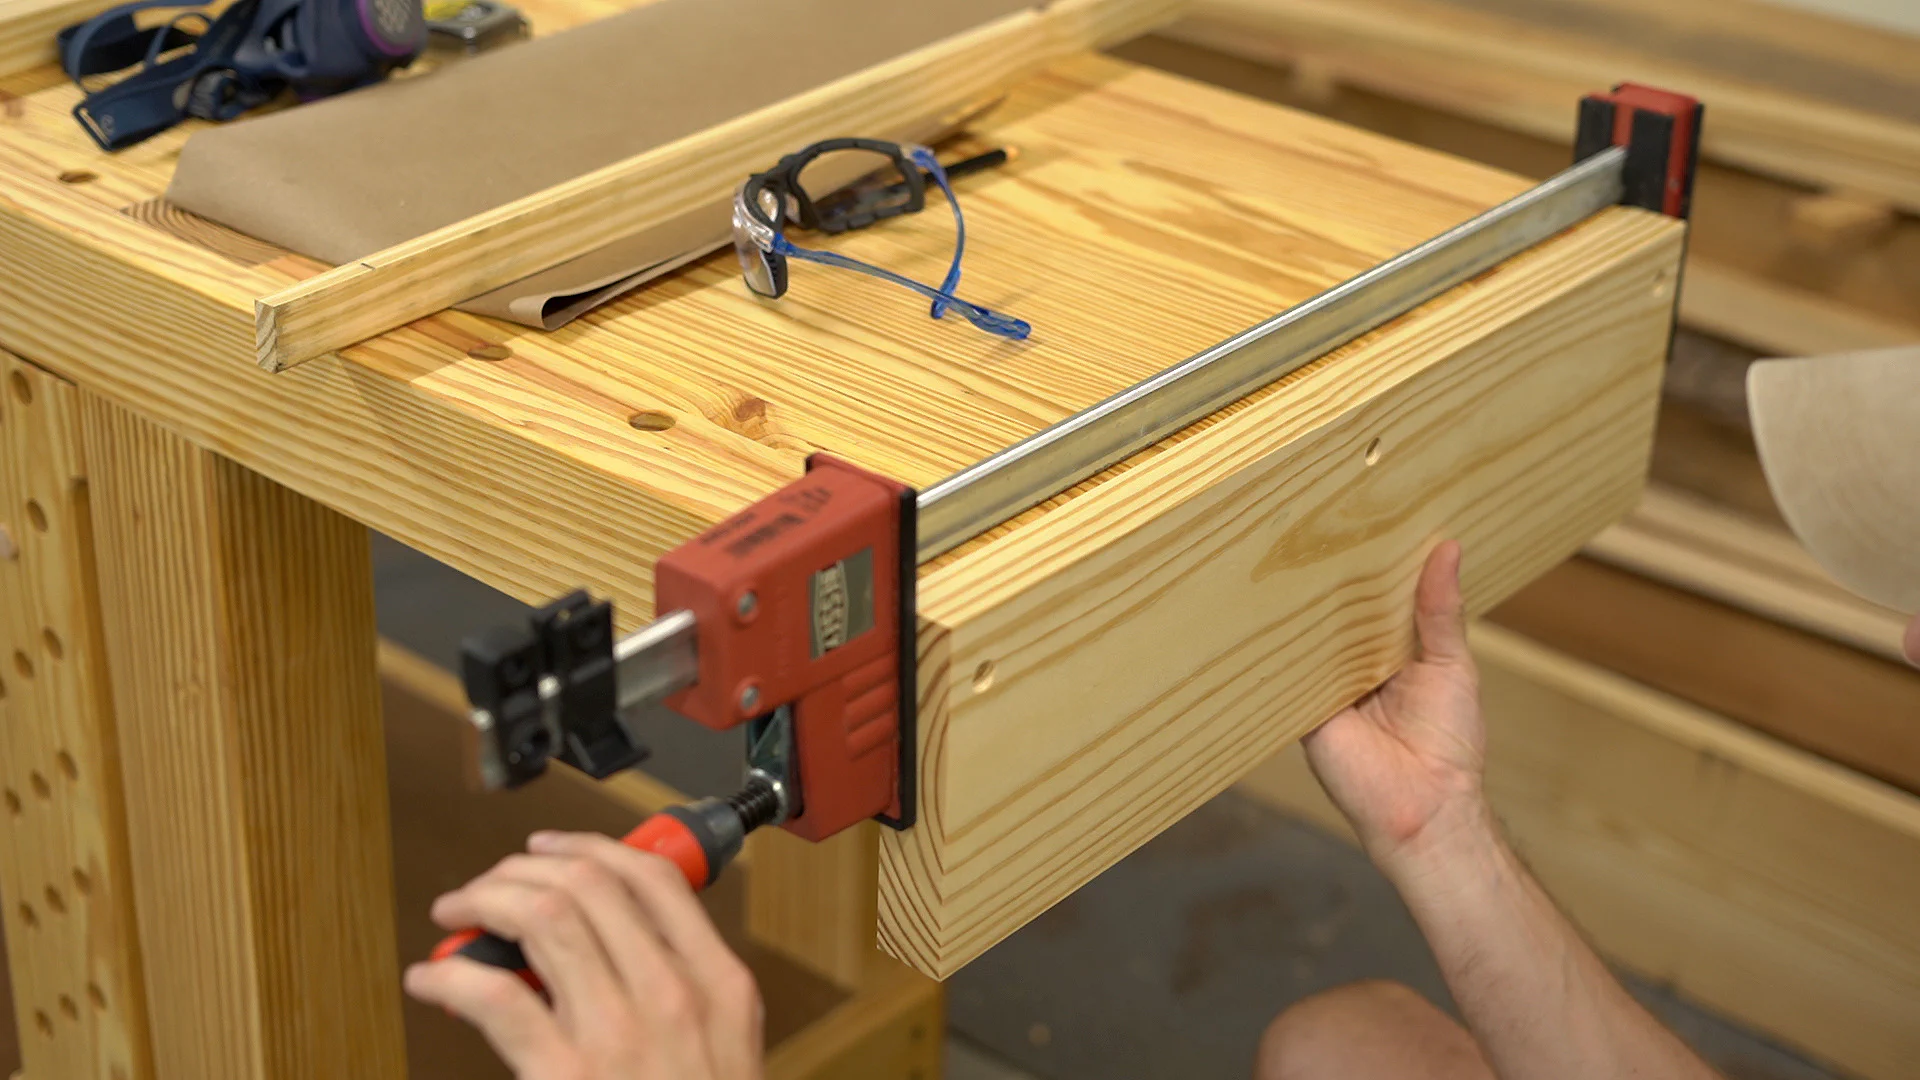
After aligning the jaw, I pre-drilled and temporarily attached it to the top.
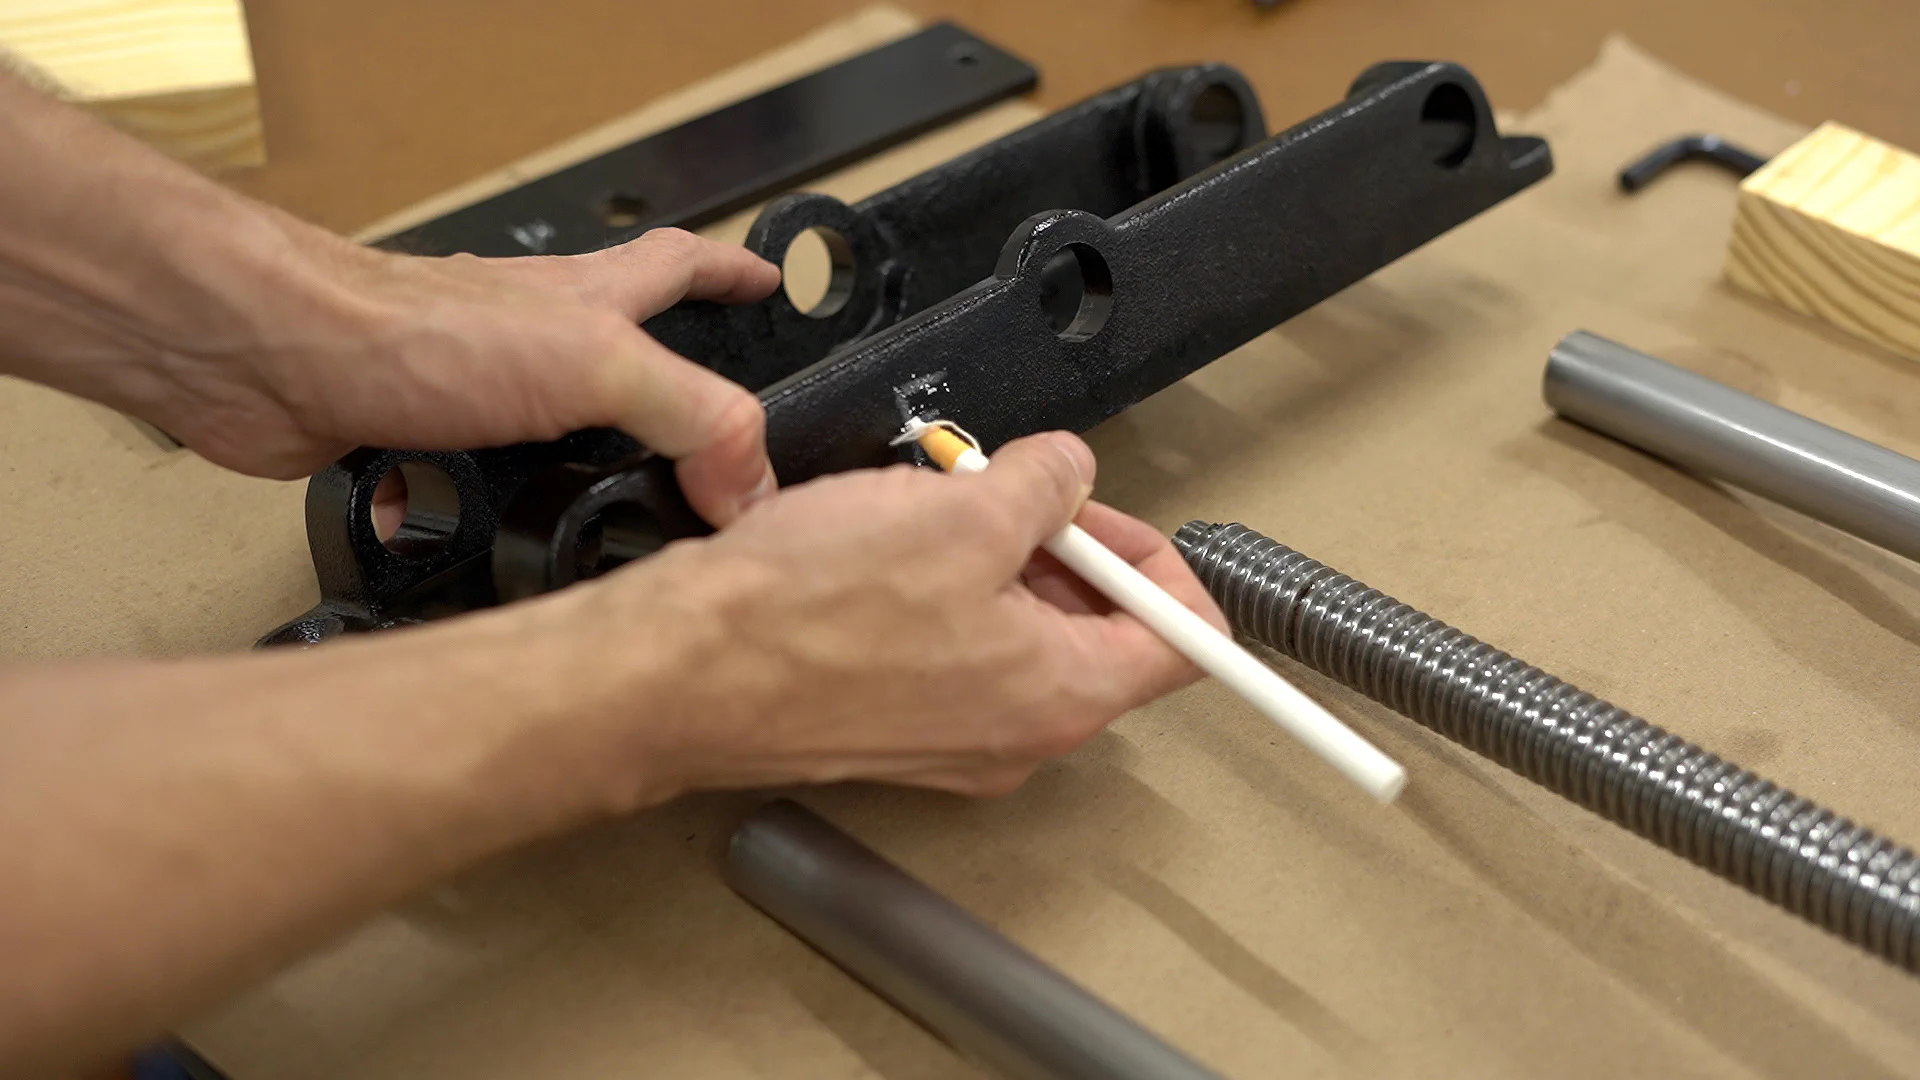
Before mounting the vise hardware, I went ahead and cleaned up some of the old oil and applied a new light coat to the screw and rods.
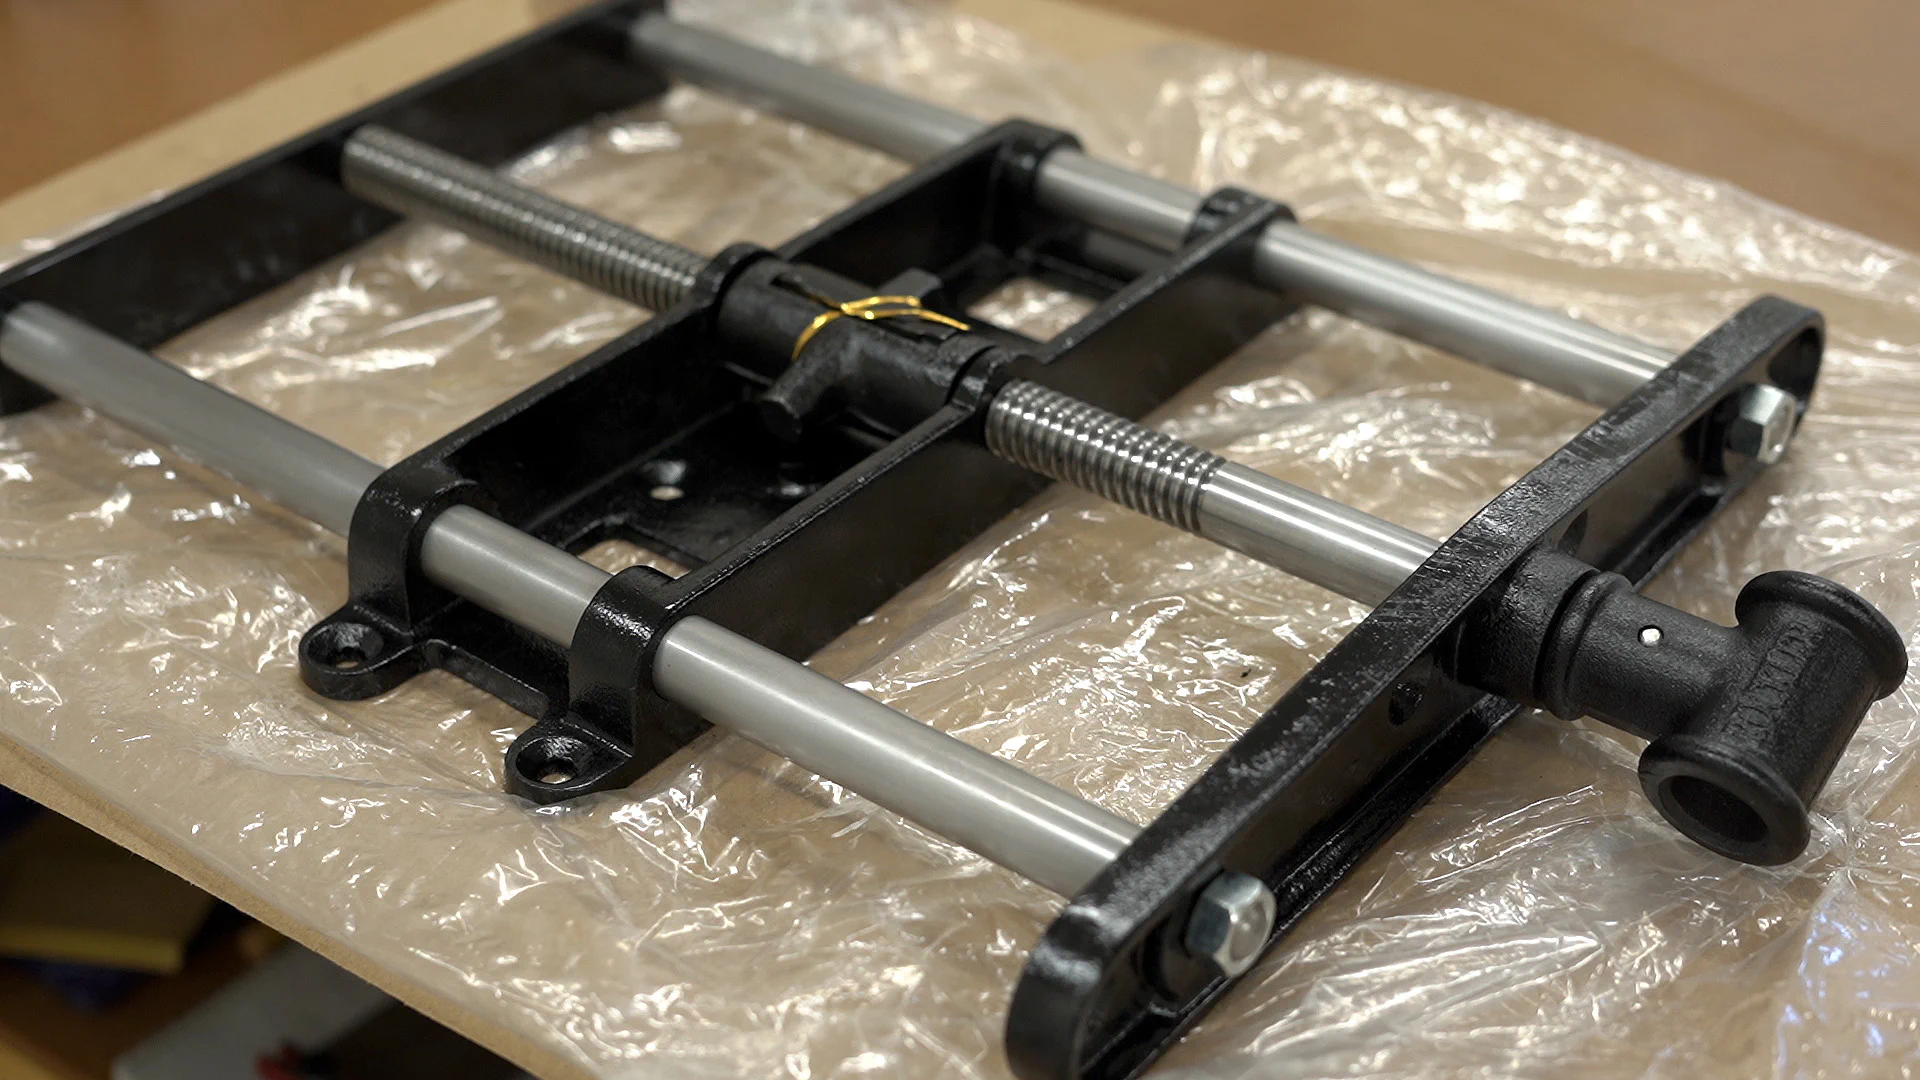
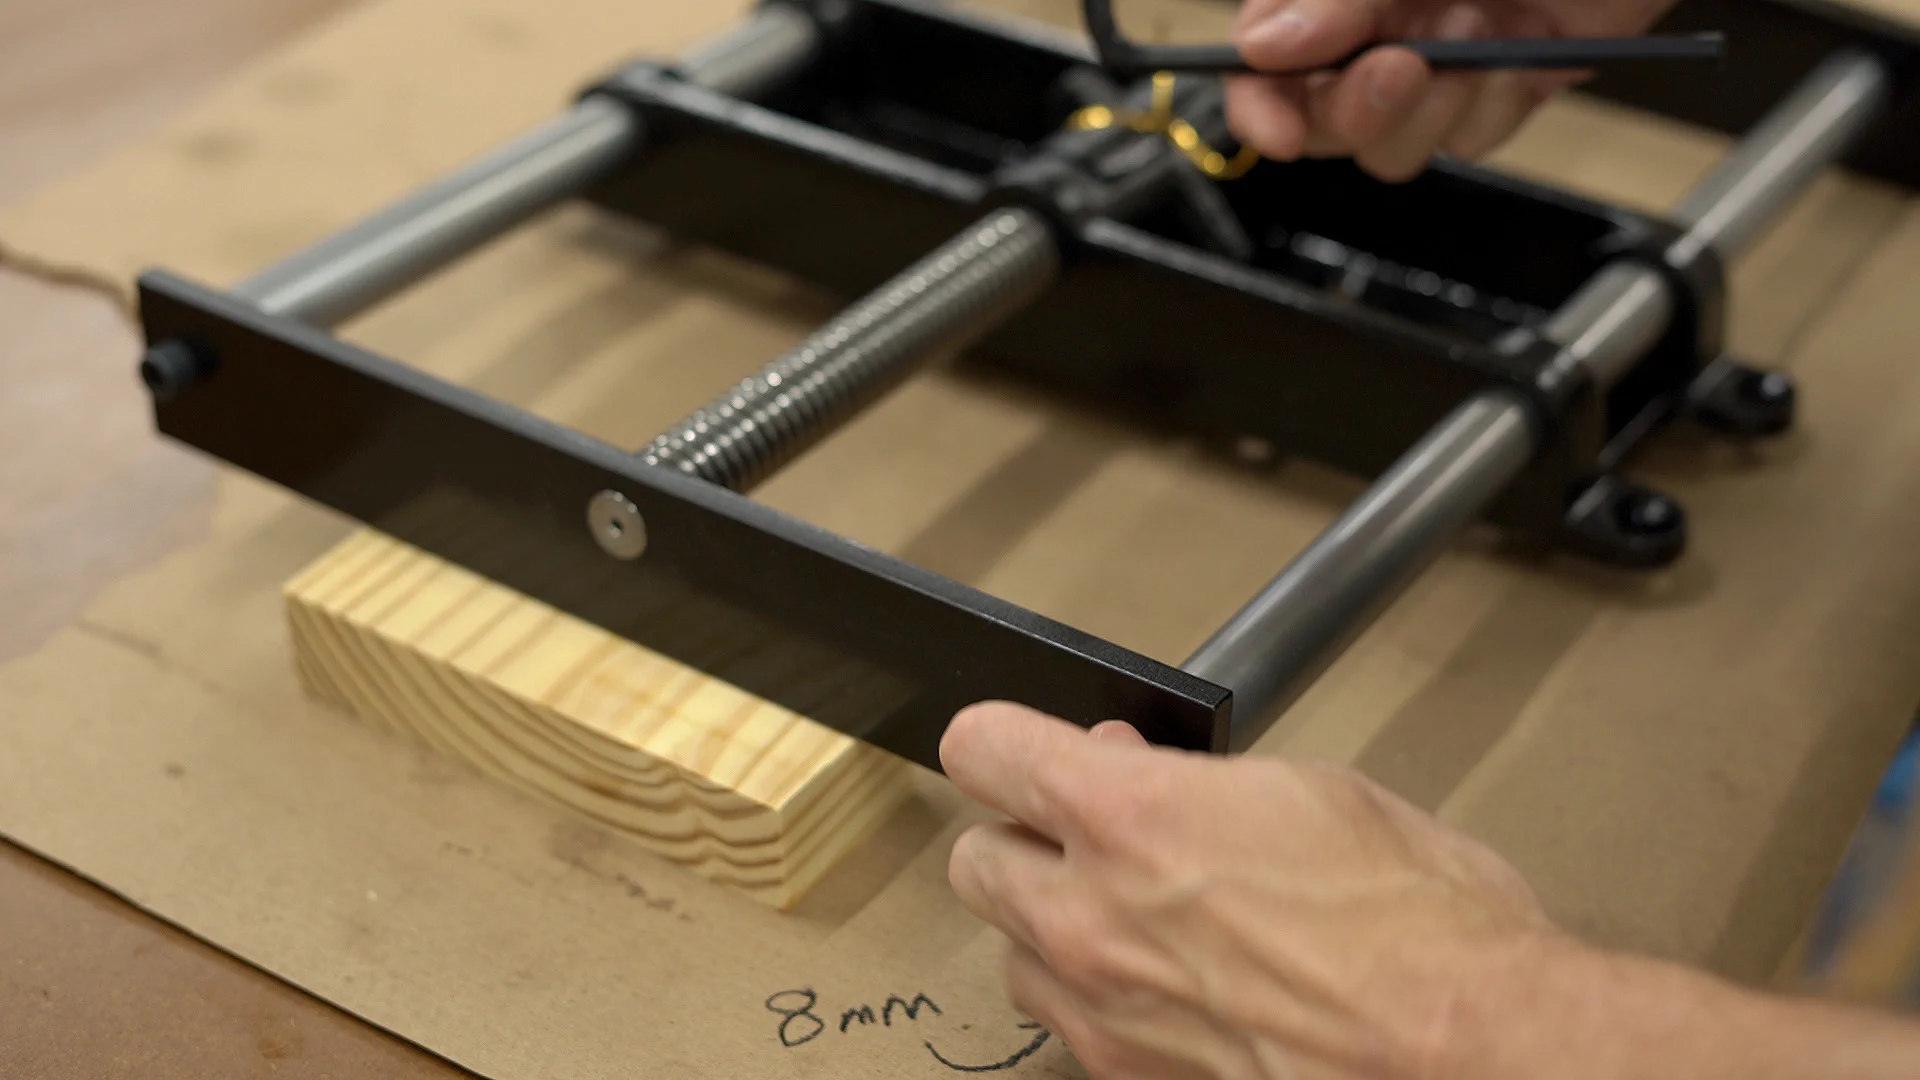
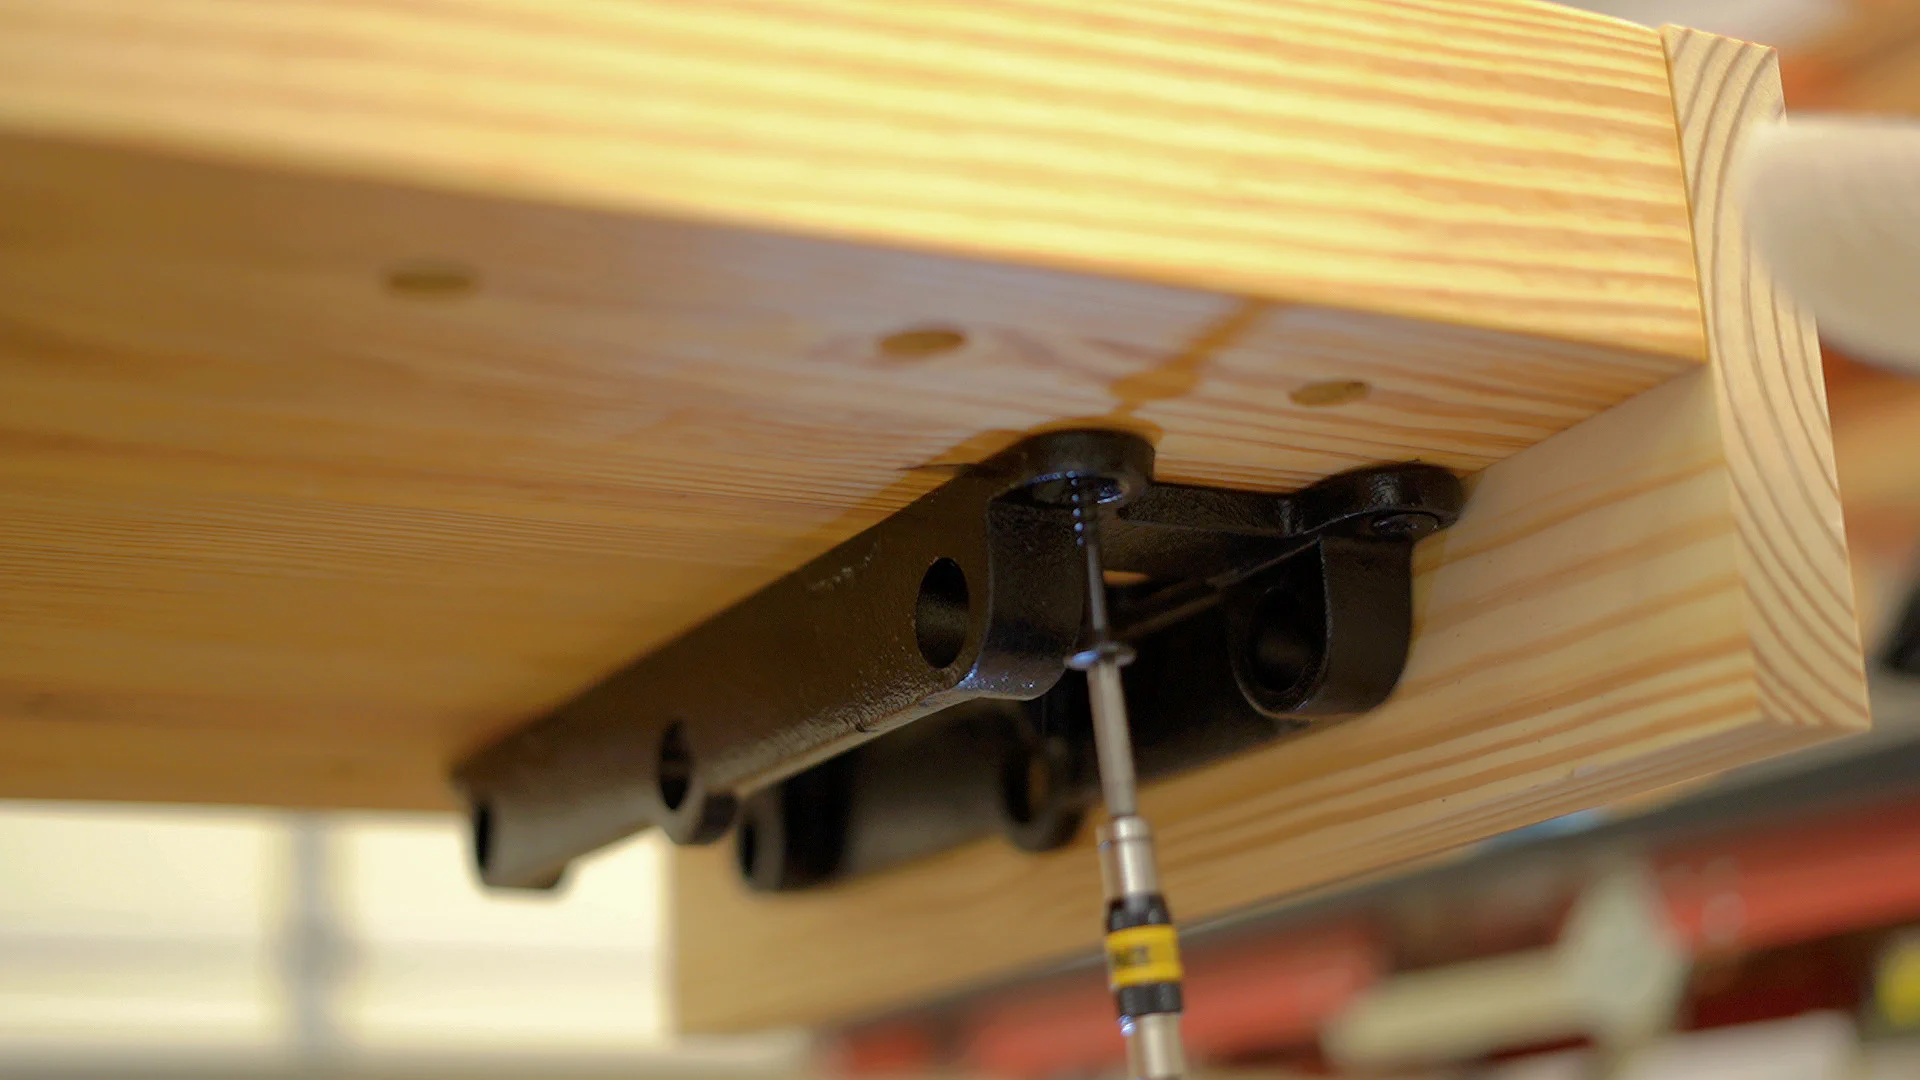
Once that was done, I removed the bolts on the rear plate with an 8mm Allen wrench and then removed the vise front and rods. I made sure to note which way the quick-release mechanism was oriented. (Note that it will also be flipped upside down when mounted.)
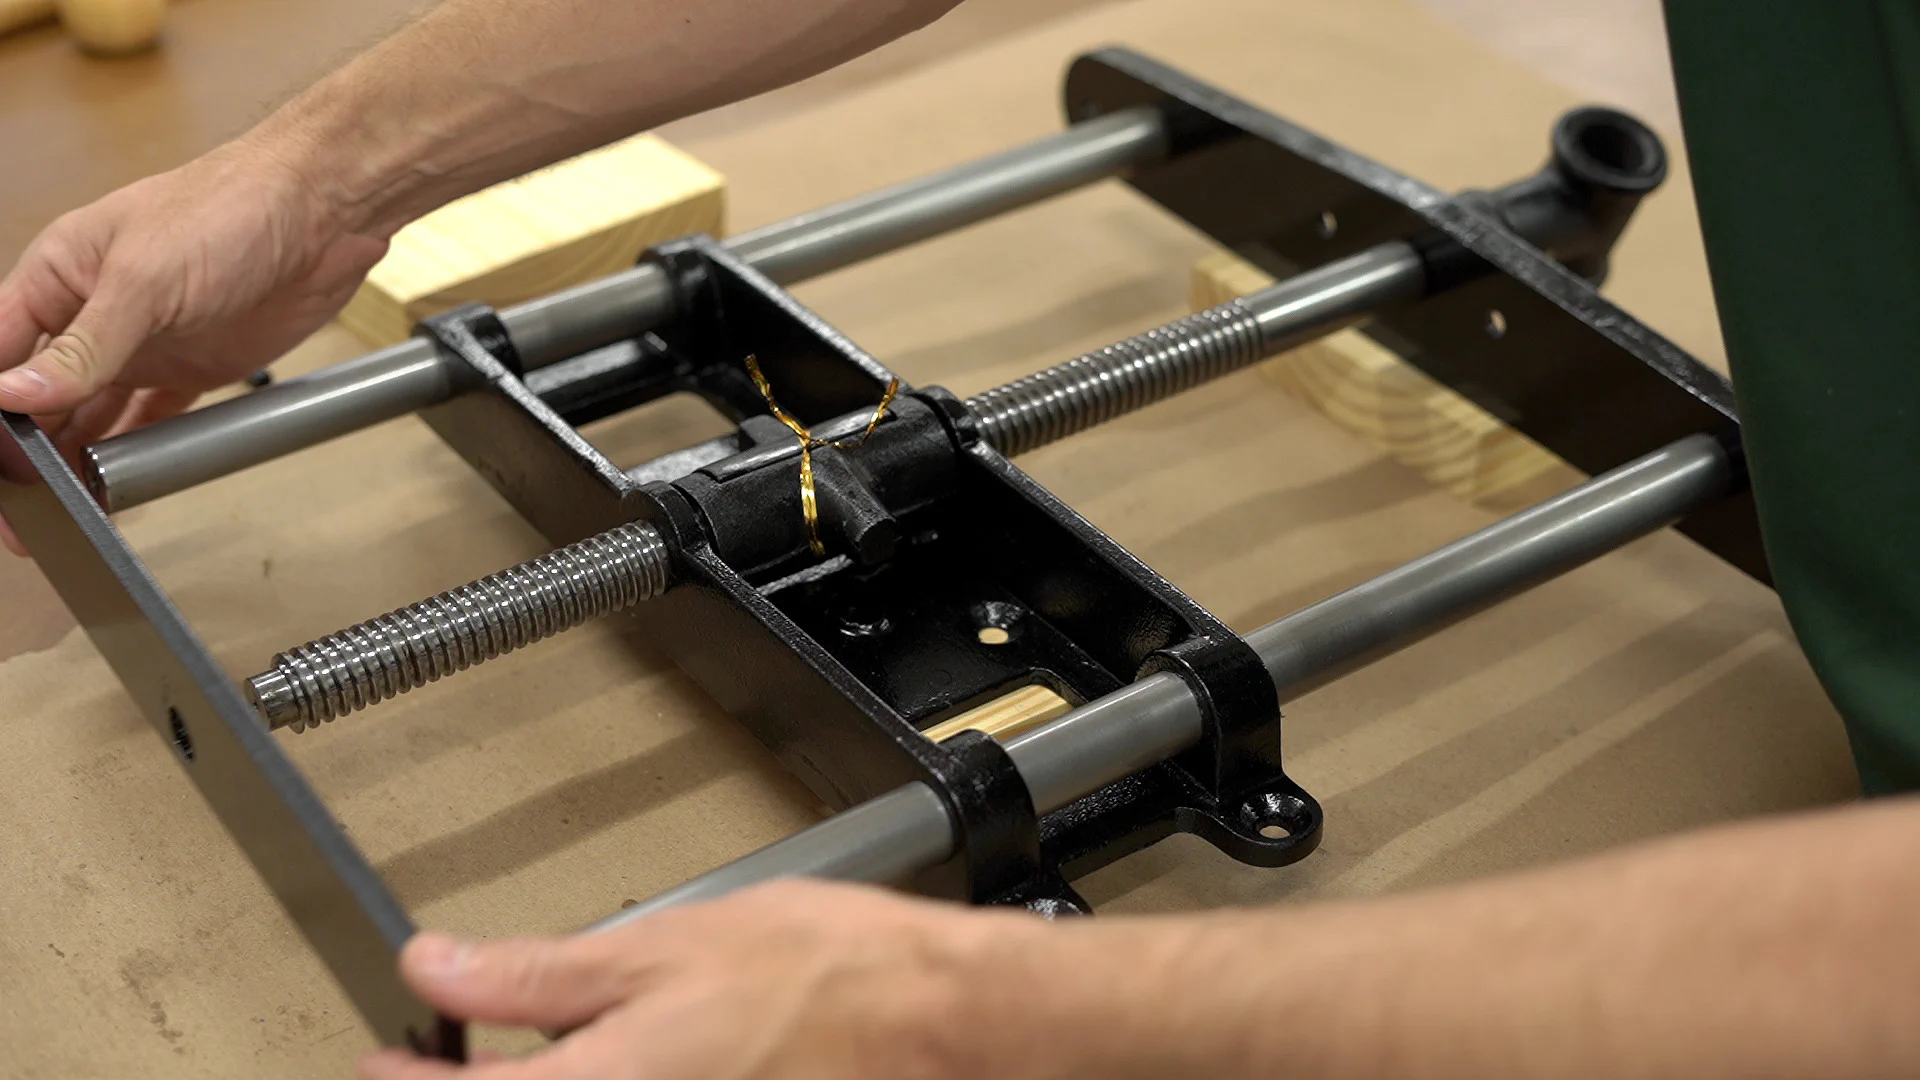
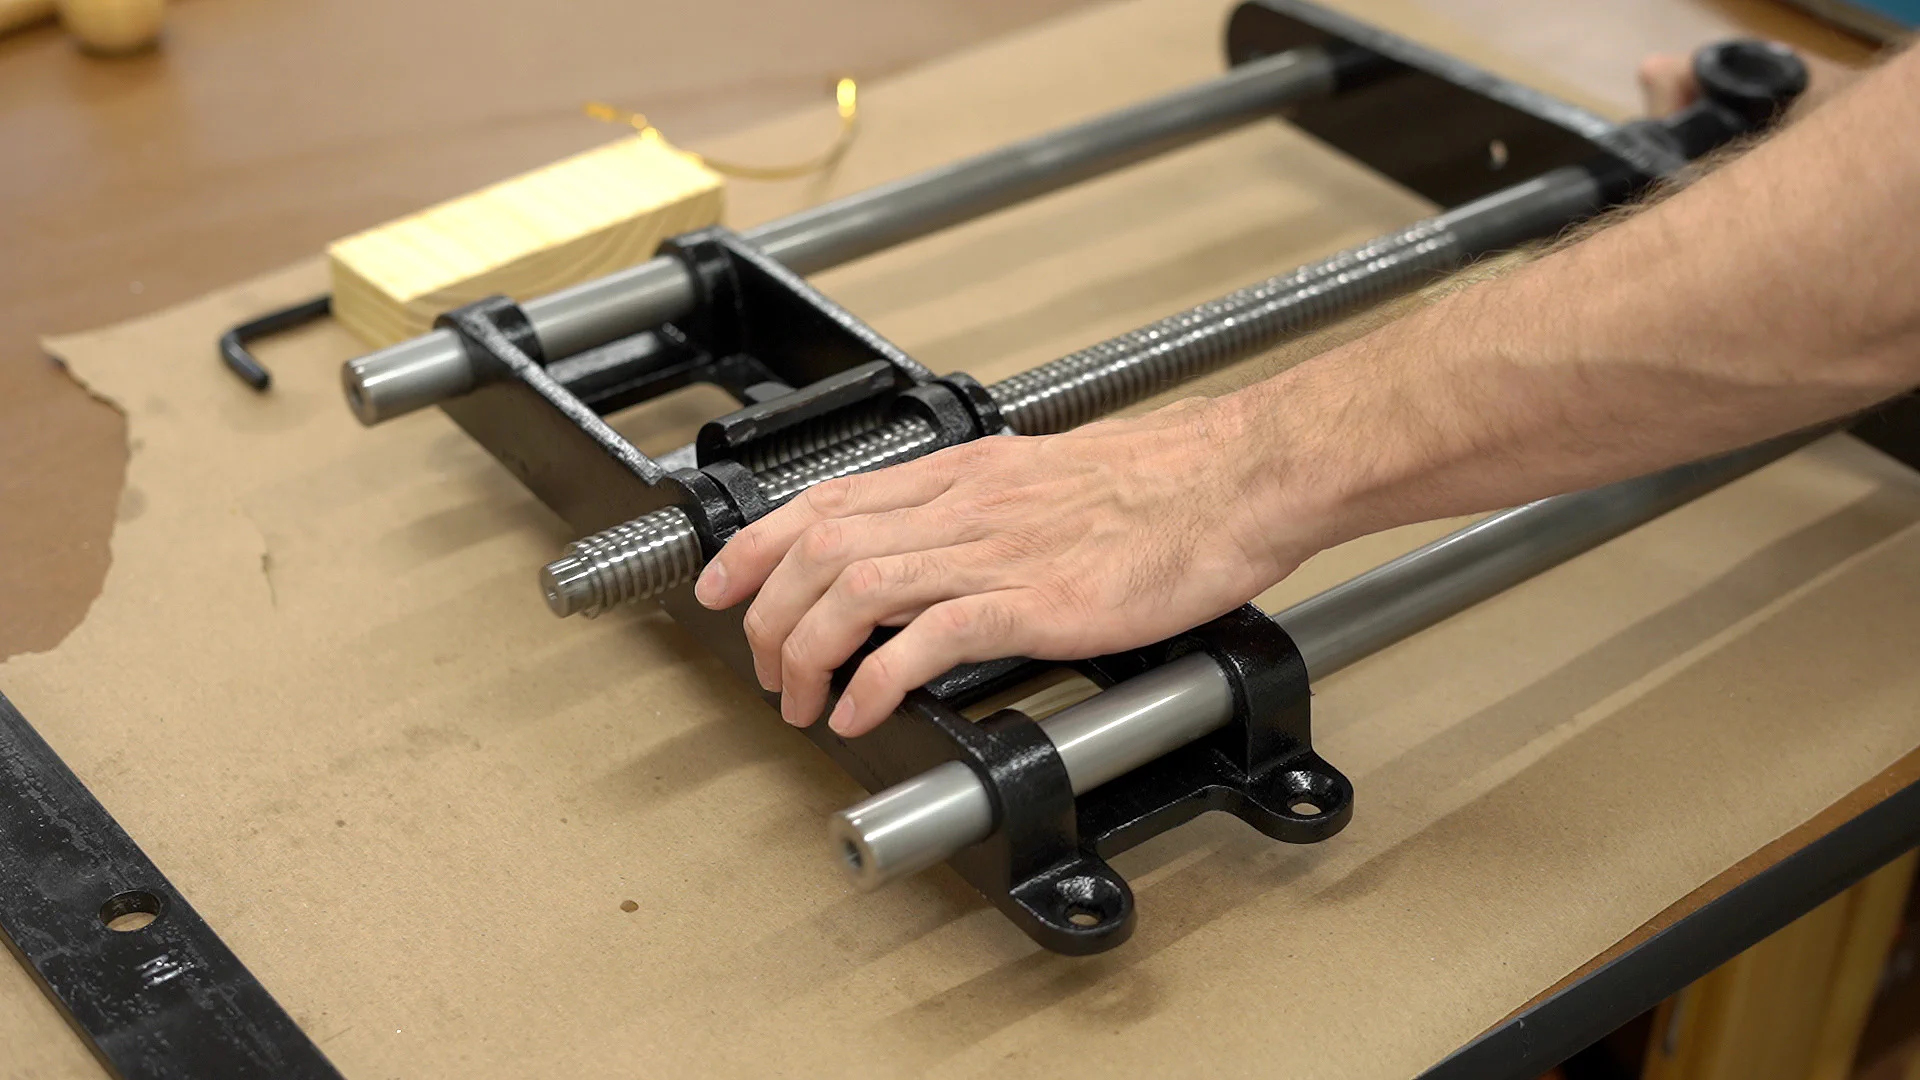
I also marked the front face of the rear plate and the vise mount to avoid any confusion later when the parts are mounted.
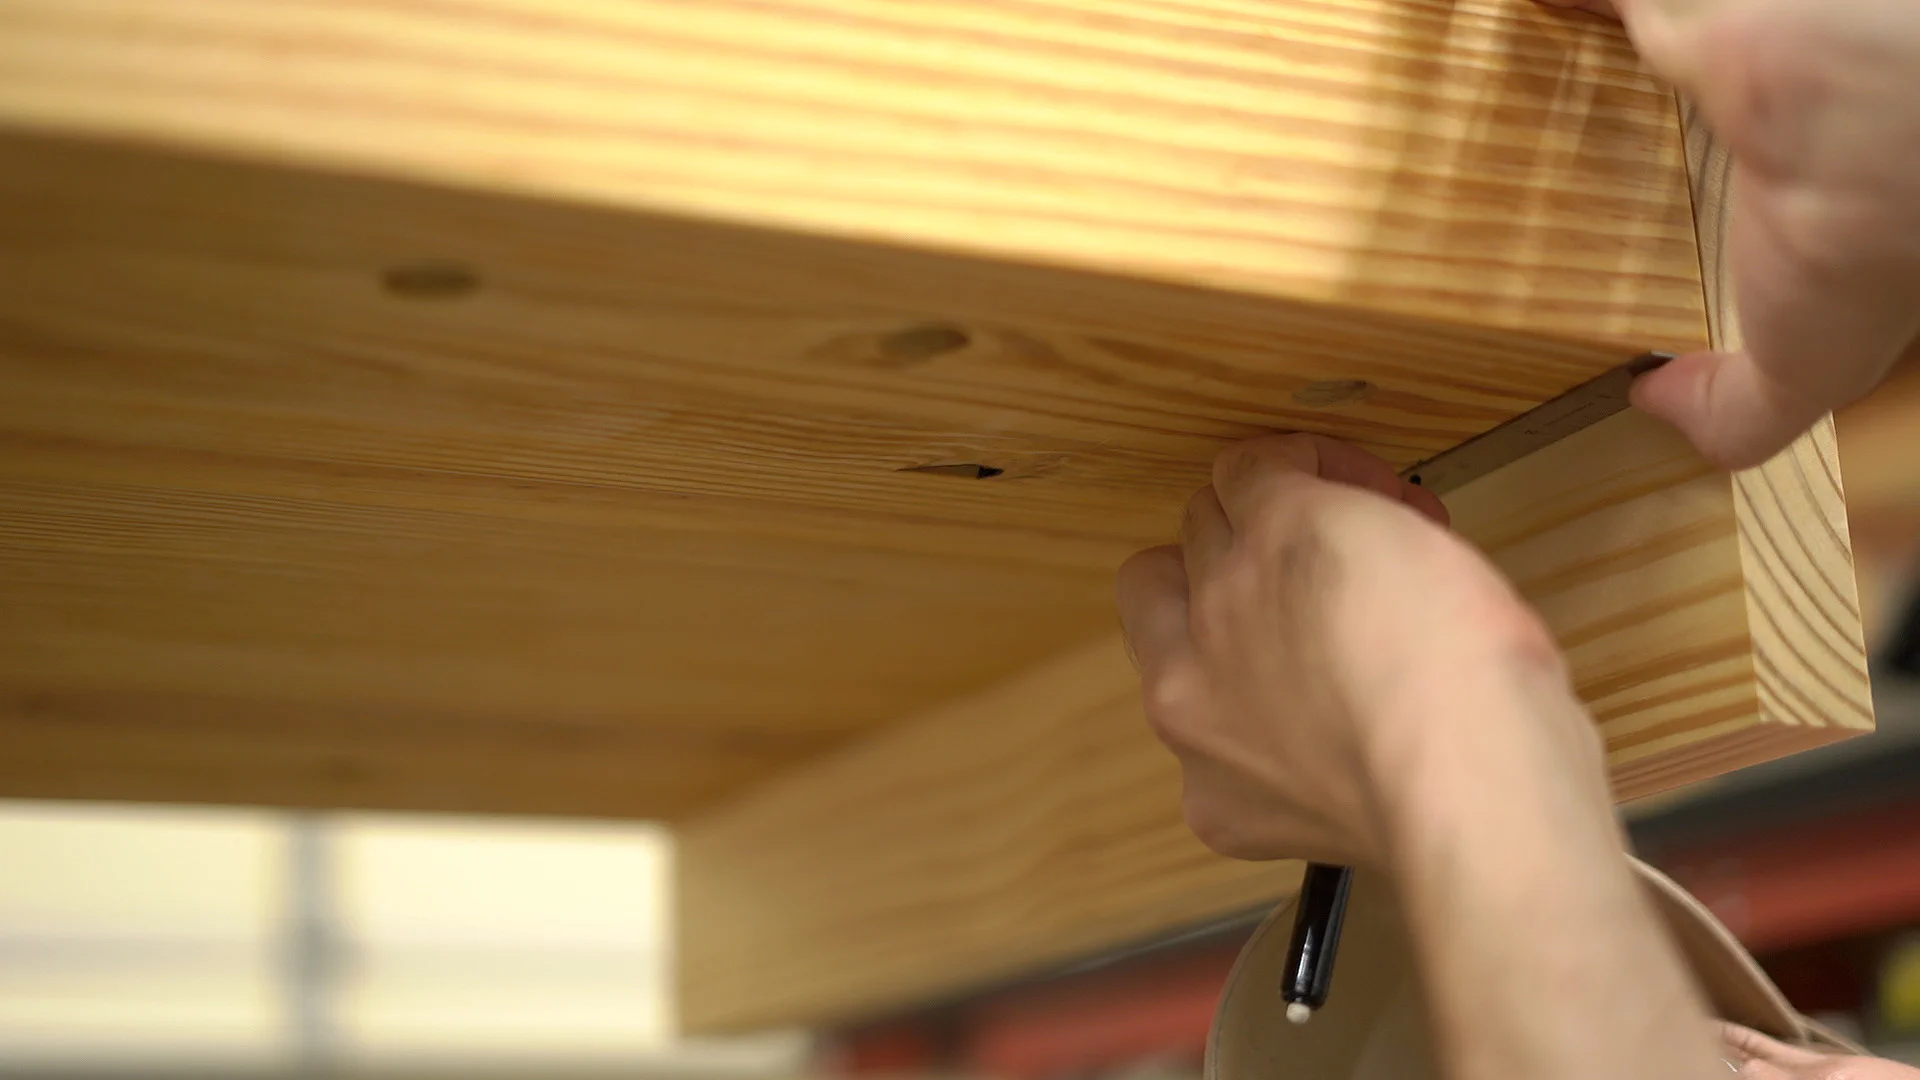
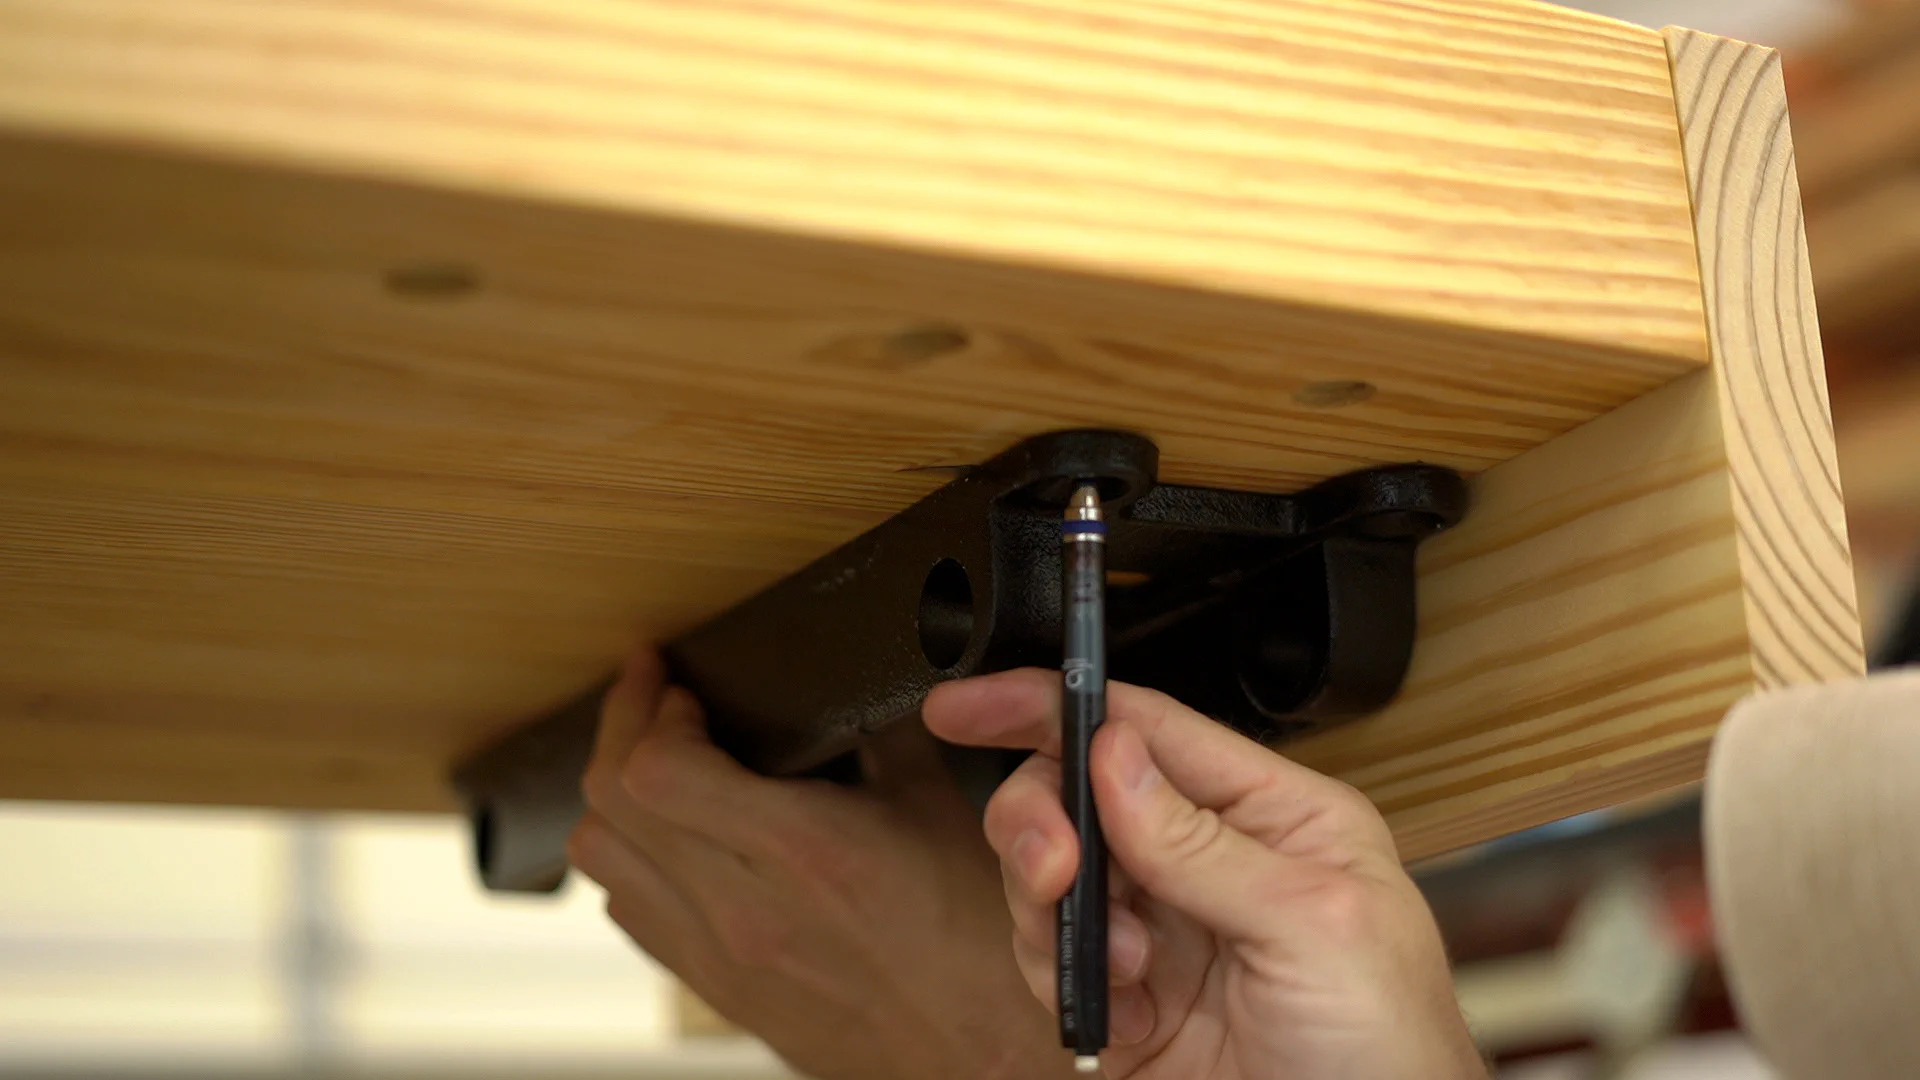
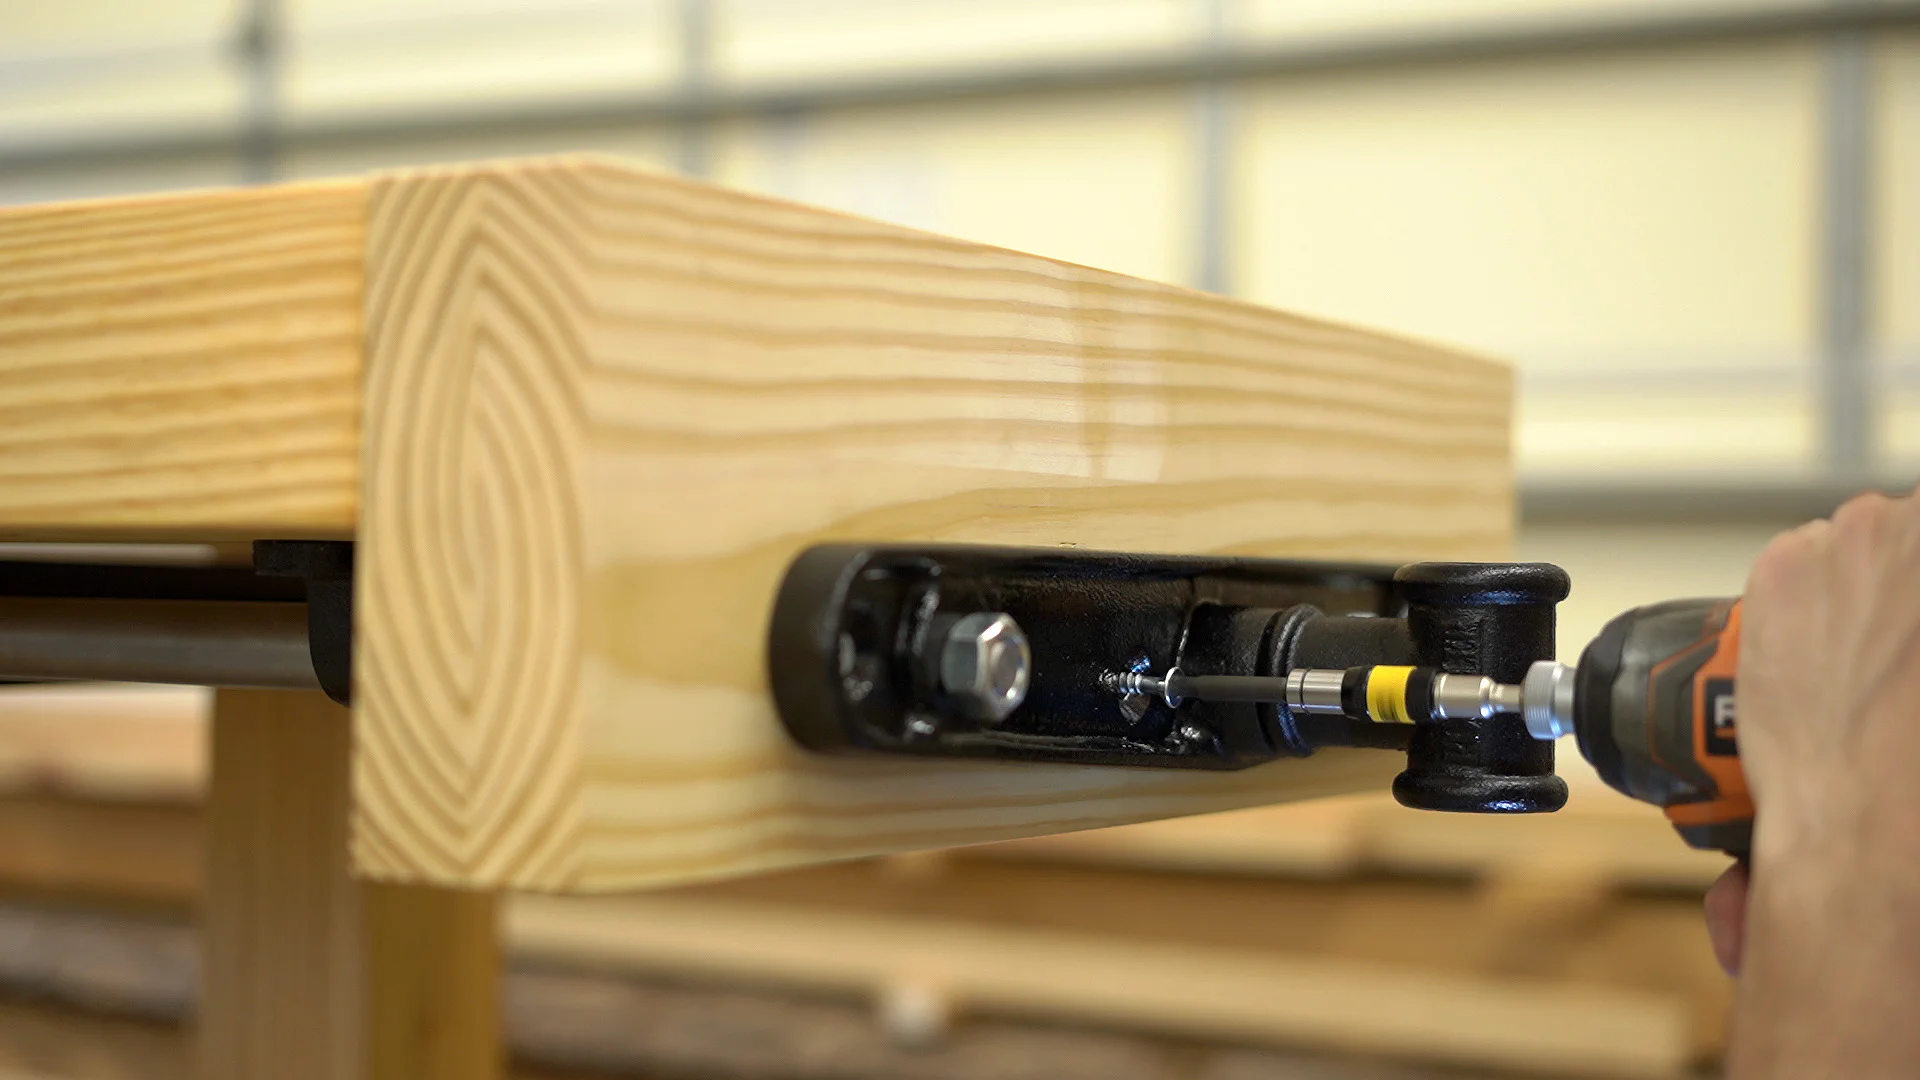
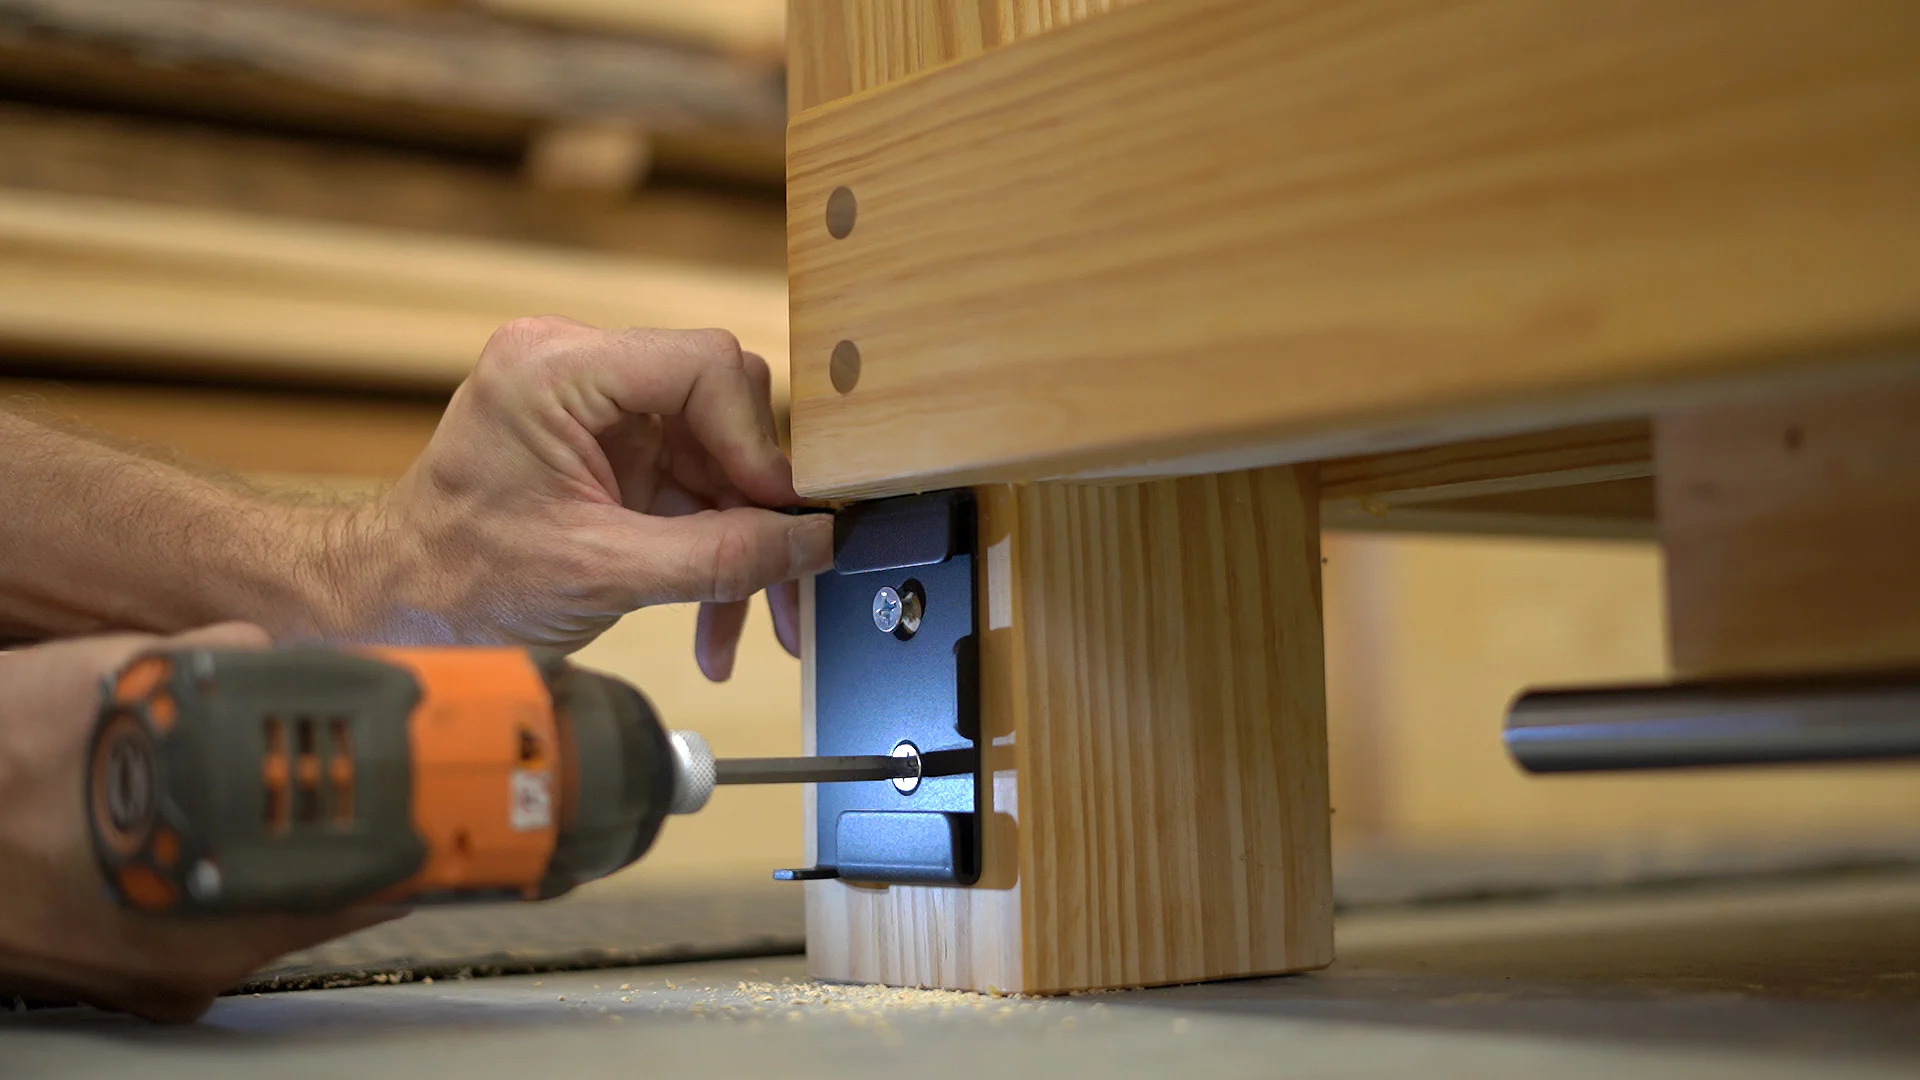
Back at the bench, I made a few marks on the bottom of the top to help position the vise in the center of the bench. Then, while holding the vise with its front face up against the jaw, I marked the locations of the four outer mounting holes and pre-drilled each of them.
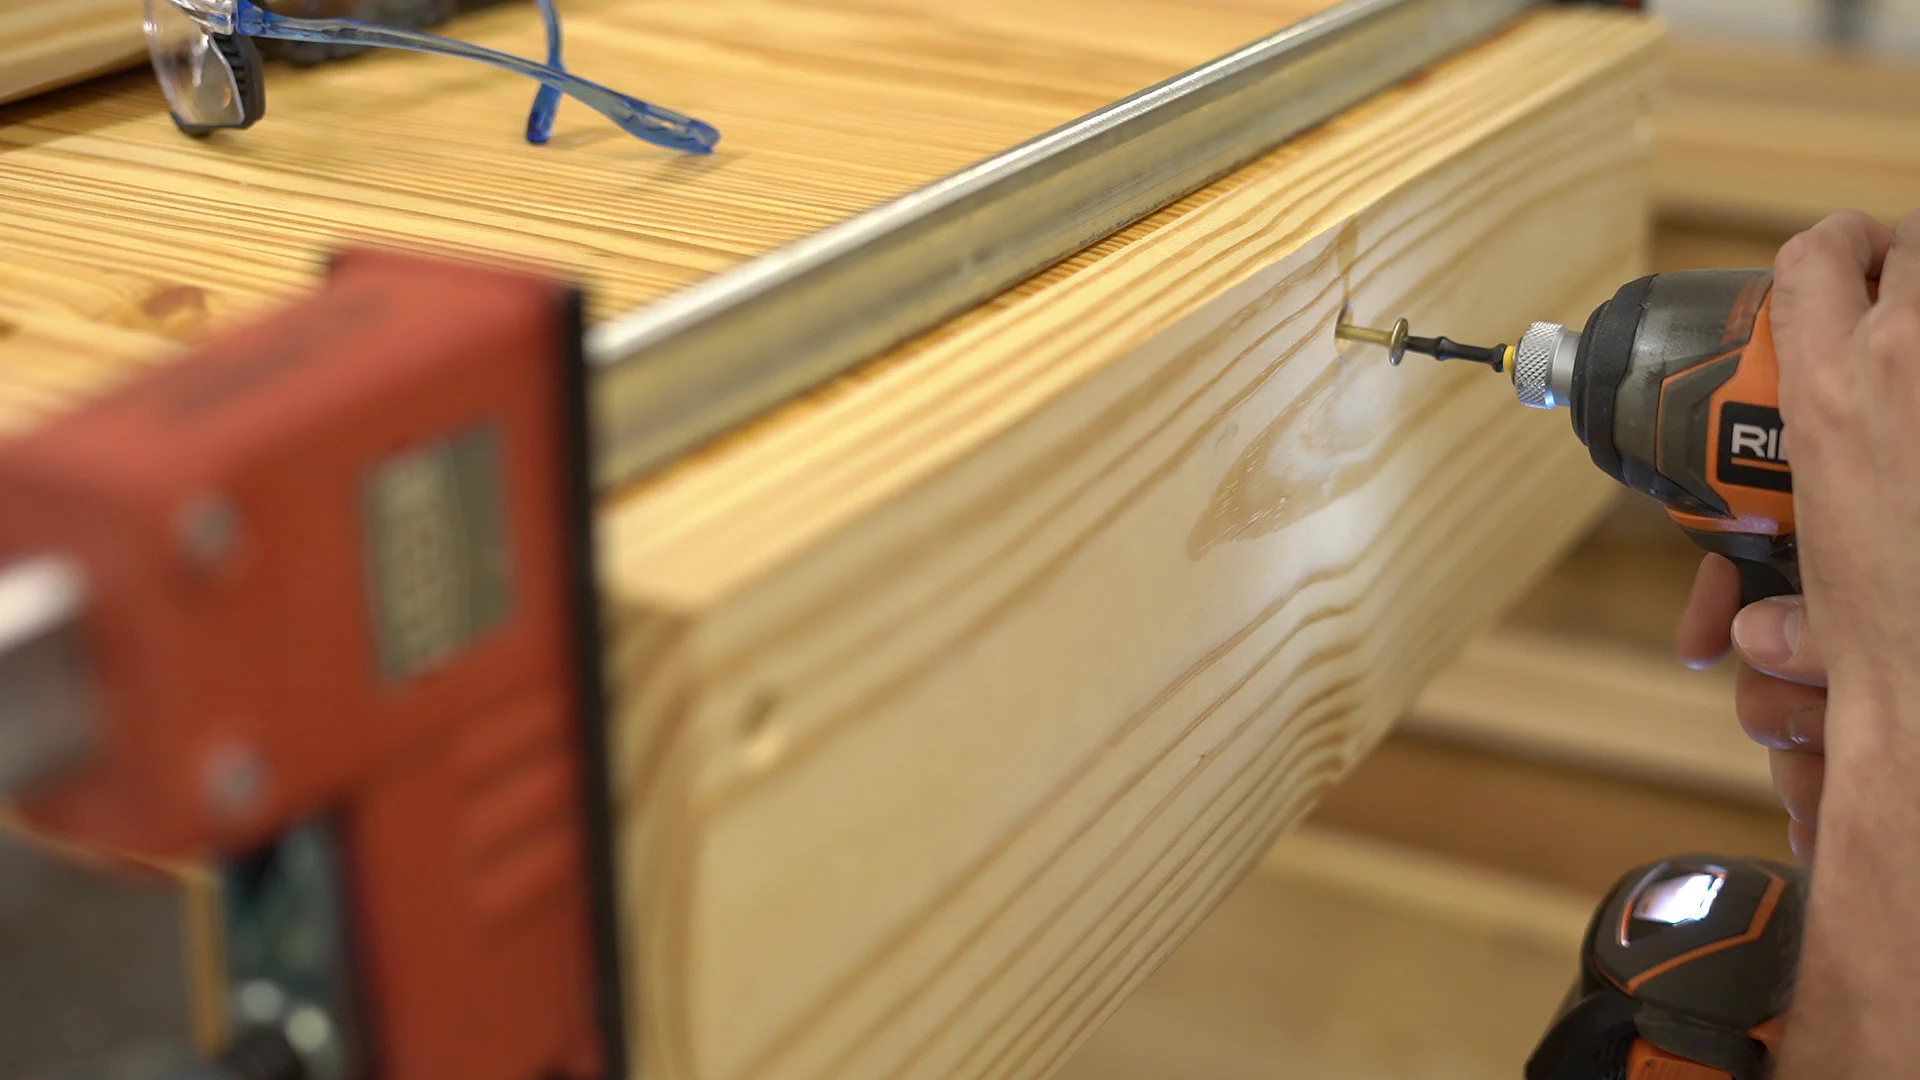
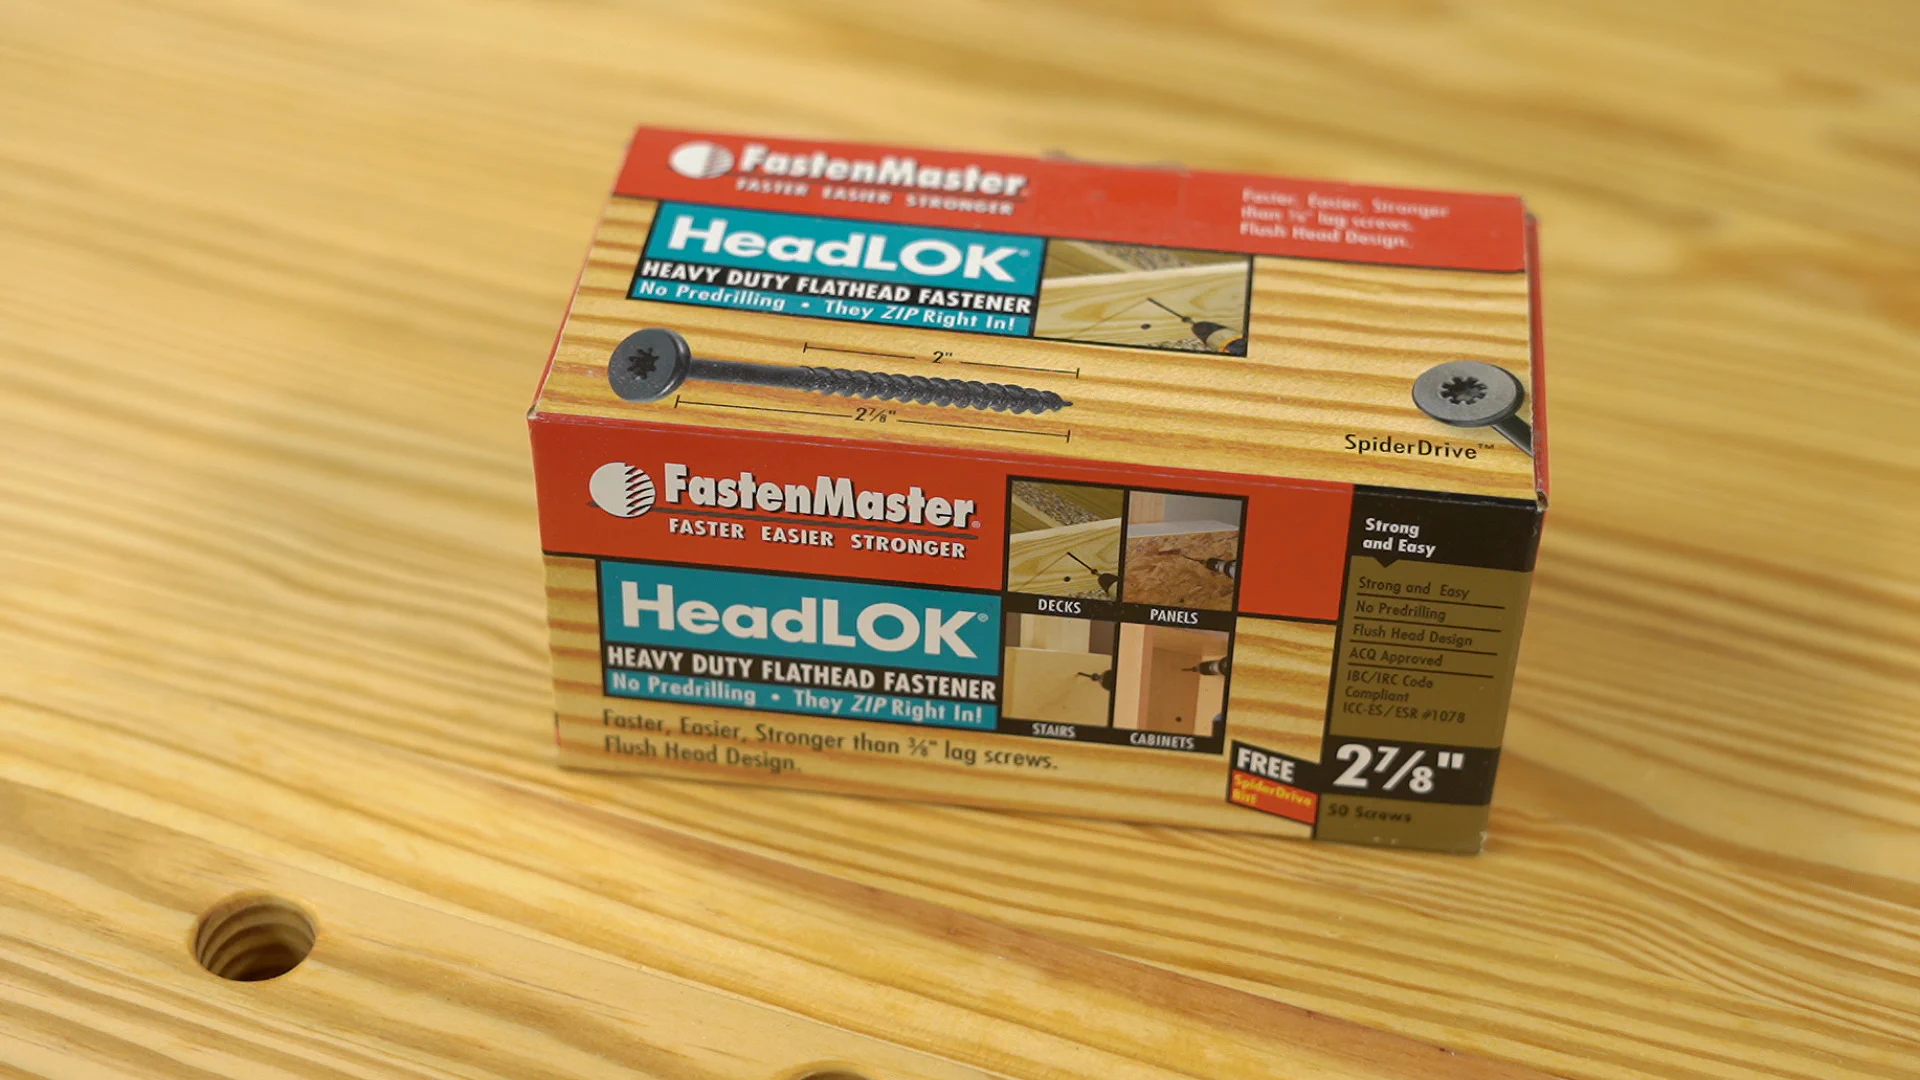
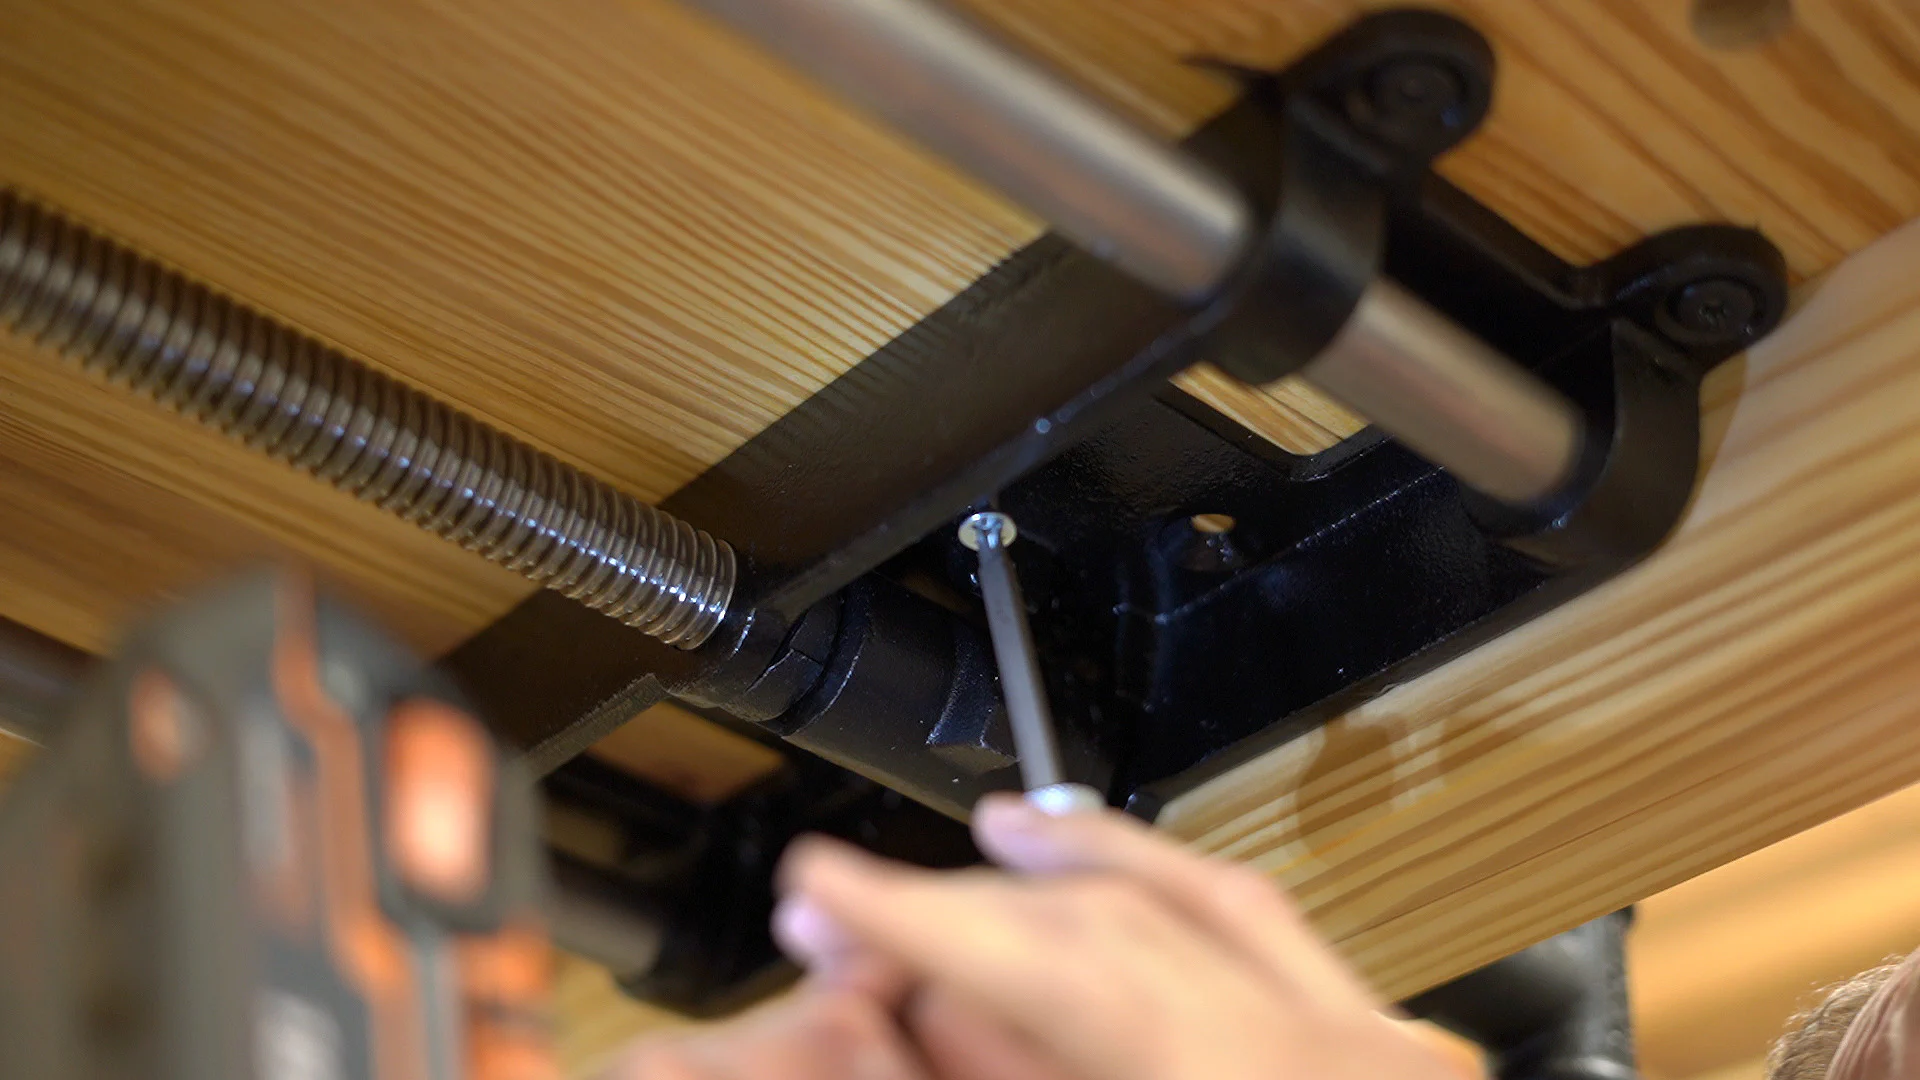
To mount the vise hardware to the bench, I used four flat-head (HeadLOK) lag screws in the outer mounting holes, and then came back later and used four more 2" #14 wood screws on the inner holes.
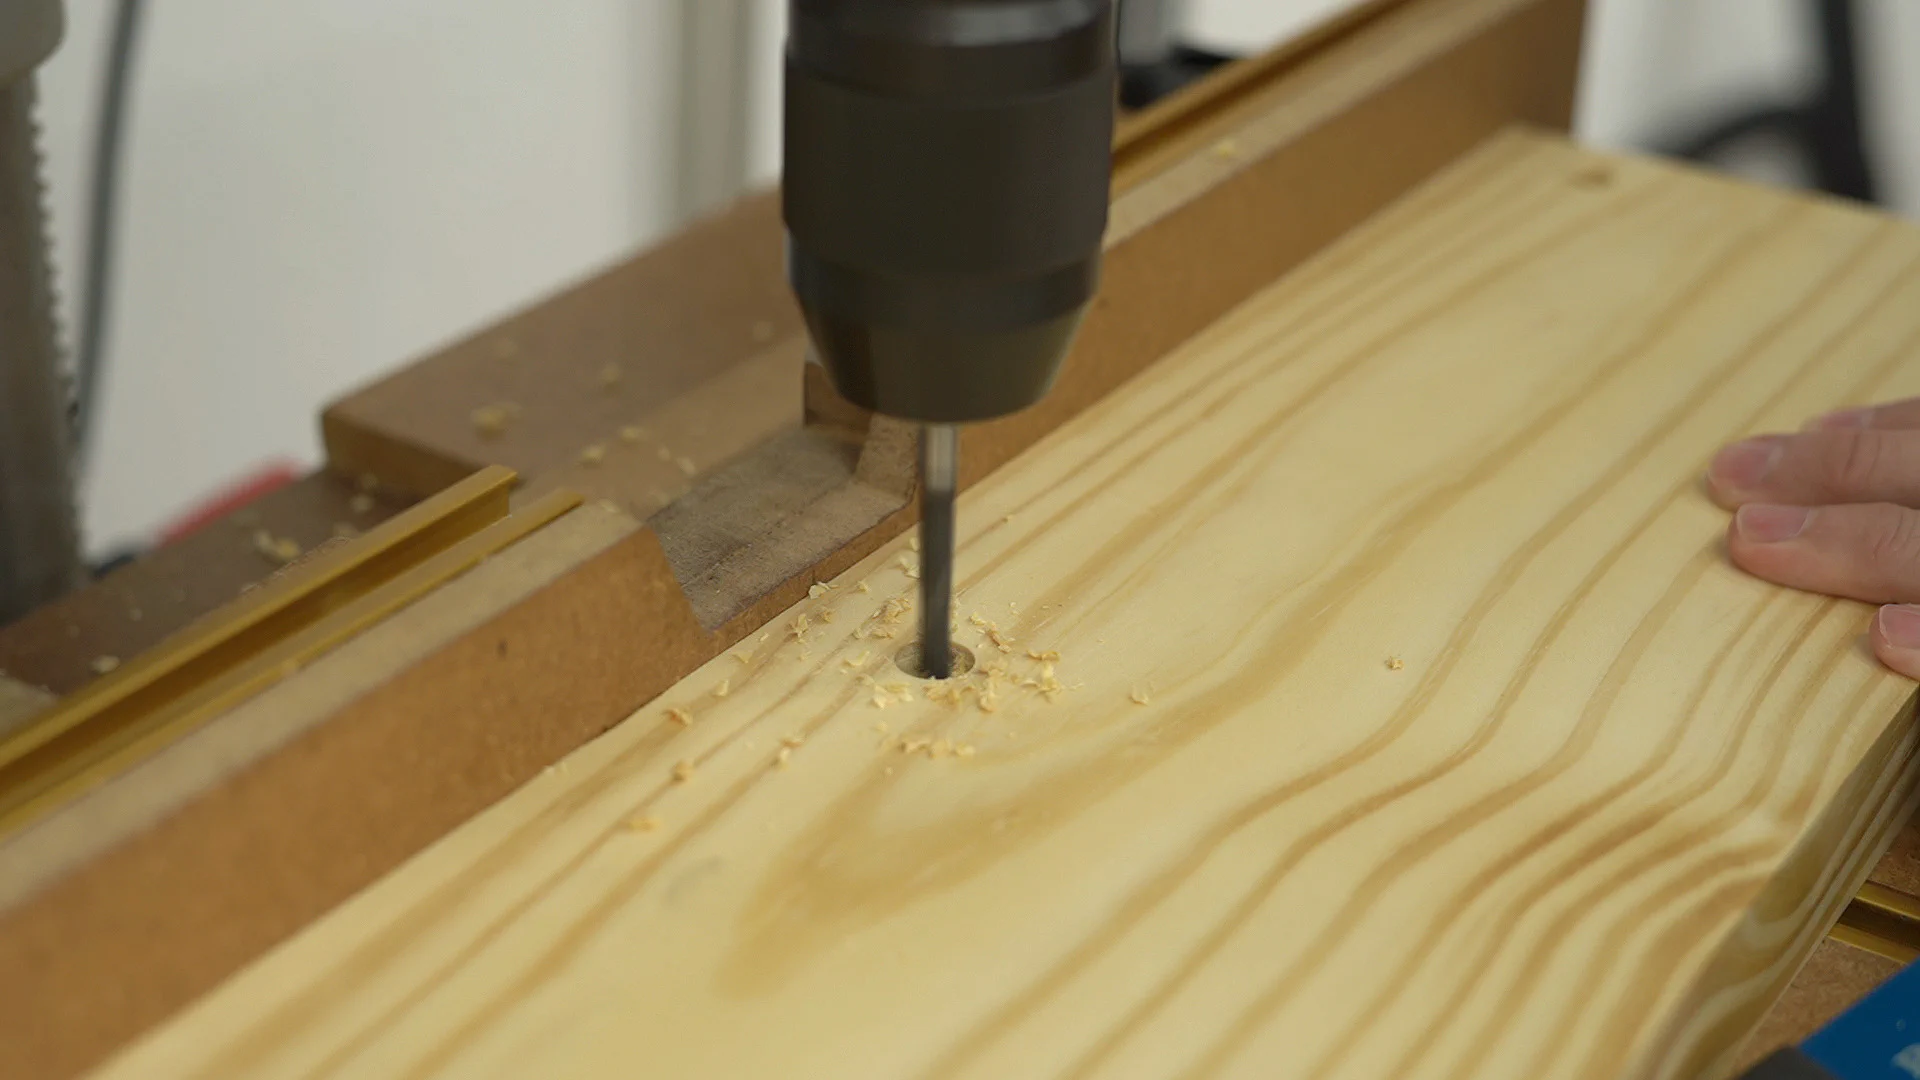
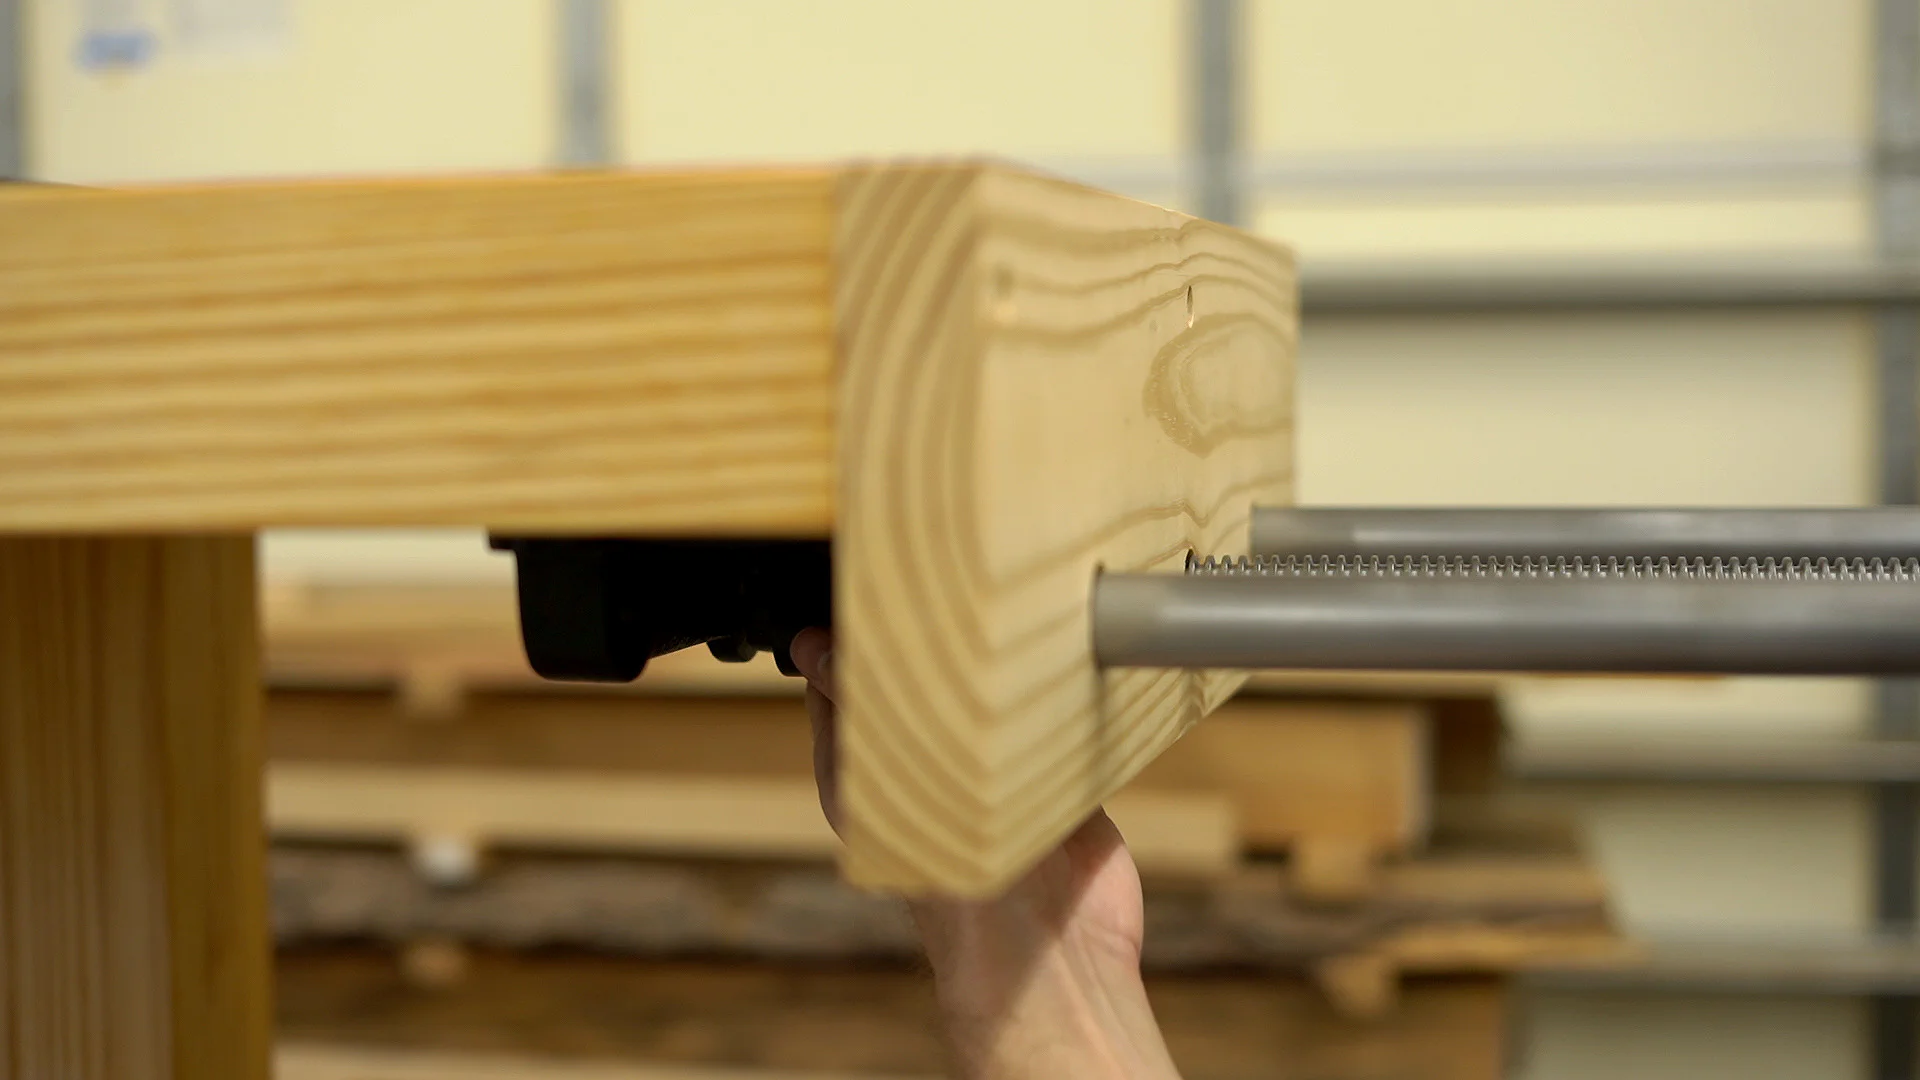
Next, I used a 1" Forstner bit to mark the screw and guide rod locations on the back of the jaw.
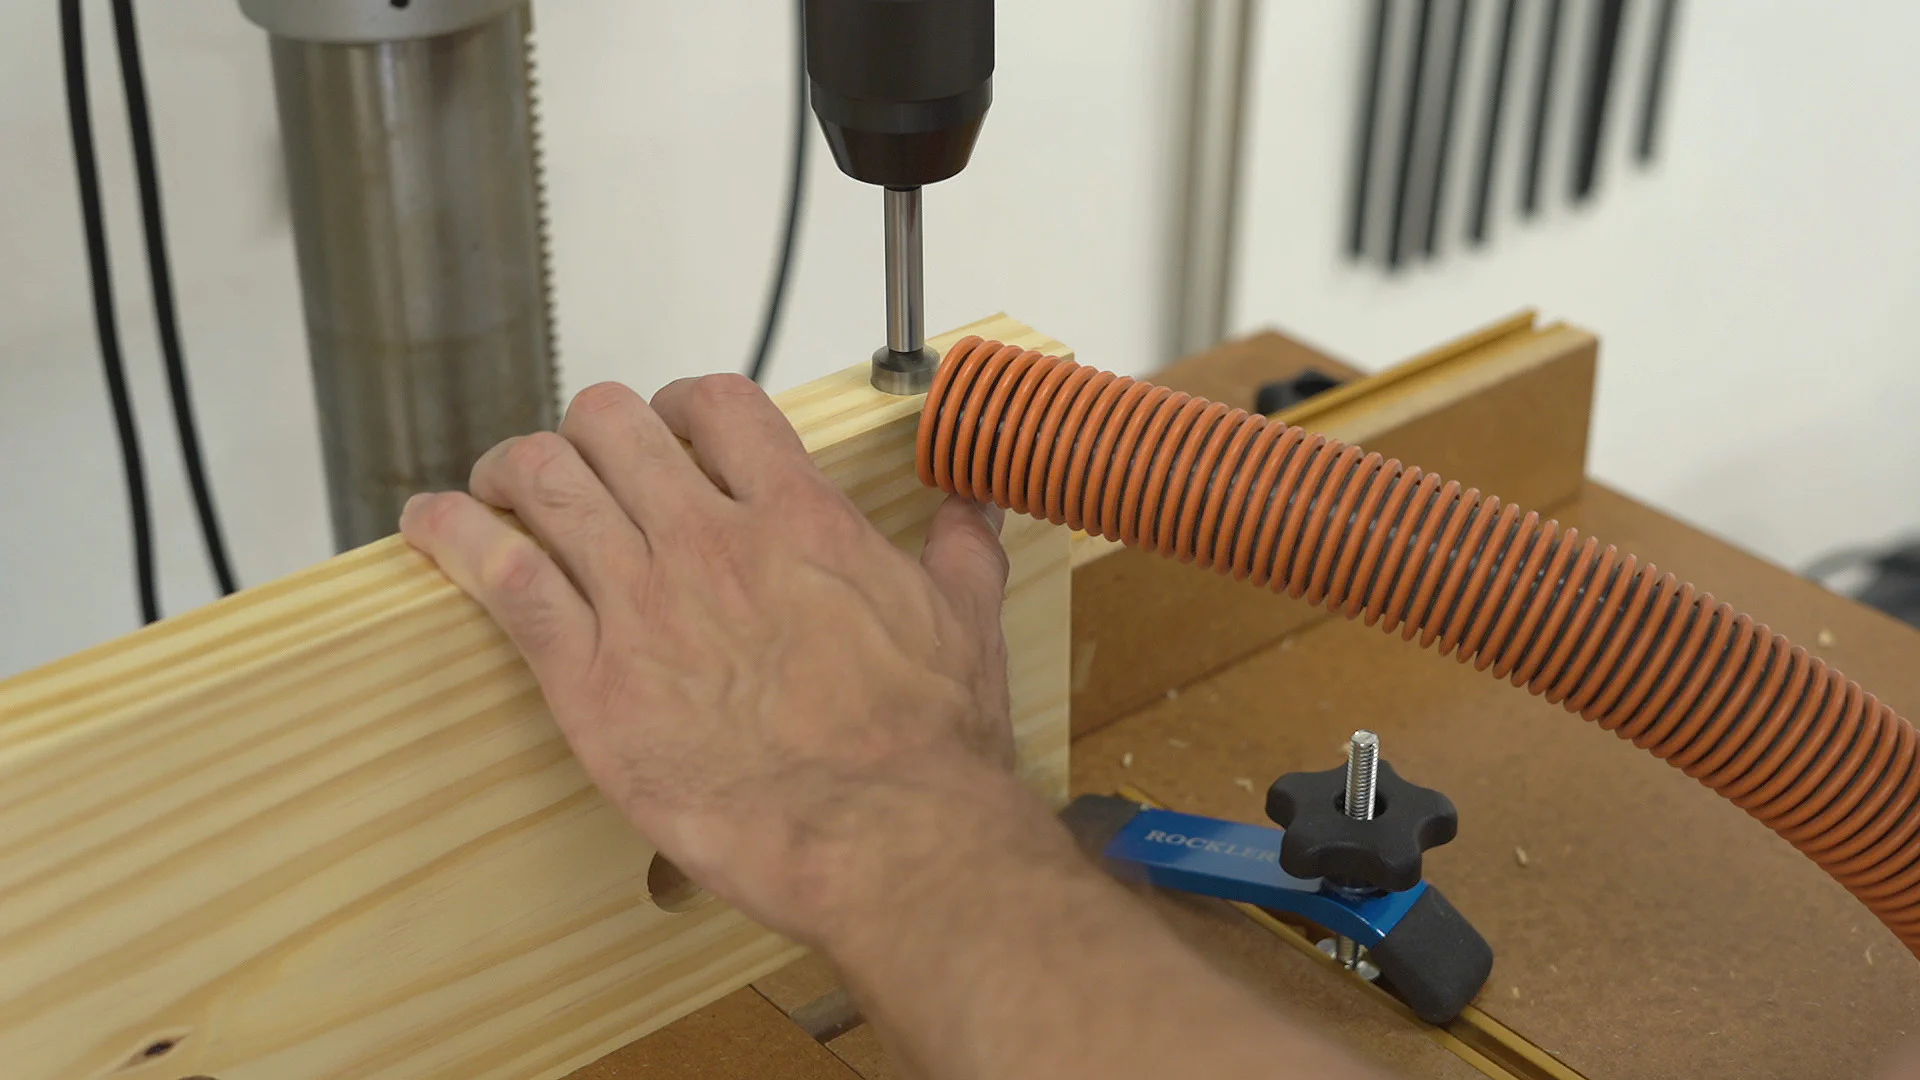
I then removed the jaw and took it over to the drill press to drill holes through both jaws using a 1-1/8" bit. Using a slightly larger bit helps to leave a little wiggle room to make sure the vise screw and rods won’t bind on the jaw.
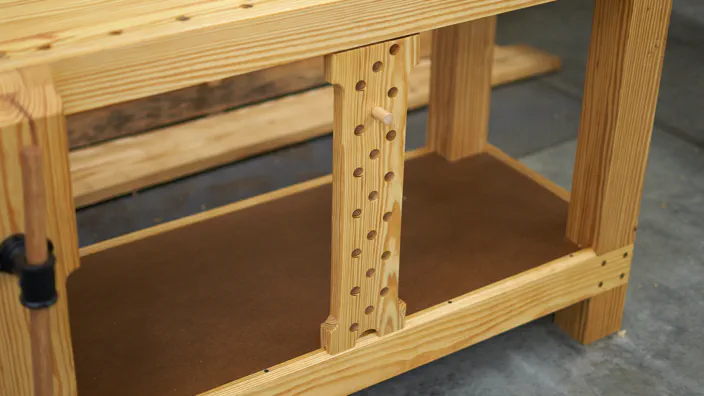
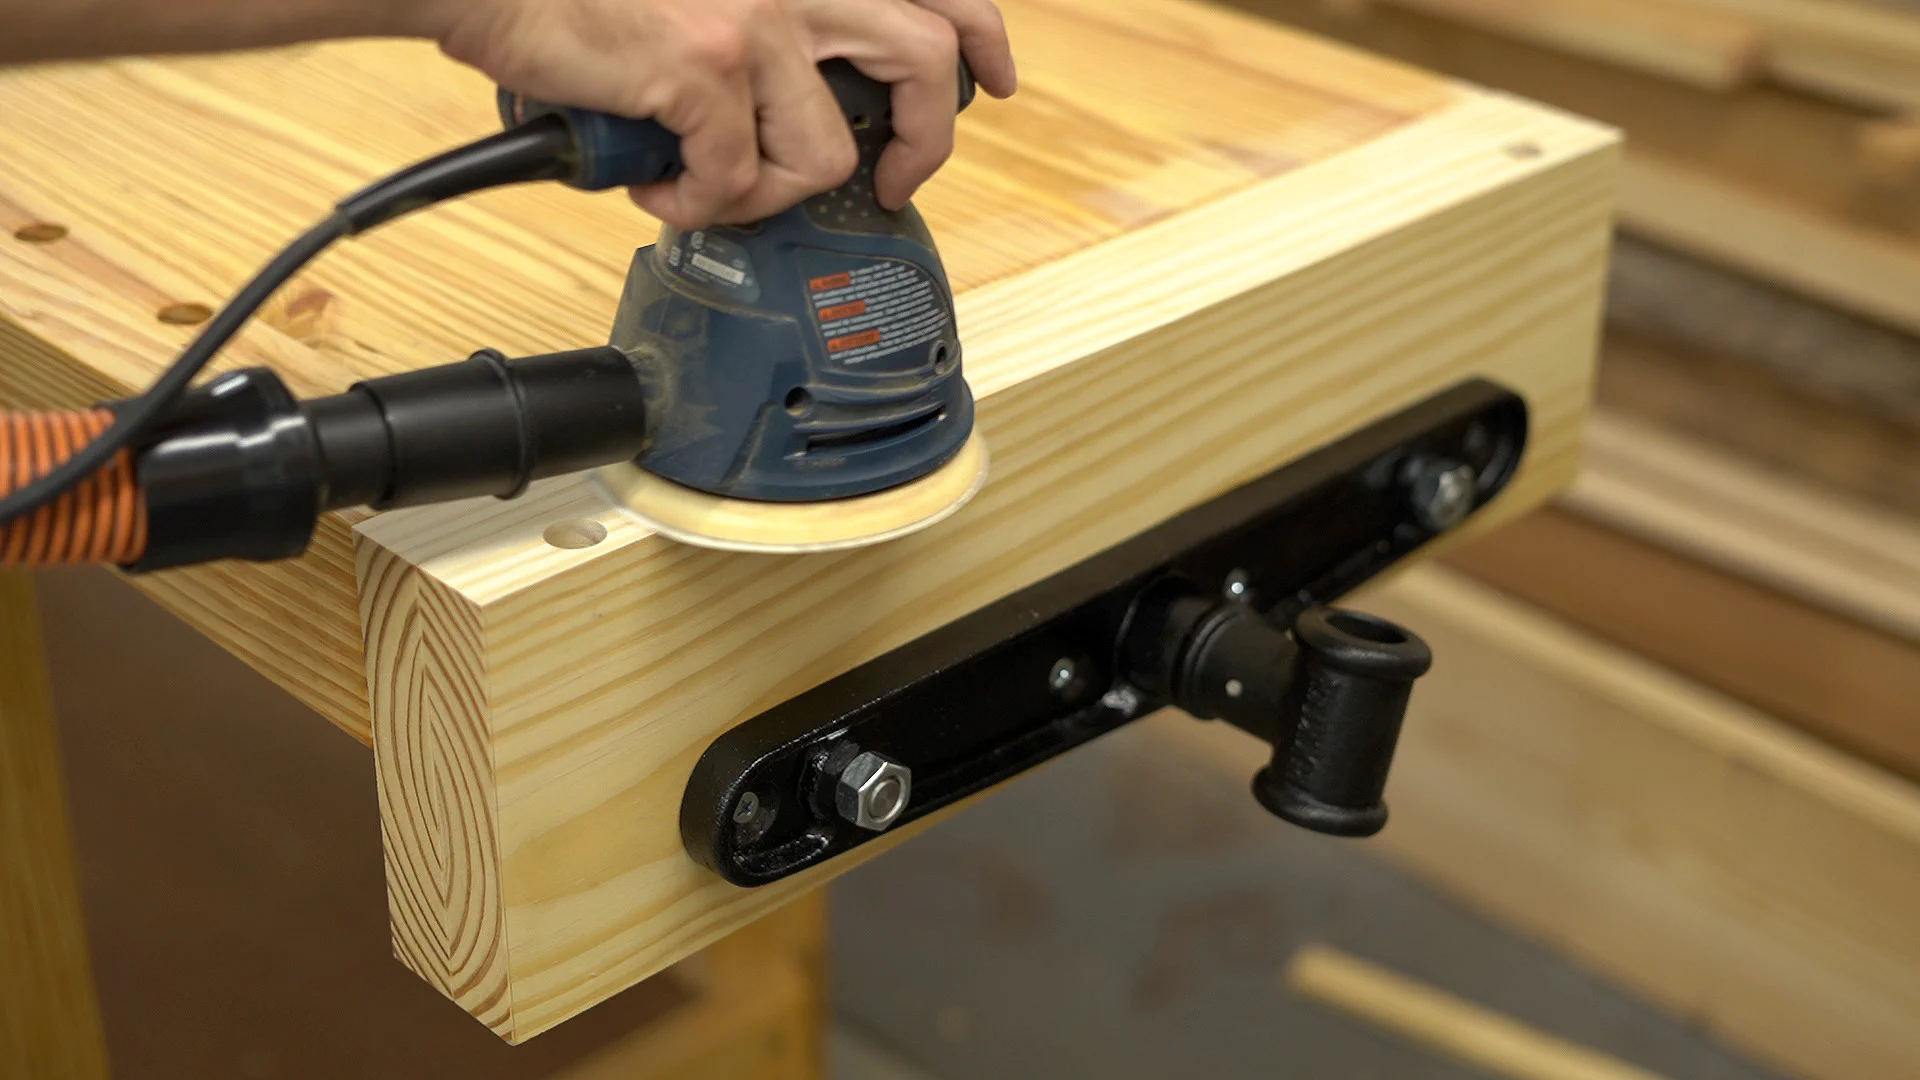
I also went ahead and drilled a 3/4" dog hole into the top of the outer jaw on both sides. Then I headed back over to the bench and reattached the inner jaw making sure the holes lined up with the vise.
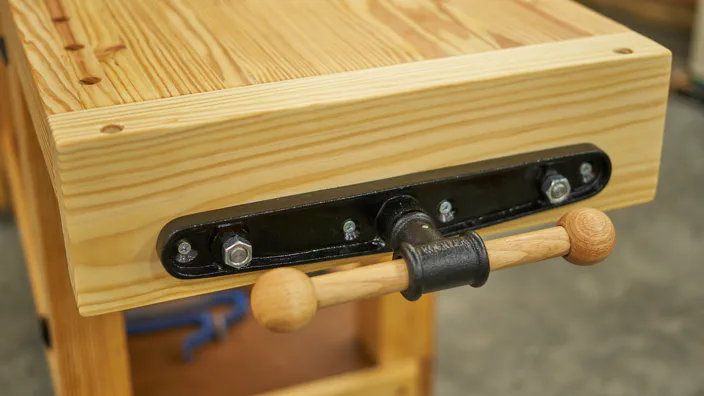
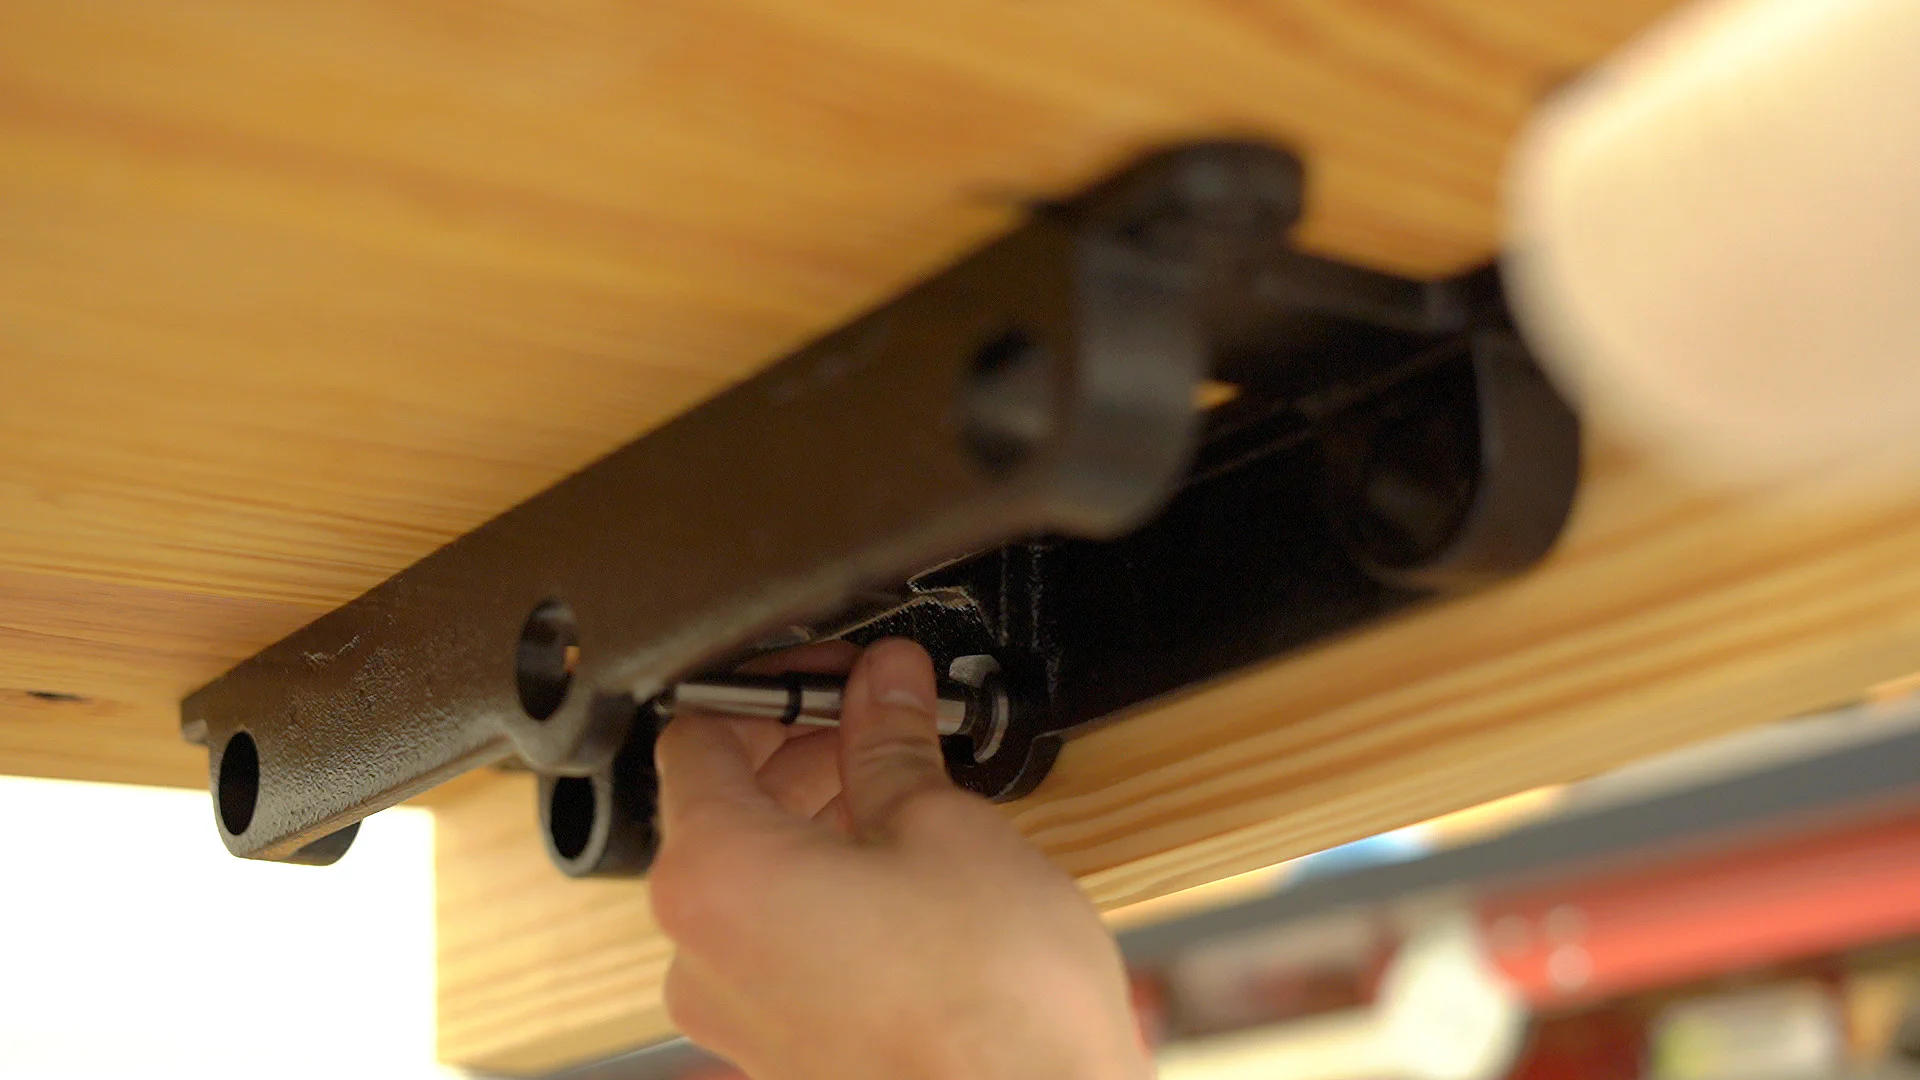
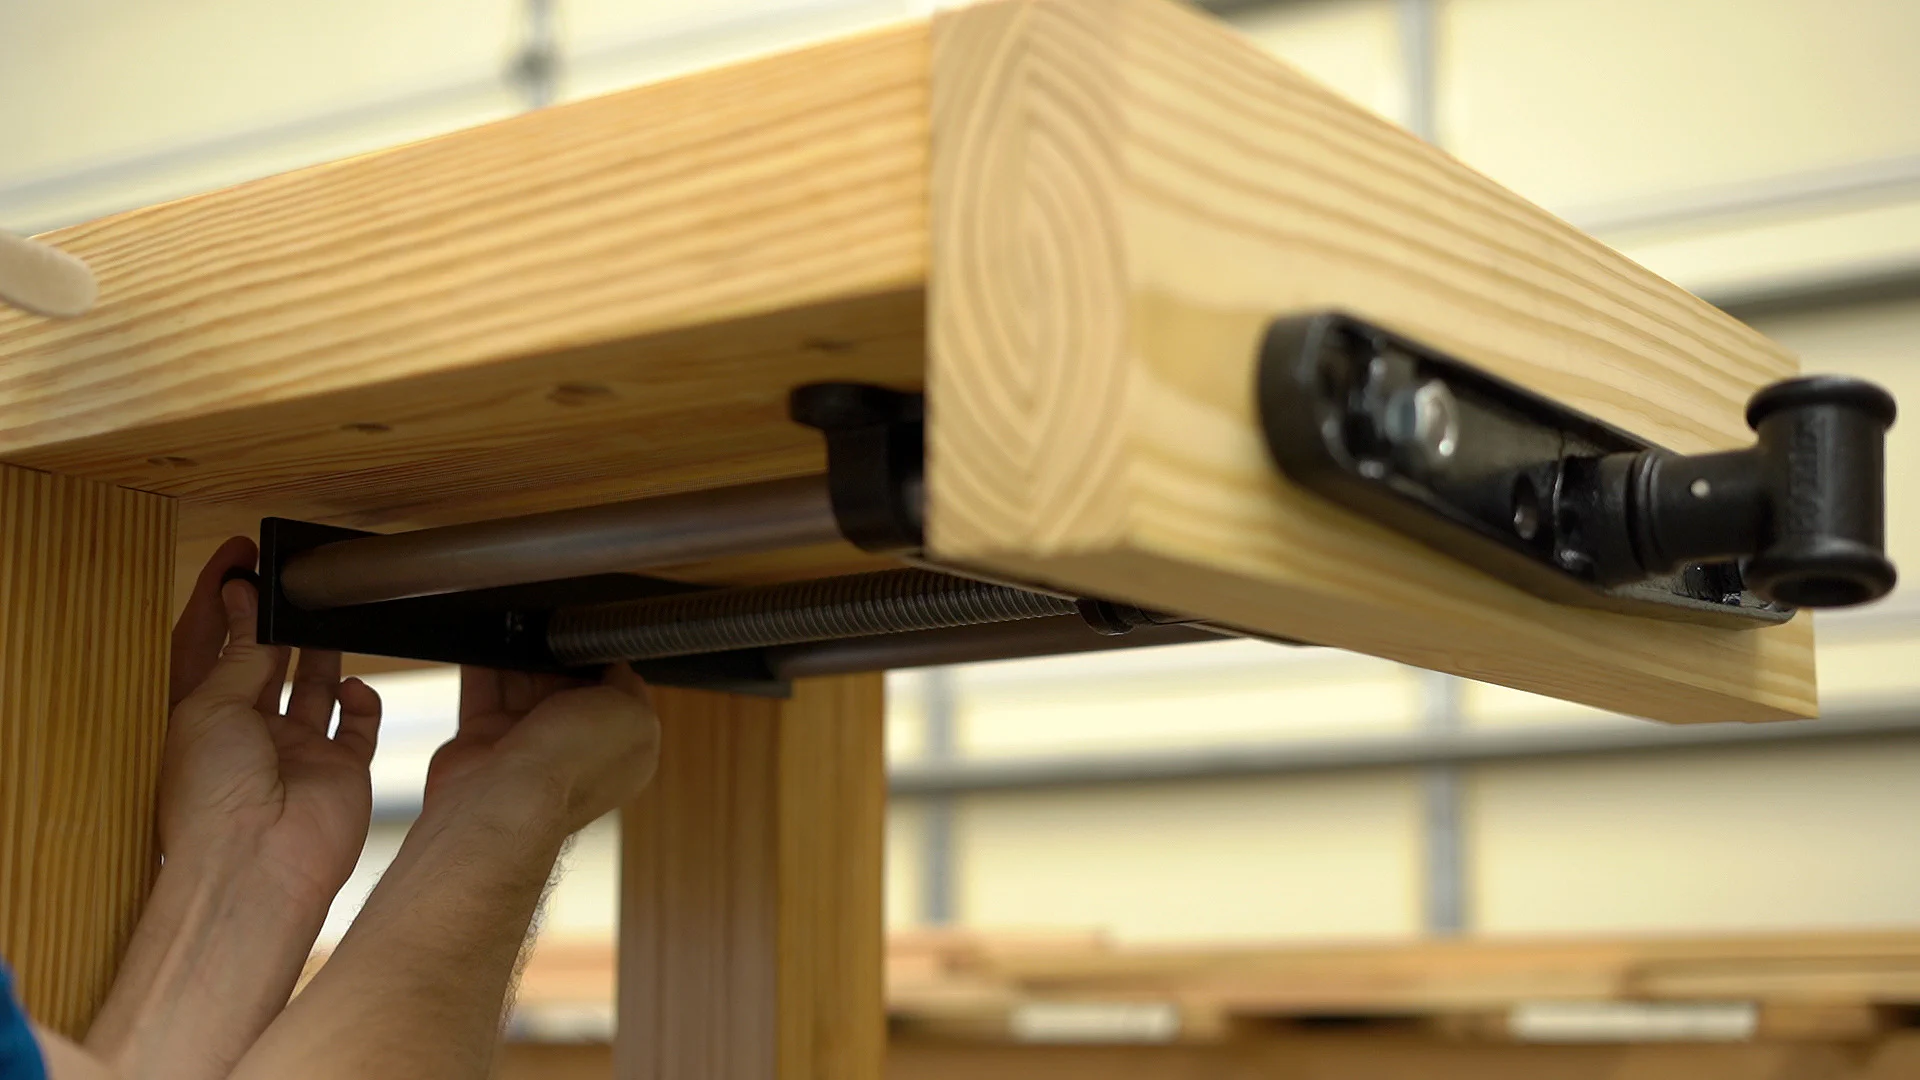
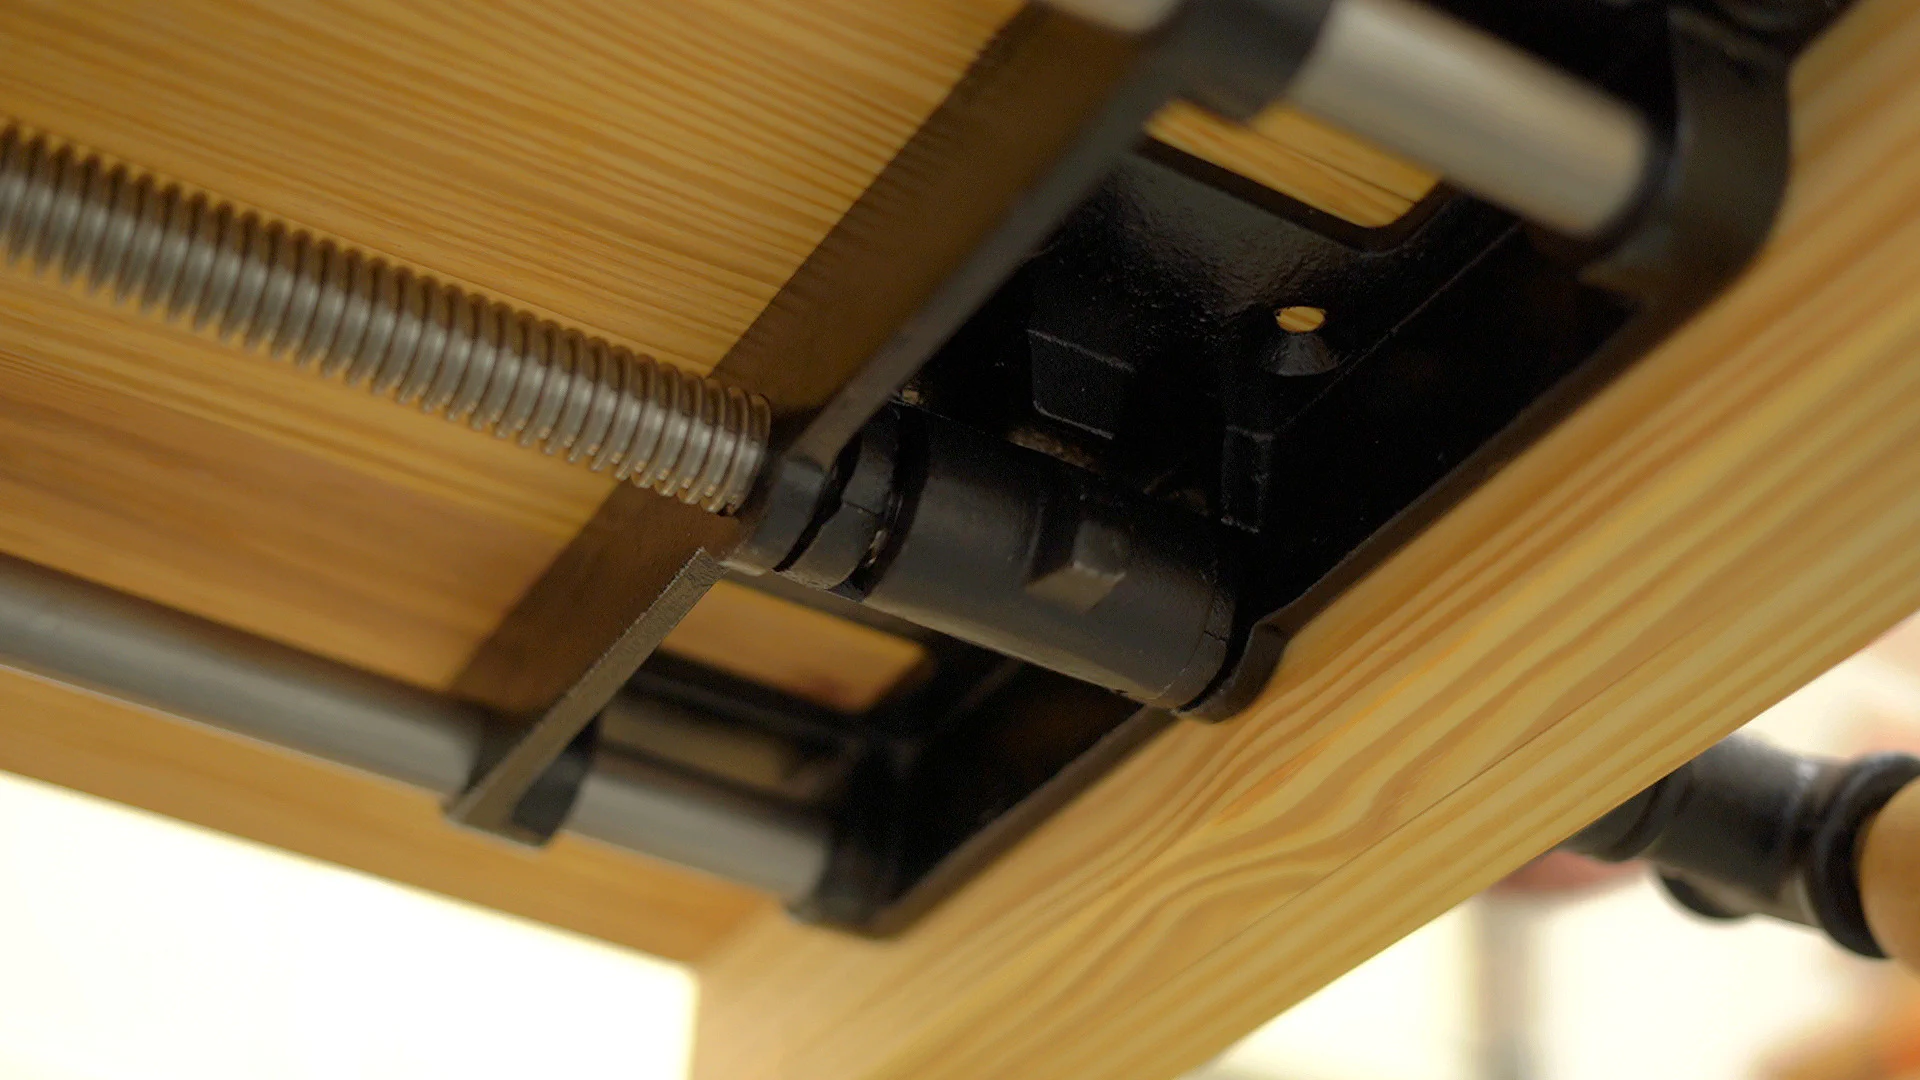
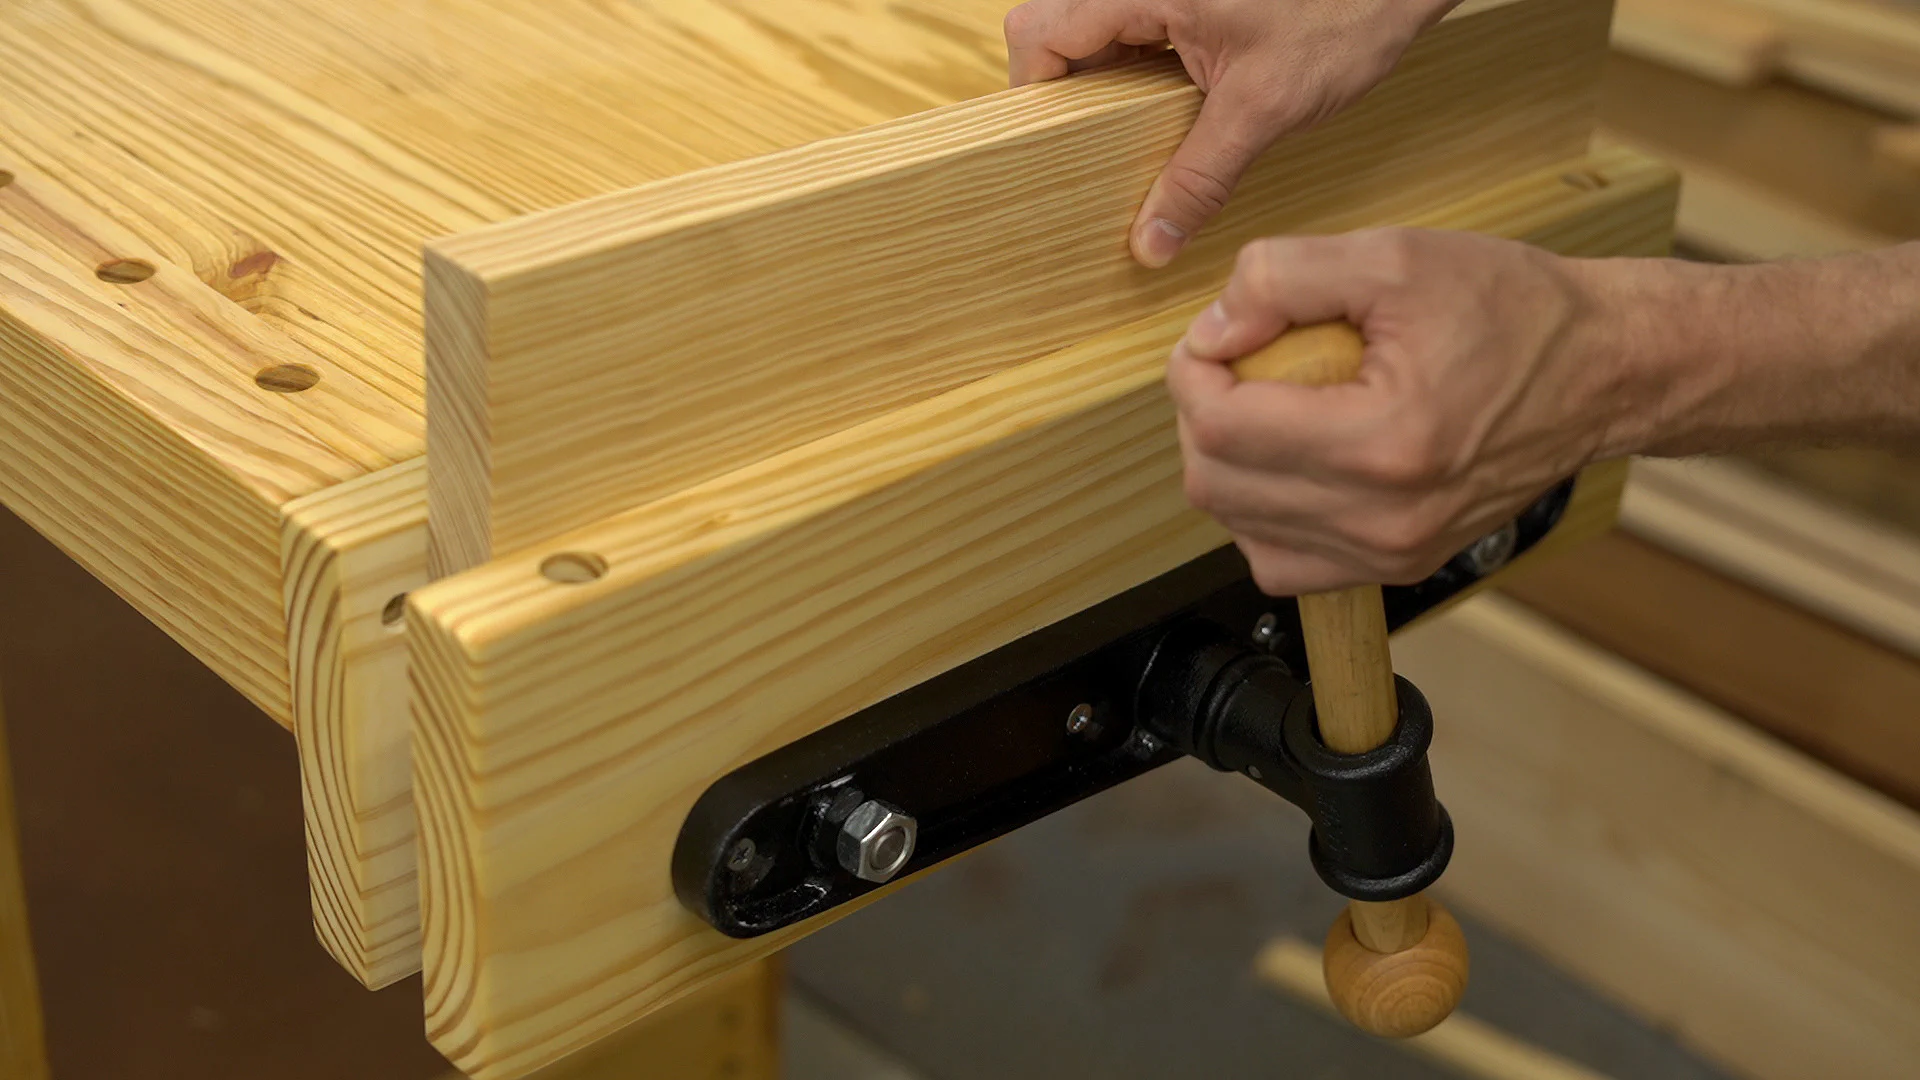
After inserting the outer wooden jaw onto the screw and rods, I carefully inserted them into the vise while holding the quick-release mechanism in place.
This probably would have taken a bit less time with a helper, but it’s possible to balance the rods a little inside the jaw and then hold the quick-release mechanism open so that the outer jaw can be slid into the vise.
With that done, I reattached the rear plate and then lined up the outer jaw flush with the inner one and clamped it in place using the vise. To attach the outer jaw, I pre-drilled and used four 1-1/4" #14 screws.
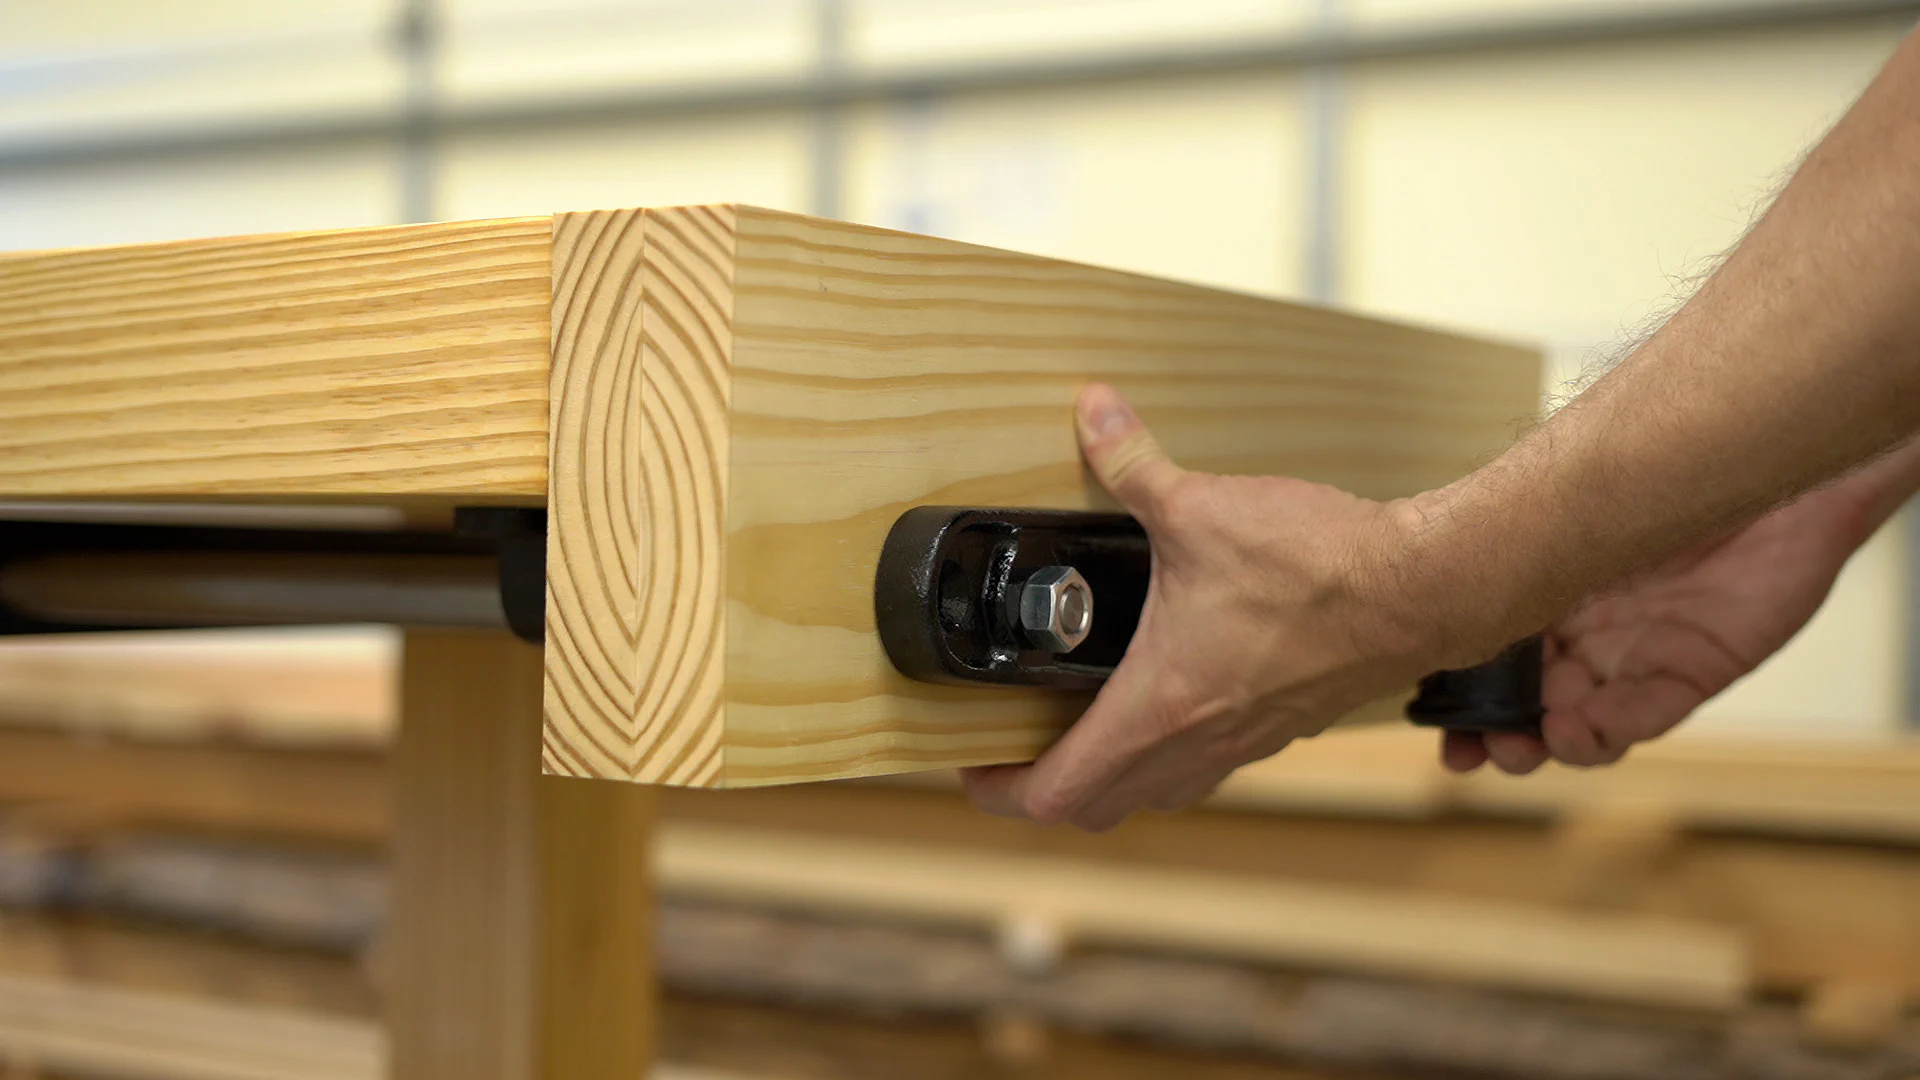
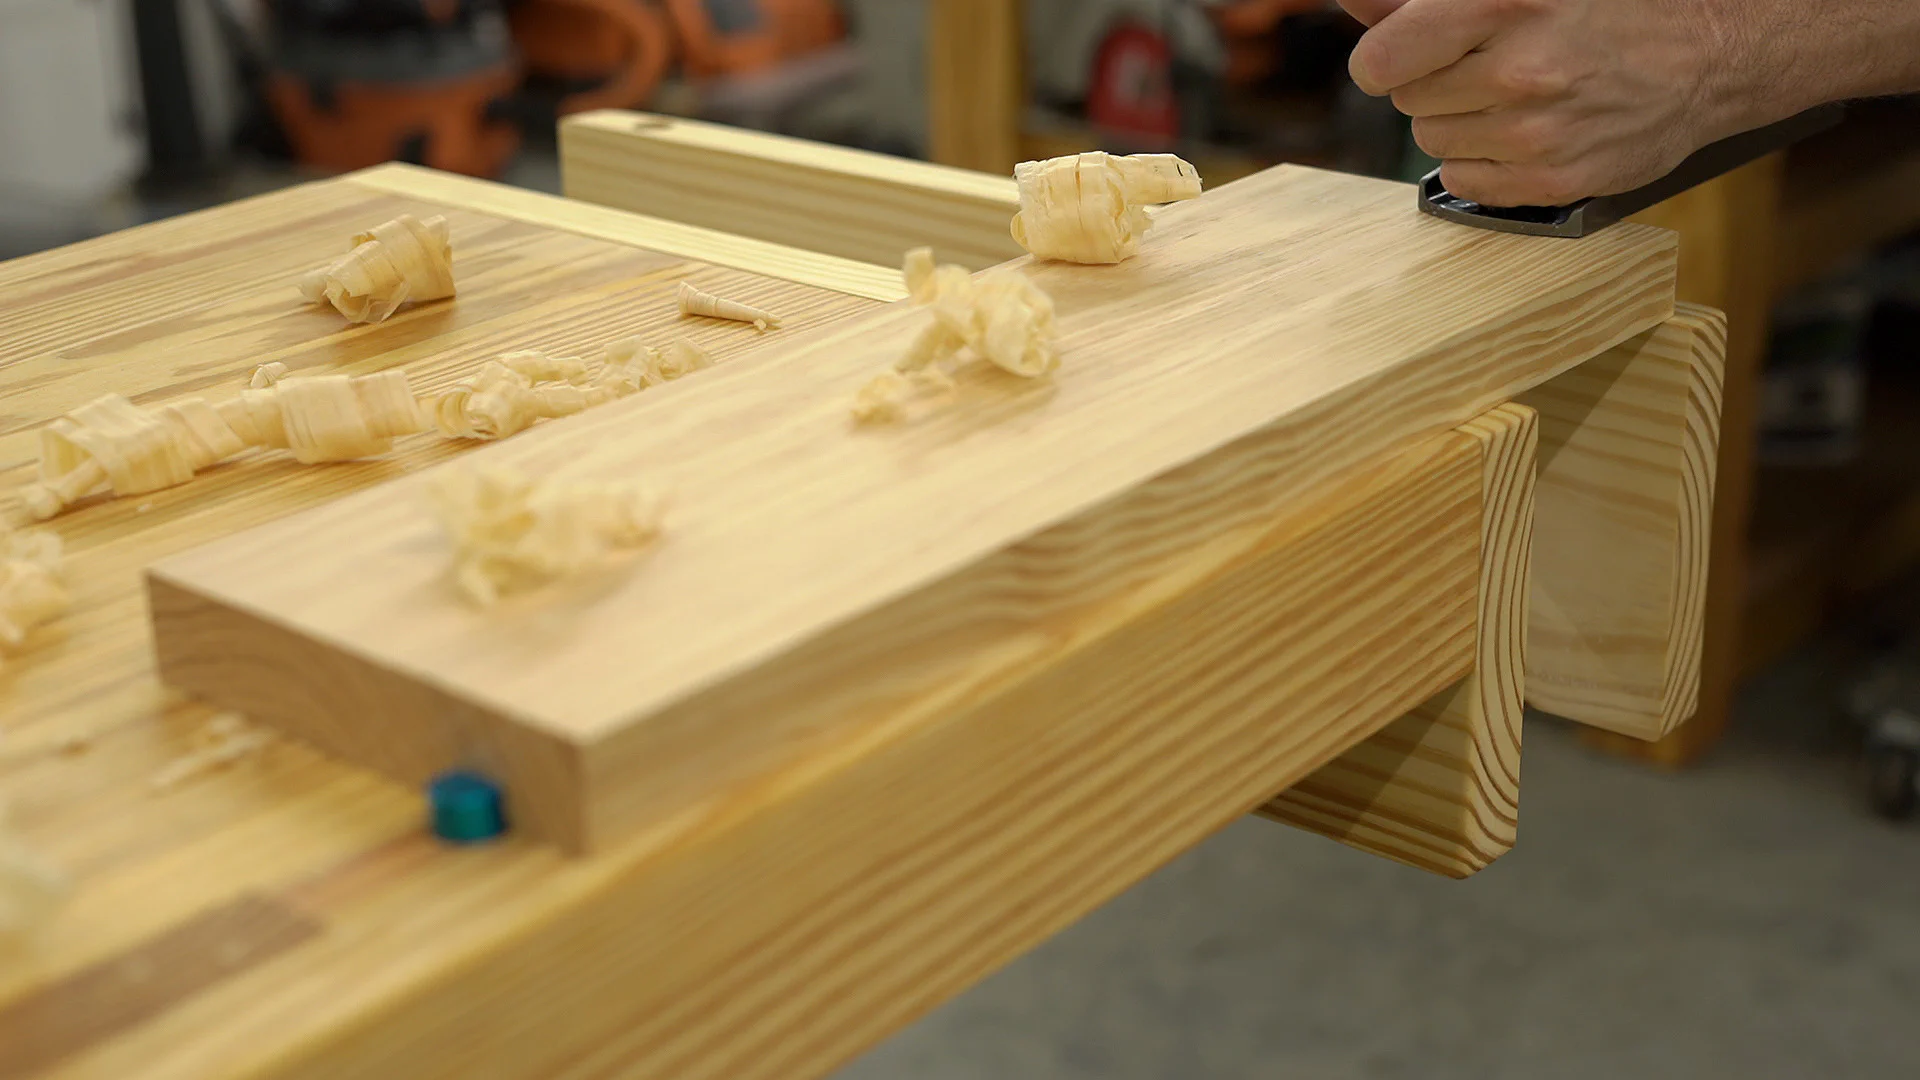
Finally, I sanded down the edges flush with the workbench and applied a coat of boiled linseed oil to the outside of the vise jaws.

And after attaching the wooden handle, it was time for a few tests.
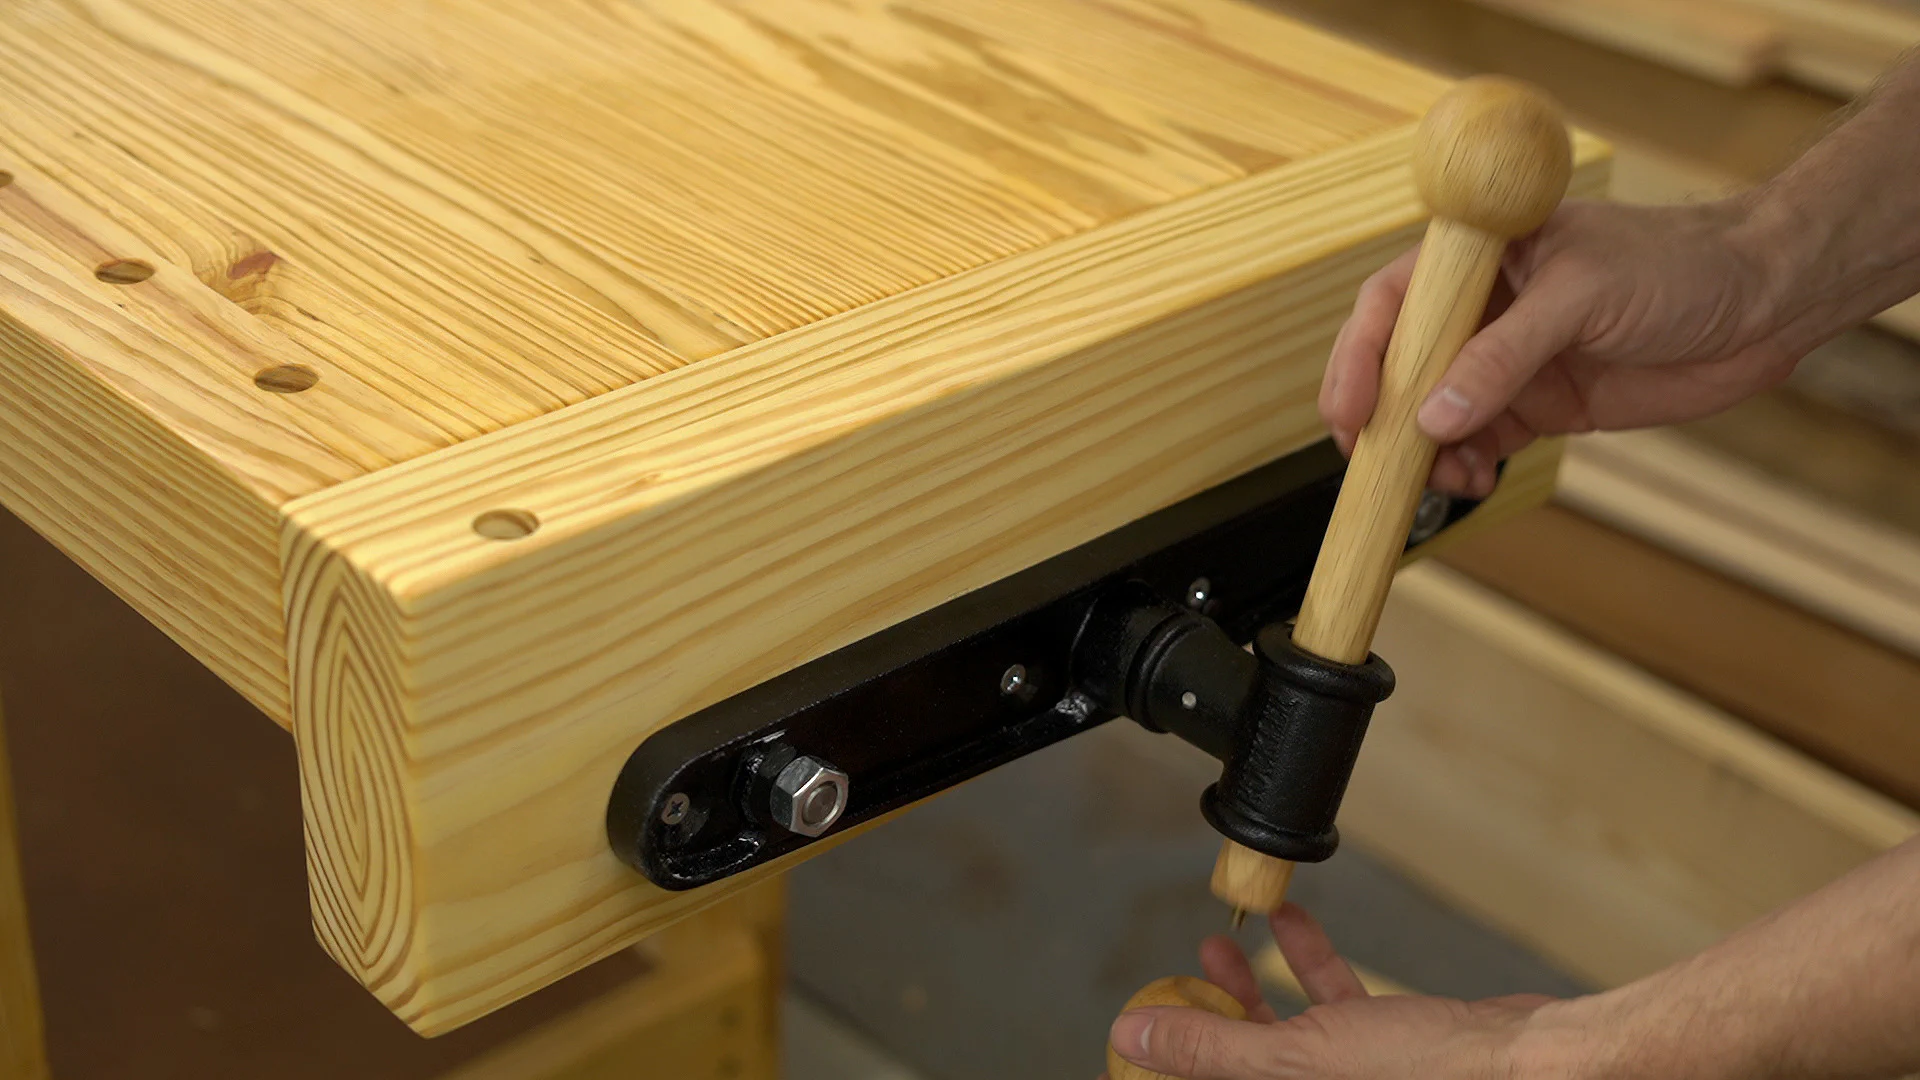
To engage the quick-release mechanism, you turn the handle counter-clockwise a 1/4 to 1/2 a turn and then simply slide the outer jaw in or out. Once the handle is turned clockwise, it will re-engage the quick-release mechanism making it possible to clamp down a workpiece.
Rockler also sent two types of bench dogs to test out and both worked really well for face planing using the end vise.
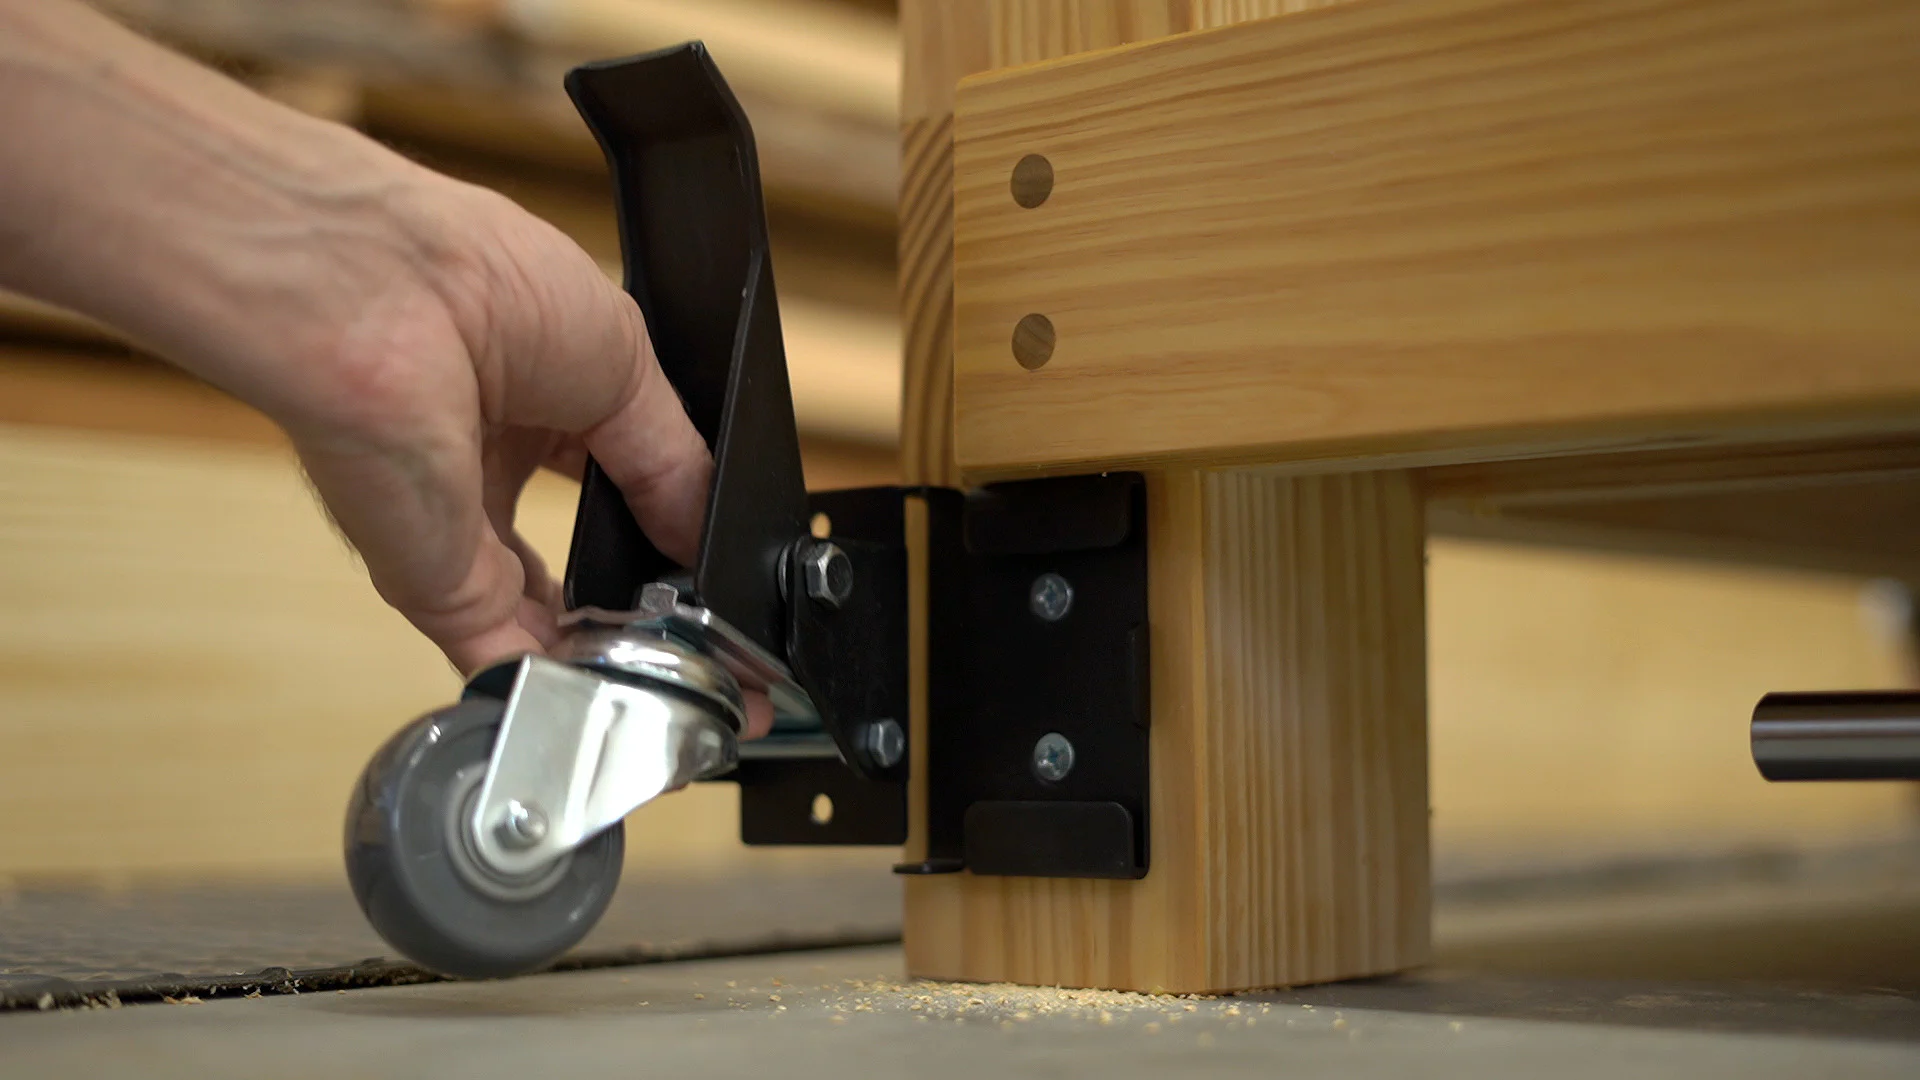
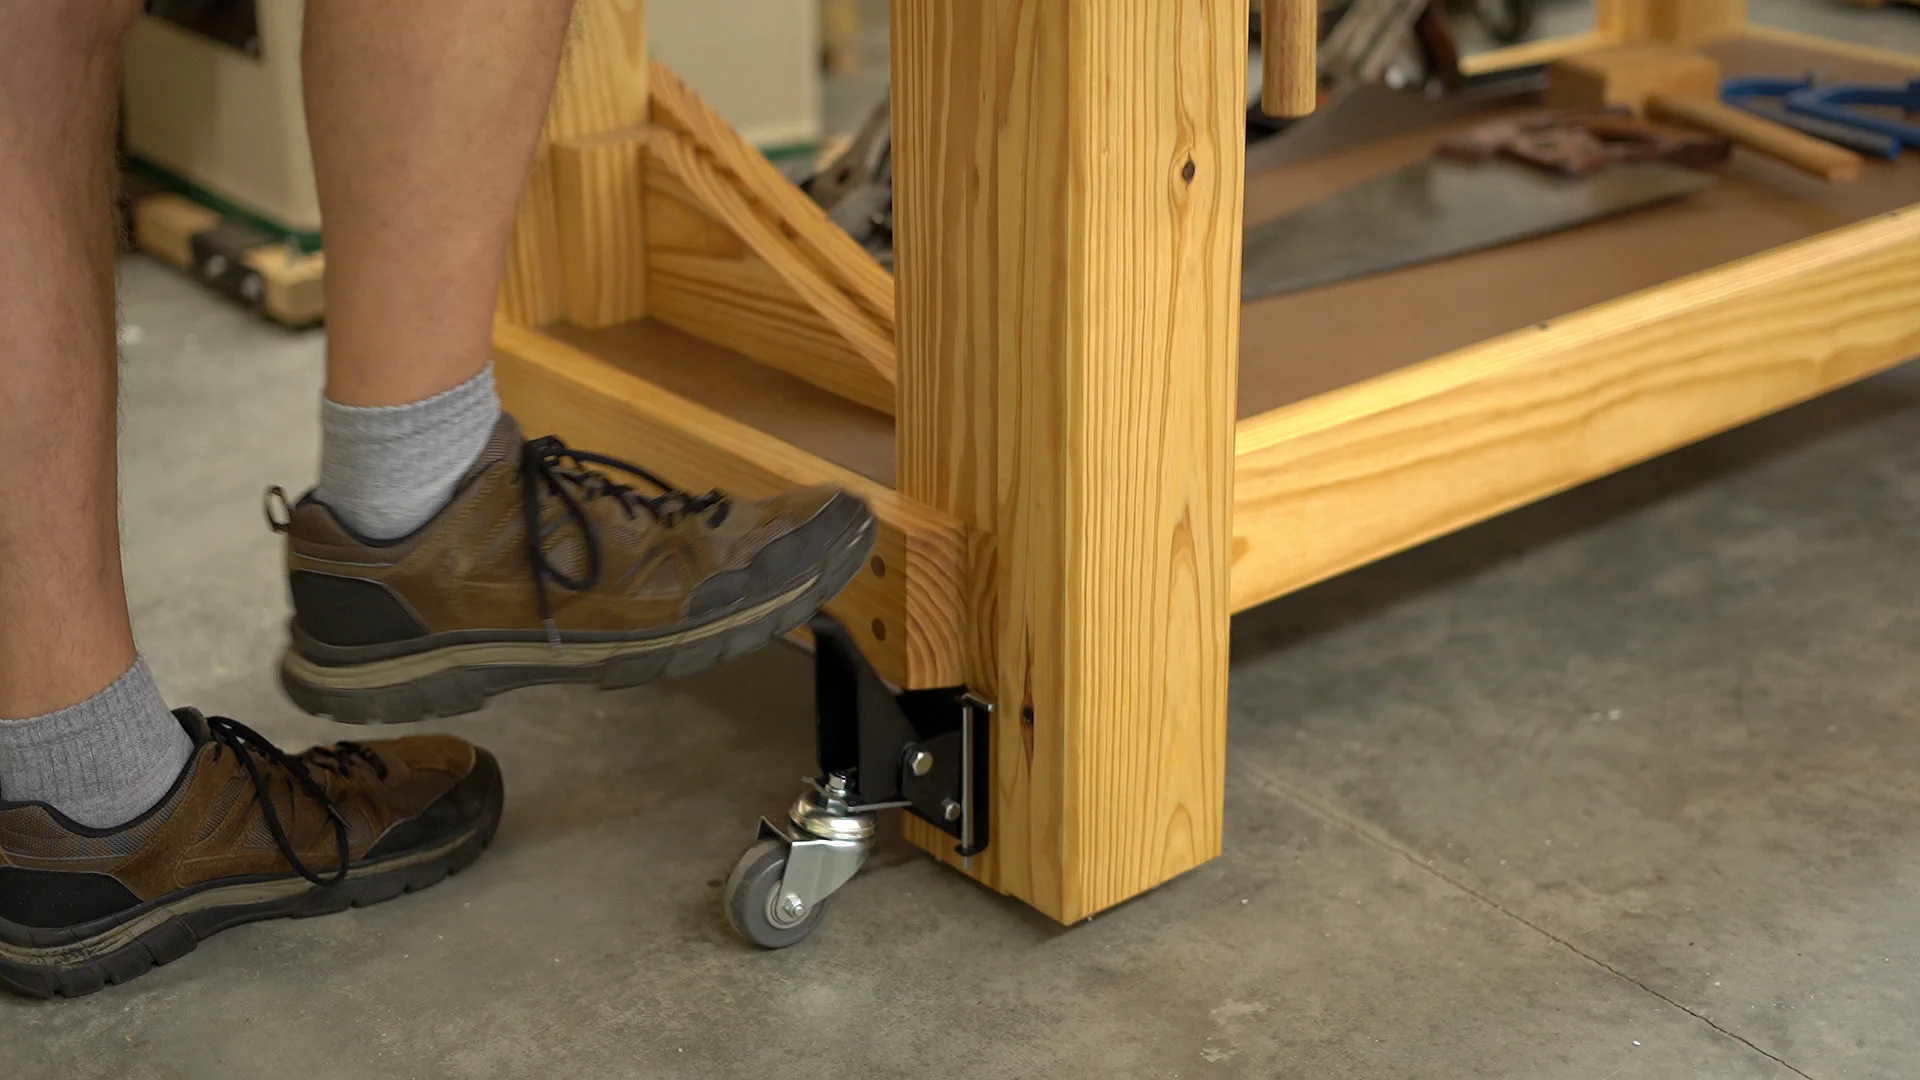
To finish up with the workbench, I attached another set of quick-release caster plates which will let me share the same set of casters between this bench and my outfeed table whenever I need to move things around in the shop.
That’ll wrap up this workbench series! A big thanks to Rockler for their support and providing the end vise and accessories! If you have any questions about the vise or other hardware be sure to leave a comment below.
Materials & Tools
Be sure to check out Our Workshop page for more details!
Materials
- Rockler 12" Quick Release End Vise
- Vise Jaws: (1) 2"x8"x8’ Southern Yellow Pine Board
- 4 - 1-1/4" #14 Wood Screws (Outer Jaw)
- 3 - 2" #14 Wood Screws (Inner Jaw)
- 4 - 2" #14 Wood Screws (Mounting Plate)
- 4 - 2-7/8" HeadLOK Lag Screws (Mounting Plate)
- Workbench Casters and Quick Release Plates
- Rockler Metal Bench Dogs
- Rockler Plastic Bench Dogs
- Rockler Bench Accessory Kit
Tools
- Hitachi 12" Compound Sliding Miter Saw (C12RSH) - Latest version now sold by Metabo: C12RSH2S
- Dewalt Heavy Duty Miter Saw Stand (DWX723)
- Grizzly 8" Jointer (G0586) on Mobile Base
- Ridgid 13" 3-Blade Thickness Planer (R4330) ( Latest version: R4331)
- Grizzly G0691 Table Saw
- Craftsman 17" Drill Press (22901) on Mobile Base
- Drill Press Table
- Bosch 5" Random Orbit Sander (ROS20VSC)
- Rockler 16-Piece Forstner Drill Bit Set