Having a comfortably heated and cooled shop certainly makes working in humid summers and chilly winters a lot more pleasant. So, after limping along with an underpowered portable AC unit for our 2-car (22’ x 30’) garage shop, we finally decided that it was worth upgrading to something a bit more capable.
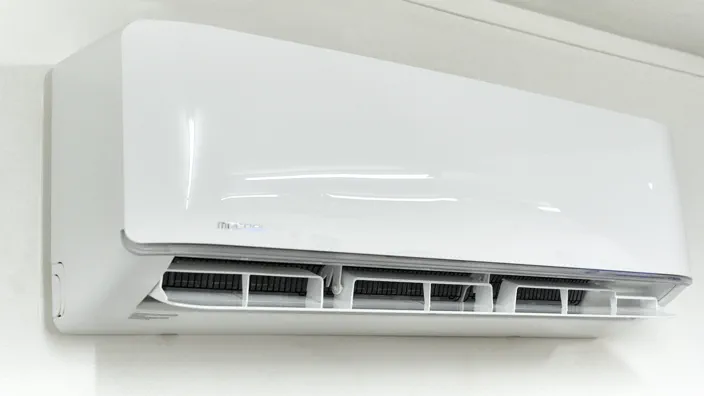
After a little research, we came across the MRCOOL DIY Ductless Mini-Split Heat Pump which seemed a good fit being “DIY” and all! The unit both heats and cools and comes with a Wi-Fi adapter which makes it possible to control with their smartphone app. There are also several sizes available for those with smaller or larger rooms.
We did get a quote from a local HVAC installer for a slightly more efficient unit, but after seeing that it would cost over three times the price of the MRCOOL unit, we decided that it was worth installing one ourselves. And since we purchased this unit (and have no affiliation with MRCOOL), we’ll try to cover both its pros and cons.
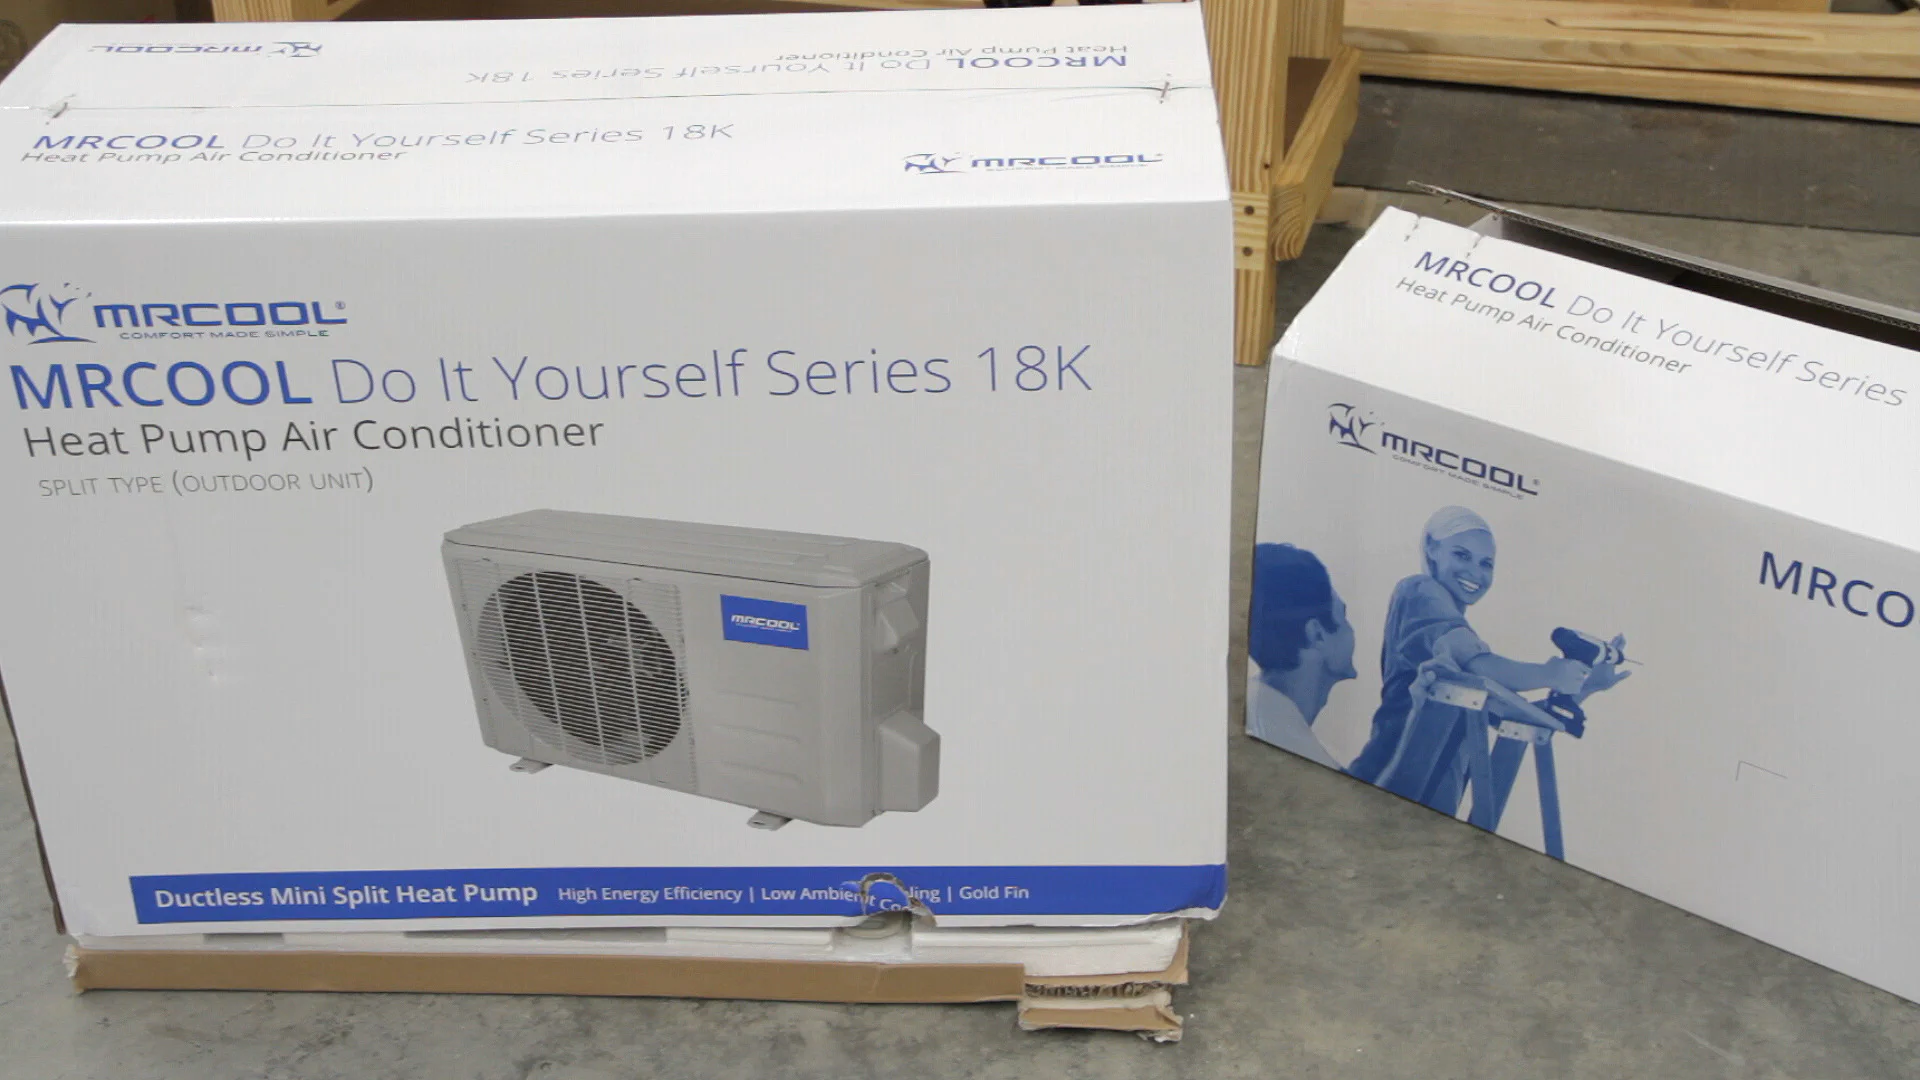
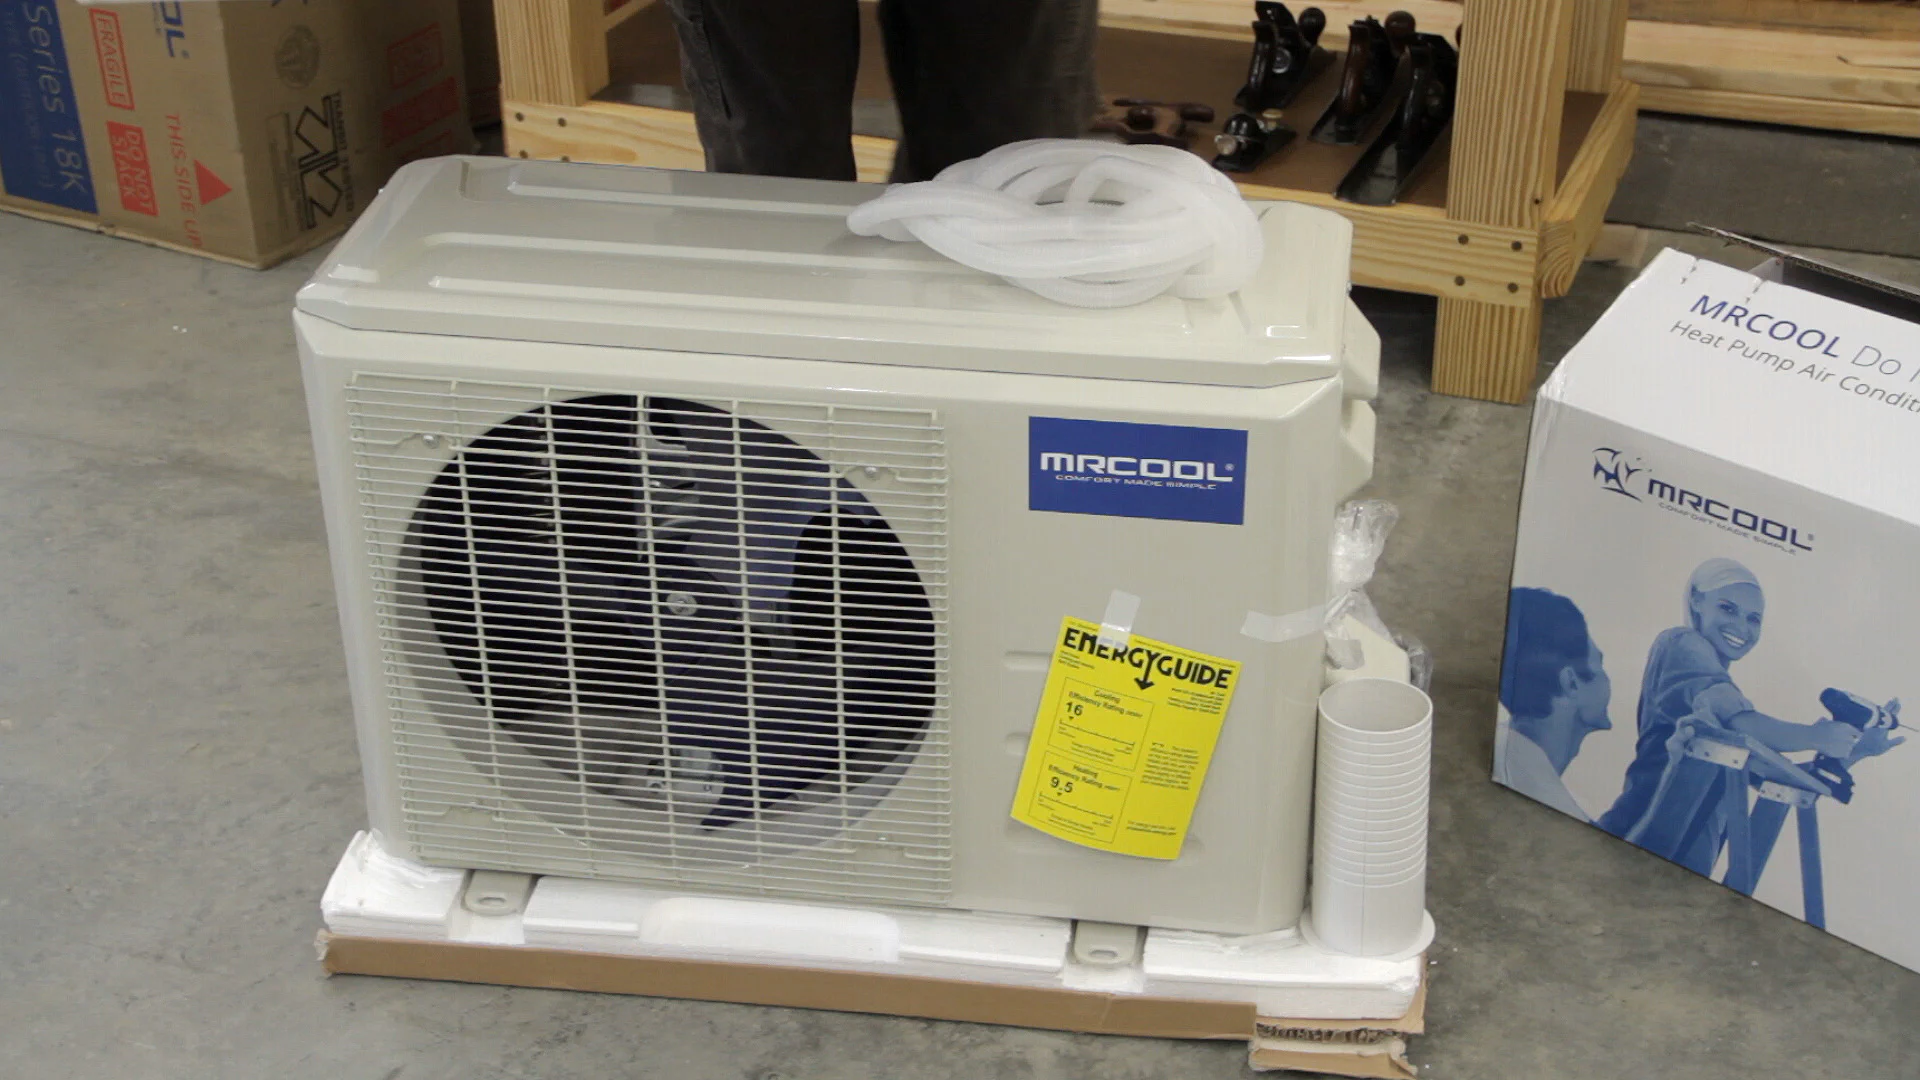
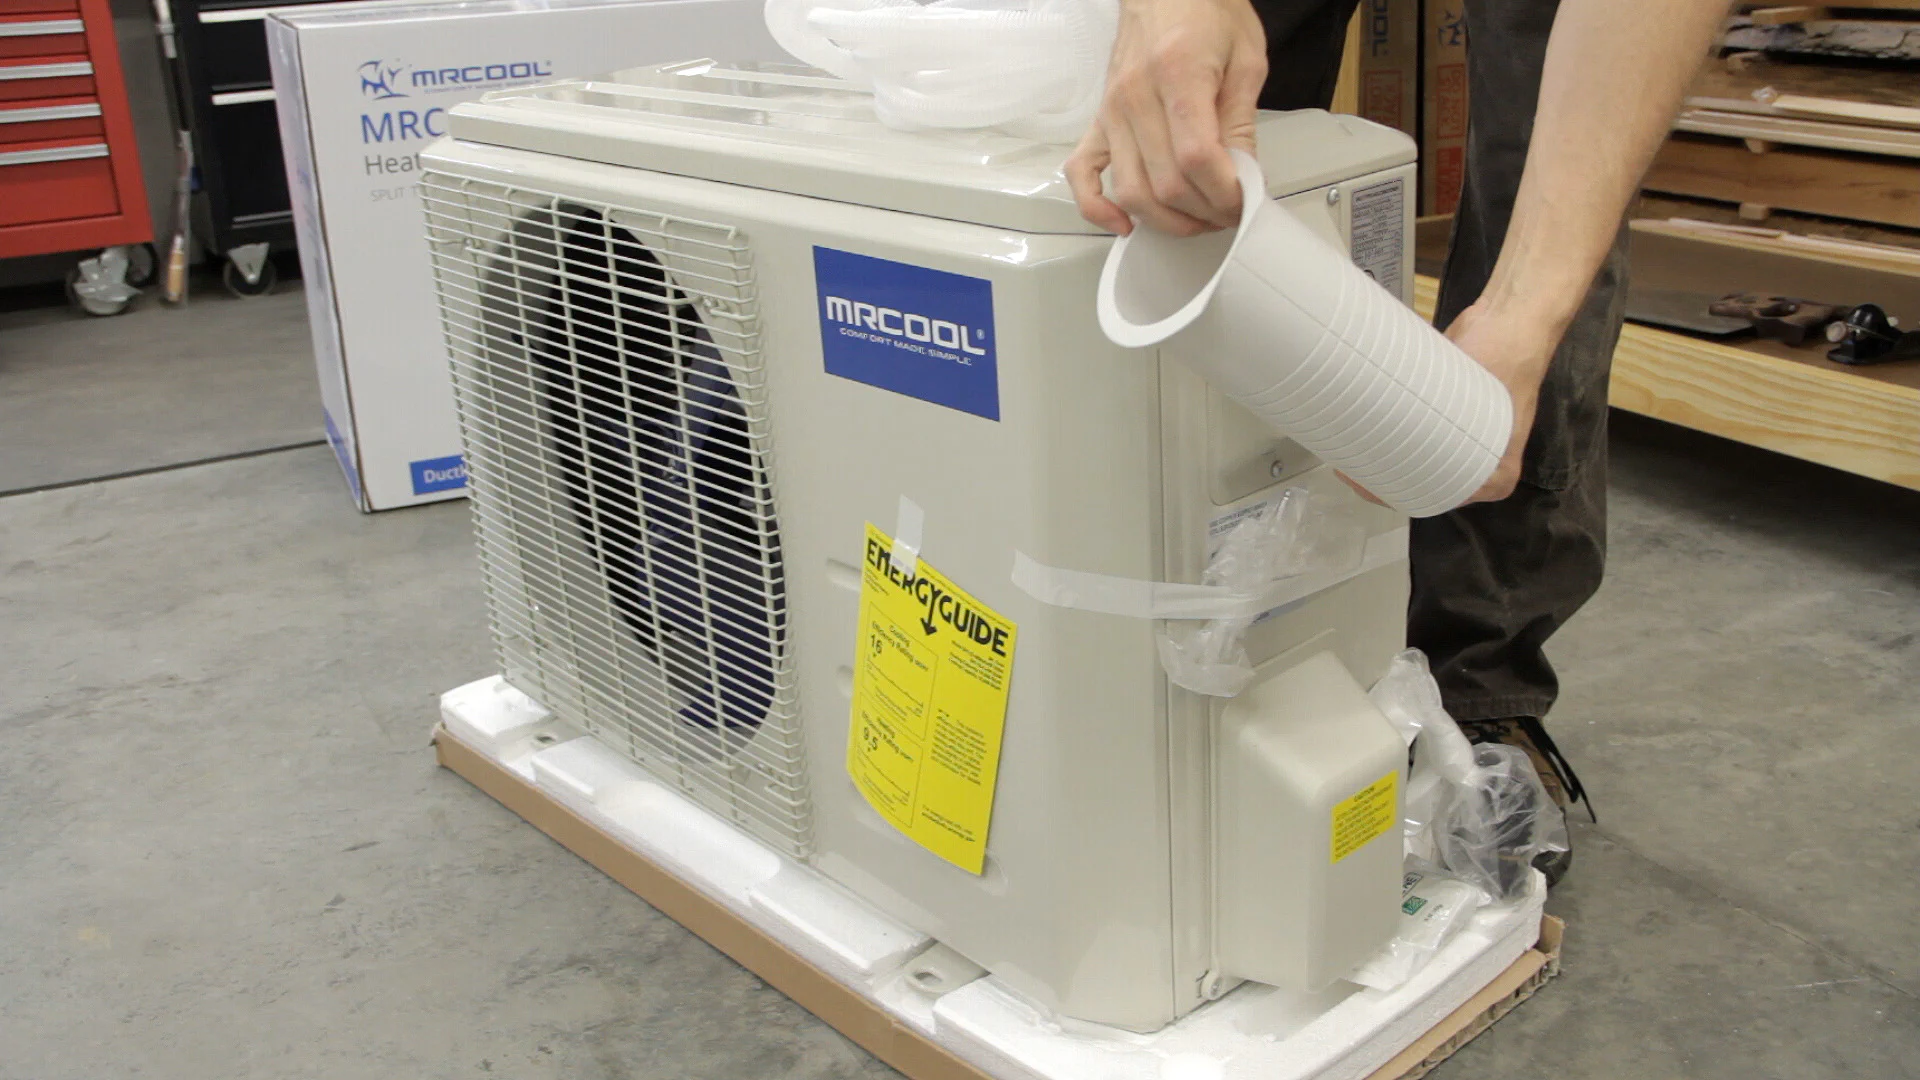
The heat pump came in two boxes. The larger box is for the outdoor condenser unit which is usually placed on a small pad or installed on an exterior wall using a mounting bracket and then wired to a dedicated 120V or 240V circuit depending on the size of the unit.
In this box was the drain line extension, a plastic pipe, and a set of rubber pads to sit the unit on. There was also some neoprene putty and an Allen wrench.
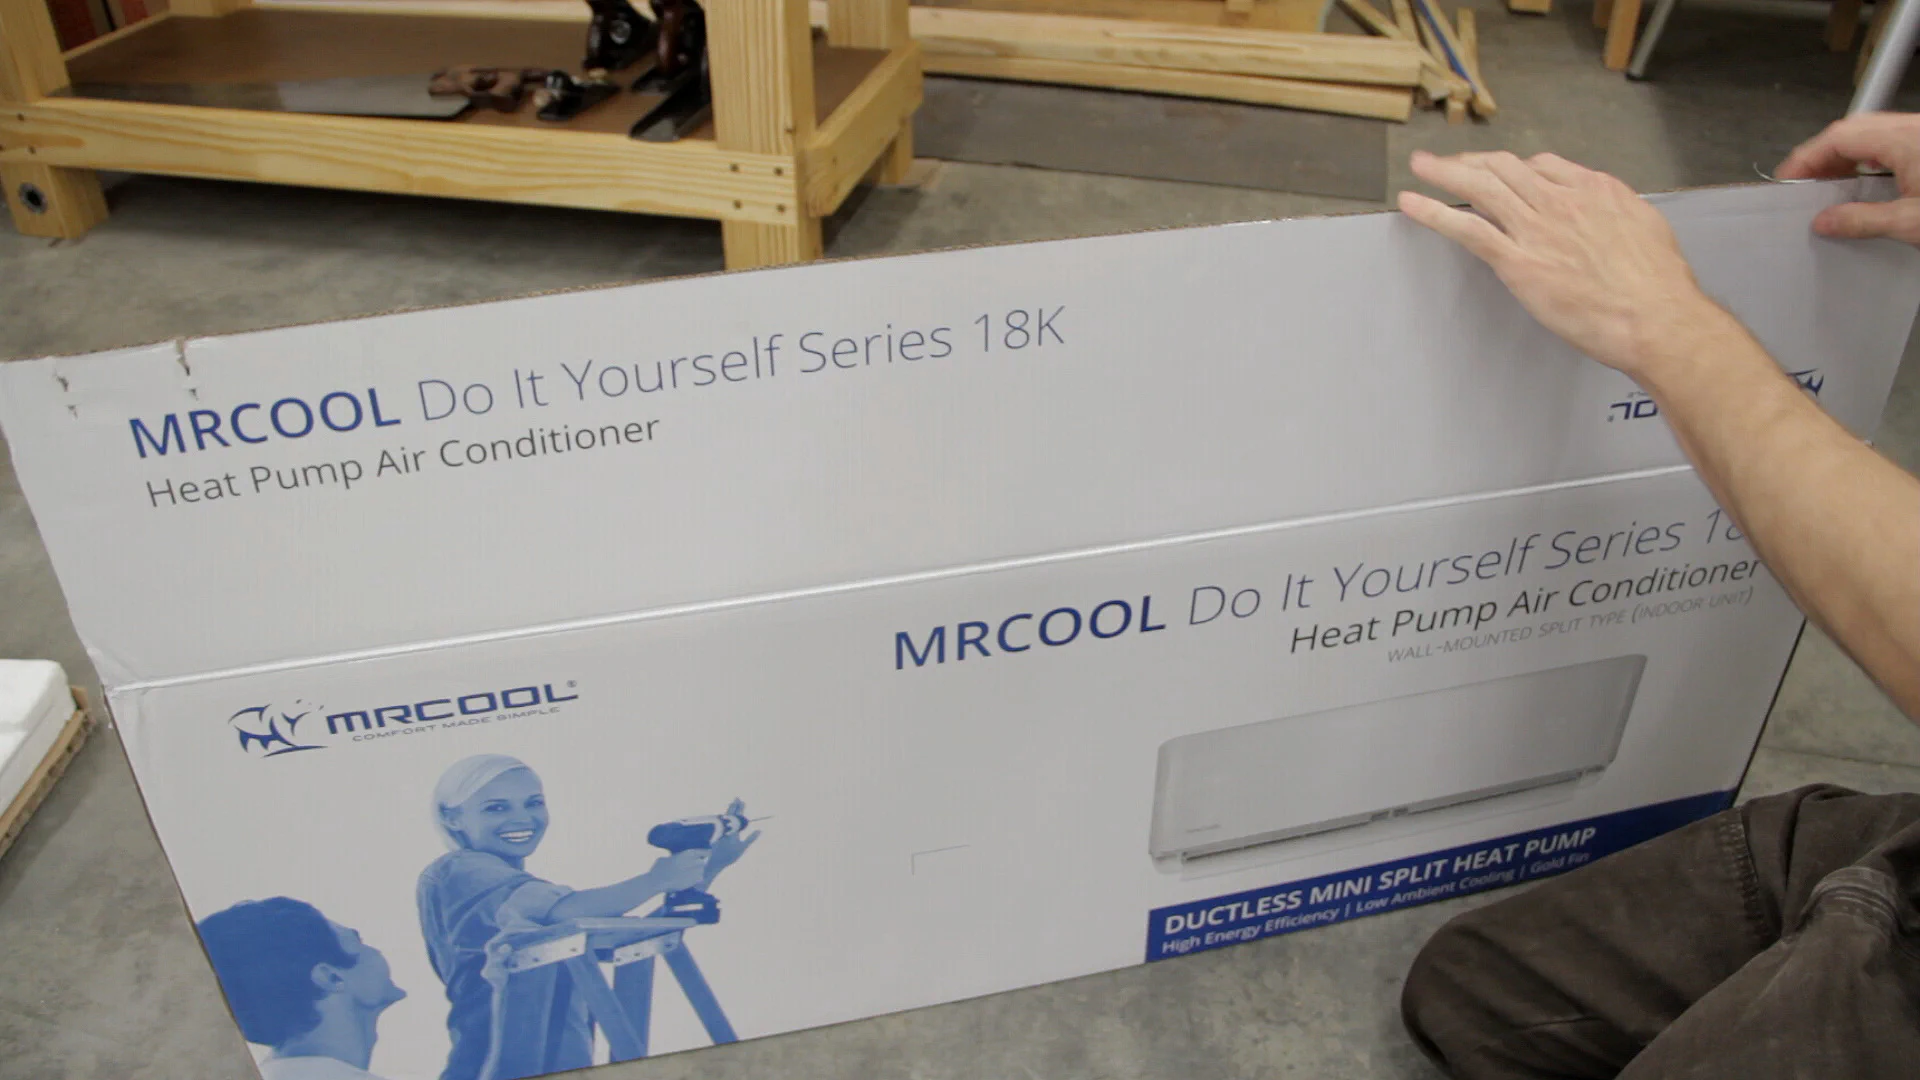
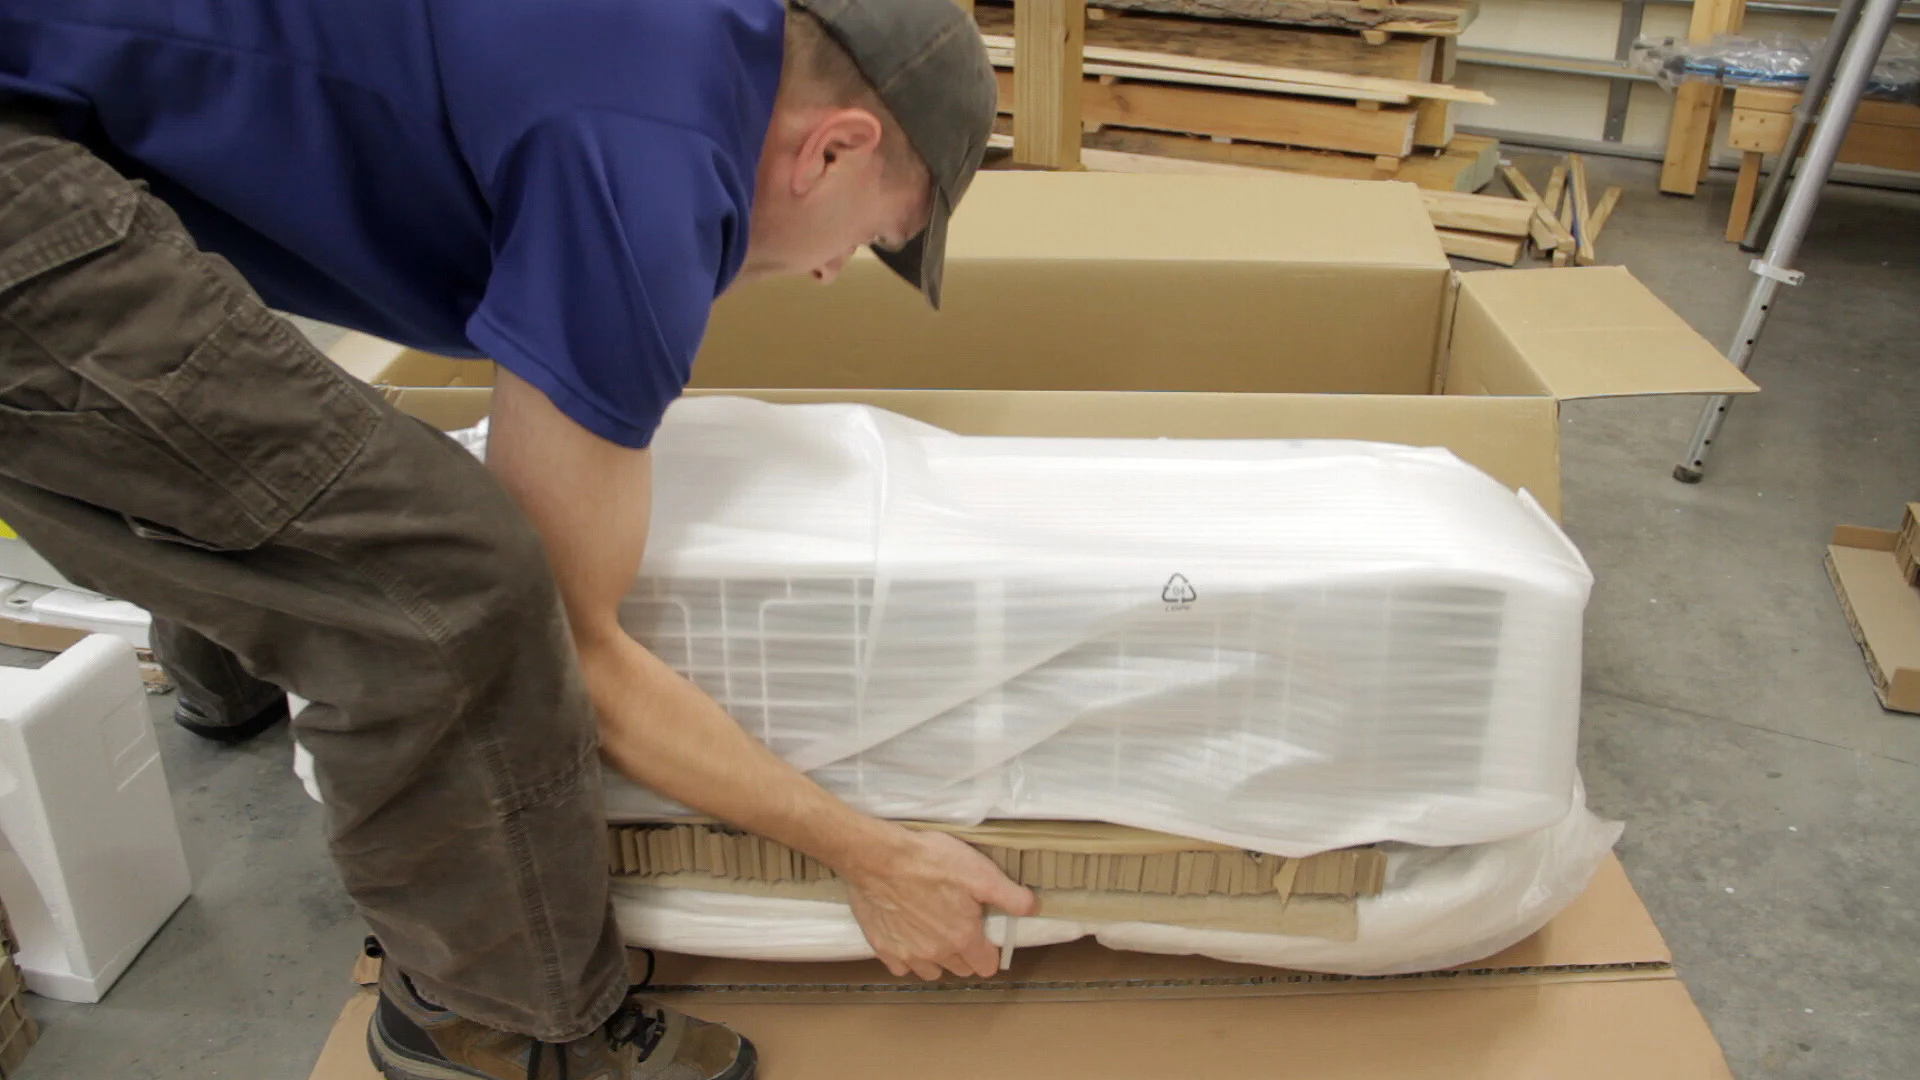
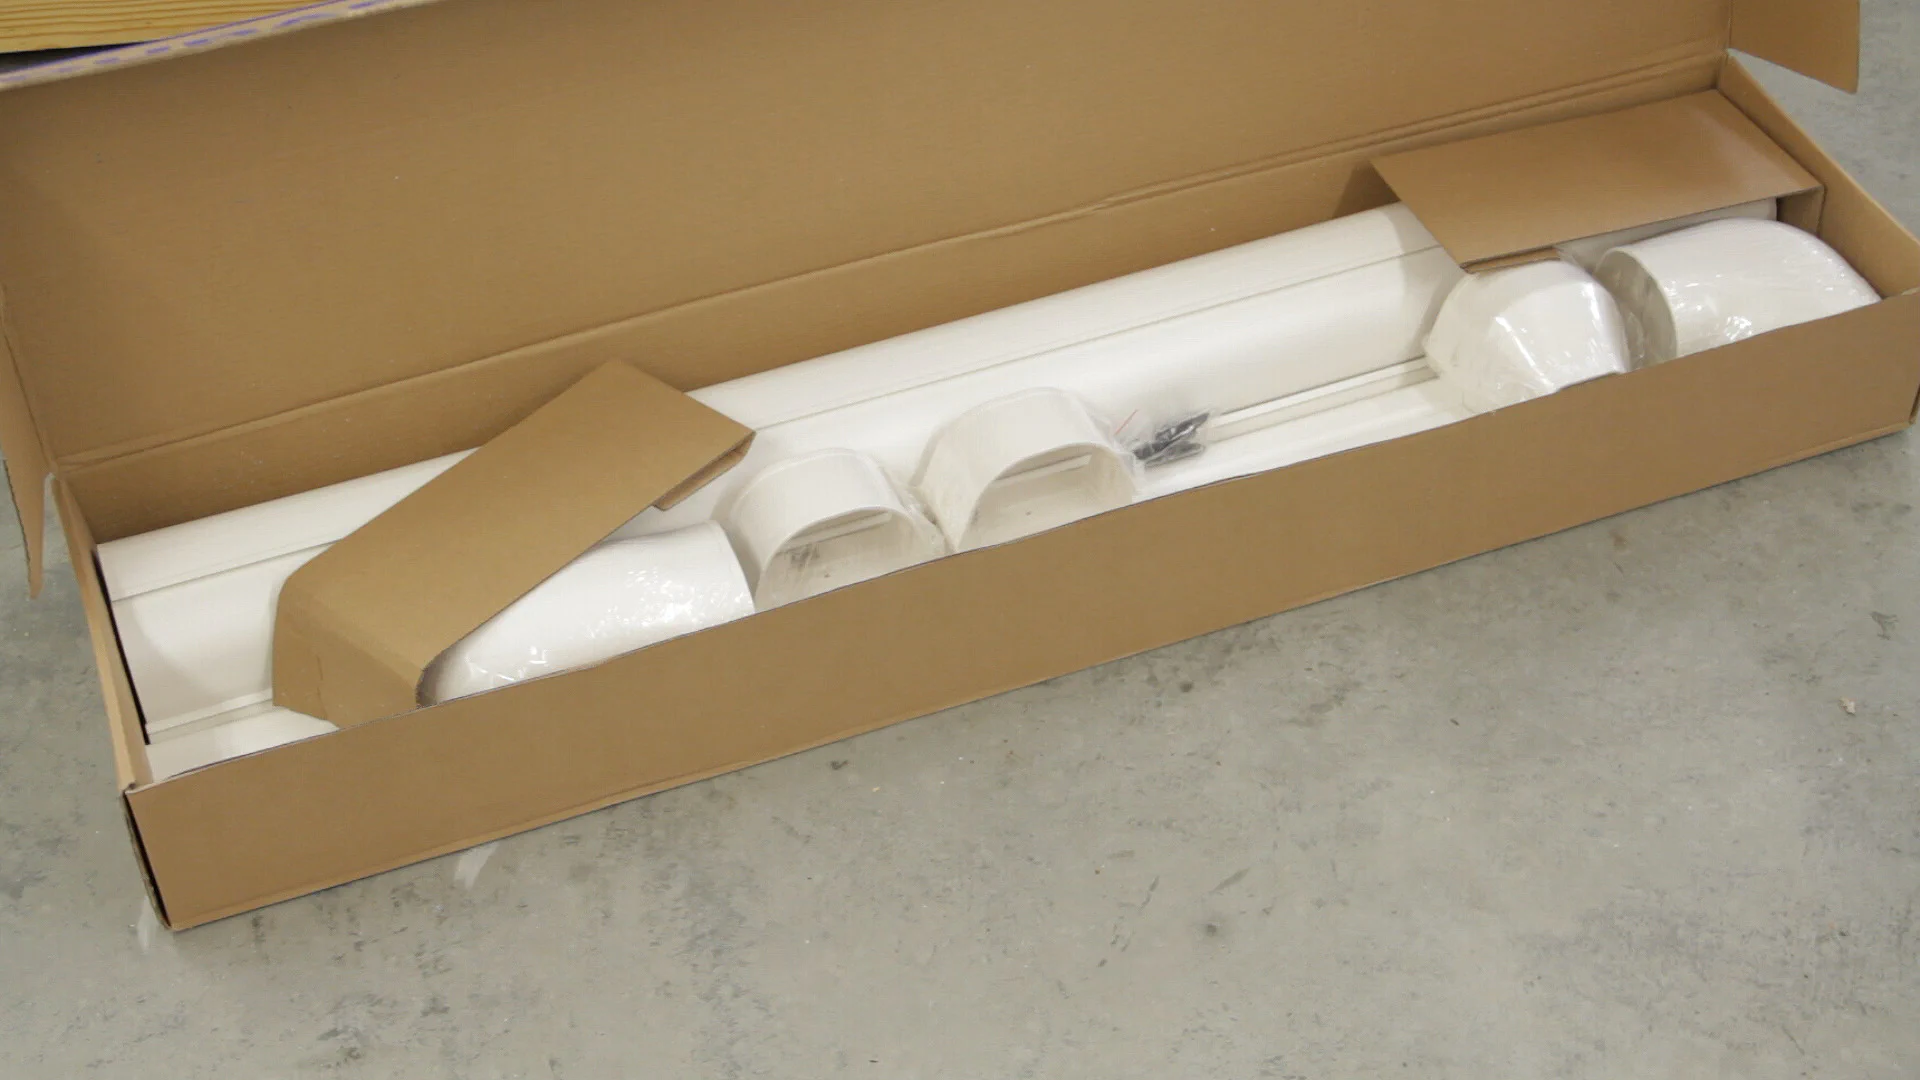
The second box contains the indoor unit which is mounted to an interior wall. Connected to it is a set of refrigerant lines and a power line that are run through a hole in the wall down to the outdoor unit. There’s also a small drain line connected to it that carries off any condensation from the indoor unit.
Update: On the later 3rd and 4th generation models, the lineset comes as a separate piece with quick connections on either end. The indoor unit comes with a short length of line that makes it much easier to install by yourself as you no longer have to feed 25’ of line through the wall!
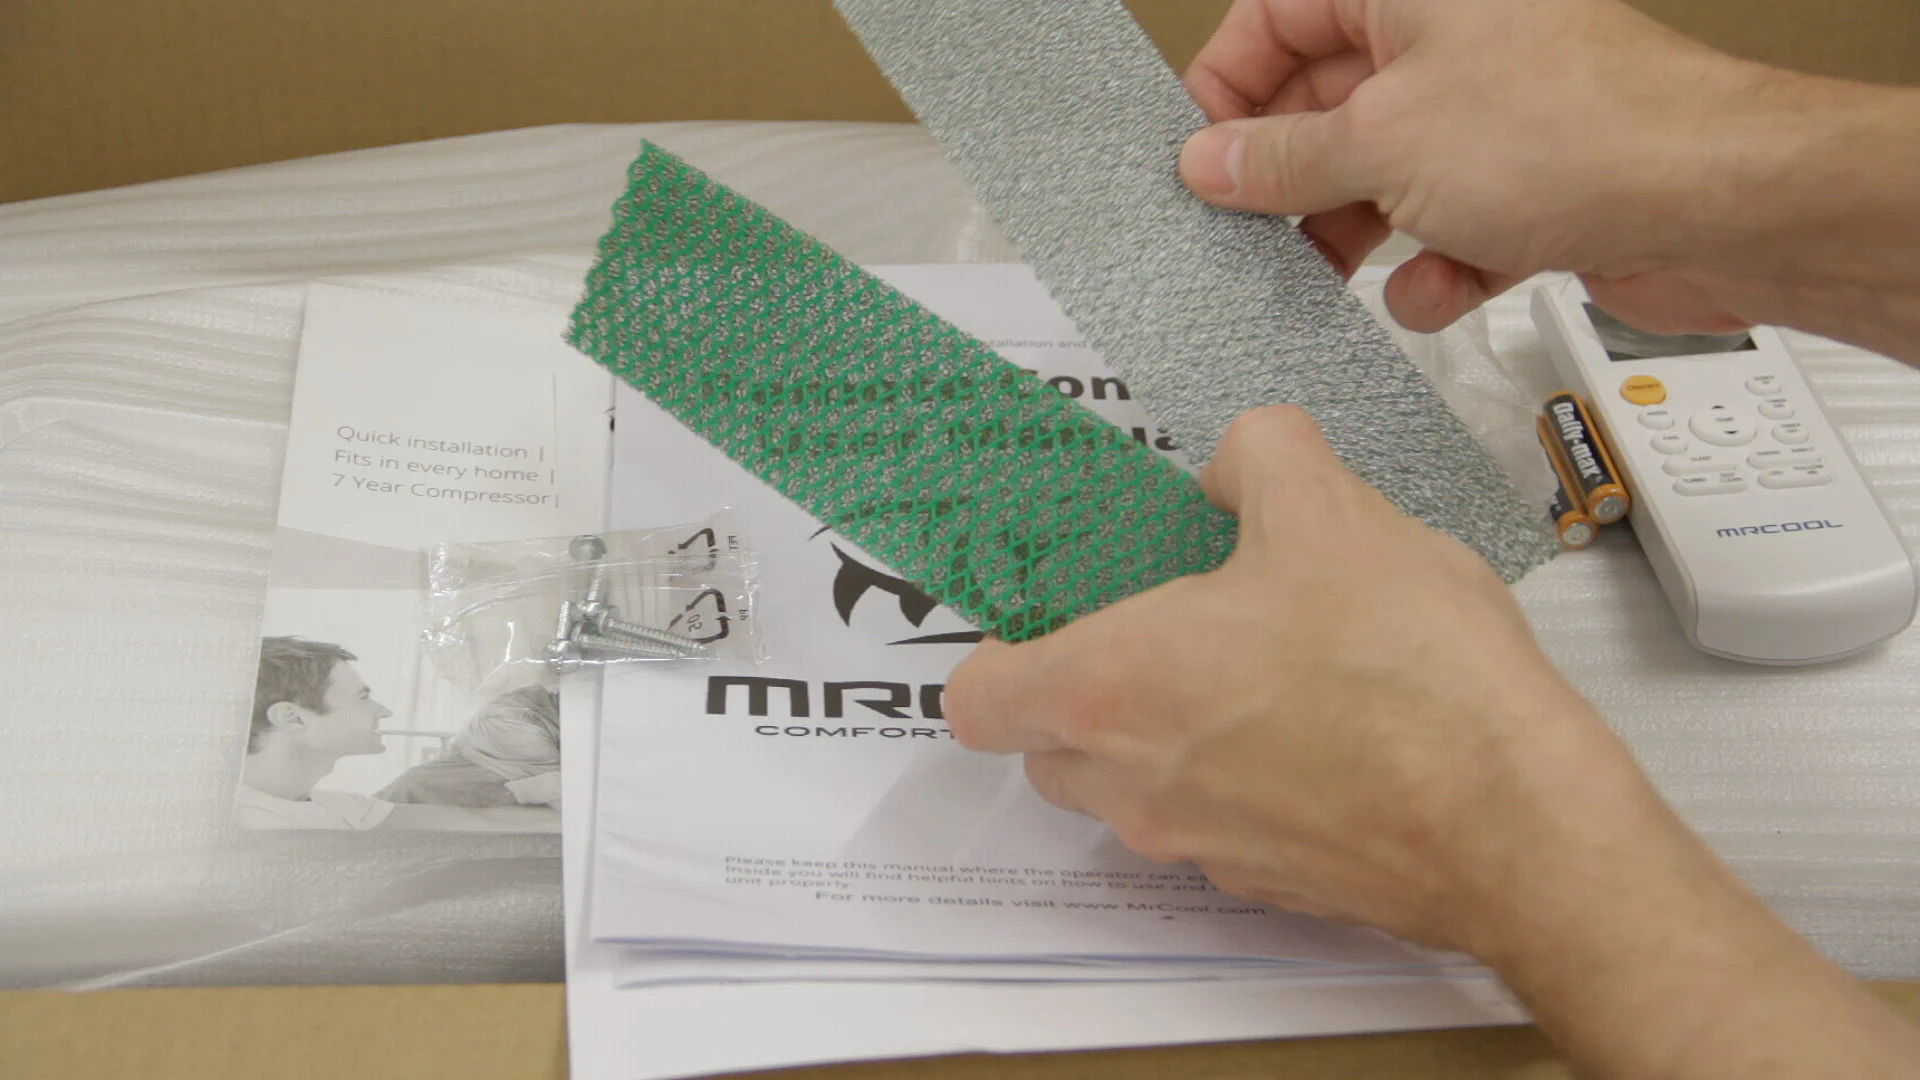
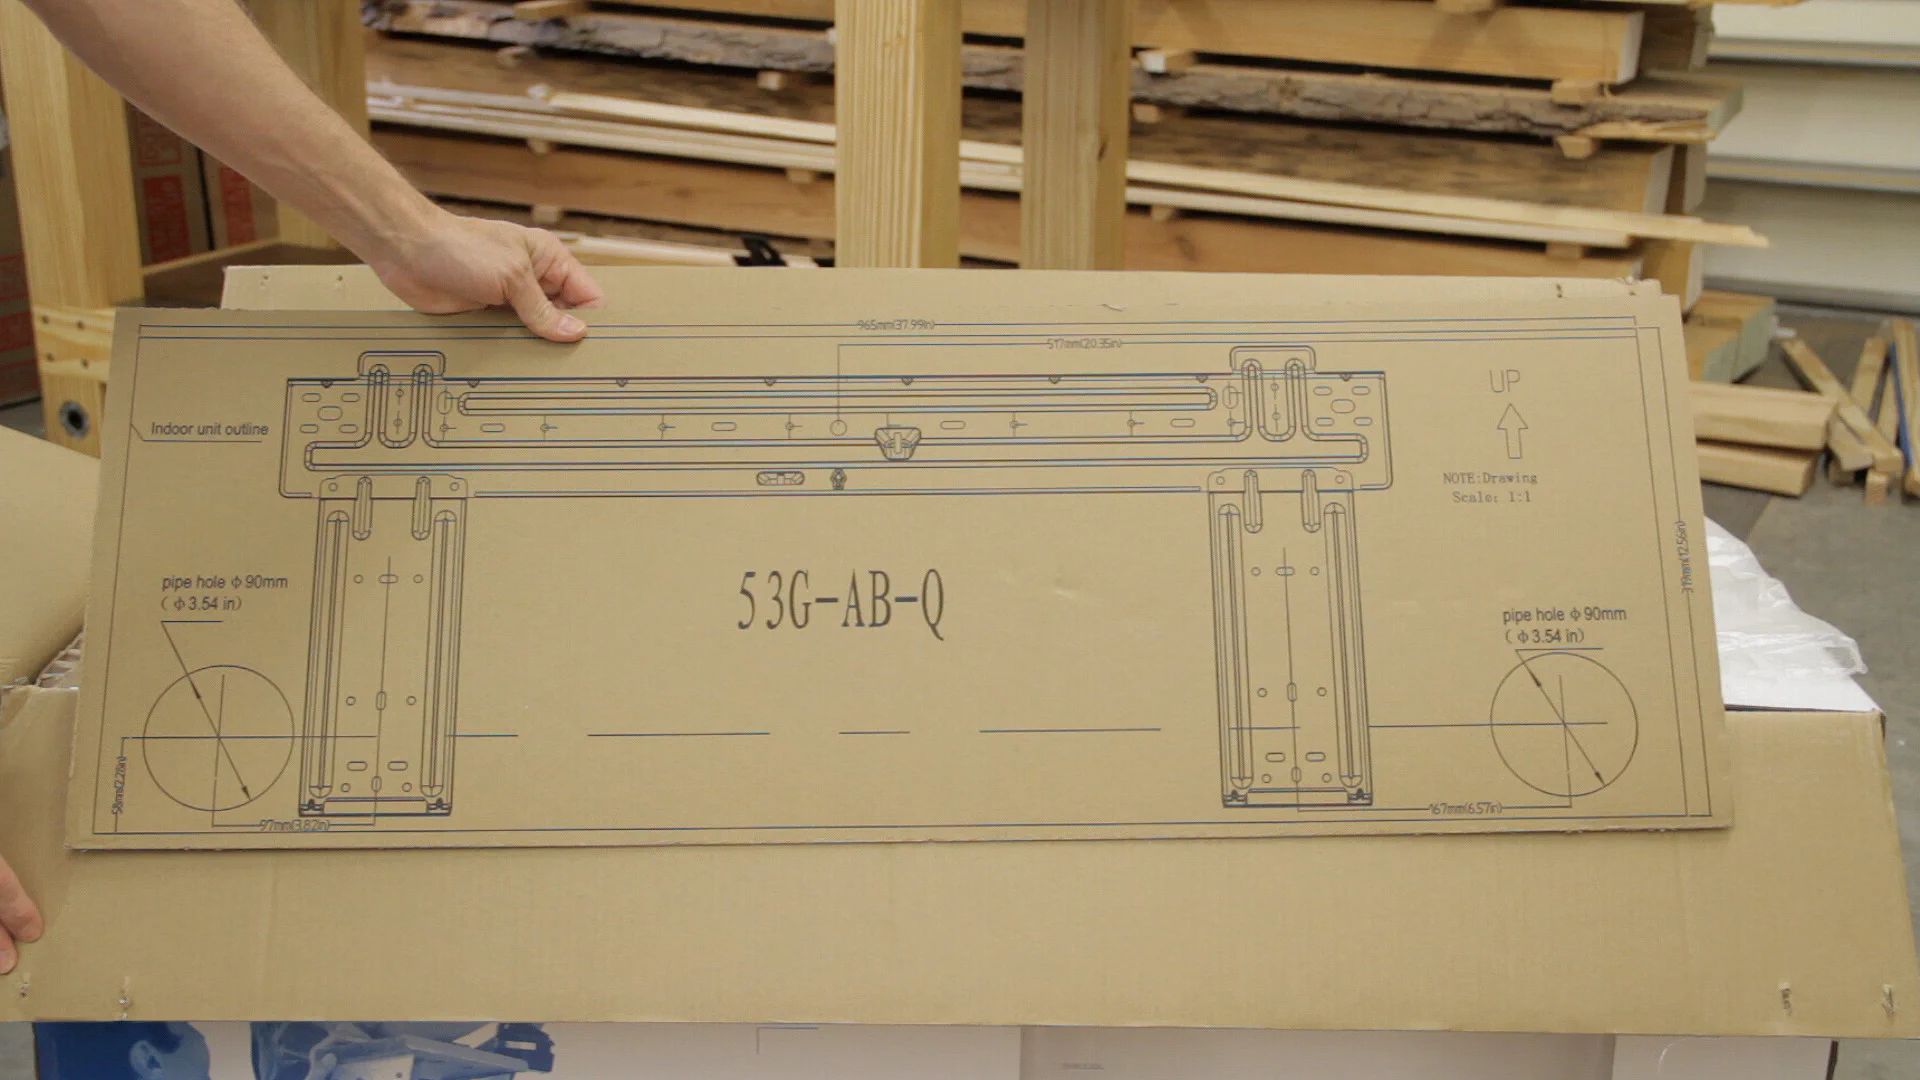
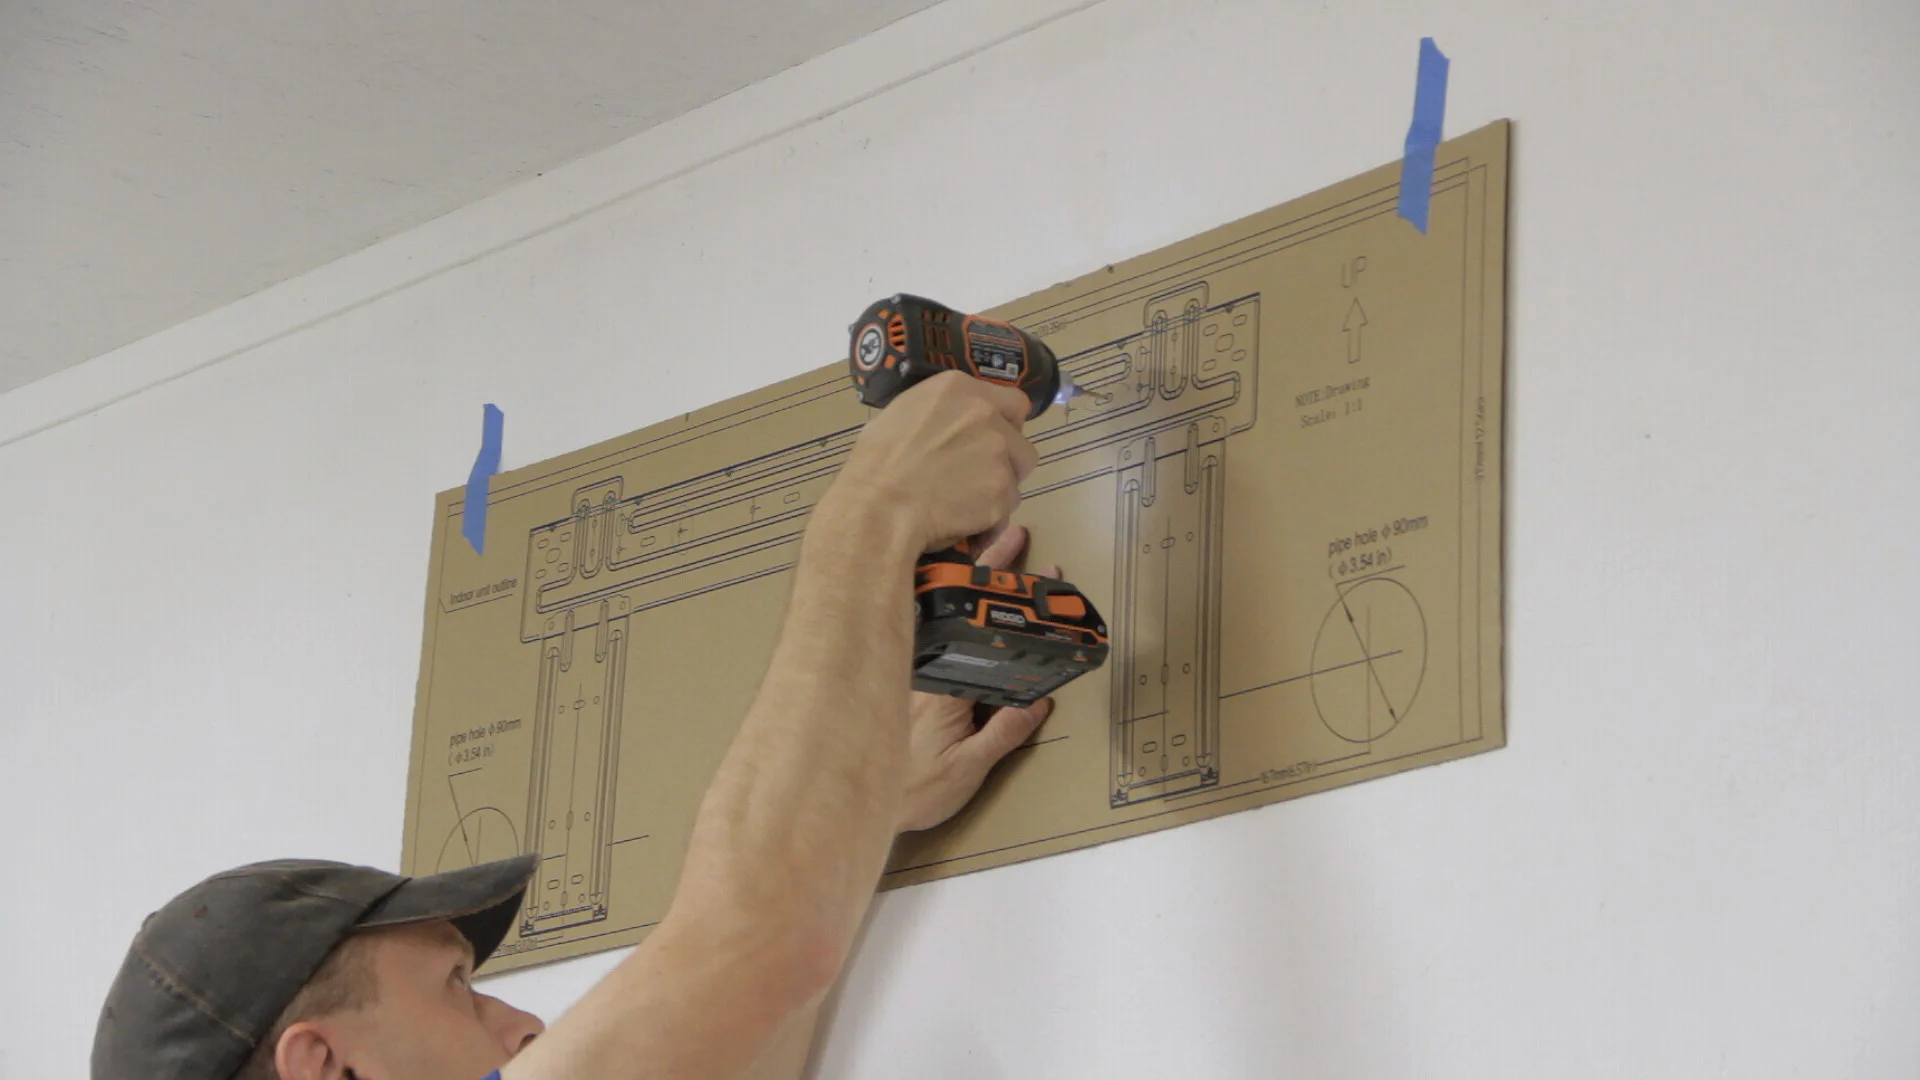
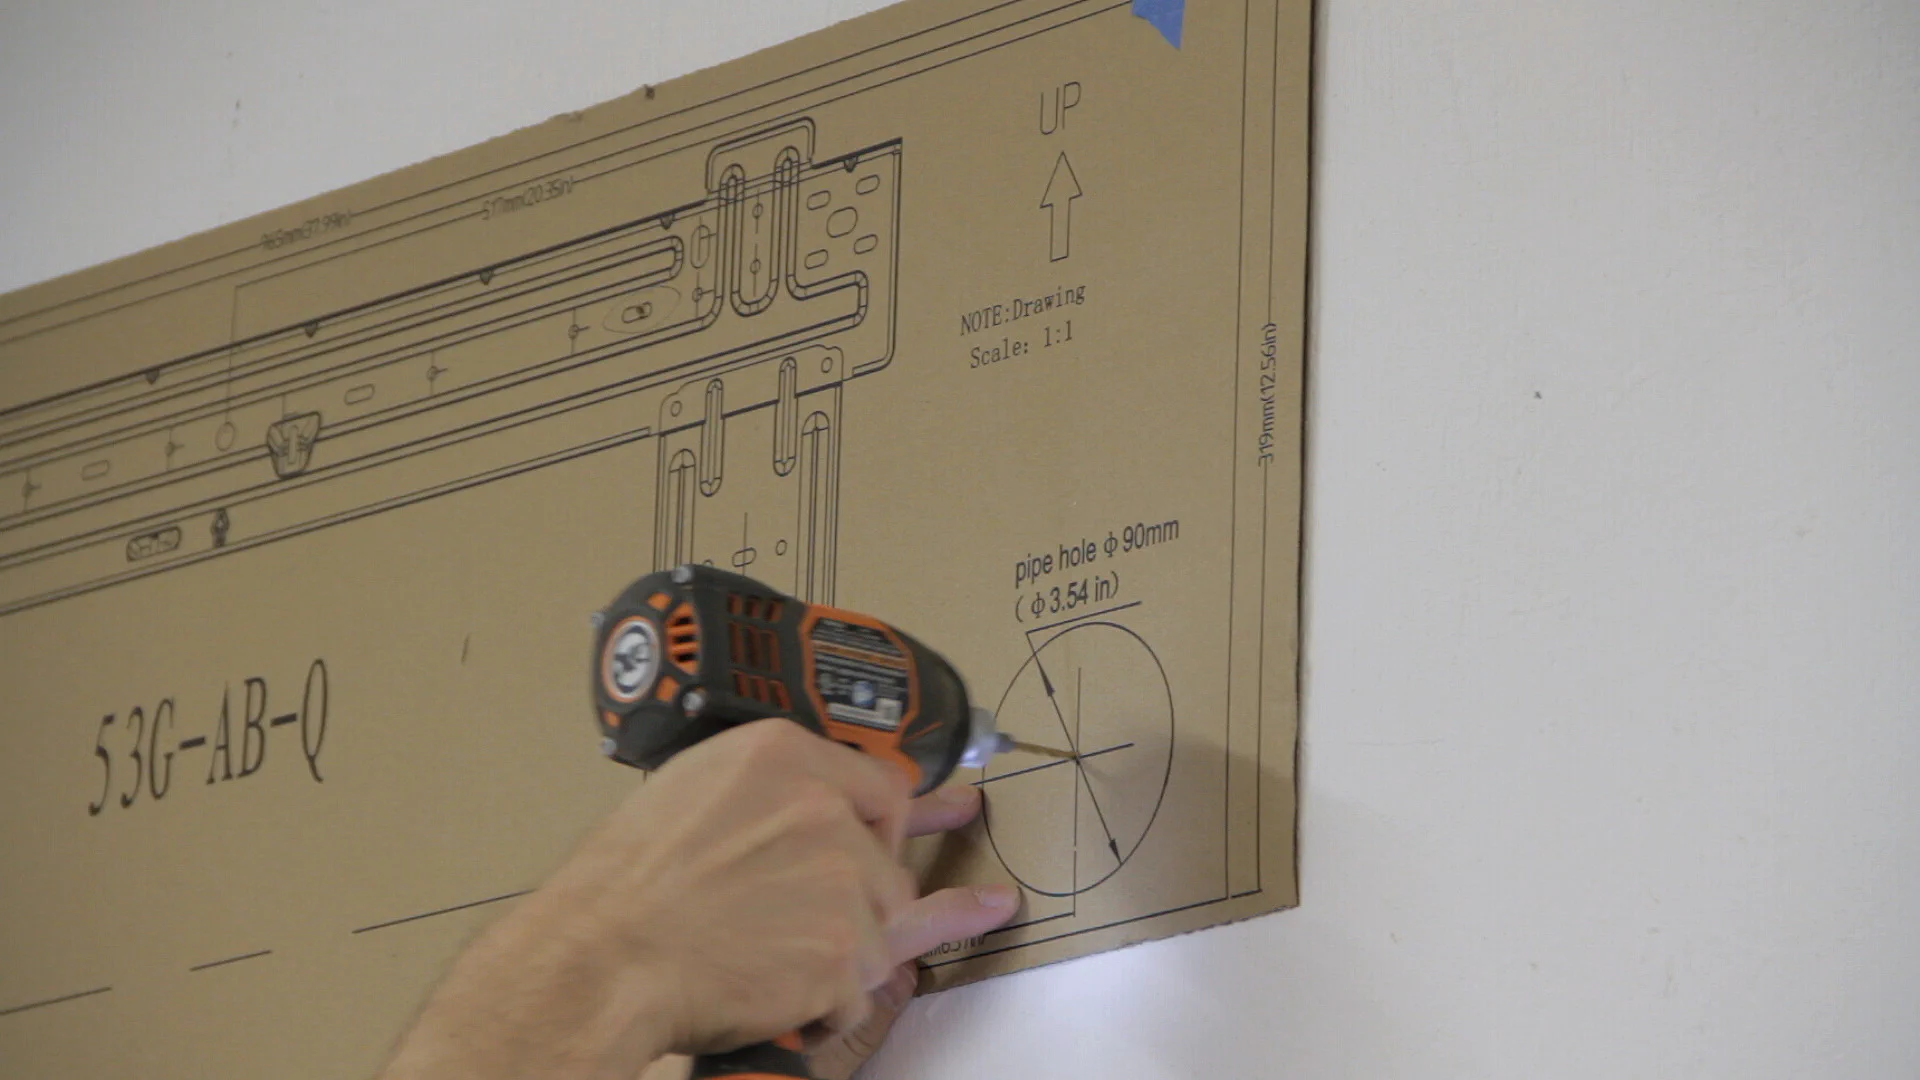
The indoor unit box contains the user manual, filters, the remote control, a drain connector for the condenser, and the Wi-Fi adapter. It also contains a cardboard template for the mounting plate with the location of the hole that must be cut in the wall.
I started the installation by removing the indoor unit with the attached line set from the box. After removing the zip ties holding the lines together, I removed the metal mounting bracket from the back of the unit and uncoiled some of the lines being careful not to kink them.
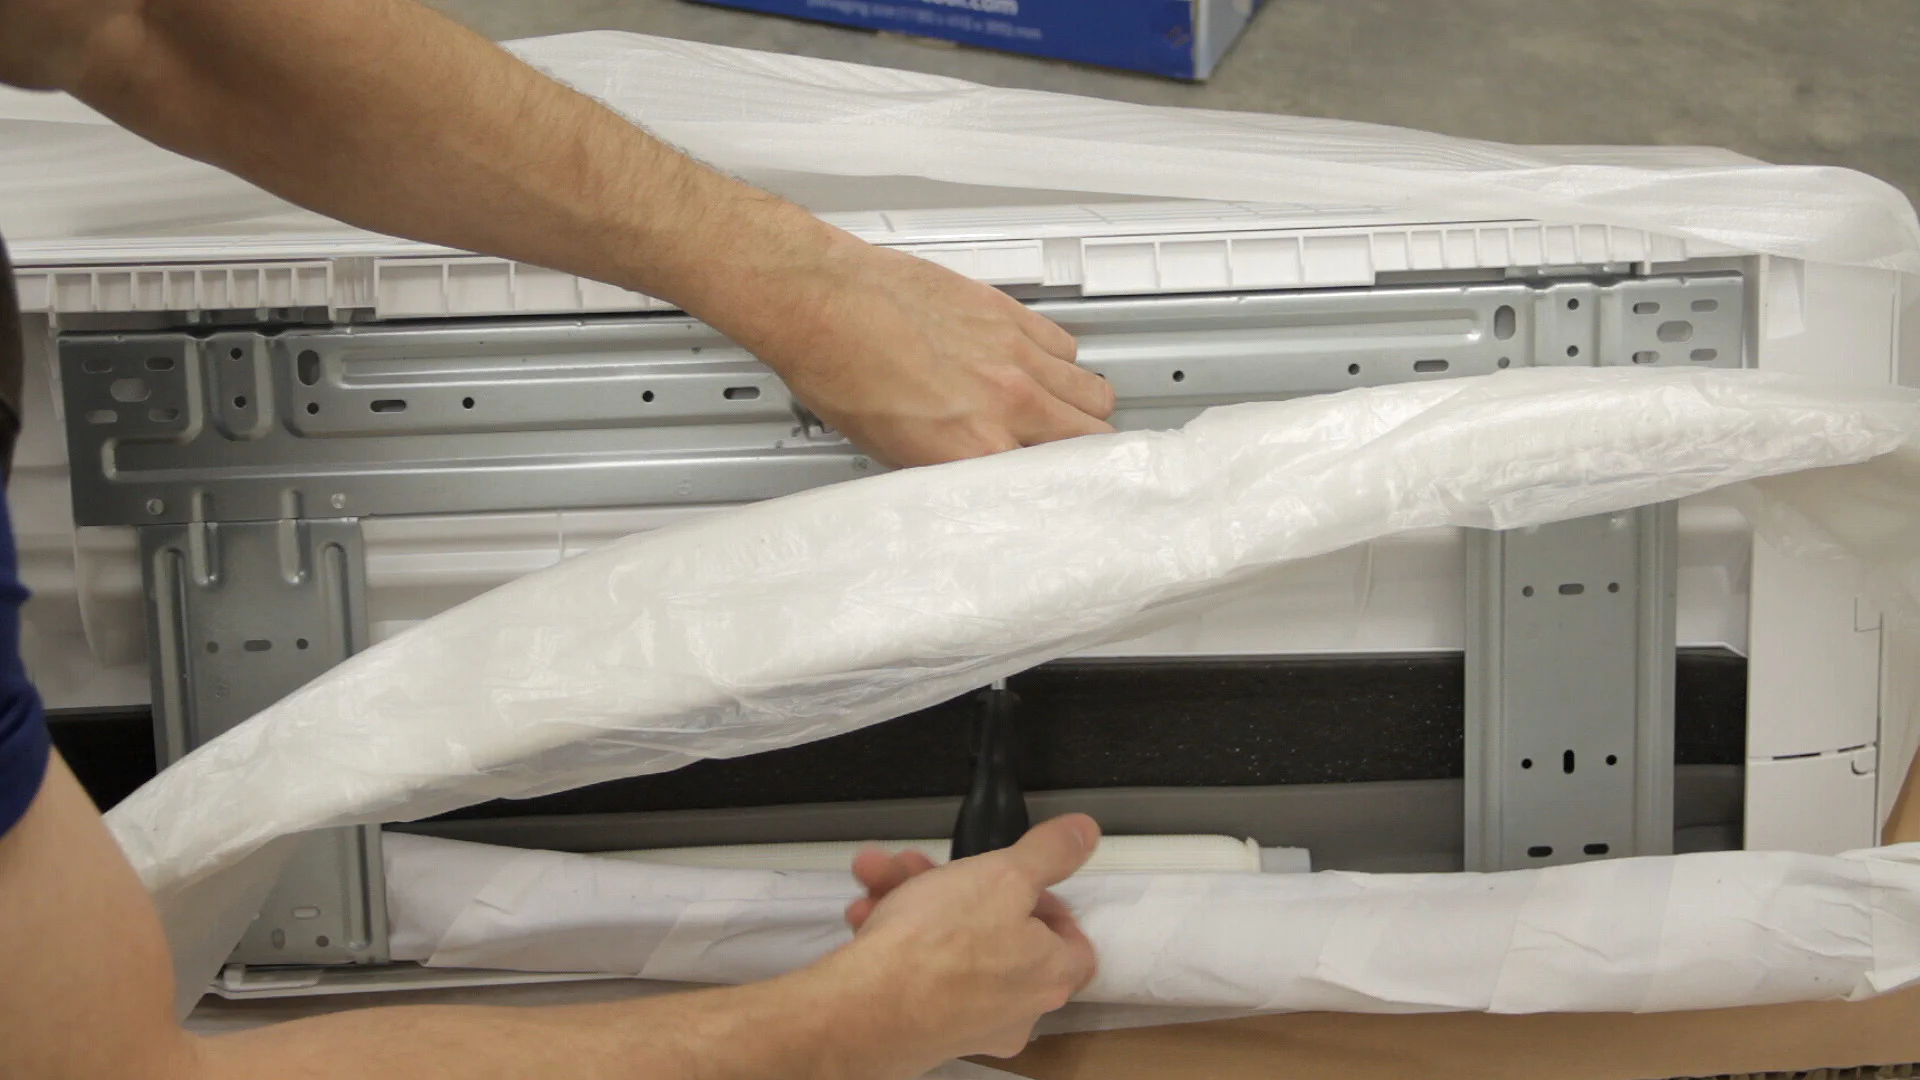
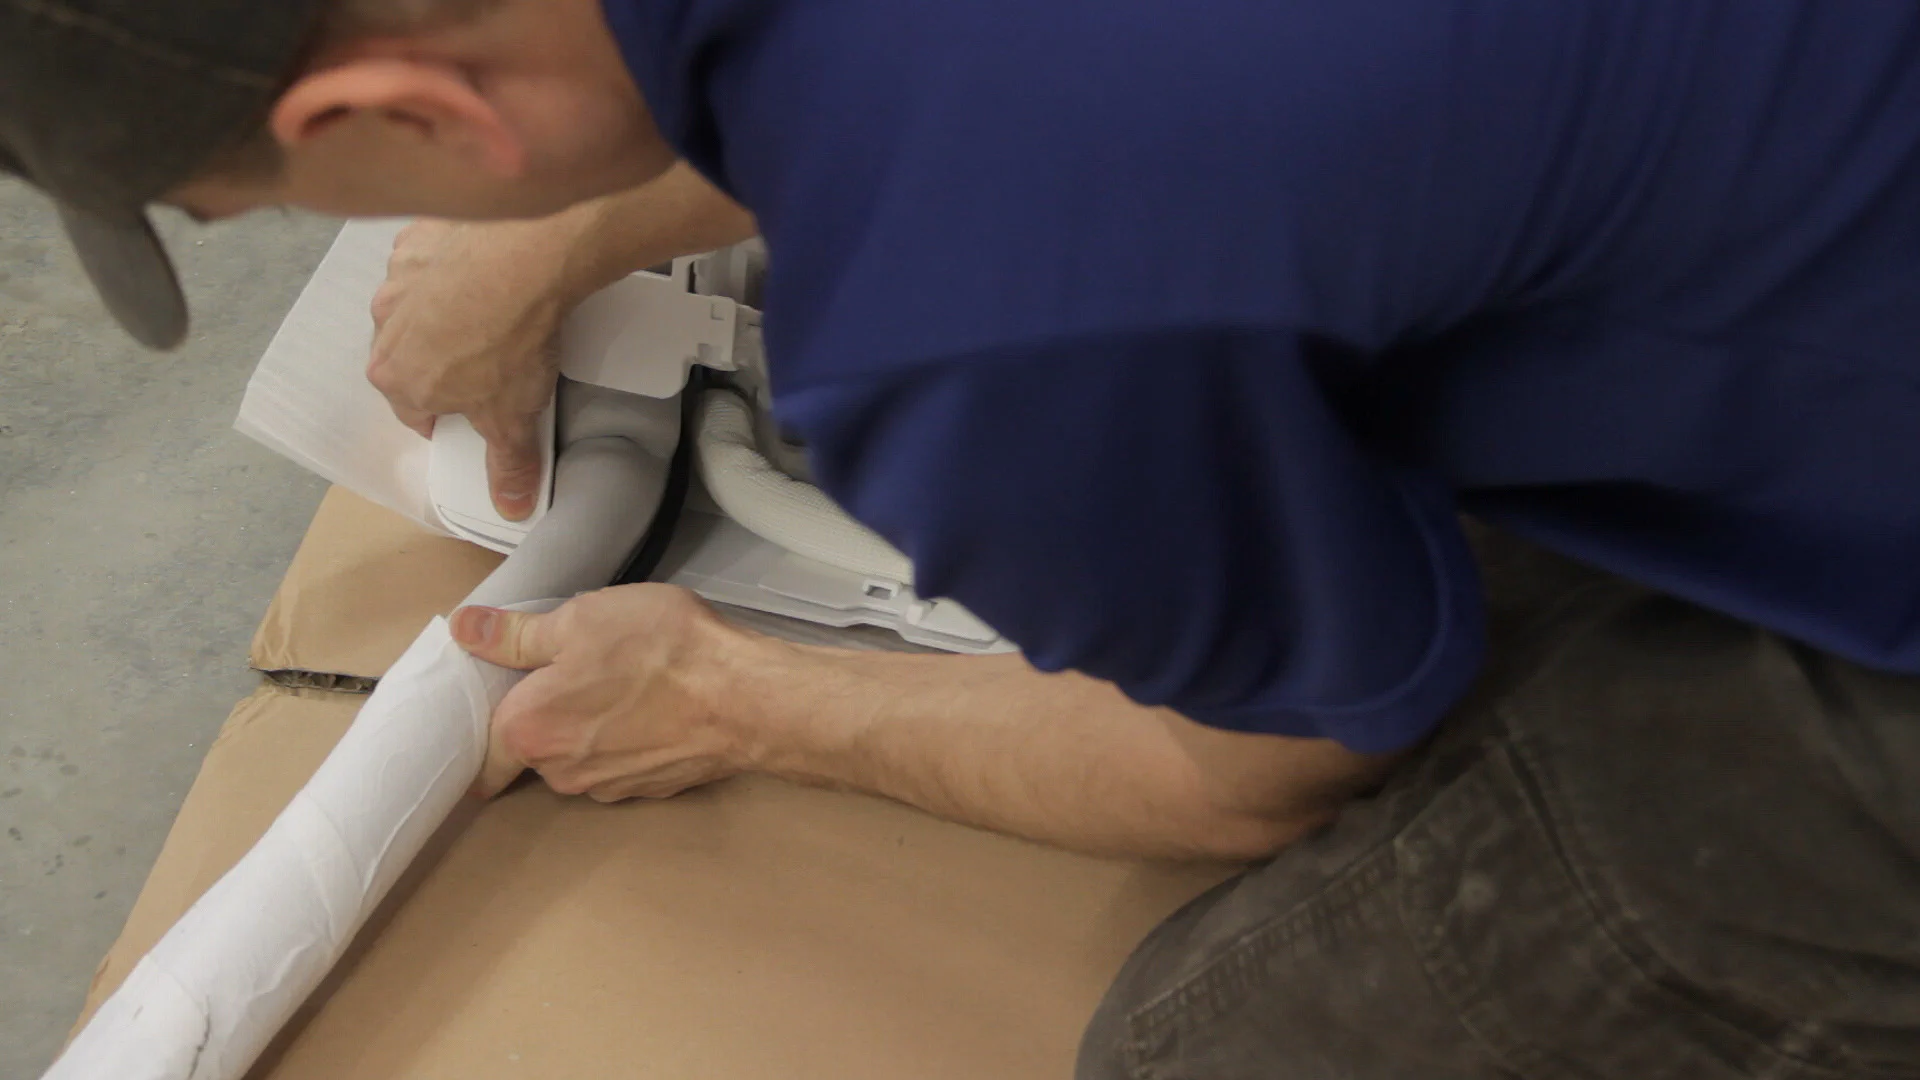
Next, I very gently bent the lines so that they exited the back of the unit where the hole will be located. The shorter tube is the drain line and it needs to exit underneath the line set so that any condensation can easily drain outside.
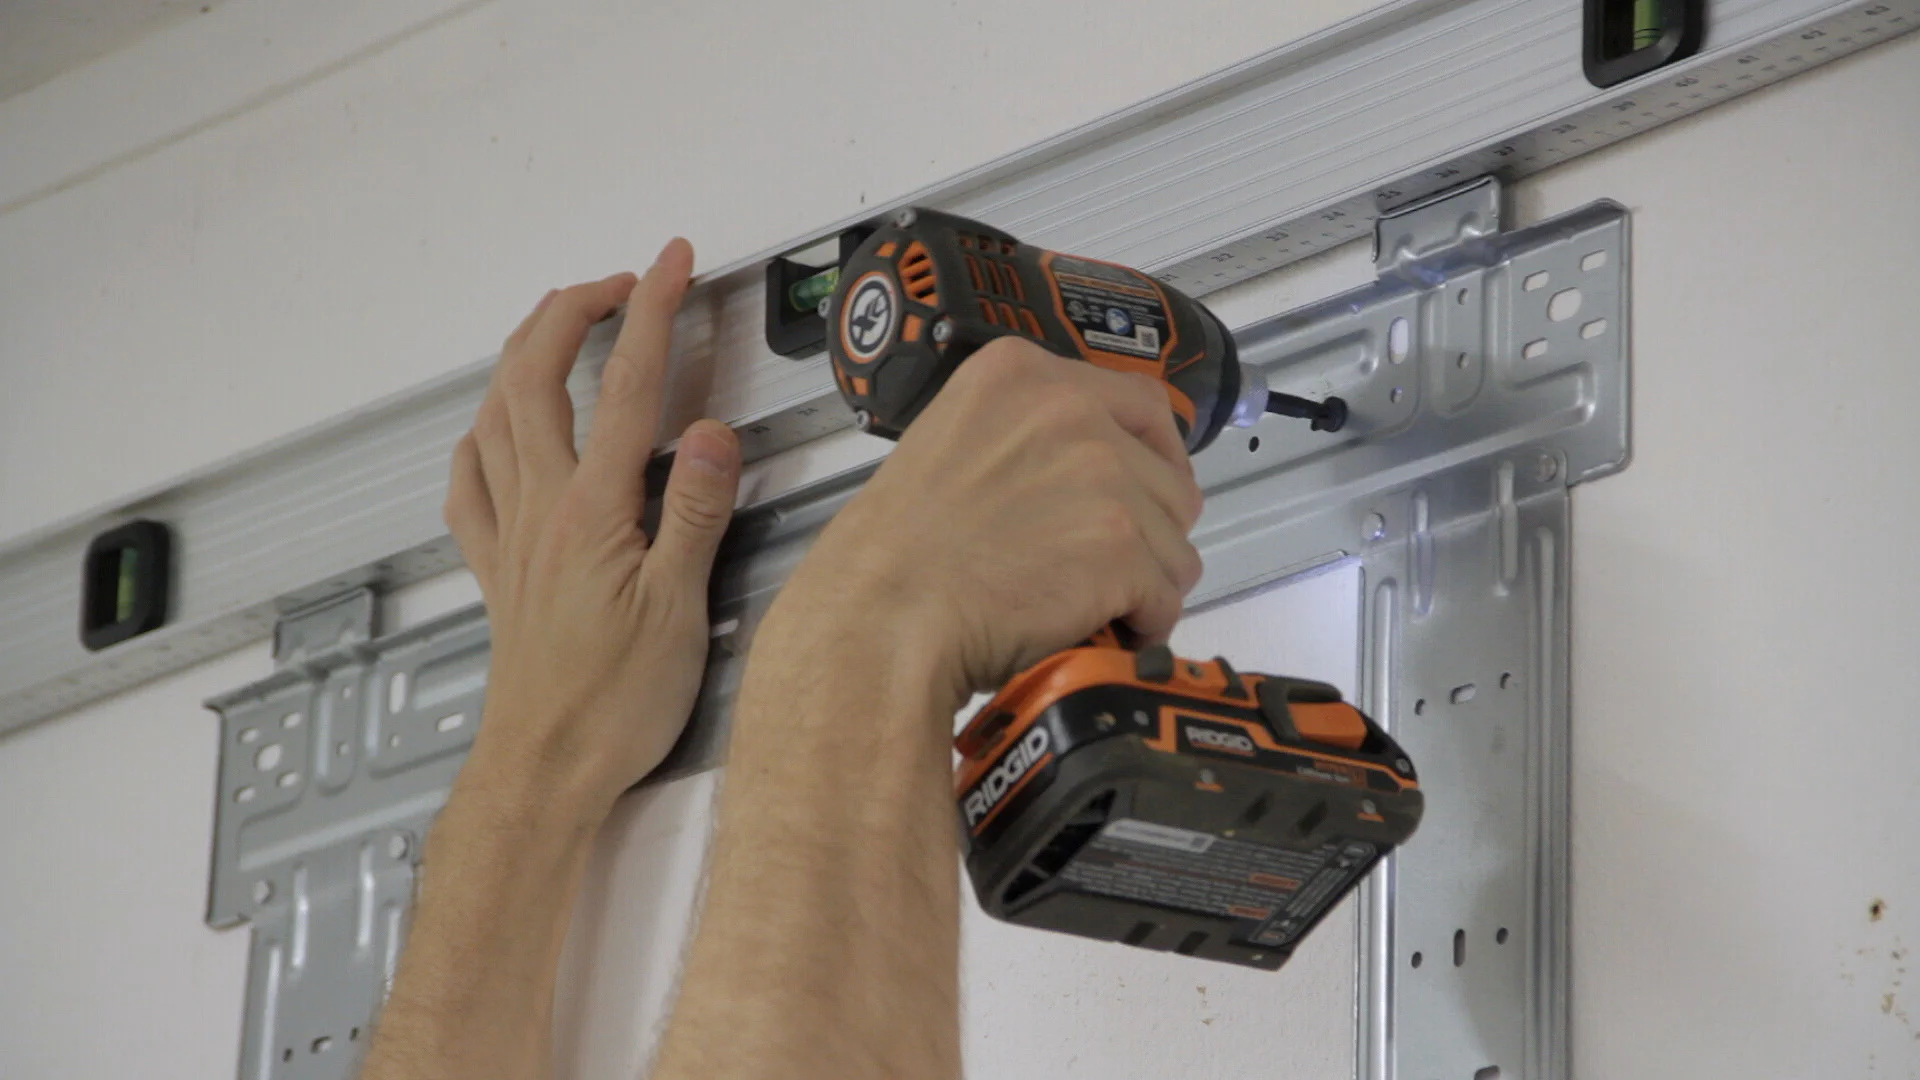
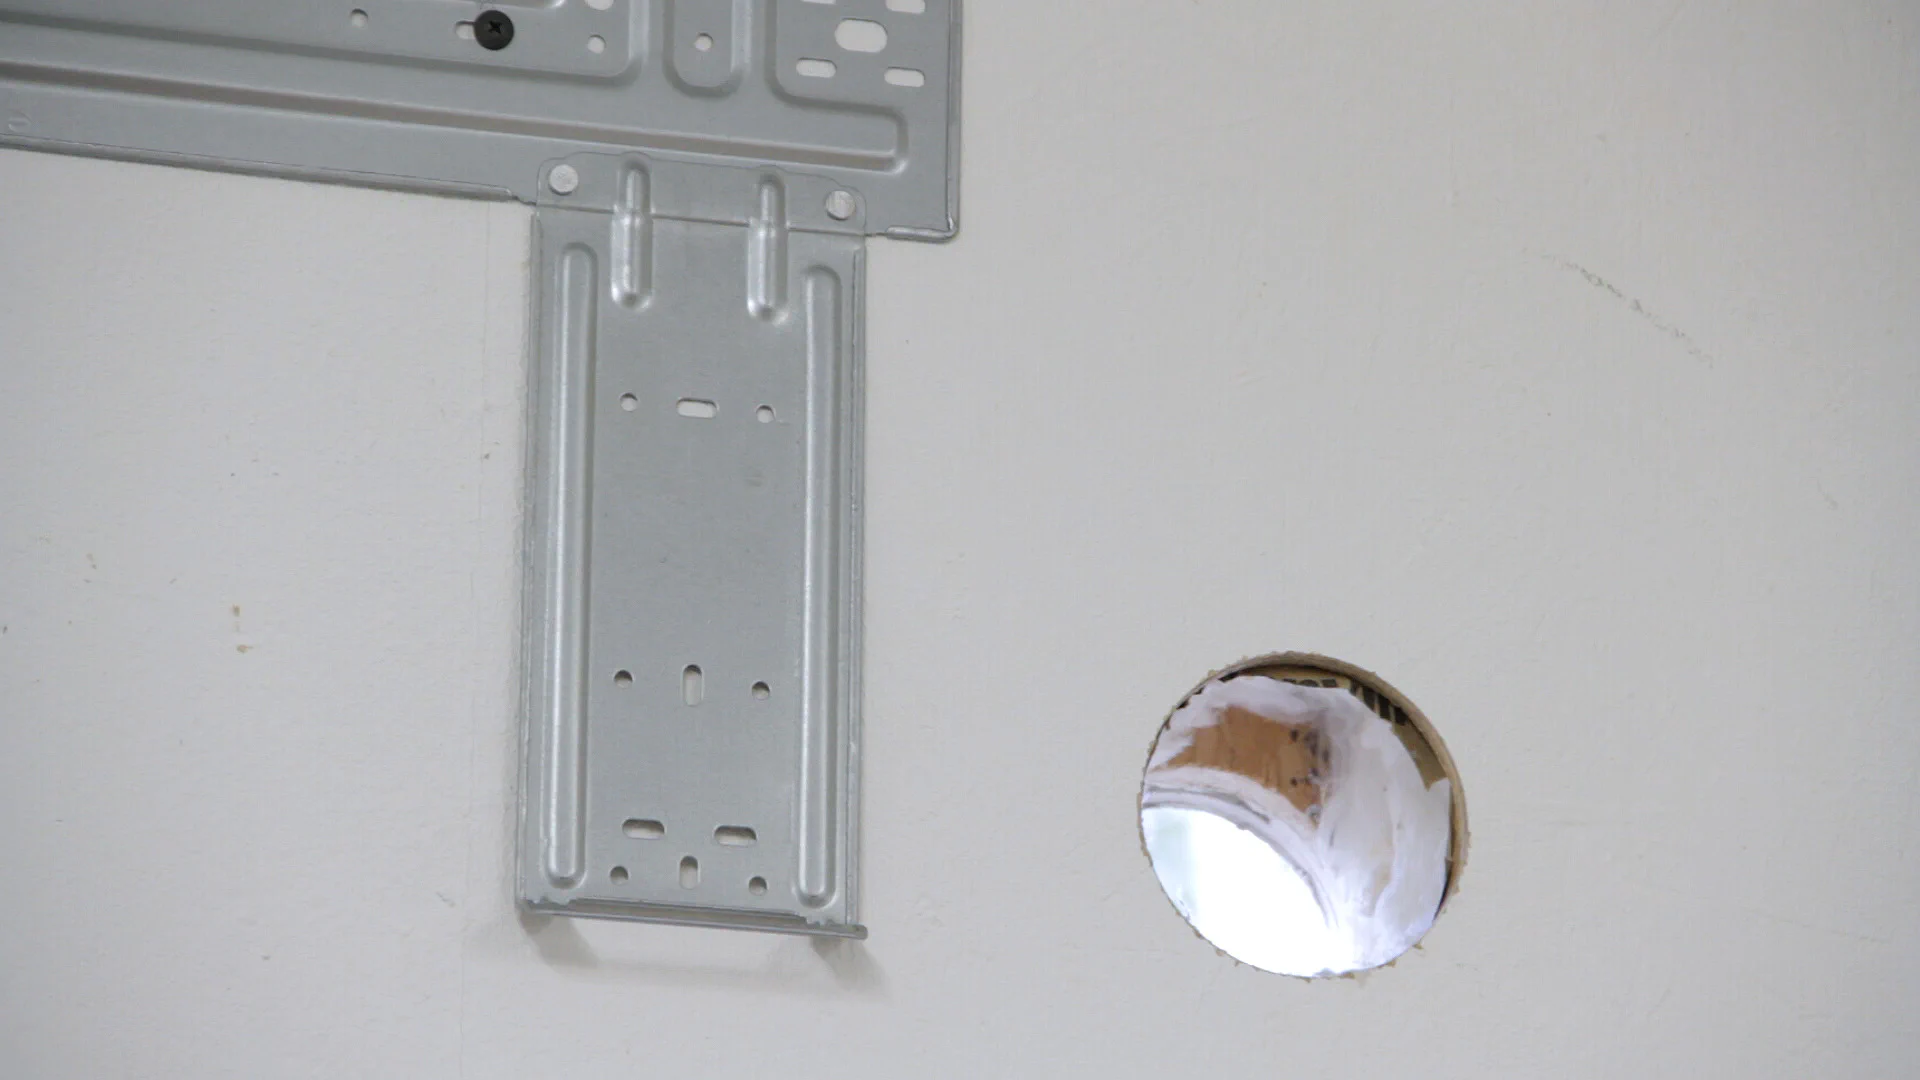
Then I leveled and taped the template to the wall of our shop and pre-drilled holes on two stud locations. I also went ahead and drilled a pilot hole where the hole for the line set would go before attaching the mounting bracket to the wall with a pair of cabinet screws.
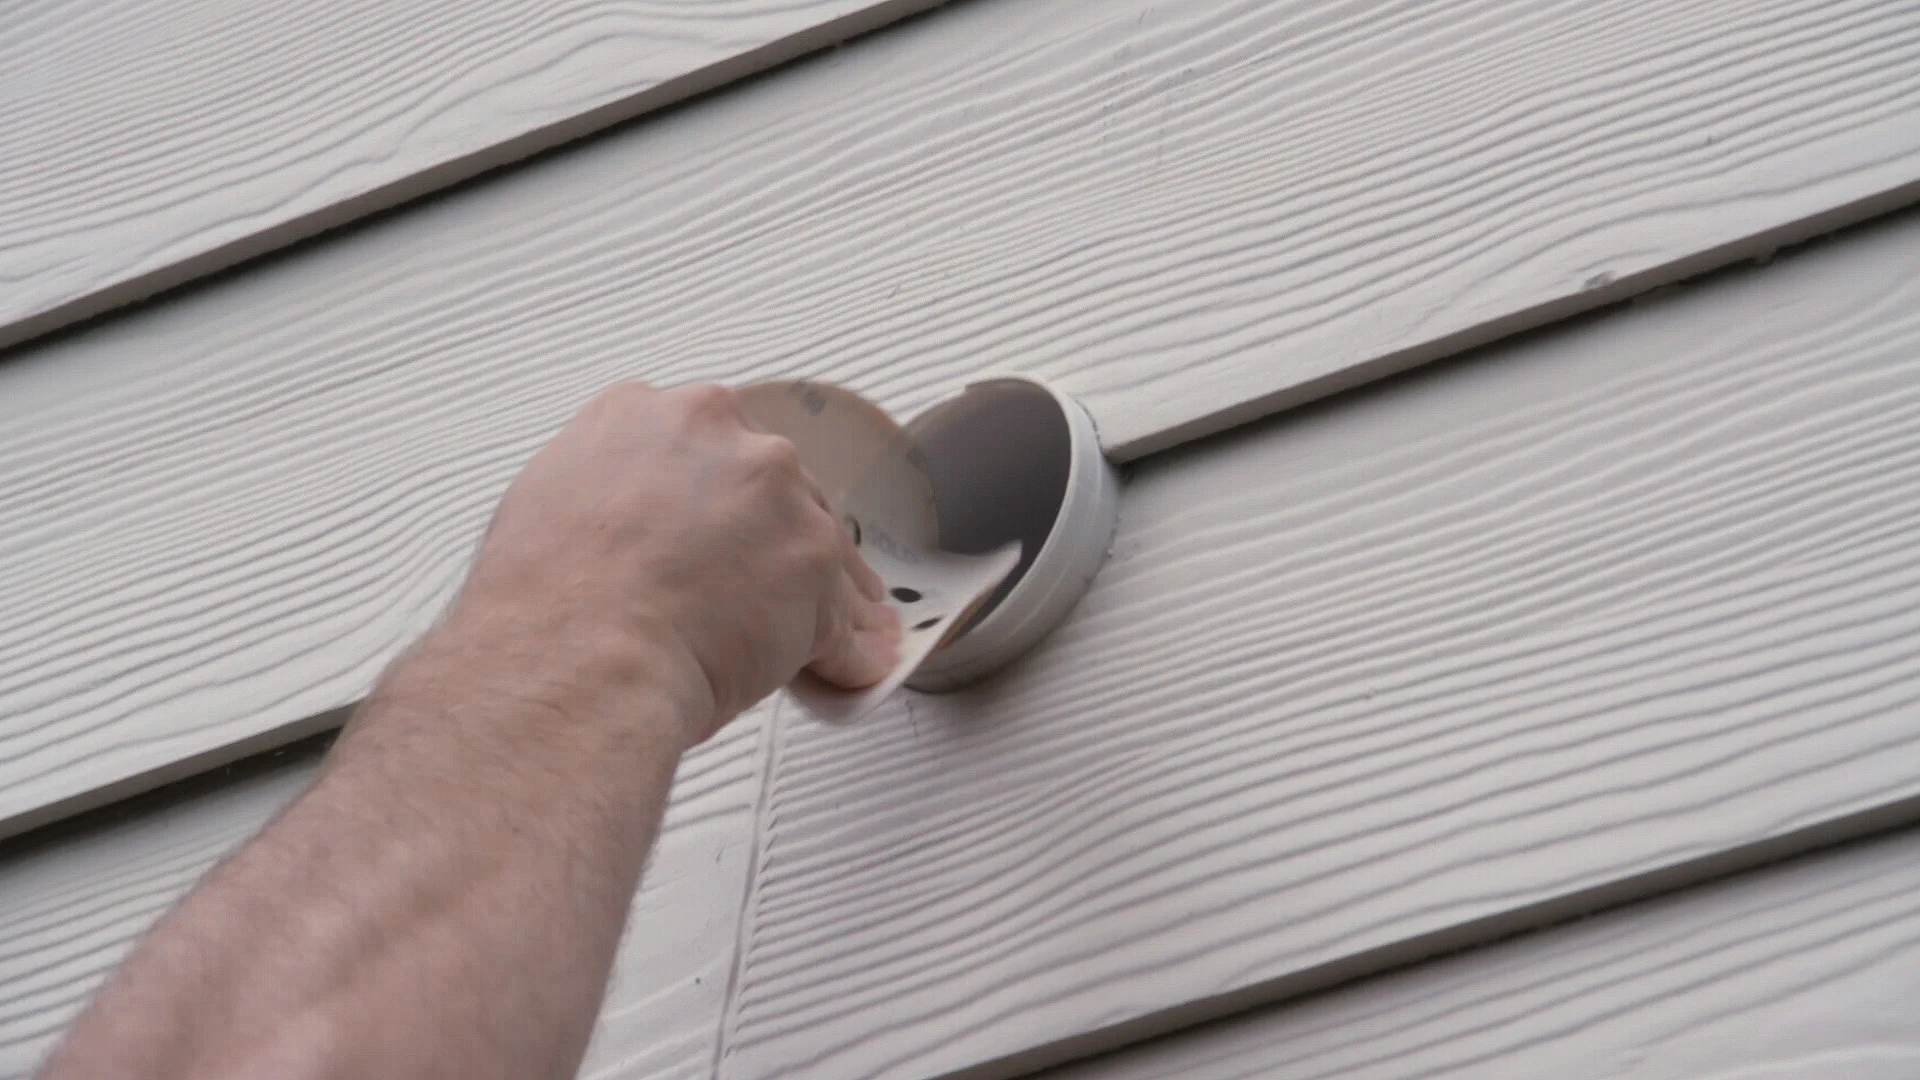
Next it was time to drill the big 3.5" hole through the interior and exterior walls at a slight downward angle to help with drainage. Once I drilled through the interior wall, I cut a small hole in the insulation and continued drilling through the exterior sheathing which also made a pilot hole in the siding.
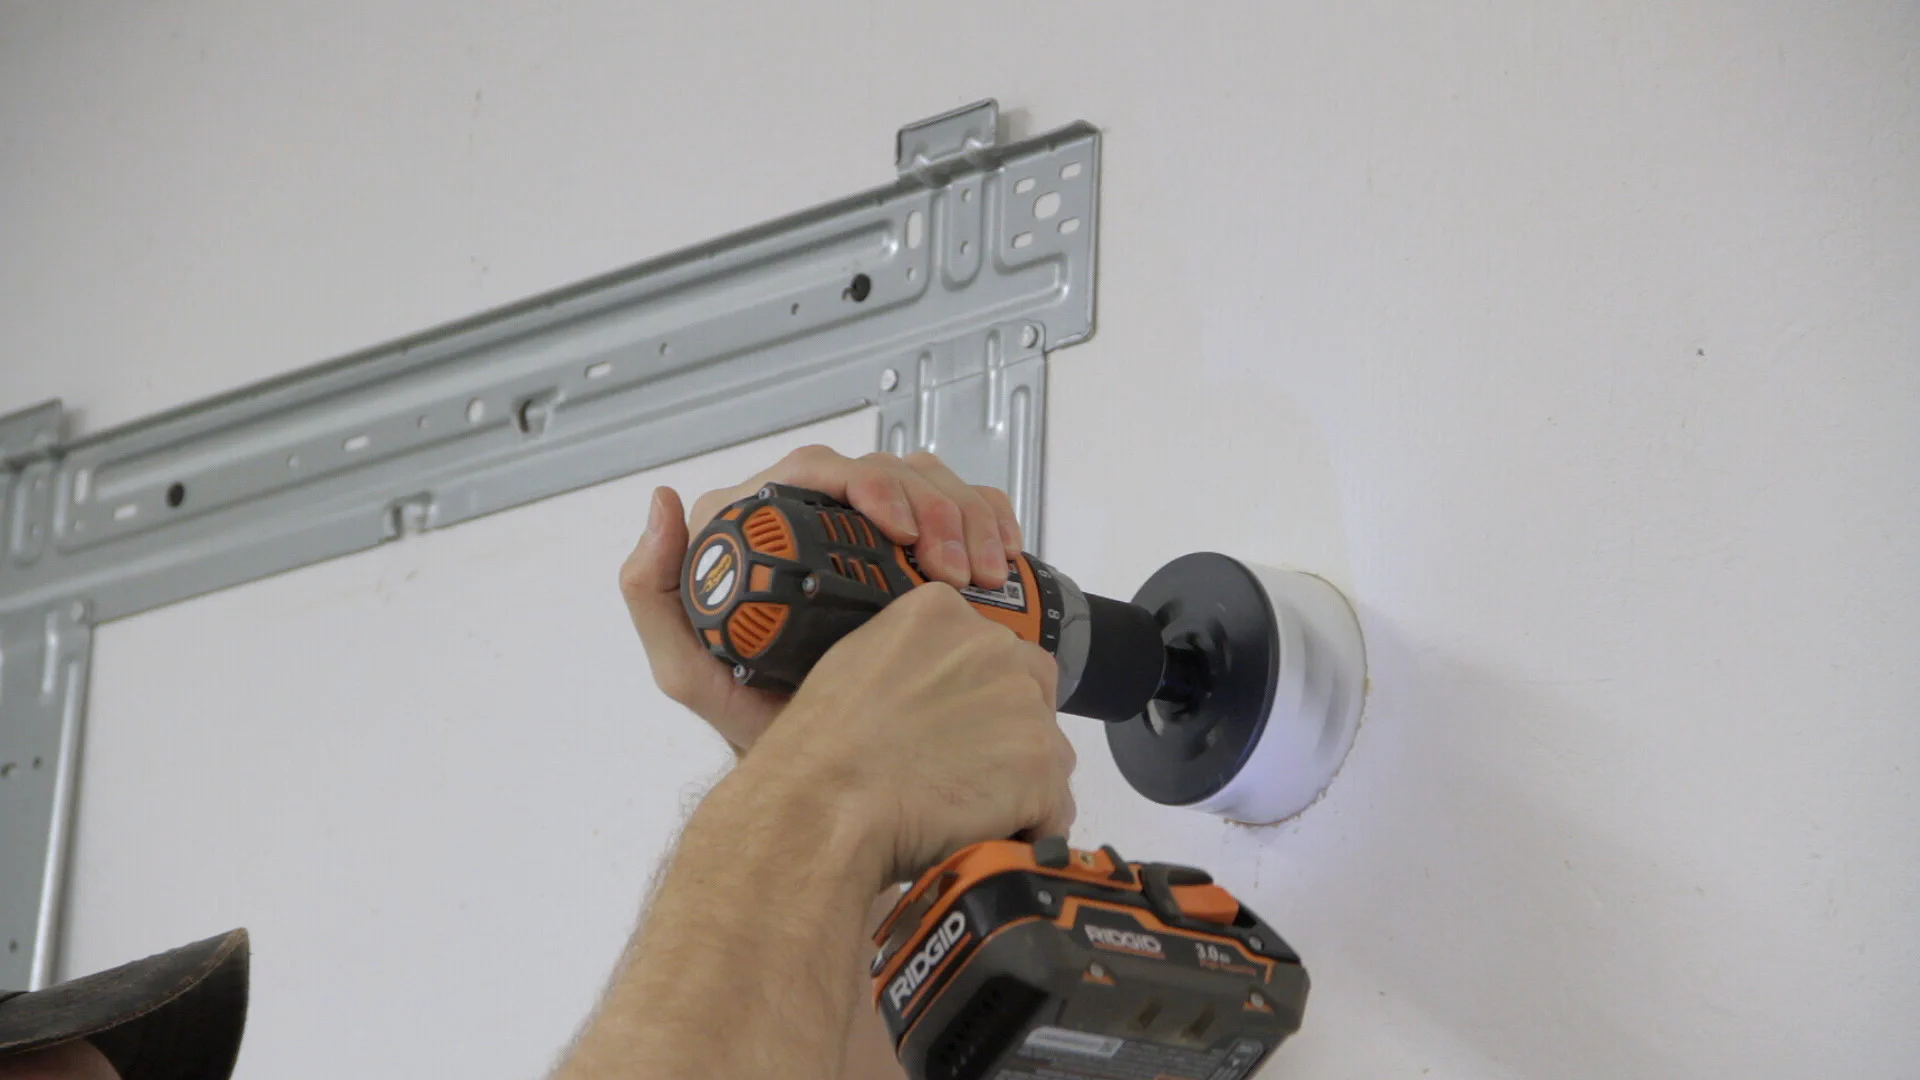
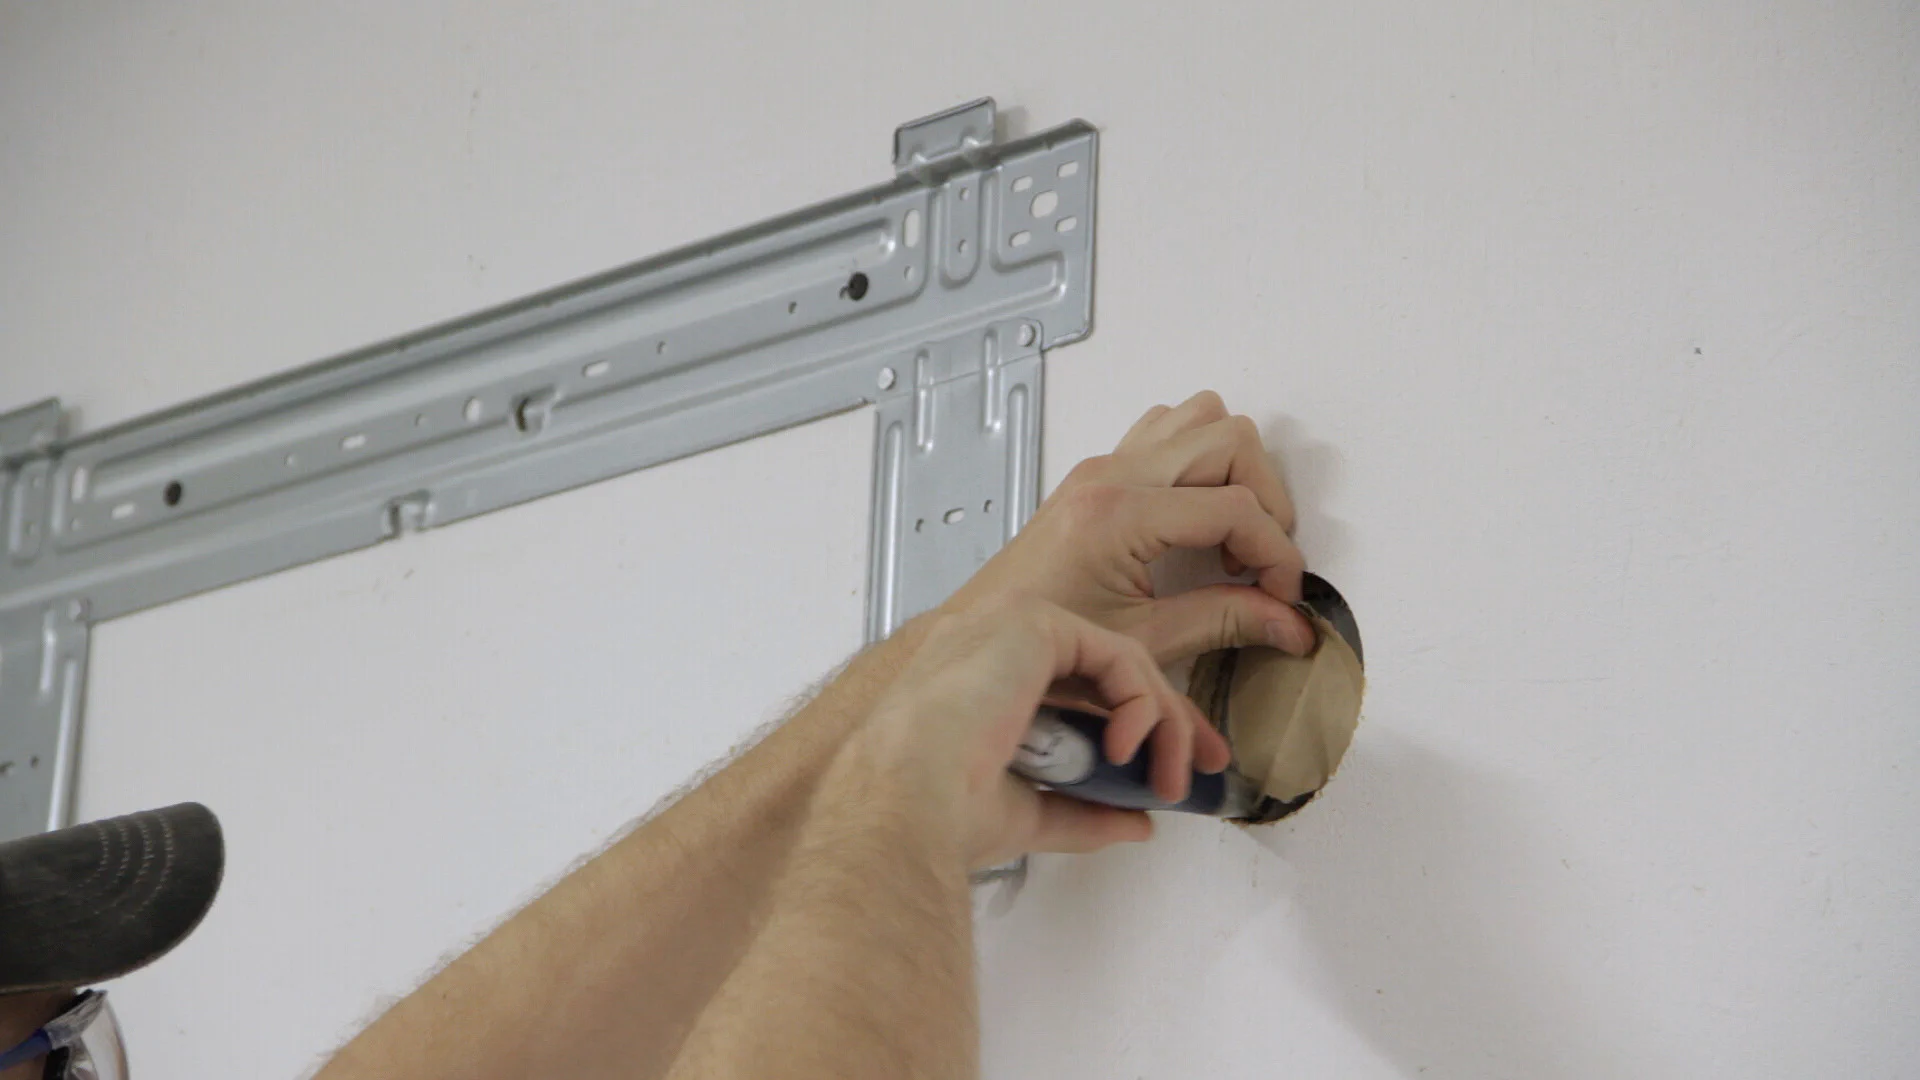
Since we have fiber cement siding I decided to finish cutting it from the outside to avoid any damage. This actually ended up working better than I expected using the hole saw and the end result turned out pretty nice.
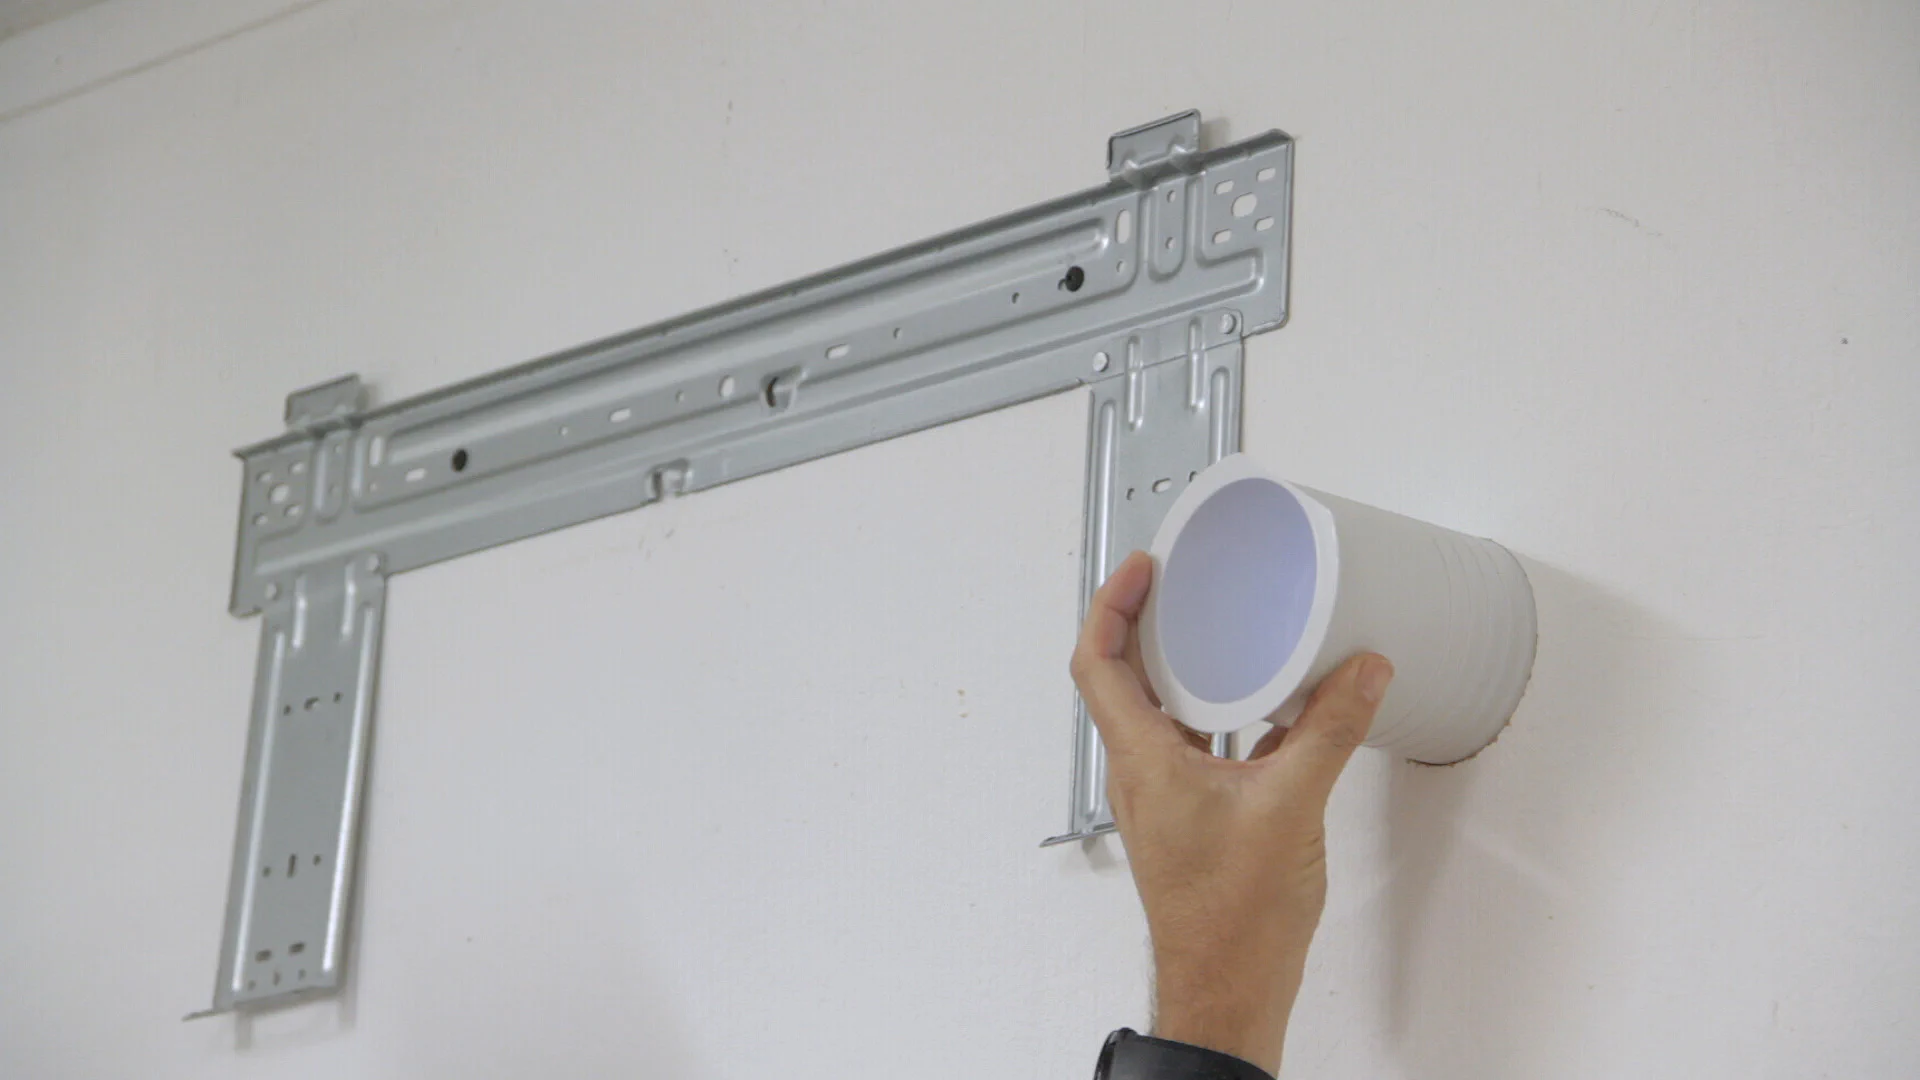
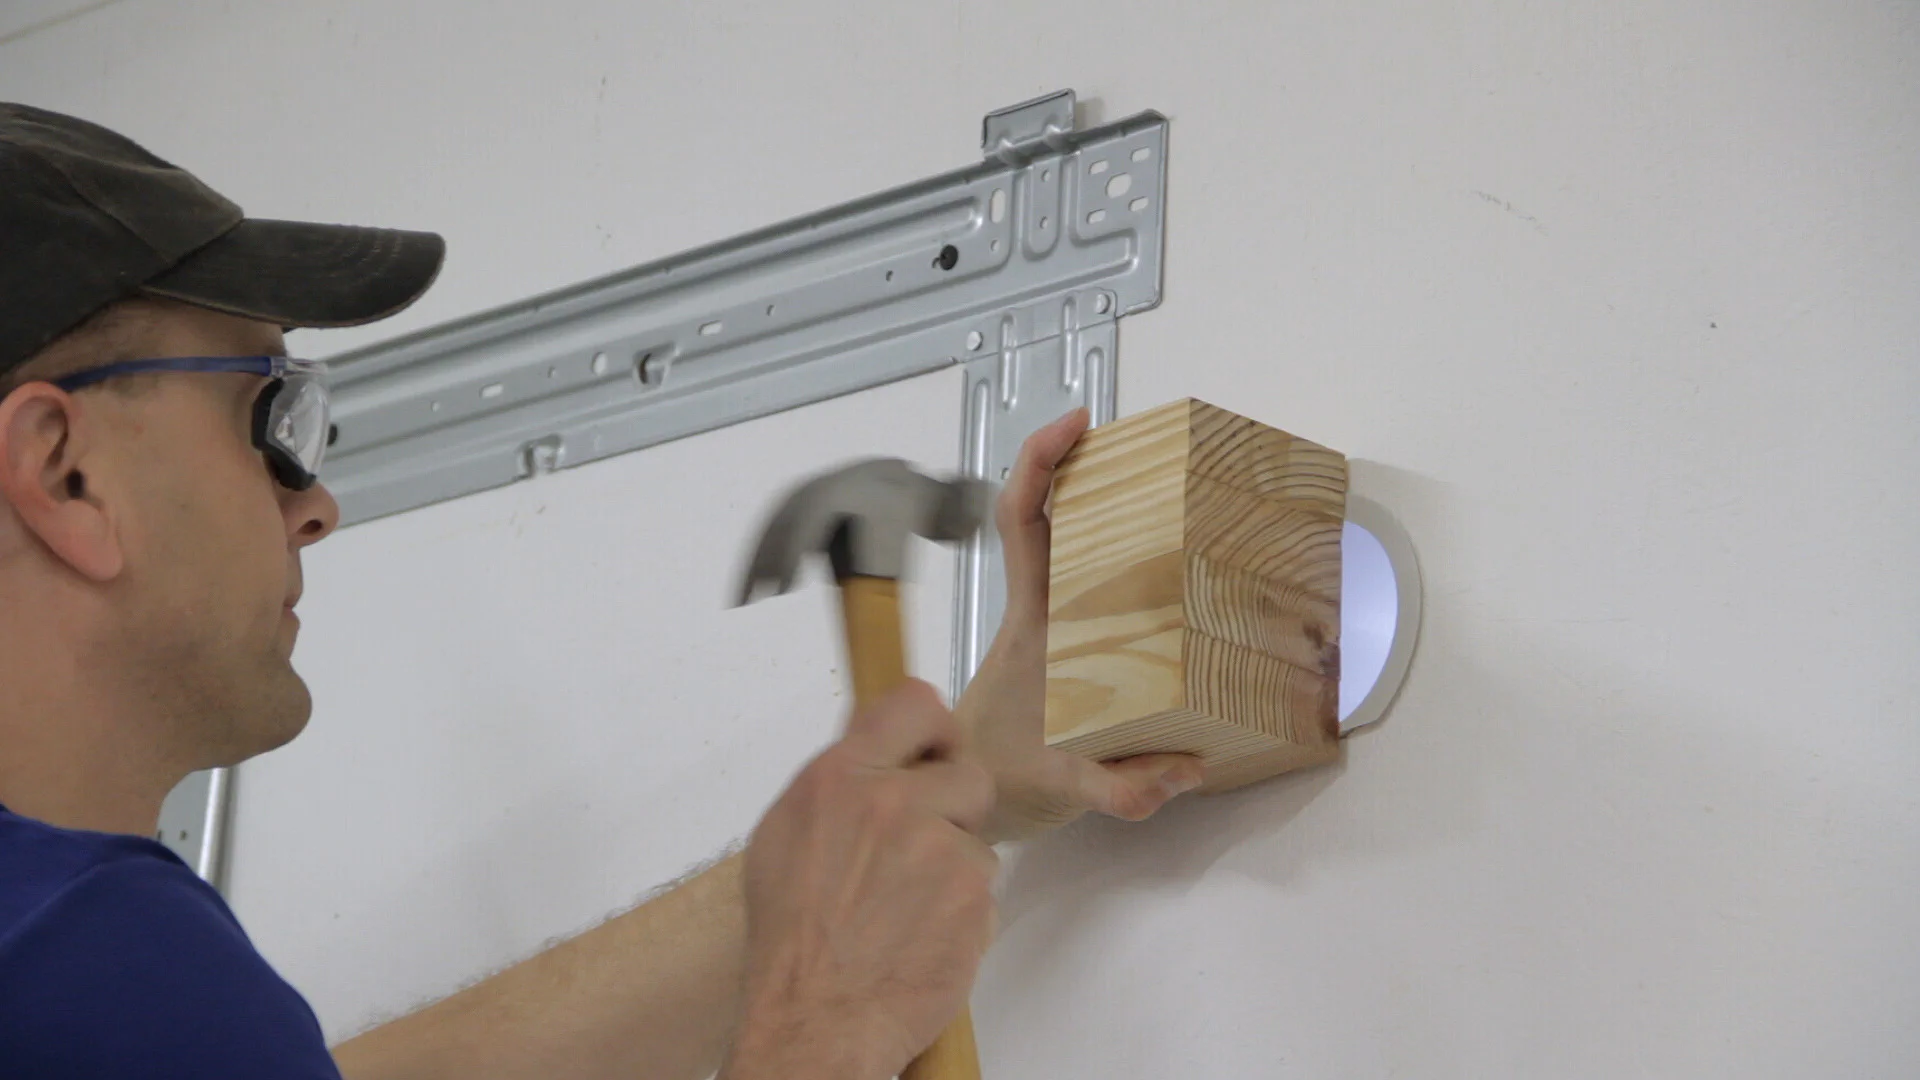
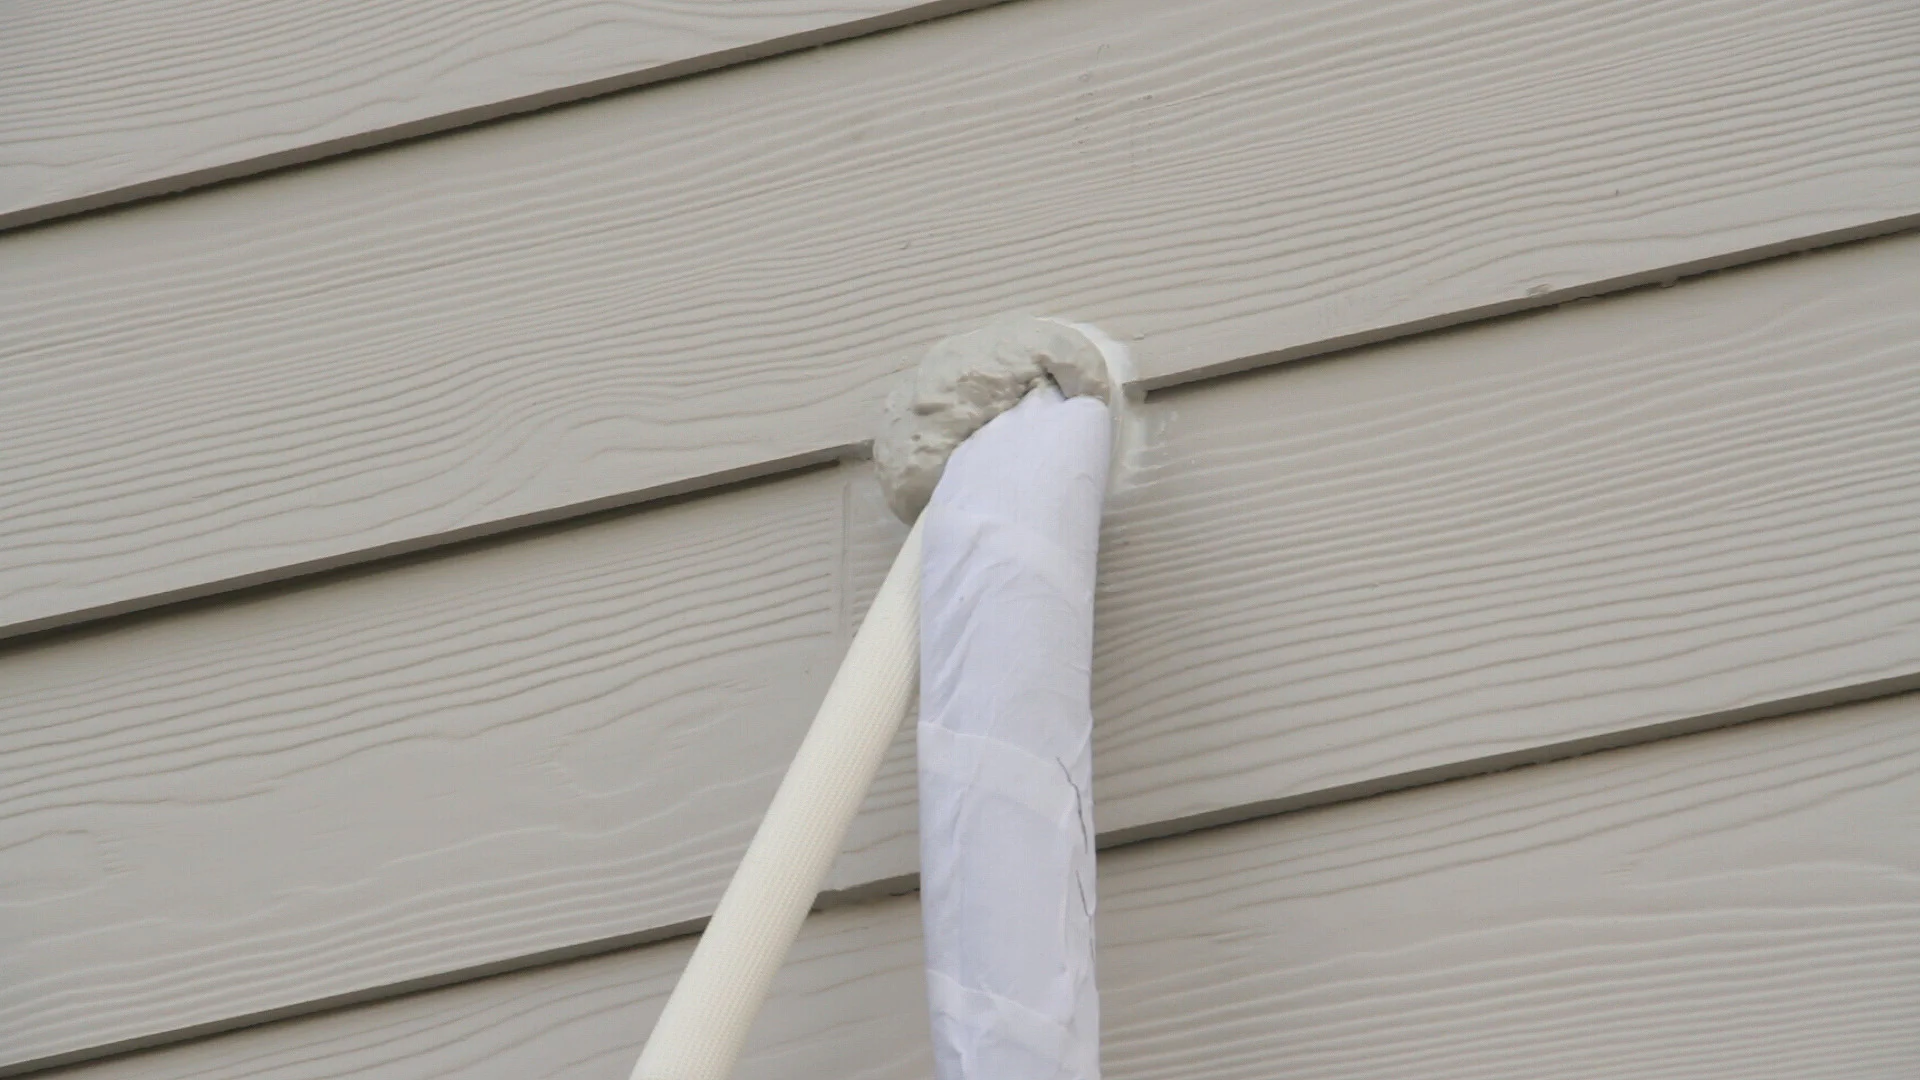
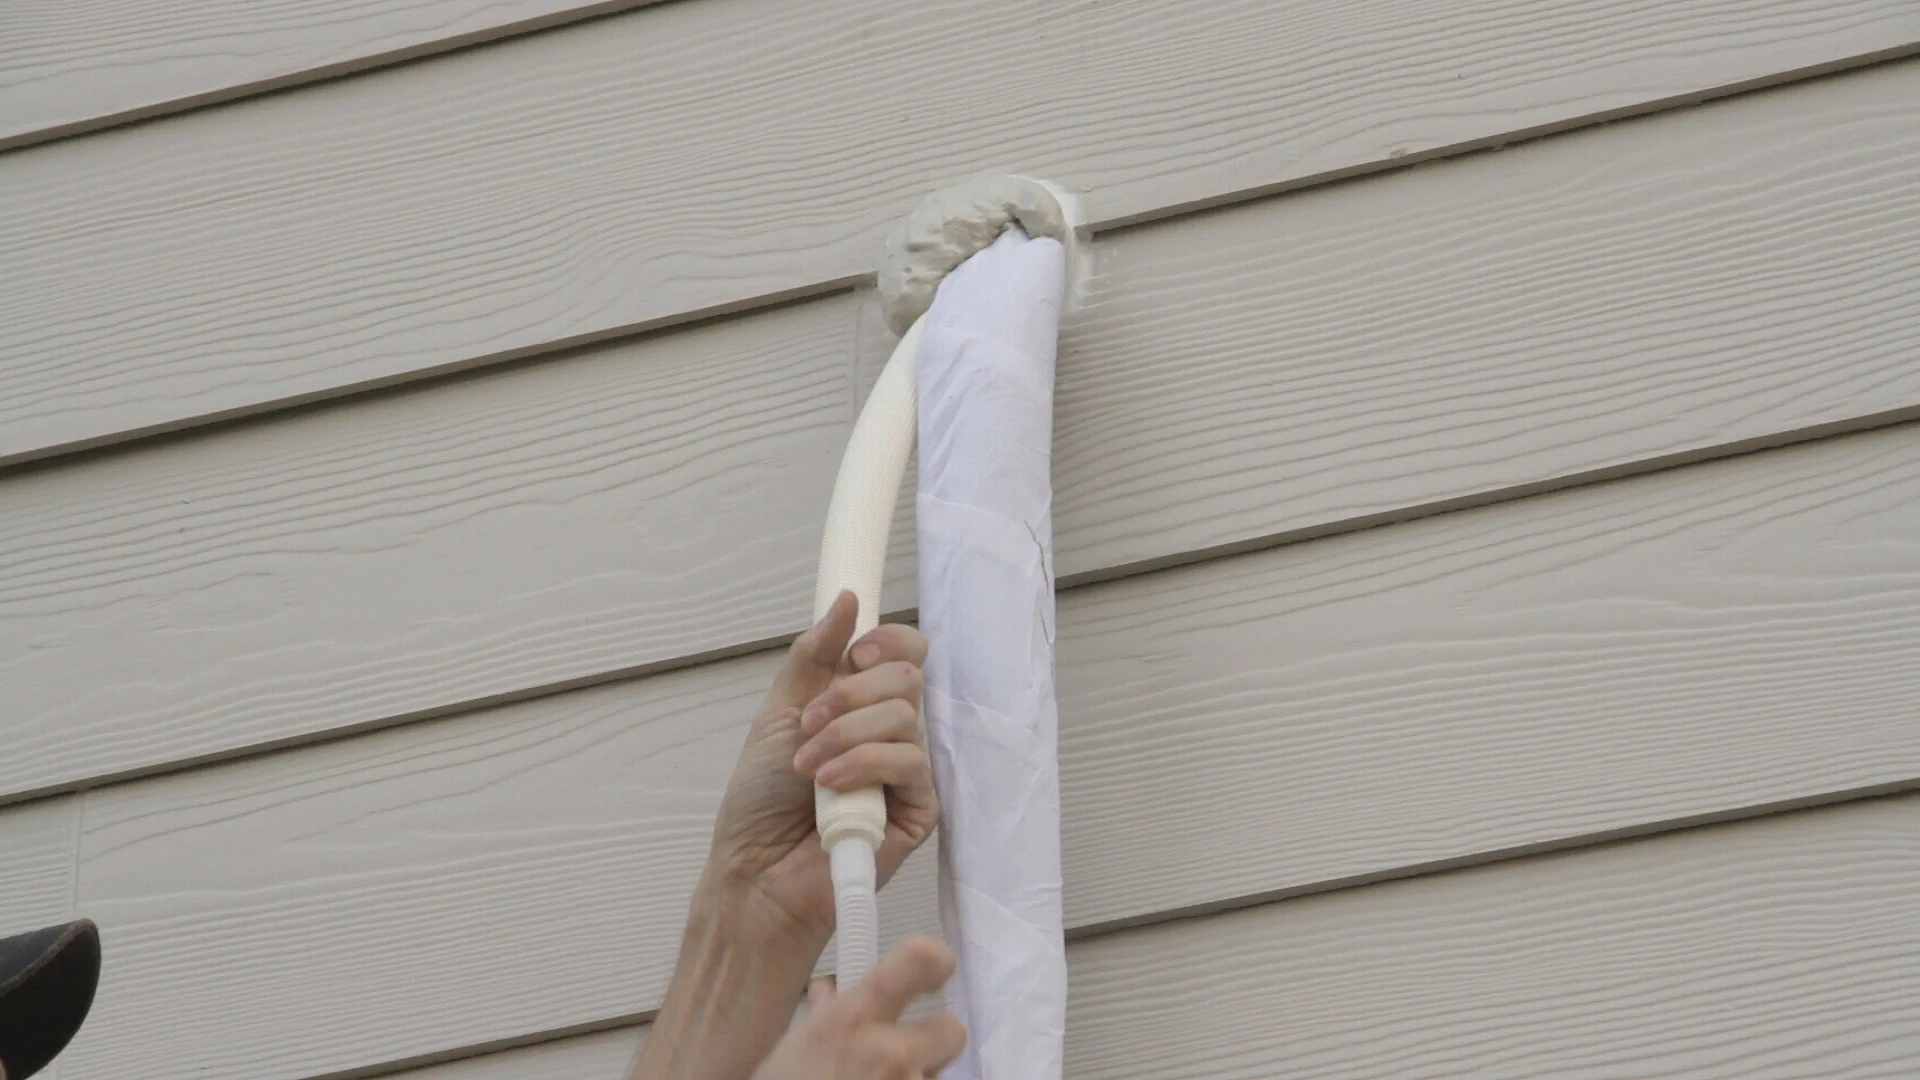
We then inserted the included plastic pipe that protects the line set and trimmed off all but about 1/2" of the excess on the outside with a hacksaw and sanded over any rough edges along the bottom.
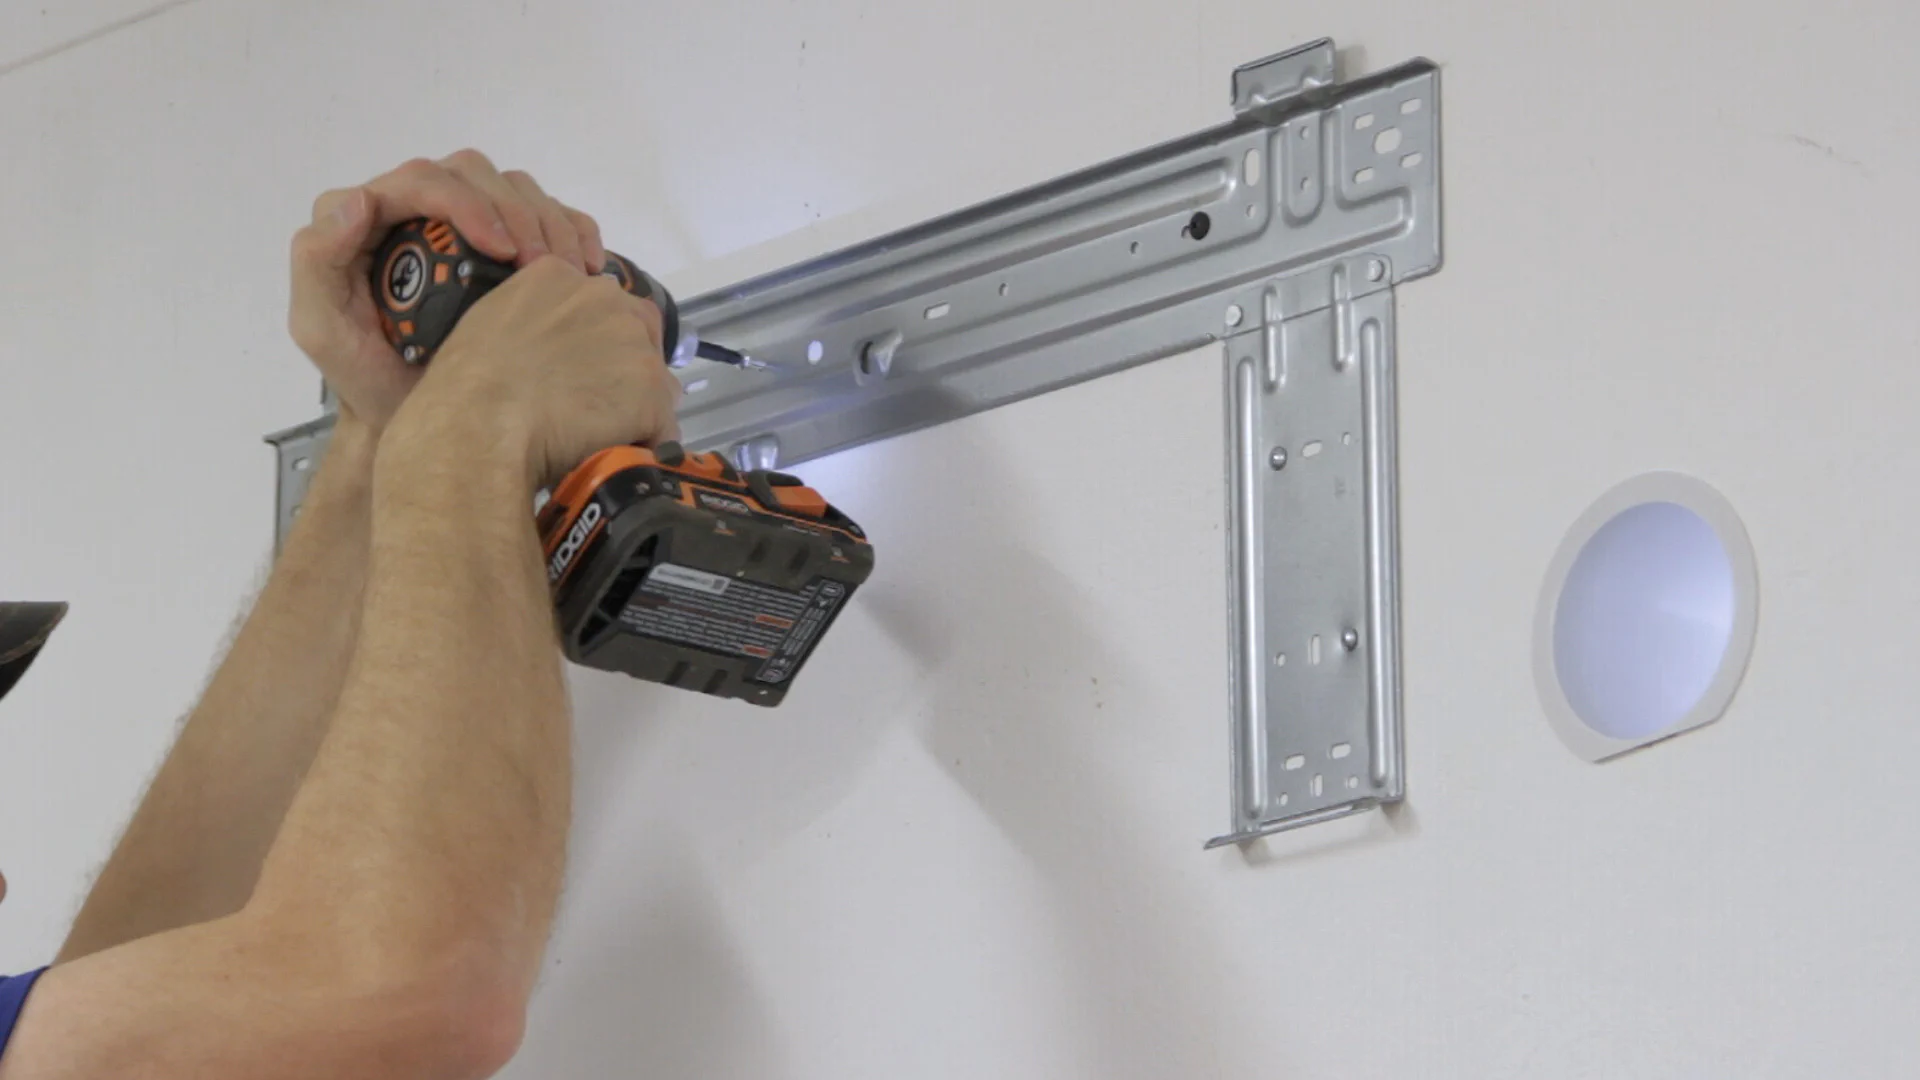
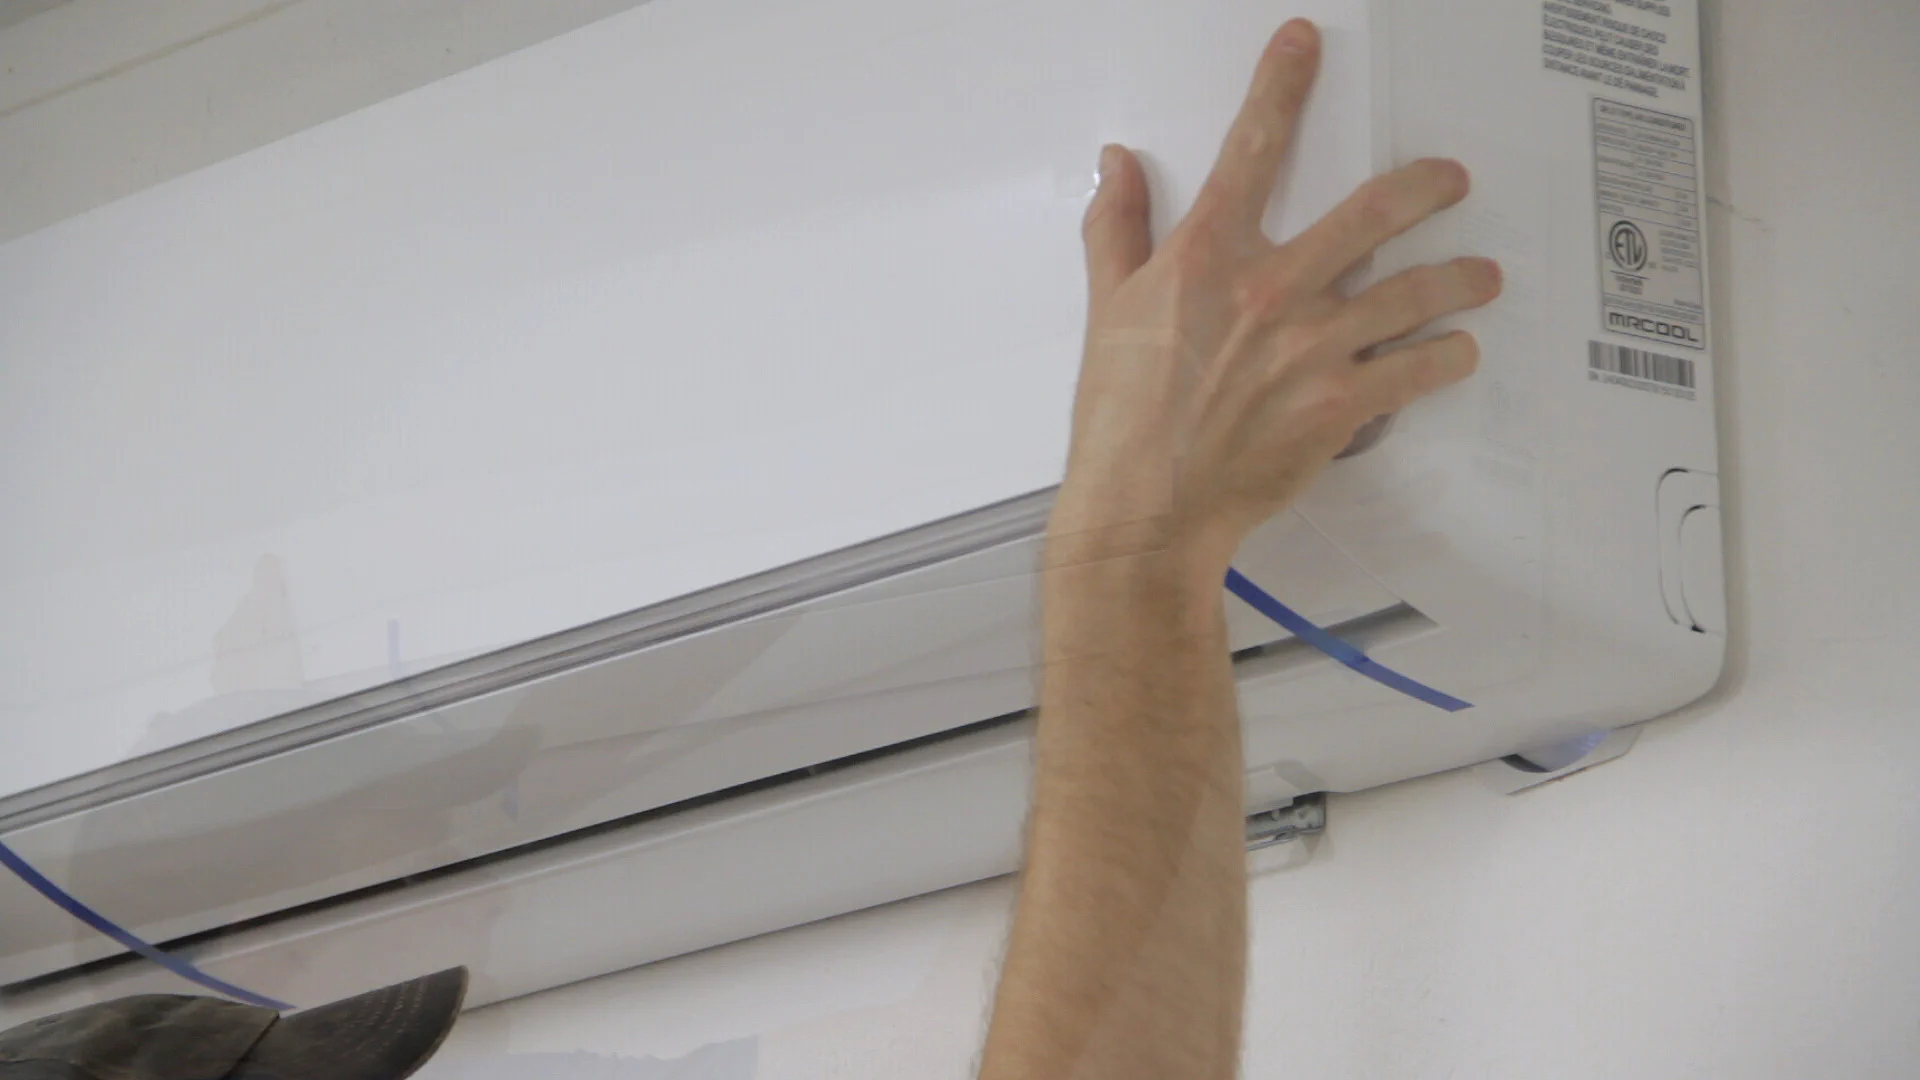
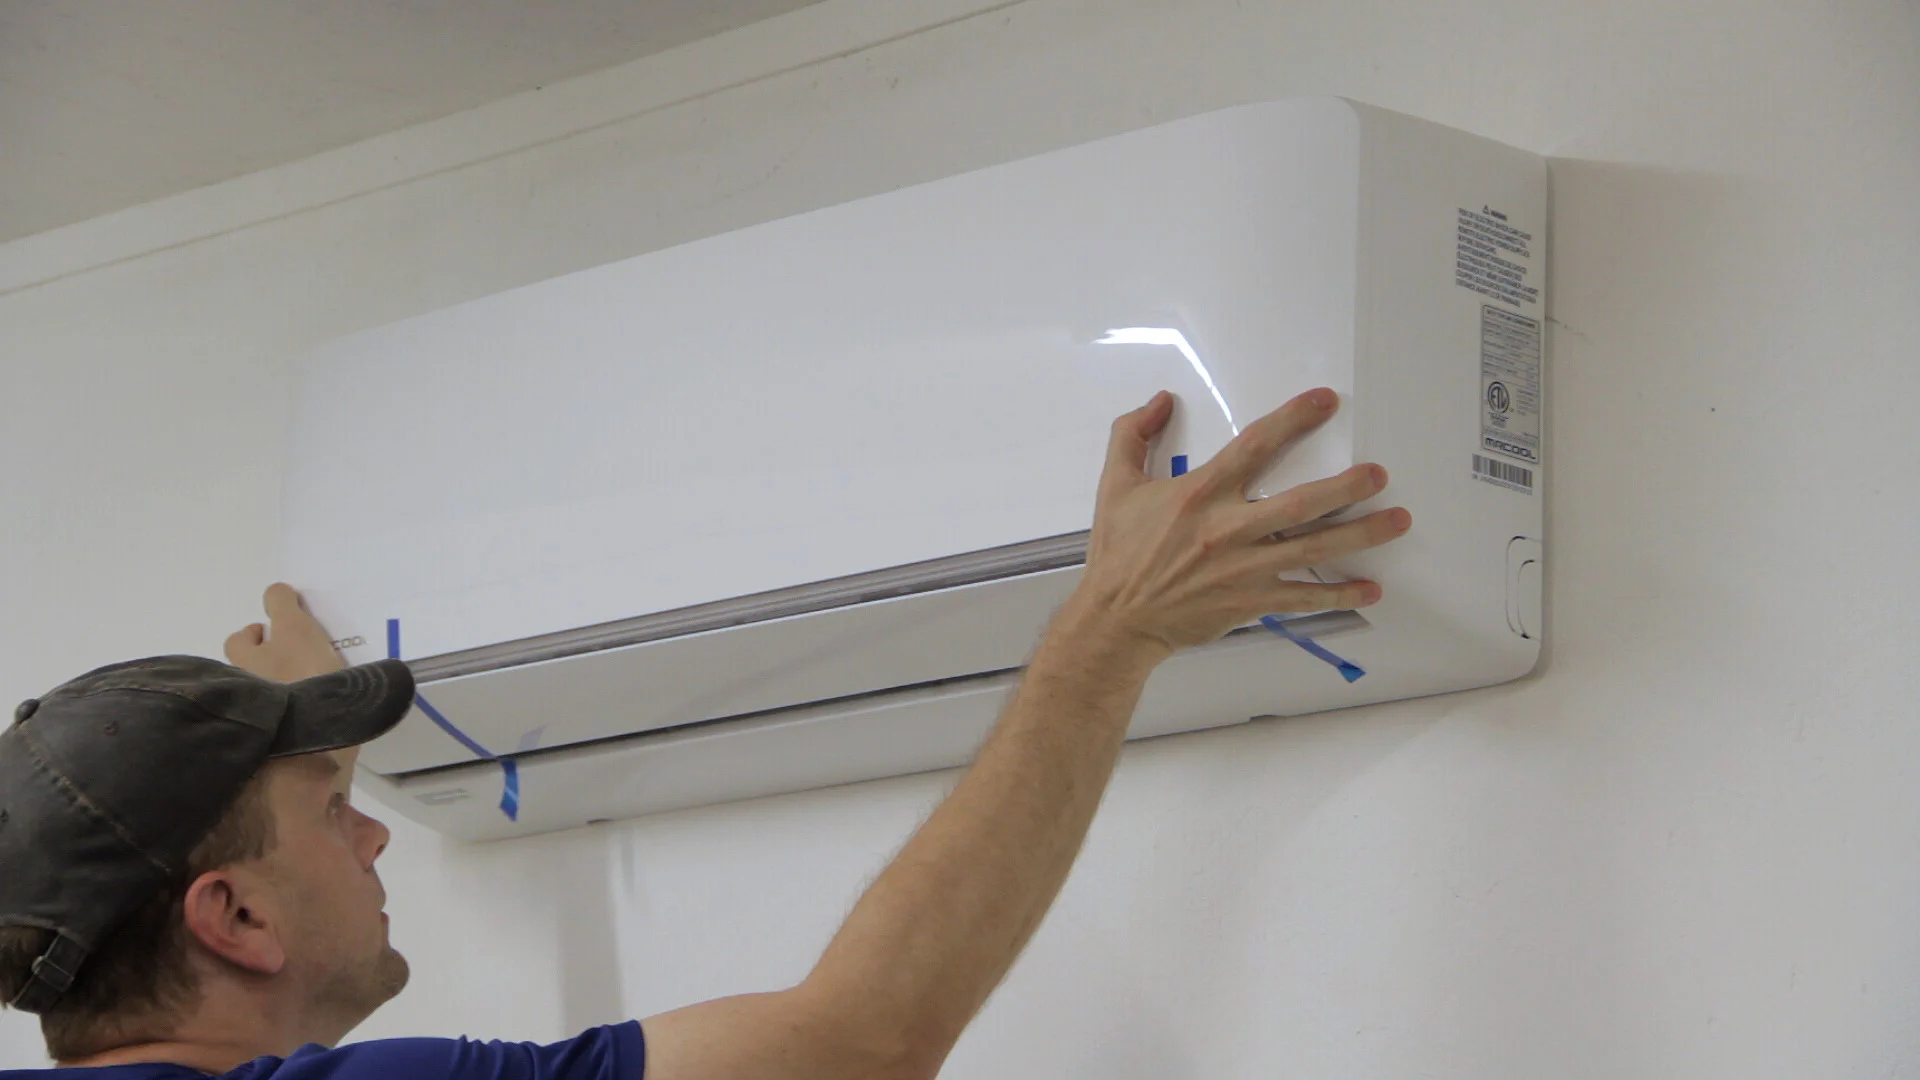
Next I finished attaching the mounting bracket with the remaining screws and then it was finally time to mount the indoor unit on the wall.
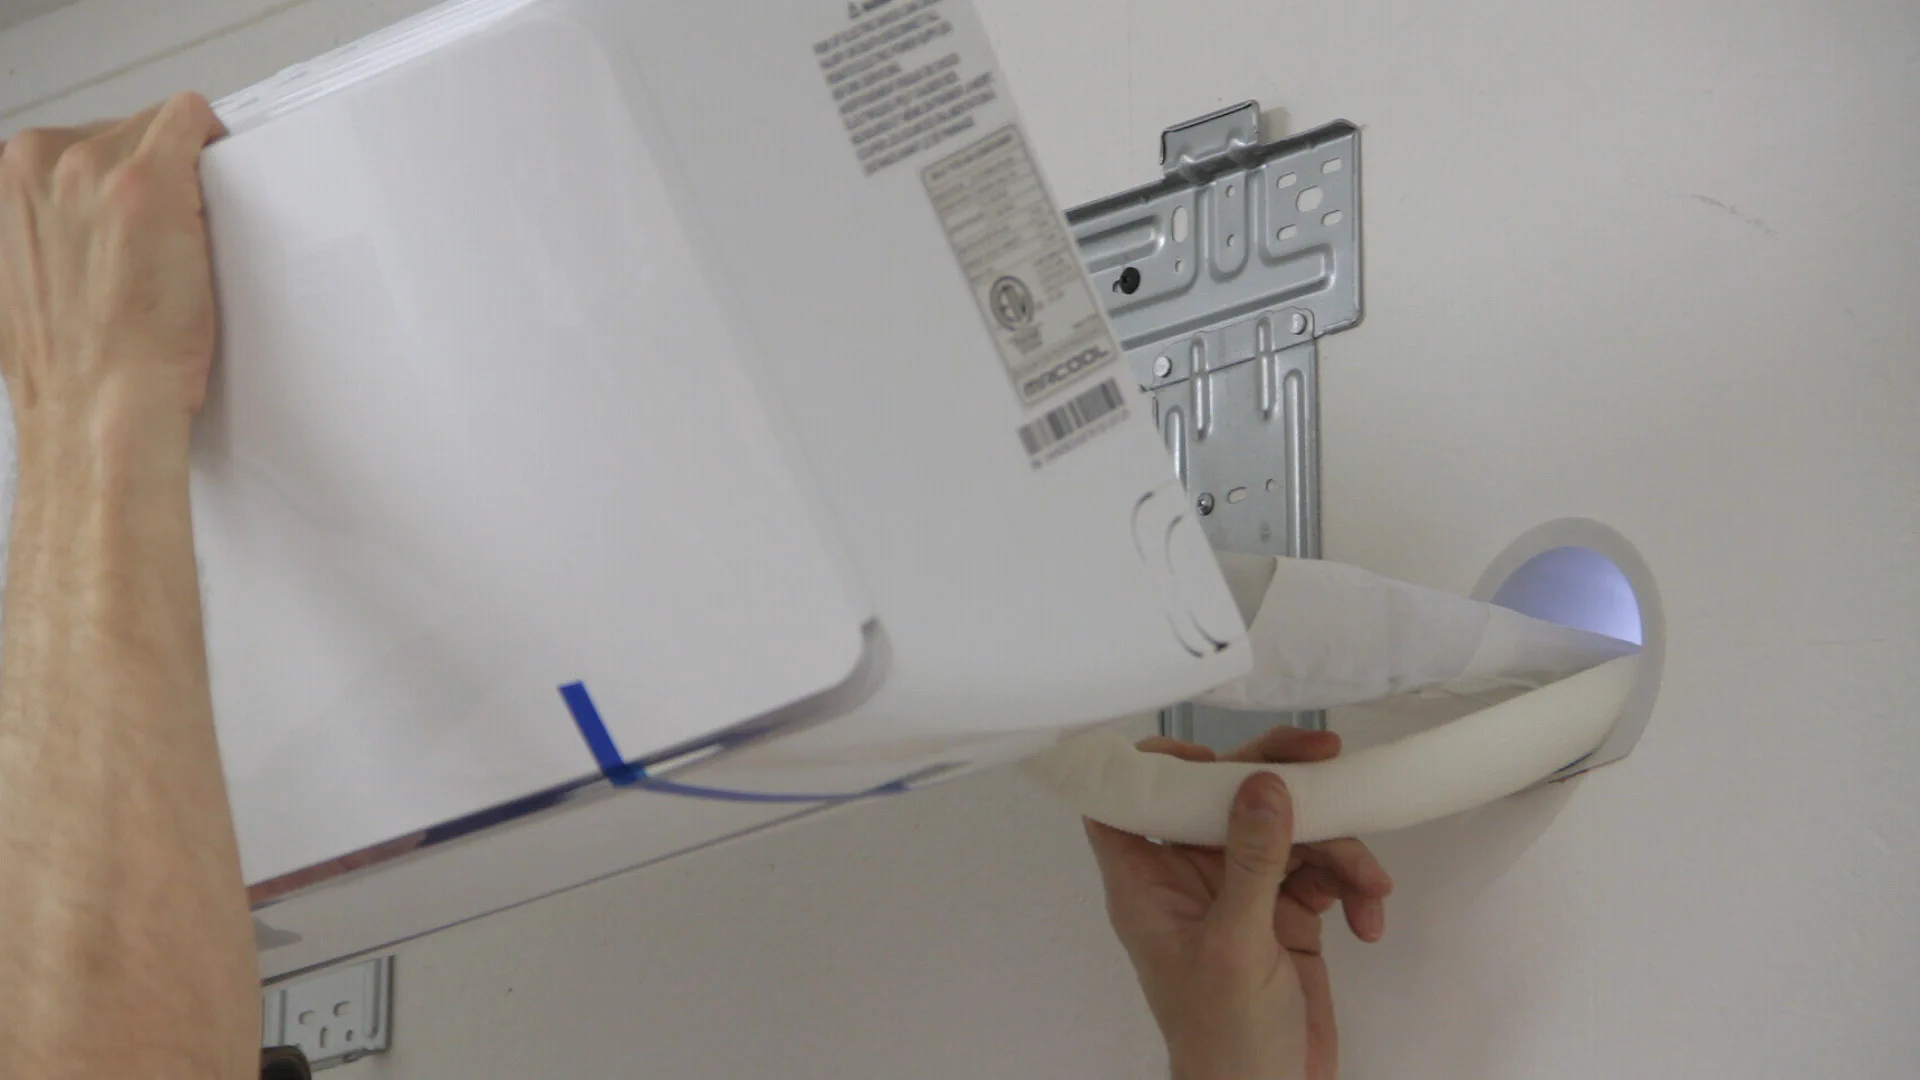
To keep from kinking the roughly 25 feet of line, Carrie helped feed it through the hole from the inside while a friend of ours helped from the outside. The important thing to remember is that the drain line must be on the bottom when the lines are fed through. The unit then just hooks onto the top of the bracket and snaps down onto the bottom.
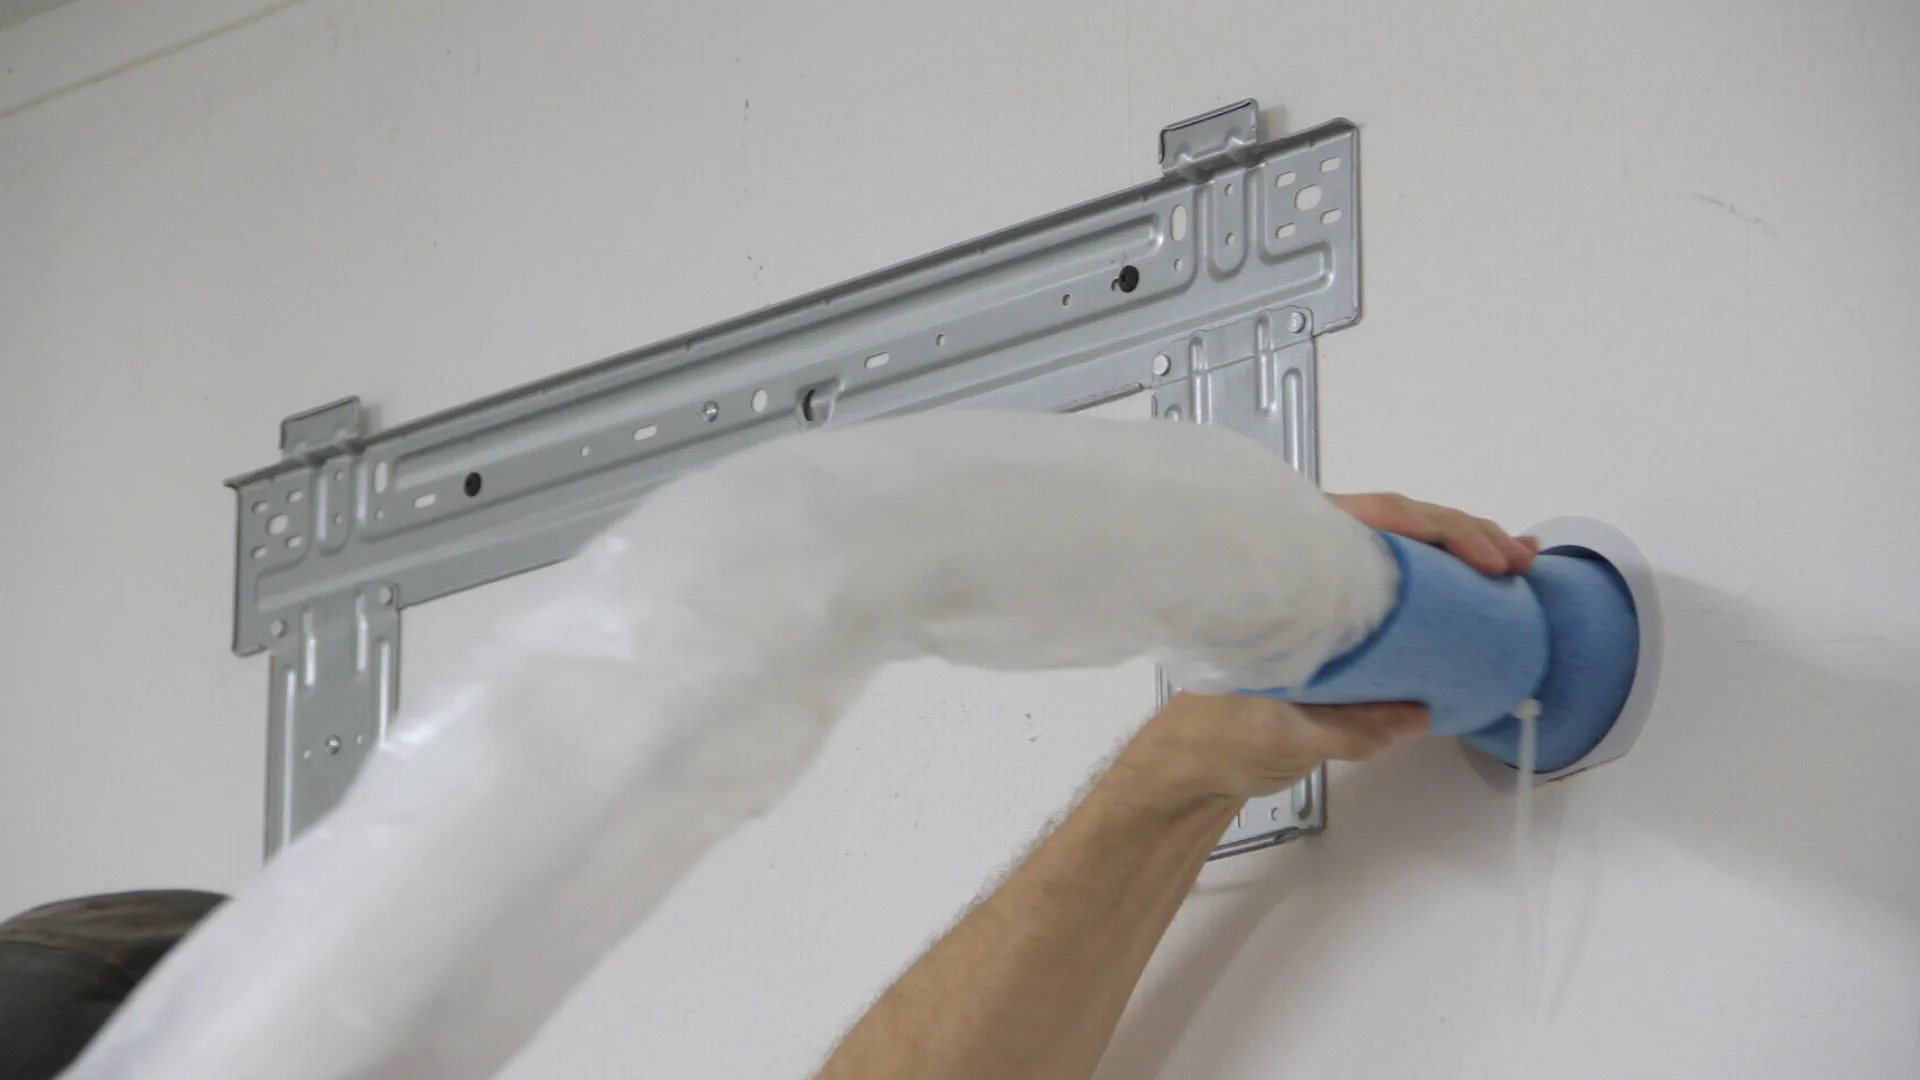
We did waste a little time here second guessing ourselves just because the wall wasn’t perfectly flat, but other than that, the mounting was pretty easy.
Back outside I used some caulk around the pipe and then some of the included neoprene inside it followed by low-pressure foaming sealant. I then attached the drain hose extension and began work on the line set cover.
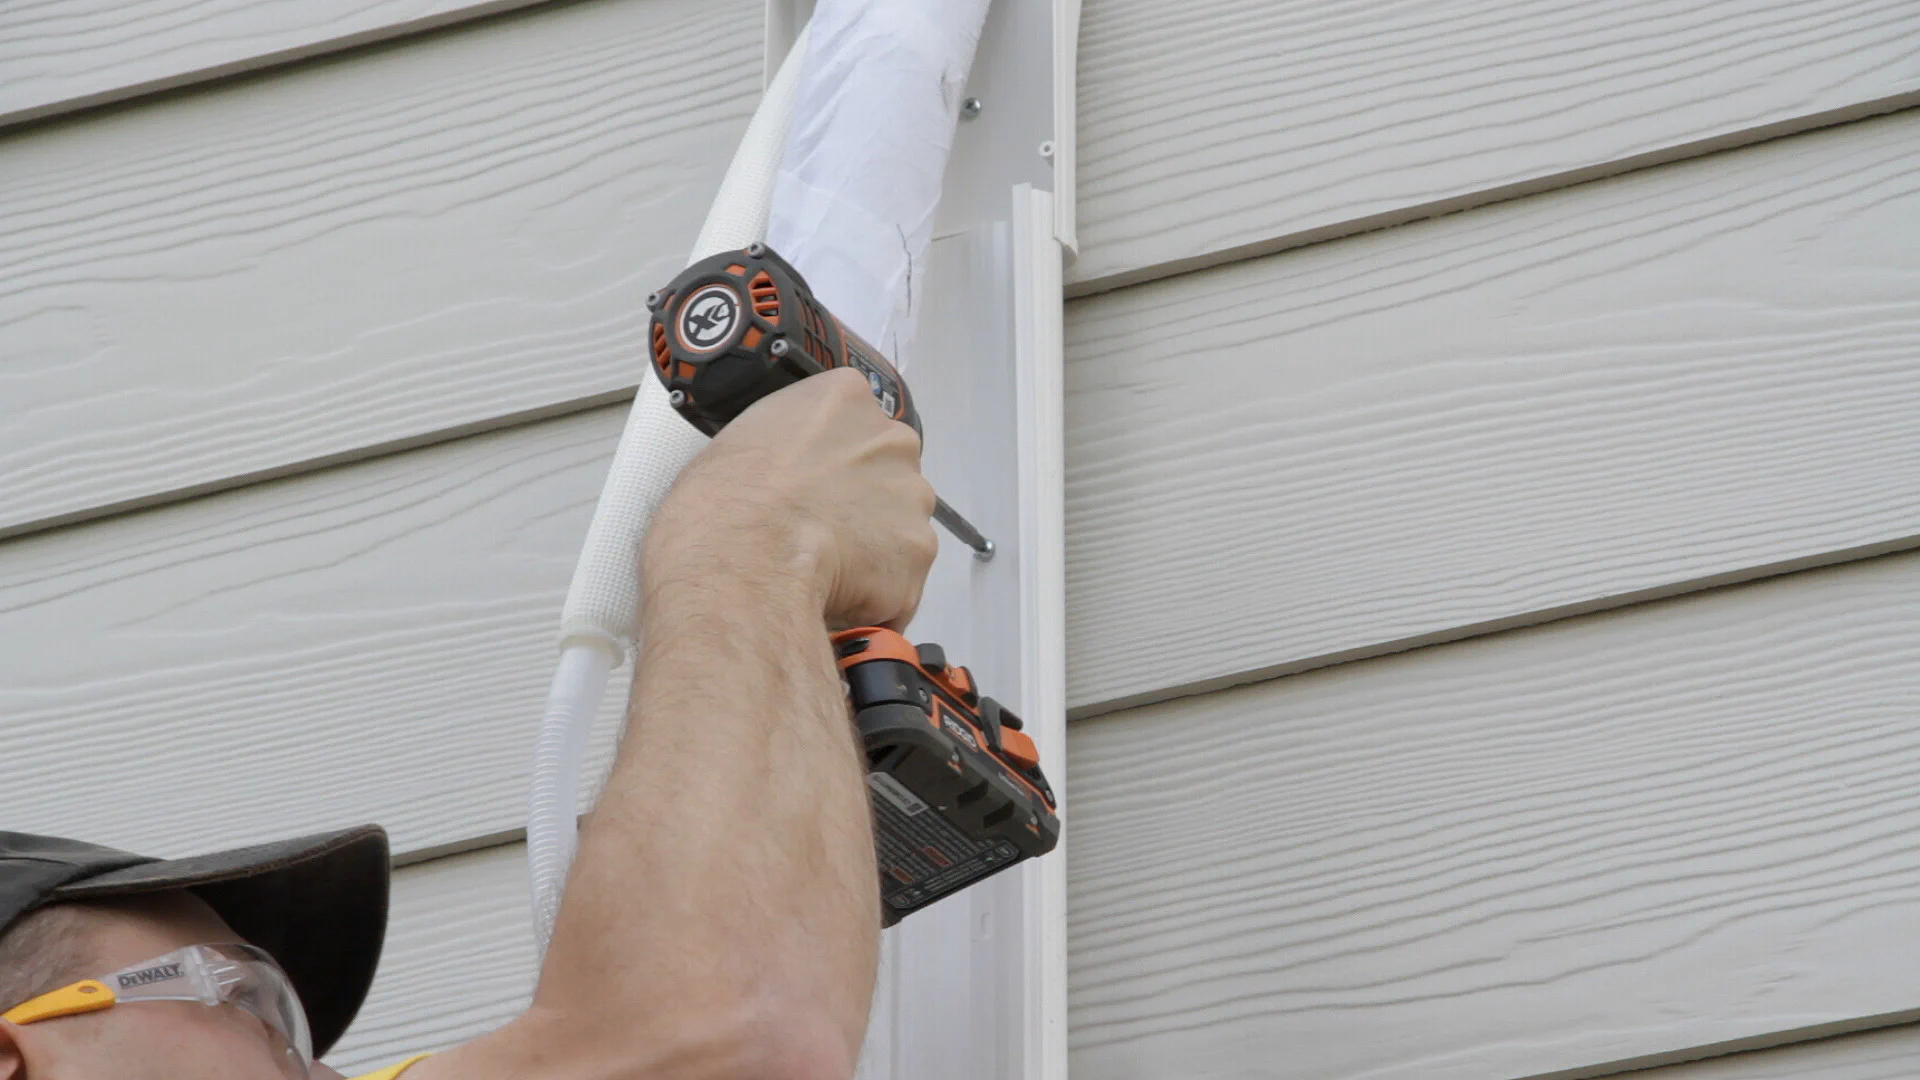
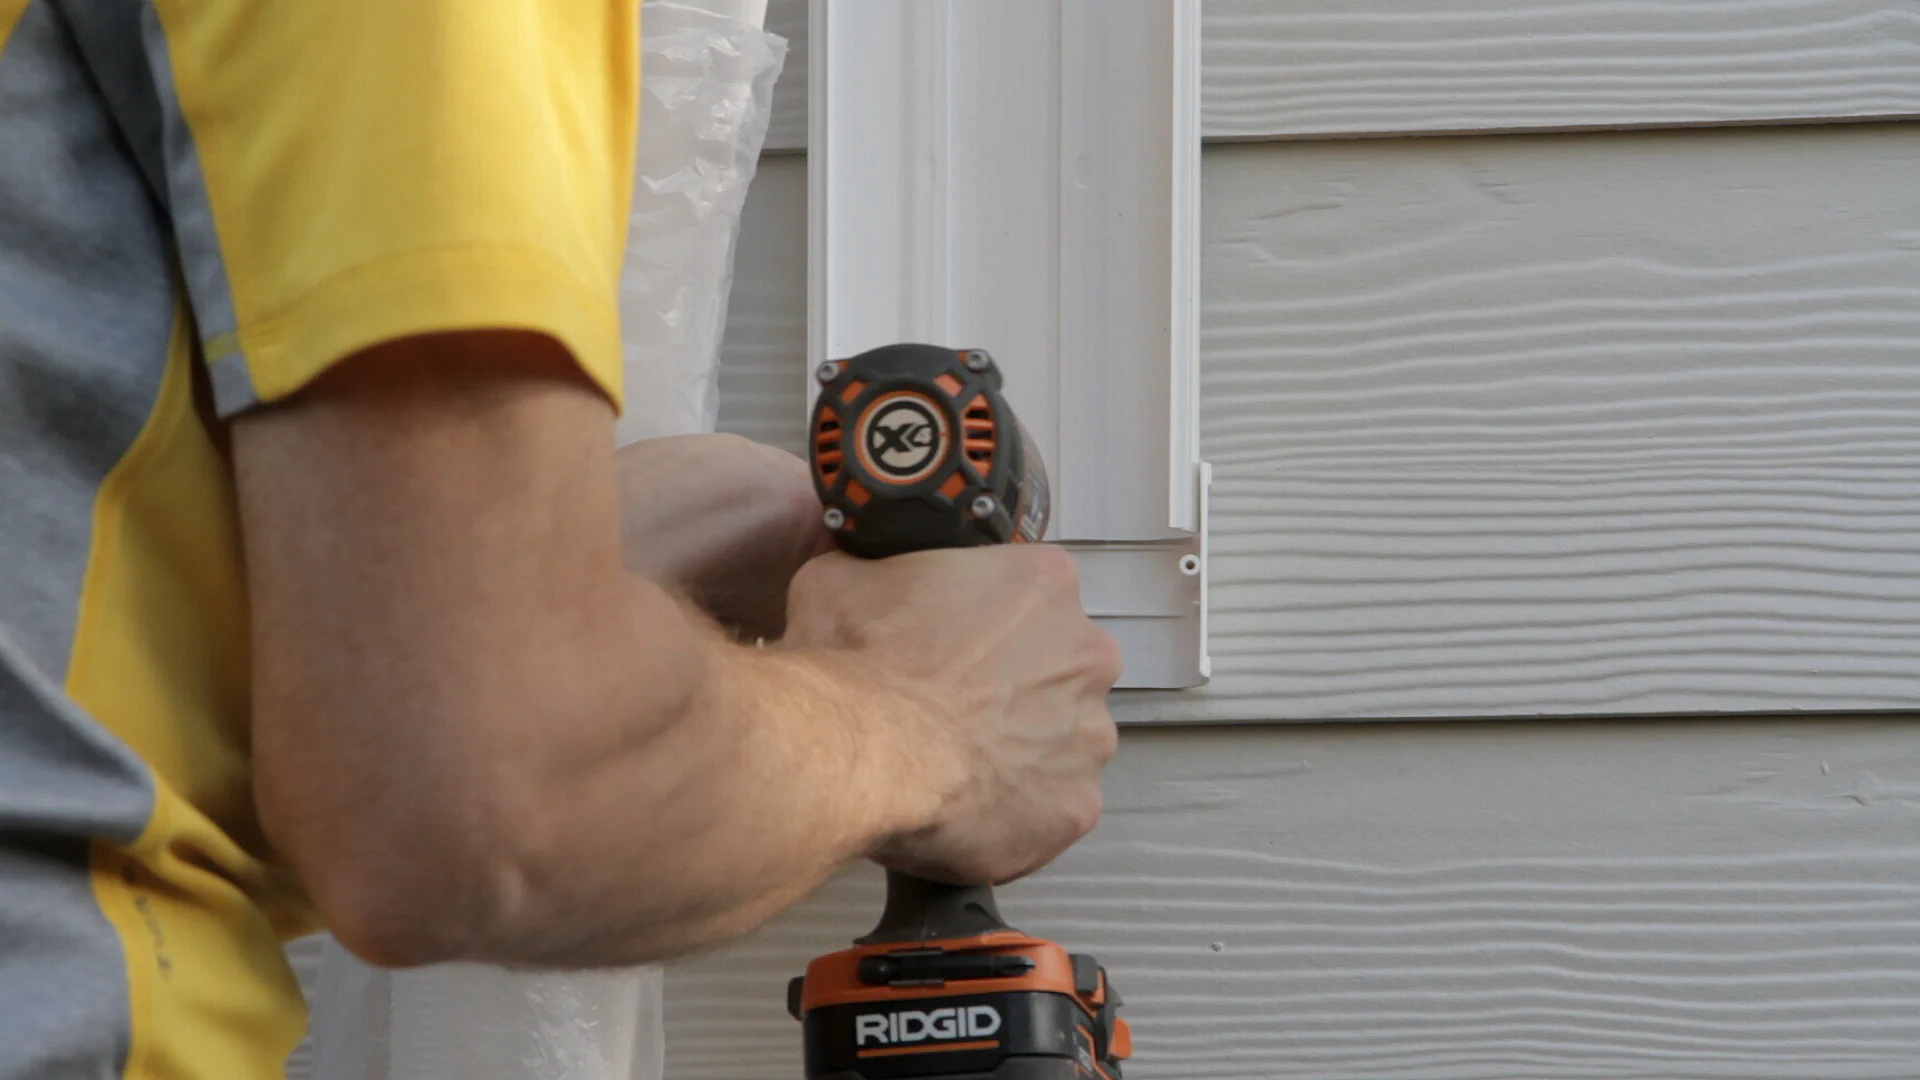
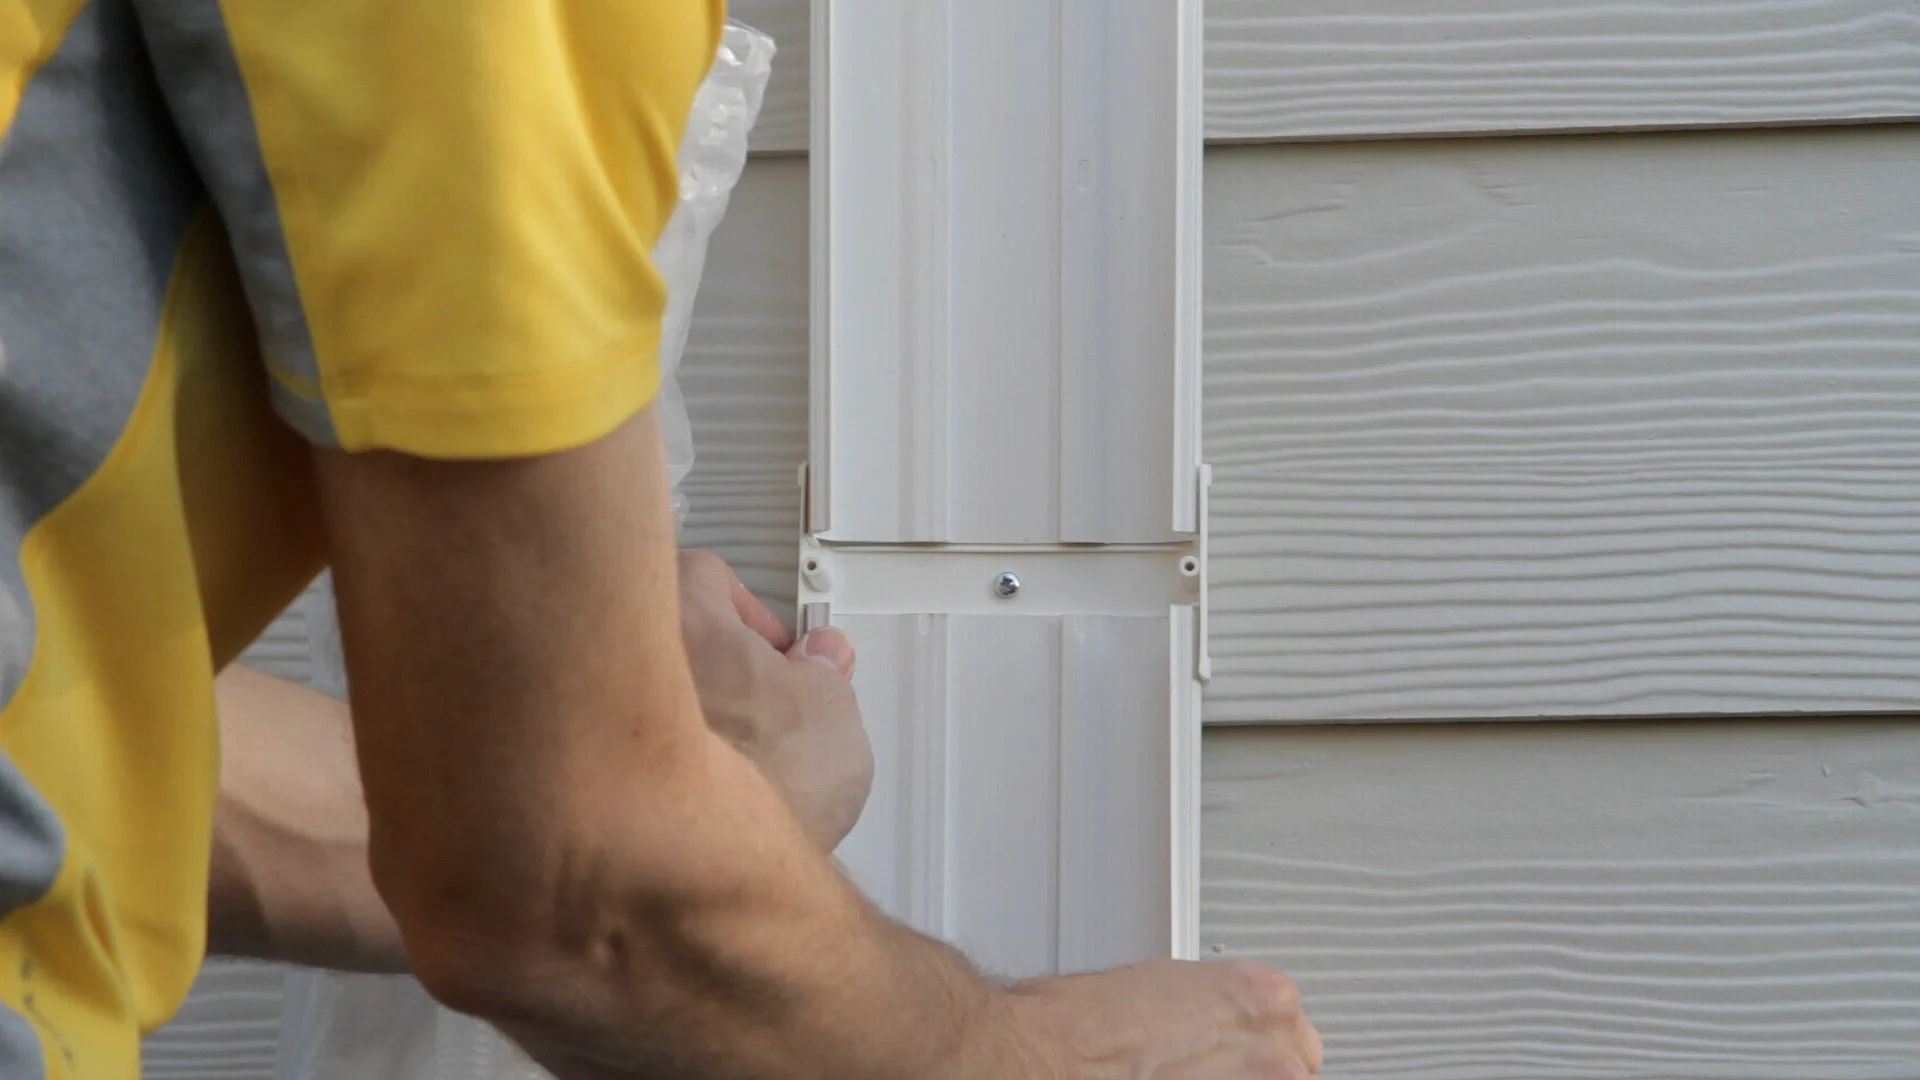
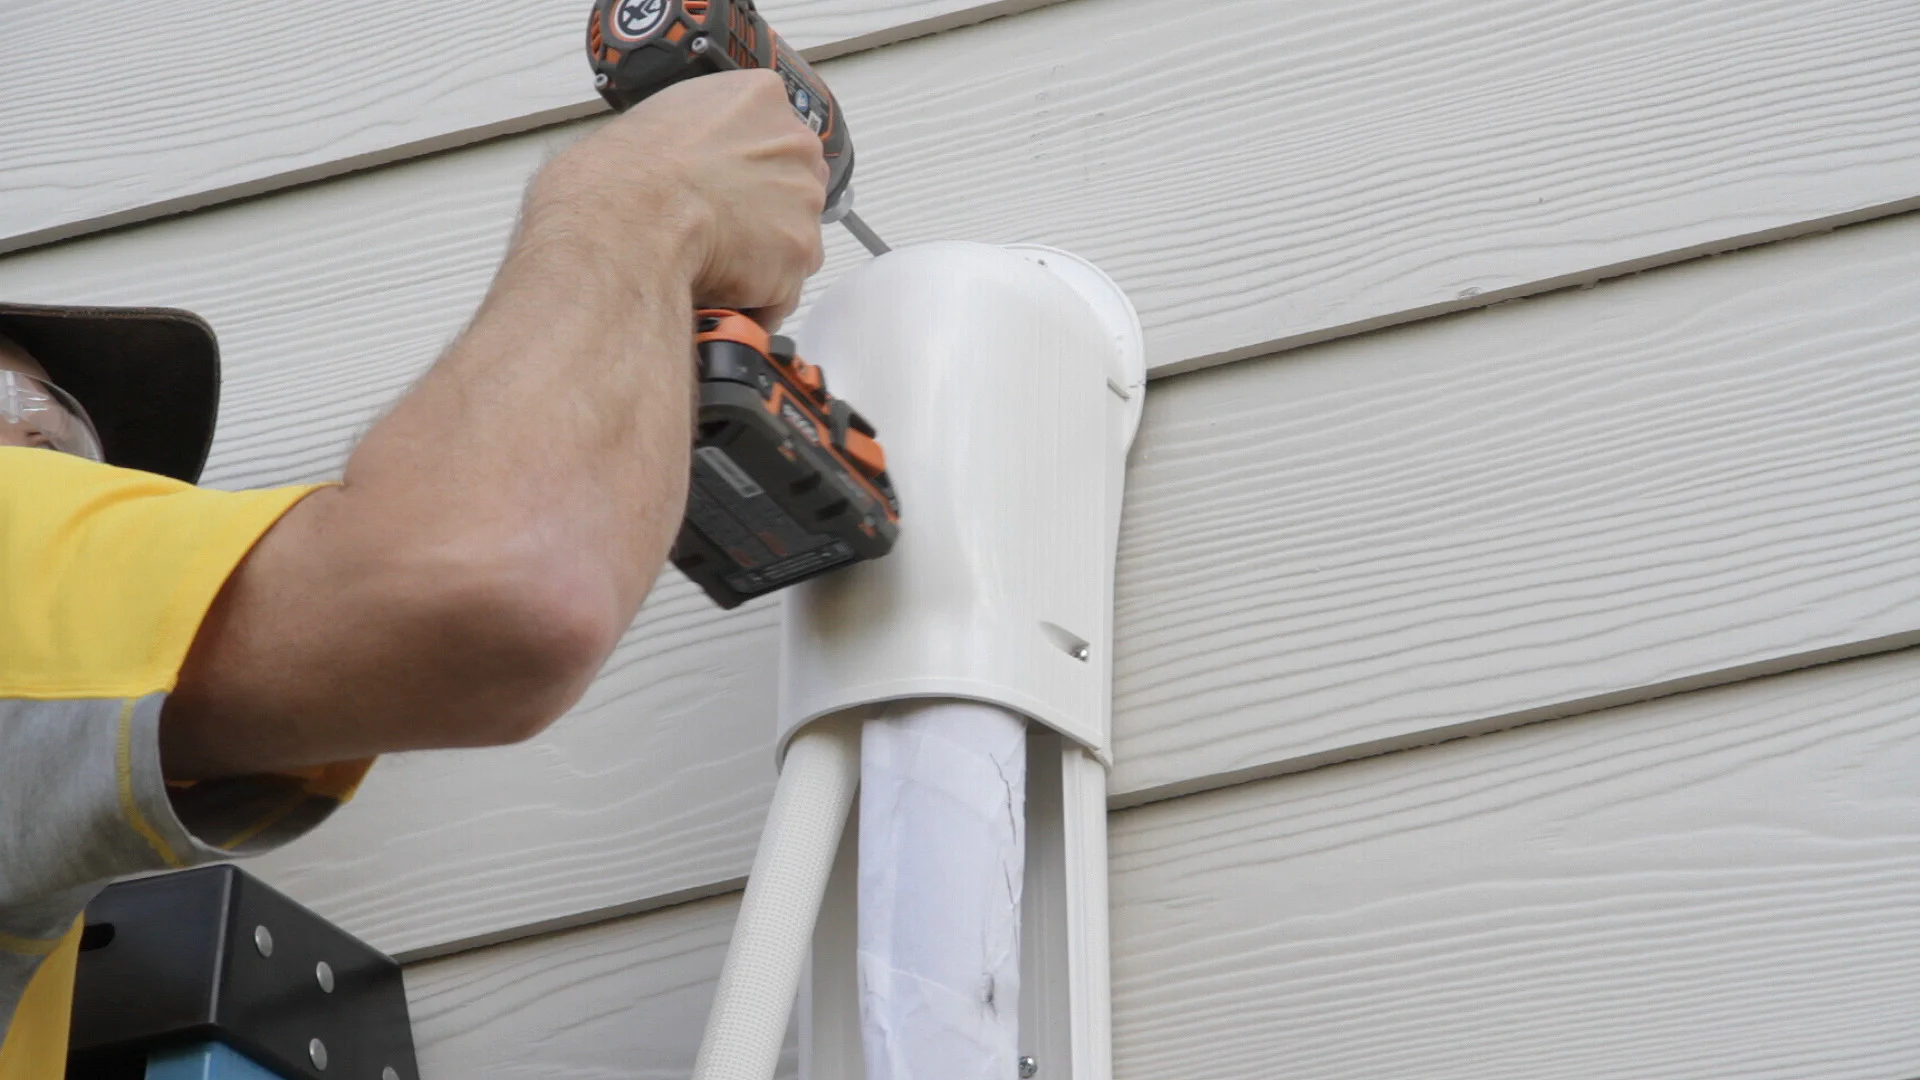
The cover sections are made of a back piece that is screwed to the siding and a front piece that is then screwed to the back piece.

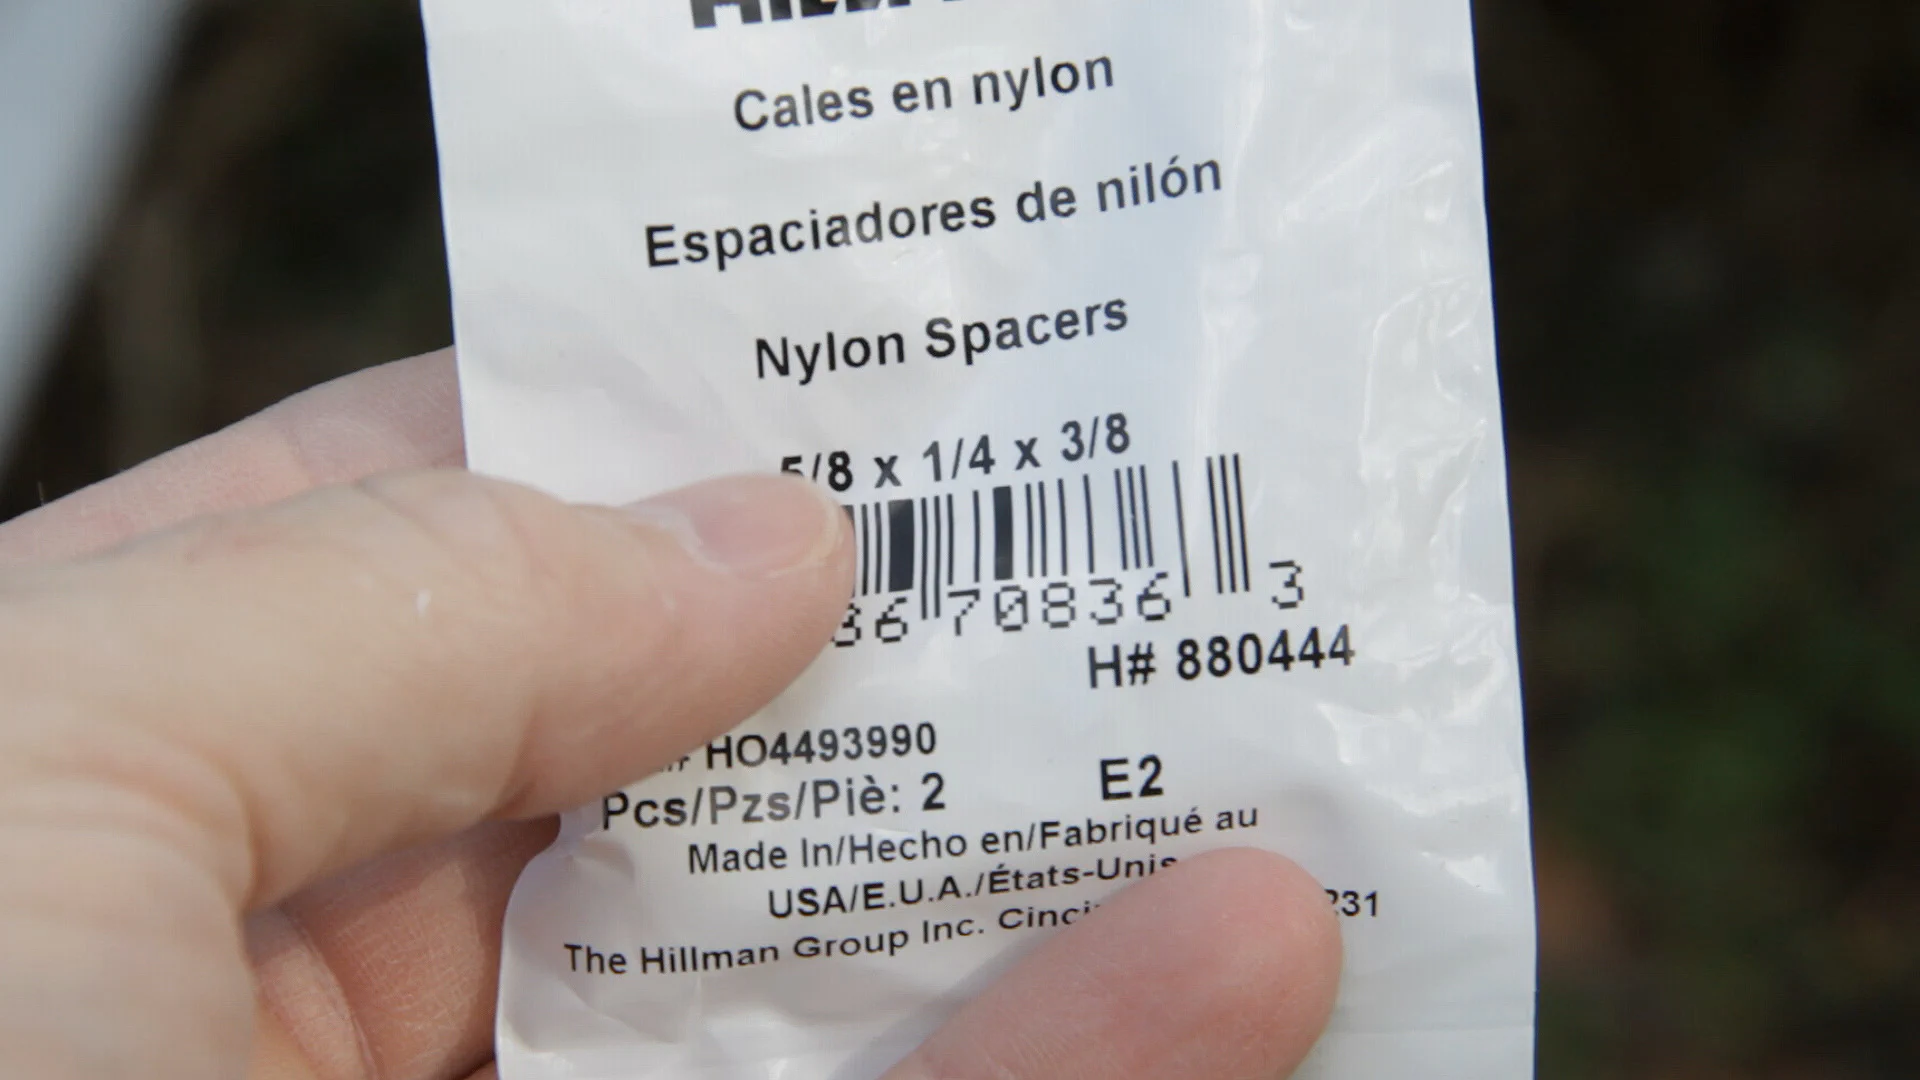
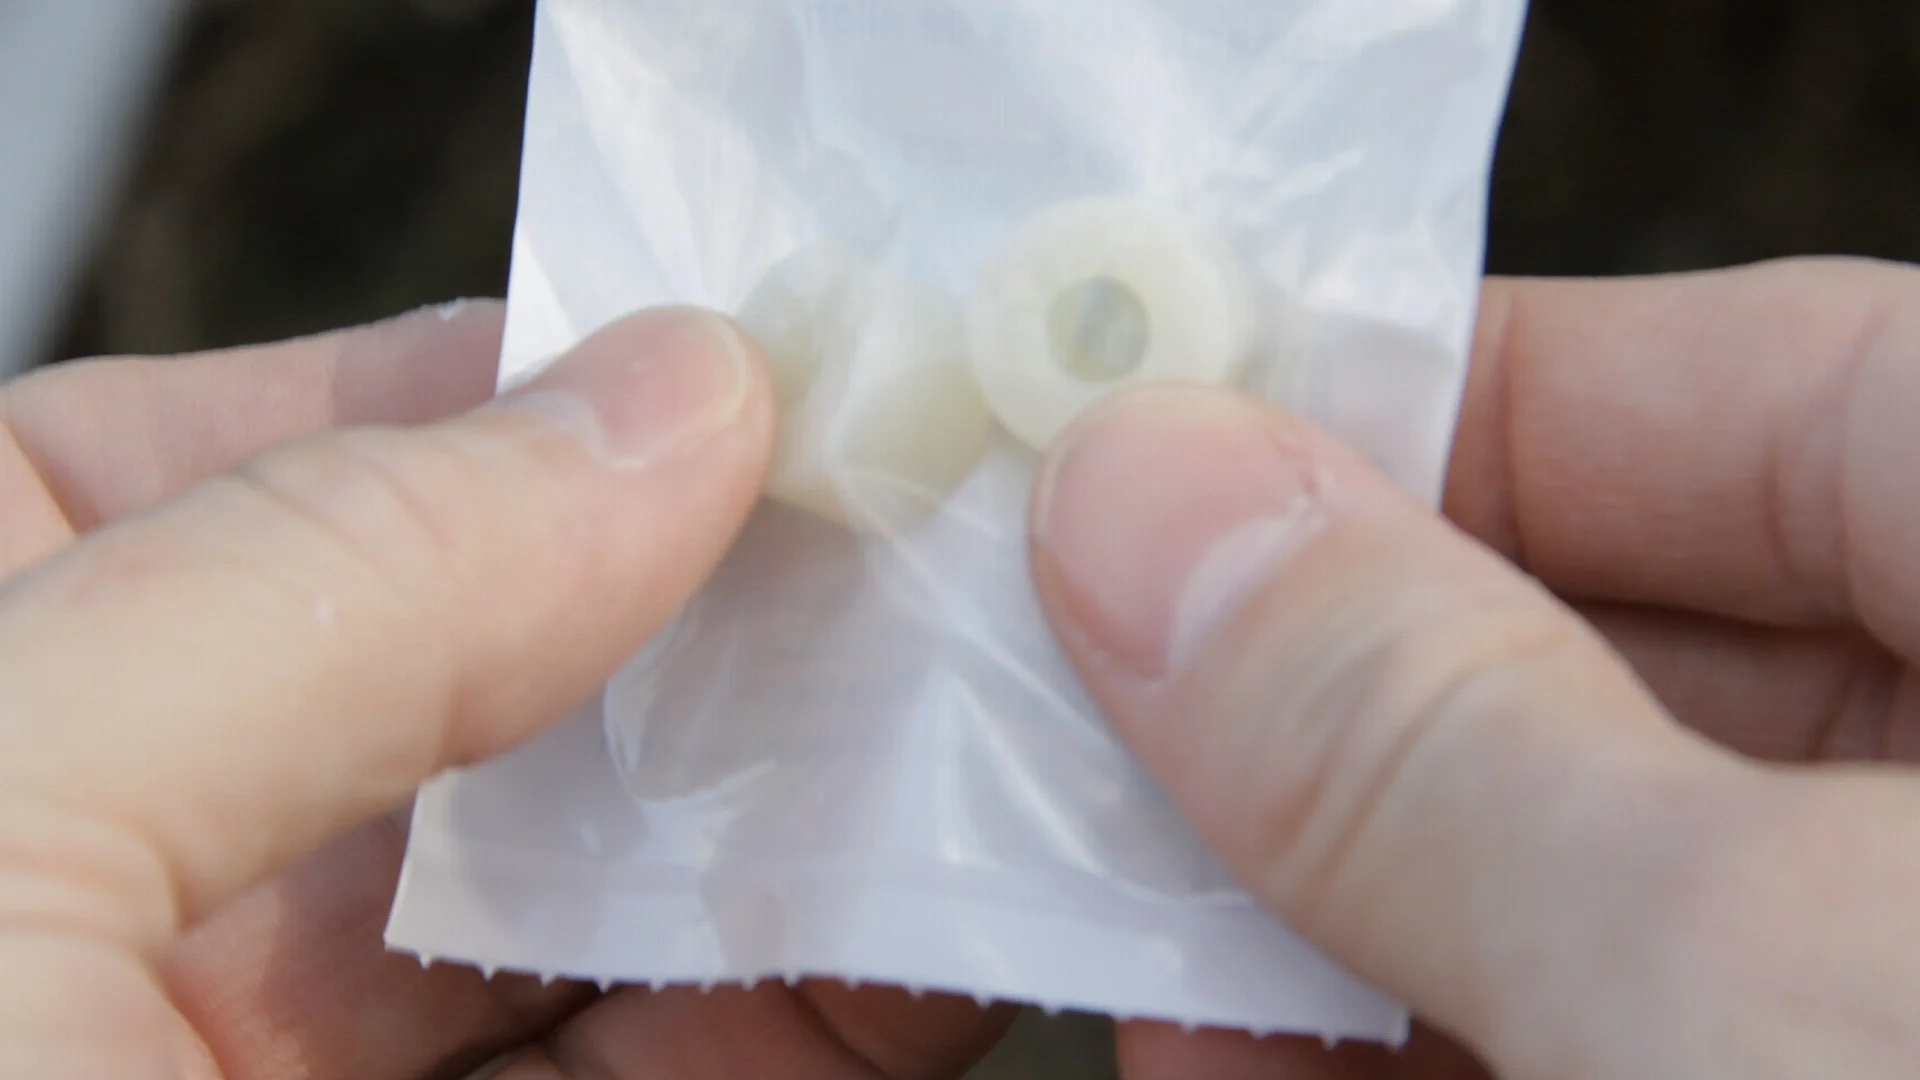
Because our siding slopes, I bought a few packs of small nylon spacers from the local hardware store to insert behind the cover where needed when screwing it into the siding.
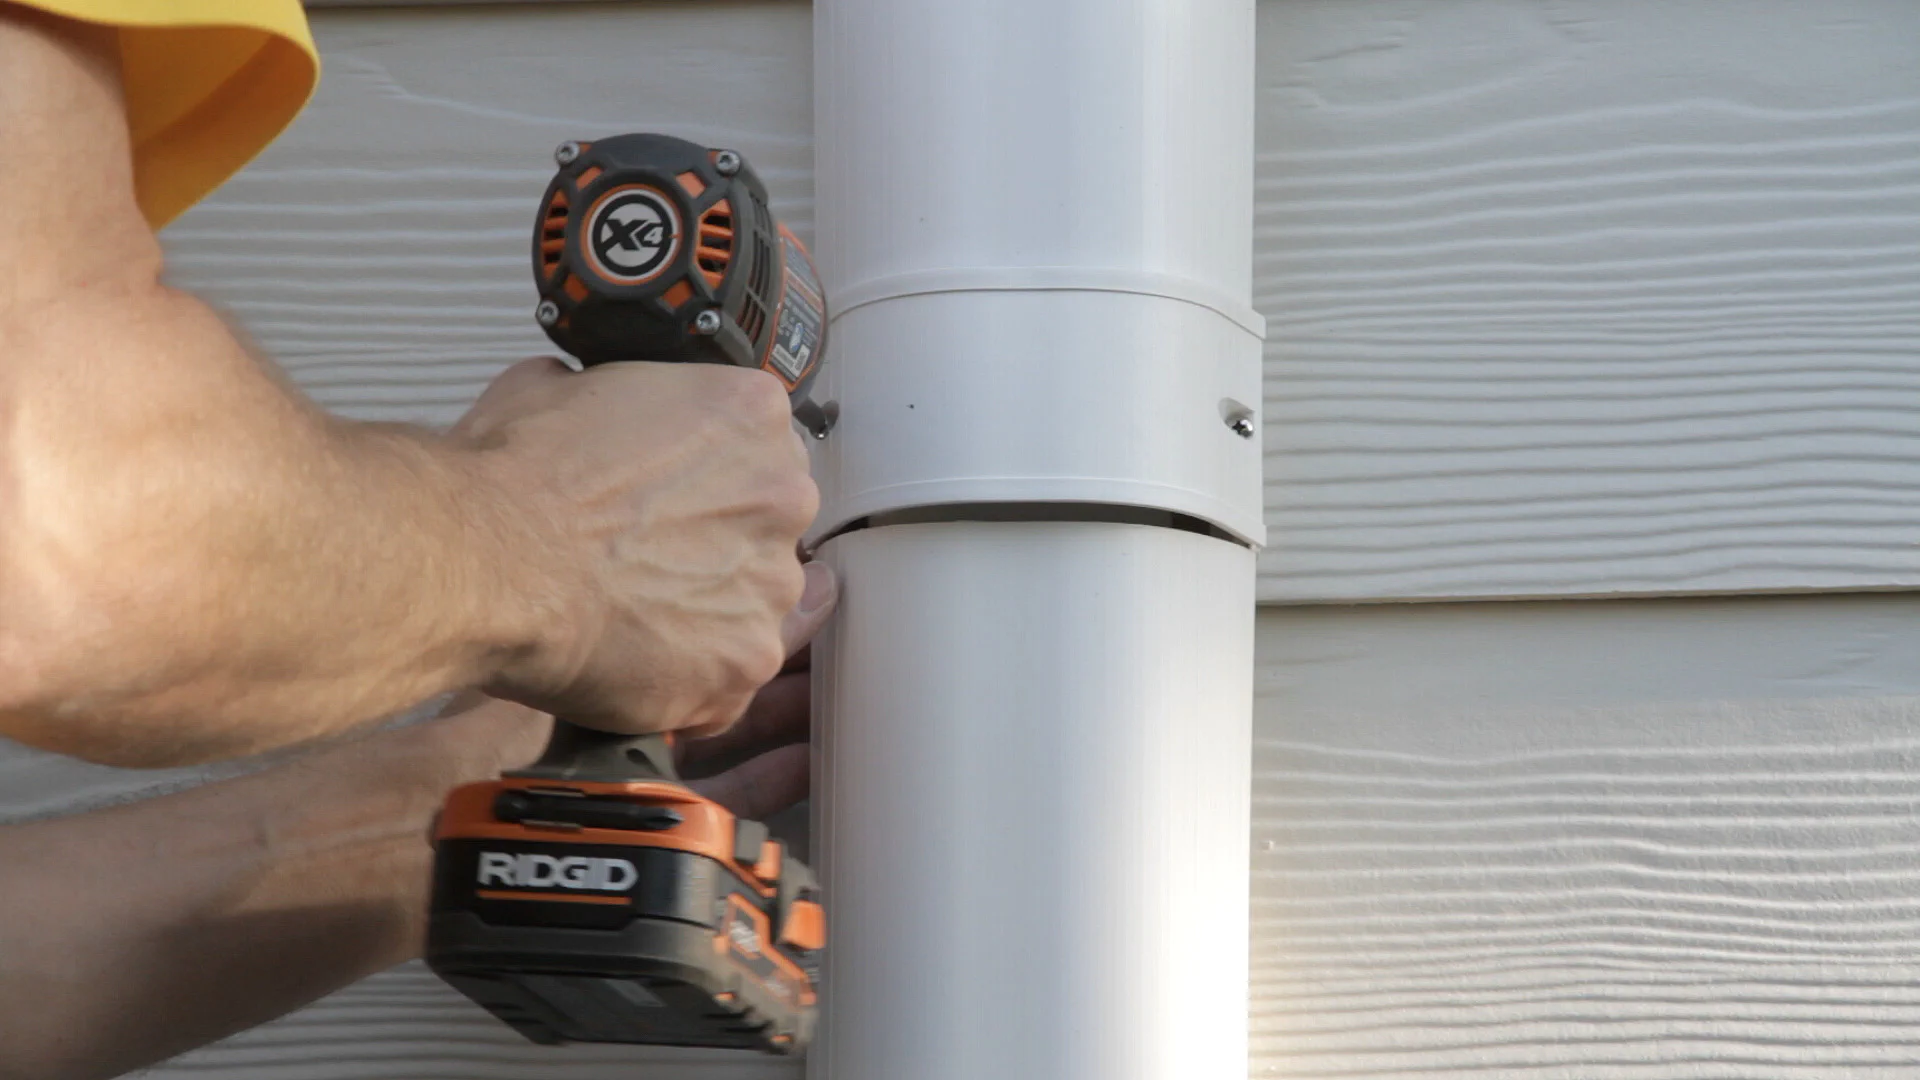
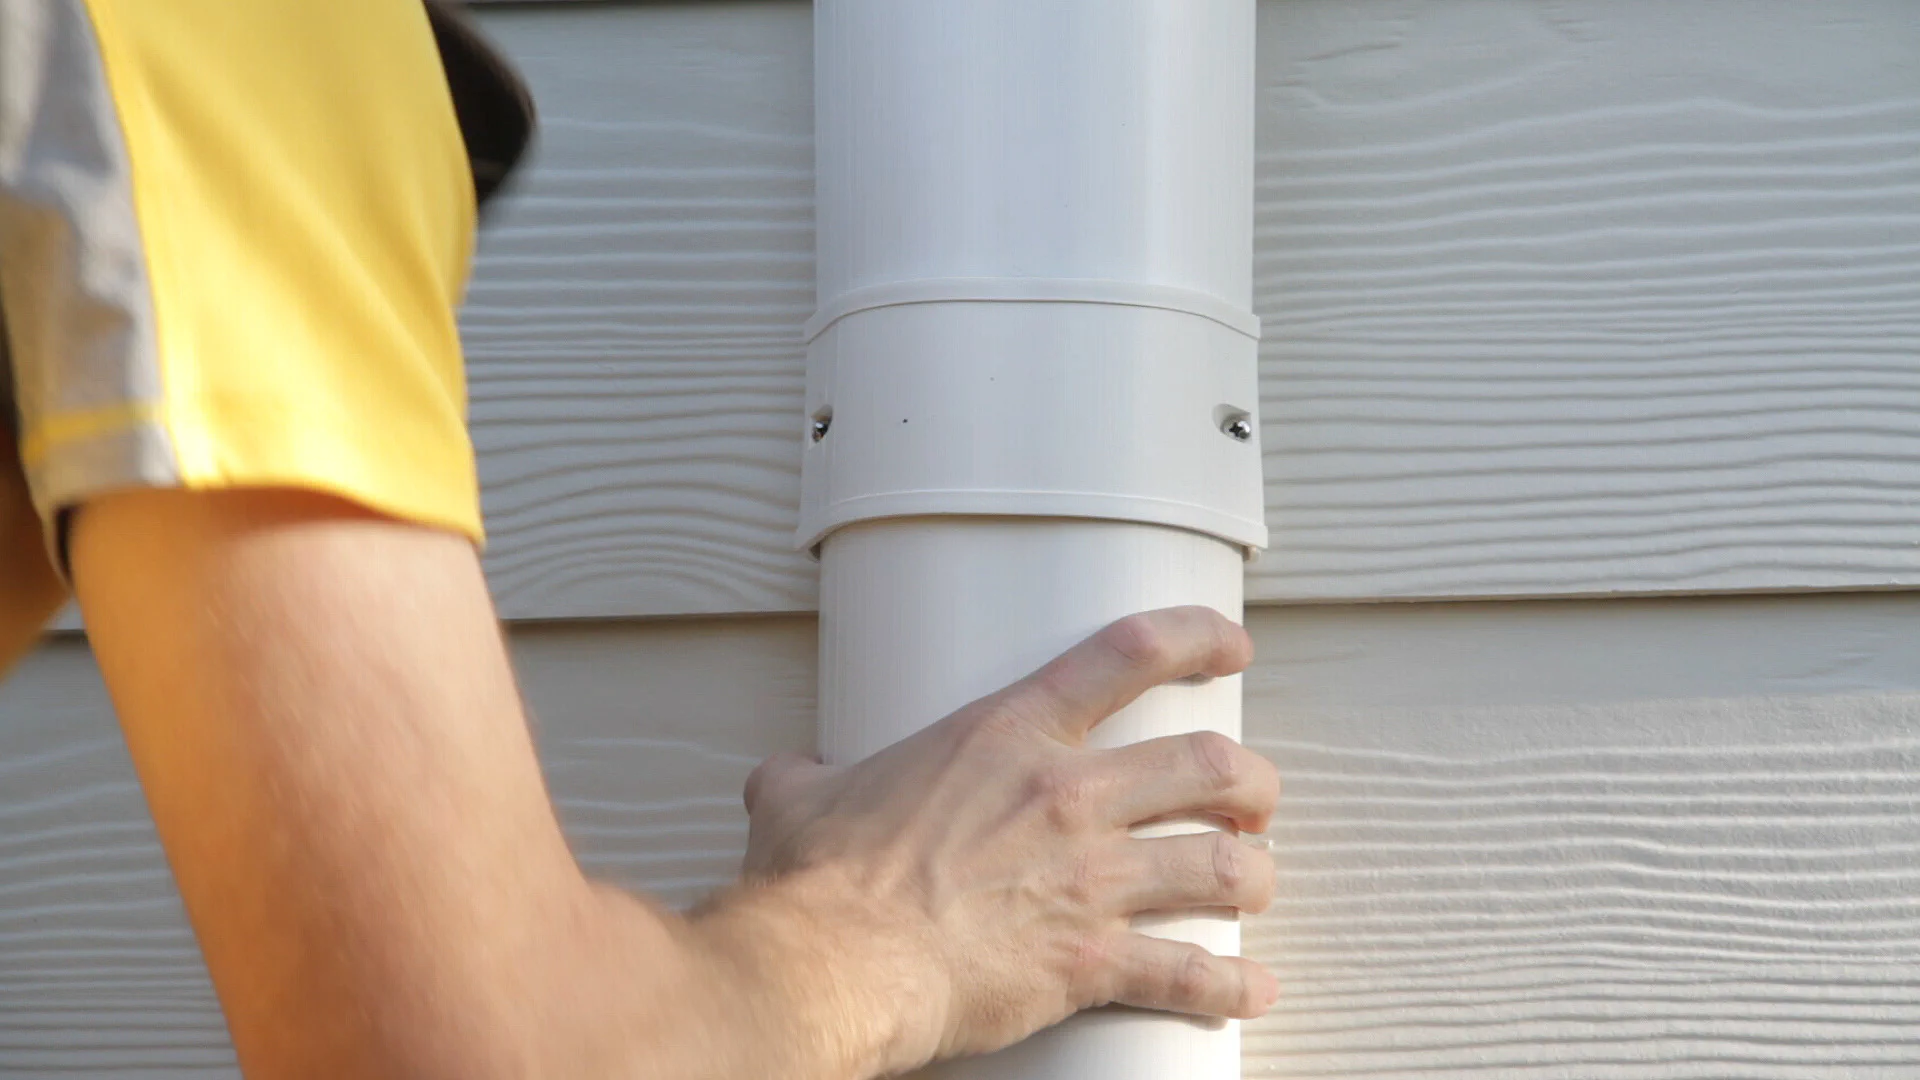
Then I continued down the line set overlapping the next piece into the previous section about half an inch.
Once that was done, it was time to secure the lines to the back of the cover using some zip ties and the included brackets that twist into place.
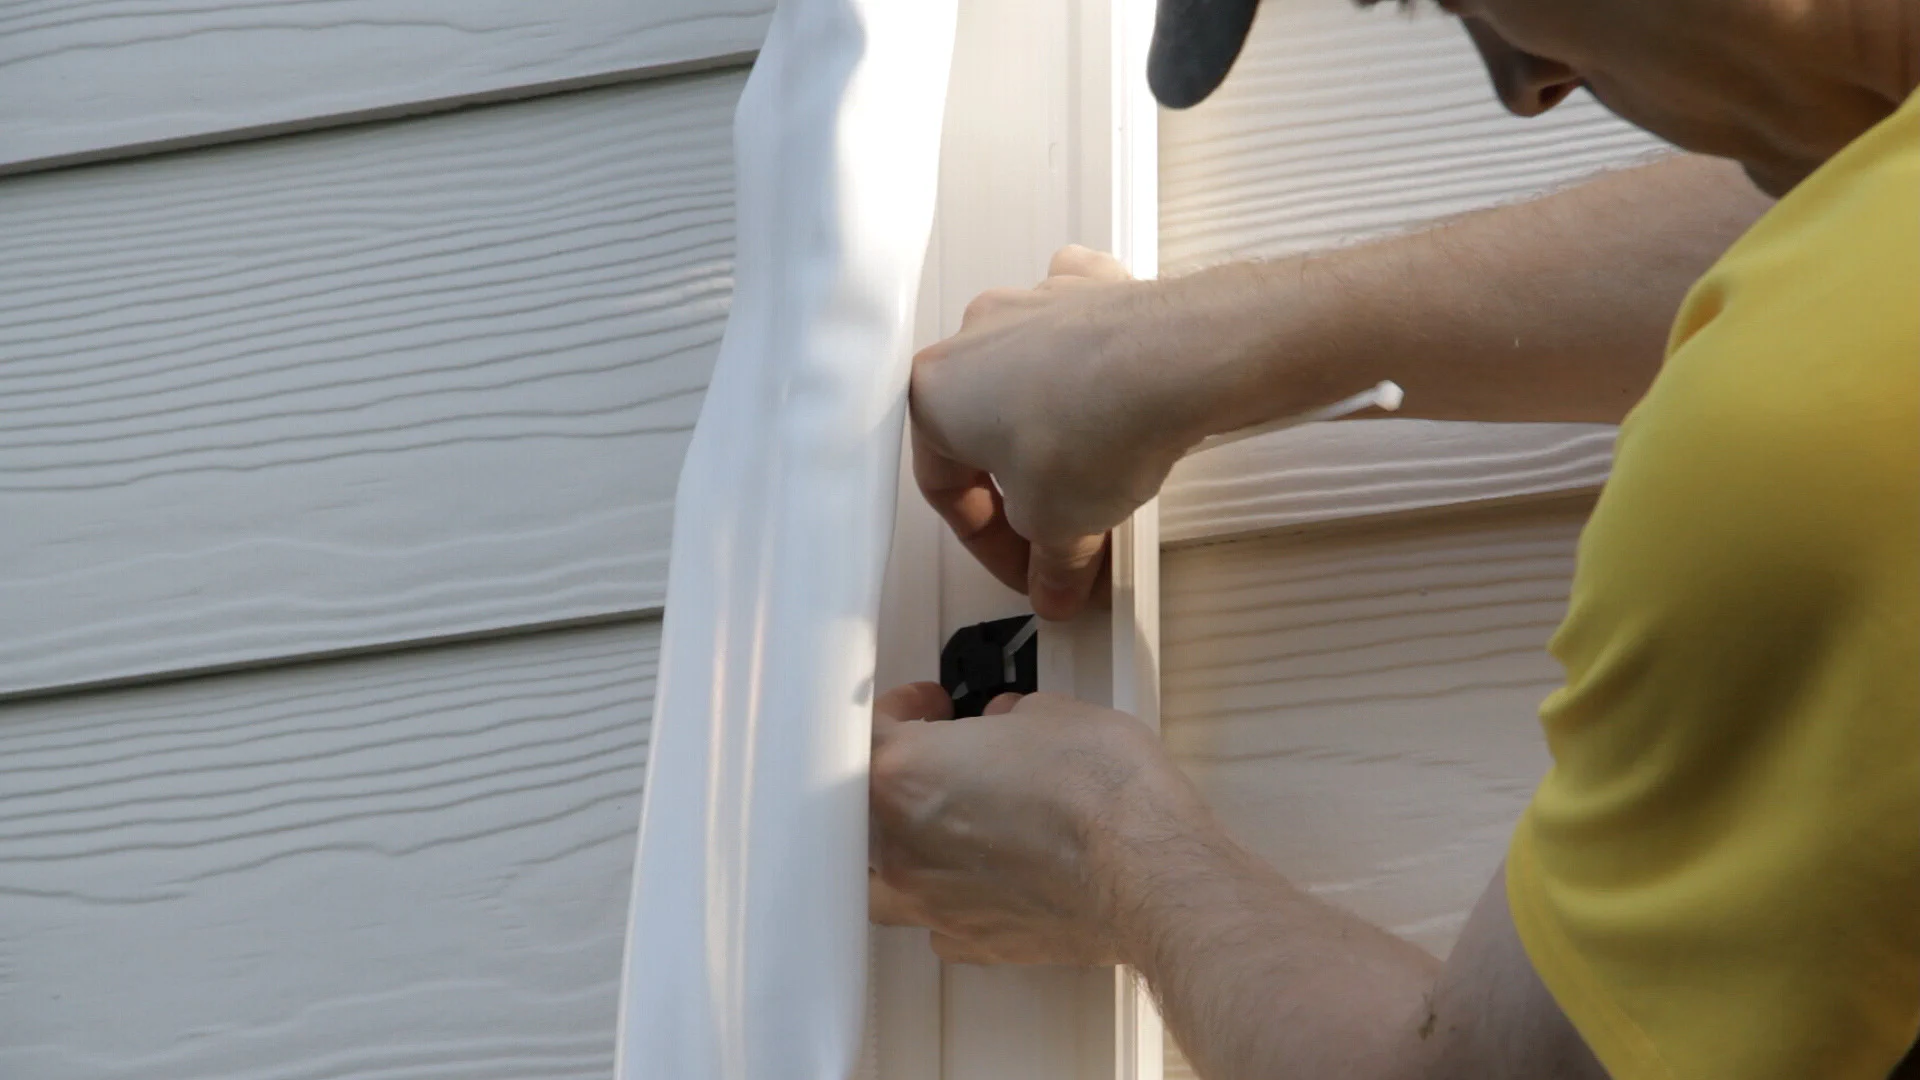
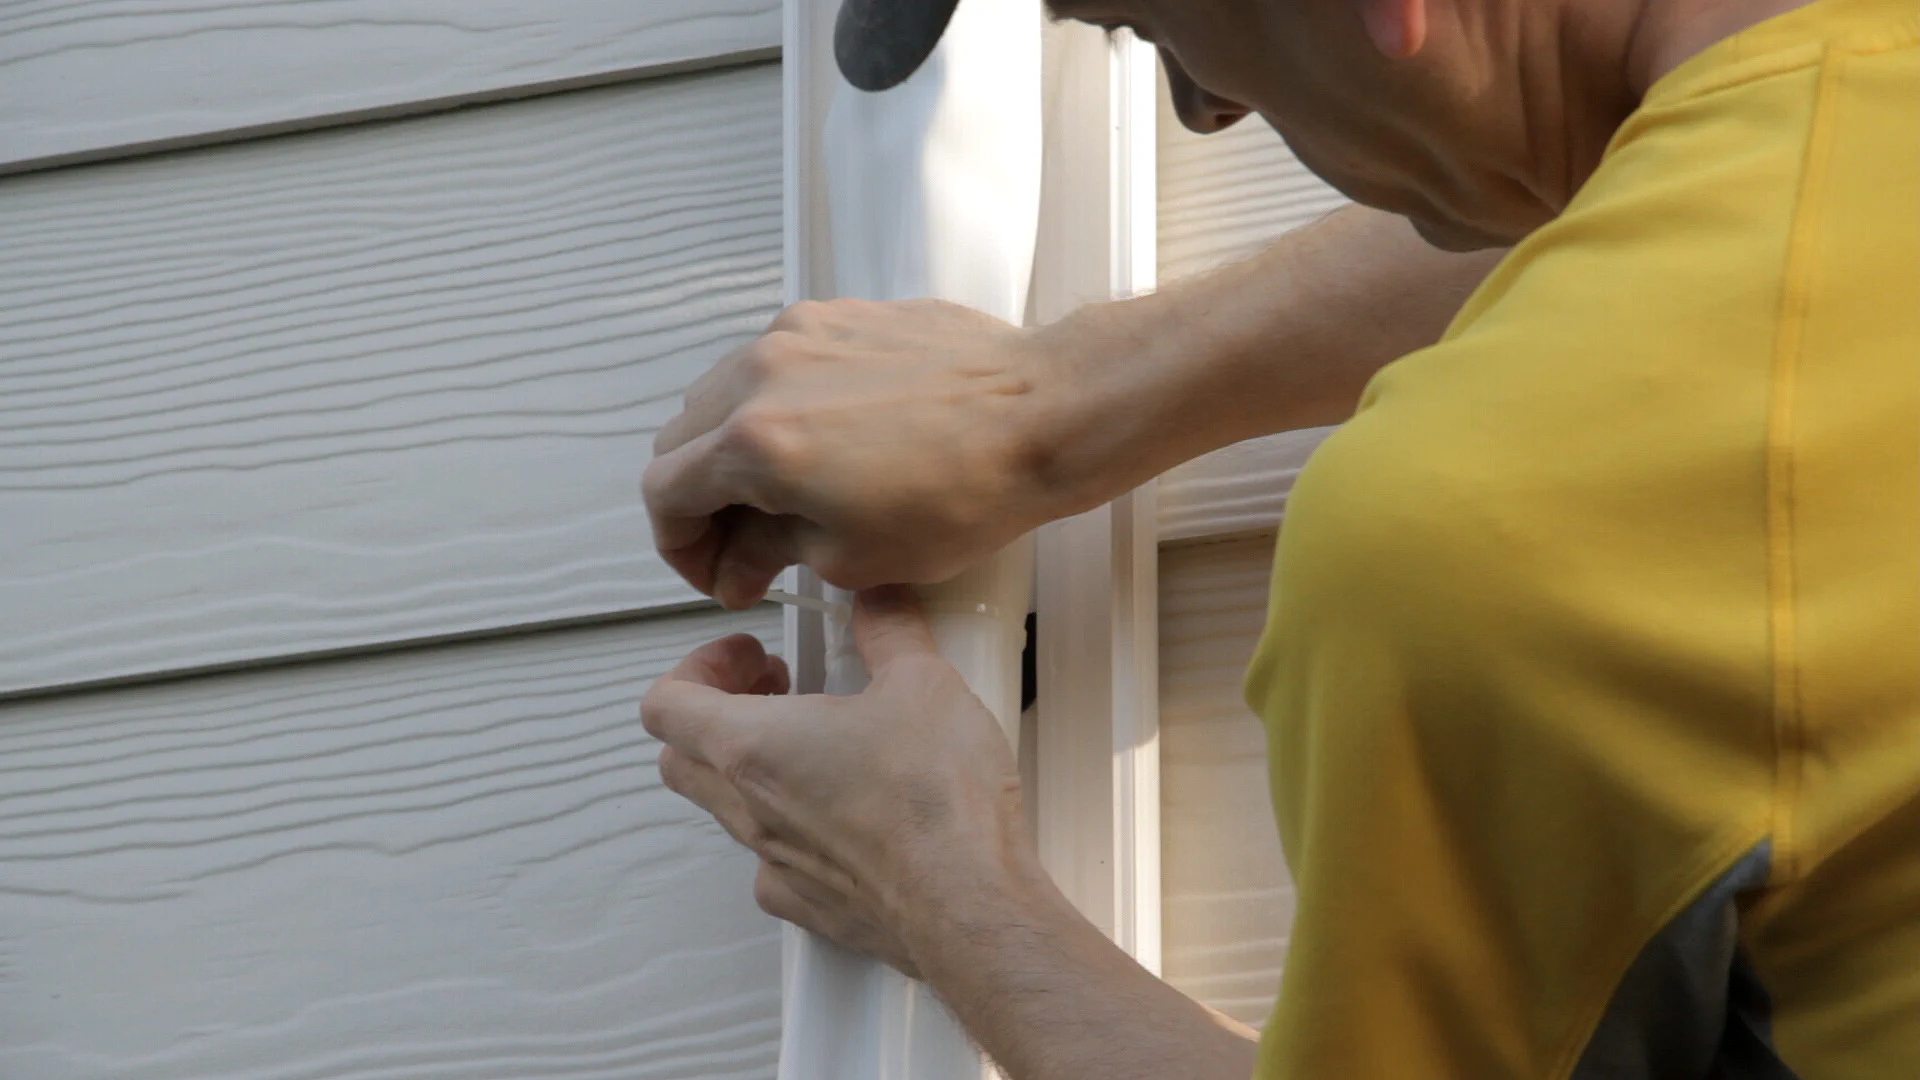
I then snapped on the front sections of the cover and connected them with the small strap pieces.
Next, it was time to set up the outdoor condenser unit. We decided to install it on a concrete pad on top of two concrete blocks just to raise it off the ground a bit in case of the occasional snow storm, but a condenser pad would work as well. I then inserted the rubber pads and mounted it to the concrete blocks with a few Tapcon screws.
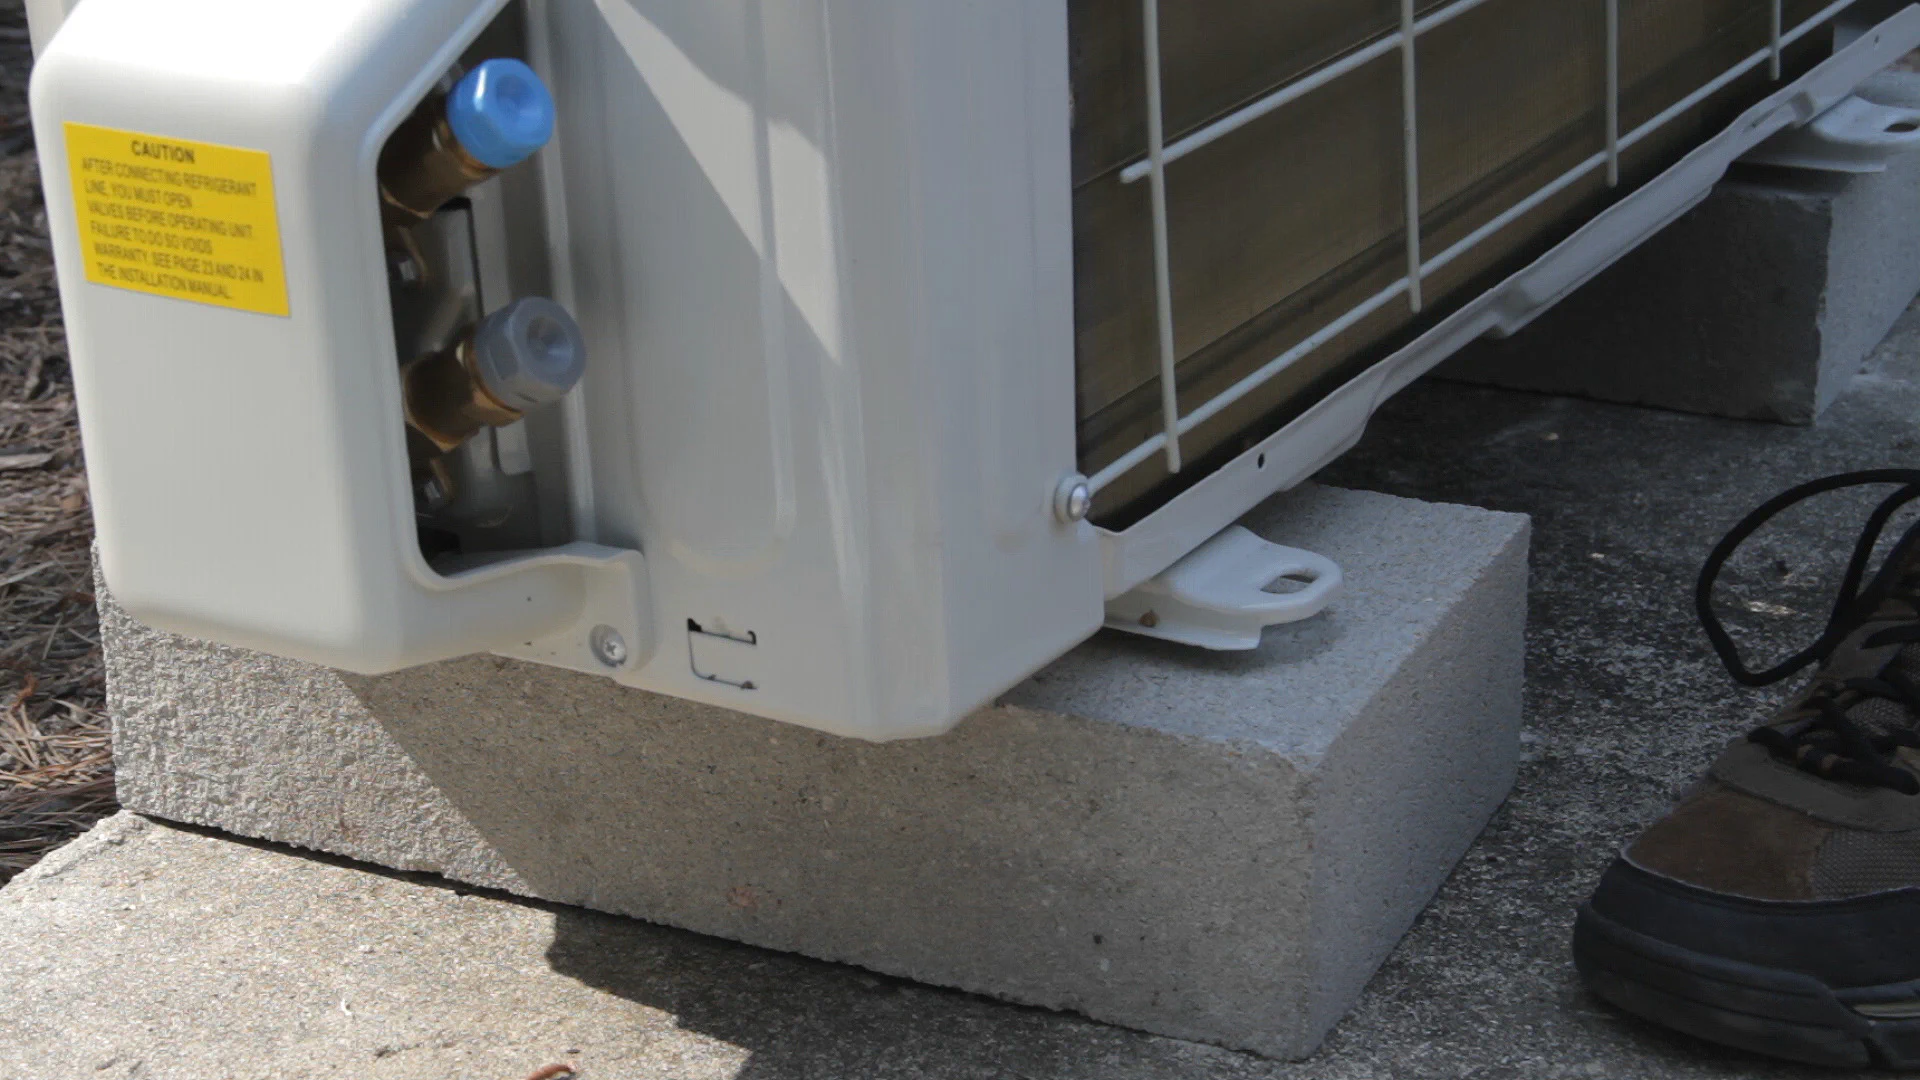

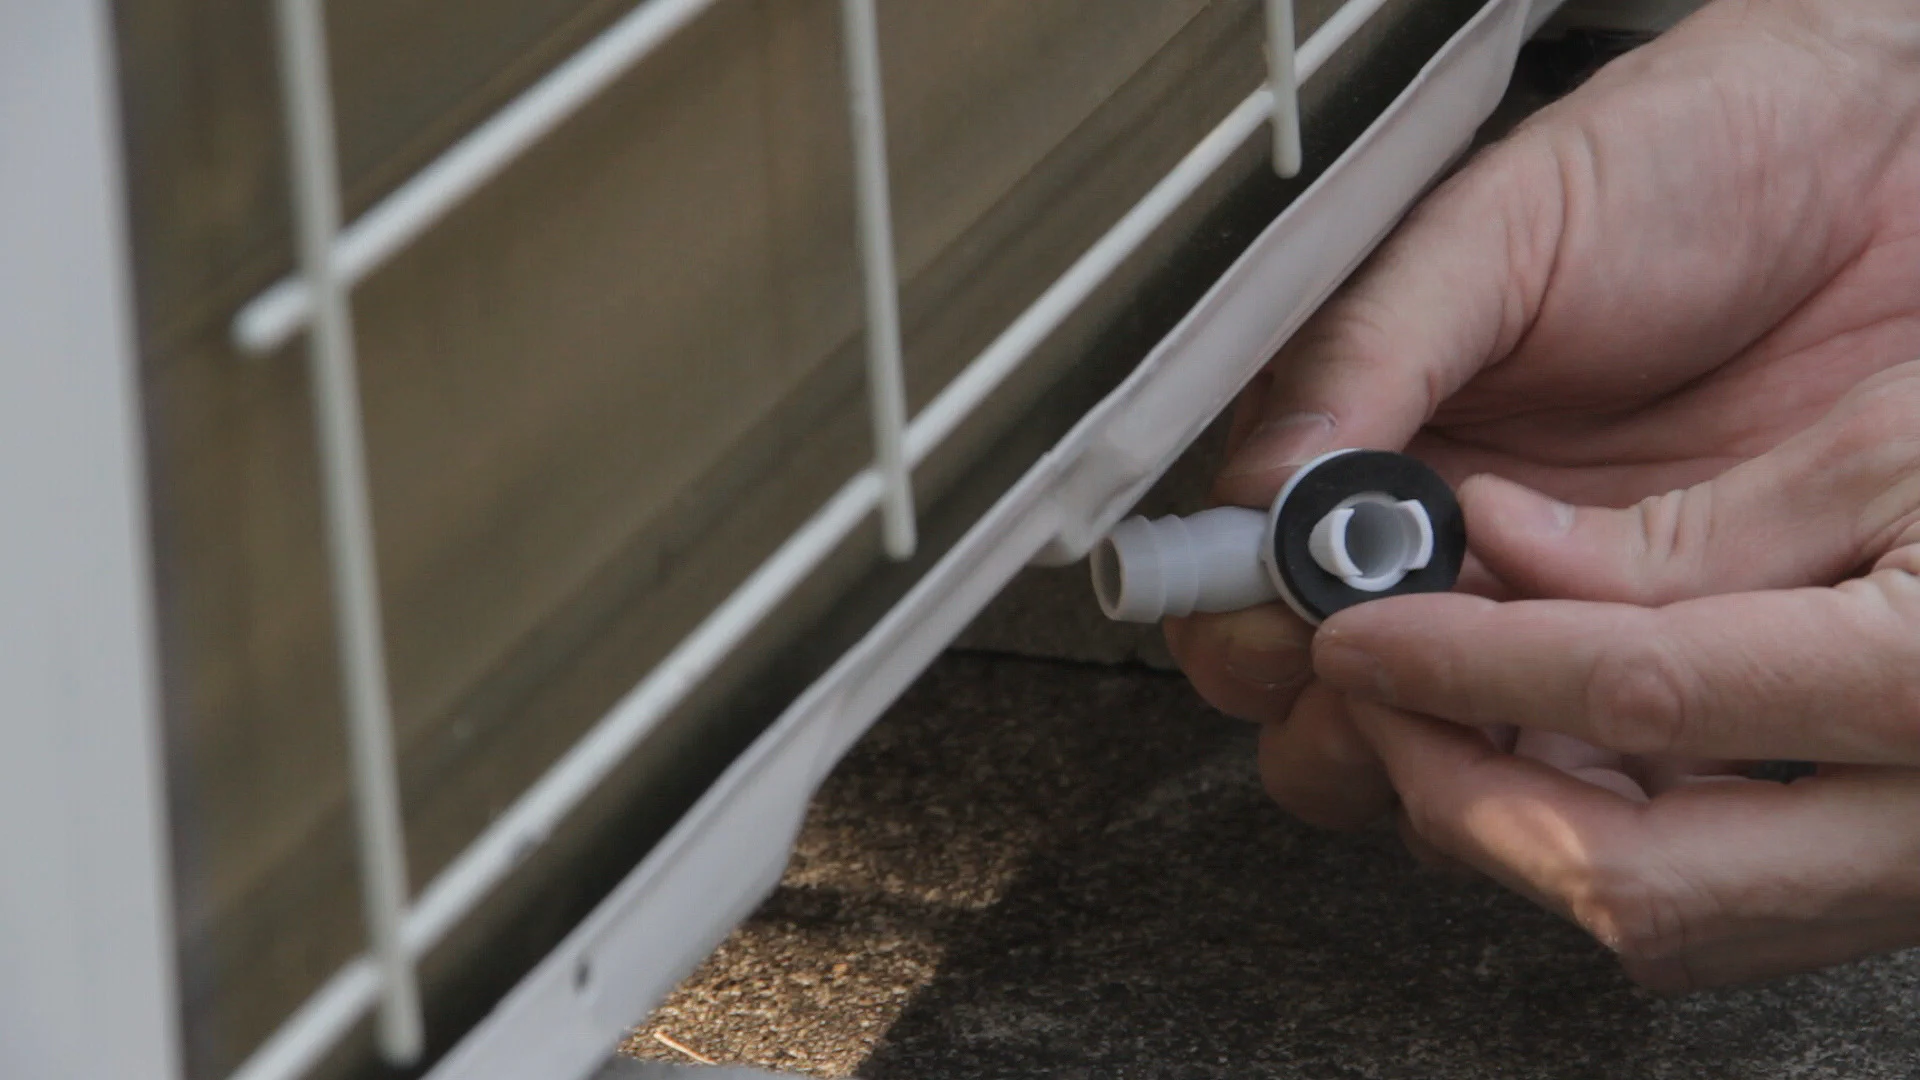
I also went ahead and also attached the drain elbow to help direct any water off the concrete pad.
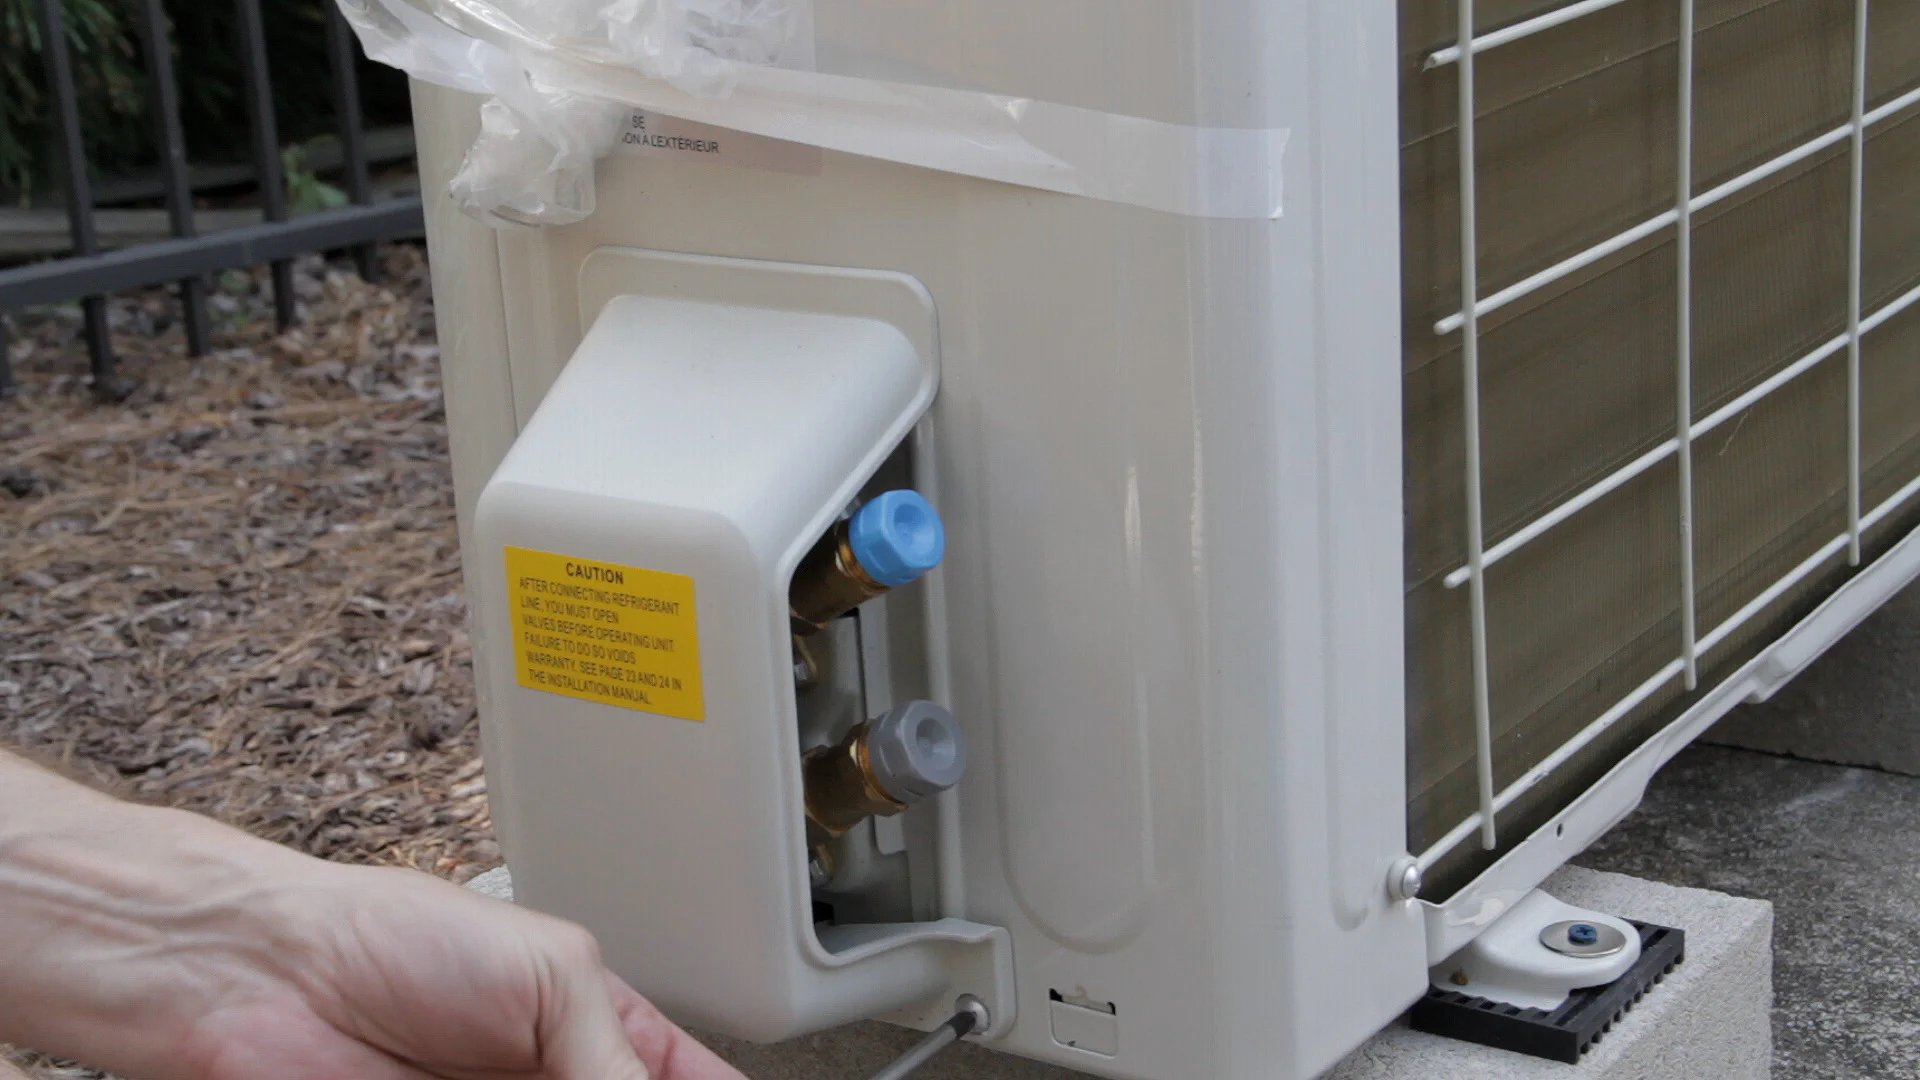
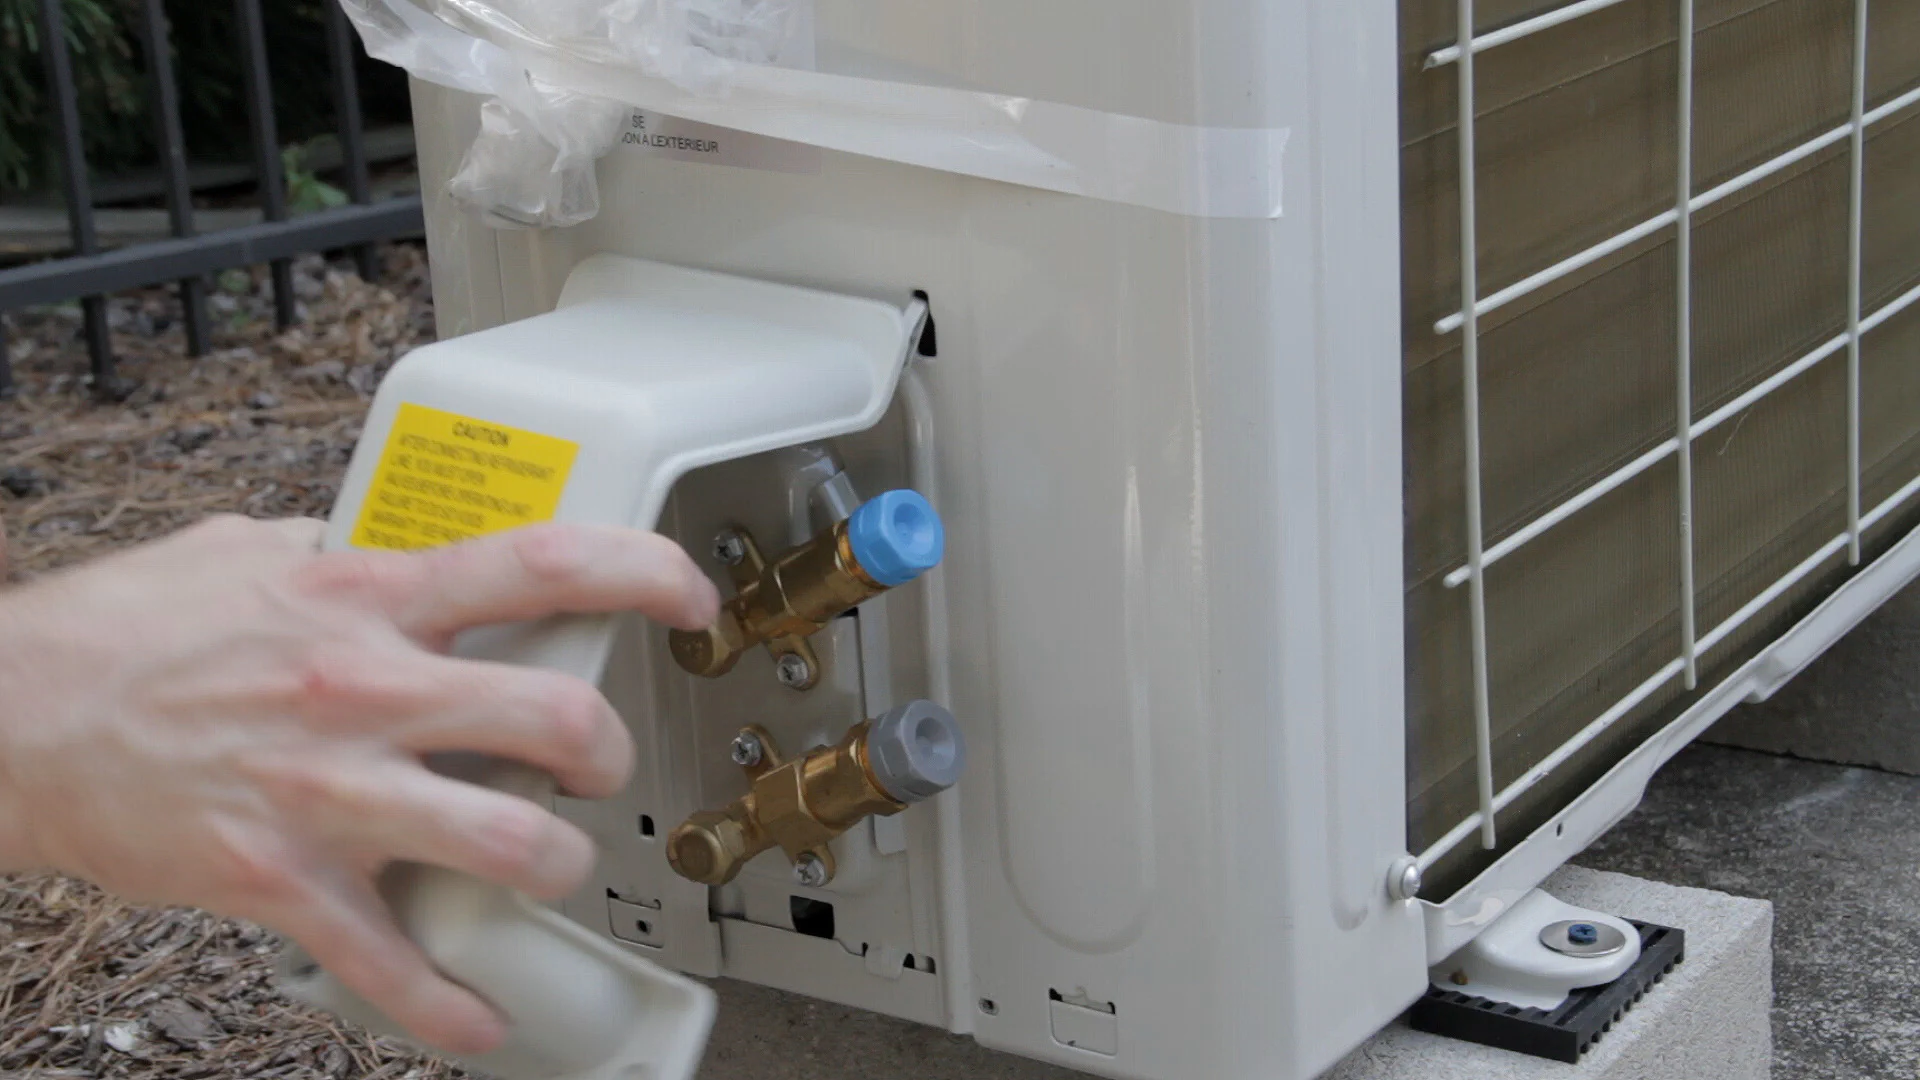
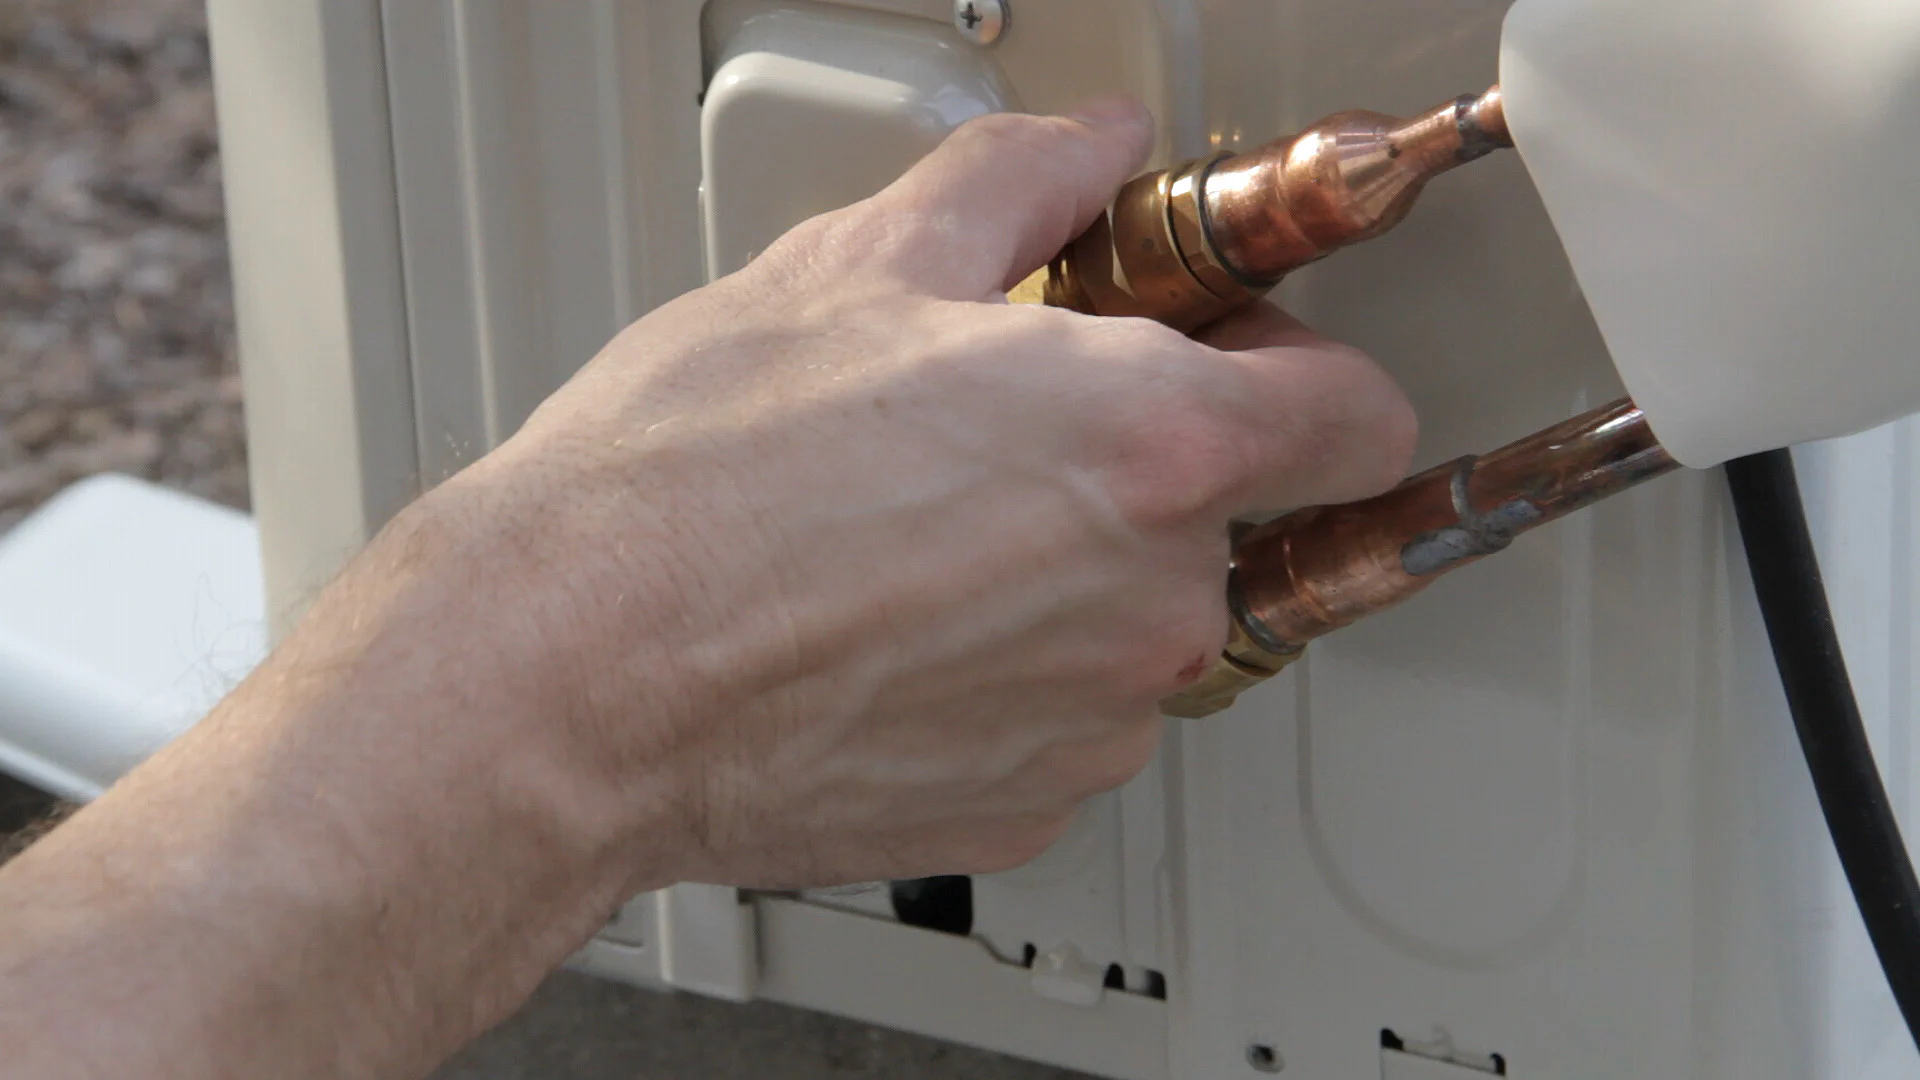
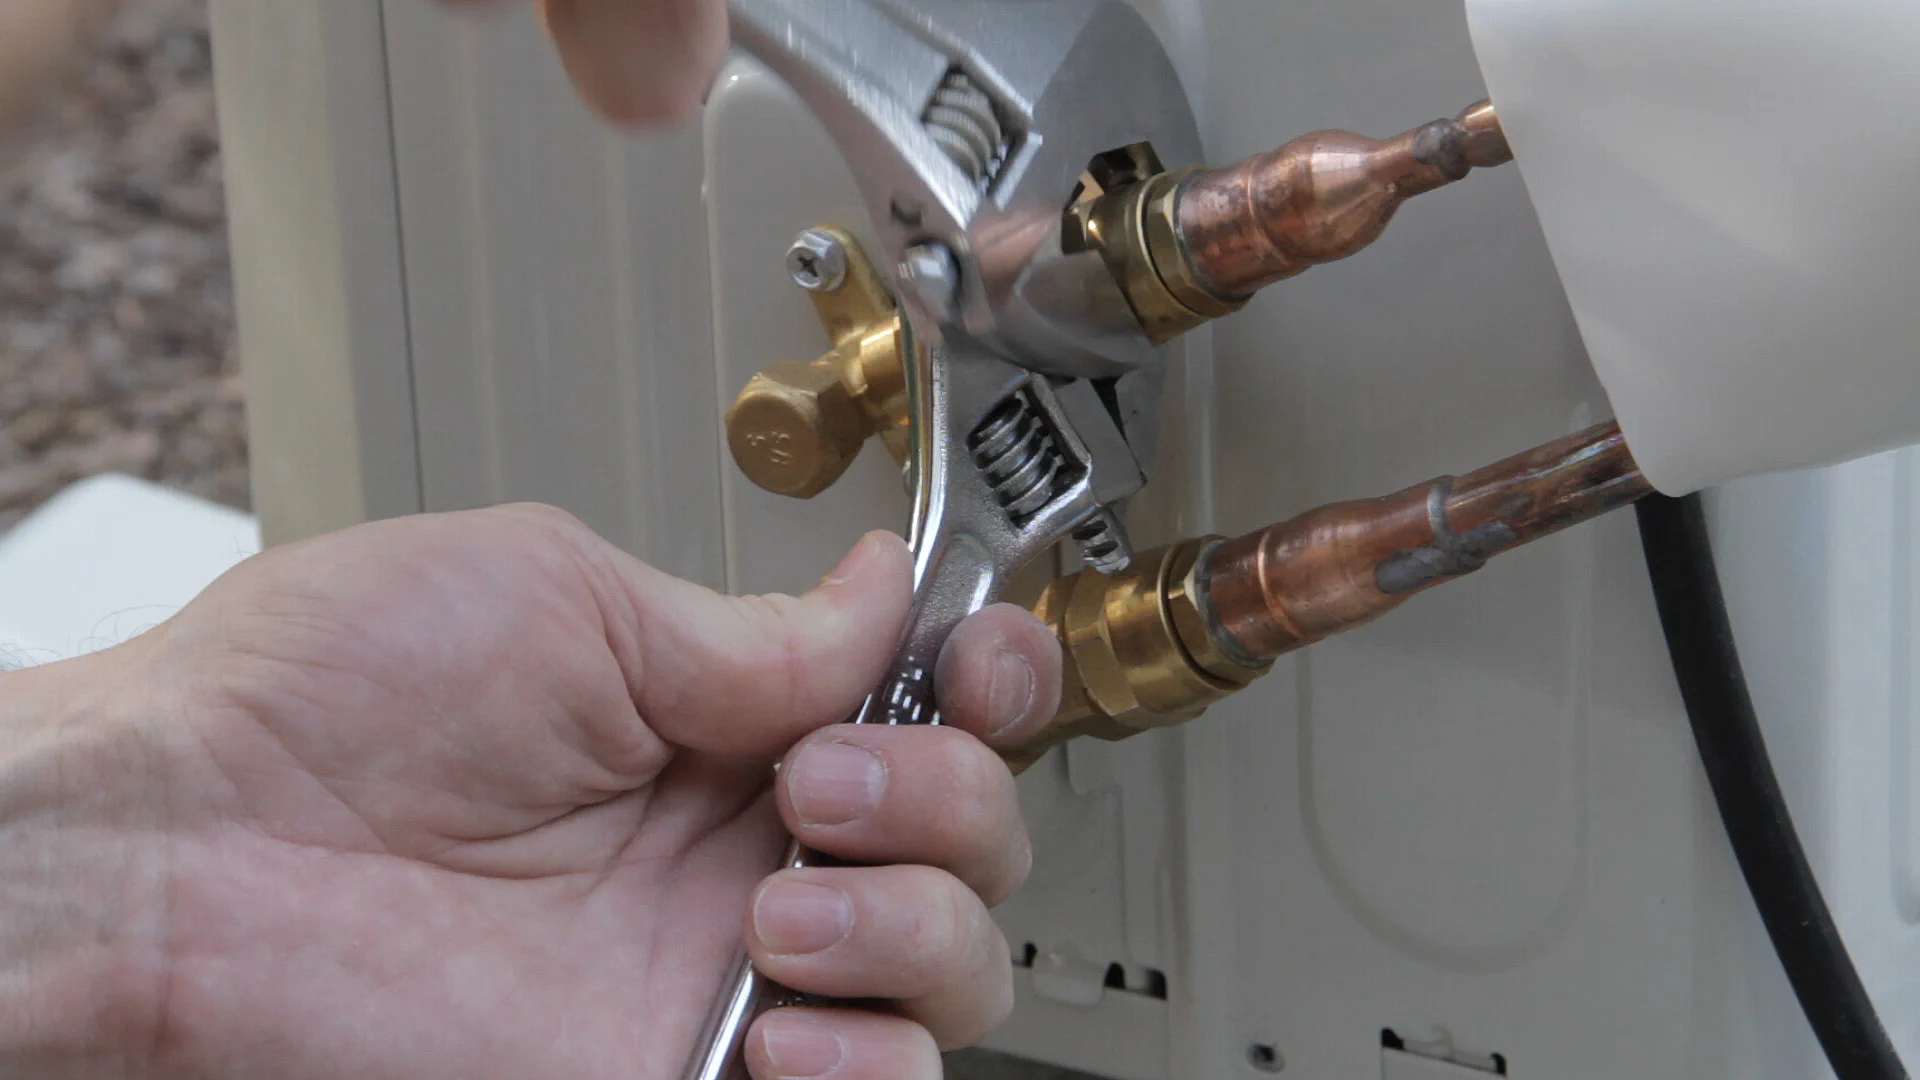
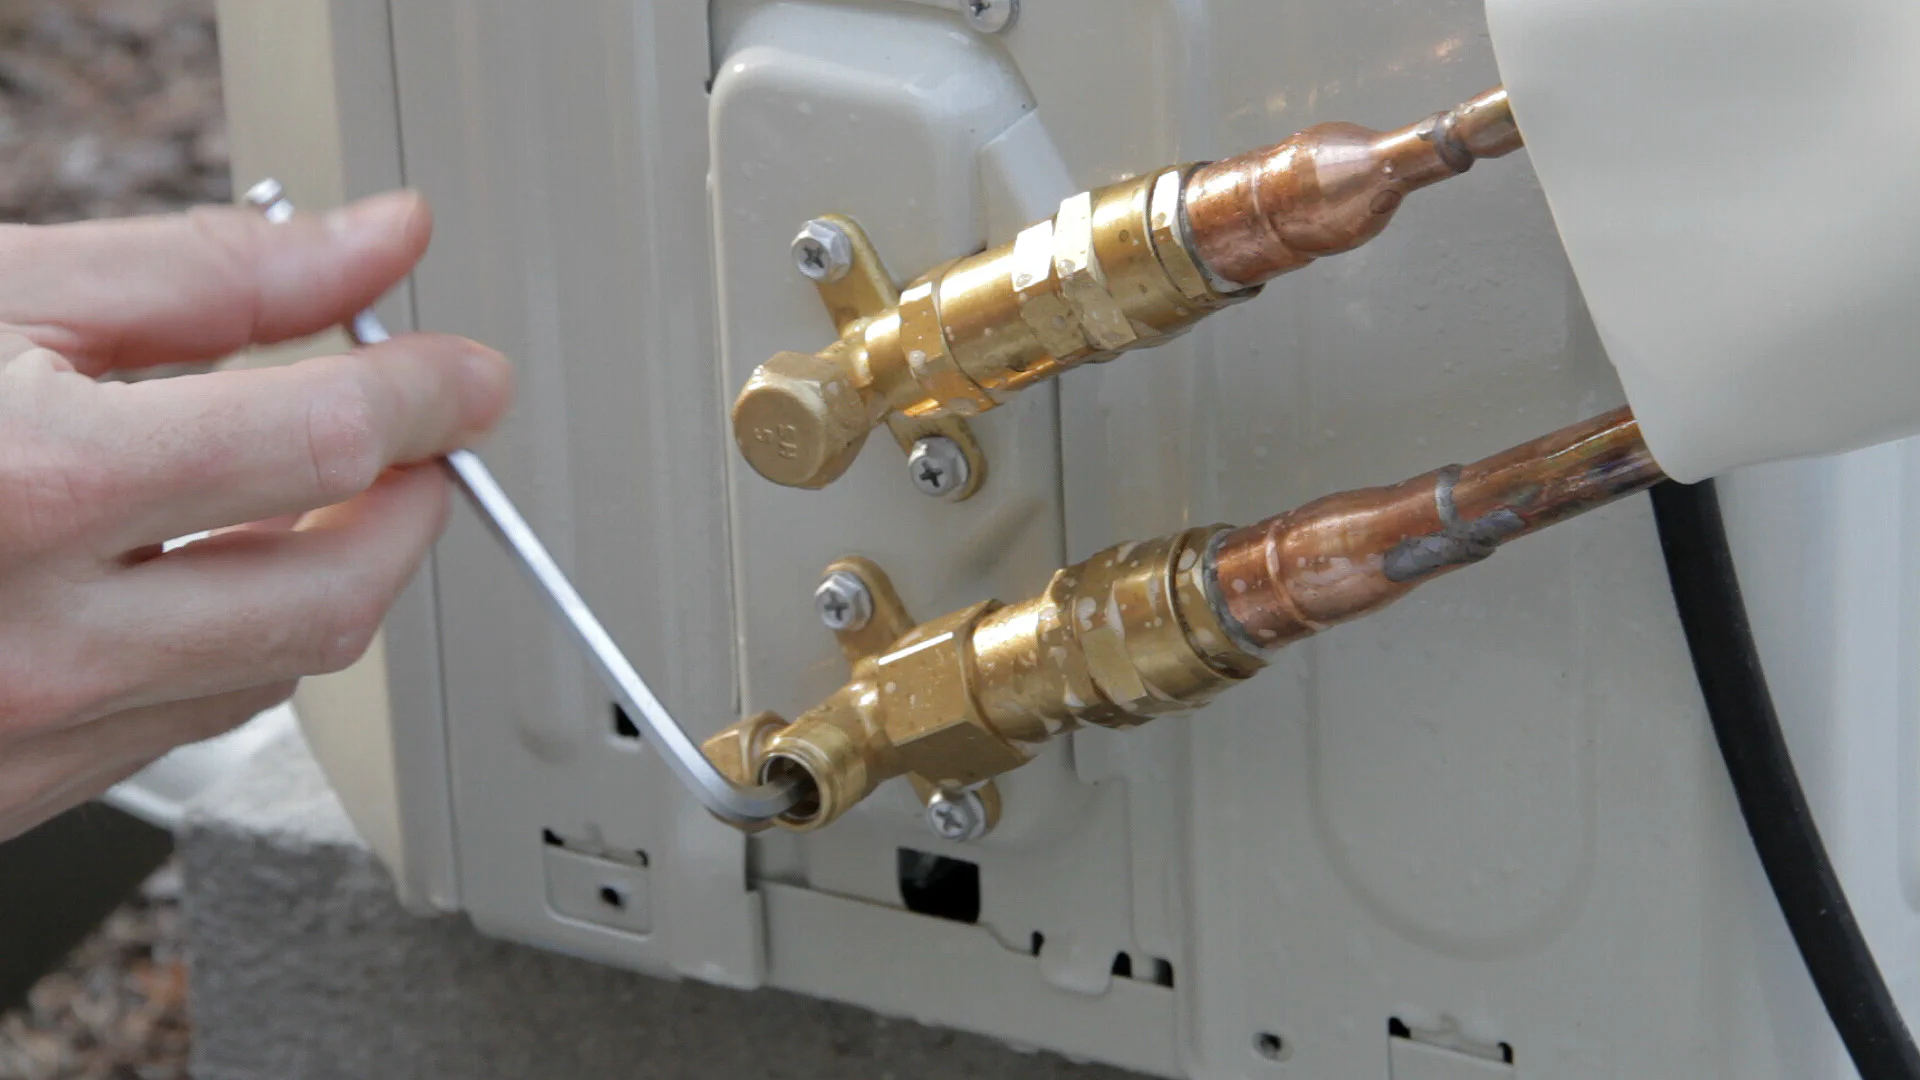
To attach the refrigerant lines, I removed the cover on the side of the condenser and, after removing the caps, hand threaded the lines onto each of the connections. The connections are different sizes, so it was easy to know which went where, but you do have to be careful not to cross-thread the threads on the connectors.
I then used a pair of adjustable wrenches to finish tightening everything to avoid damaging the connectors.
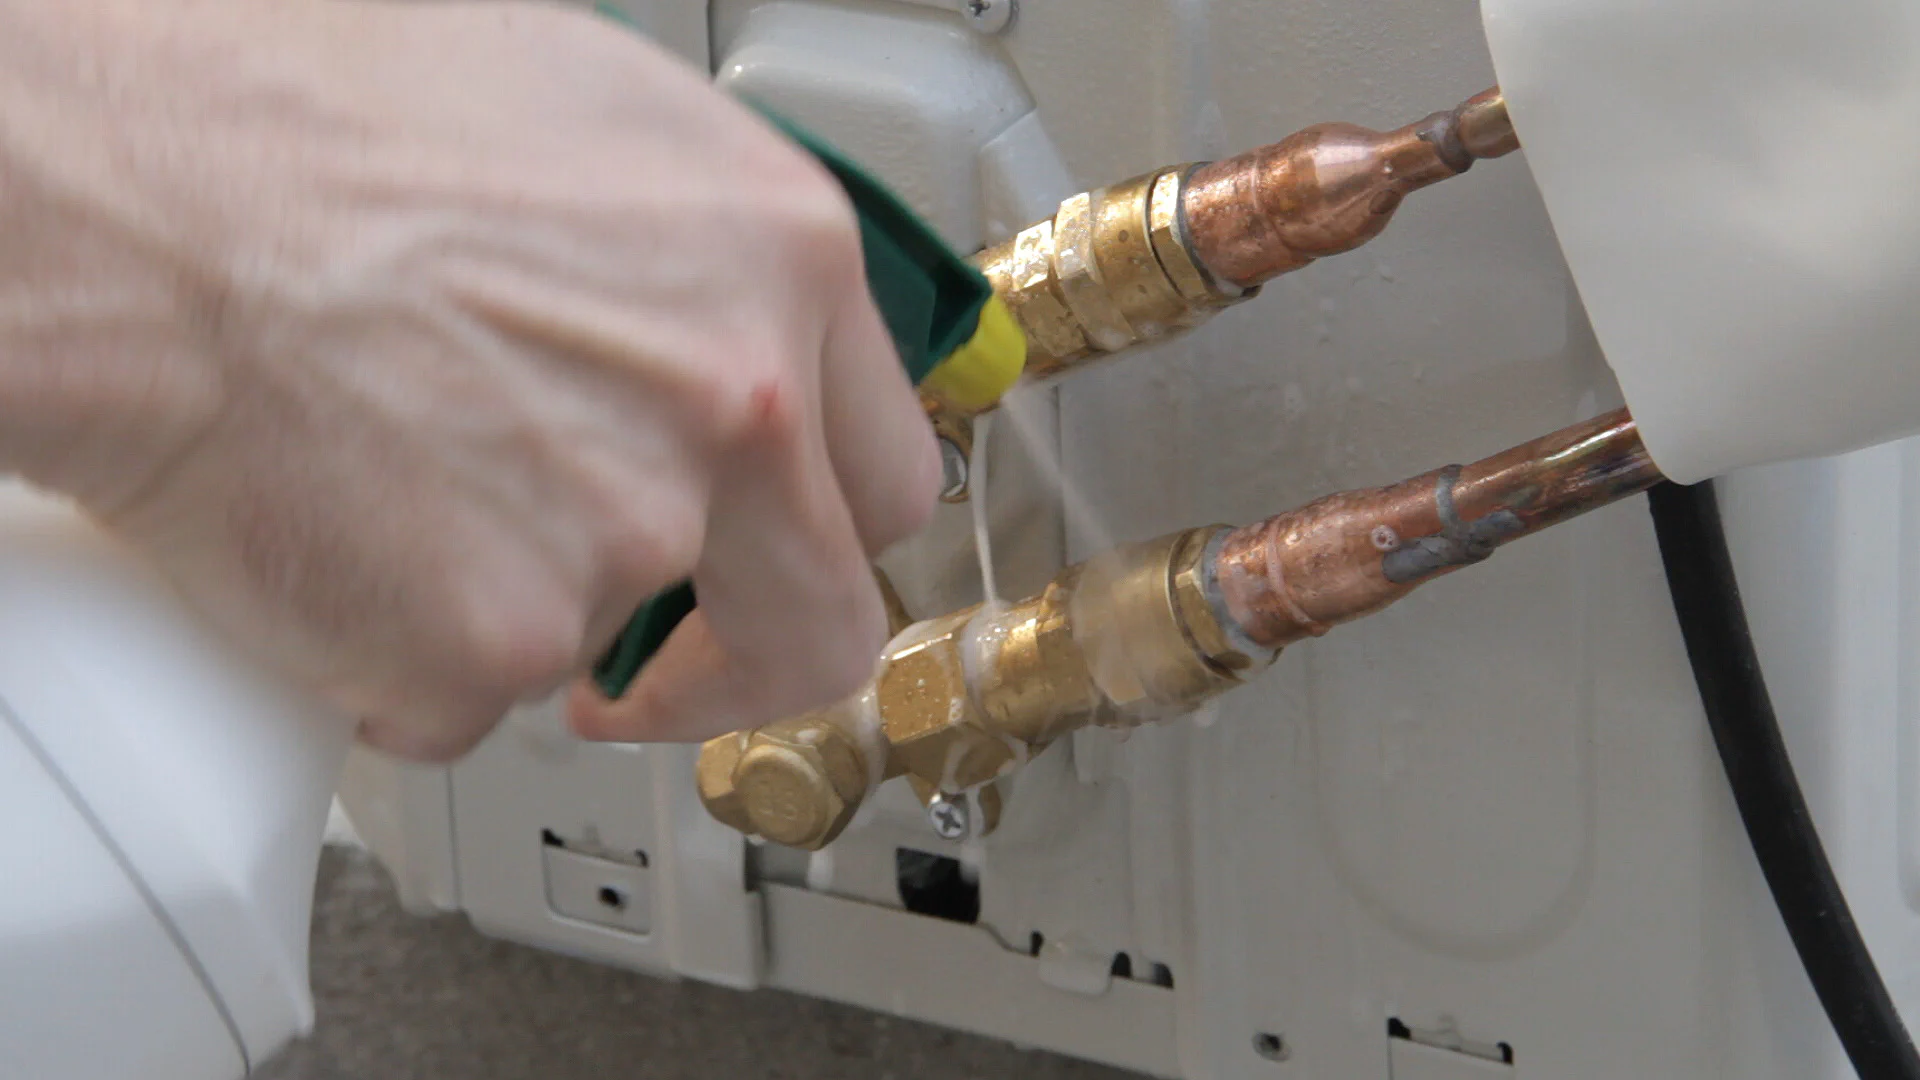
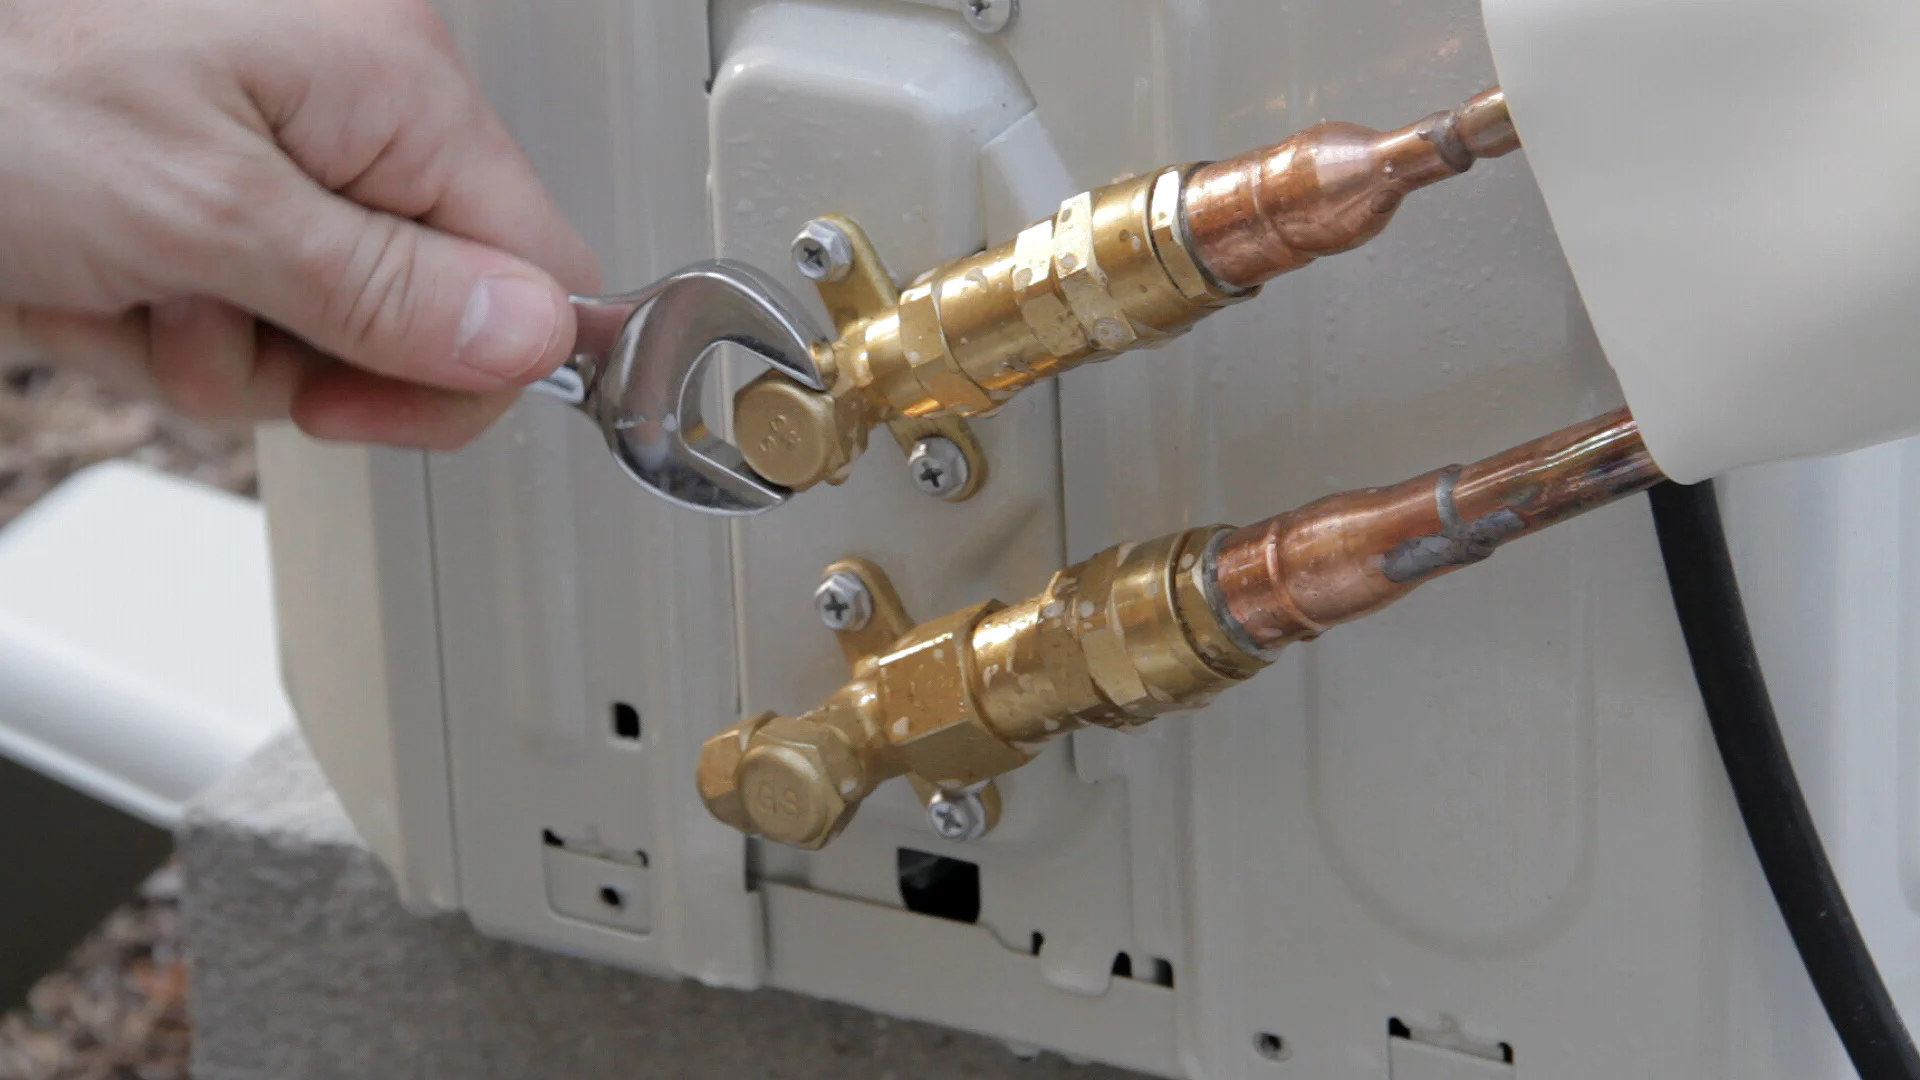
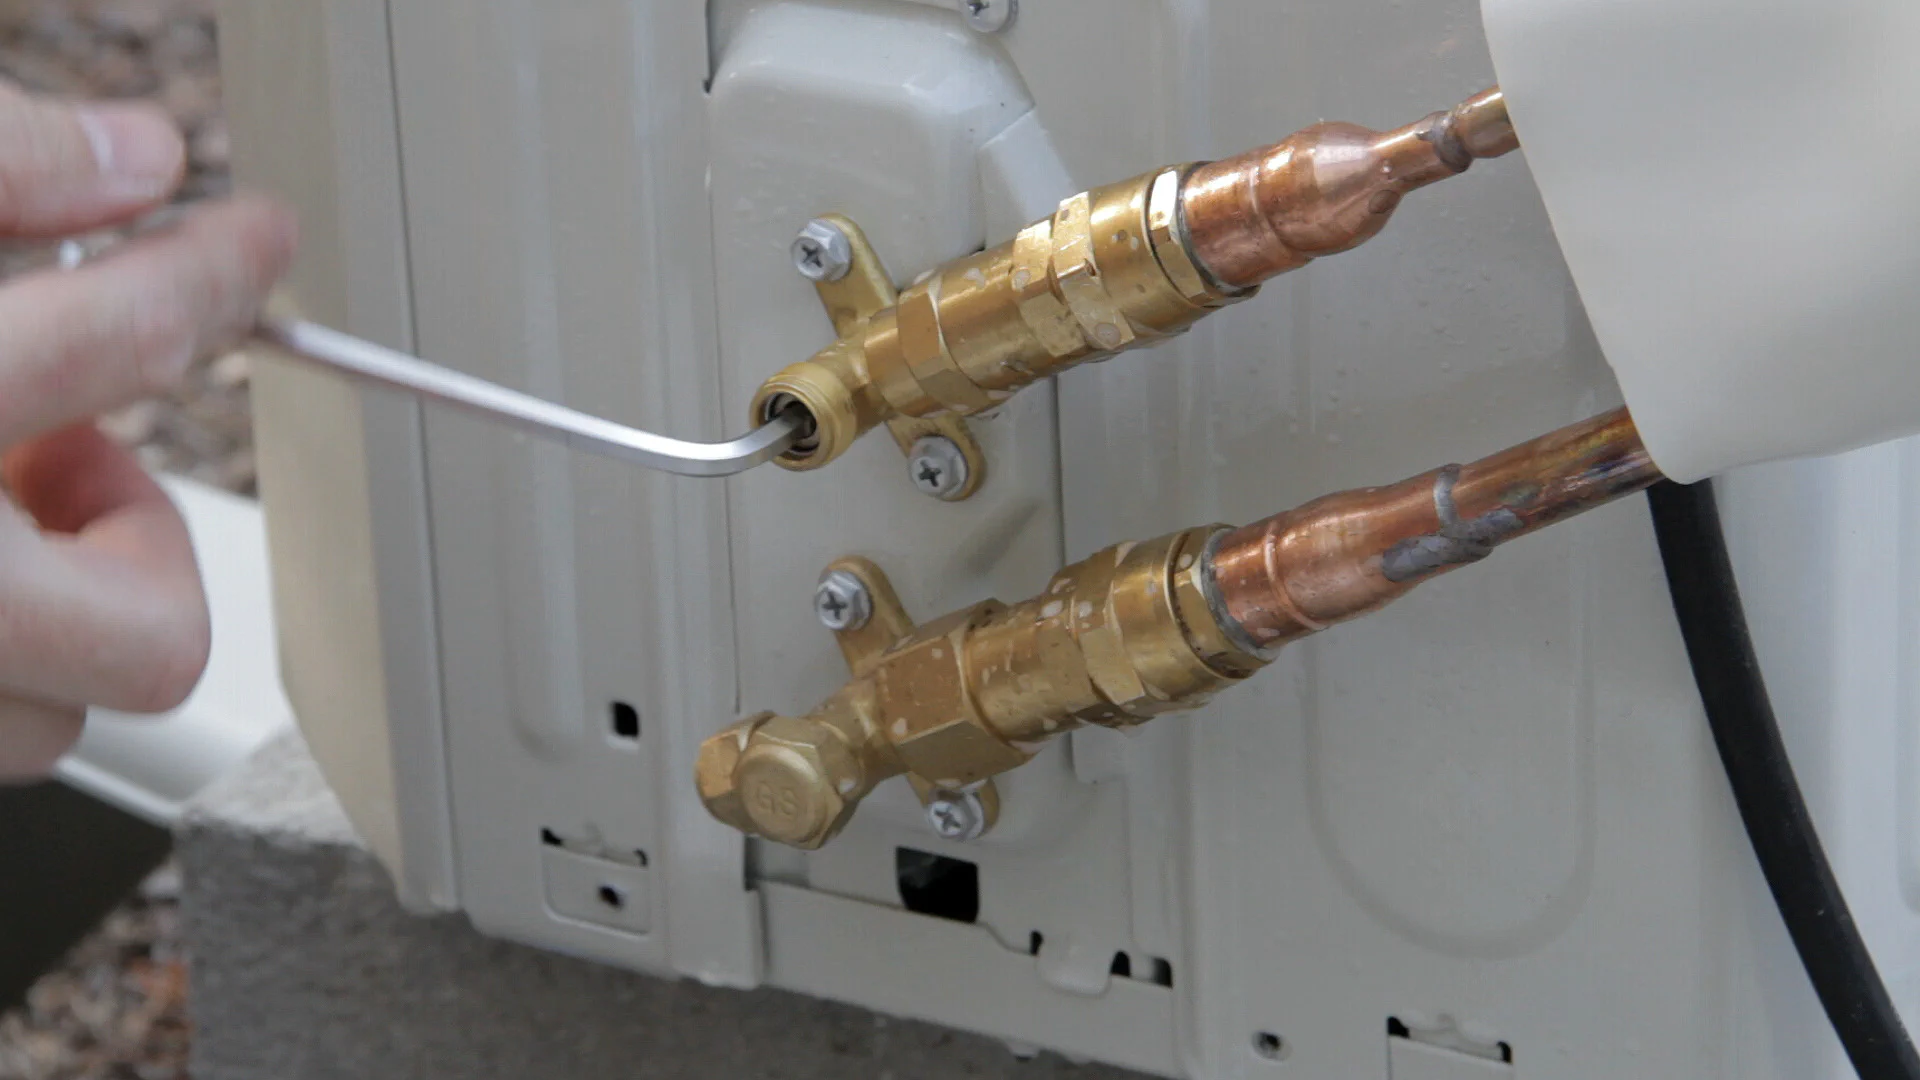
The reason for the “DIY” in the name of this unit is that the system is pre-charged and doesn’t require a HVAC technician to complete the installation. To finish up with the lines I sprayed them with soapy water to spot any leaks and then removed the metal caps on the connectors and opened the lines with the included Allan wrench. After a checking for leaks one more time, I put the caps back on and then reattached the plastic cover.
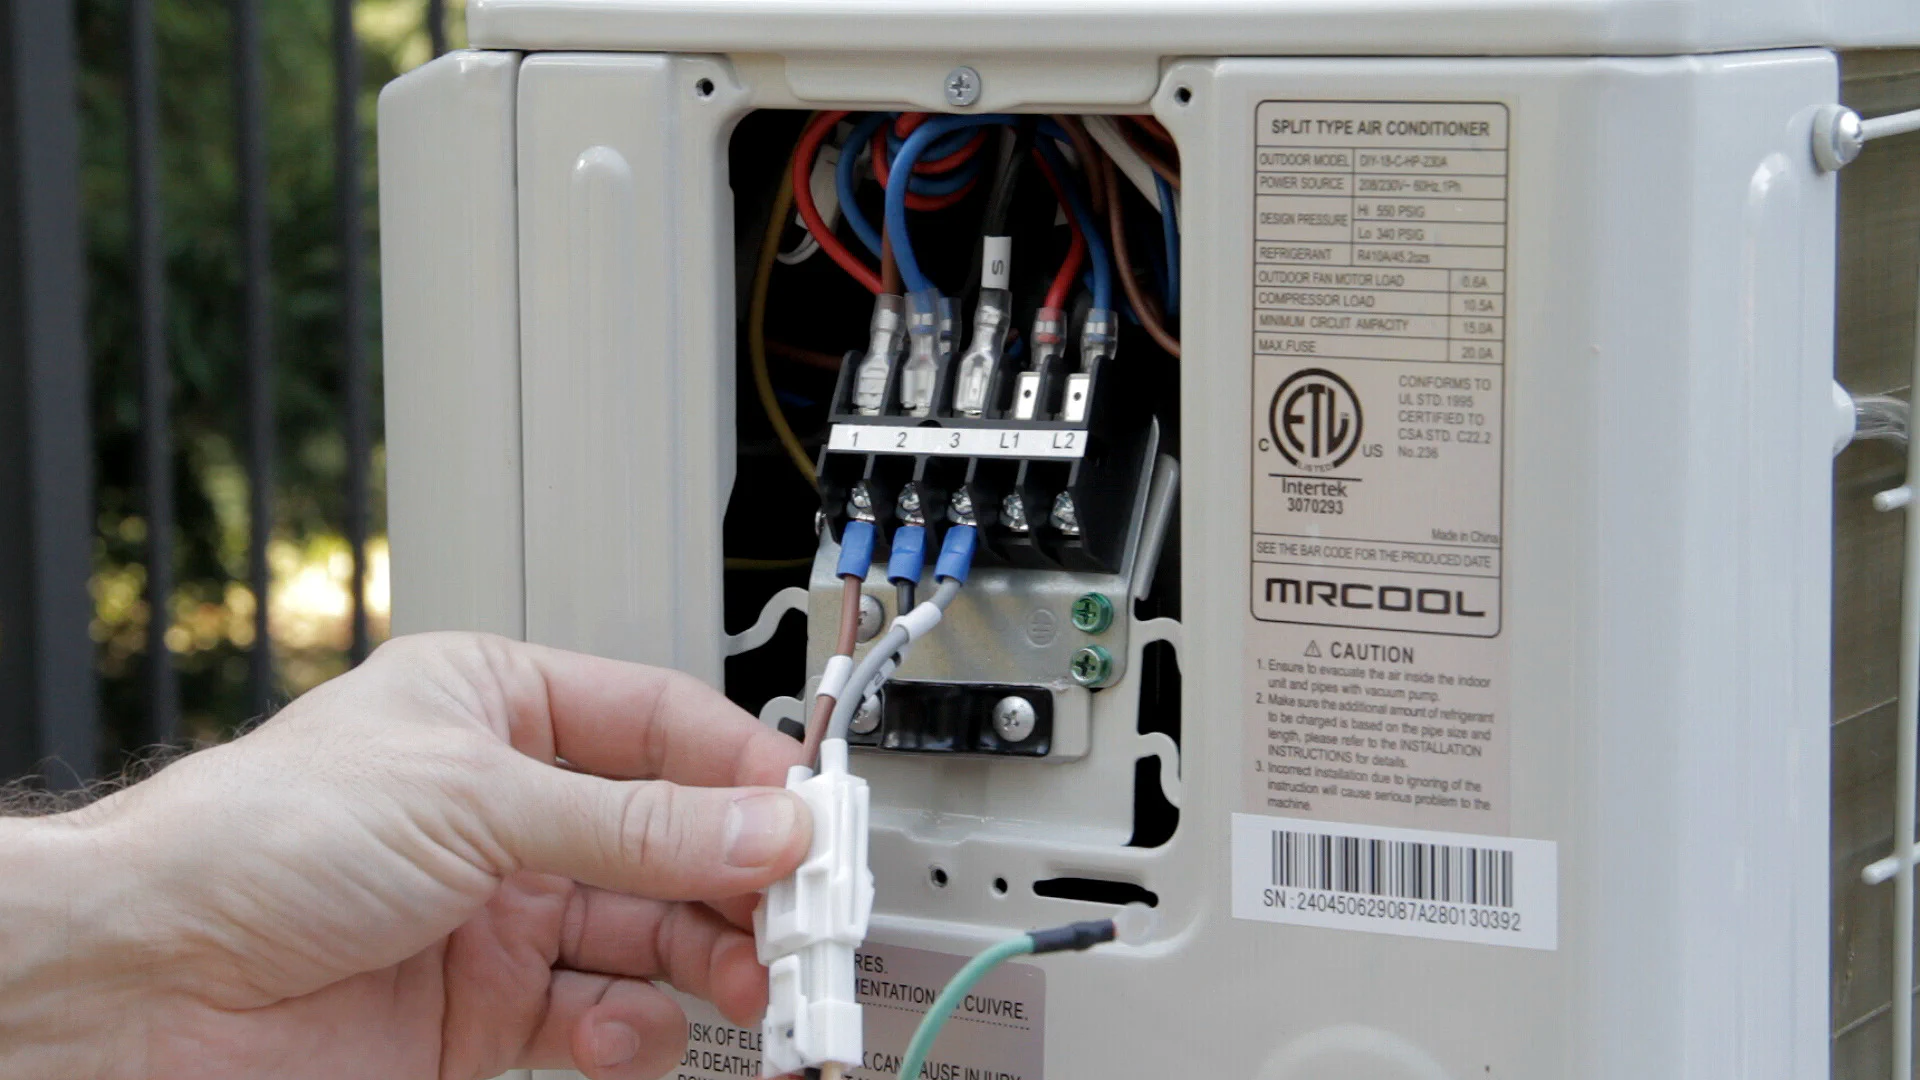
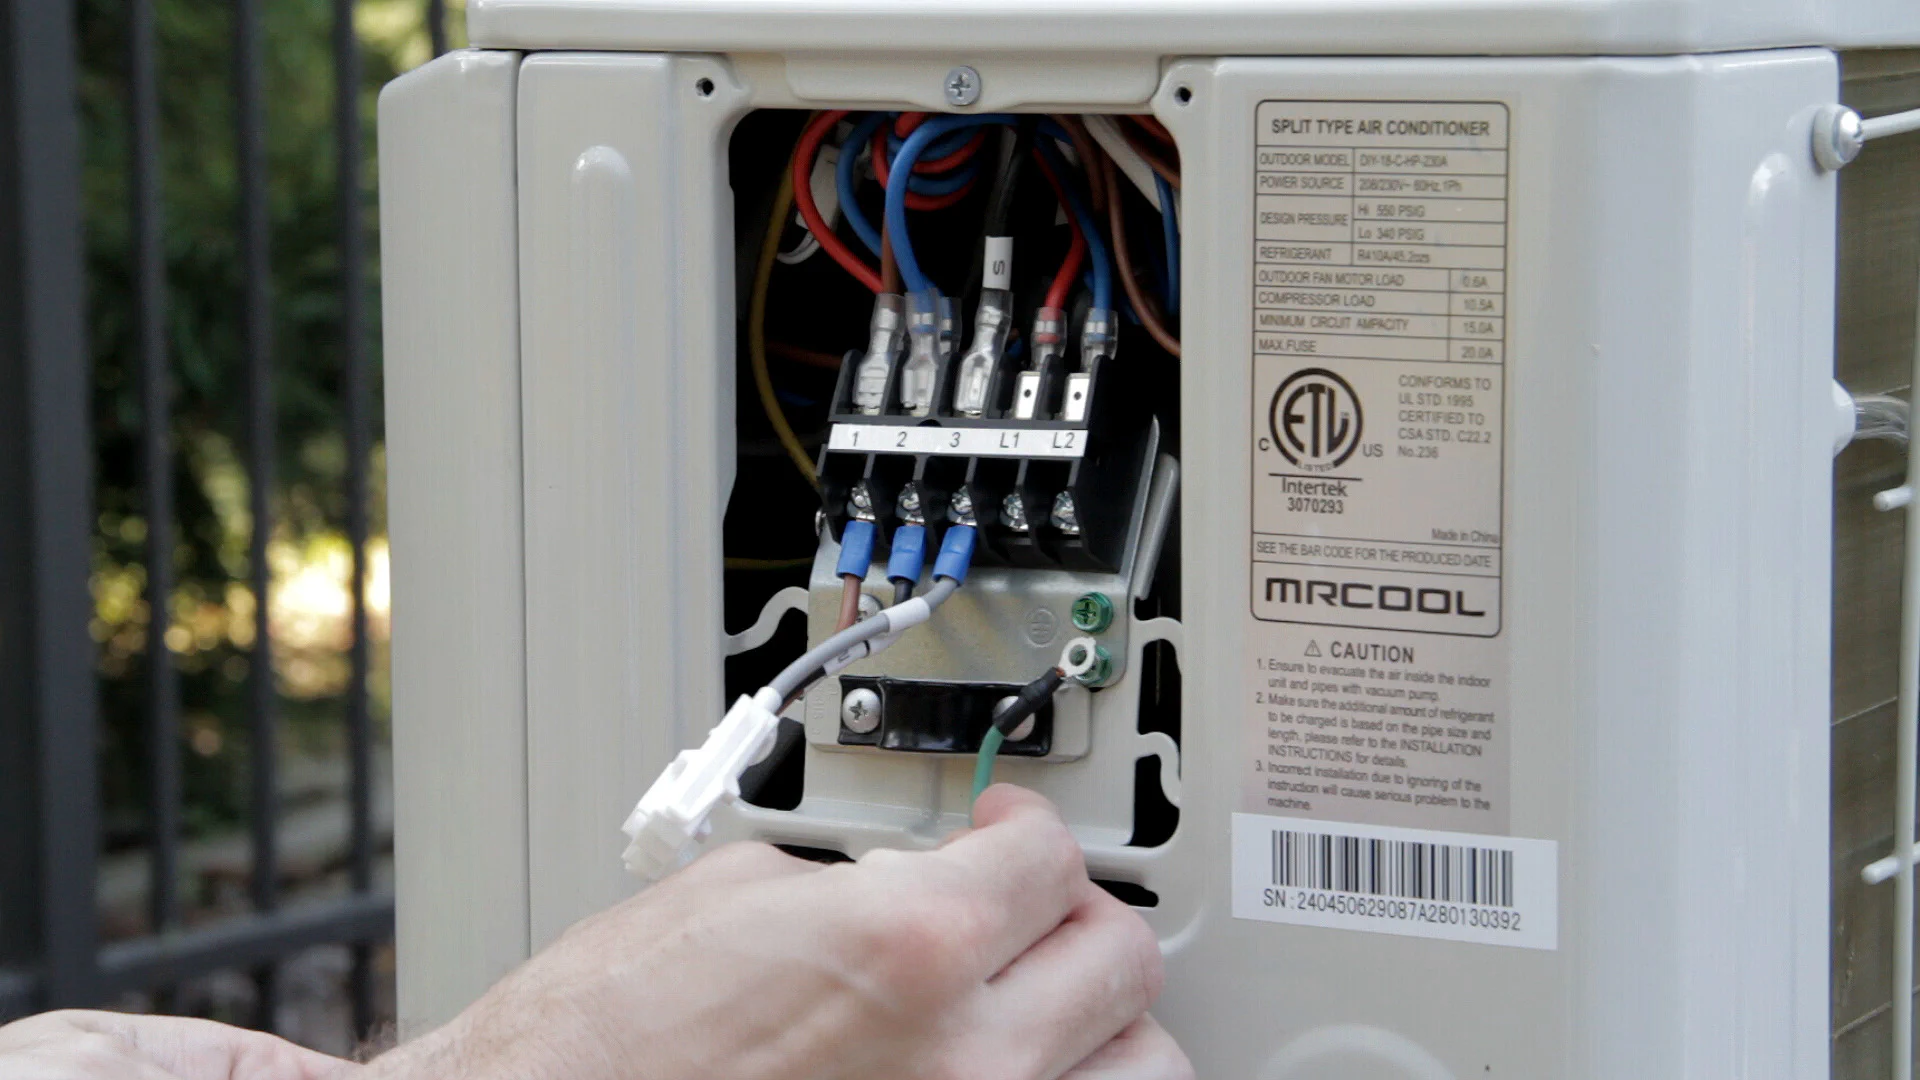
The not-so-DIY part of this mini-split is that an electrician is needed to run a new 120V or 240V circuit (depending on the unit) to the condenser. The wiring connection to the unit itself is pretty simple and the only other thing that needs to be done is to plug in the wiring harness from the indoor unit to the connector on the condenser and connect the ground wire.
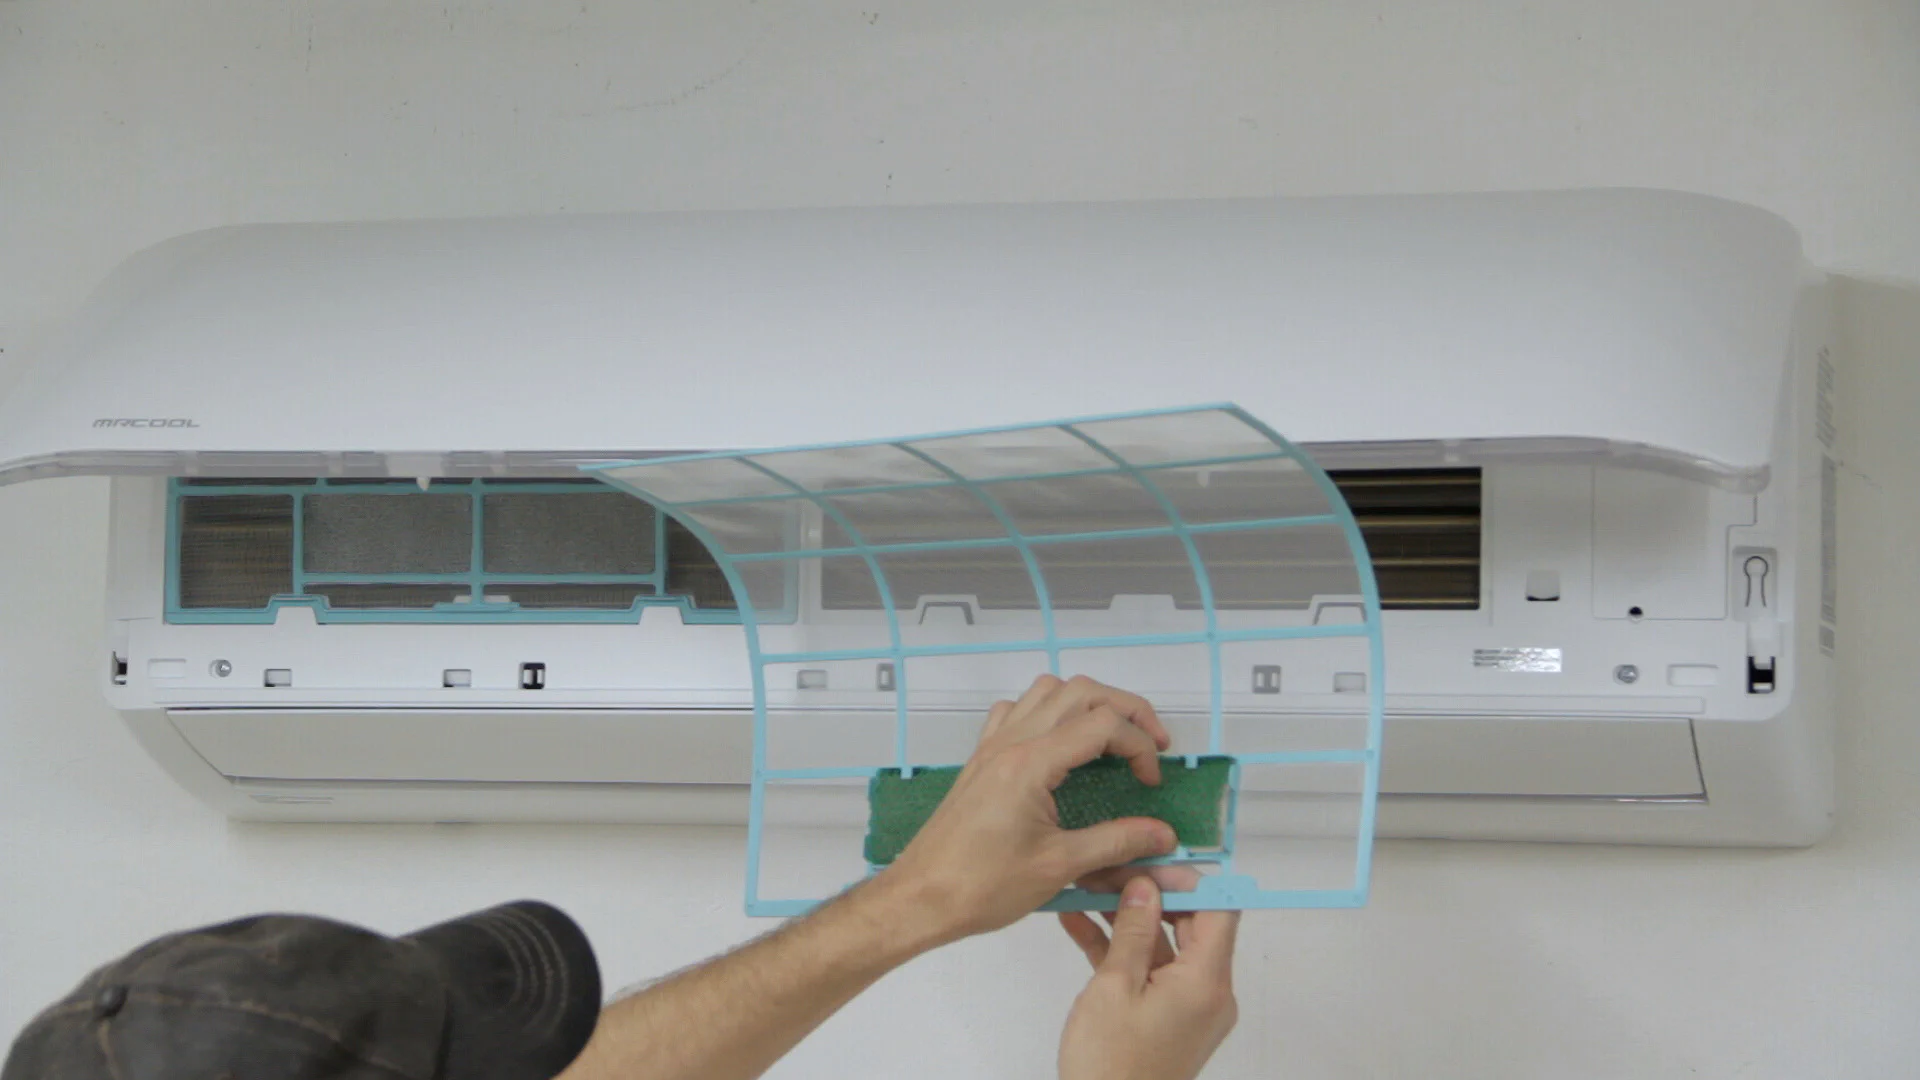
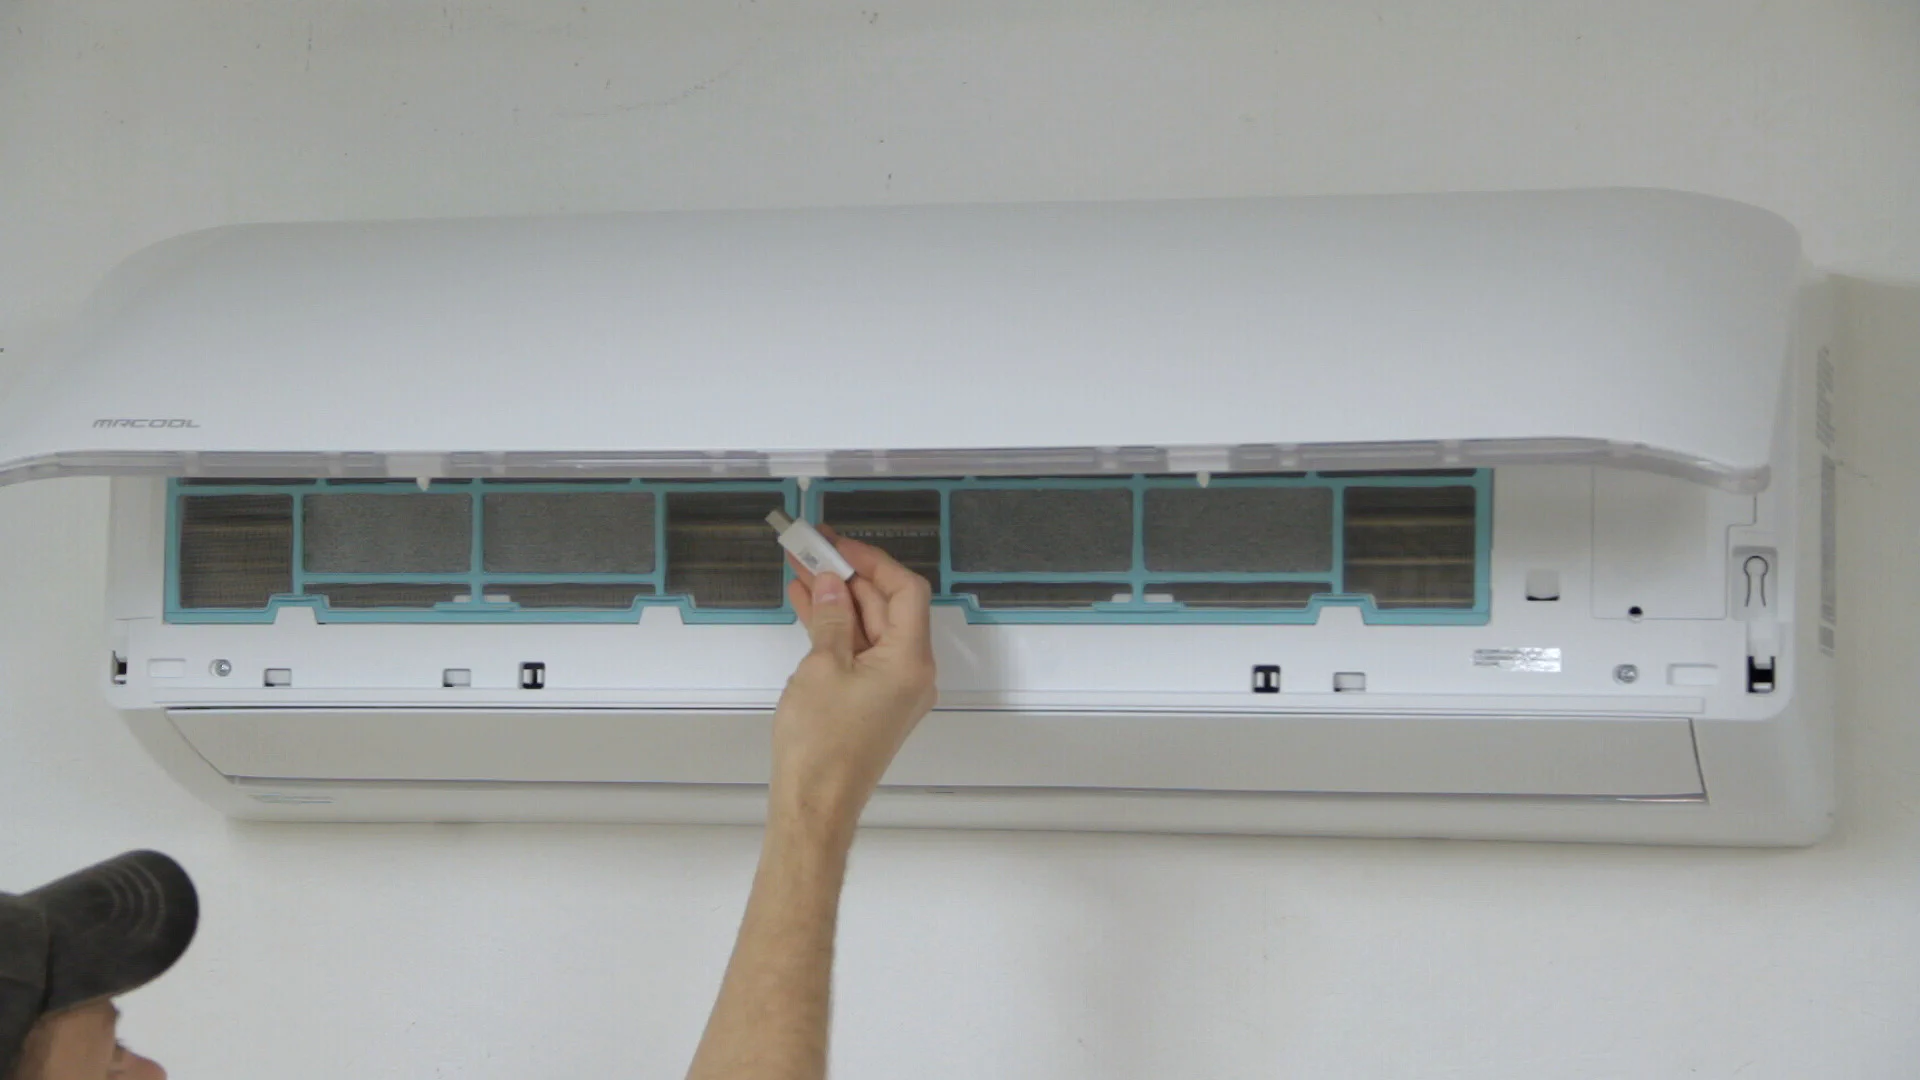
Then, after installing the additional filters that were included, it was finally time to test out its cooling and heating.
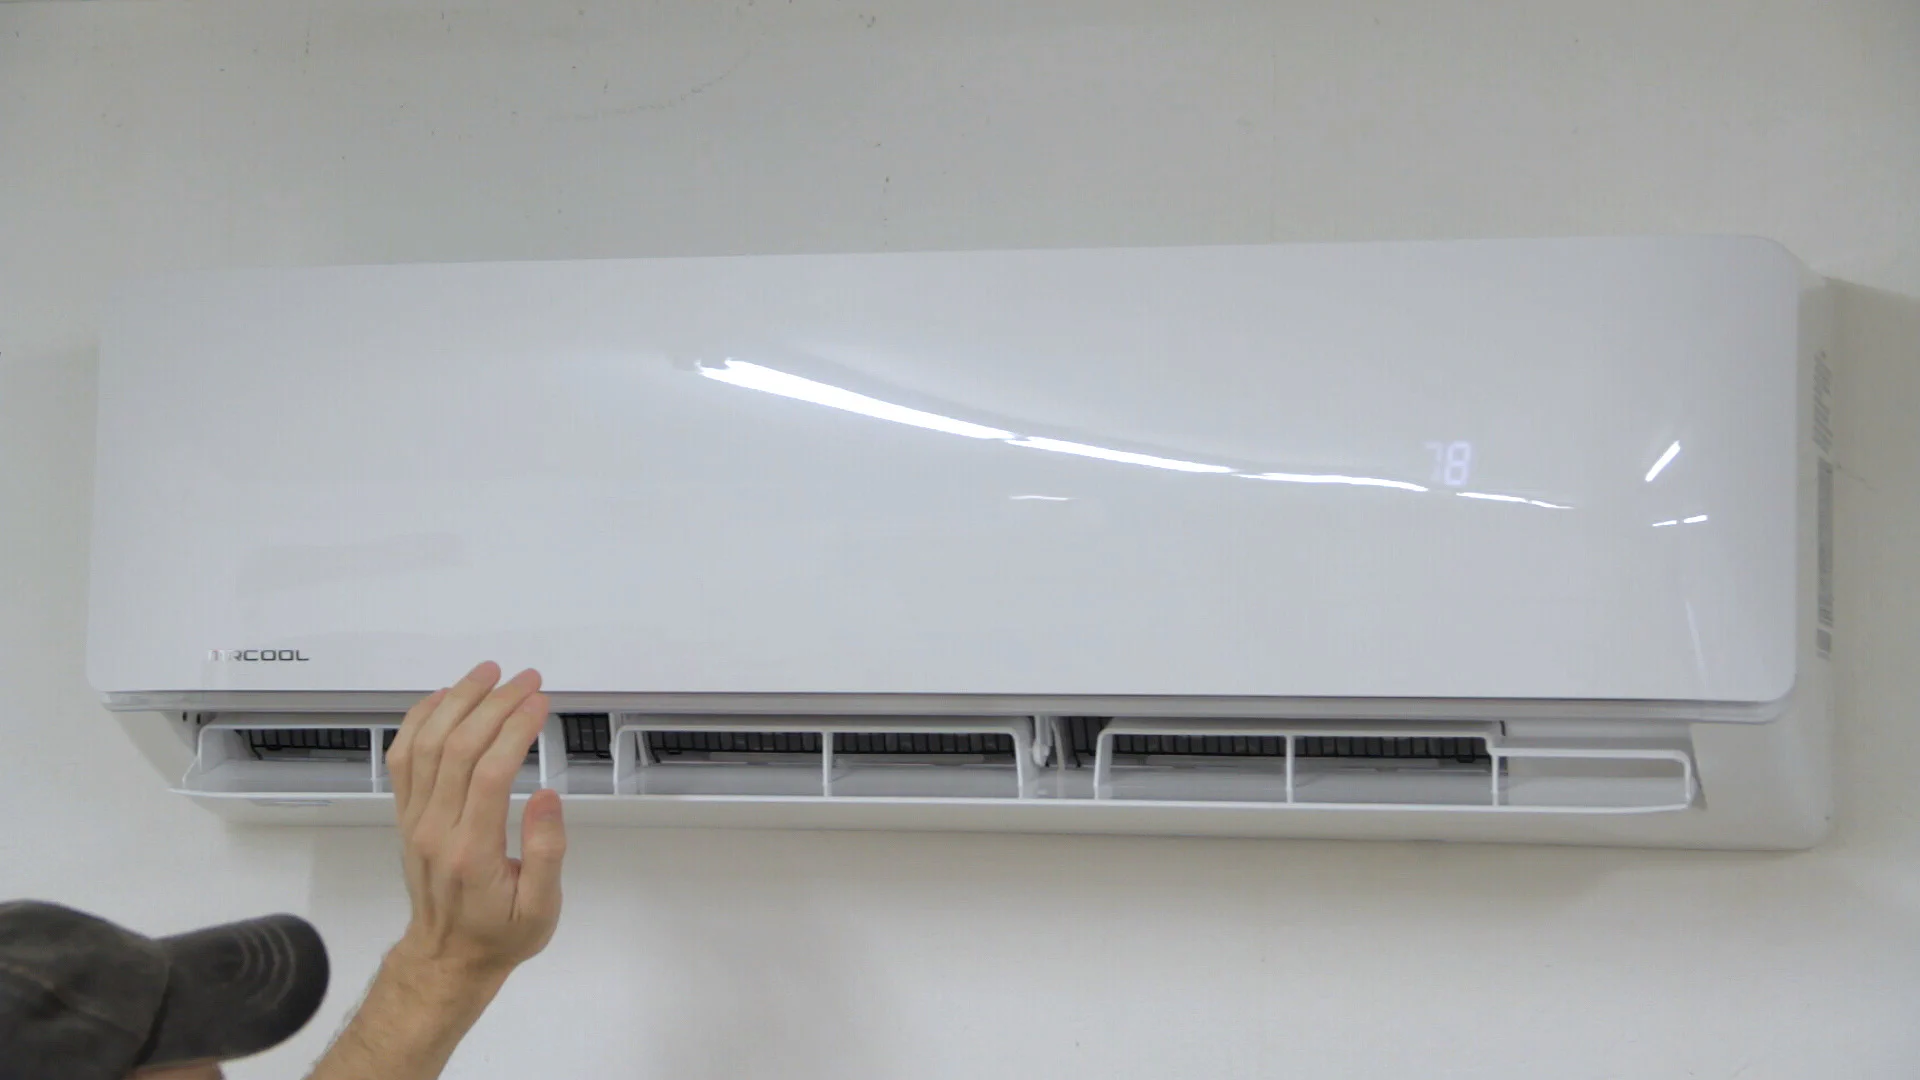
Both worked extremely well during the initial test, and we’ve been running the AC during the last 5 months with several 95+ degree days with high humidity and it has had no issues keeping the shop dehumidified and cool enough to work in even when wearing a respirator and other safety gear.
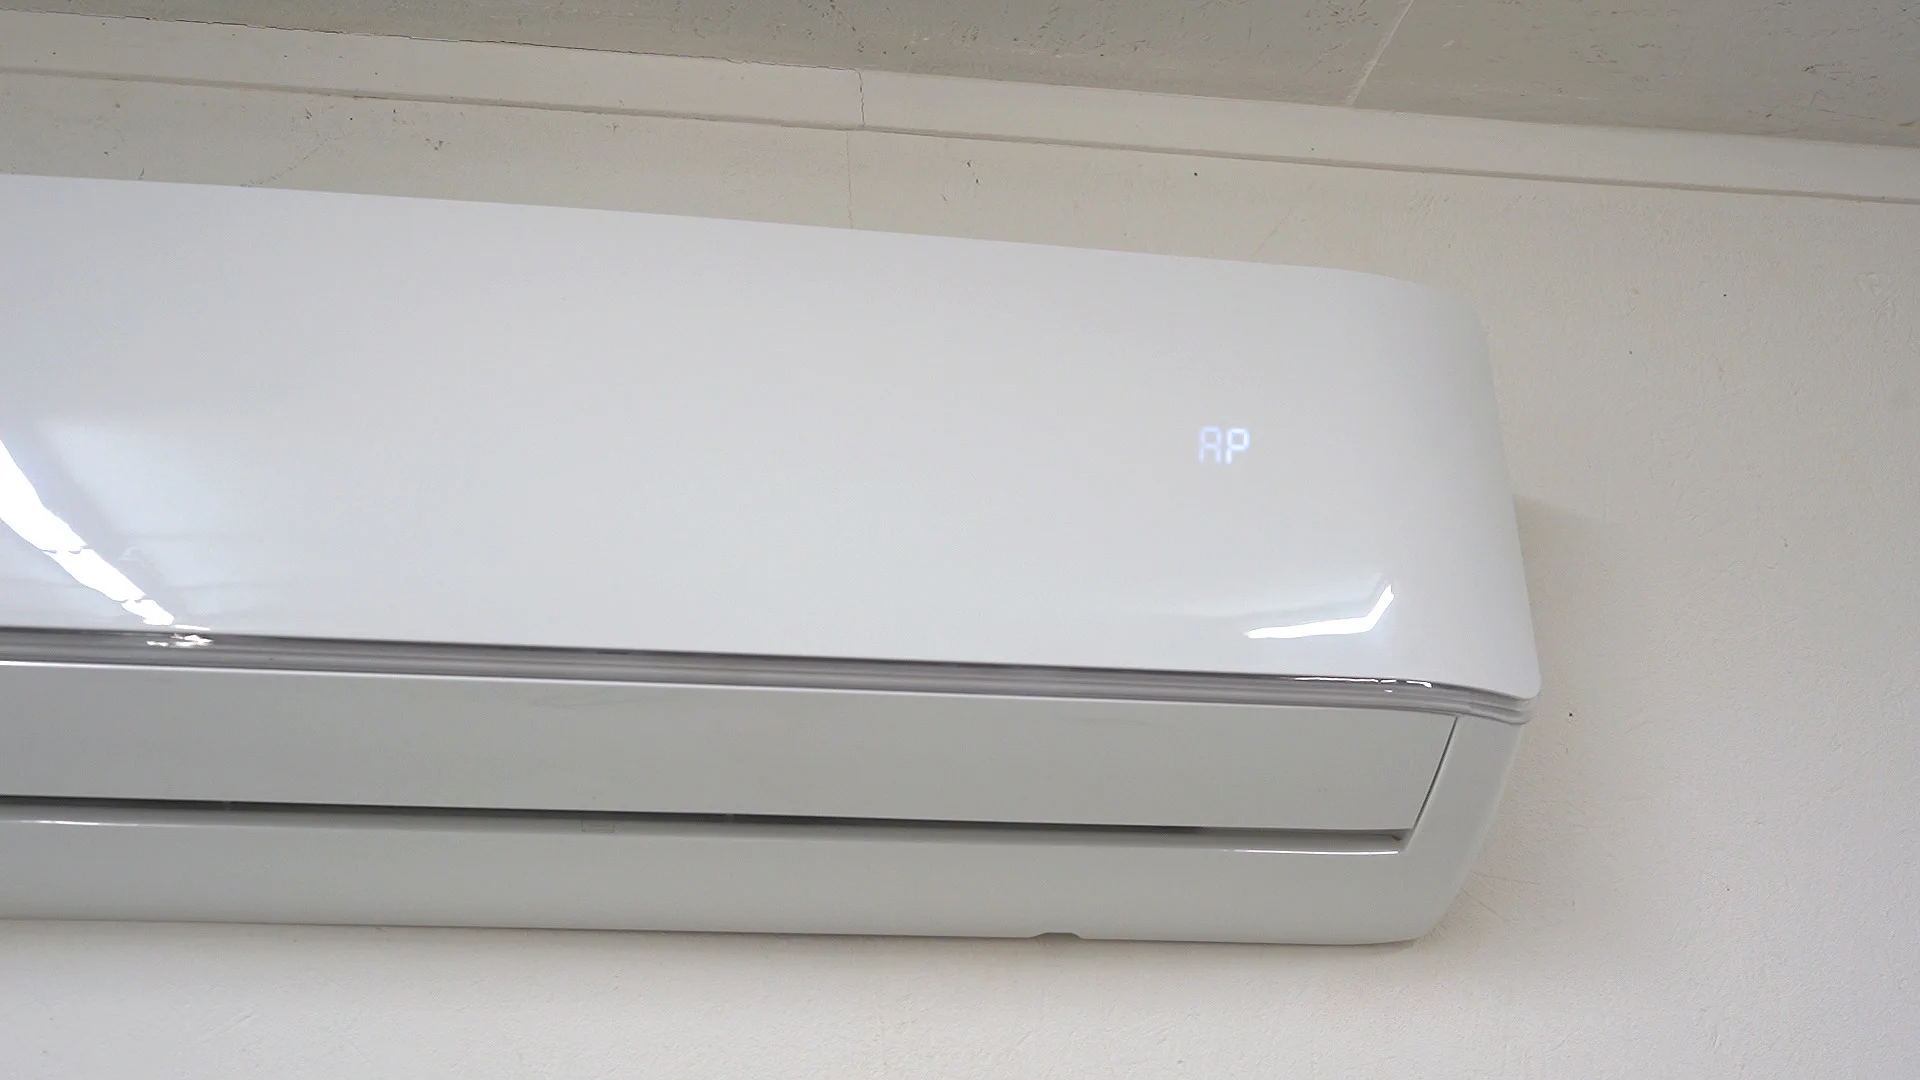
To finish up with the install I plugged in the included Wi-Fi adapter and installed the MRCOOL app on my phone. To set up Wi-Fi, I entered “AP” mode on the indoor unit by turning it on and pressing the LED button on the remote control 7 times. Then after registering and logging in on the app, I added the unit to the app by scanning the included QR code.

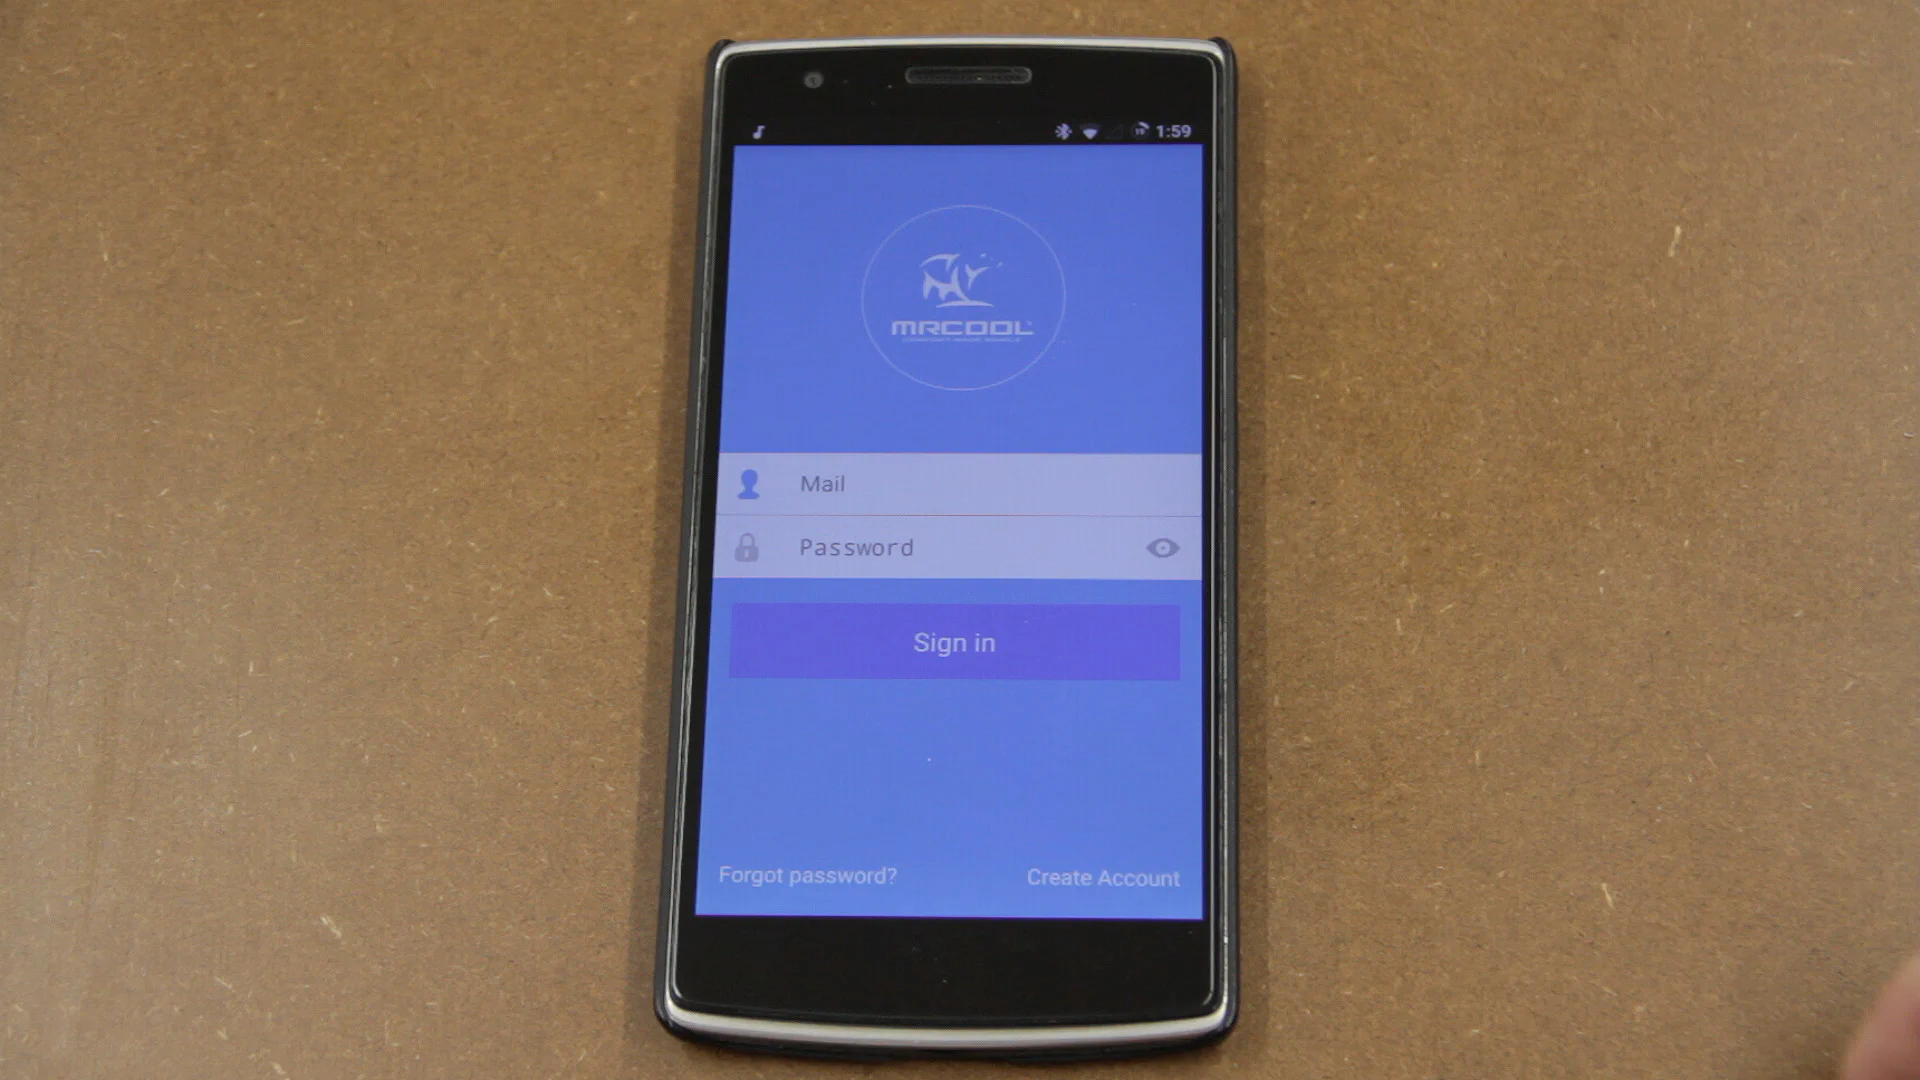
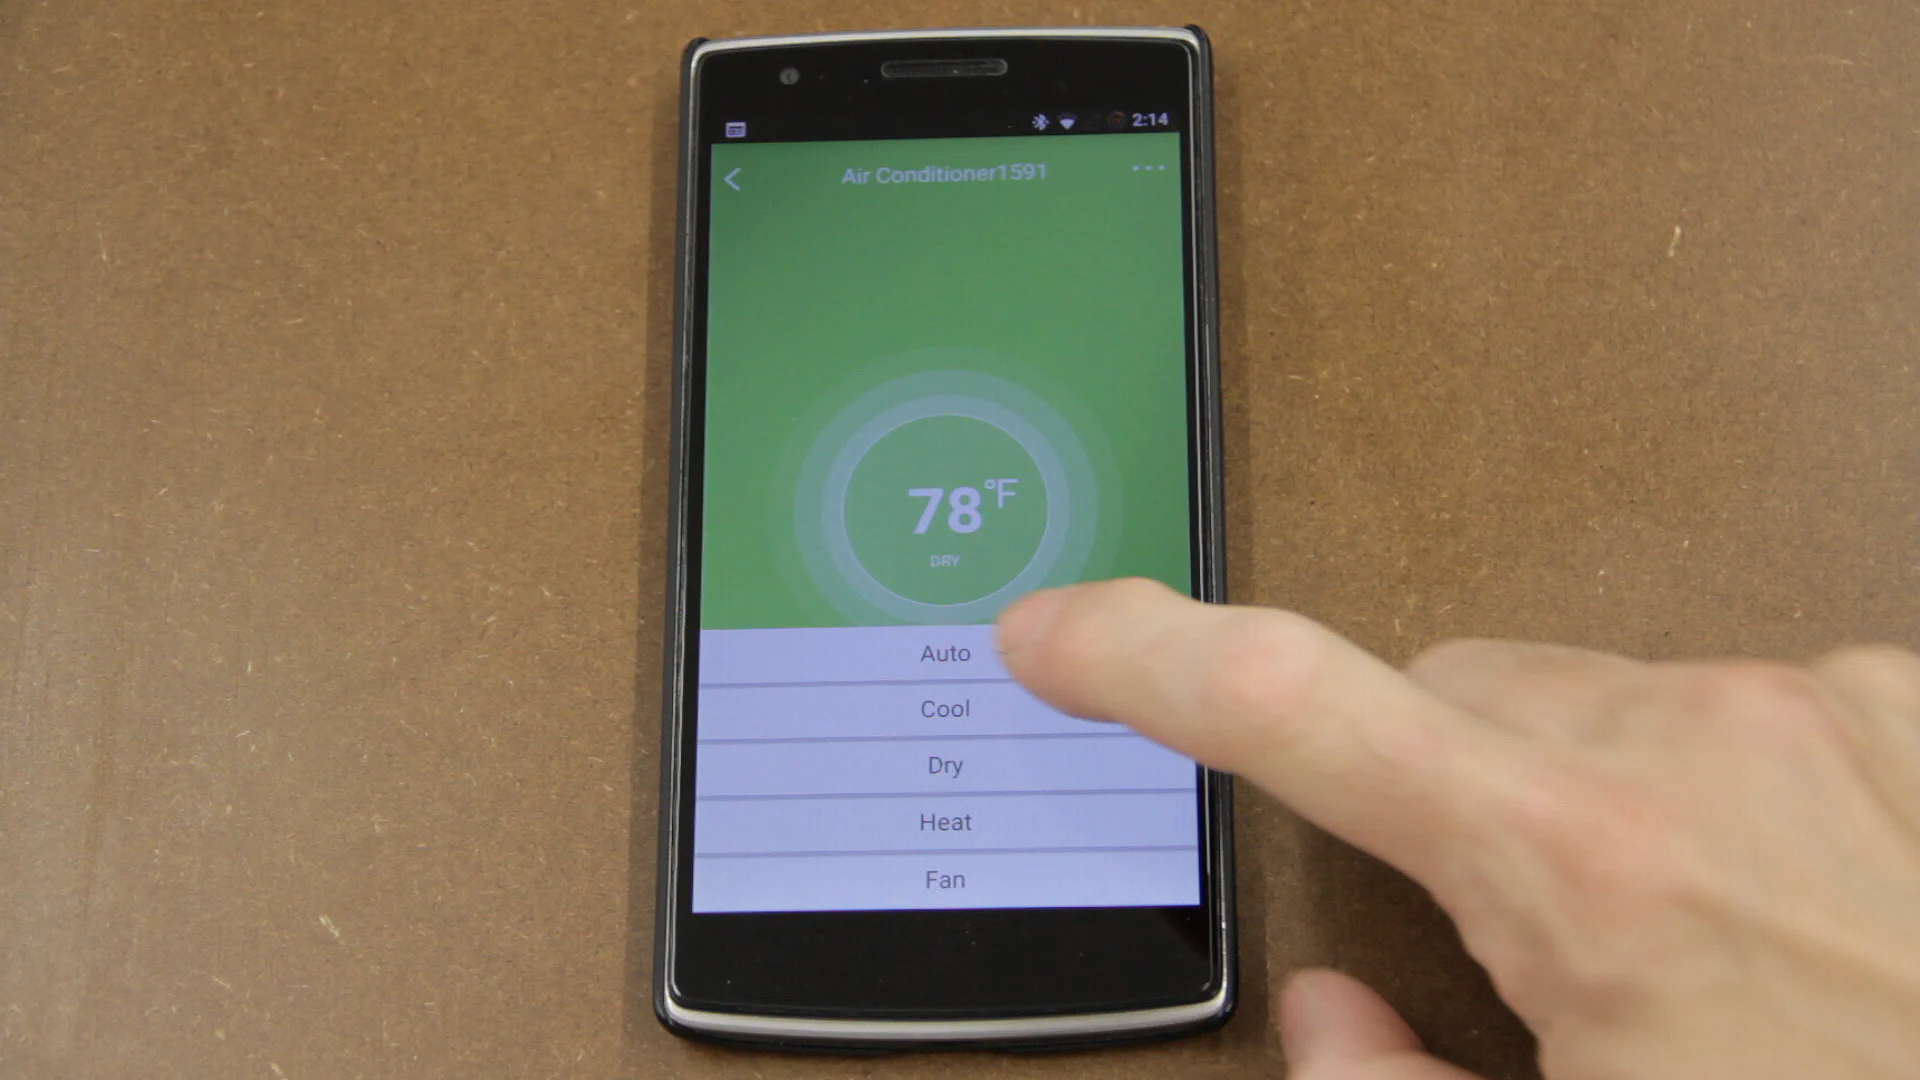
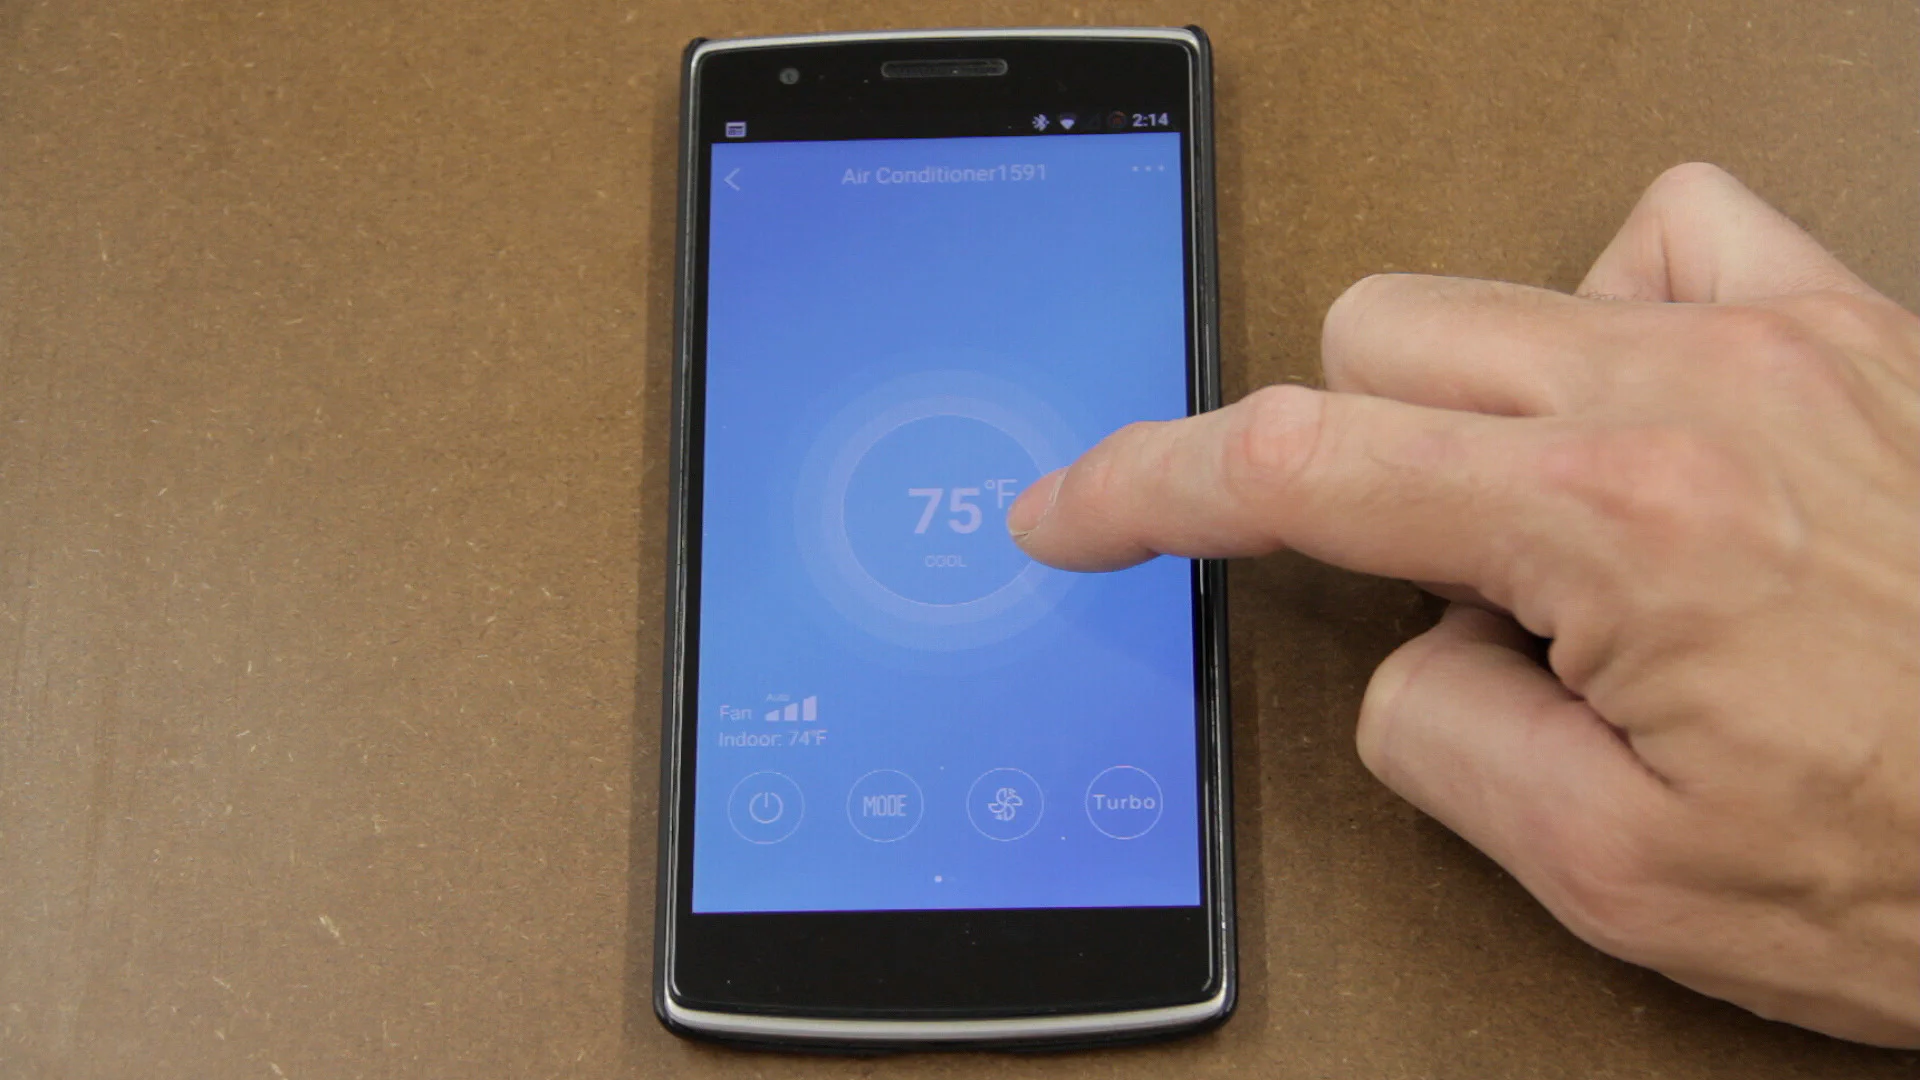
To use the app, you simply click to power the mini-split on and then select the desired mode (Auto, Cool, Dry, Heat, Fan). You can then drag up or down to change the temperature and, if the mode allows for it, change the fan speed.
Sadly the app seems to have a few bugs, and I wasn’t able to get the Timer On/Off functions to work properly, though the timer functions on the included remote did seem to work just fine. Hopefully, they’ll update the app to fix these issues as that’s really our only complaint so far.
Update: We were finally able to select a time for the “Timer On/Off” values after reinstalling the MRCOOL app. To have the timers work properly, we also had to select a day or days to have it run. The timers also seem to start an hour late (possibly a daylight savings time issue), but they at least work now. It would be nice if the app let you select a mode to use when the timers are run so that we could have the timer dehumidify the shop a little every day in the summer, but it appears to use the last mode selected in the app.
Update: The new 3rd generation units are now compatible with Alexa and Google Assistant so they can be controlled a bit easier.
One slight downside for some to the “DIY” aspect of this heat pump is that any excess line set must be gently coiled up by the condenser, but the length for us turned out to be almost exactly what we needed so it wasn’t a concern. It’s really just a cosmetic issue though. Most HVAC professionals strongly suggest that the excess lineset be laid flat on the ground and not left in a vertical coil to avoid issues with oil building up. I have not seen a recommendation from MRCOOL however.
I’ll be sure to update the article in a couple of months once we’ve had time to test the unit’s heating more, but so far we’ve been really happy with its cooling performance and it seems to use less power than the portable AC unit that we had been using!
Update: The unit had no problem heating our shop over the winter with temperatures down to the low 40s and occasional mid-to-upper 30s.
Parts & Tools
Be sure to check out Our Workshop page for more details!
Parts
- MRCOOL DIY 12K BTU Ductless Mini-Split Heat Pump
- MRCOOL DIY 18K BTU Ductless Mini-Split Heat Pump
- MRCOOL DIY 24K BTU Ductless Mini-Split Heat Pump
- MRCOOL DIY 36K BTU Ductless Mini-Split Heat Pump
- Line Set Cover
- Optional Condenser Mounting Brackets
- Optional Condenser Pad
- 2" Cabinet Screws
- 2-1/4" Concrete Screws
Tools
- Drill
- 3.5" Hole Saw