After a few years of mostly collecting dust, I decided that it was finally time to take my neglected Giant Sedona bicycle off the wall and give it an upgrade. And what better way to do that than by giving it a shiny new motor and a large battery pack!
Mid-Drive or Hub Motor
I had some difficulty initially trying to decide on the type of conversion kit to buy. The most popular types seemed to use either a mid-drive motor or a hub motor.
Mid-drive conversion kits, such as the popular ones by Bafang, replace the crankset and usually have a single chainring. They’re able to take advantage of the bike’s existing gears and can offer excellent performance and torque. The downside to this is that they can apparently wear out the drivetrain a bit faster.
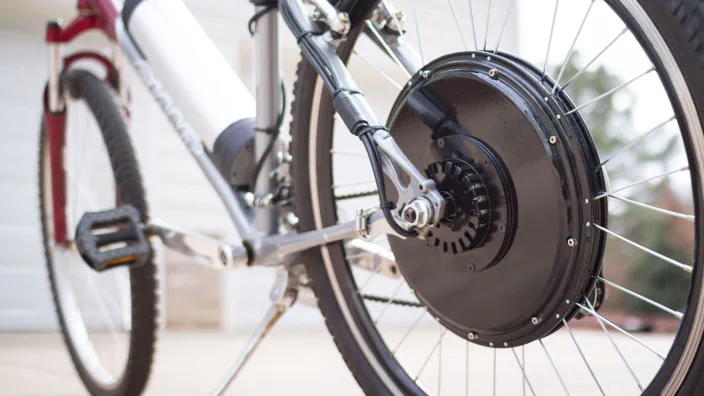
Hub motor conversion kits come housed inside the hub of a wheel. Depending on the model, they can be installed in the front or rear, though rear installation is usually required for more powerful motors. Hub motors also come in both direct-drive and geared varieties with direct-drive versions being quieter, a bit faster, and more durable while also weighing a bit more. The downside to hub motors is that they require a little more effort when repairing a flat tire.
So after going back and forth between a mid-drive and hub motor several times, I finally decided to buy a 1000W direct-drive hub motor by Magic Pie. Most of my riding will be on pavement and the motor is powerful enough to help out on even the biggest hills.
Selecting a Battery Pack
The next step was to select a battery pack. Battery packs are not cheap, but I wanted to get one with quality cells — Panasonic and Samsung seemed to be popular choices.
Since this motor is able to accept a range of voltages, I had several battery packs to choose from. I knew that I wanted the pack to mount inside the frame and stand out as little as possible which narrowed it down to either a shark or bottle style pack.
I also considered the battery pack’s amp hour (ah) rating which directly relates to the bike’s range while using the motor. An 11.5ah pack would have been sufficient for me, but a 13.5ah pack wasn’t much more, and I thought it might appeal to others wanting more range if I were to sell the bike in the future.
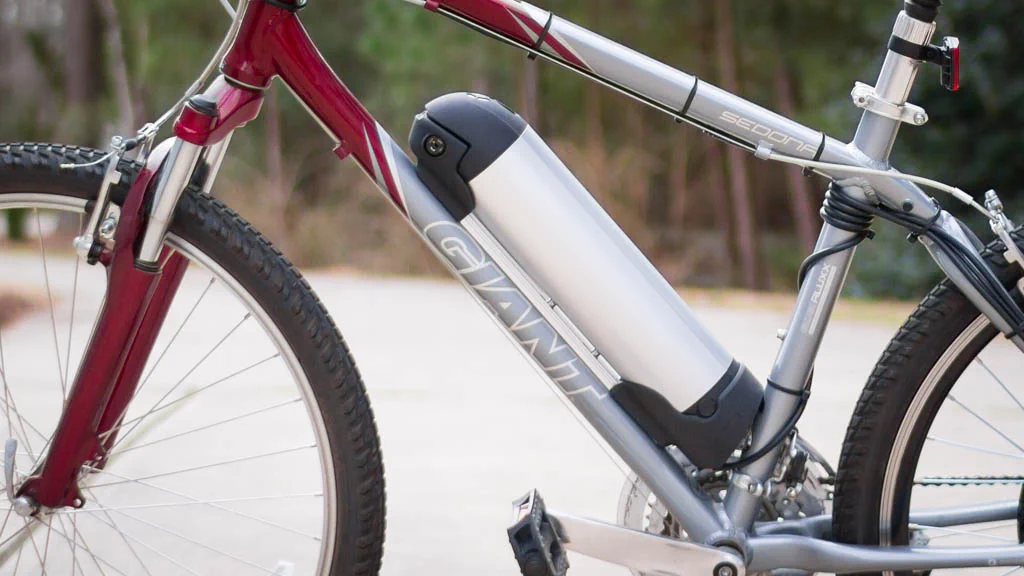
In the end, I decided to get a 52V 13.5ah Panasonic NCRB pack. It’s not extremely noticeable (okay, it looks like I drink a lot of water), but it has plenty of power. It’s also simple to remove for charging, which was another important consideration.
Installing the Hub Motor
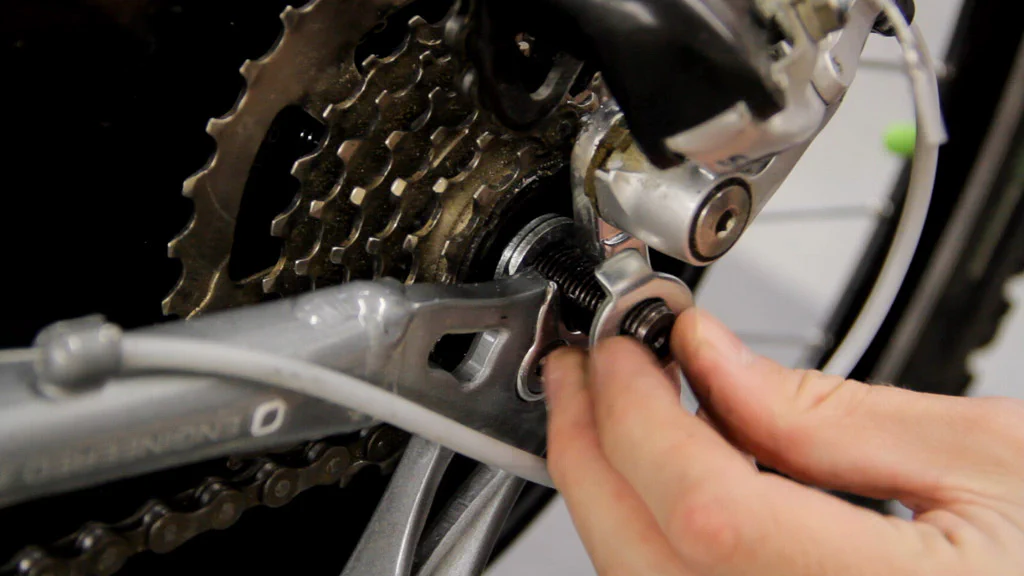
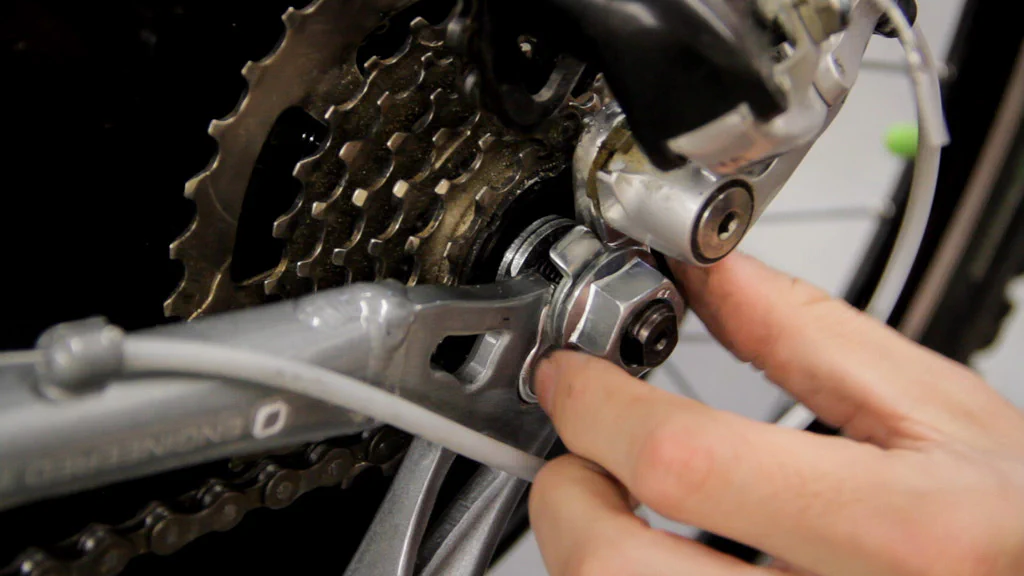
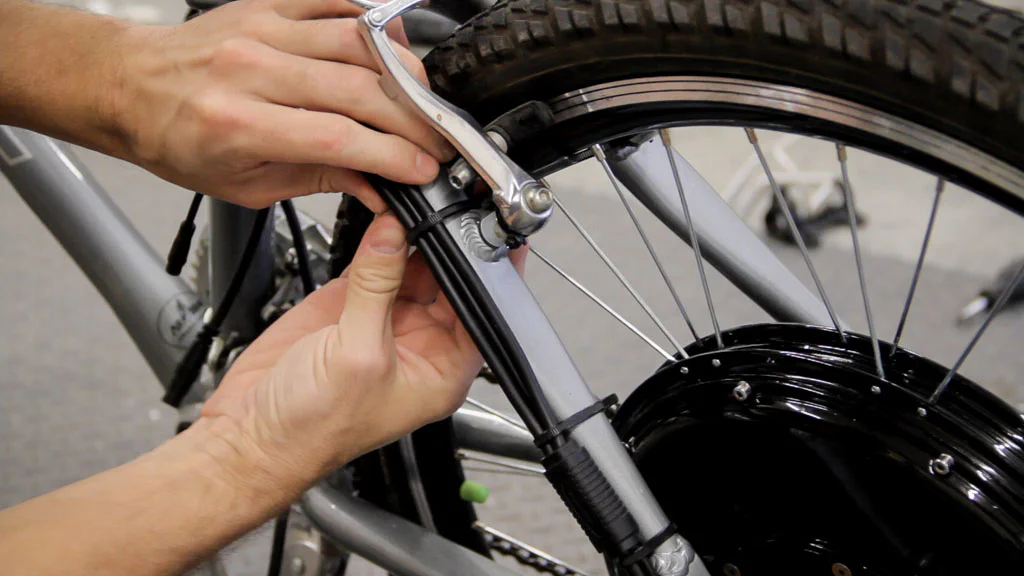
Along with the motor kit and battery, I ordered a small set of bike tools and a freewheel remover tool for my Shamino 7-speed freewheel. Once everything arrived, it was time to begin the installation. The first step was to remove the rear wheel by loosening the rear brake cable and the wheel’s quick release lever.
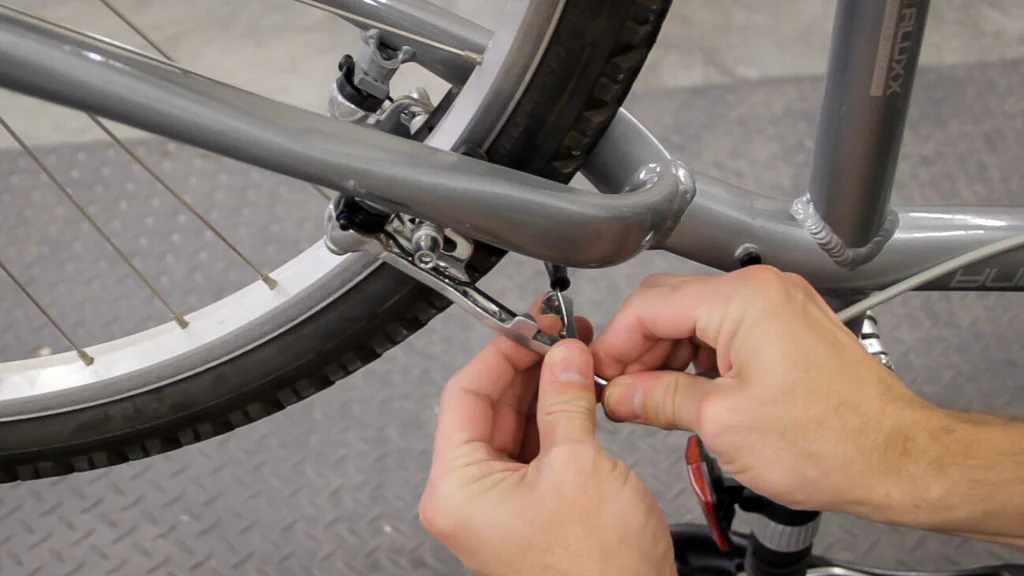

Then it was just a matter of holding down the rear derailleur while lifting up on the wheel to remove it.

With the wheel off, I used the freewheel remover tool and a 1" socket to remove the freewheel. The Magic Pie kit recommended a 7-speed freewheel, so I’ll be reusing this one on the new wheel.

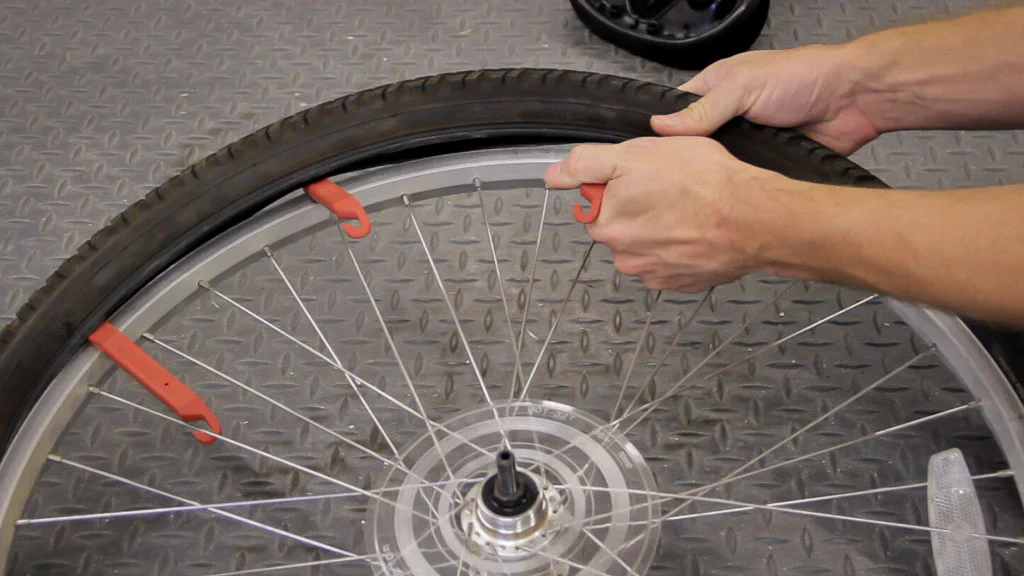
I’ll also be reusing the tire and tube, so I just used the tire levers from the toolkit to pop the tire off.
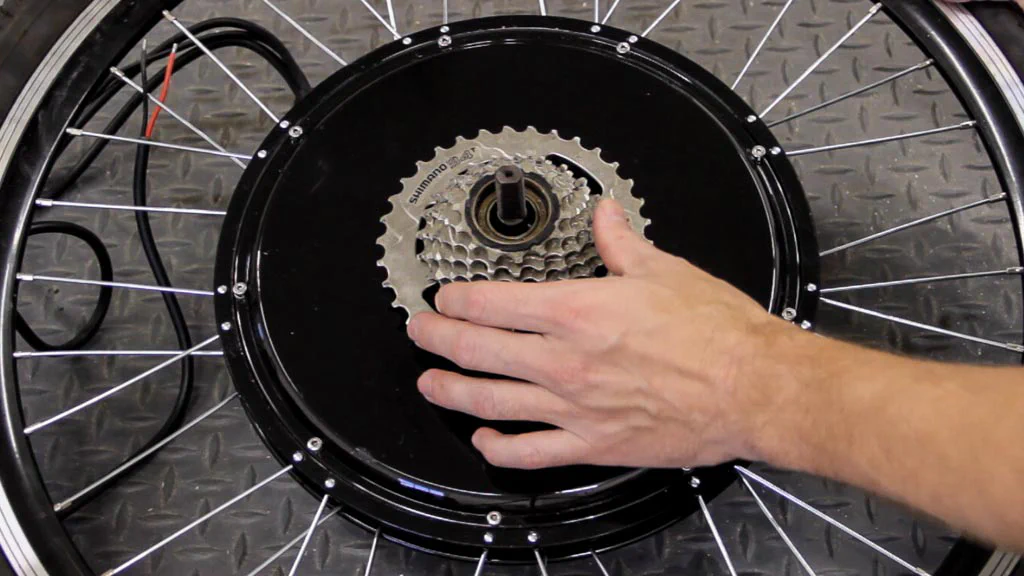
After transferring the tube and tire to the new wheel, I installed the freewheel onto the Magic Pie hub, being sure to use the included washer as a spacer to prevent the freewheel from binding. (Note that to get the freewheel back off the motor, the hole through the freewheel remover tool must be widened with a 9/16" drill bit as the axle is fairly thick.)
I then added two of the included washers to the axle on the freewheel side — these prevent the freewheel from binding on the dropout. I also added a lock-washer on the other side and then placed the wheel back on the bike. Once the wheel was fully seated in the dropout, I used the remaining lock-washer and secured it with the axle nut on the outside of the dropout.
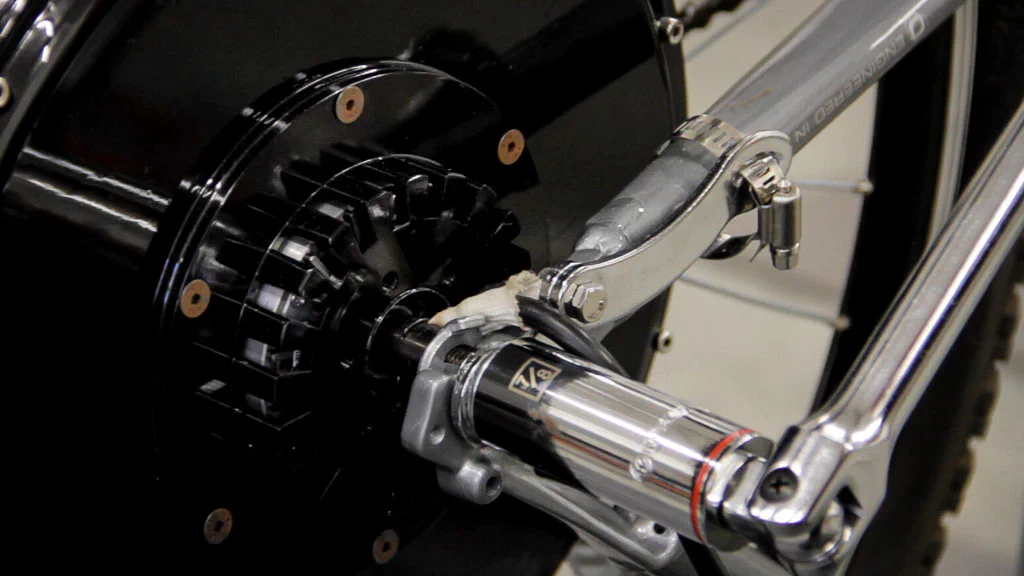
On the other side, I attached a universal torque arm for a little added safety.

The final step was to add the remaining axle nut and tighten both sides down very securely with a 7/8" socket wrench.
Running Wires
There are several wires that need to be run along the frame of the bike, so I just took my time and secured them with zip-ties.
To avoid cutting the wire to the battery, I simply looped it around the seat tube. I then connected it directly to the battery mount which installed easily in the holes for a water bottle holder.

Installing the Display and Controls
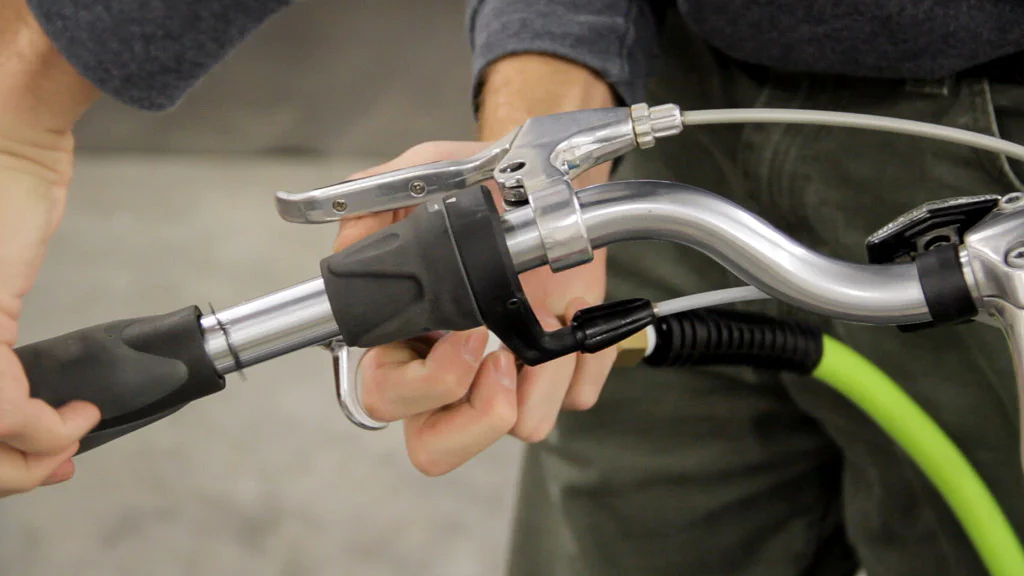
With the wiring mostly complete, I removed the handlebar grips using my air compressor to blow air inside the grip. Then I loosened and removed the shifters and existing brakes.
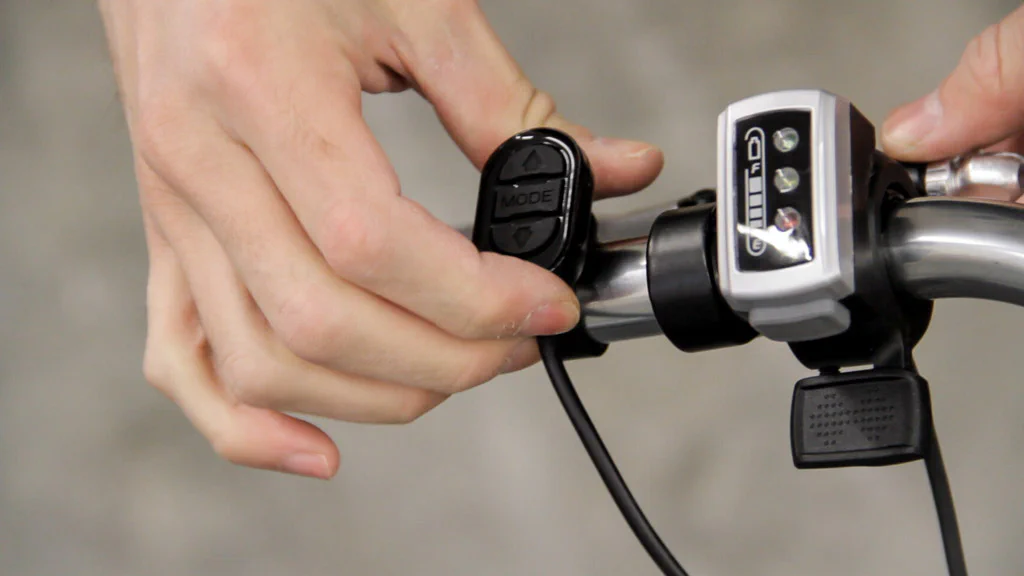
Next, I mounted the display to the center of the handlebars.

On the left handlebar, I installed the included throttle and e-brake (cuts power to motor when braking), as well as the controls for the display. Since space was a little tight, I decided to not re-install the 3-speed shifter for the crankset.
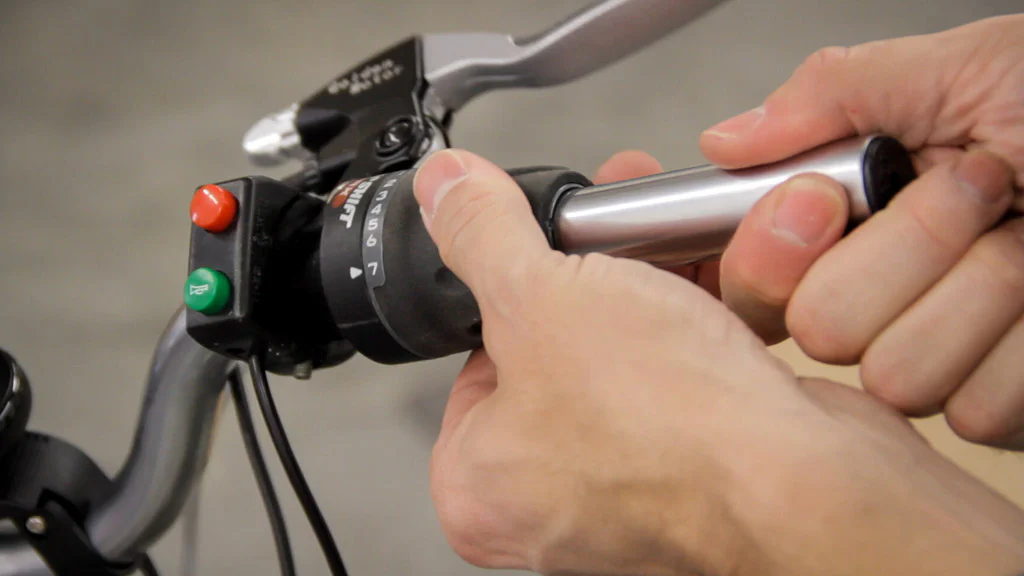
On the right handlebar, I installed the cruise control switch and the remaining e-brake as well as the 7-speed shifter that came with my bike.
After reinstalling both grips, reconnecting all the brake cables, and performing a little more cable management, it was finally complete!

Test Ride
A quick test ride proved that this motor and battery combination are pretty amazing! I was able to easily reach 30 MPH on throttle alone, and the acceleration is enough to cause you to pop a wheelie if you’re leaning back. I can definitely say that it is more than enough power for me at 170 lbs.
Unfortunately, it needs to be reined in a bit to comply with local laws (and the wife). These laws tend to vary quite a lot by location, so be sure to do some research before shelling out cash on a souped up e-bike.
Programming the Magic Pie
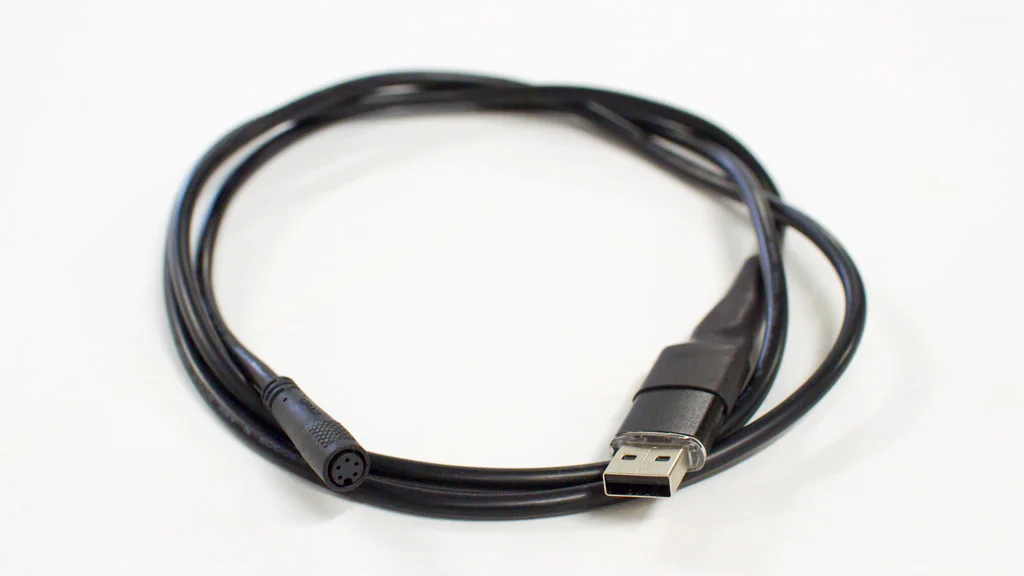
In order to adjust the motor’s settings, I purchased a USB programming cable. This uses the plug from the motor that the display unit normally connects to and has a USB connection on the other end that connects to a Windows PC.
There was also the choice of a Bluetooth adapter which connects to an Android app (iOS is supposedly coming soon). This app can then show the same stats as the display unit (speed, odometer, etc.) and can also be used to program the motor. Since I don’t plan to change the settings often, I opted for the less expensive USB cable.
Update 4/2016: I decided to try the Bluetooth adapter and after downloading the Android app, it appears that it crashes on many Android phones, including both of ours. So I do not recommend it at this time.
Once I installed the appropriate software on my PC, all that was left was to plug the cable into the computer and run the configuration software. There are several options that can be adjusted including max speed, acceleration, and regenerative braking. After a few tweaks to the motor’s settings, I had everything running within limits and the acceleration was nice and smooth.
Parts
- Golden Motor V5 Magic Pie Kit (with LCD Display)
- Golden Motor USB Programming Cable
- 52V Panasonic 13.5ah Bottle Battery - The same battery is no longer available, but a similar 48V 10.5ah battery one can be found here or check out their line of “Shark” style battery packs.
- Universal Torque Arm
- 7-Speed Shimano Freewheel
- Other Similar Kits on Amazon
Additional Accessories
Tools
- Bike Tool Kit
- Freewheel Remover Tool
- 1" and 7/8" Sockets
- Zipties
Conclusions
I wasn’t sure how hard it would be to do the conversion, especially since I had never done any real work on a bicycle before, but it turned out to be quite easy. Not as easy as buying a new electric bike, but that would have also cost a good bit more for something similar.
The end result has been great and after several months of use, I’m still extremely satisfied with this electric bike kit!
If you have any questions or suggestions on additional upgrades or improvements, feel free to leave them in the comments!