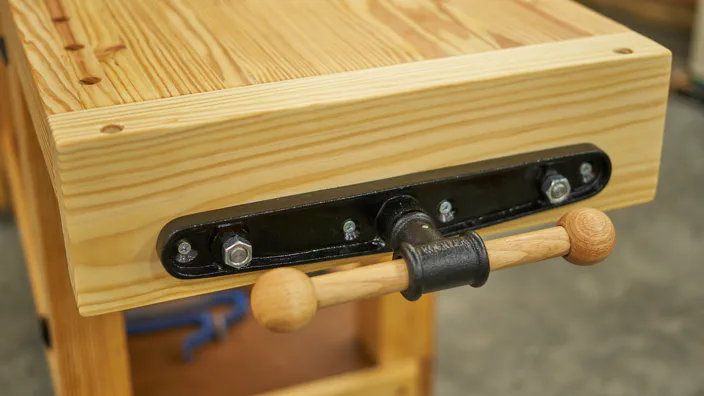
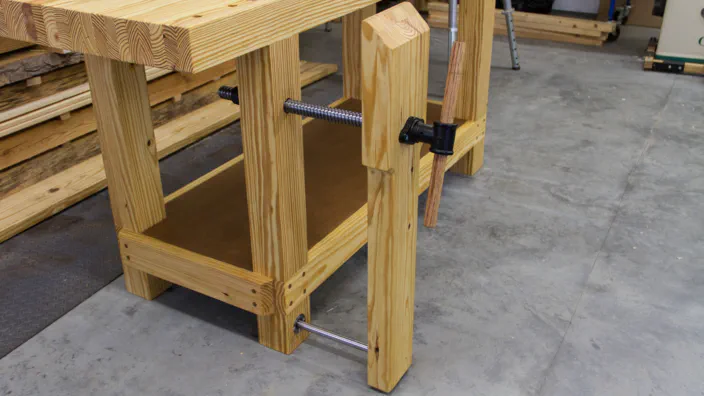
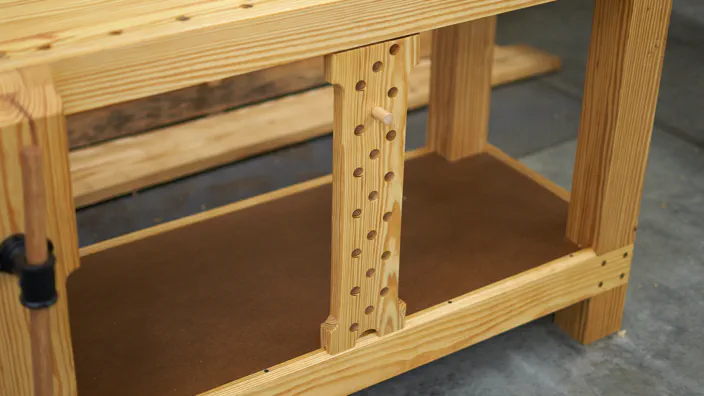
After finishing installing the leg vise, it was time to give it a helping hand by adding a sliding deadman (sometimes called a board jack). The deadman helps support longer workpieces and that comes in especially useful when hand planing the edges of long boards. It’s fairly easy to build and can be made from a 4’ long 2" x 8" board and a short 3/4" dowel.
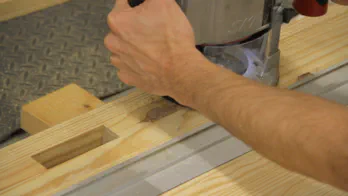
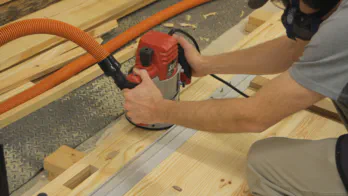
I got a bit of a head start during our workbench build where I routed a groove for the deadman in the bottom of the bench top while I had it flipped over. I made two passes to route a groove that was roughly a 1/2" deep and 1/4" wide that will hold the top of the sliding deadman in place.
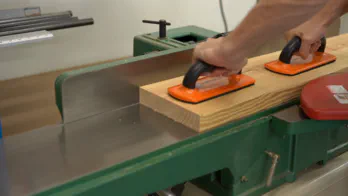
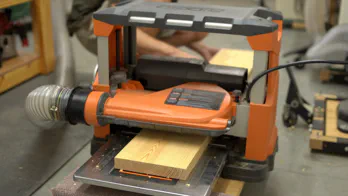
Then I started on the deadman and its guide rail by surfacing a 2" x 8" board at my jointer and planer that was about 6" longer and the same thickness as the visible part of the front stretcher.
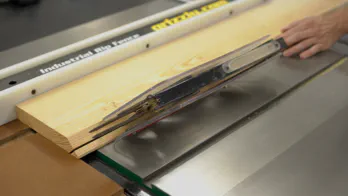
Next, I headed over to the table saw and set it to 45 degrees to start work on the rail that the deadman will rest on. To do this I made two beveled cuts to form the ridge and then cut a small piece off of that was slightly wider than the heads of the screws that I’ll later use to attach it.
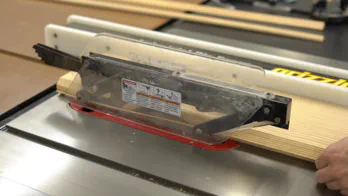
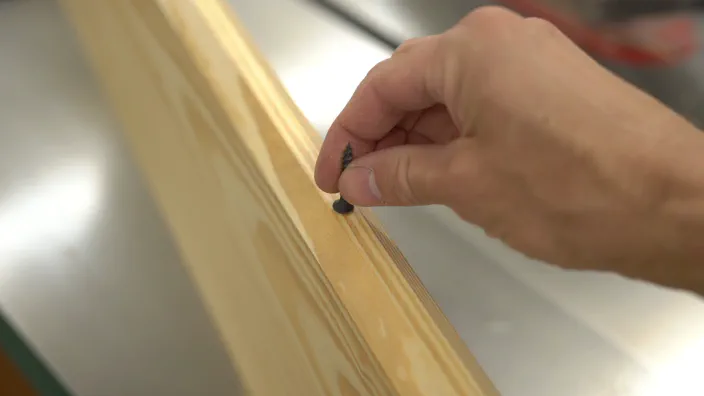
To finish the guide, I made one final rip cut before heading to the miter saw to cut it to final length.
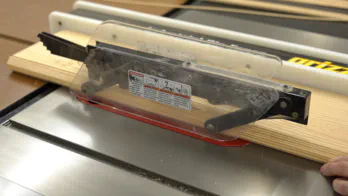
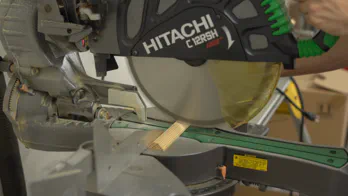
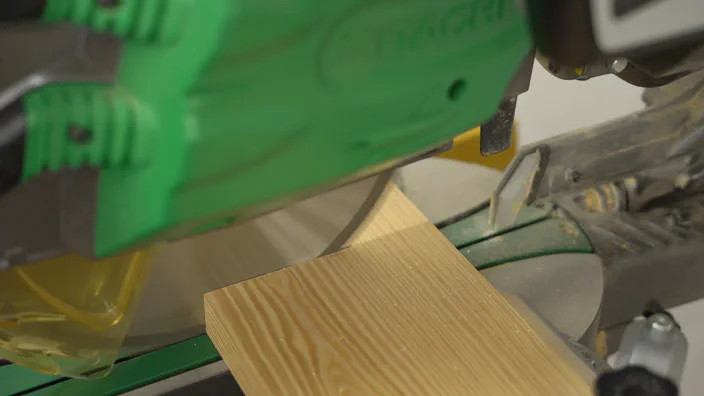
Next, I squared up one end of the board and then cut it to rough length leaving about 2" extra for test cuts.
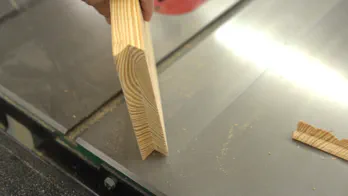
To cut the V-shaped groove in one end, I set the table saw blade to 45 degrees and raised it just enough to reach half the board’s thickness. I then added a piece of tape to make repeating the cuts easier and cut the notch out along the bottom edge.
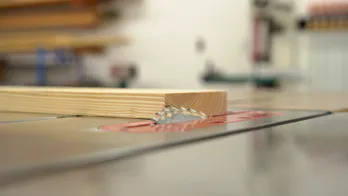
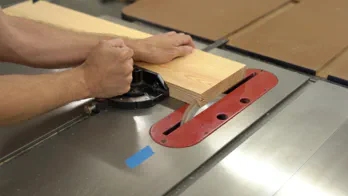
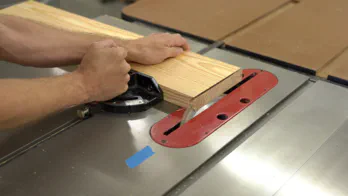
The cut ended up needing to be a little deeper, so I squared the edge back up at the miter saw and then repeated the cut at the table saw after raising the blade slightly.
Once I was happy with the cut, I took it over to the bench to mark the height of the front of the deadman as well as the tongue that rides in the groove in the top. I then started sketching the final design using a few Forstner bits as guides for the desired curves.
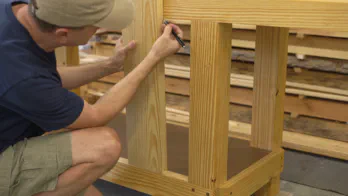
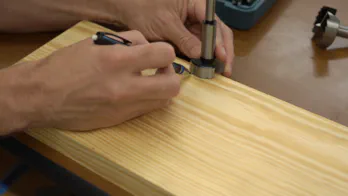
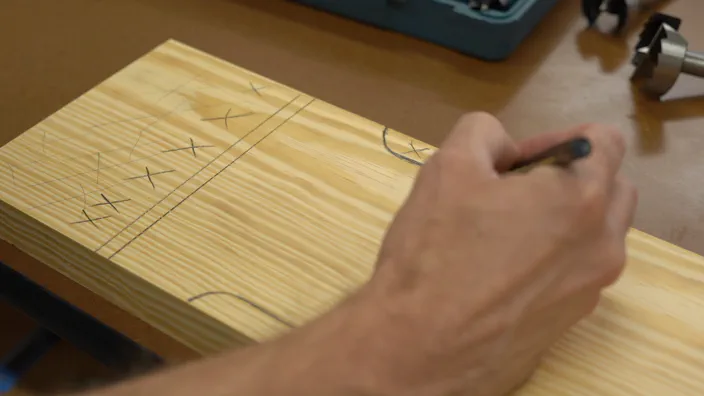
After that was done, I took it over to the table saw and cut it to length leaving just a little extra to use to dial in the depth for the tongue.
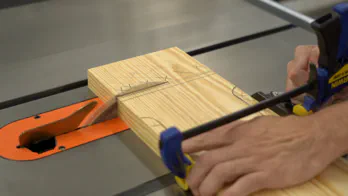
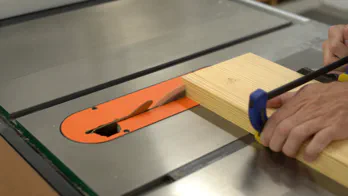
To cut out the remaining waste for the tongue I just made several overlapping cuts using a clamp to secure the board to the miter gauge.
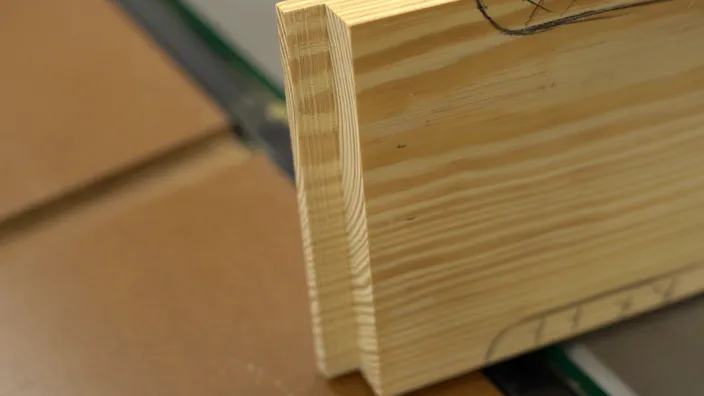
After a little sanding, I took it over to the bench for a test fit. Since I wanted to avoid routing an overly deep groove in the bench top, the deadman and rail had to be slid into place at the same time. Unfortunately, this prevents it from being removed, but if I decide in the future that the deadman gets in the way, I can always remove a small section of the guide rail next to the leg vise and simply slide it out there when it isn’t needed.
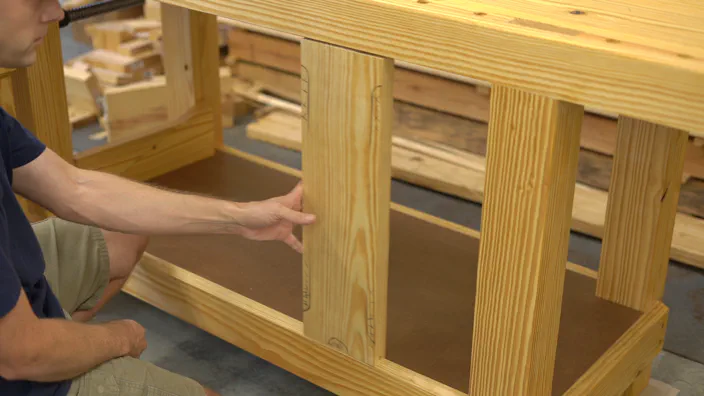
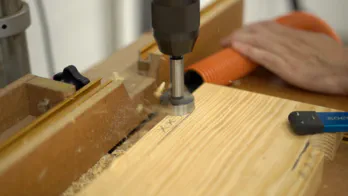
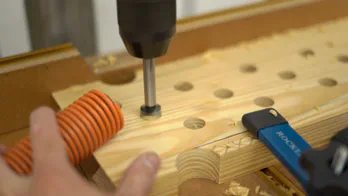
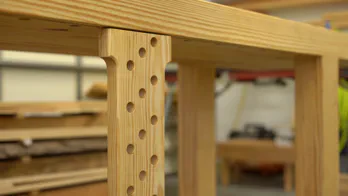
Next, it was time to drill a bunch of holes! I started by drilling out holes for the curves in the sides and then finished up by drilling out all three rows of holes in the center.
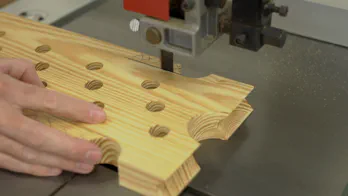
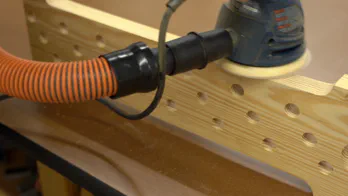
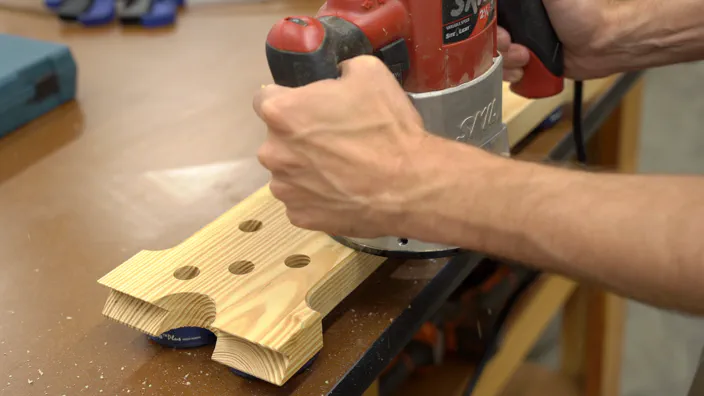
I then took it over to the bandsaw and cut out the waste on the sides and then cleaned up the bandsaw marks with my sander before routing a small chamfer along the outer edges.
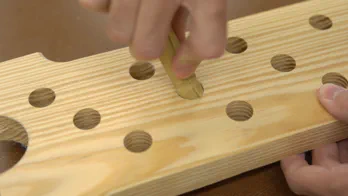
After rounding over the edges of the holes with a piece of dowel and some sandpaper, I wiped on a little boiled linseed oil.
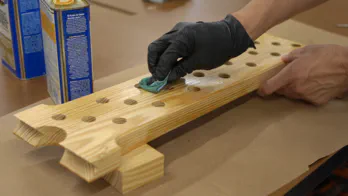
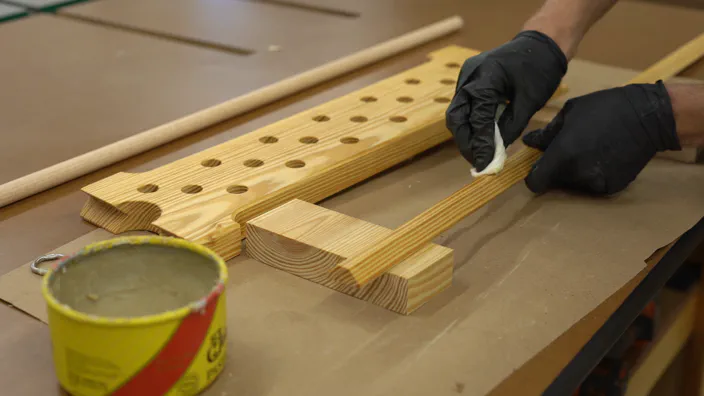
And to help it slide a little smoother I applied some paste wax to the guide rail and the top and bottom of the deadman.
Finally, since the groove that I routed in the top didn’t extend all the way to the edge, I cut out a small notch in the top-right of the deadman to allow it to slide all the way to the right side of the workbench.
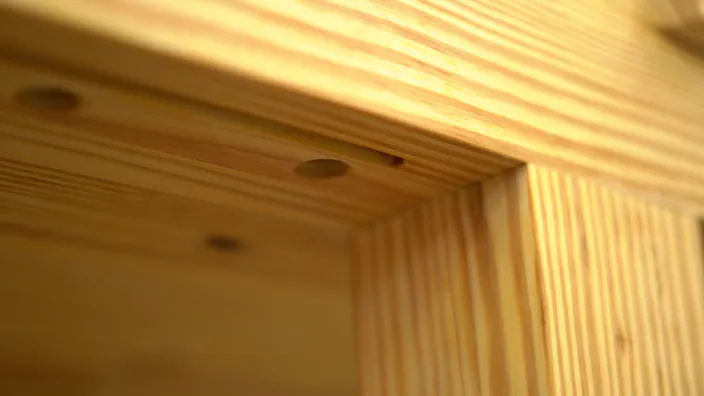
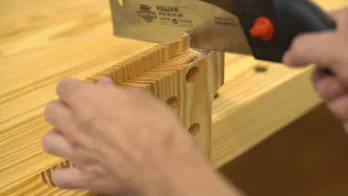
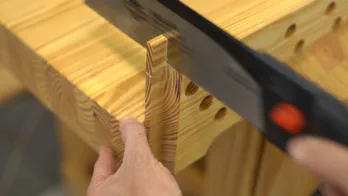
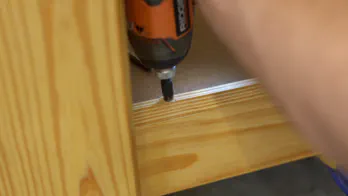
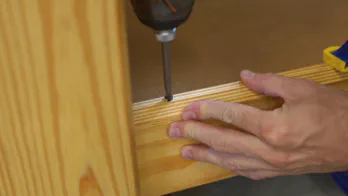
I then finished up by countersinking a few screws in the guide rail to attach it to the bench.
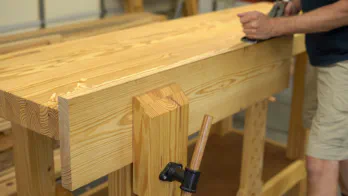
Then it was ready for a quick test, and it ended up working really well! A short 3/4" piece of dowel is all that is needed to support the end of long boards while edge planing. I definitely recommend making one if you plan on doing any hand planing at your bench. In the next video, I’ll finish this workbench series by adding an end vise and some other small upgrades!
Materials & Tools
Be sure to check out Our Workshop page for more details!
Materials
- Guide Rail & Deadman: (1) 2"x8"x4’ Southern Yellow Pine Board
- 6" - 3/4" Oak Dowel
Tools
- Hitachi 12" Compound Sliding Miter Saw (C12RSH) - Latest version now sold by Metabo: C12RSH2S
- Dewalt Heavy Duty Miter Saw Stand (DWX723)
- Grizzly 8" Jointer (G0586) on Mobile Base
- Ridgid 13" 3-Blade Thickness Planer (R4330) ( Latest version: R4331)
- Grizzly 17" Bandsaw (G0513P)
- Grizzly G0691 Table Saw
- Craftsman 17" Drill Press (22901) on Mobile Base
- Drill Press Table
- Bosch 5" Random Orbit Sander (ROS20VSC)
- Rockler 16-Piece Forstner Drill Bit Set

