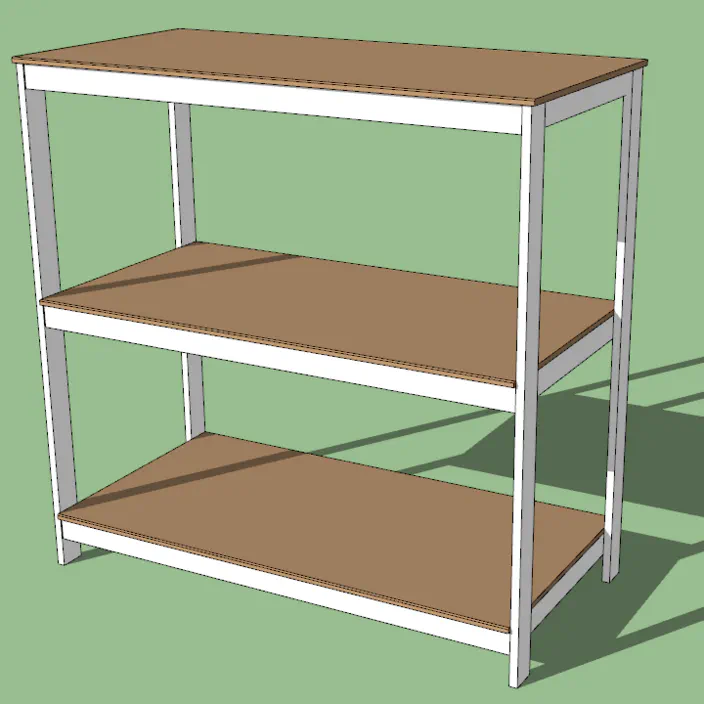
For several years now we’ve tried to start most of our own vegetables (and lately flowers) for our garden from seed. In the past we’ve used a plastic folding table and while it worked, it also took up a lot of space and wasn’t the most attractive thing to look at. So I thought that I would build a rack large enough to hold all of our seed trays, heating mats, and grow lights.
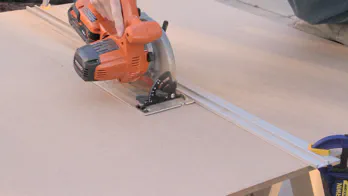
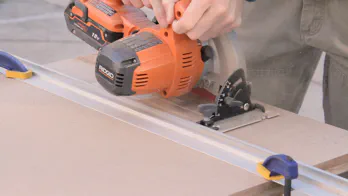
I started by cutting the shelves and top from a 1/2" sheet of MDF. (Note that most local Home Depots will cut the sheet at least once to make it easier to manage.) In order to fit our four seed trays on a single shelf along with our 4’ lights, I made the shelves 24" deep by 47" wide. I left the top 49" wide (MDF sheets are actually 49" x 97") so that it would extend a little over the tops of the legs.
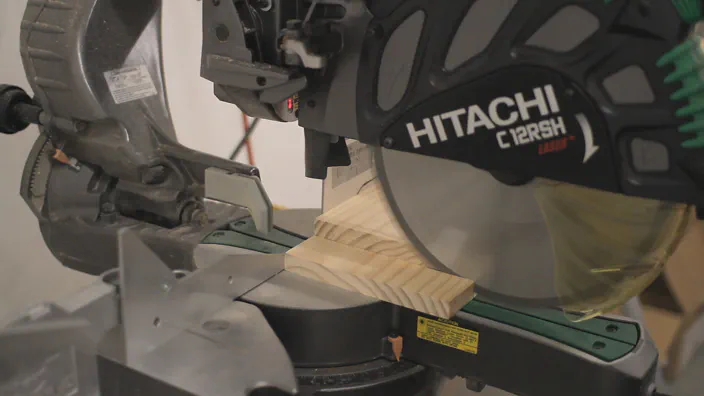
For the shelf frames and the legs, I decided to use pre-surfaced pine boards from our local home improvement store to avoid having to use the jointer or planer. To ensure that the matching parts were identical lengths, I used a stop block for the frame pieces and for the legs I cut them to rough size first and then made a final cut through both pieces at the same time.
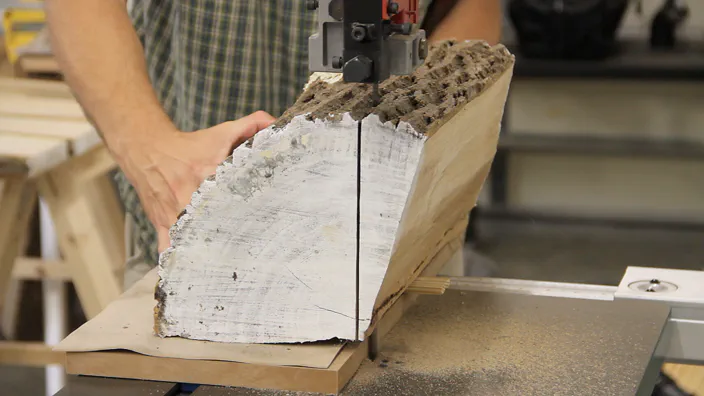
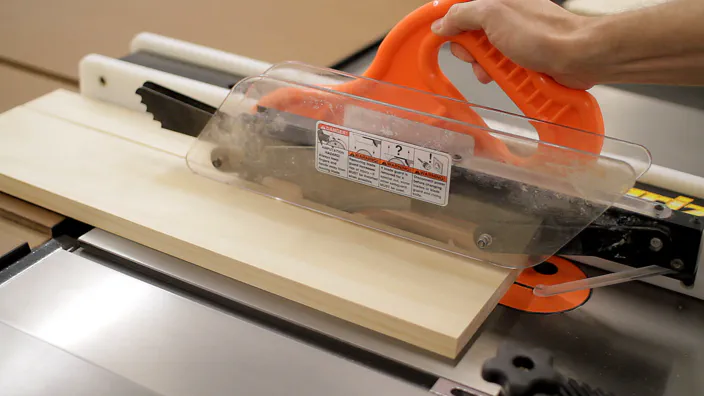
To save a little money I did buy 1x8 boards and rip them to size at the table saw, but if you don’t have a table saw you could simply buy 1x3 boards.
Once all the parts were cut, it was time to assemble the frames.
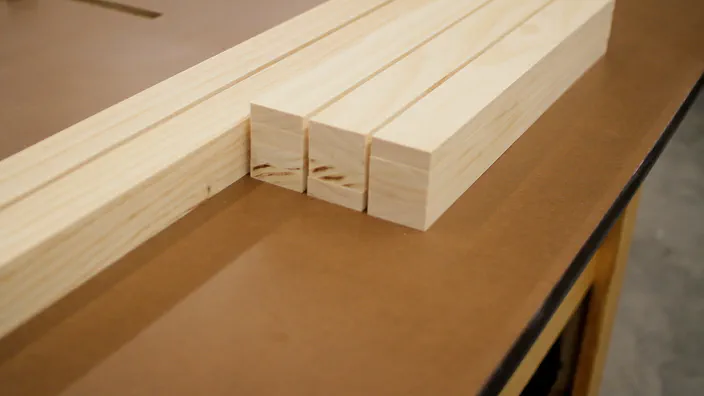
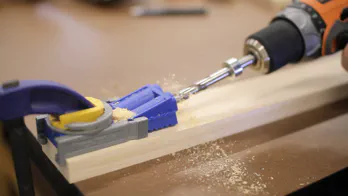
I kept the frame assembly simple and used pocket-hole screws to attach the short rails to the long rails while making sure everything remained as square as possible.
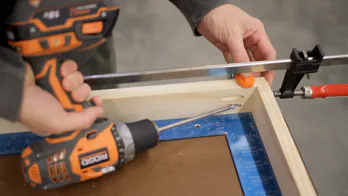
After finishing the frames I clamped down each piece of MDF to its frame and sanded the edges of the MDF flush.
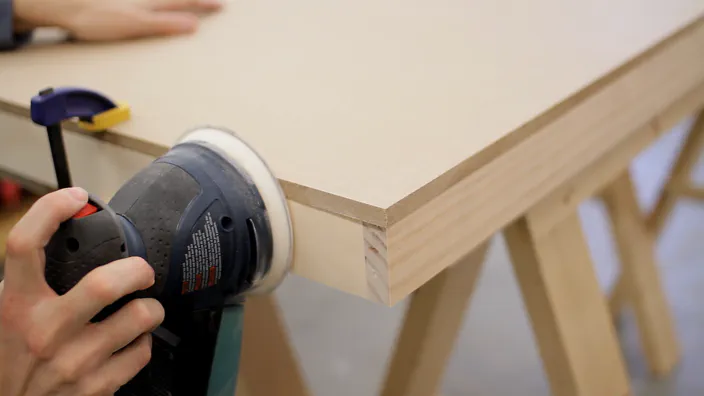
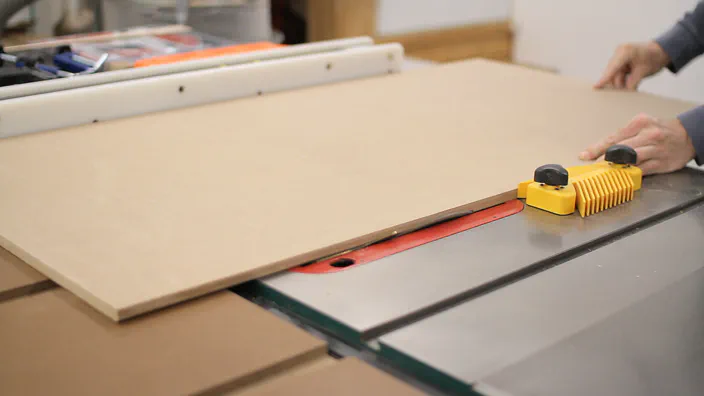
To protect the front edge of the MDF shelves and top, I decided to cut a small 45° bevel along the front edge at the table saw.
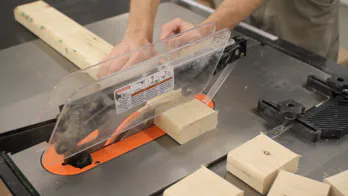
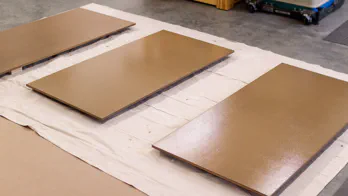
It was then almost time to paint, but I first cut several small blocks from an old 2x4 to raise the MDF pieces off the floor.
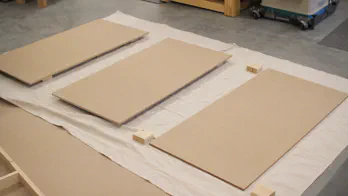
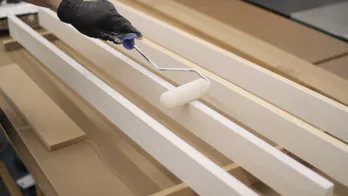
To prevent any bleed-through of grain and knots on the pine parts, I decided to use a shellac-based primer for everything. It’s pretty runny, but applying two coats with a 4" foam roller was fast because of its quick drying time.
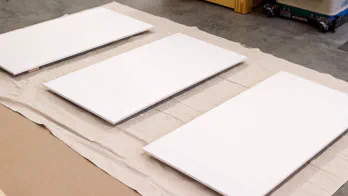
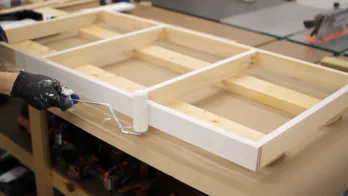
After a quick sanding and wiping, I applied two coats of latex paint to both sides of the shelves and top as well as the frames and legs.
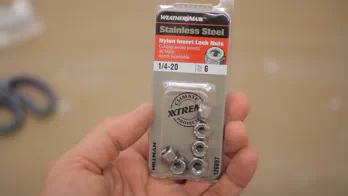
To make it easier to assemble and disassemble the rack if need be, I decided to use 1/4" bolts, washers, and nylon lock nuts. Note that round-headed bolts would work fine and would avoid needing a counter-sink bit – my store just did not have enough in stock. I also purchased some small right-angle brackets to attach the MDF shelves to the frames.
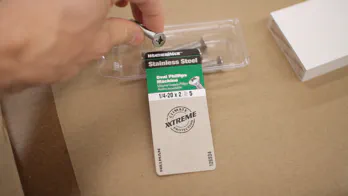
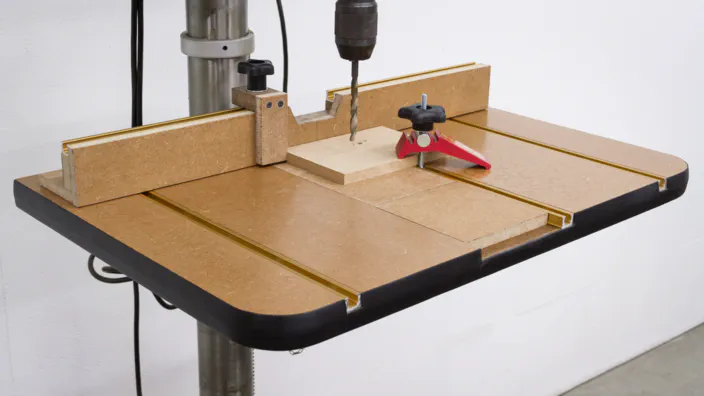
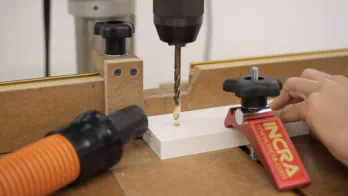
I marked off where the holes on the legs should go and then drilled the holes at the drill press table. I then drilled counter-sunk holes in the legs.
Note: To help prevent racking, it is best to use two bolts spaced horizontally (or diagonally) at the top and bottom of the legs instead of just one.
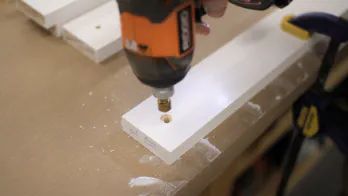
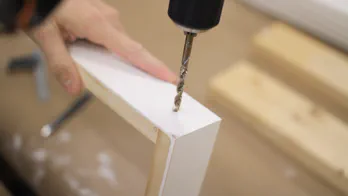
After marking off where the holes in the frame needed to go, I drilled those by hand.
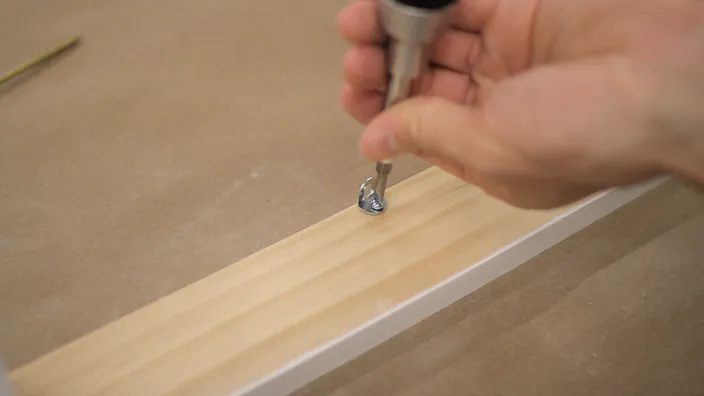
And before moving everything into the house for assembly, I attached four right-angle brackets to the tops of all the frames.
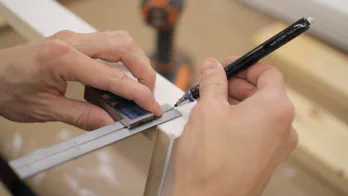
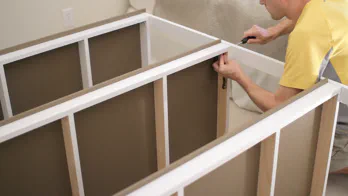
To attach the tops I laid them face down and then aligned the frame so that the rear and side edges were flush. Then I made a small mark for the screw locations using a Philips head screwdriver and moved the frames back out of the way.
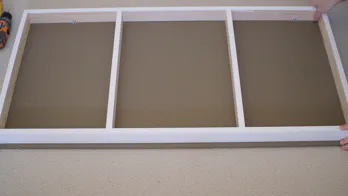
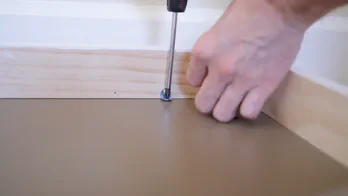
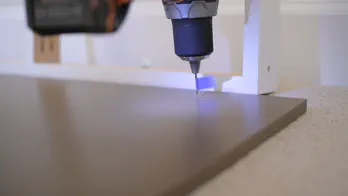
I carefully pre-drilled small holes for the screws using a piece of tape on the drill bit as a depth guide. Then it was just a matter of moving the frame back into position and using some small screws to hold it in place.
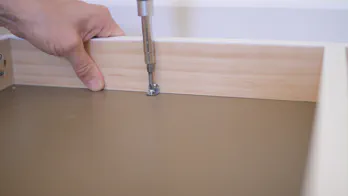
To attach the legs to the frames, I started at the top and just used a screwdriver and socket wrench to secure it to the leg with a bolt, washer, and lock nut.
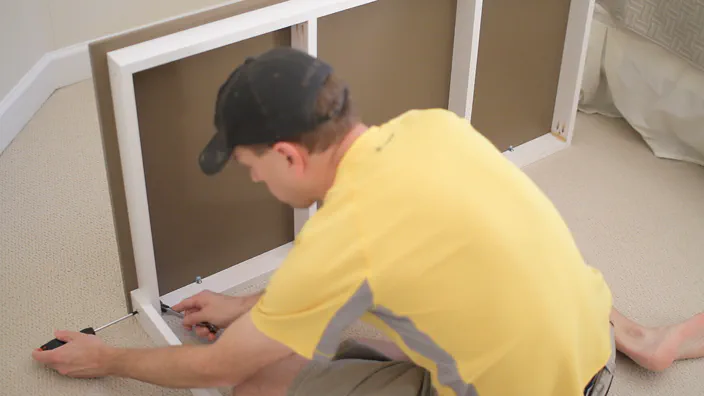
I then just worked my way down to the middle and bottom shelves and then attached the front left leg before finishing up with the right legs.
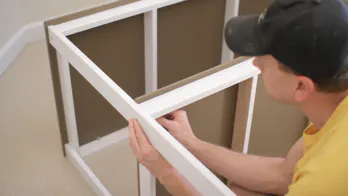
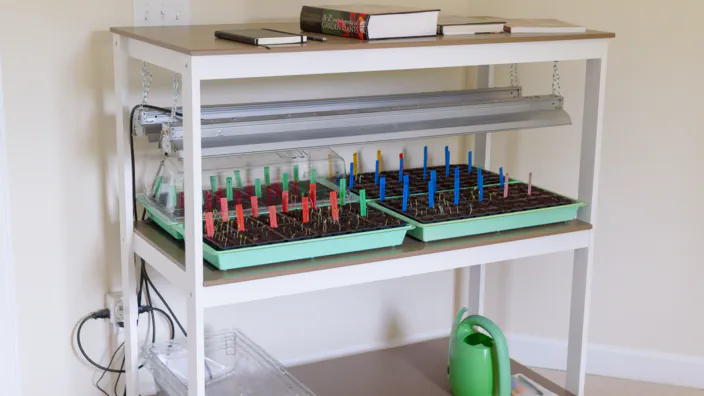
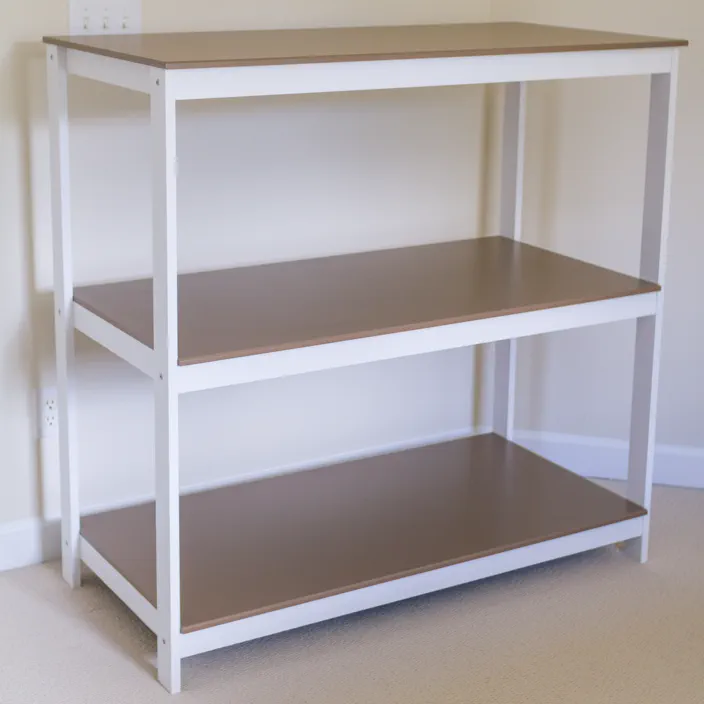
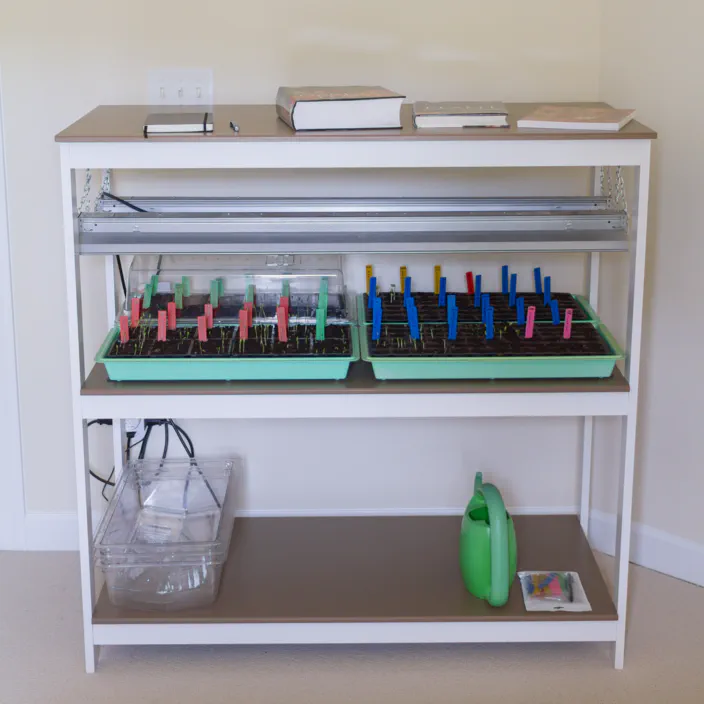
And with that, it was finally finished and ready for some lights and some seeds.
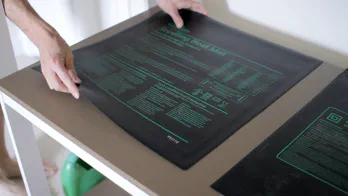
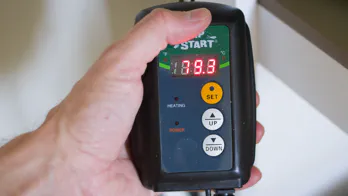
To help with seed germination we use a pair of 20" x 20" heating mats that are controlled by a digital thermostat which makes it great for starting seeds early in a cooler room.
For lights, we’ve been using a pair of T8 fluorescent shop lights with a 7-Day timer, but we’ll probably switch to “brighter T5s” next year. We also like using the heavier duty seed trays as they don’t bend when weighted down with dirt and plants.
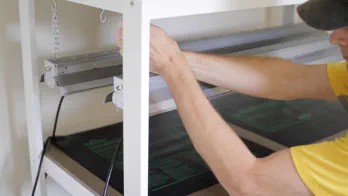
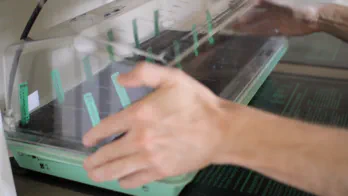
After 5 or 6 days on the heating mats, most of the seeds other than our peppers had germinated and it was time to remove the covers.
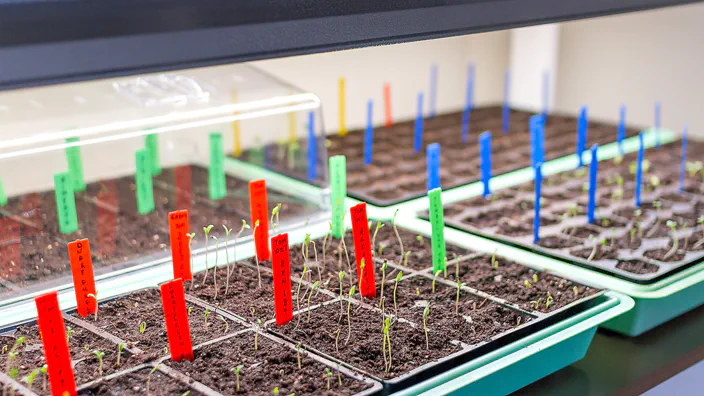
Hopefully they’ll continue to do well and in a couple of months we’ll be able to do a quick garden tour. If you’re into gardening leave a comment below and let us know what types of things you’re growing this year!
Materials and Hardware
(1) - 1/2" x 4’ x 8’ MDF
(3) - 1" x 8" x 8’ Pine Boards
(48) - 1-1/4" Pocket Hole Screws
(12) - 1/4-20 x 2" Oval Phillips Machine Bolts
(12) - #12 Flat Washers
(12) - 1/4-20 Nylon Insert Lock Nuts
(12) - Right-Angle Bracket
Seed Growing Materials
- (2) - 20" x 20" Seedling Heat Mat
- Digital Thermostat
- 7-Day Programmable Digital Timer
- (2) - 4’ T8 Fluorescent Lights or 4 Light 4’ T5 Grow Light
- 5 Pack - Heavy Duty Seed Trays
- 4 Pack - Heavy Duty Vented Humidity Dome 22" x 11"
- 6-Cell Seedling Trays
- Plastic Plant Labels
Tools Used
Be sure to check out Our Workshop page for more details.
Plans
Plans for this project are available as a PDF or SketchUp file.
