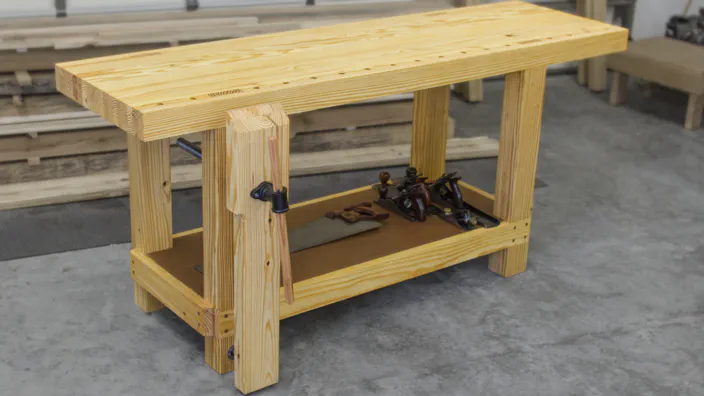
After completing the main workbench, it was time to add a couple of vises. First up is a sturdy leg vise built from a single 2x8 board, a vise screw, and a linear bearing and shaft. With a few minor tweaks, it opens and closes easily and can exert a tremendous amount of pressure to hold any work-piece securely.
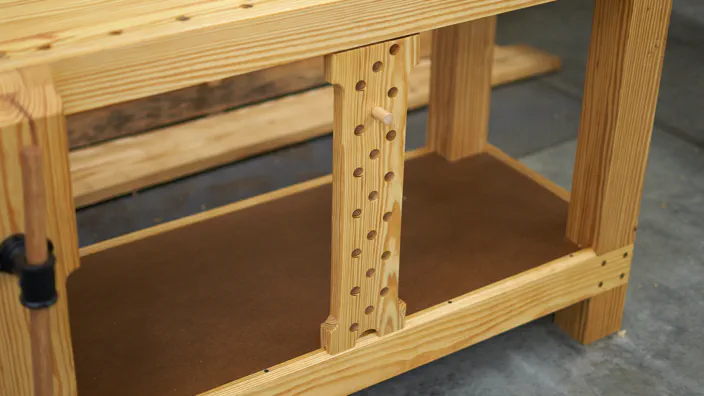
I got a bit of a head-start on the vise installation while I was working on the bench by drilling a few holes for the vise screw and linear bearing that I will be using in the leg. Since I’m (mostly) right-handed, I’ll be mounting the vise to the front-left leg, but if you’re left-handed you may want to consider mounting it to the front-right leg.
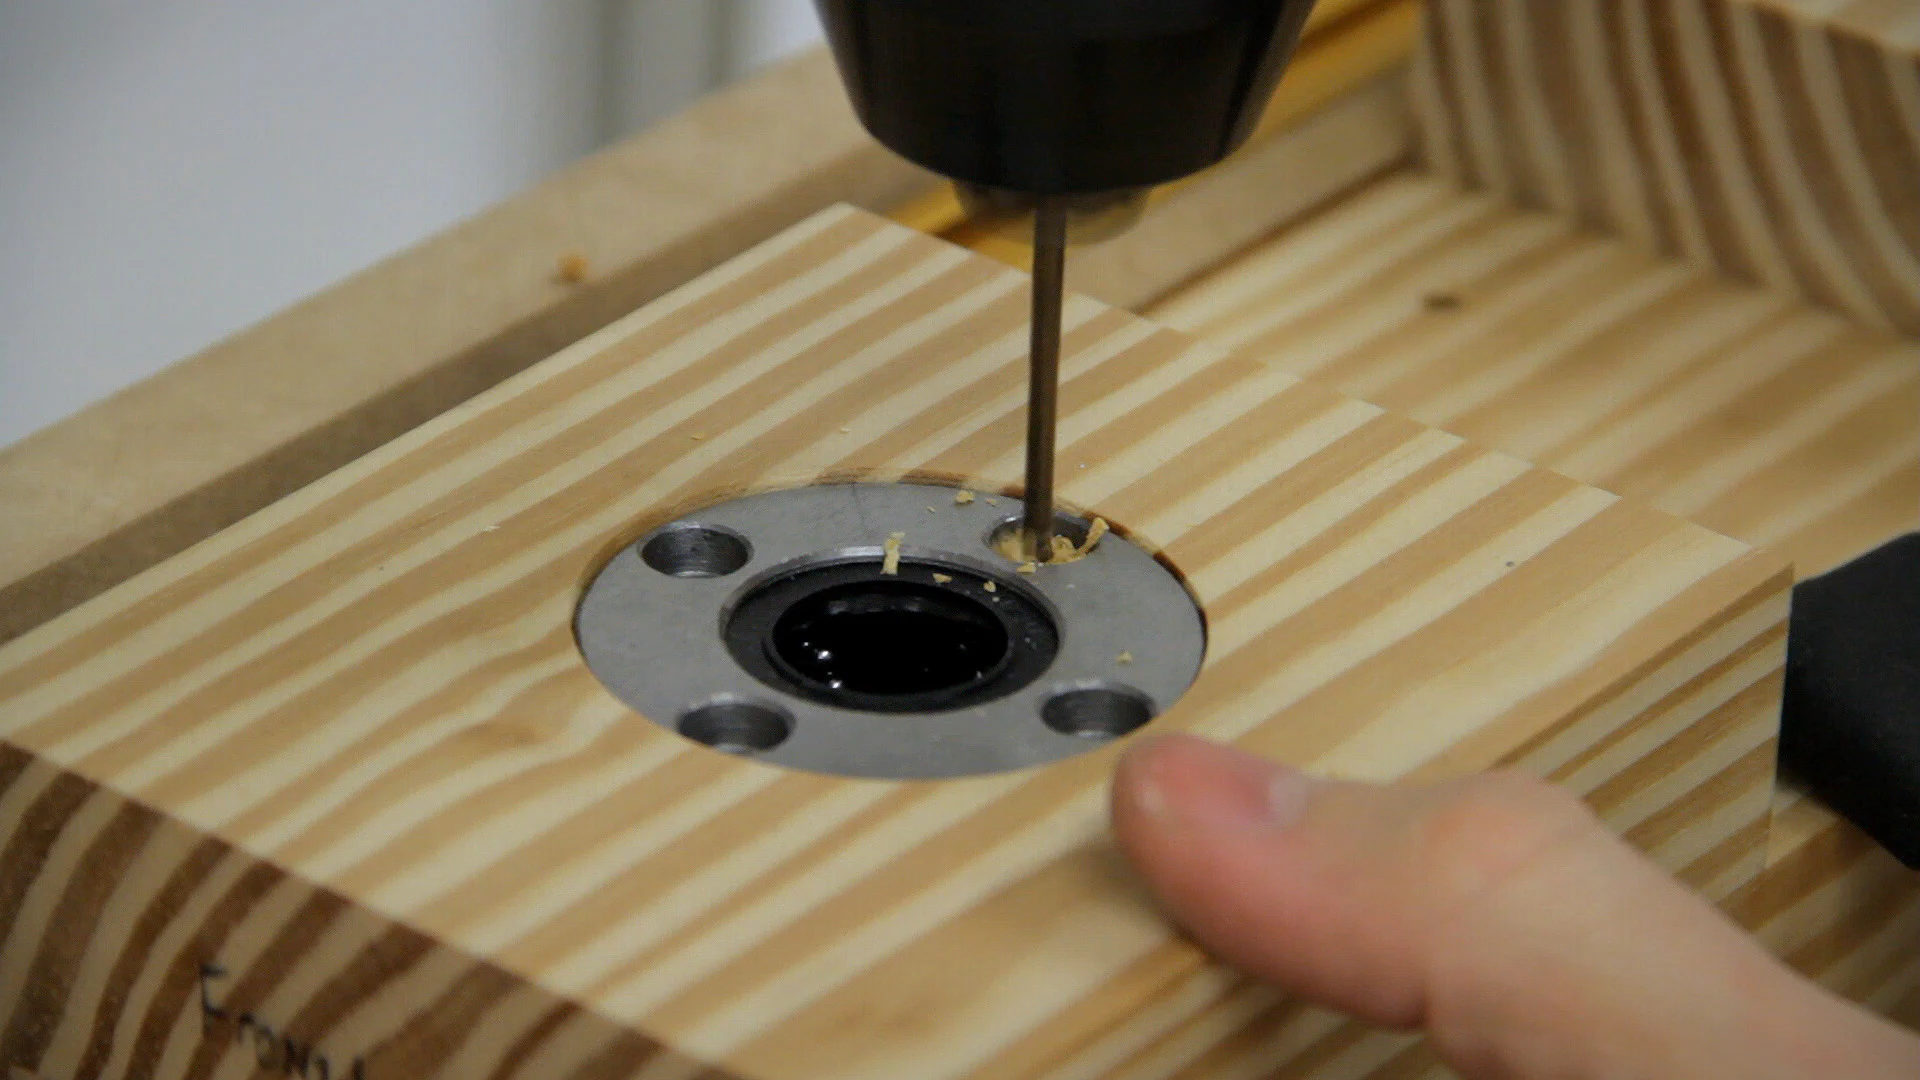
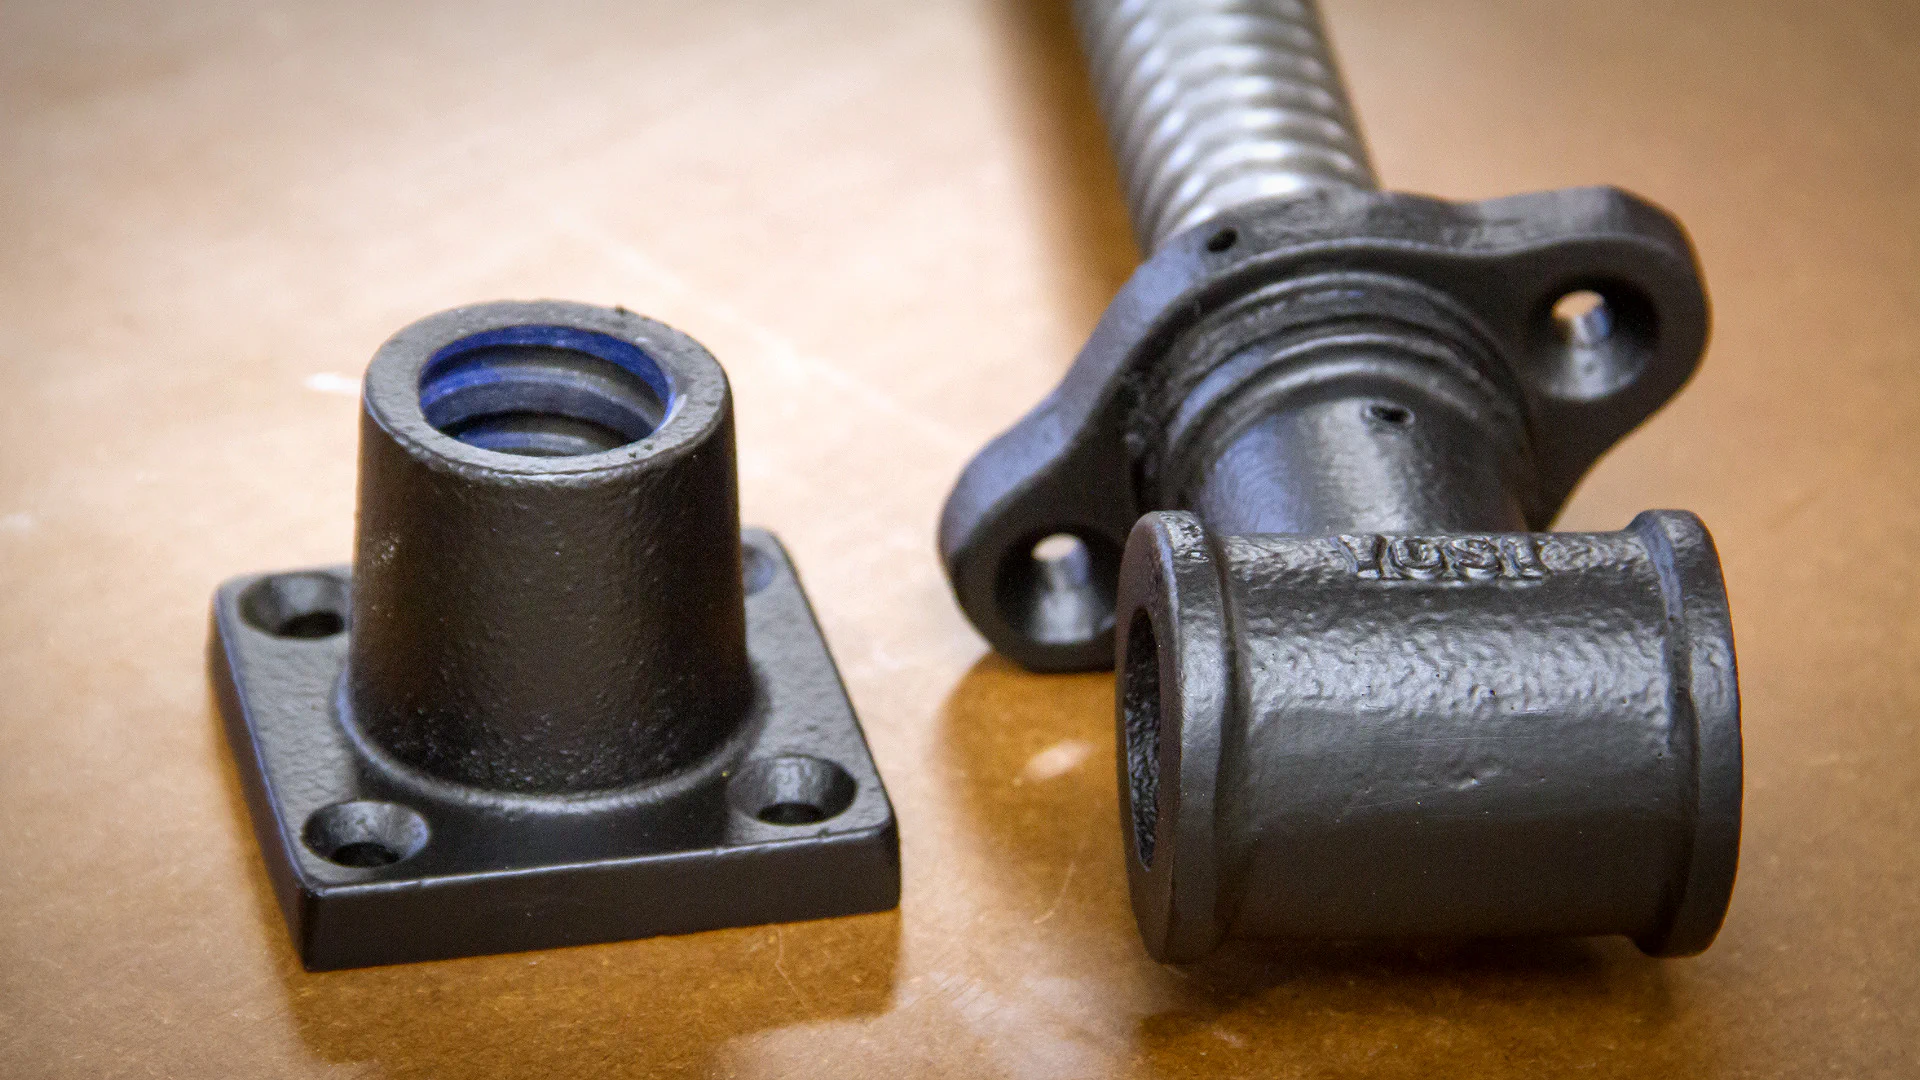
To recess the linear bearing, I started by drilling a larger, shallow hole in the leg a few inches up from the bottom on the front face of the leg. At the center of that hole, I drilled another one that was just slightly larger than the bearing’s cylinder so that there would be a small amount of wiggle room to make mounting it perpendicular to the leg face a bit easier.

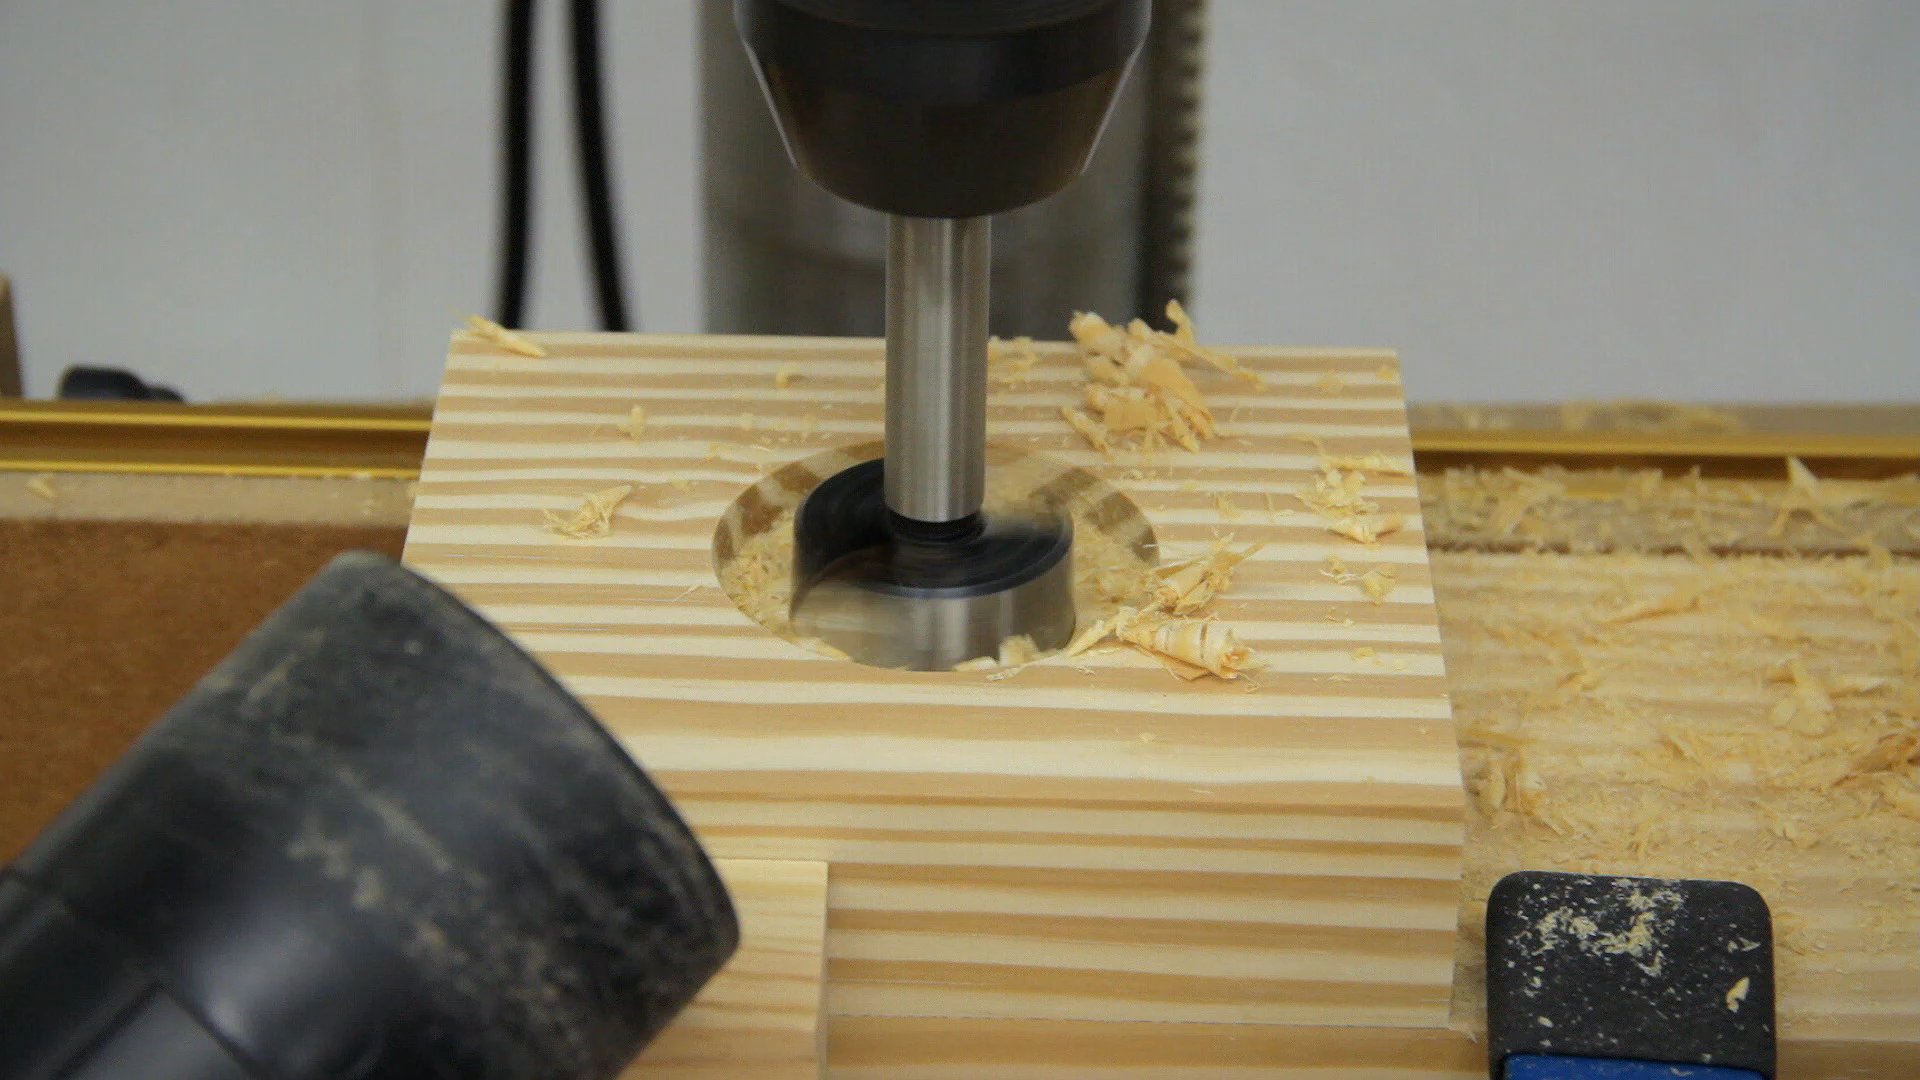
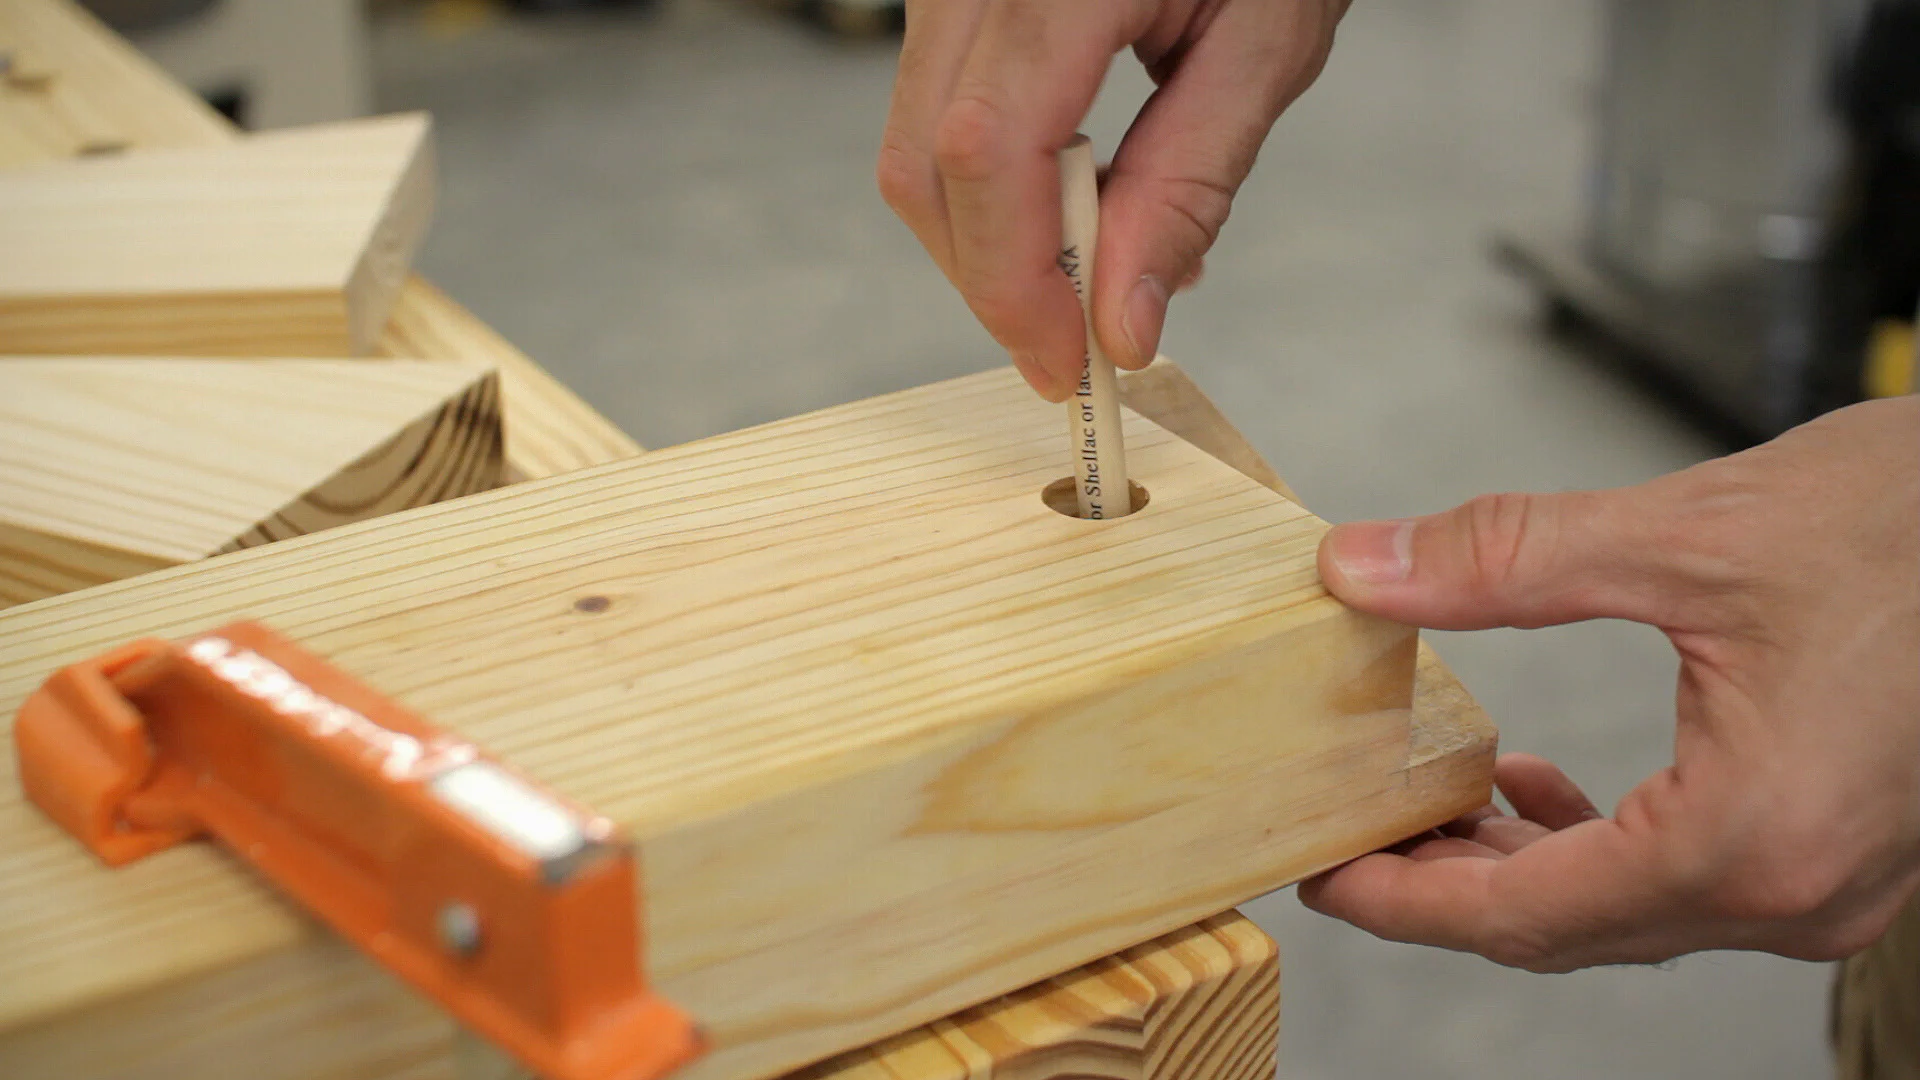
I then drilled another hole about 9" down from the top of the leg’s tenon (the bench top) for the vise screw. Since my Forstner bits weren’t quite long enough, I then finished drilling the holes with a spade bit in my cordless drill by clamping the leg down to a few small blocks to prevent tear-out on the back of the leg.
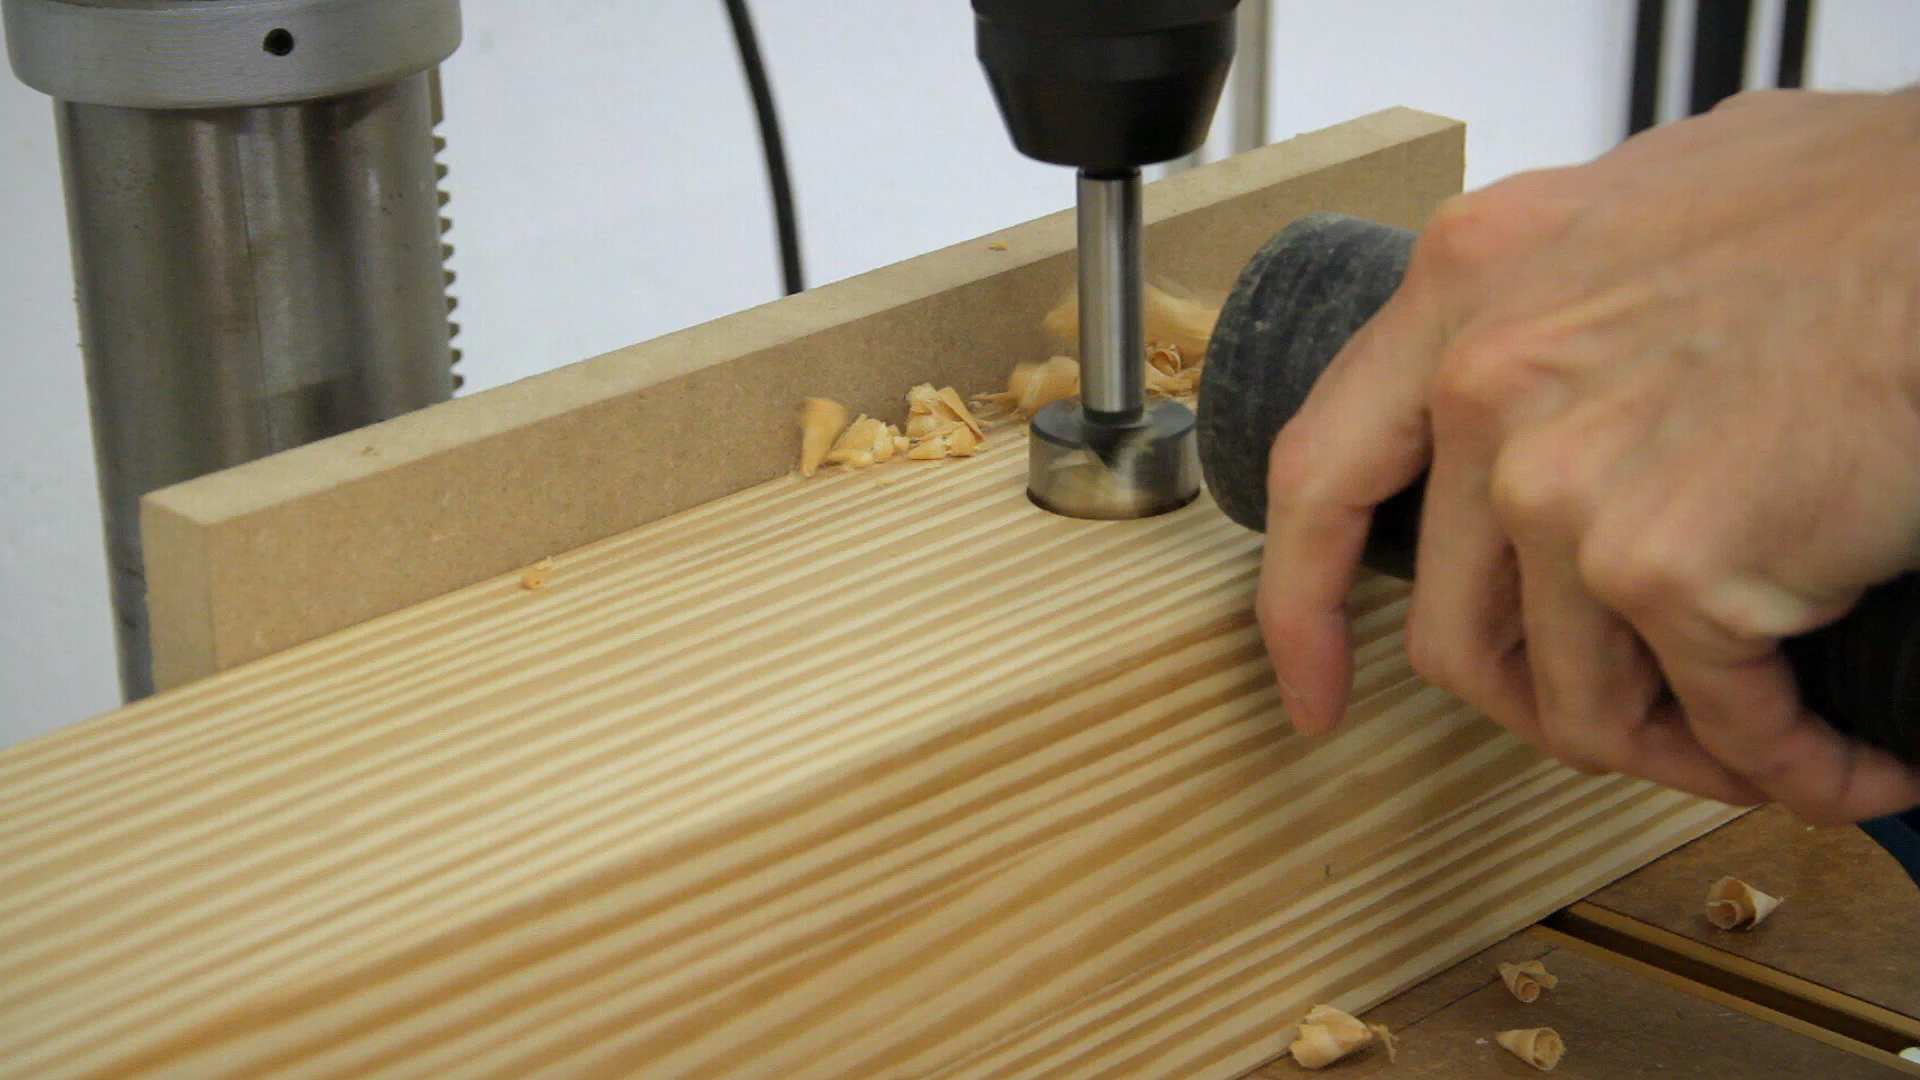
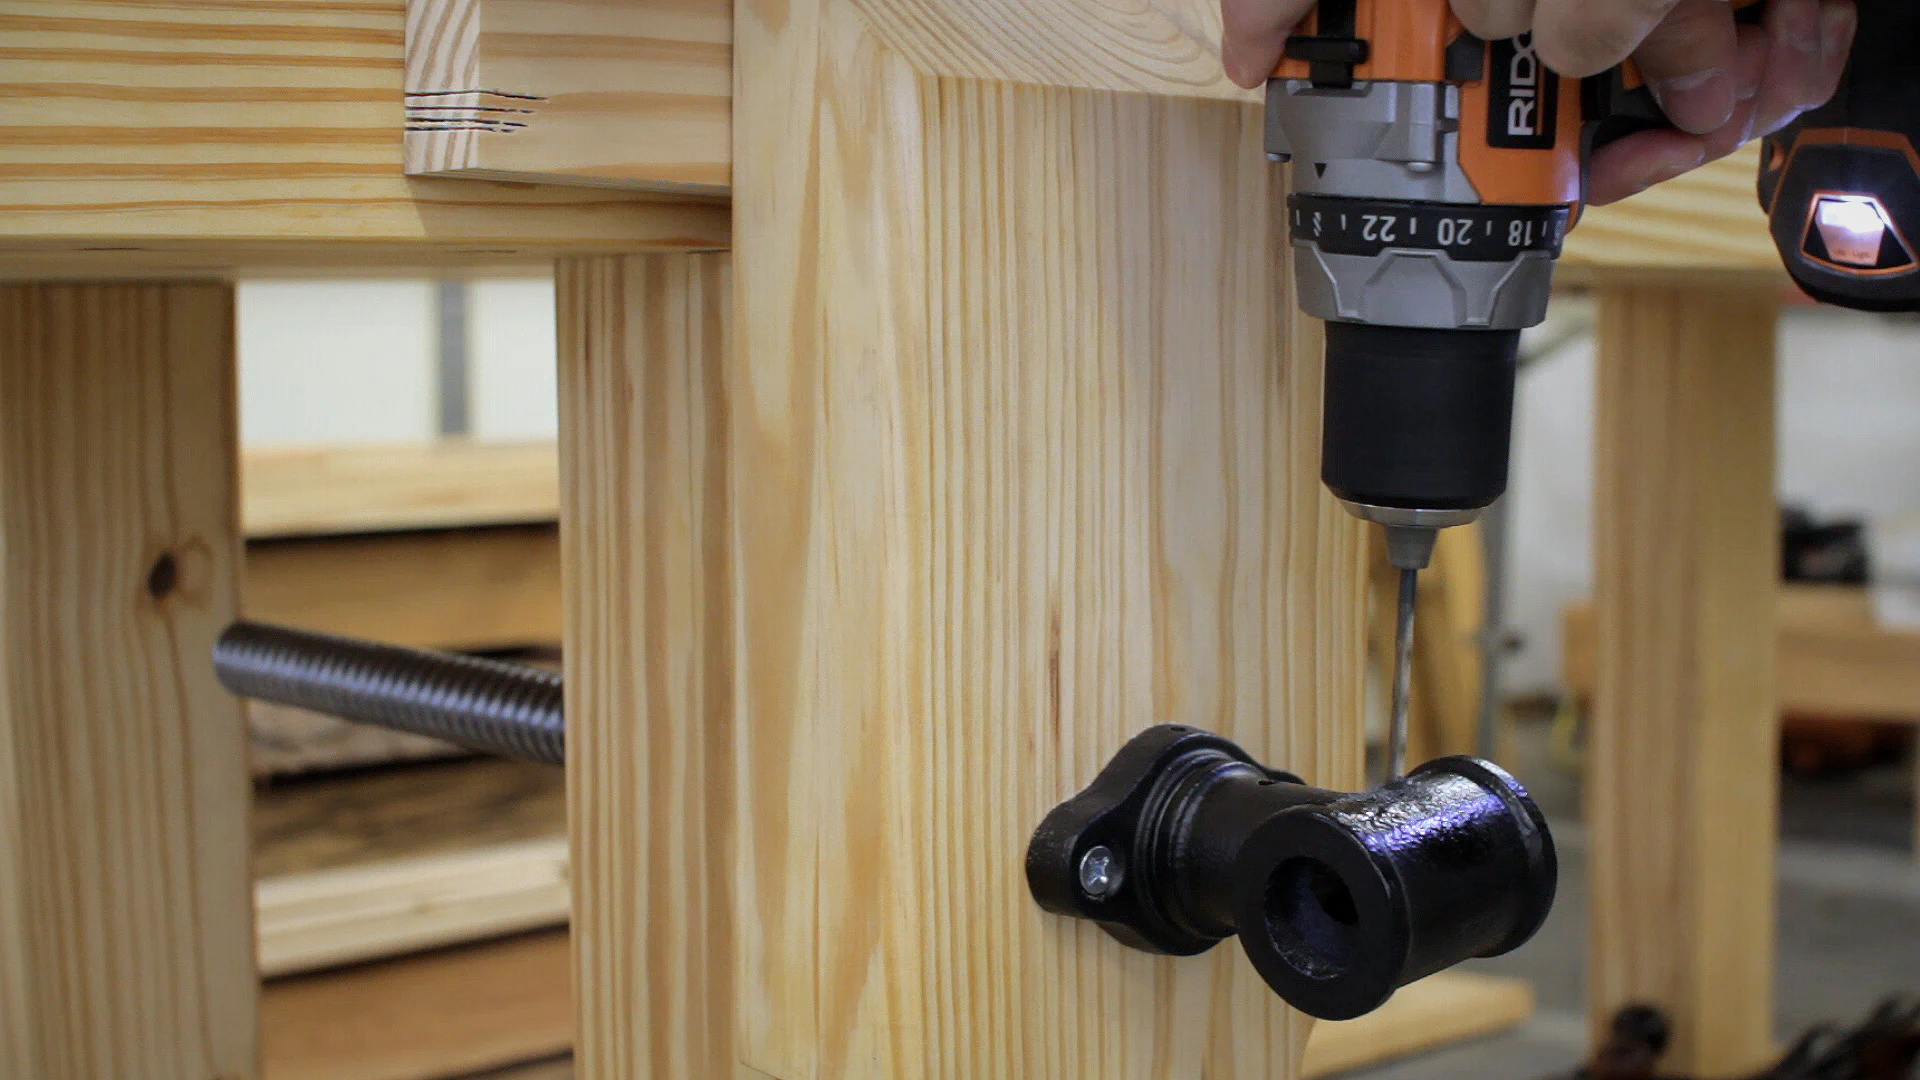
Next, I double checked that the linear bearing was perpendicular to the front face of the leg and made a few slight adjustments with the Forstner bit in my cordless drill before pre-drilling and screwing it to the leg.
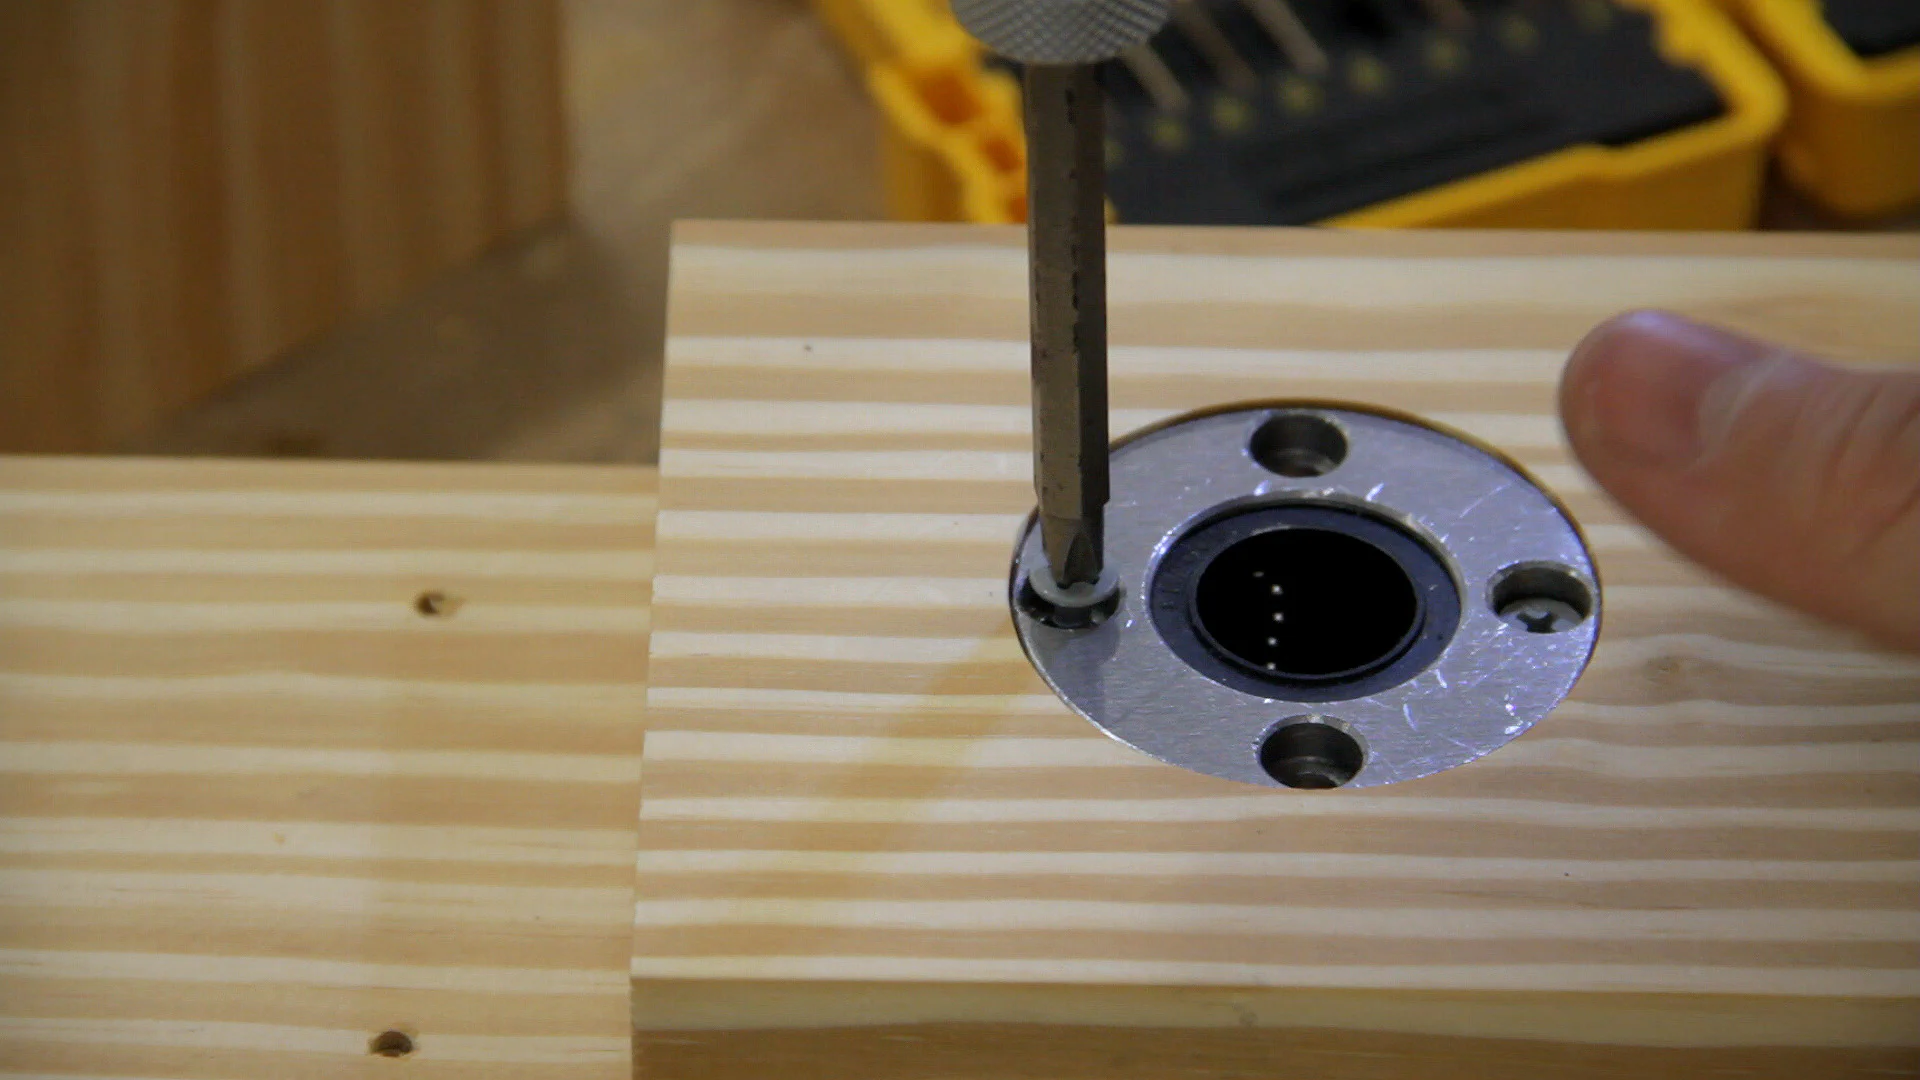
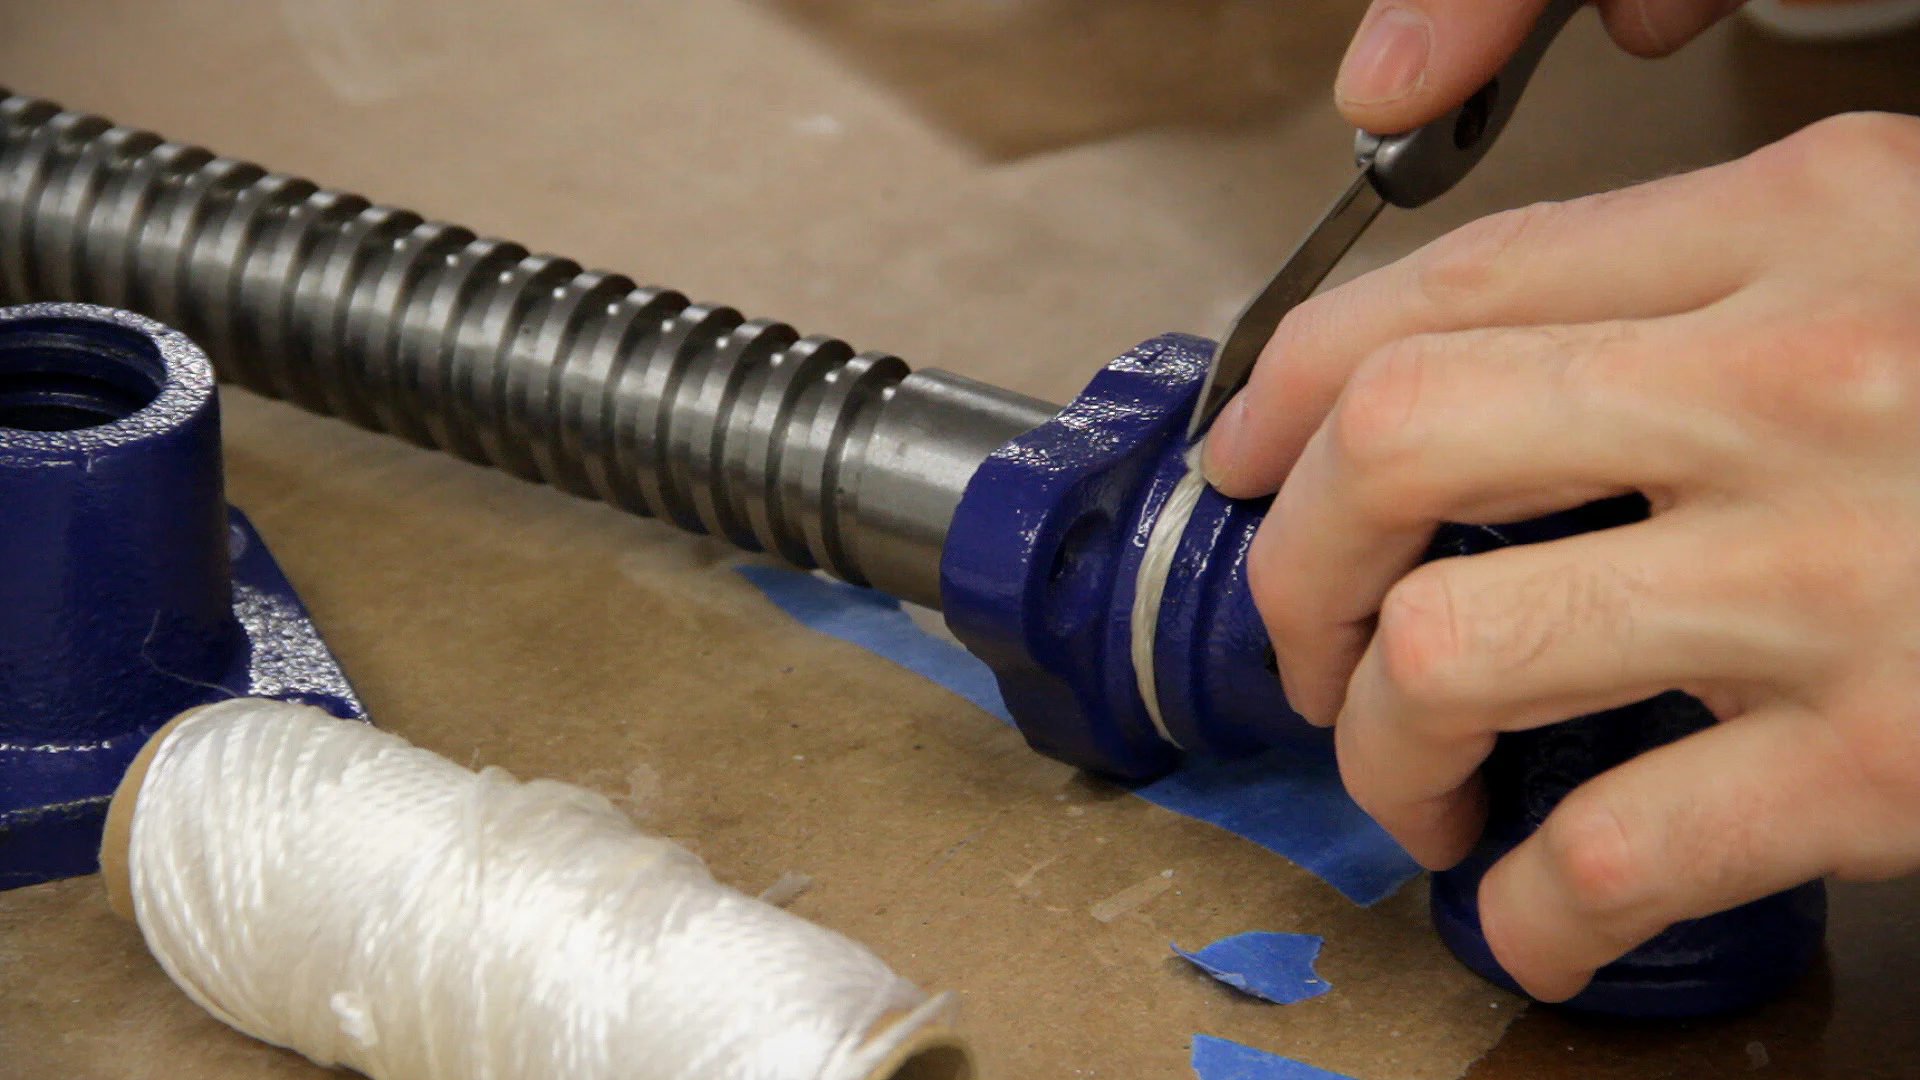
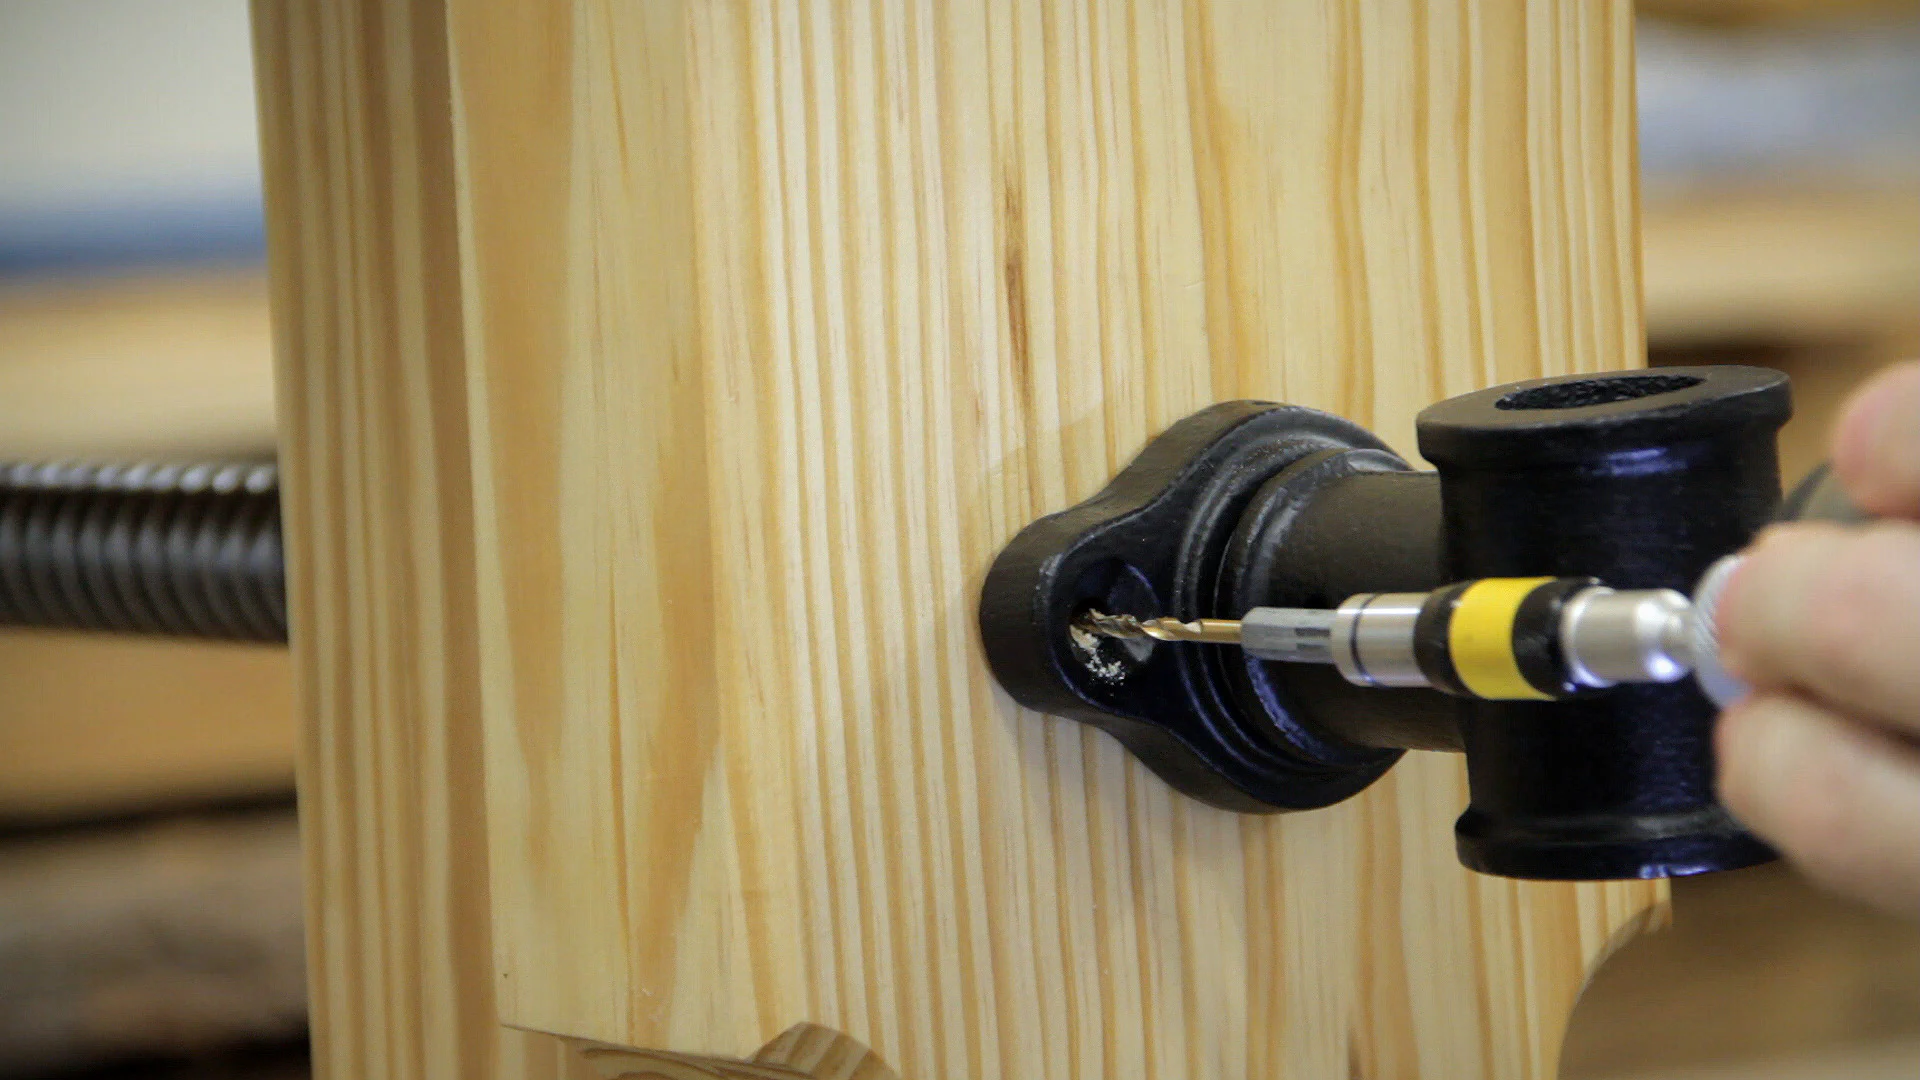
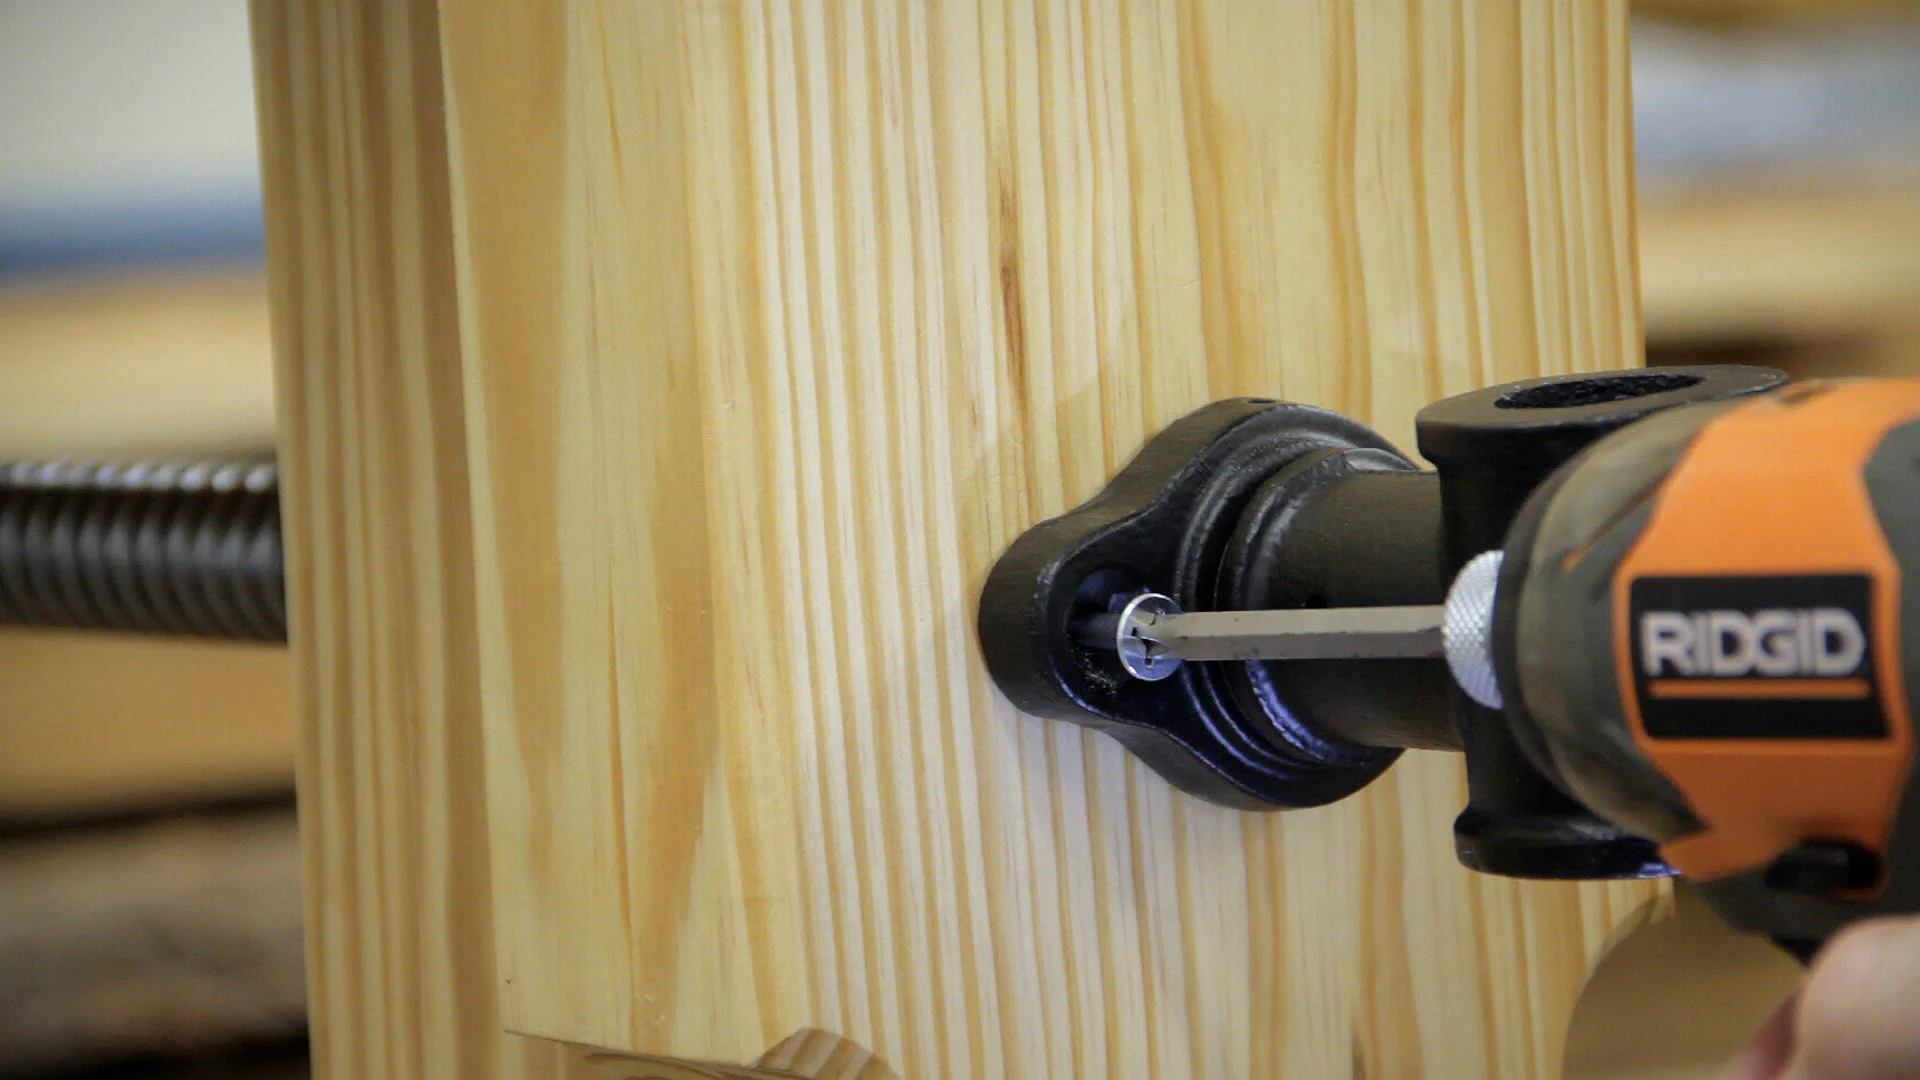
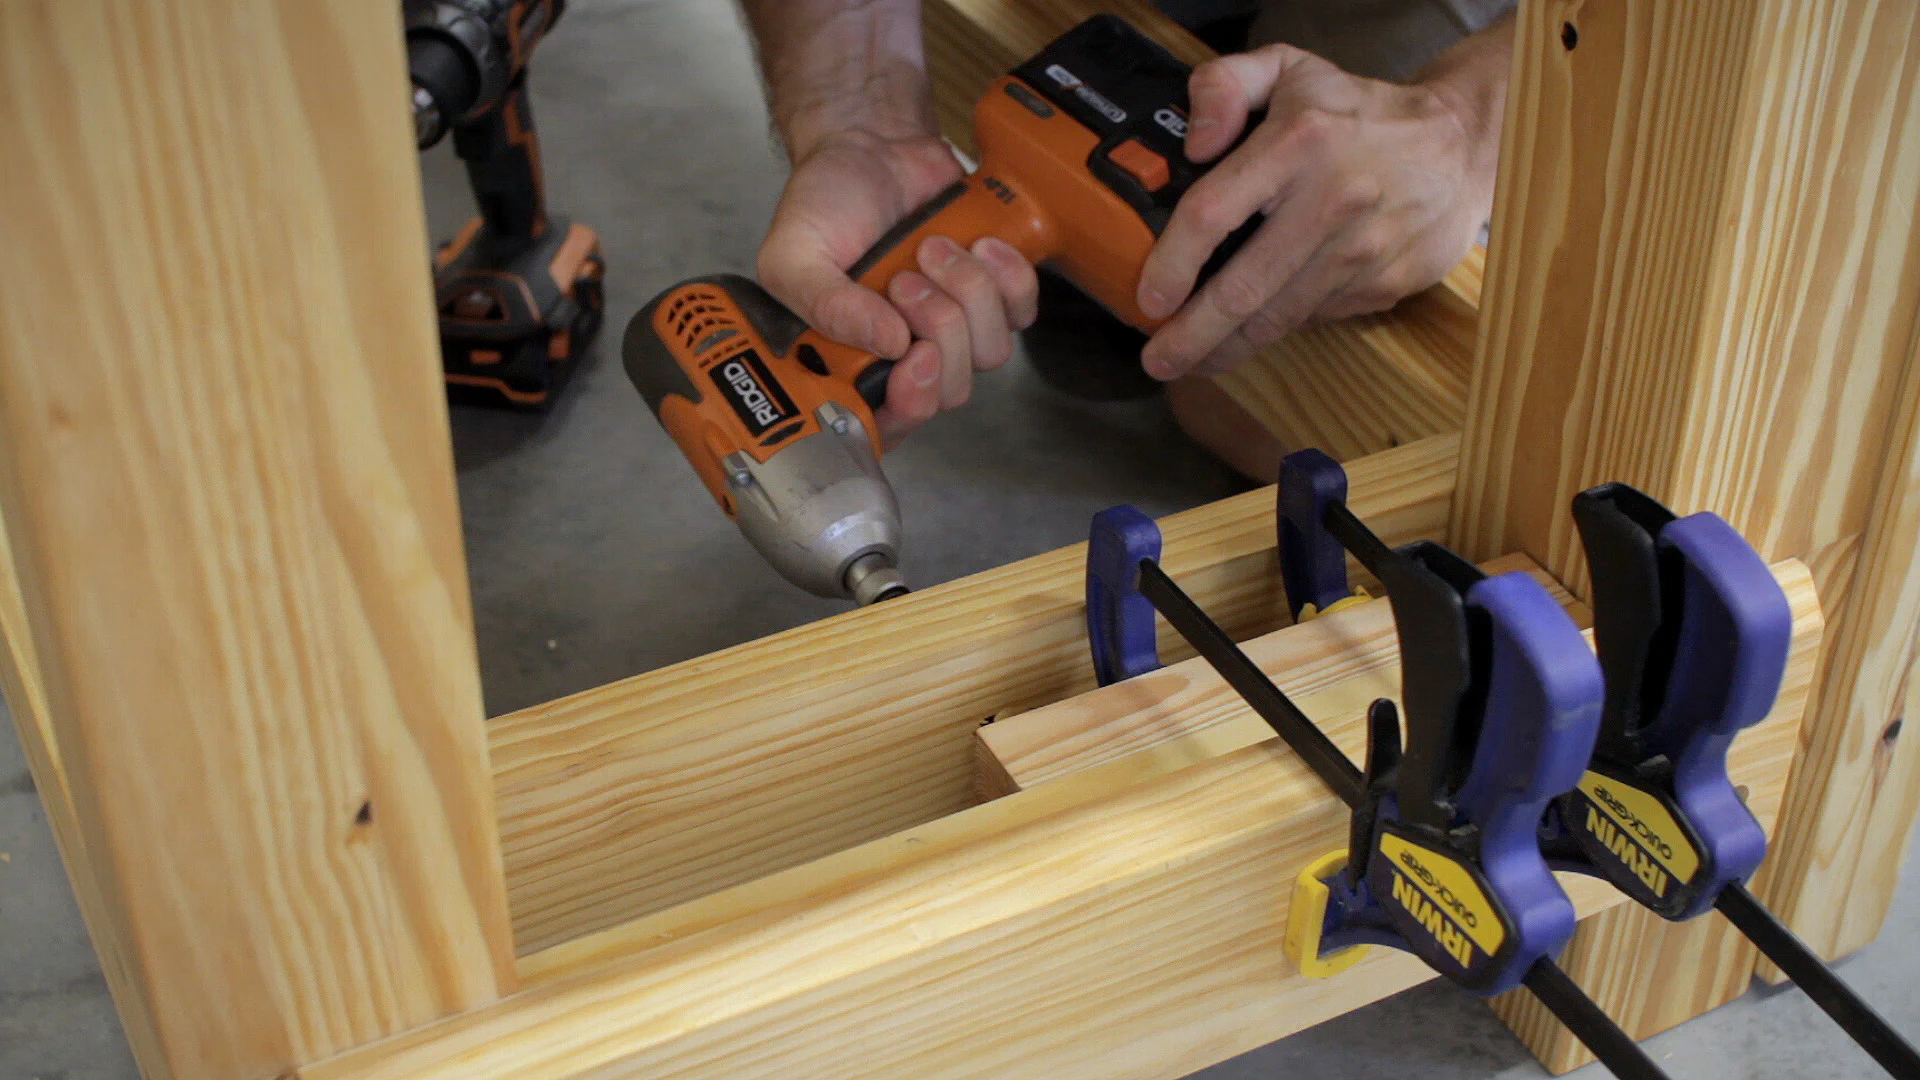
Then I mounted the vise-screw’s collar to the rear of the leg using four 3" #14 screws. To center the collar opening with the hole in the leg, I mostly just eye-balled it from above while making a few marks at the extents. After marking the hole locations, I then pre-drilled and screwed it in place.
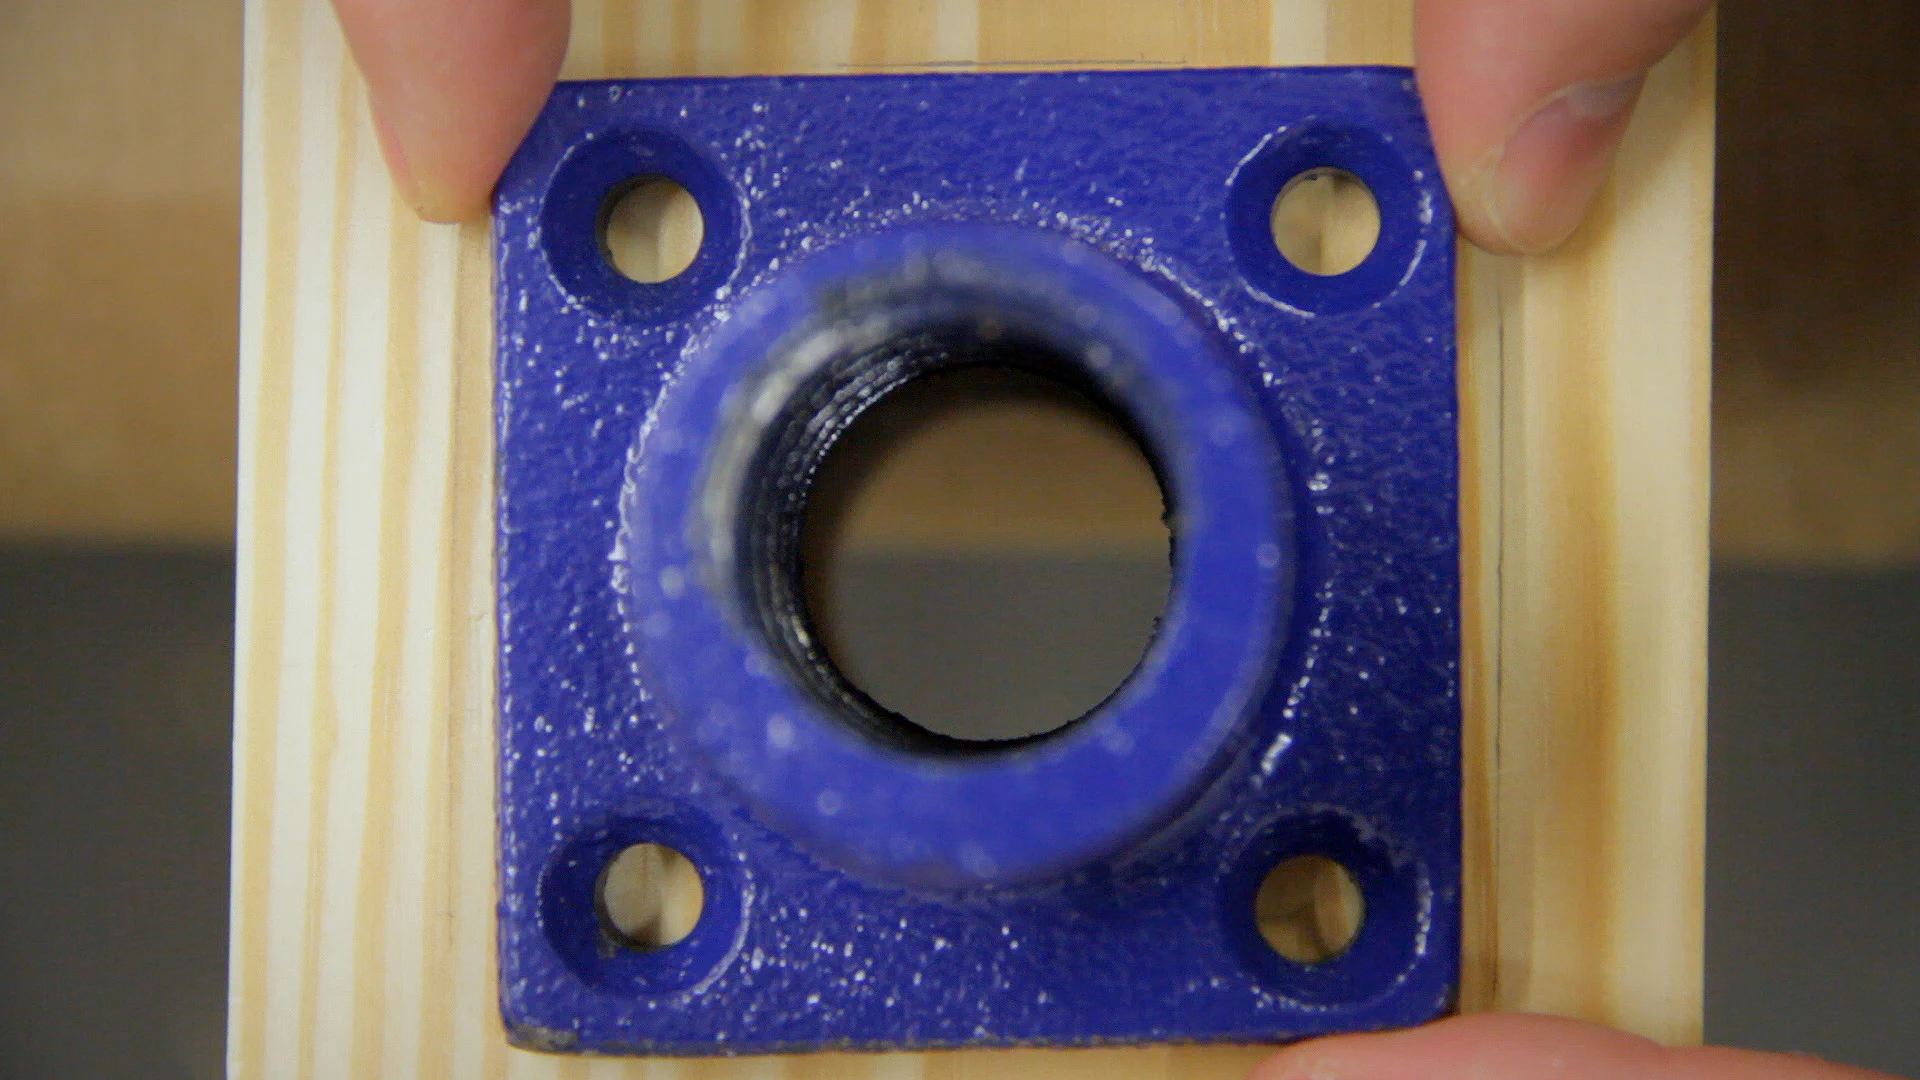
After a quick test, I decided the hardware definitely needed a new paint job, so I masked off the screw with a bit of string and a piece of dowel for the collar and spray painted it a flat black.
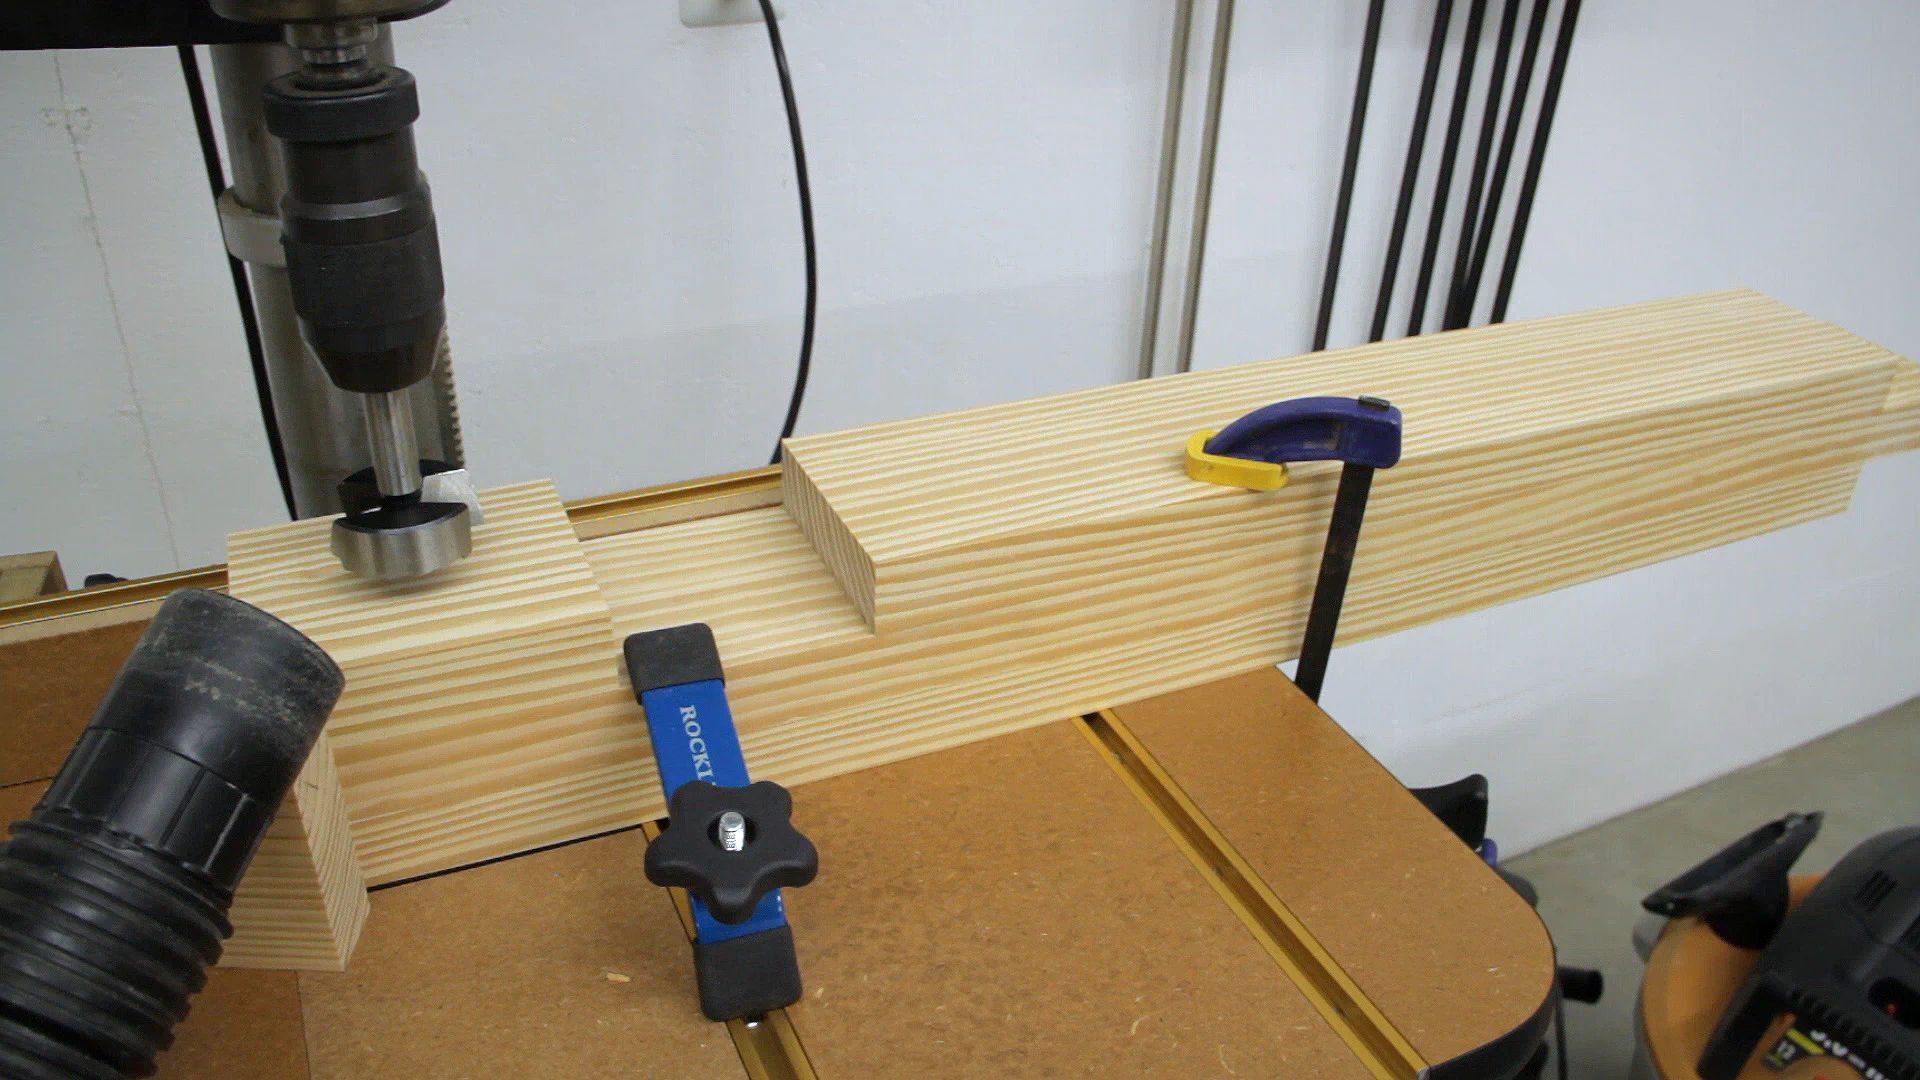
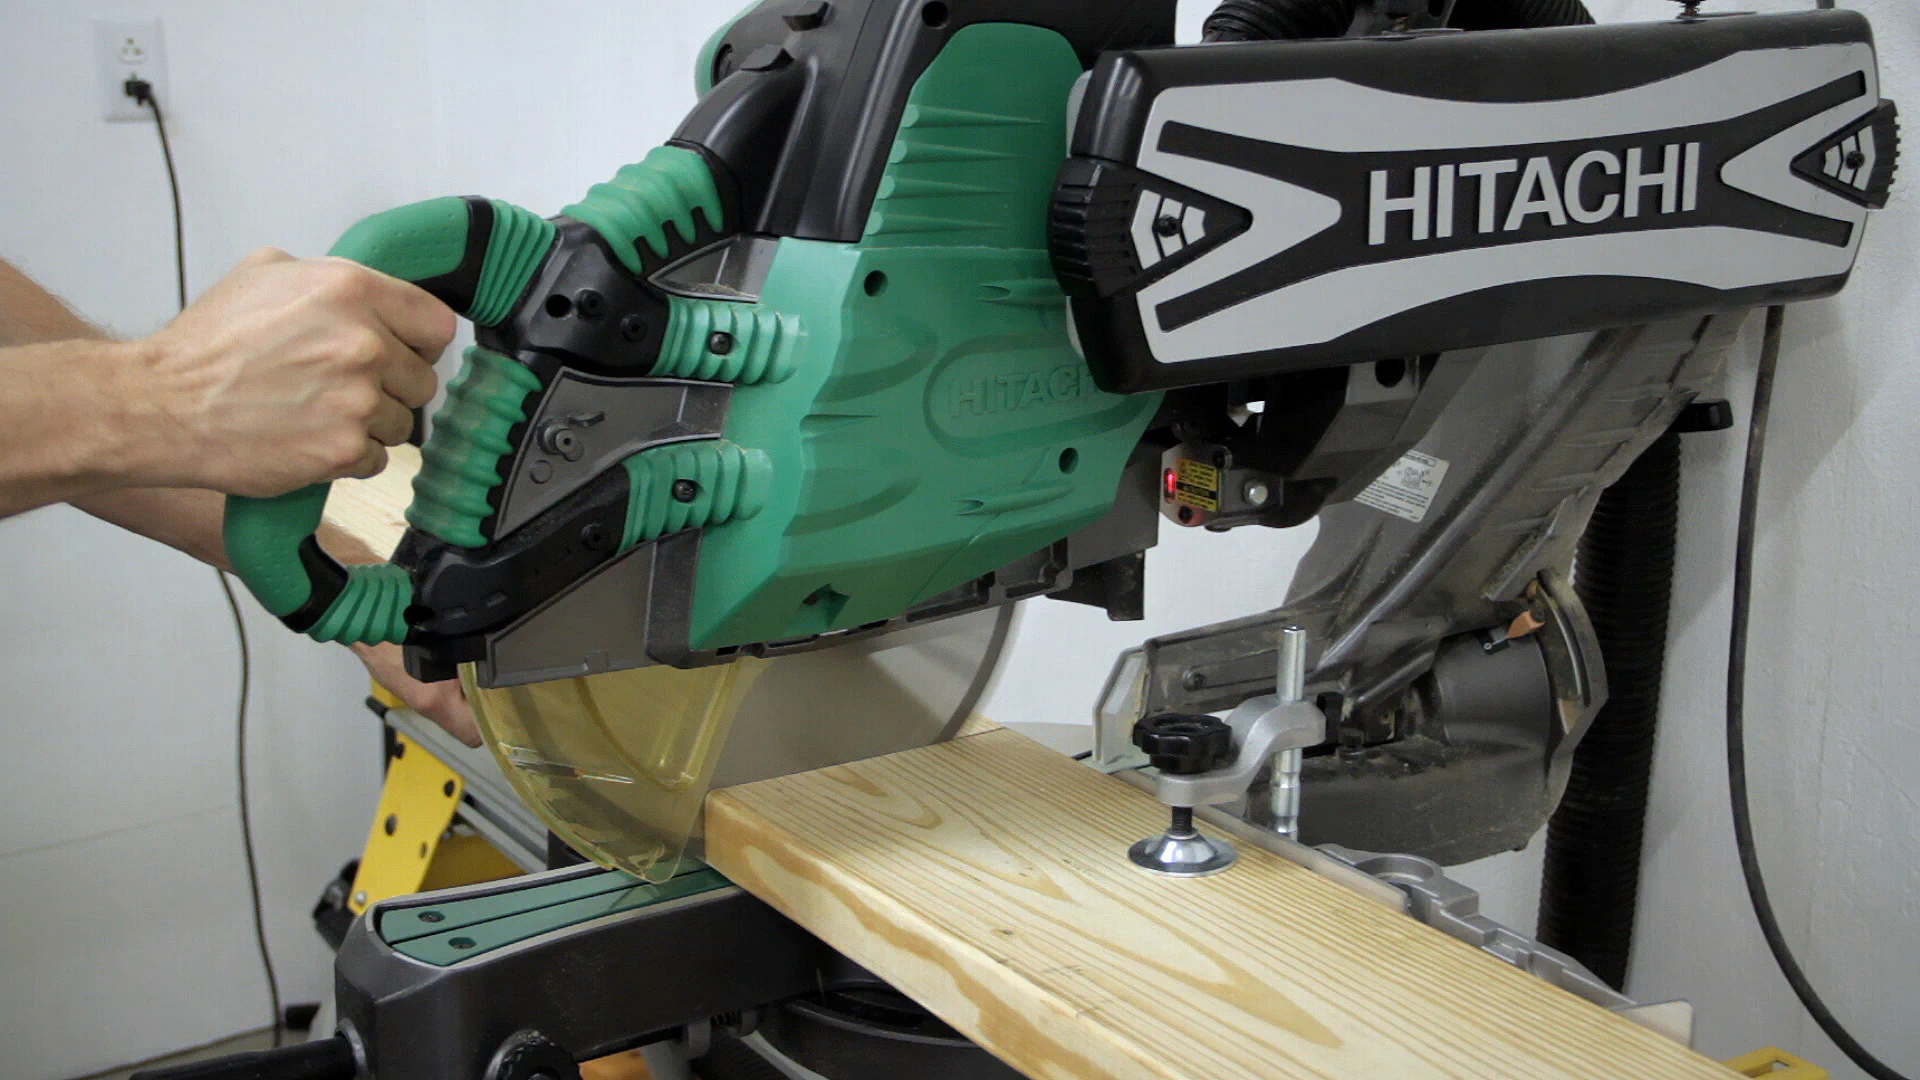
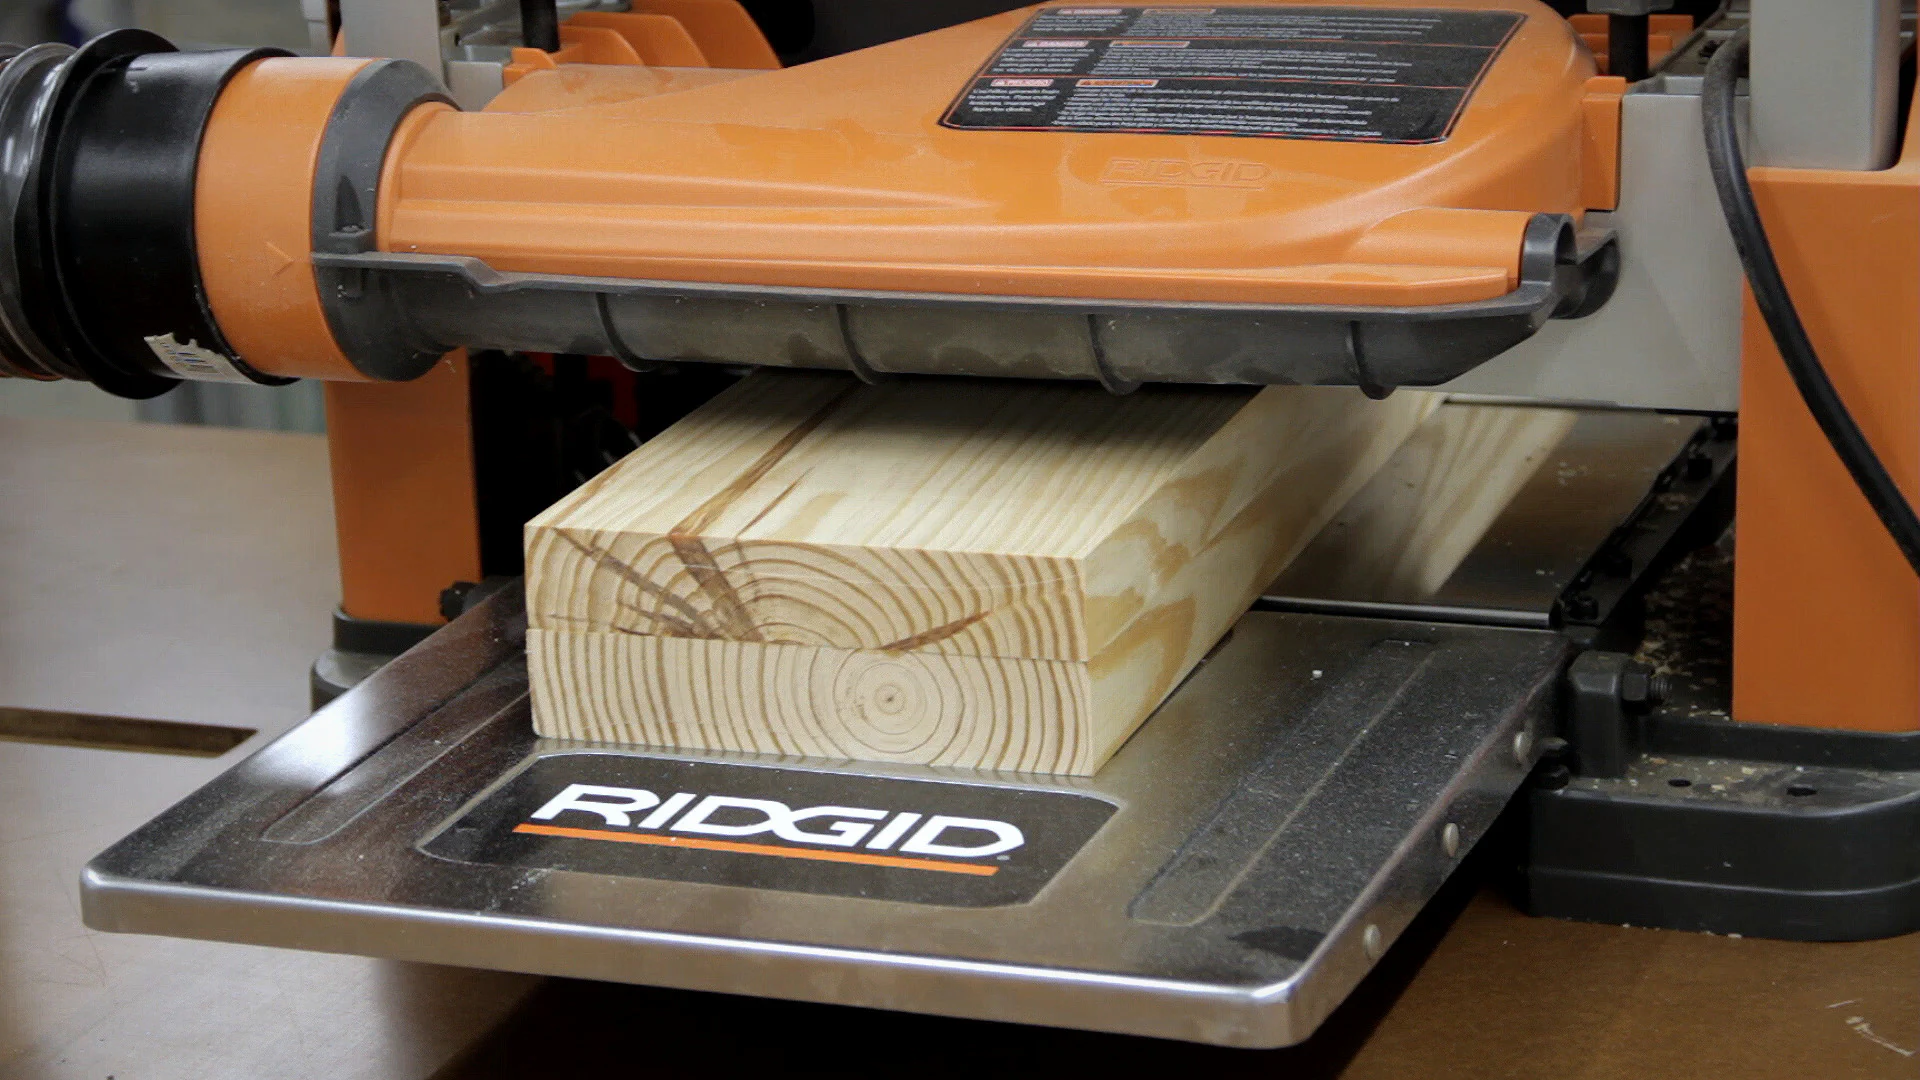
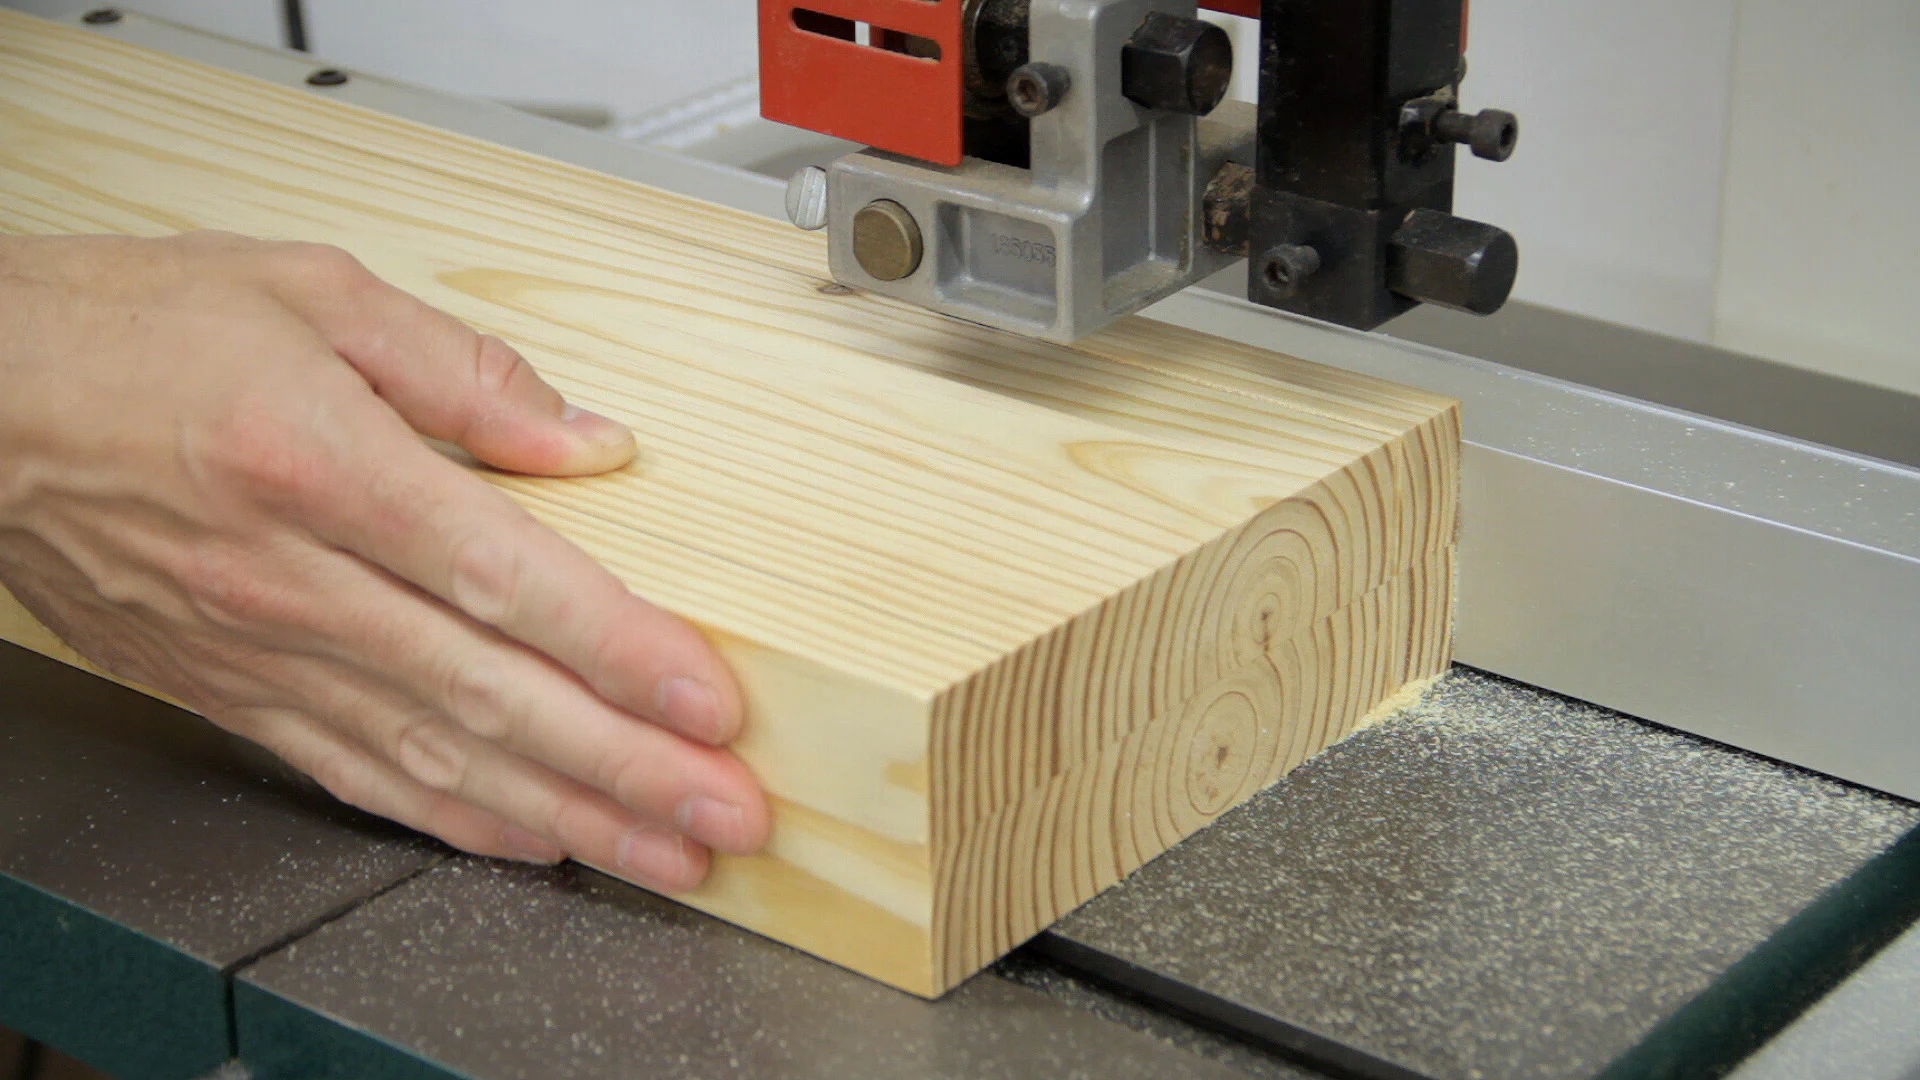
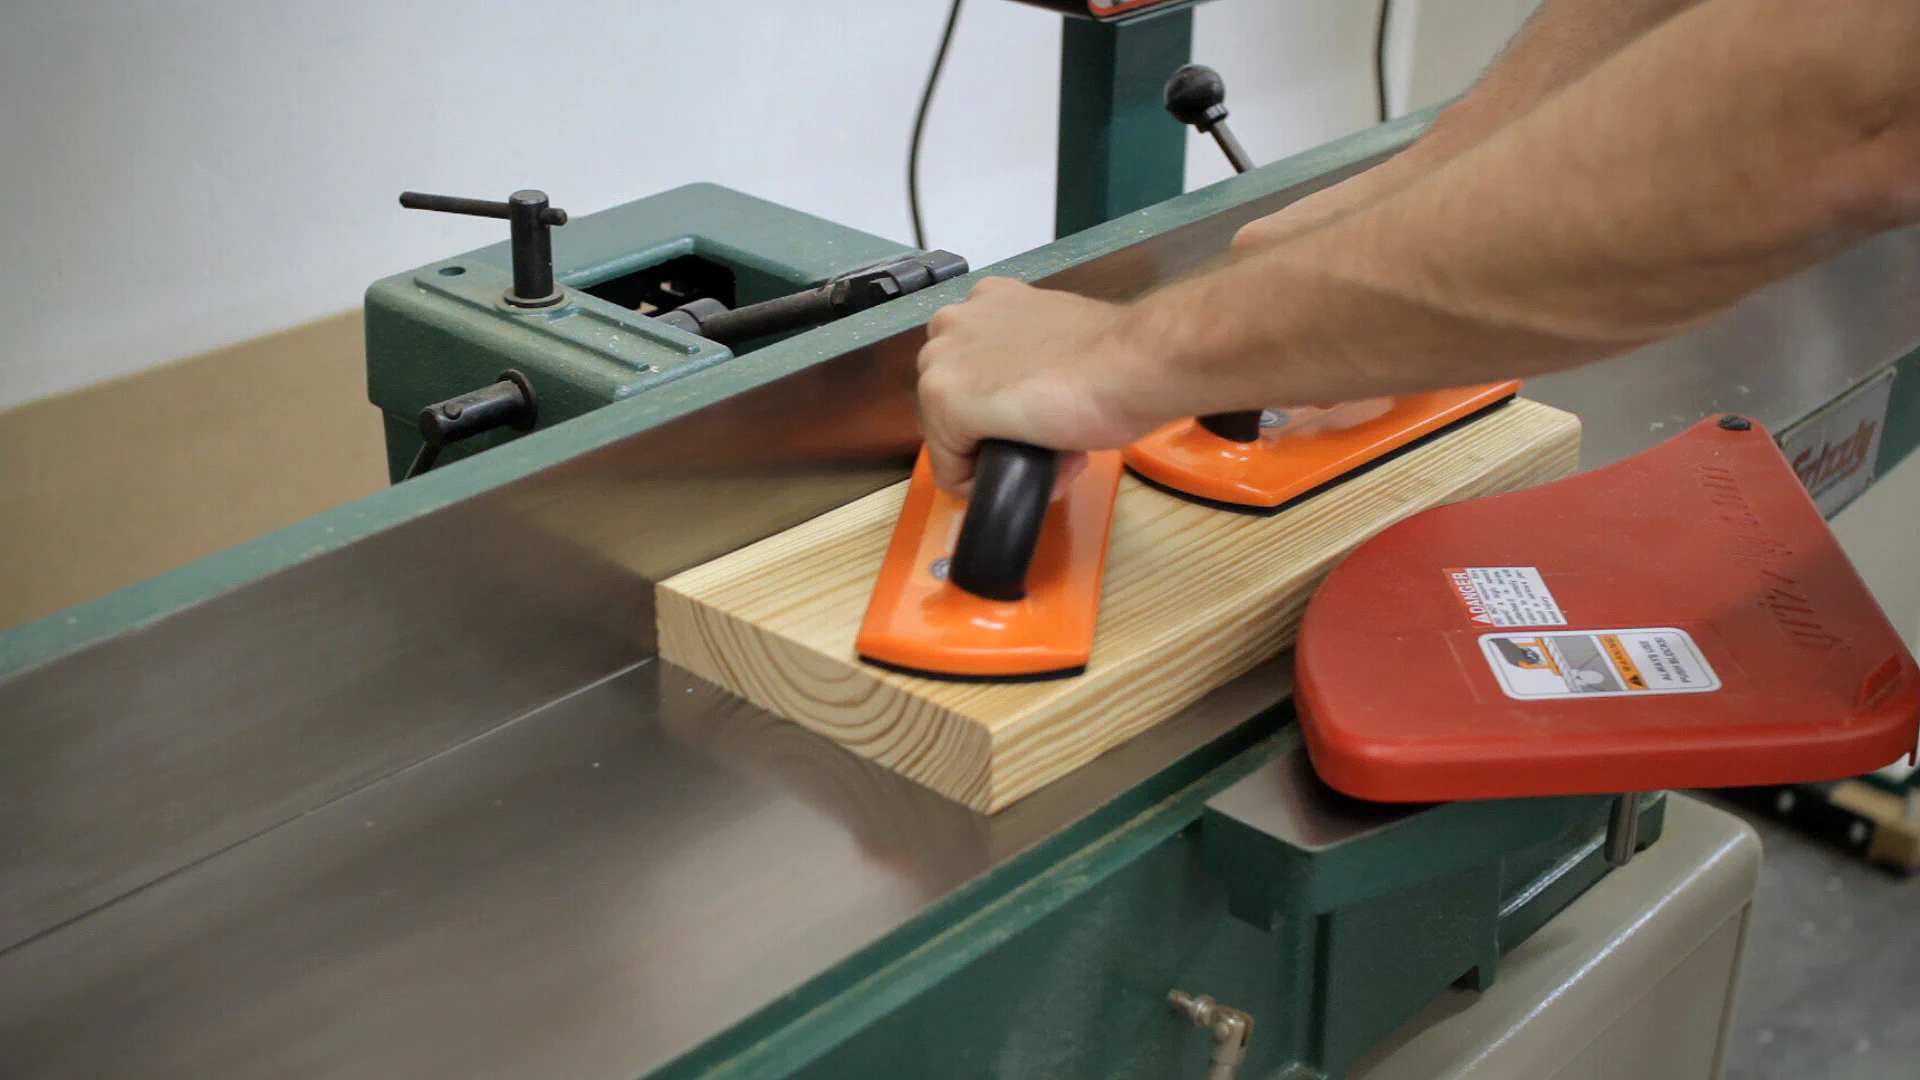
Next, it was time to work on the chop. I started by rough-cutting a 2x8 into two pieces at the miter saw. I then ran one face from each piece through the jointer and then glued the two pieces together to form one thick piece.
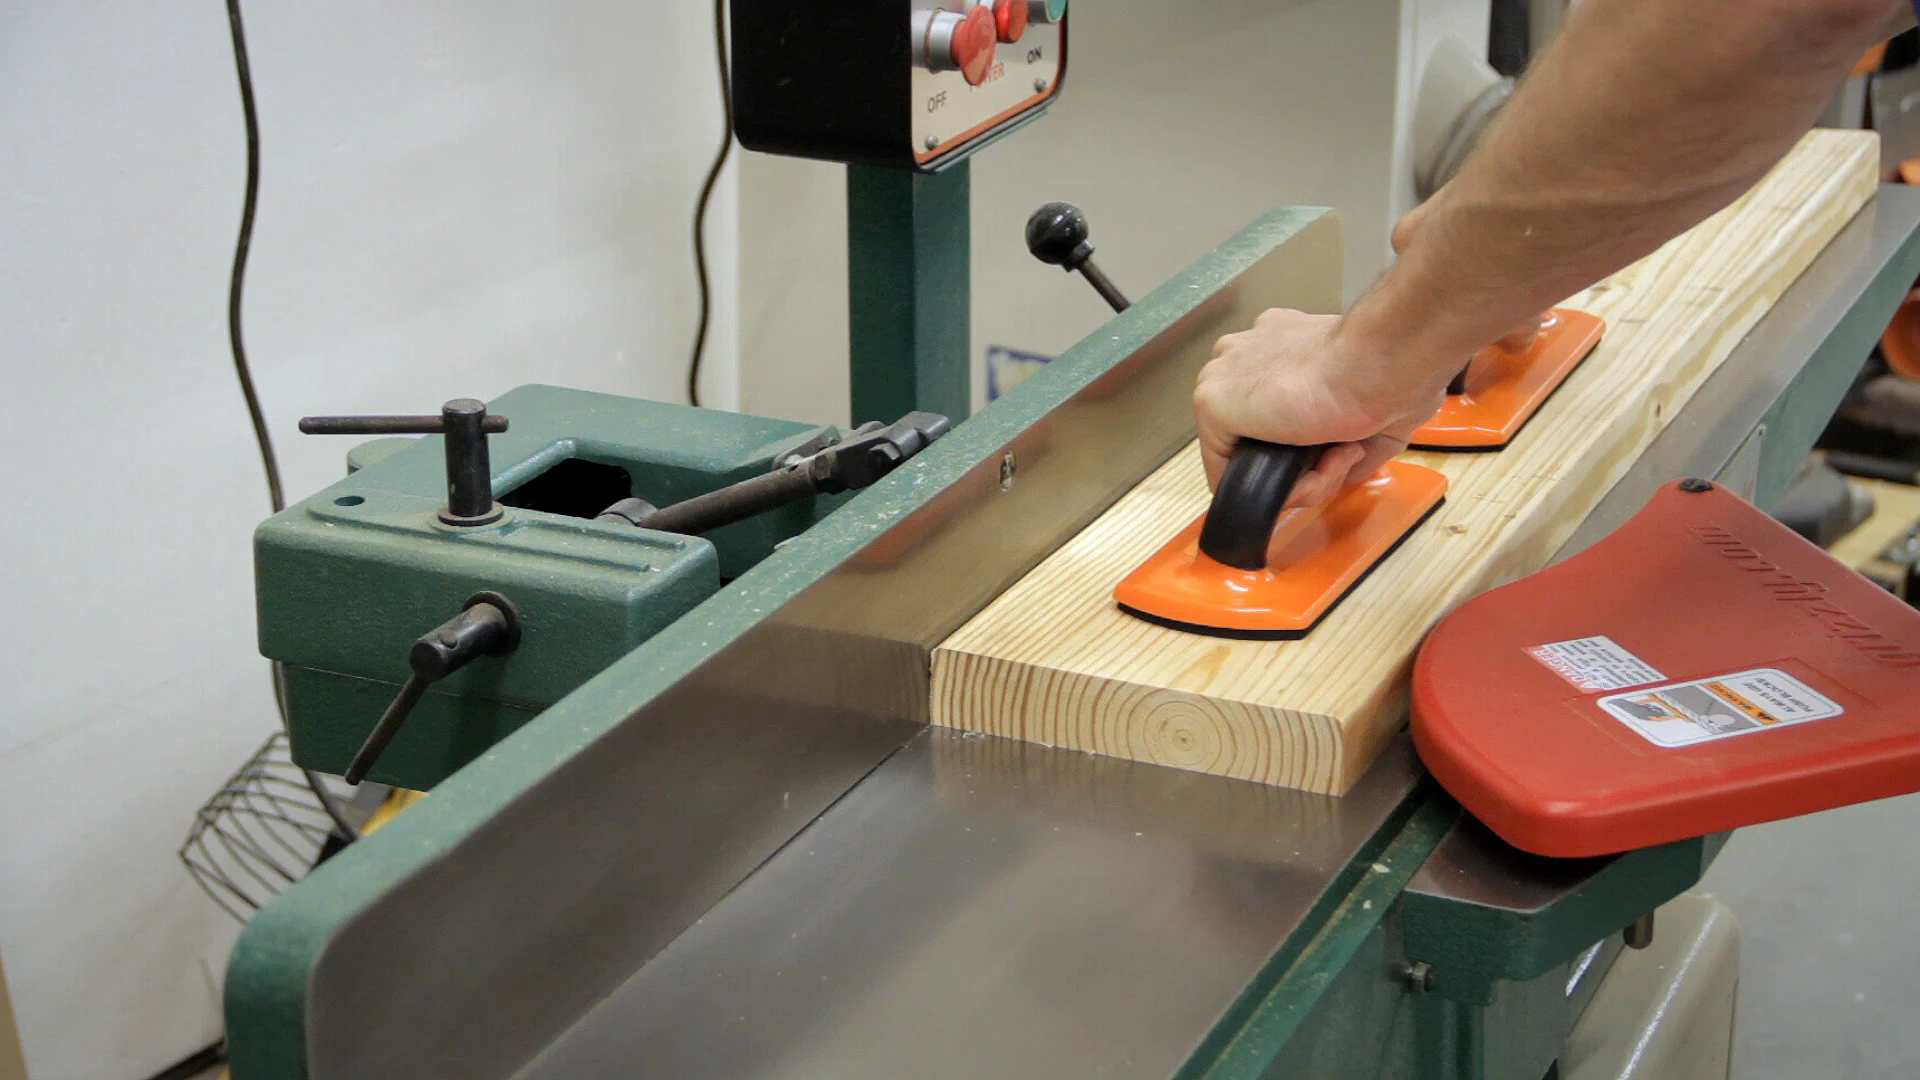
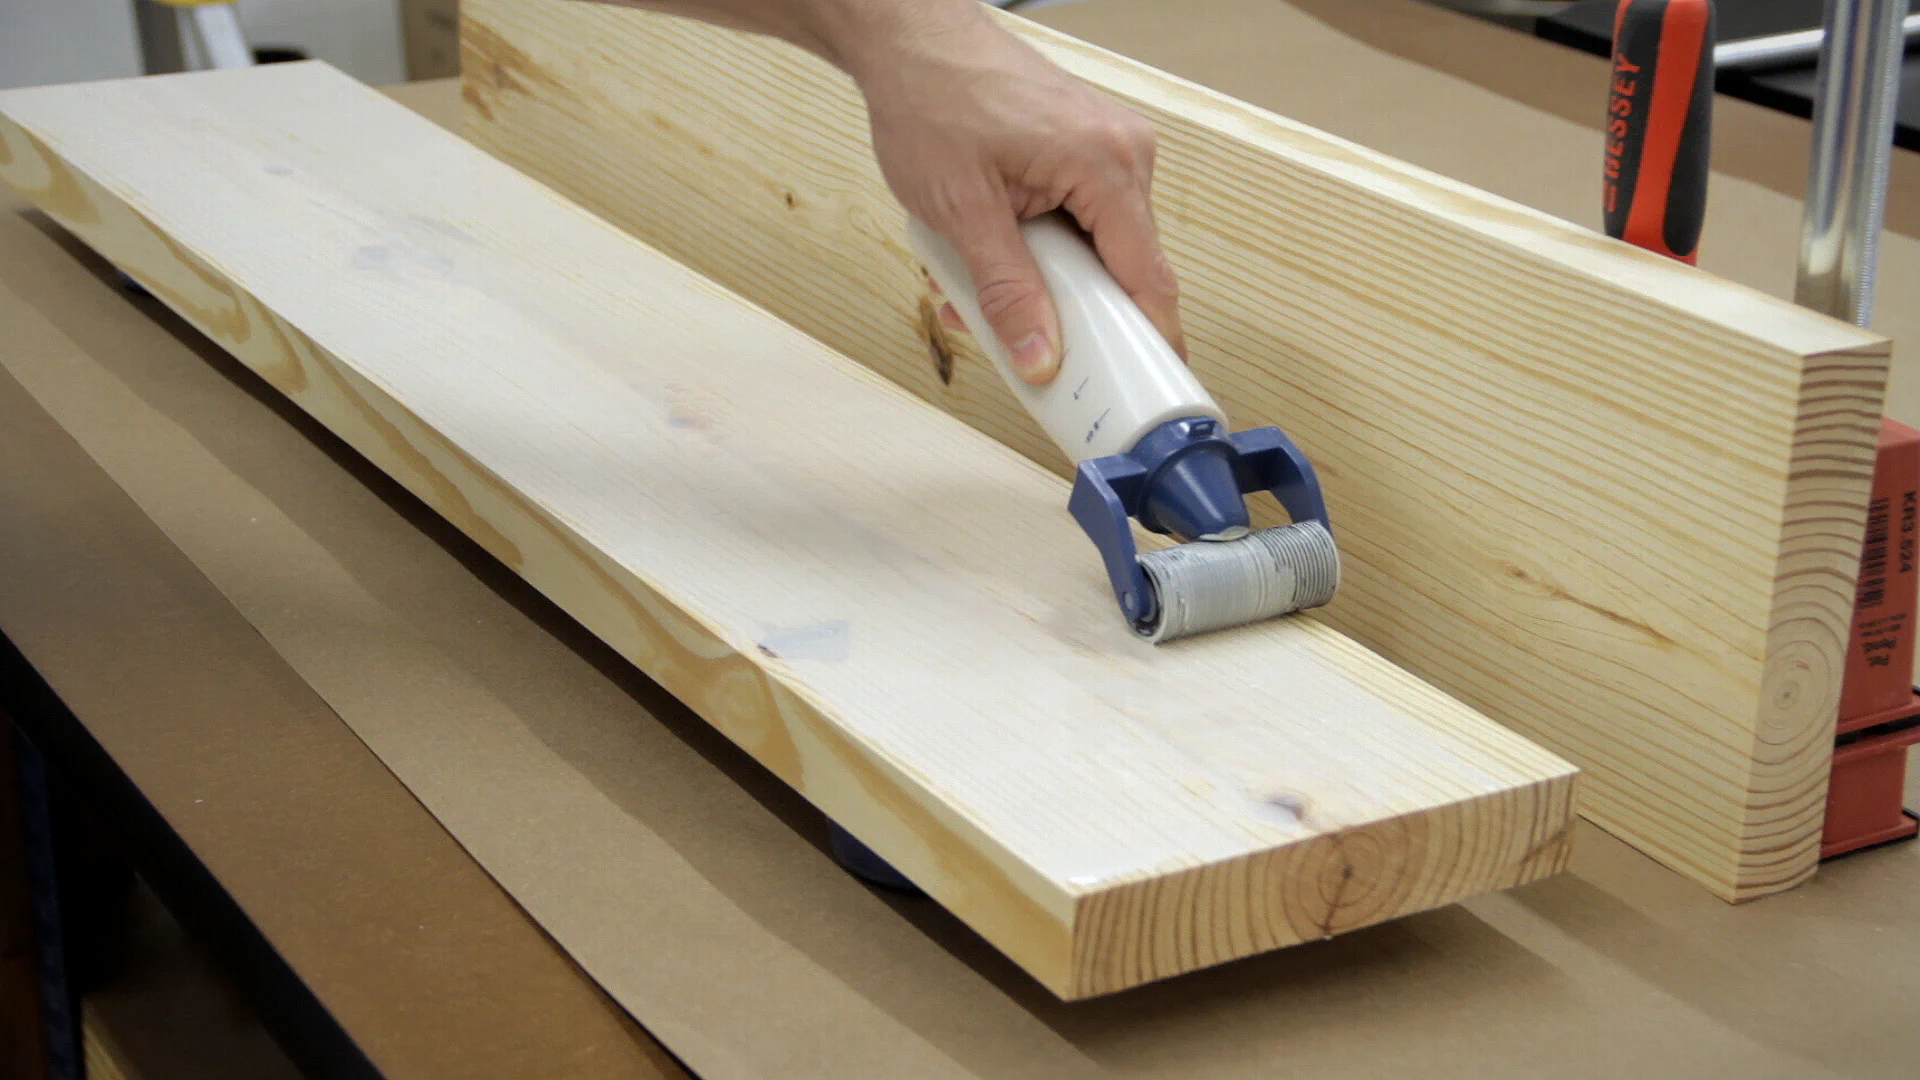
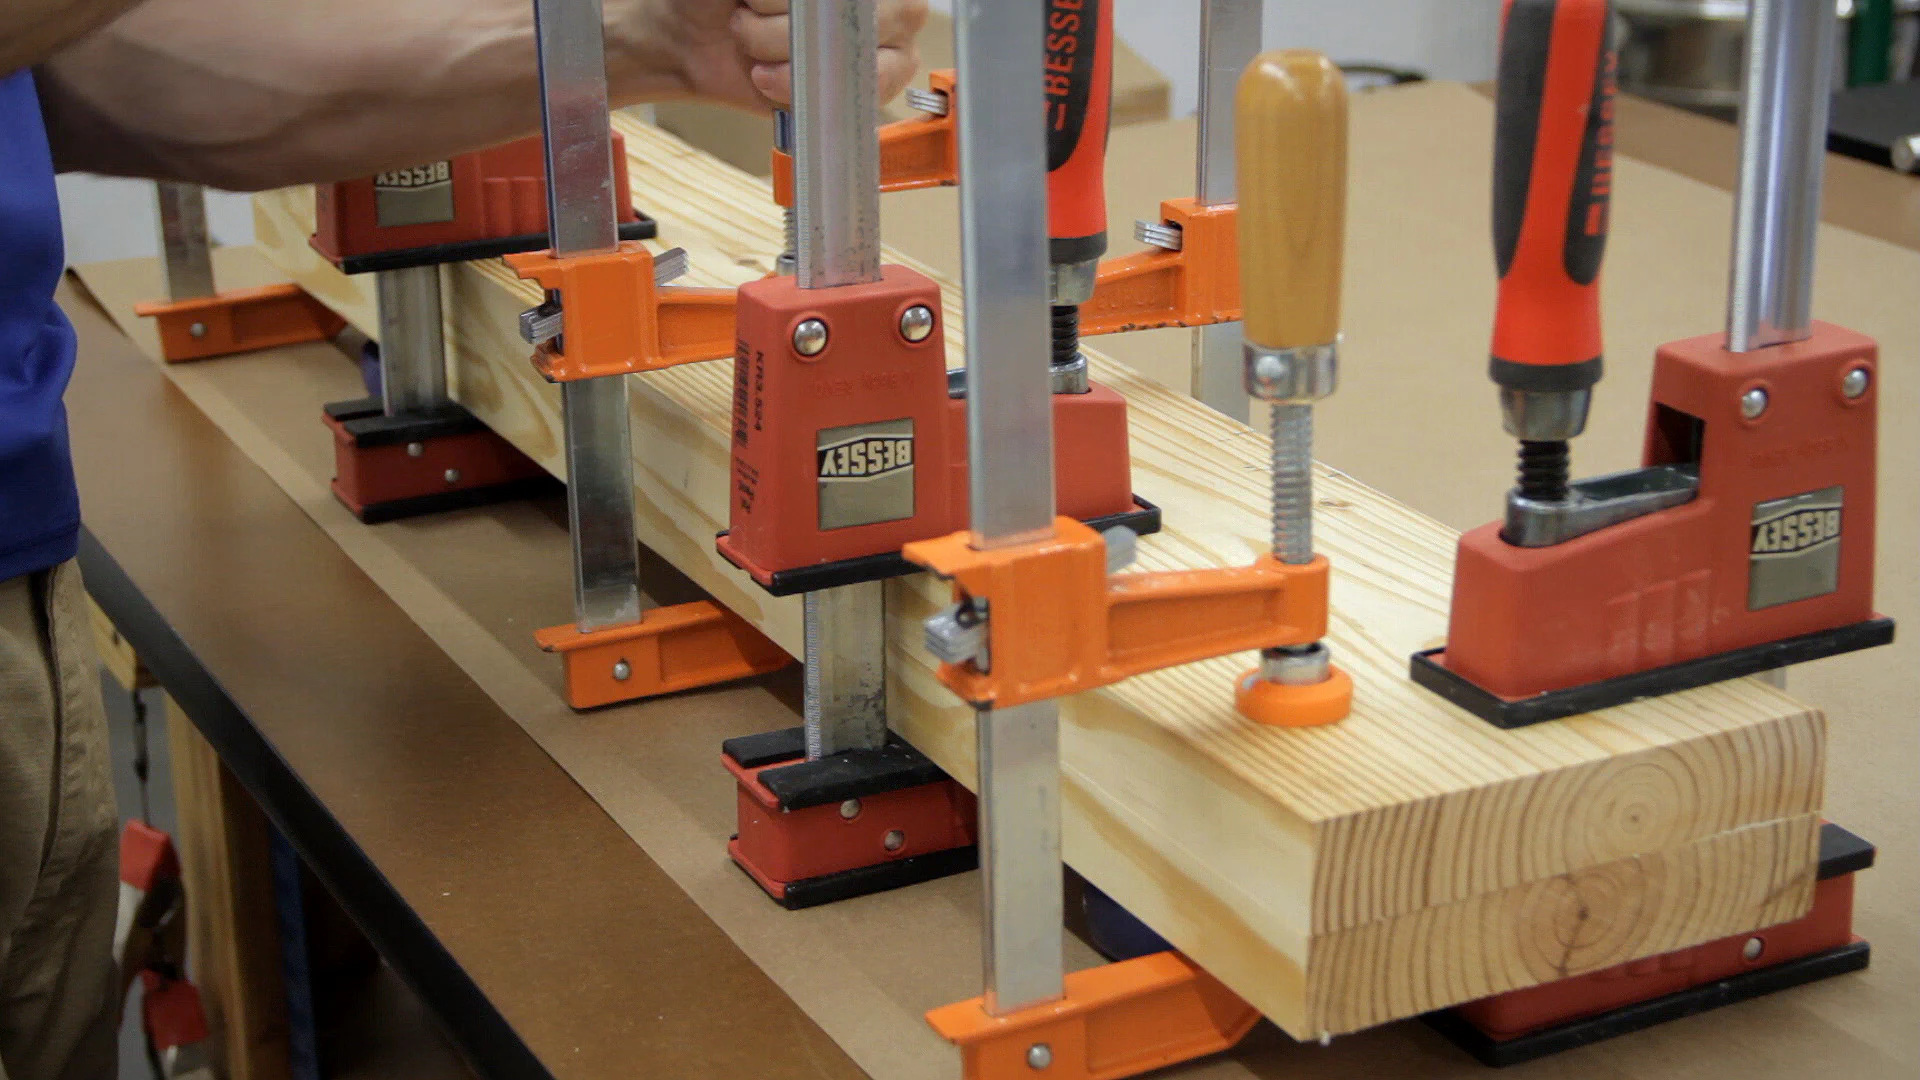
Once the glue dried, I took it back over to the jointer to flatten one face and one edge before surfacing the other face at the planer. I then took it back over to the miter saw to cut it to final length before ripping it to final width at the table saw.
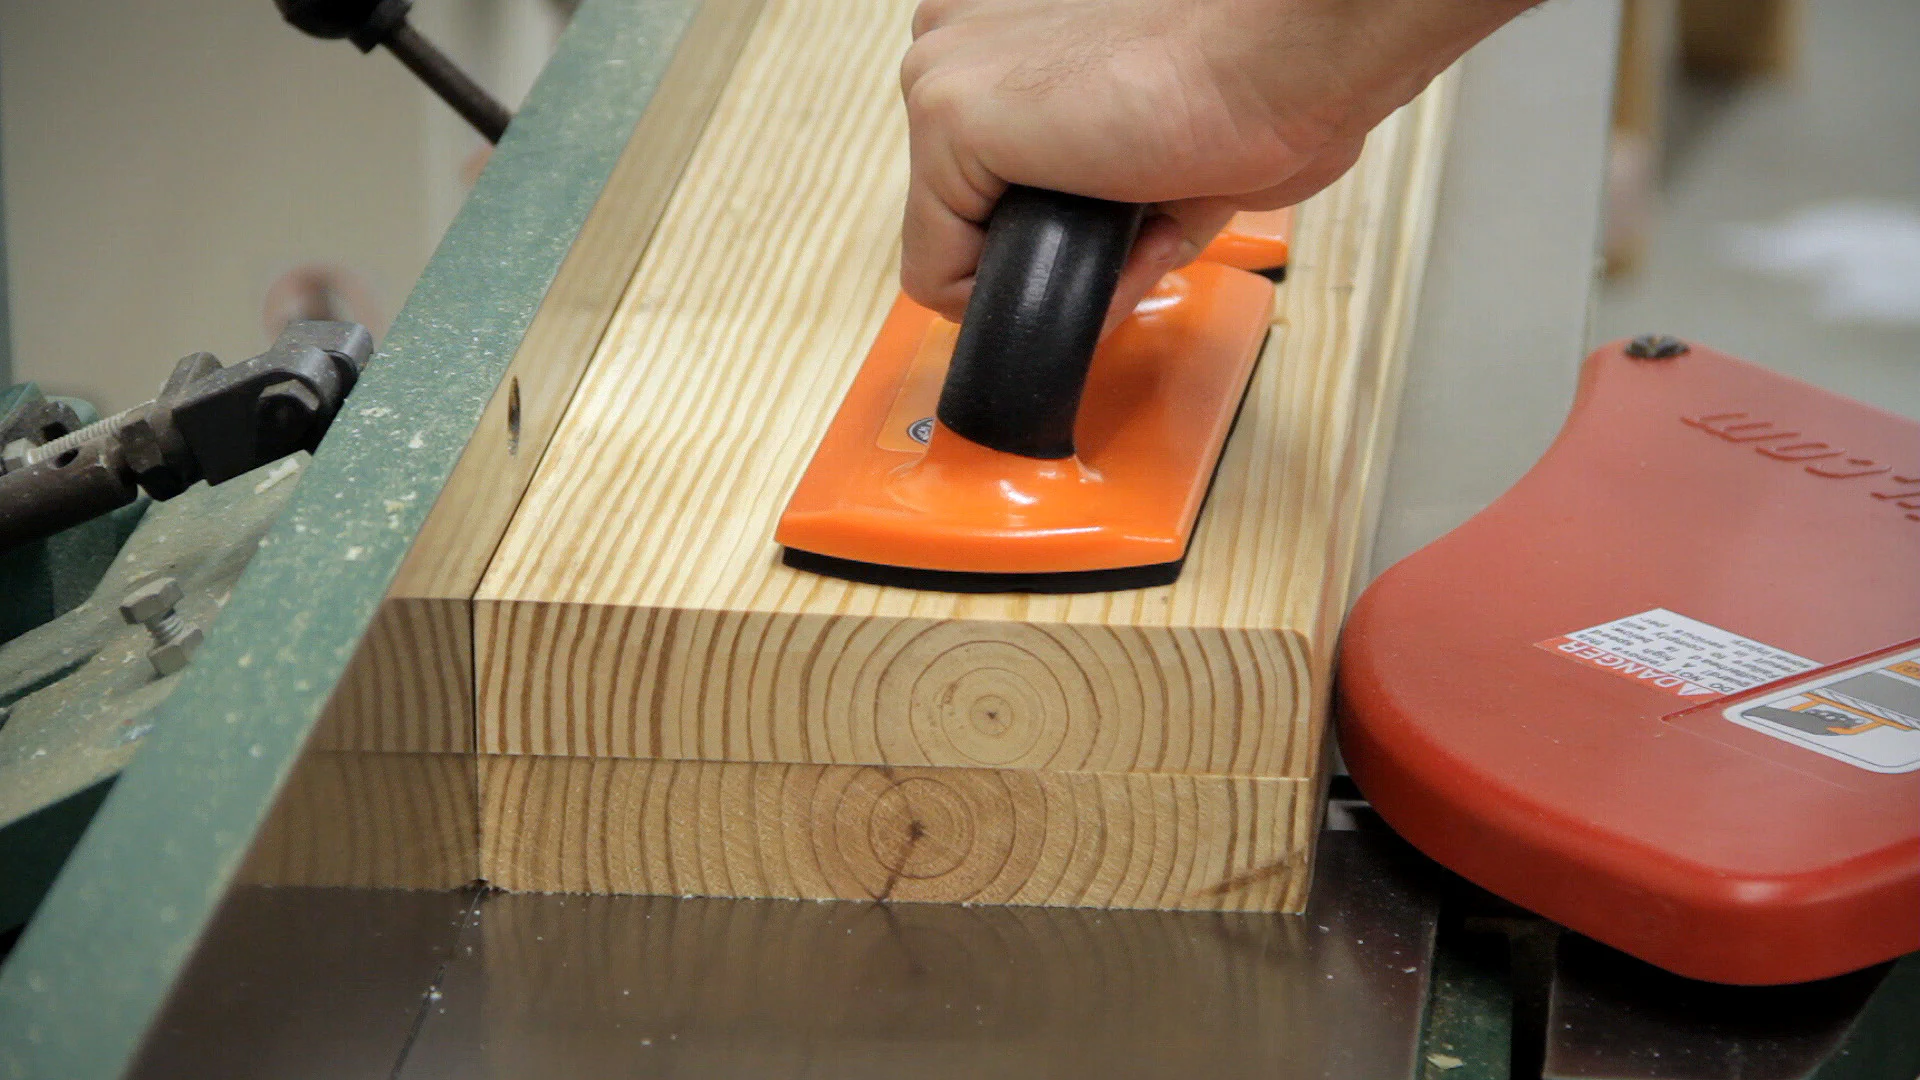
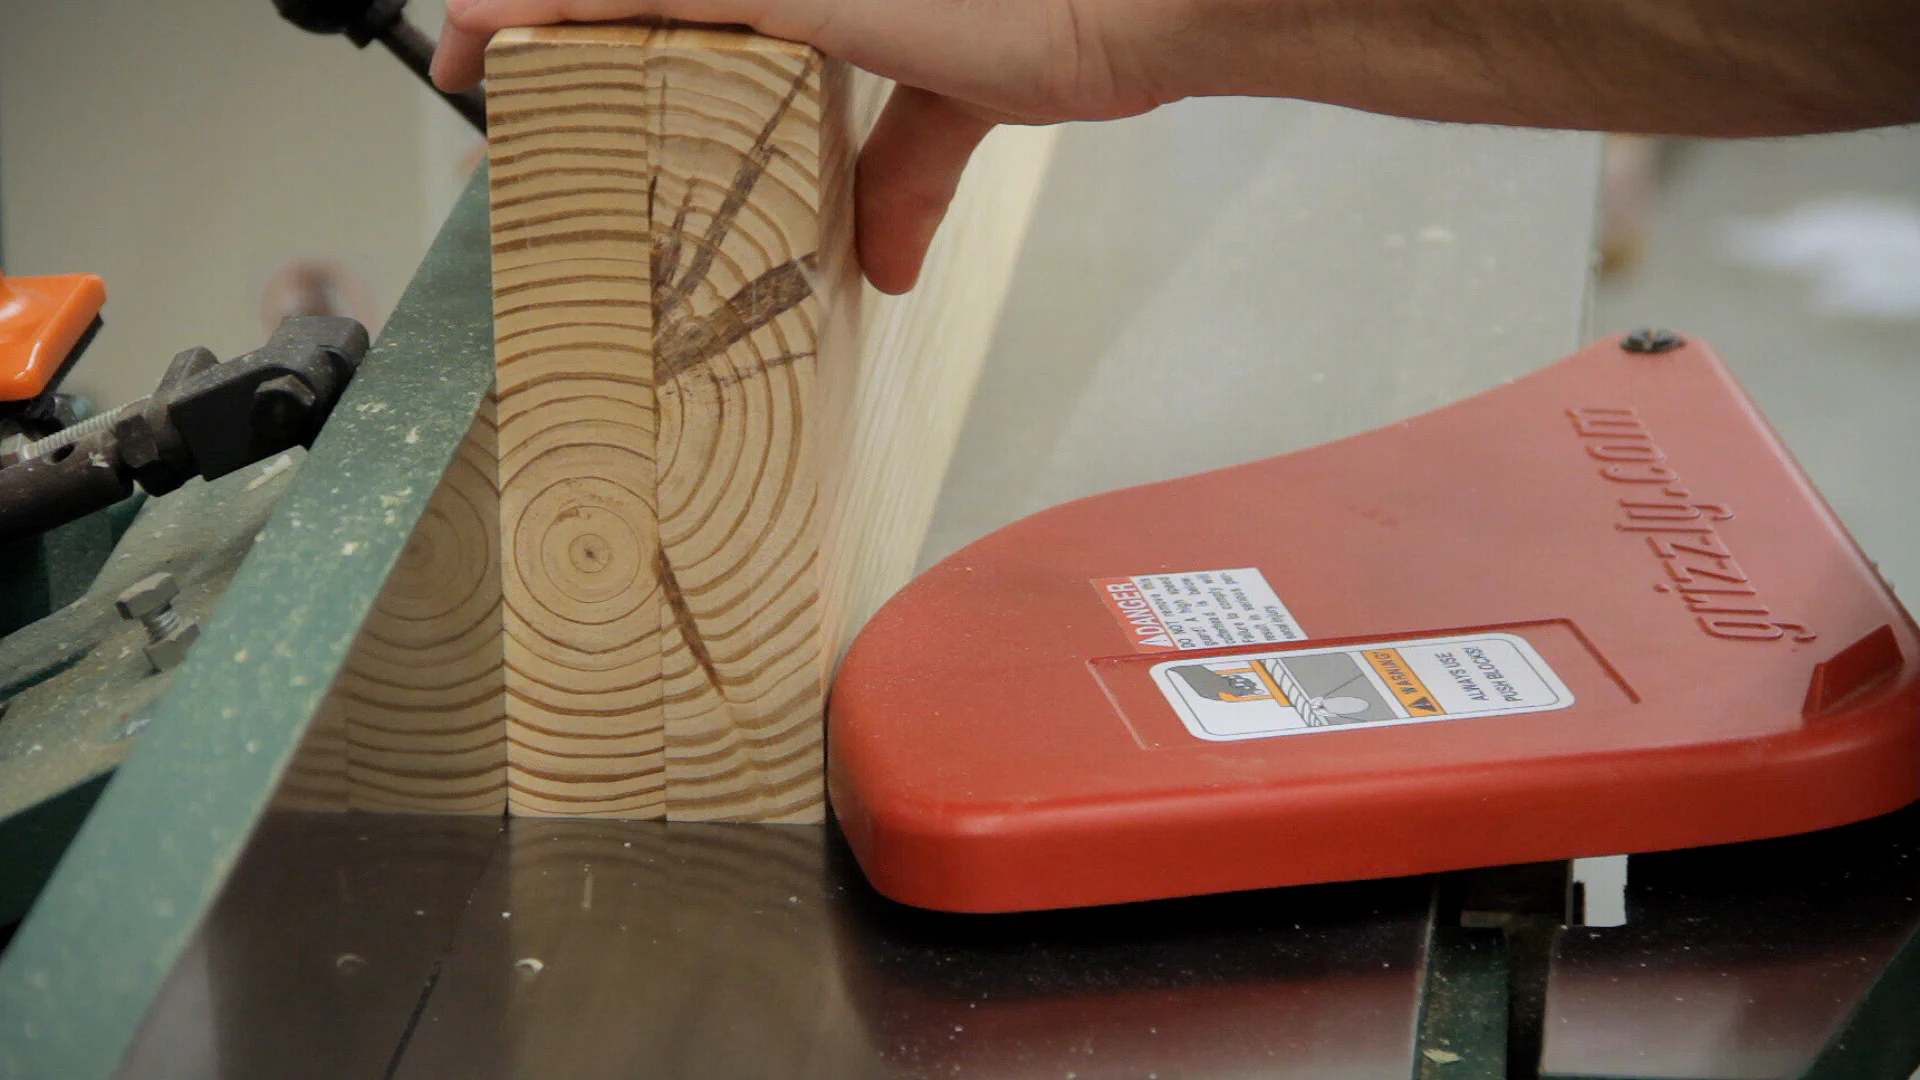
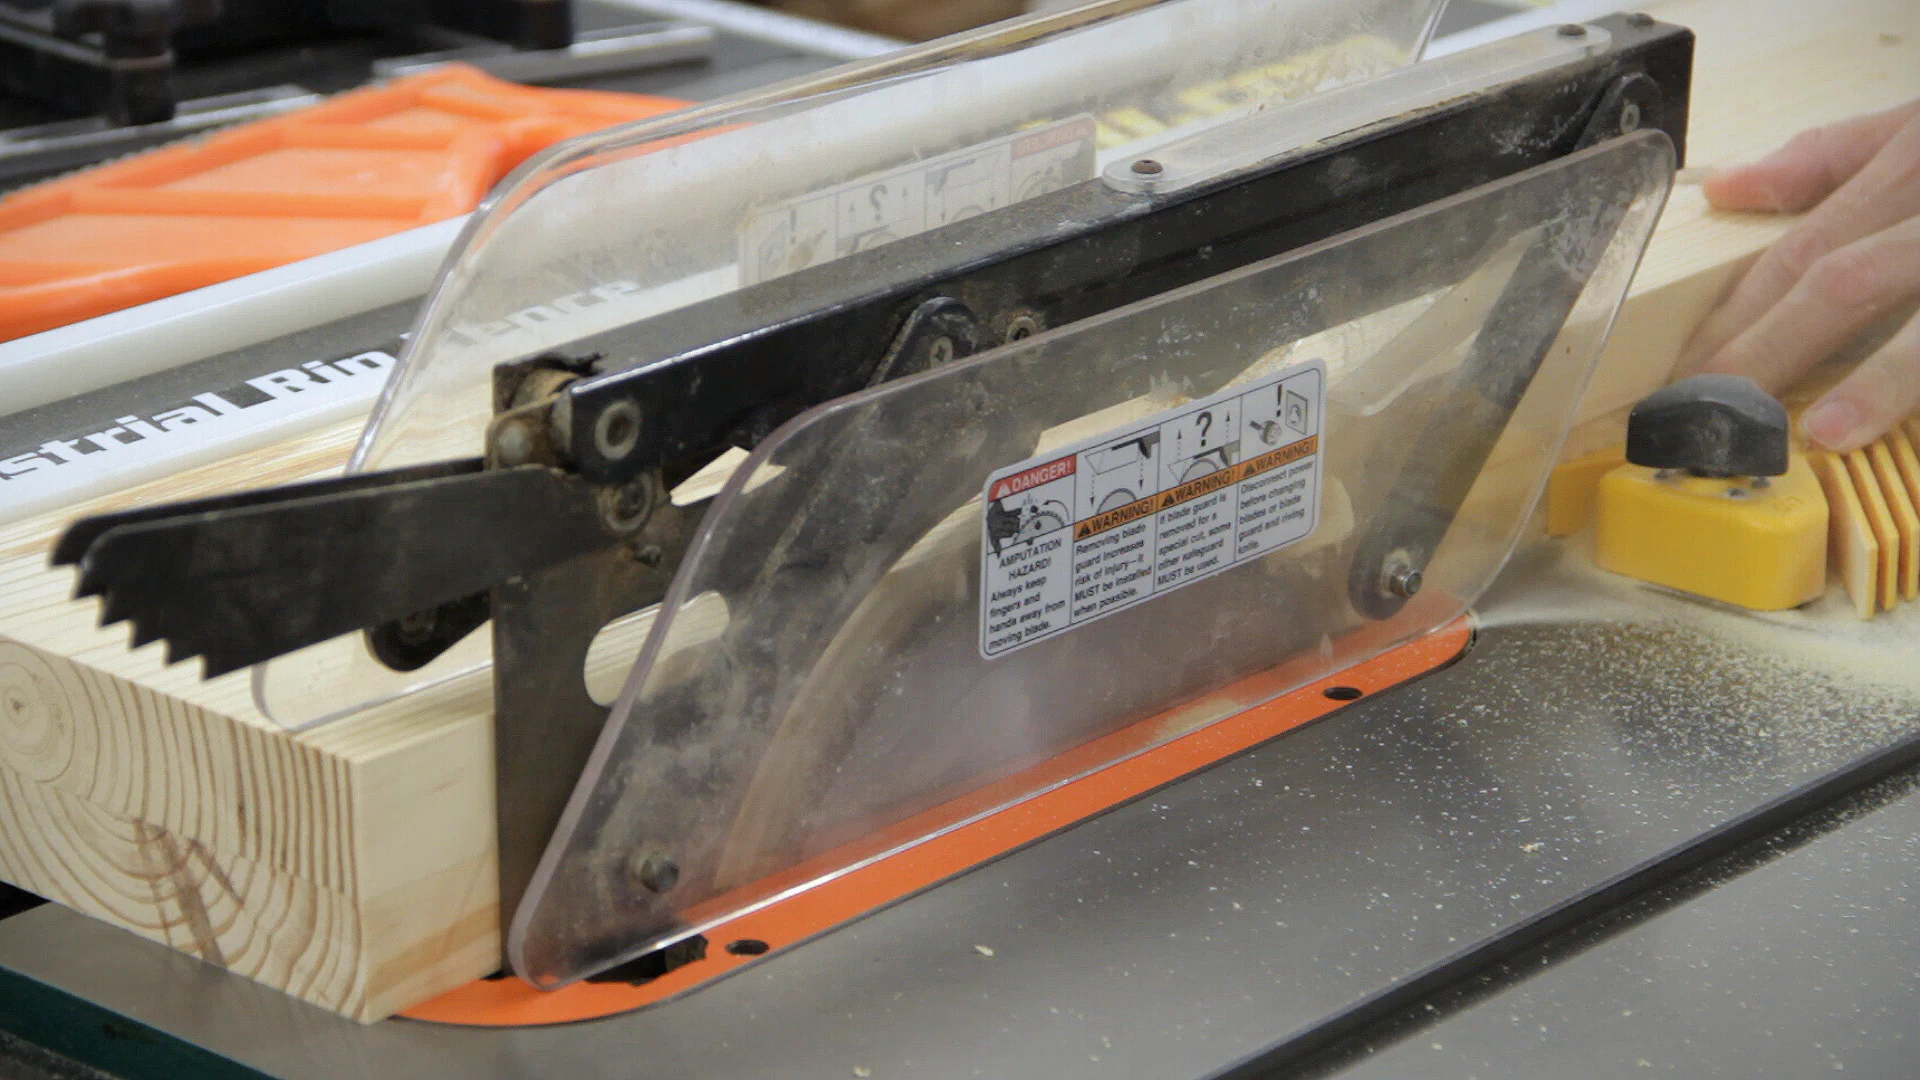
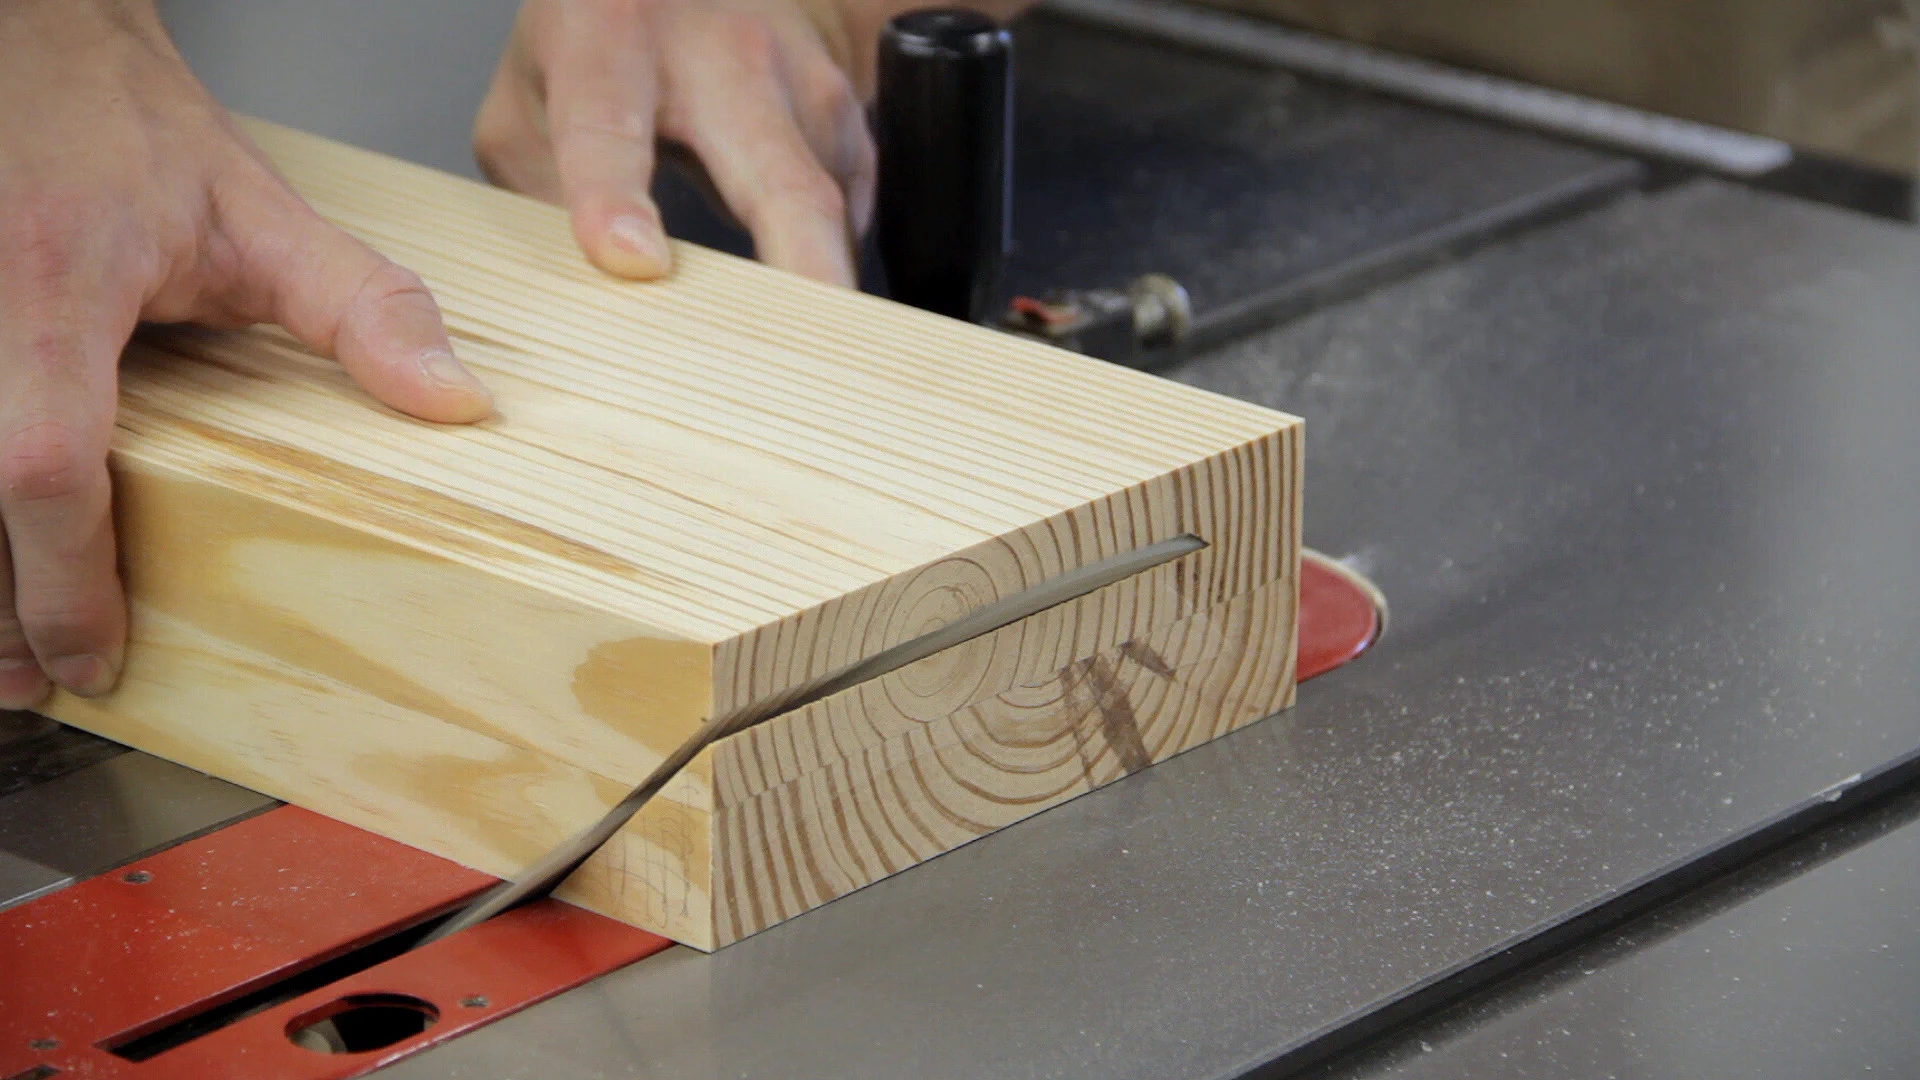
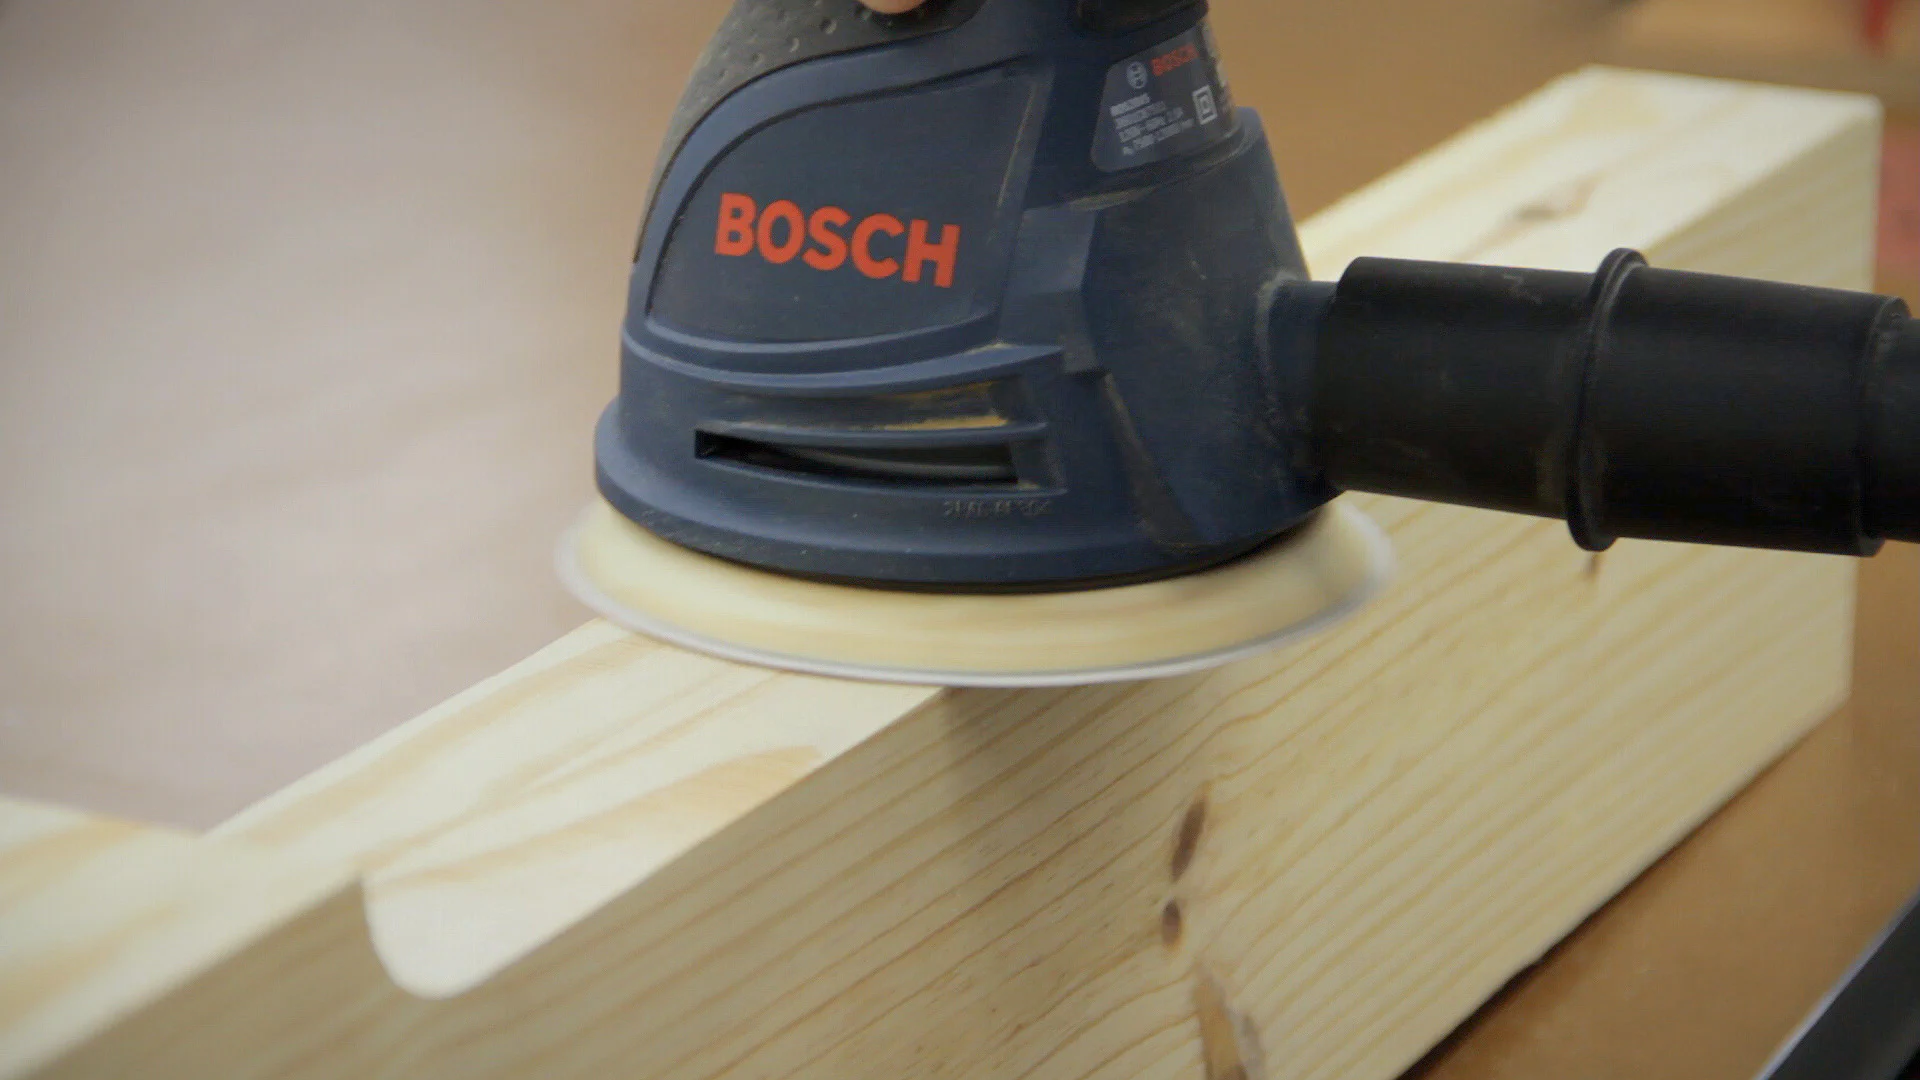
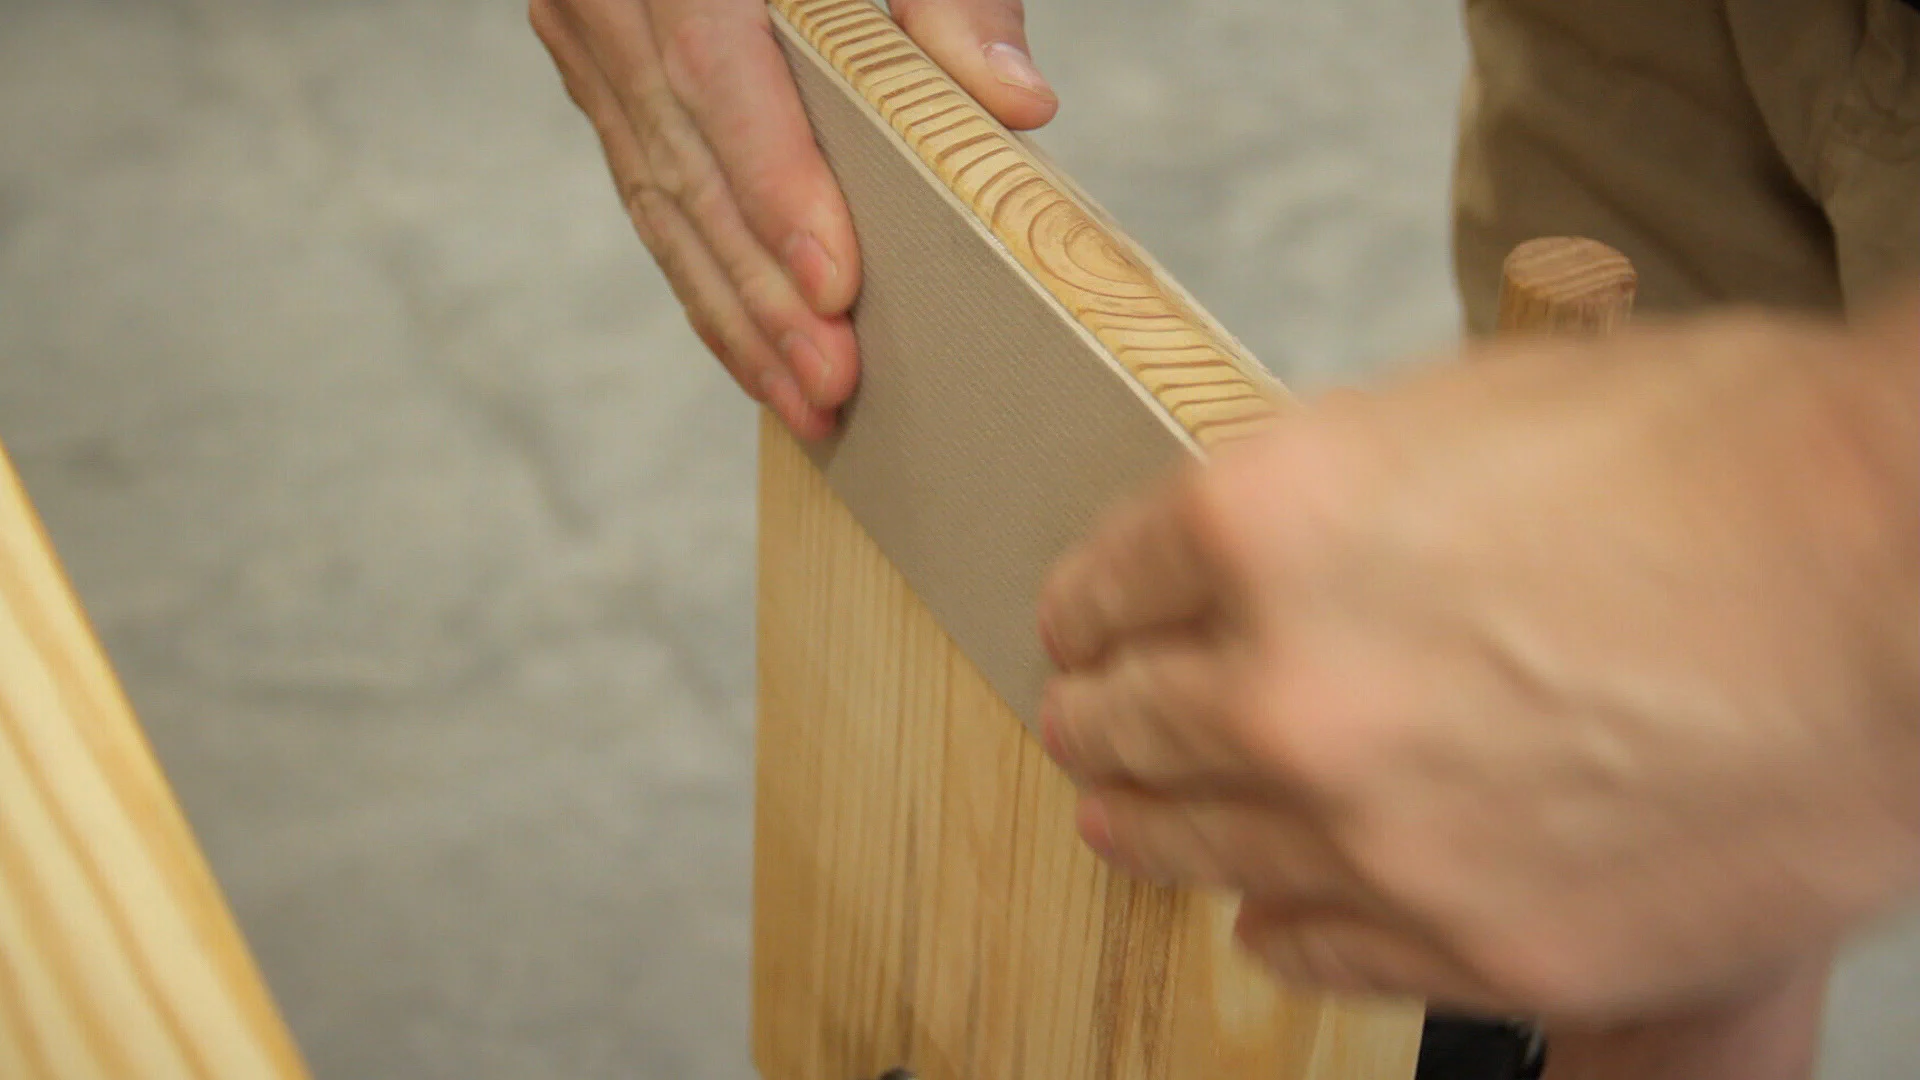
To make cutting pieces held in the vise easier, I went ahead and cut a bevel across the top of the chop before heading over to the drill press to make it look slightly fancier and lighten it just a bit.
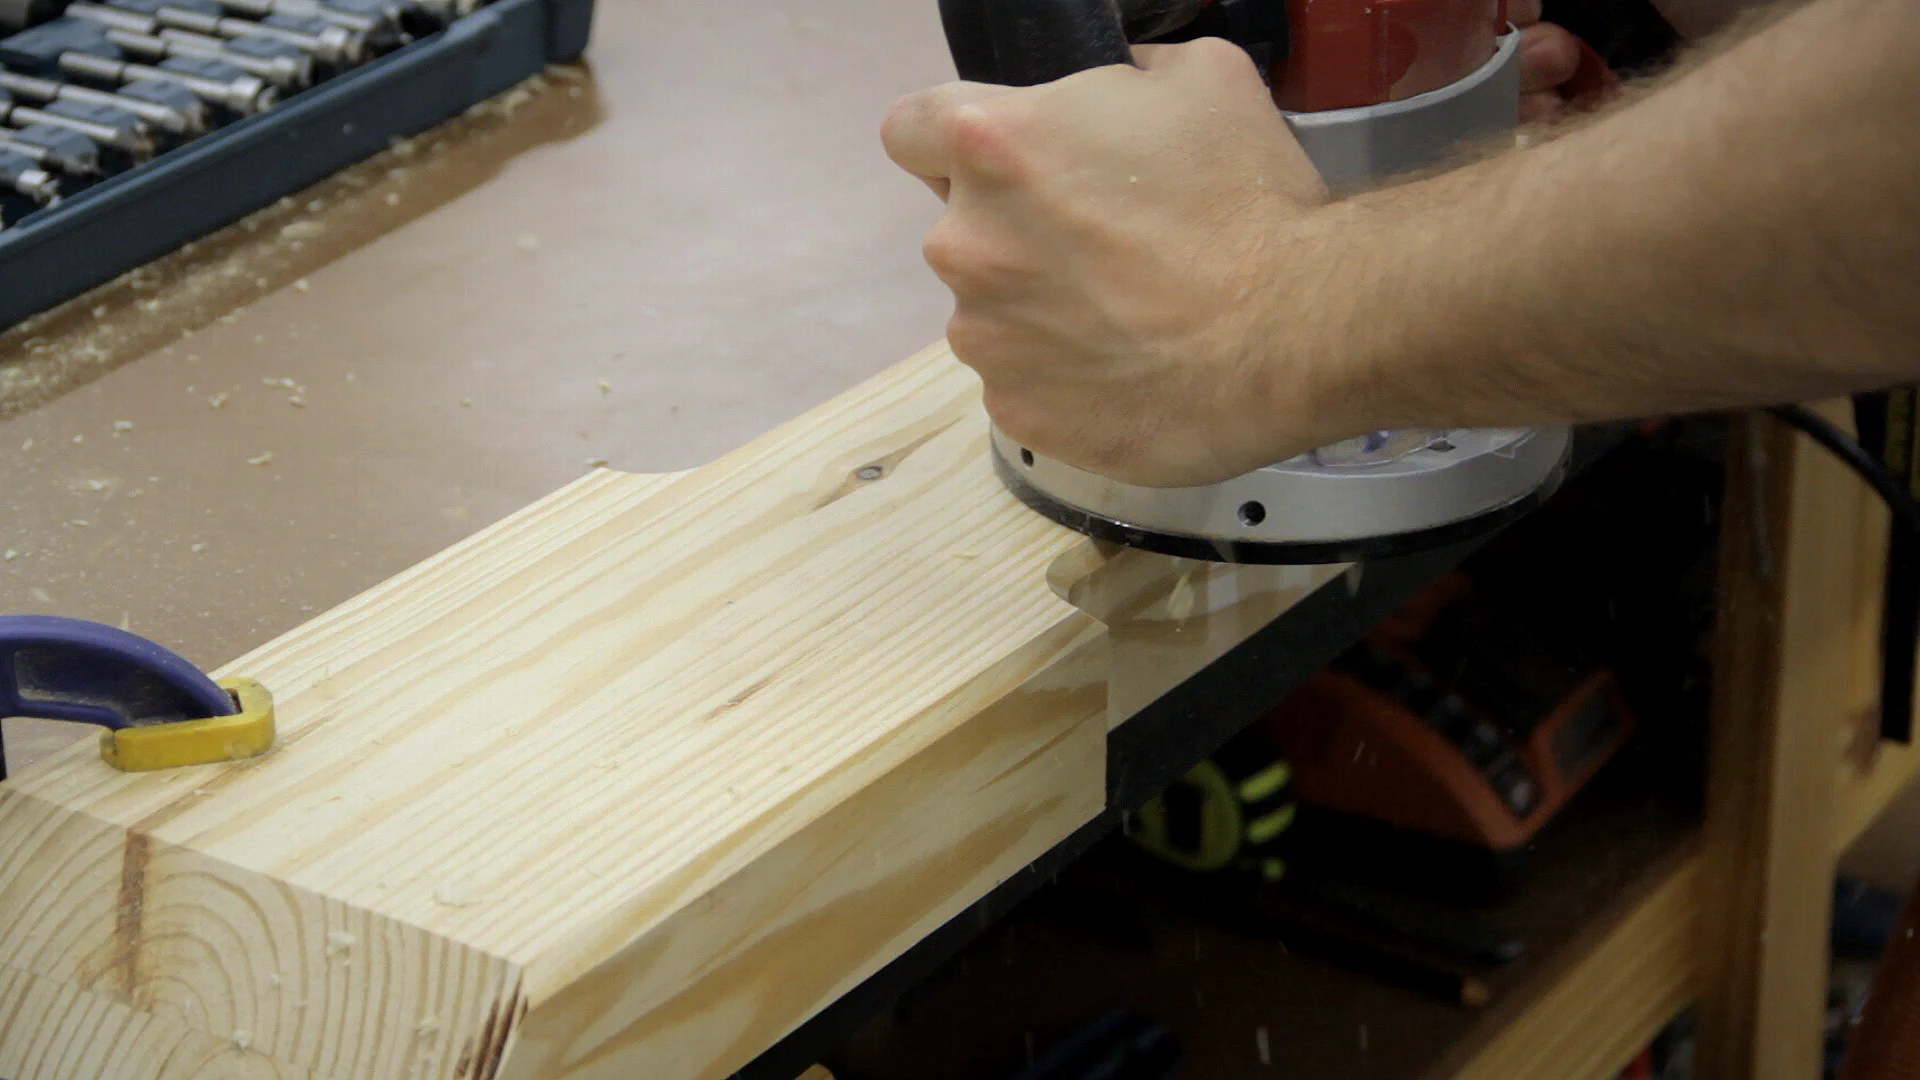
To do that, I used a large Forstner bit to cut out a curve about a foot from the top on each side. I then scribed a line along the edge starting at the inside of the curve and cut the pieces off at my band saw.
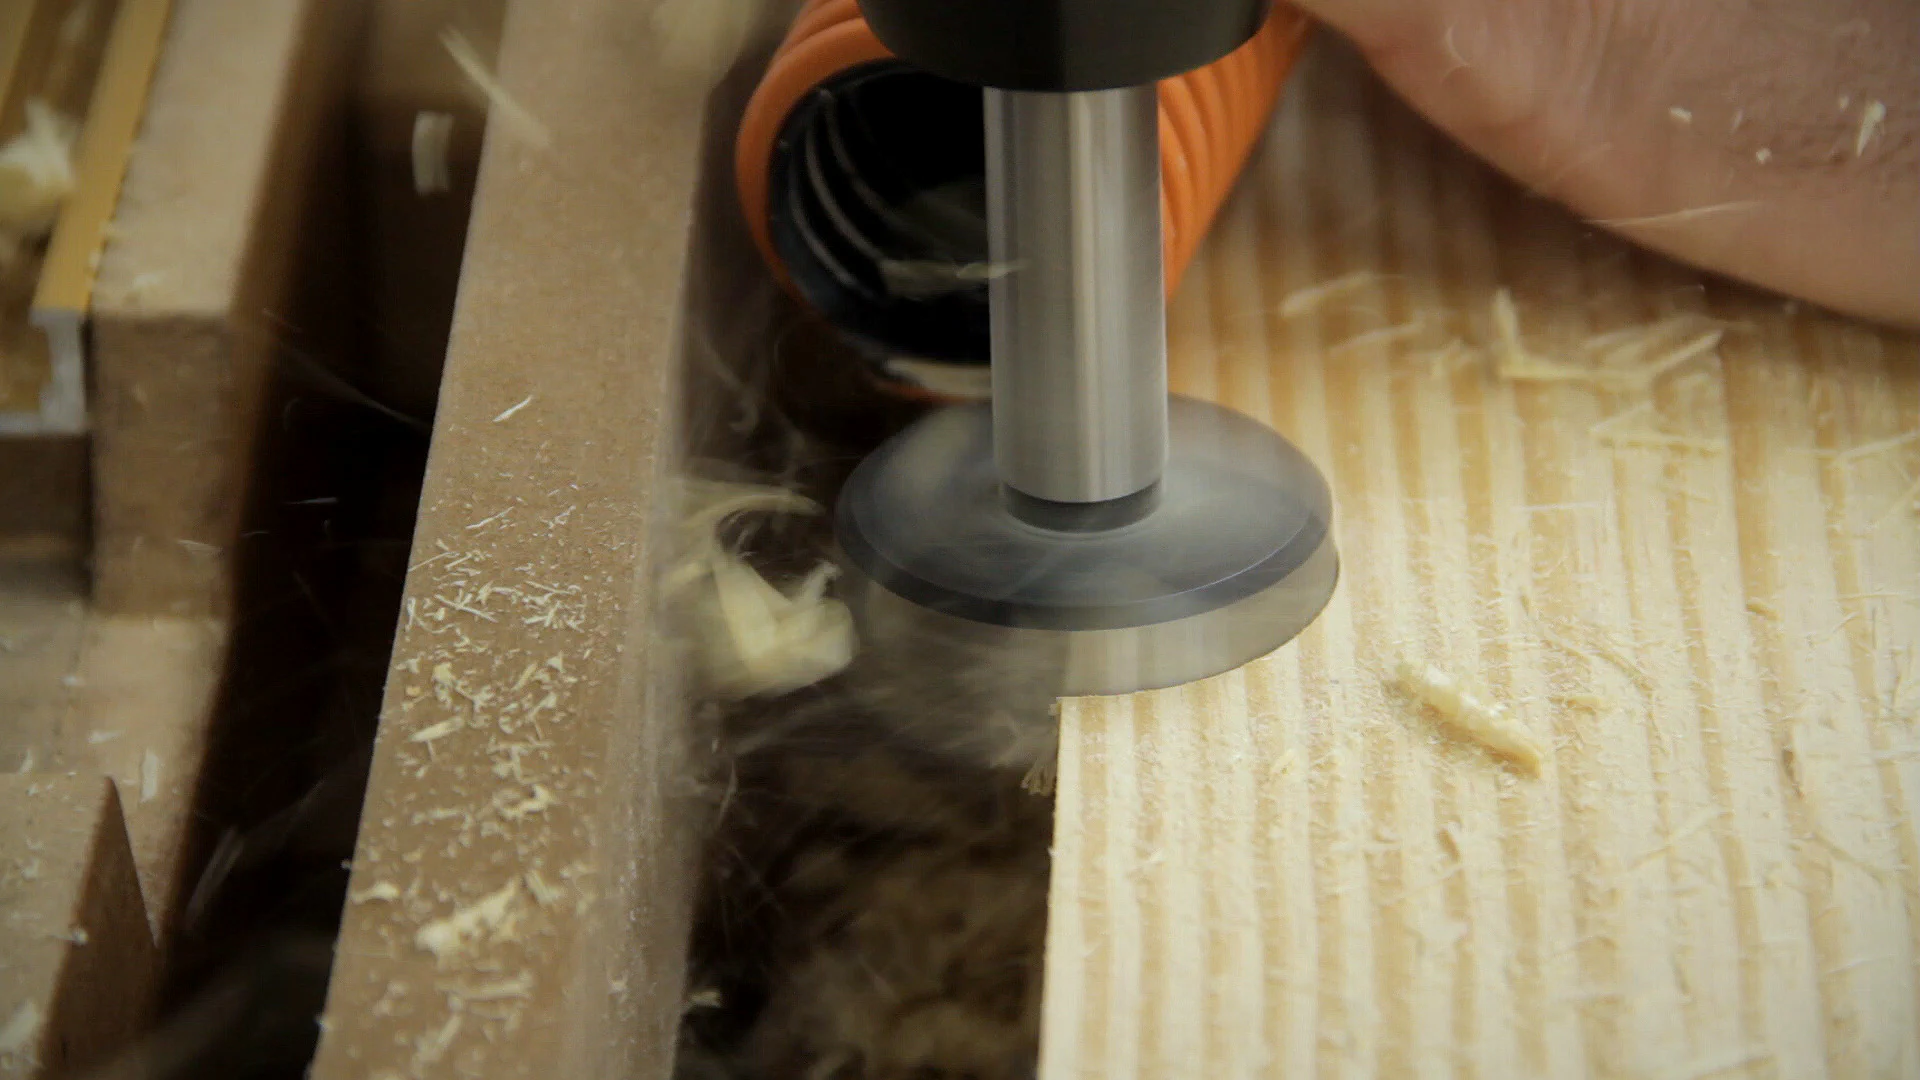
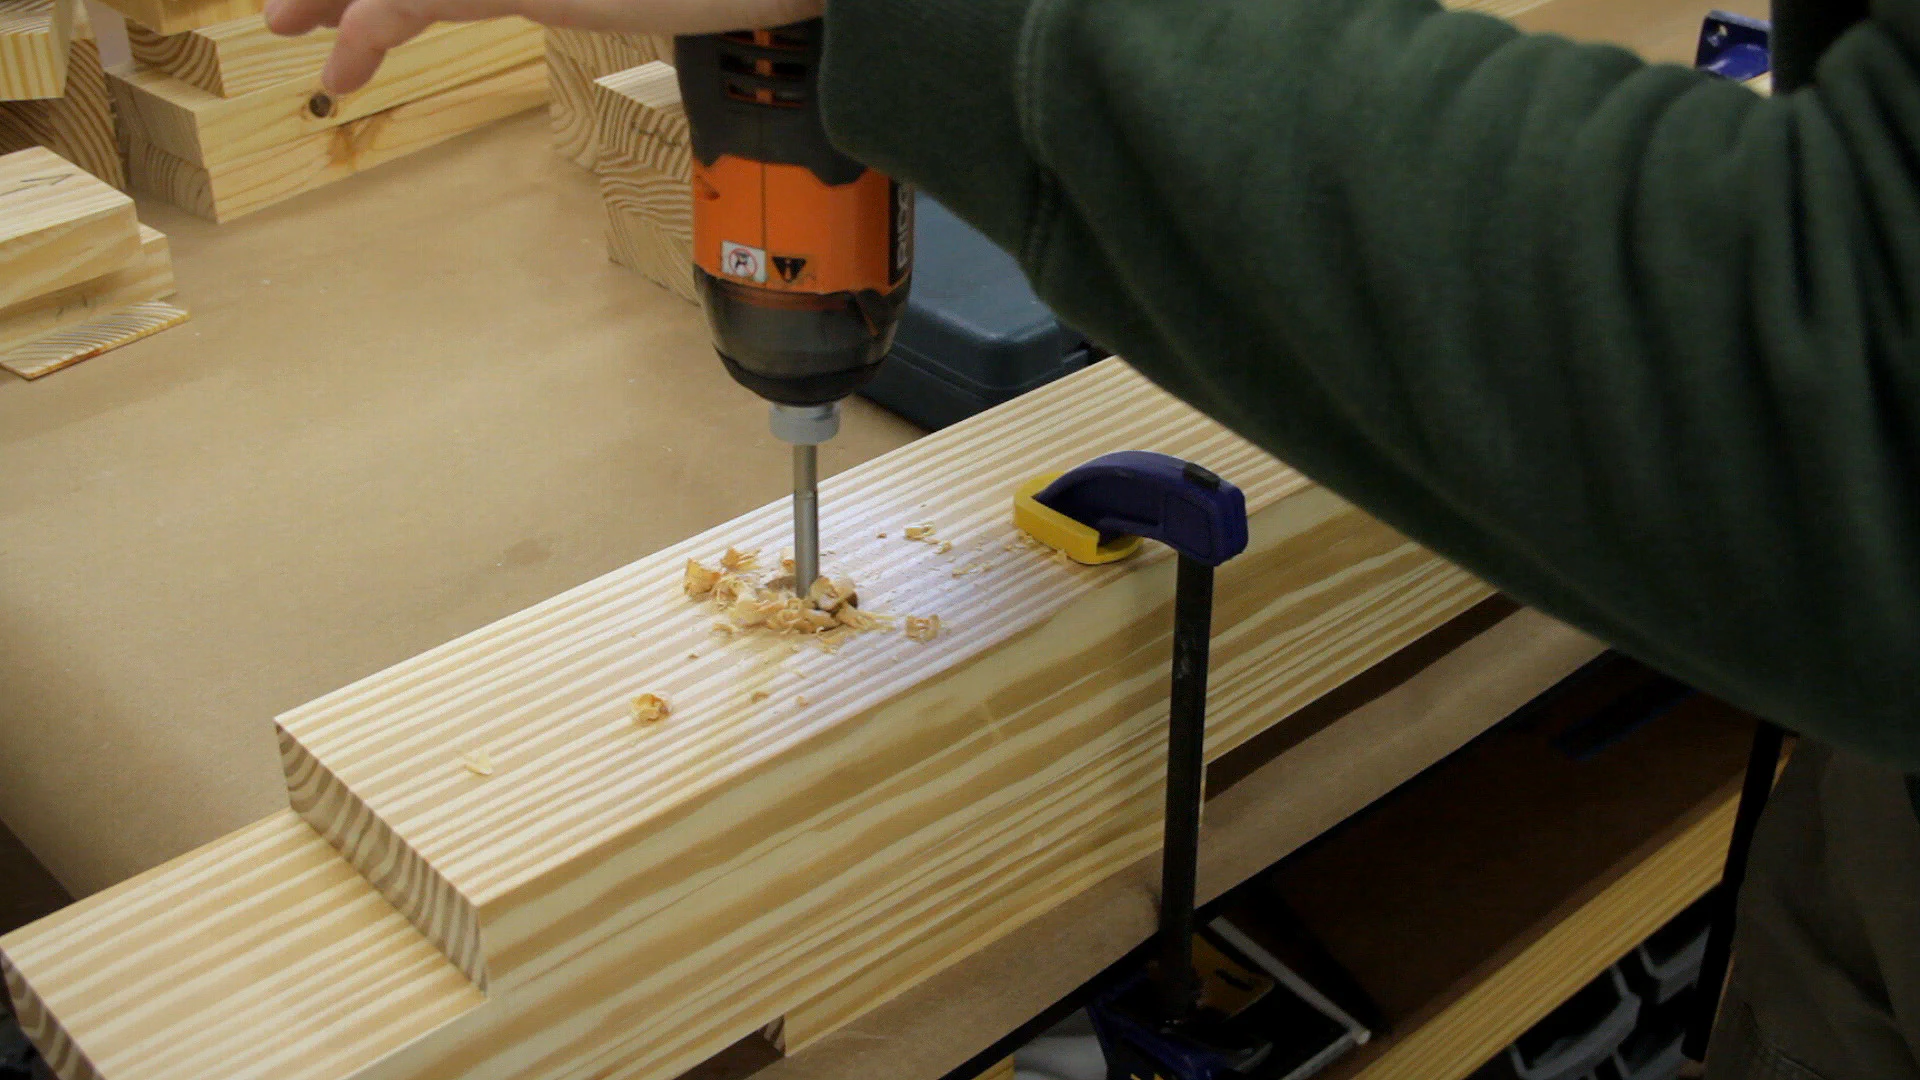
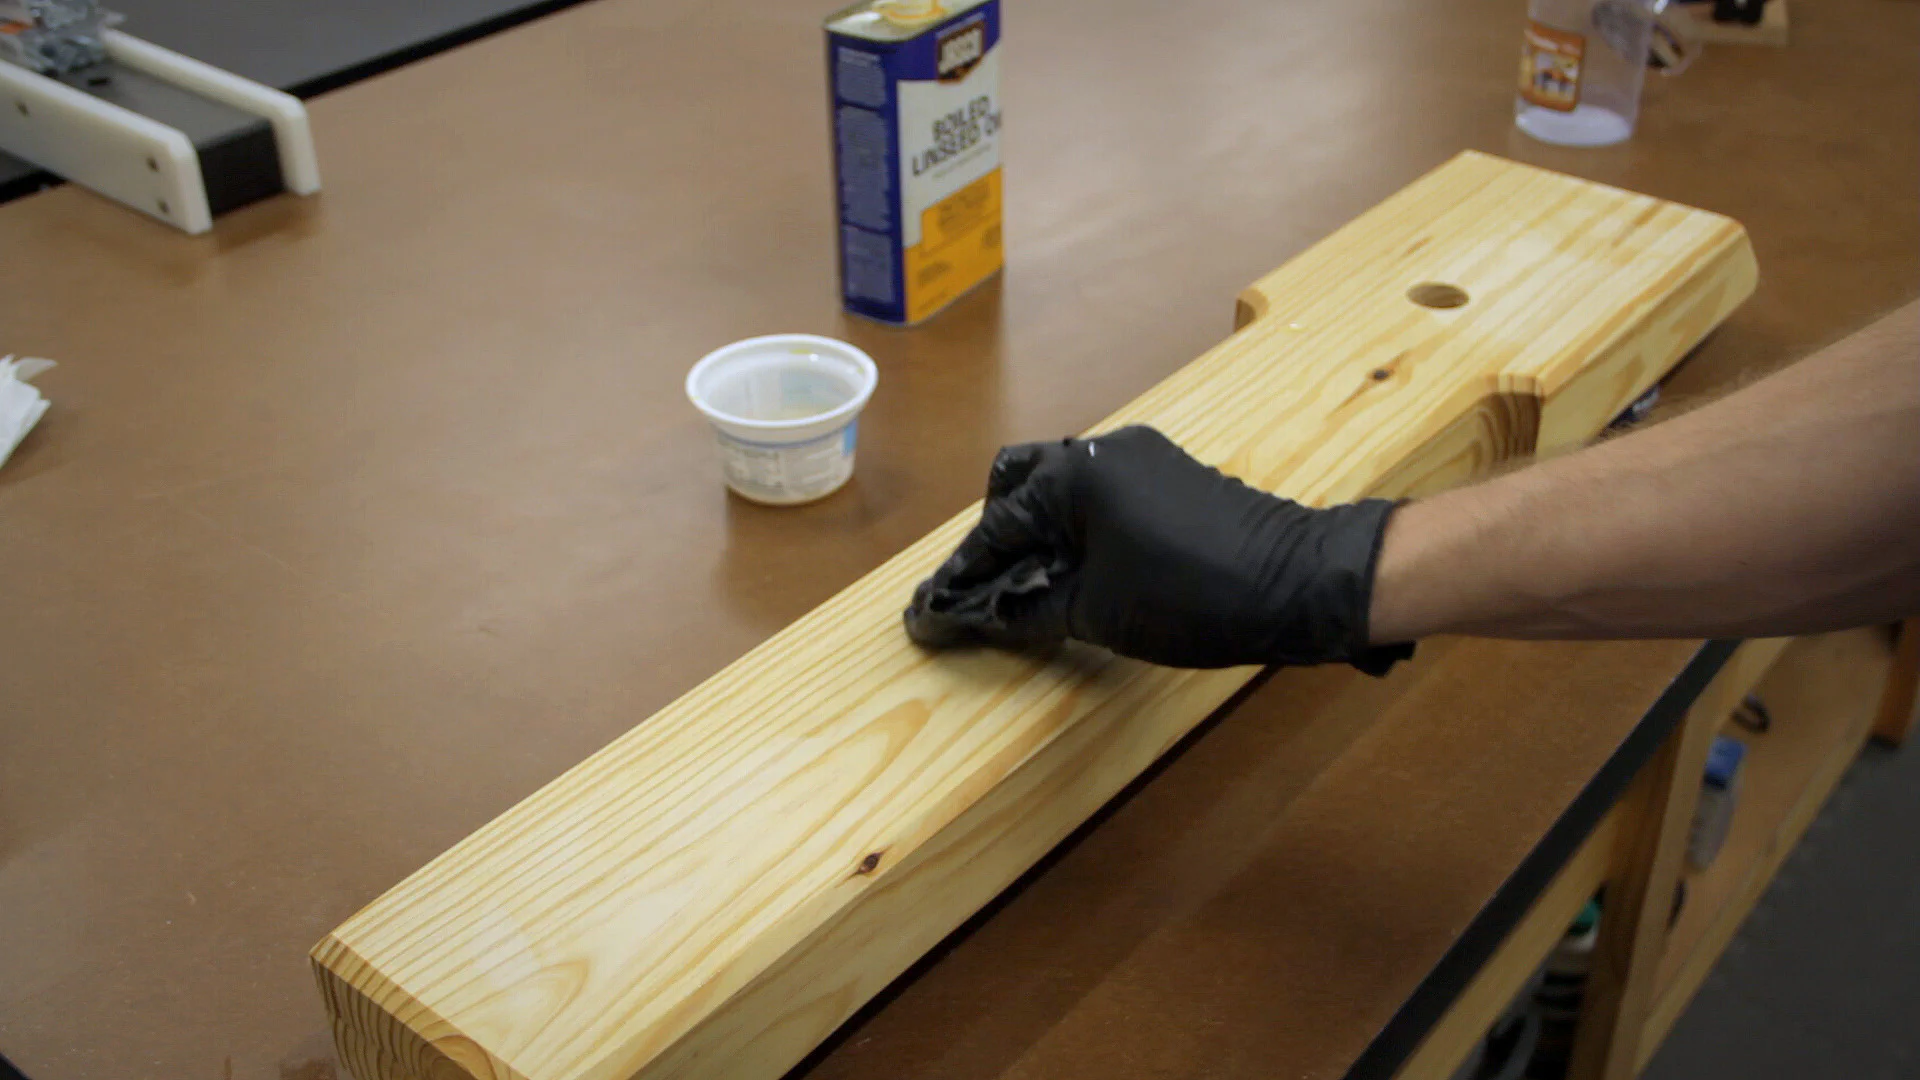
After a little sanding to clean up the bandsaw marks, I added a 1/4" chamfer to the front edge of the chop using my router before drilling out the hole for the vise screw at the drill press and wiping on a little boiled linseed oil.
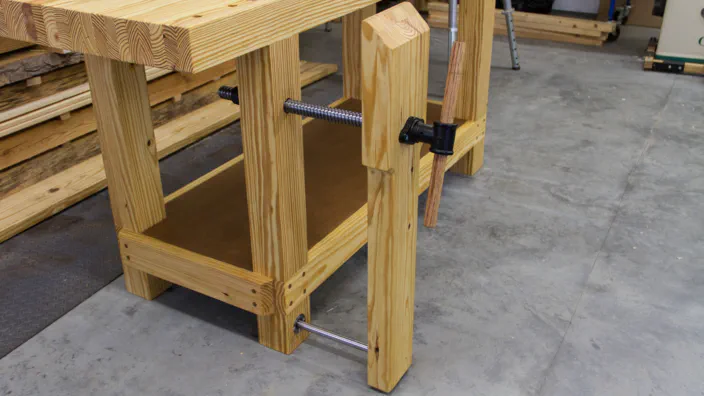
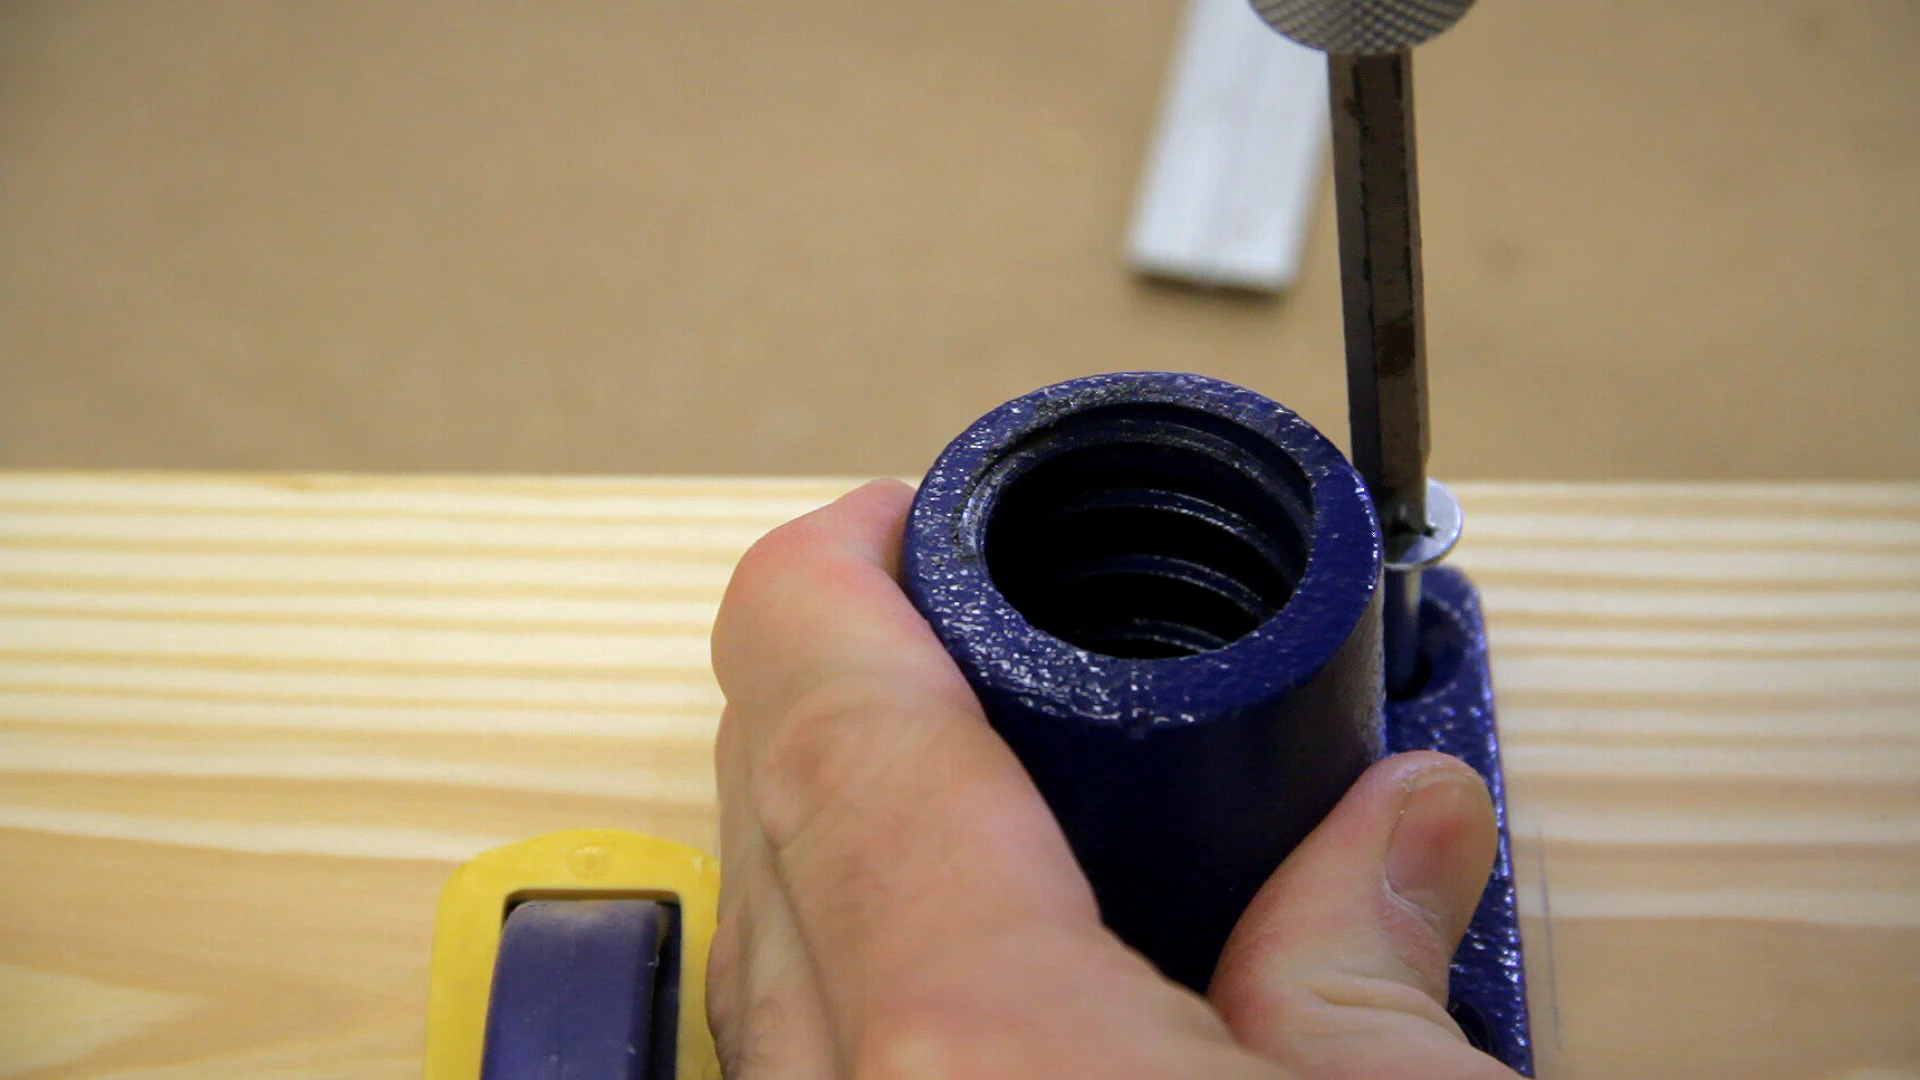
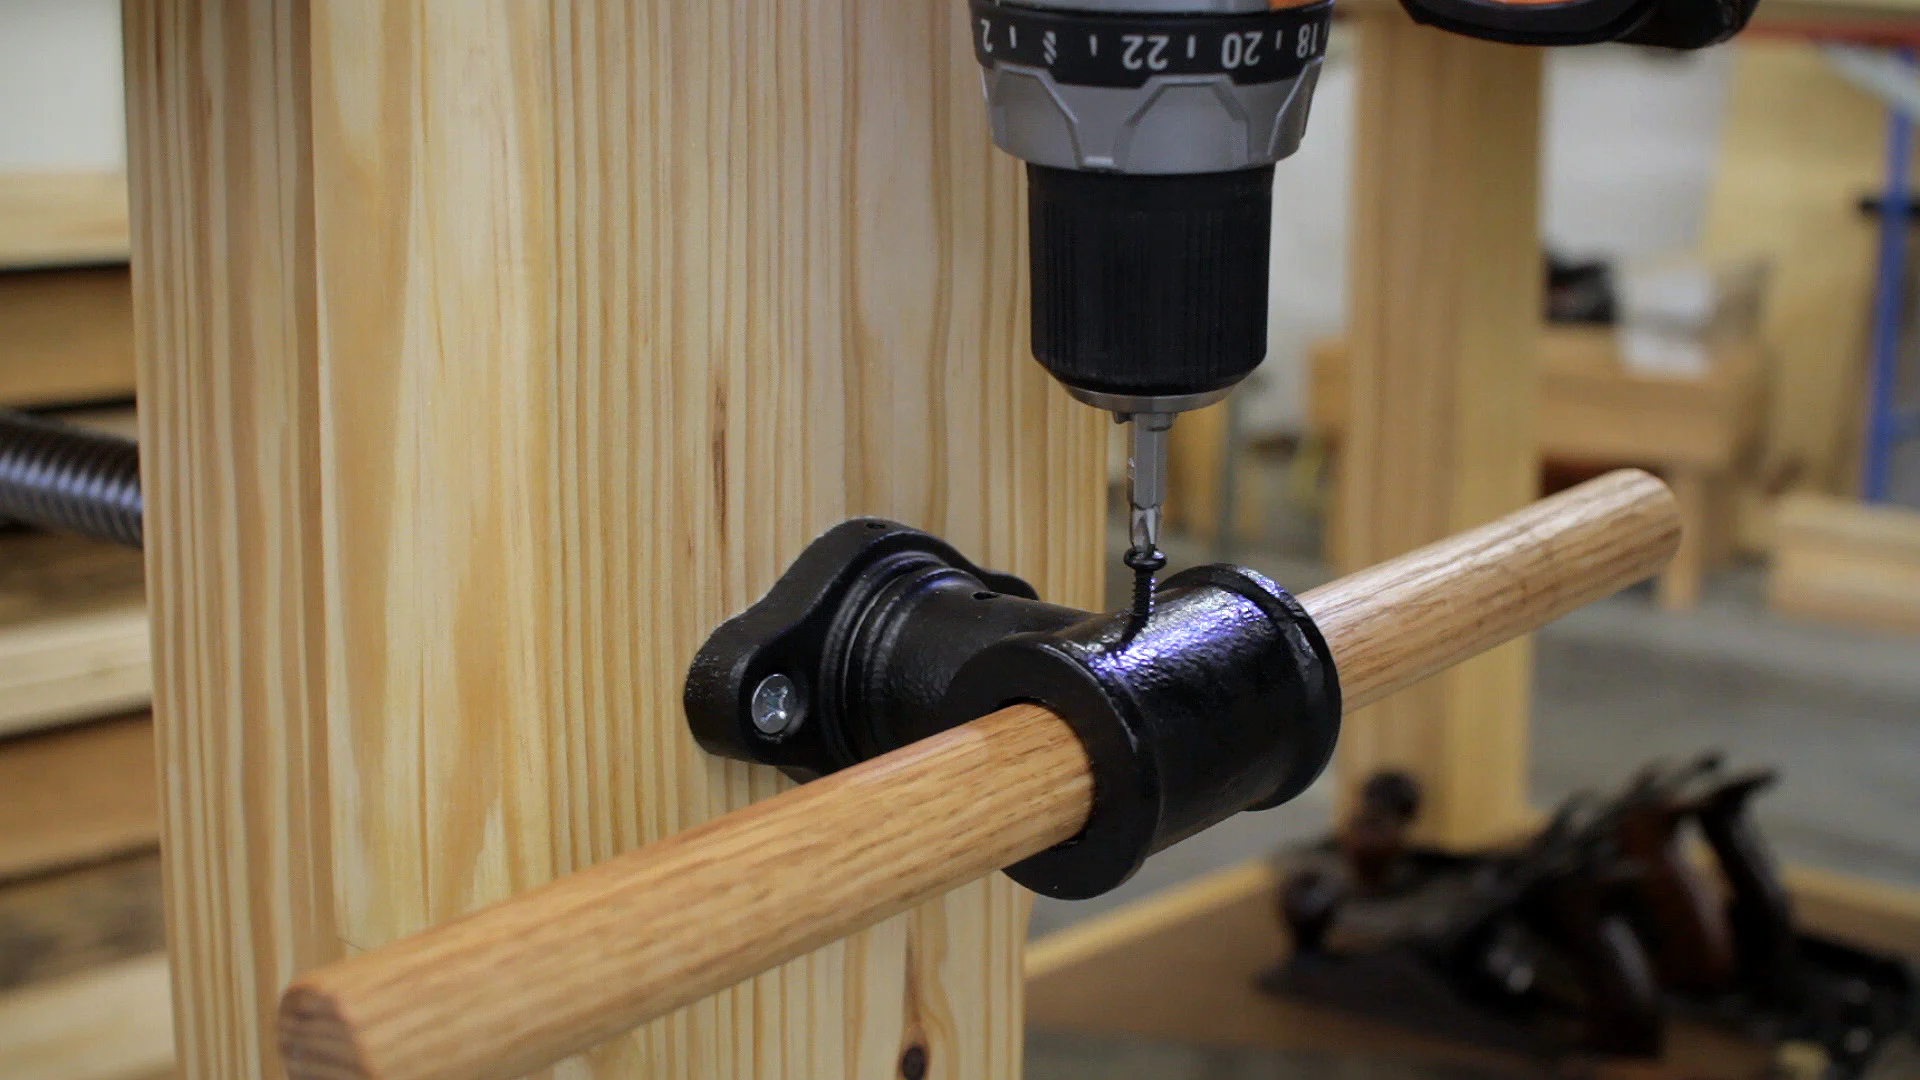
Then it was time to attach the vise to the bench. I started by reattaching the screw collar to the back of the leg. I then inserted the vise screw through the chop and threaded it onto the collar. To ensure that the screw was centered in the hole in the chop I shimmed it along the floor, and then pre-drilled and attached the screw to the chop with a pair of 2" #14 screws.

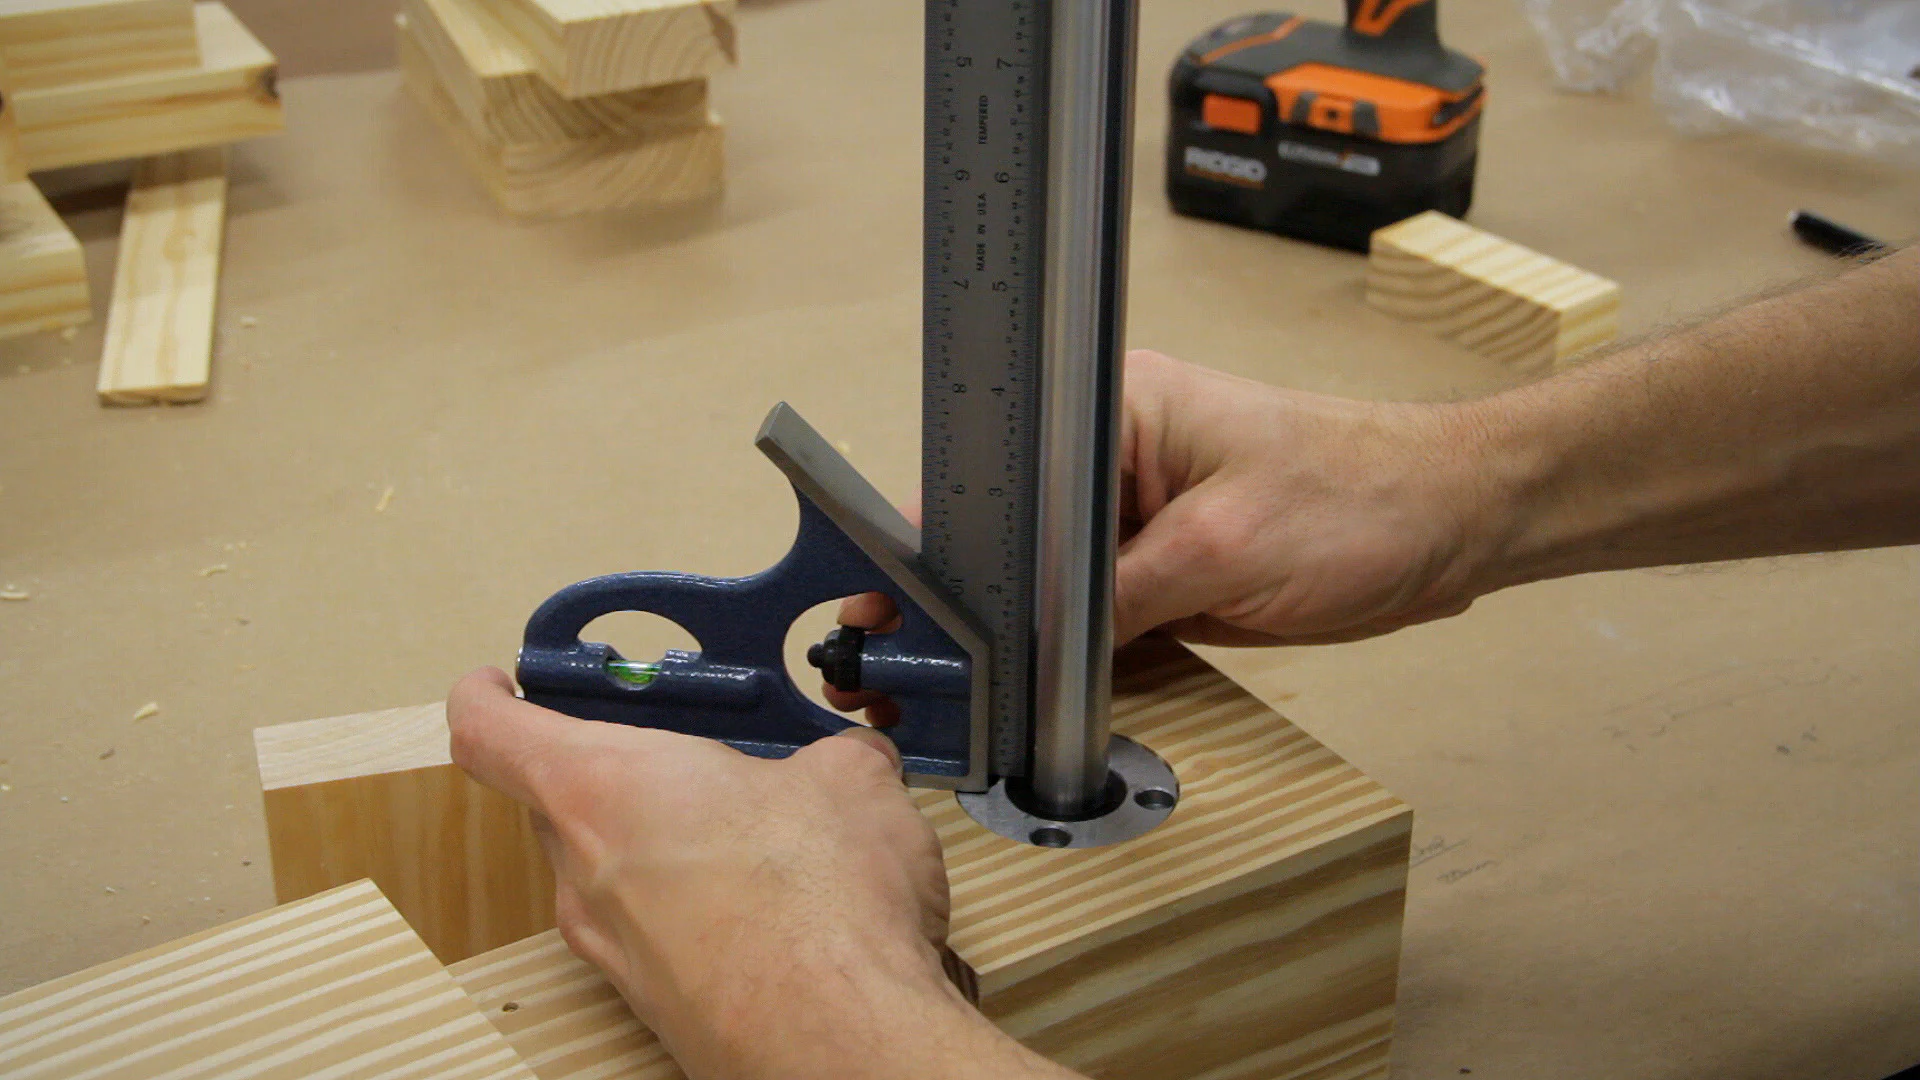
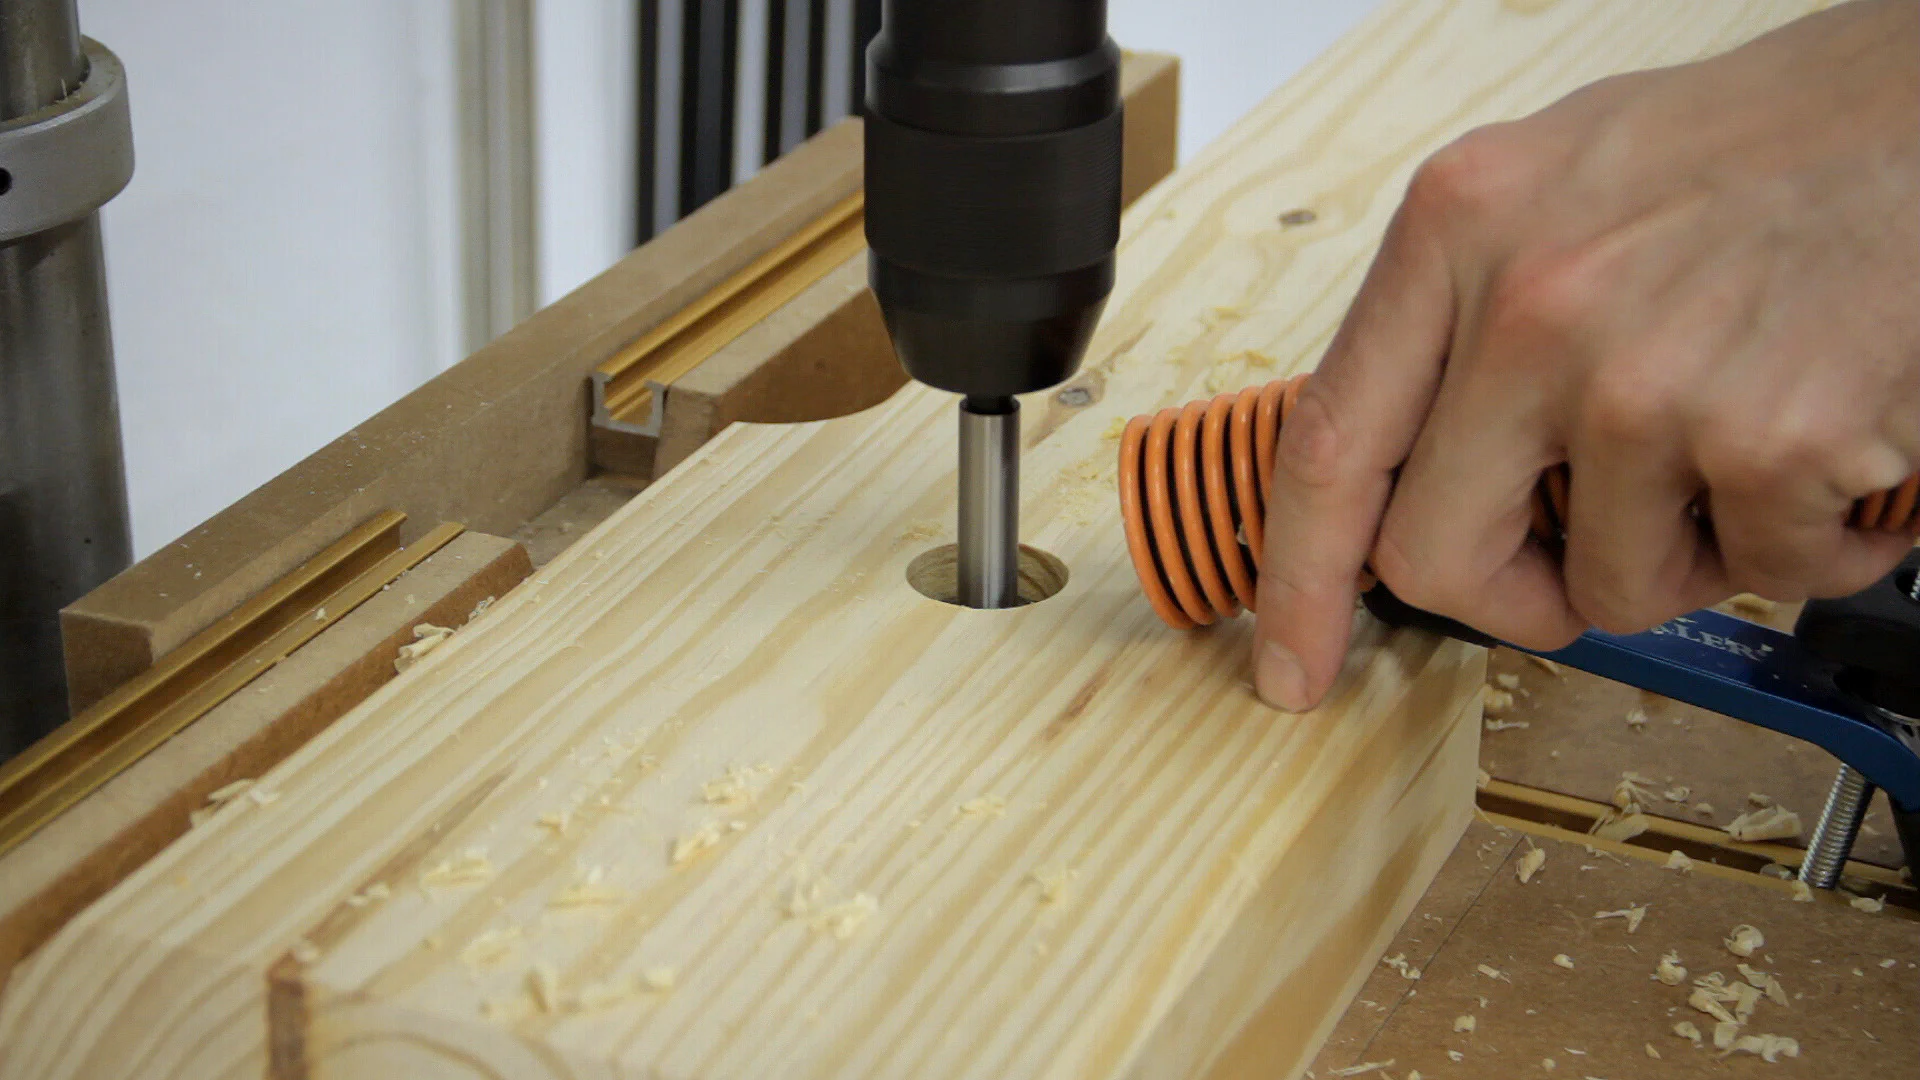
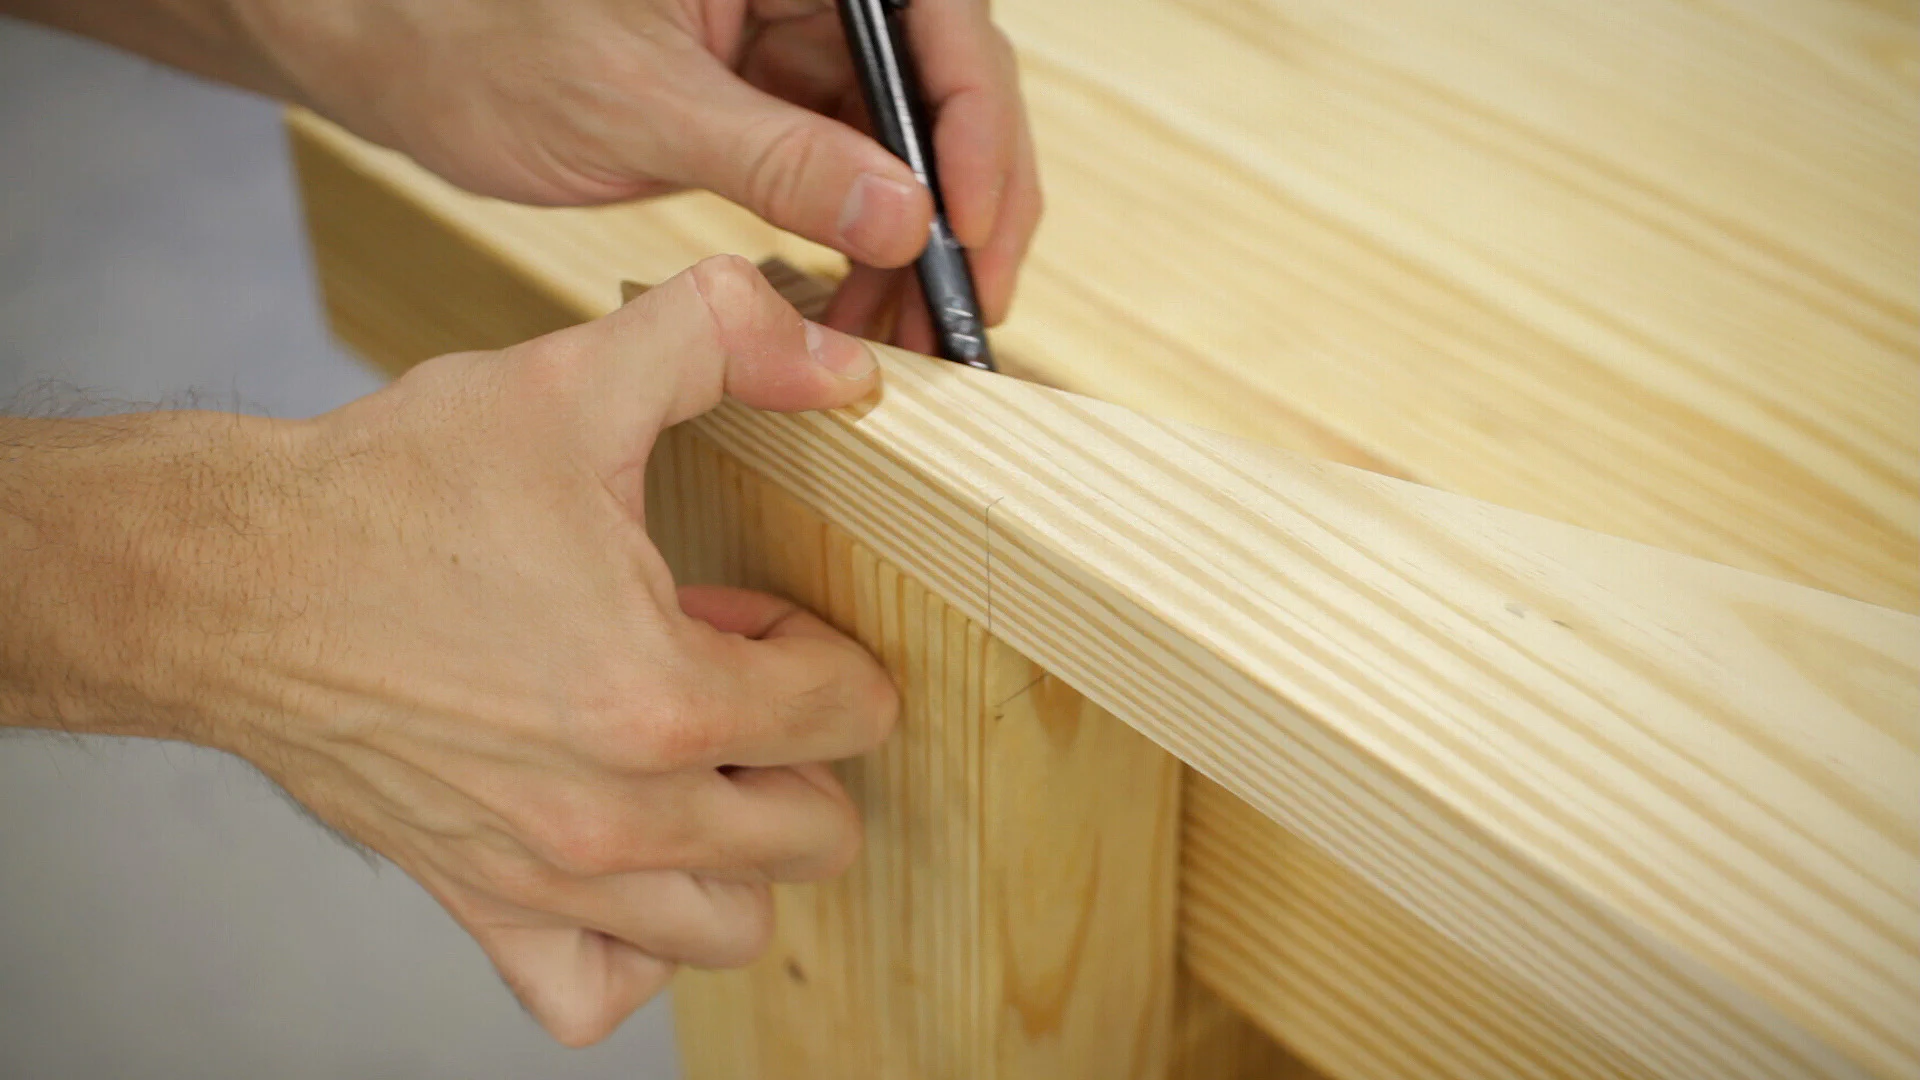
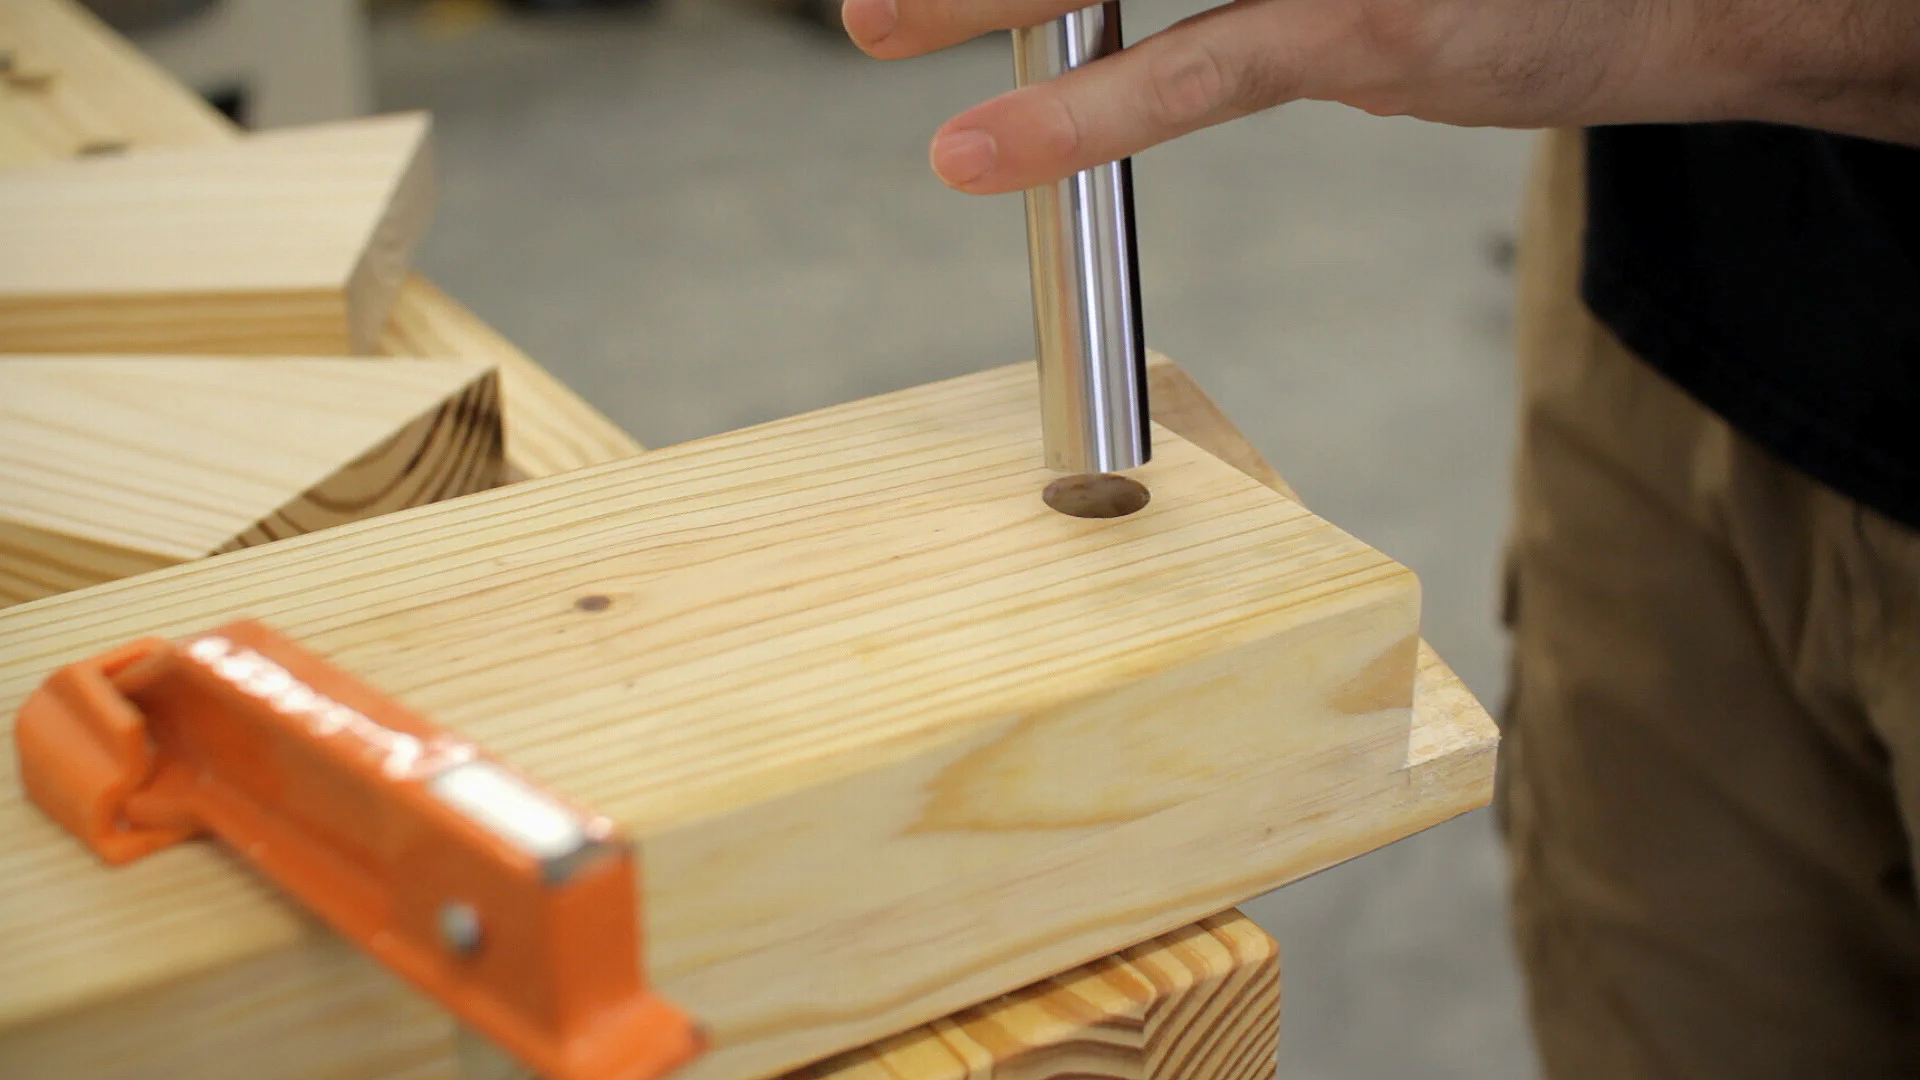
Next, with the chop tightened against the bench leg and centered along the bottom, I inserted the Forstner bit that matched the bearing size and marked on the back of the chop the location for the shaft and drilled a 2" hole at the drill press.

Then I decided to go ahead and attach a 1" oak dowel to use as a handle. I did test a sliding handle, but it seemed a bit annoying to use, so for now, I just kept things simple and fixed the handle in place with a screw.
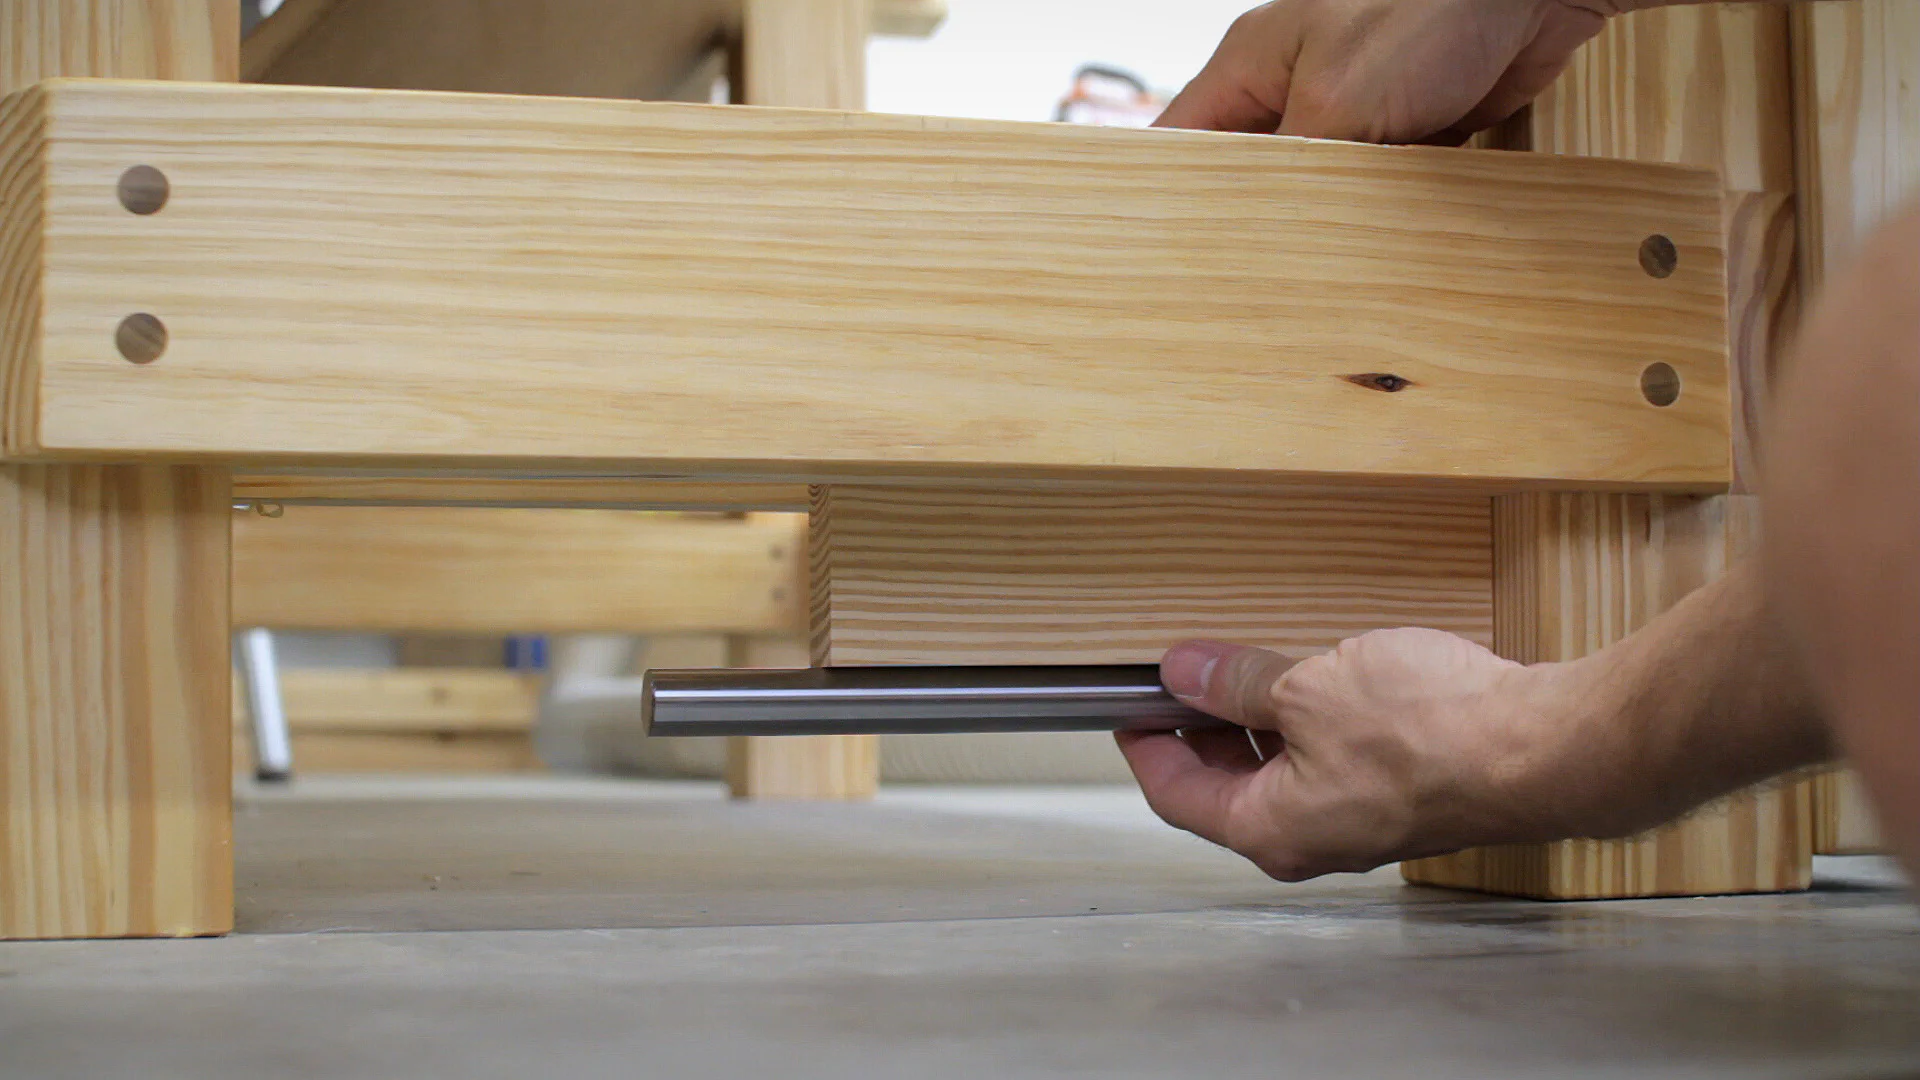
After installing the shaft (without glue for now) it was time for some tests. Unfortunately, the weight of the chop combined with the play in the vise screw caused the shaft to bind sometimes in the bearing.
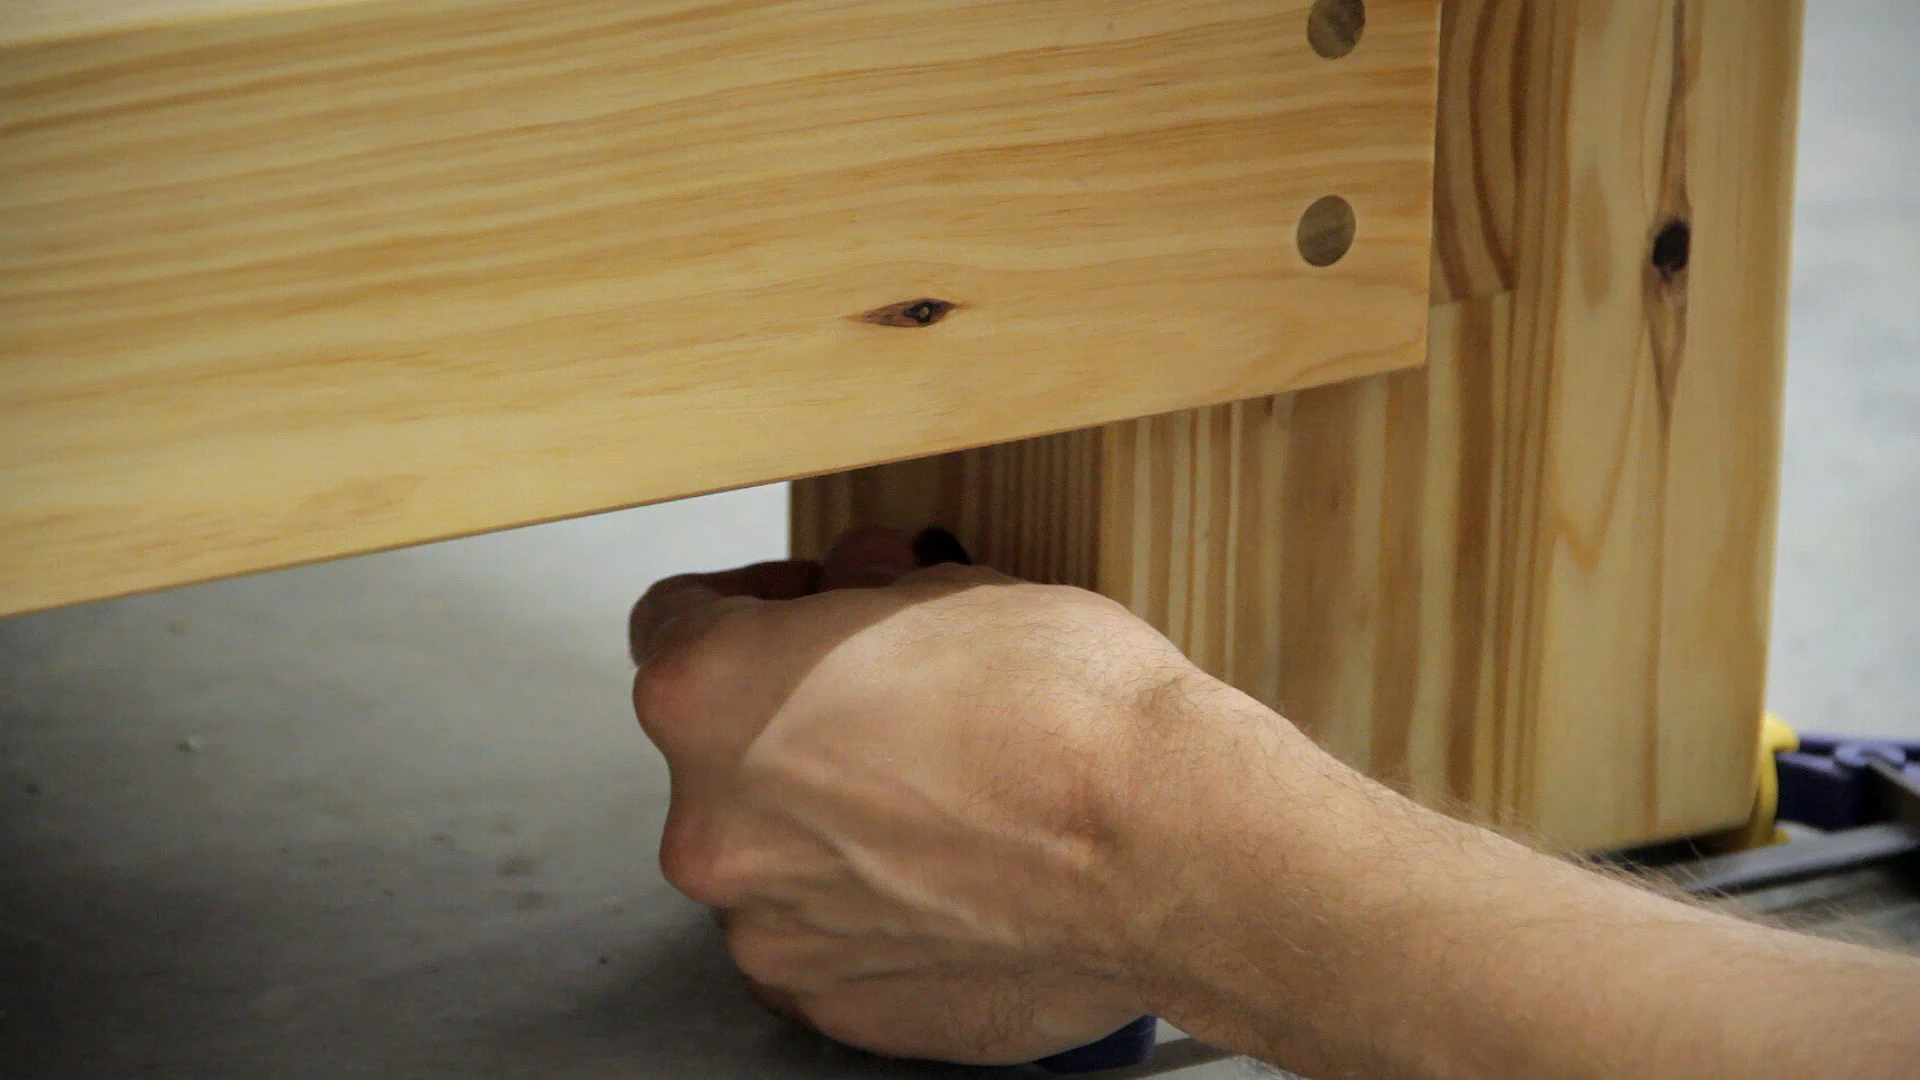
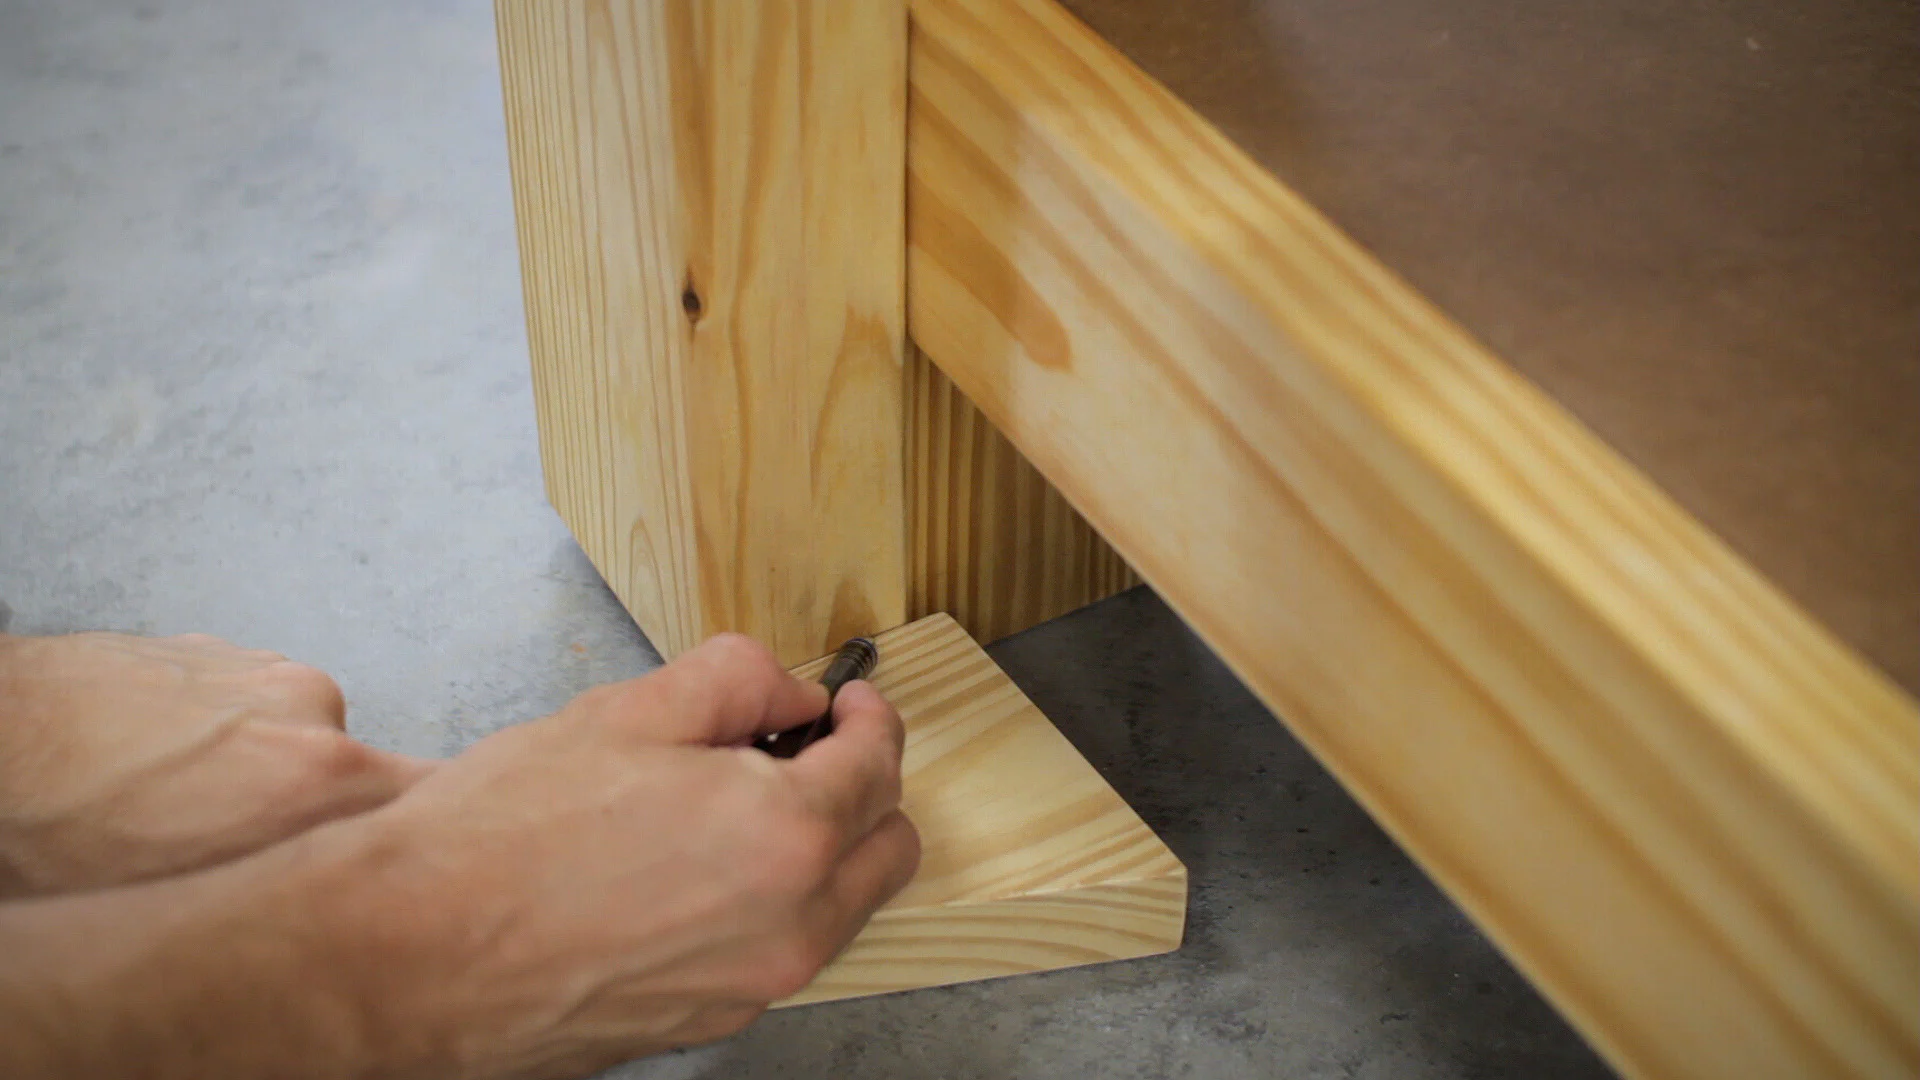
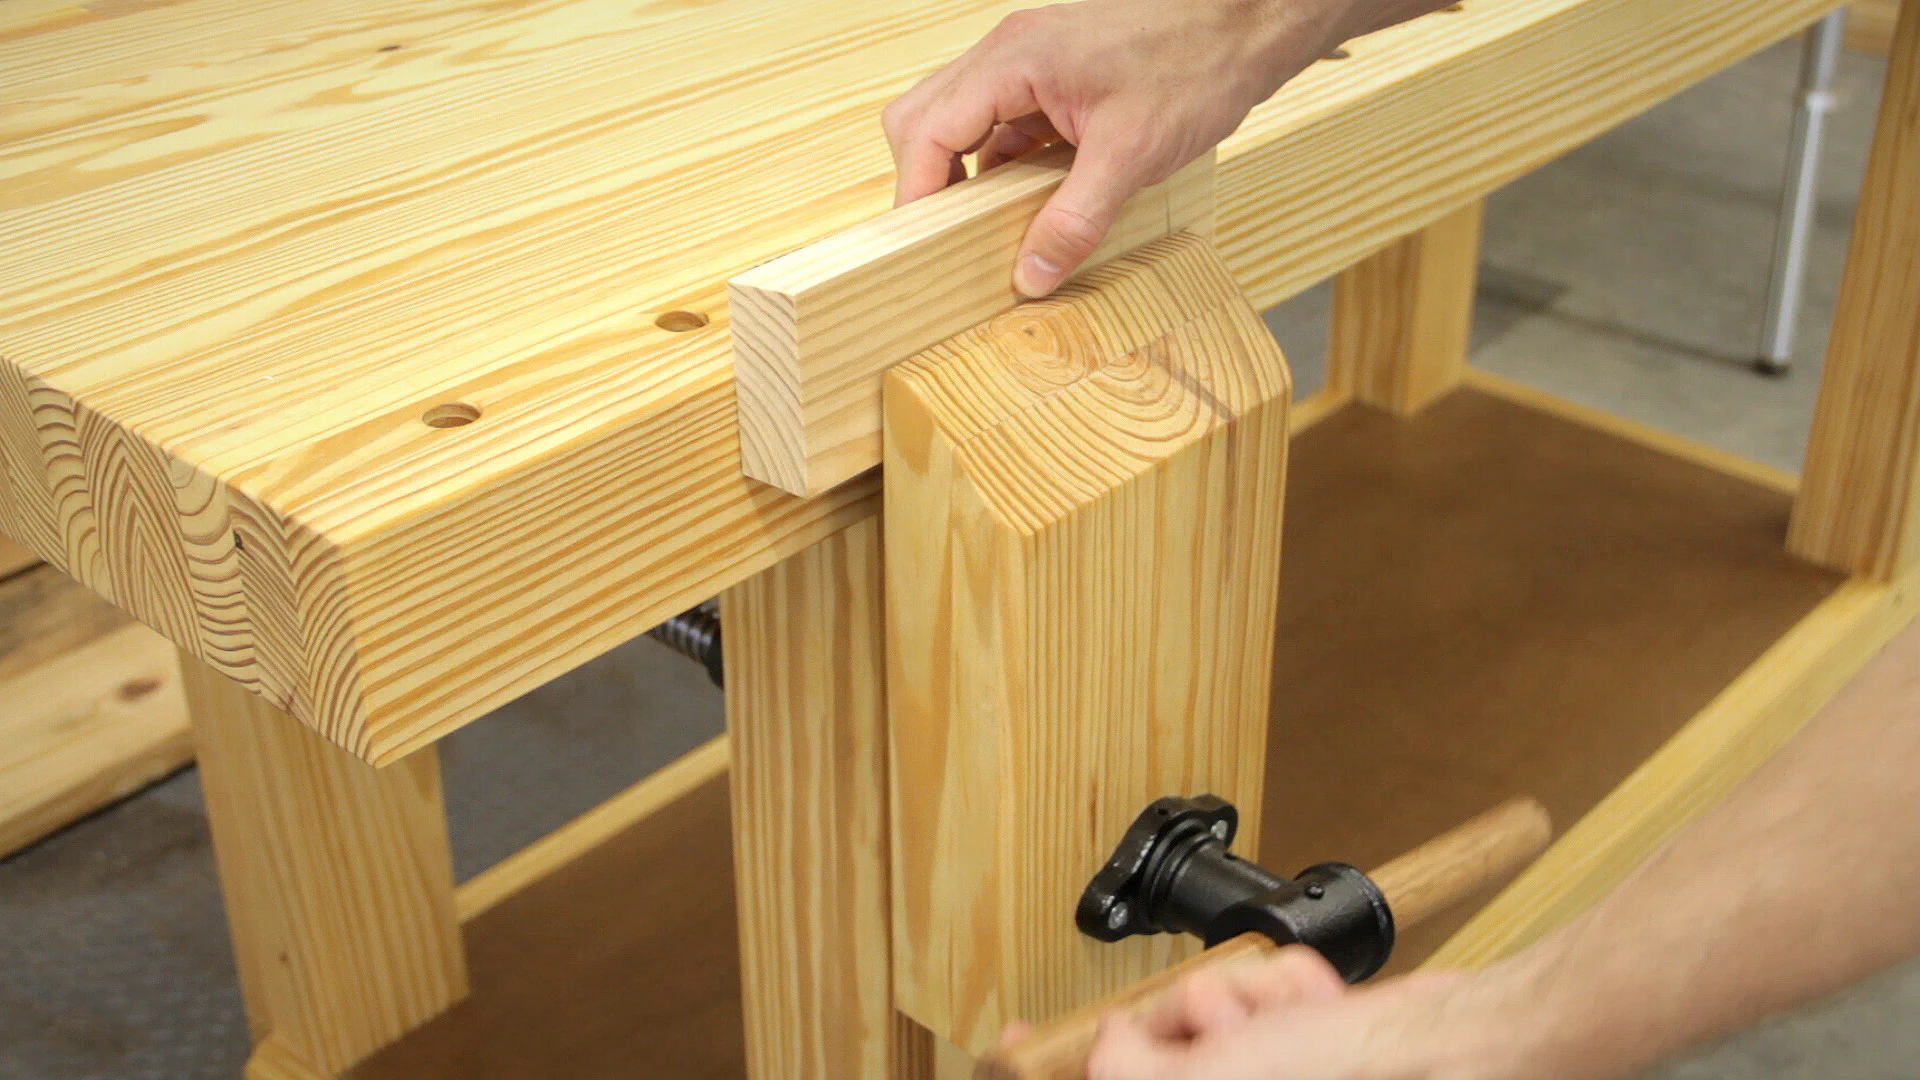
The solution was to simply use a piece of wood as a guide to help keep the shaft perpendicular to the leg face. To do this, I removed the shelf and since I’d already glued the inner stretcher in place, I drilled a couple of holes through it and then attached the guide with screws to the outer stretcher.
Although this made the motion of the vise very smooth, there was still a little racking when clamping work-pieces down hard in the vise. A 30mm bearing and shaft probably would have eliminated most of it (or possibly a second bearing on the rear of the leg), but with the 20mm ones I used I decided to try Jay Bates’s solution which was to use a wedge along the bottom of the chop.
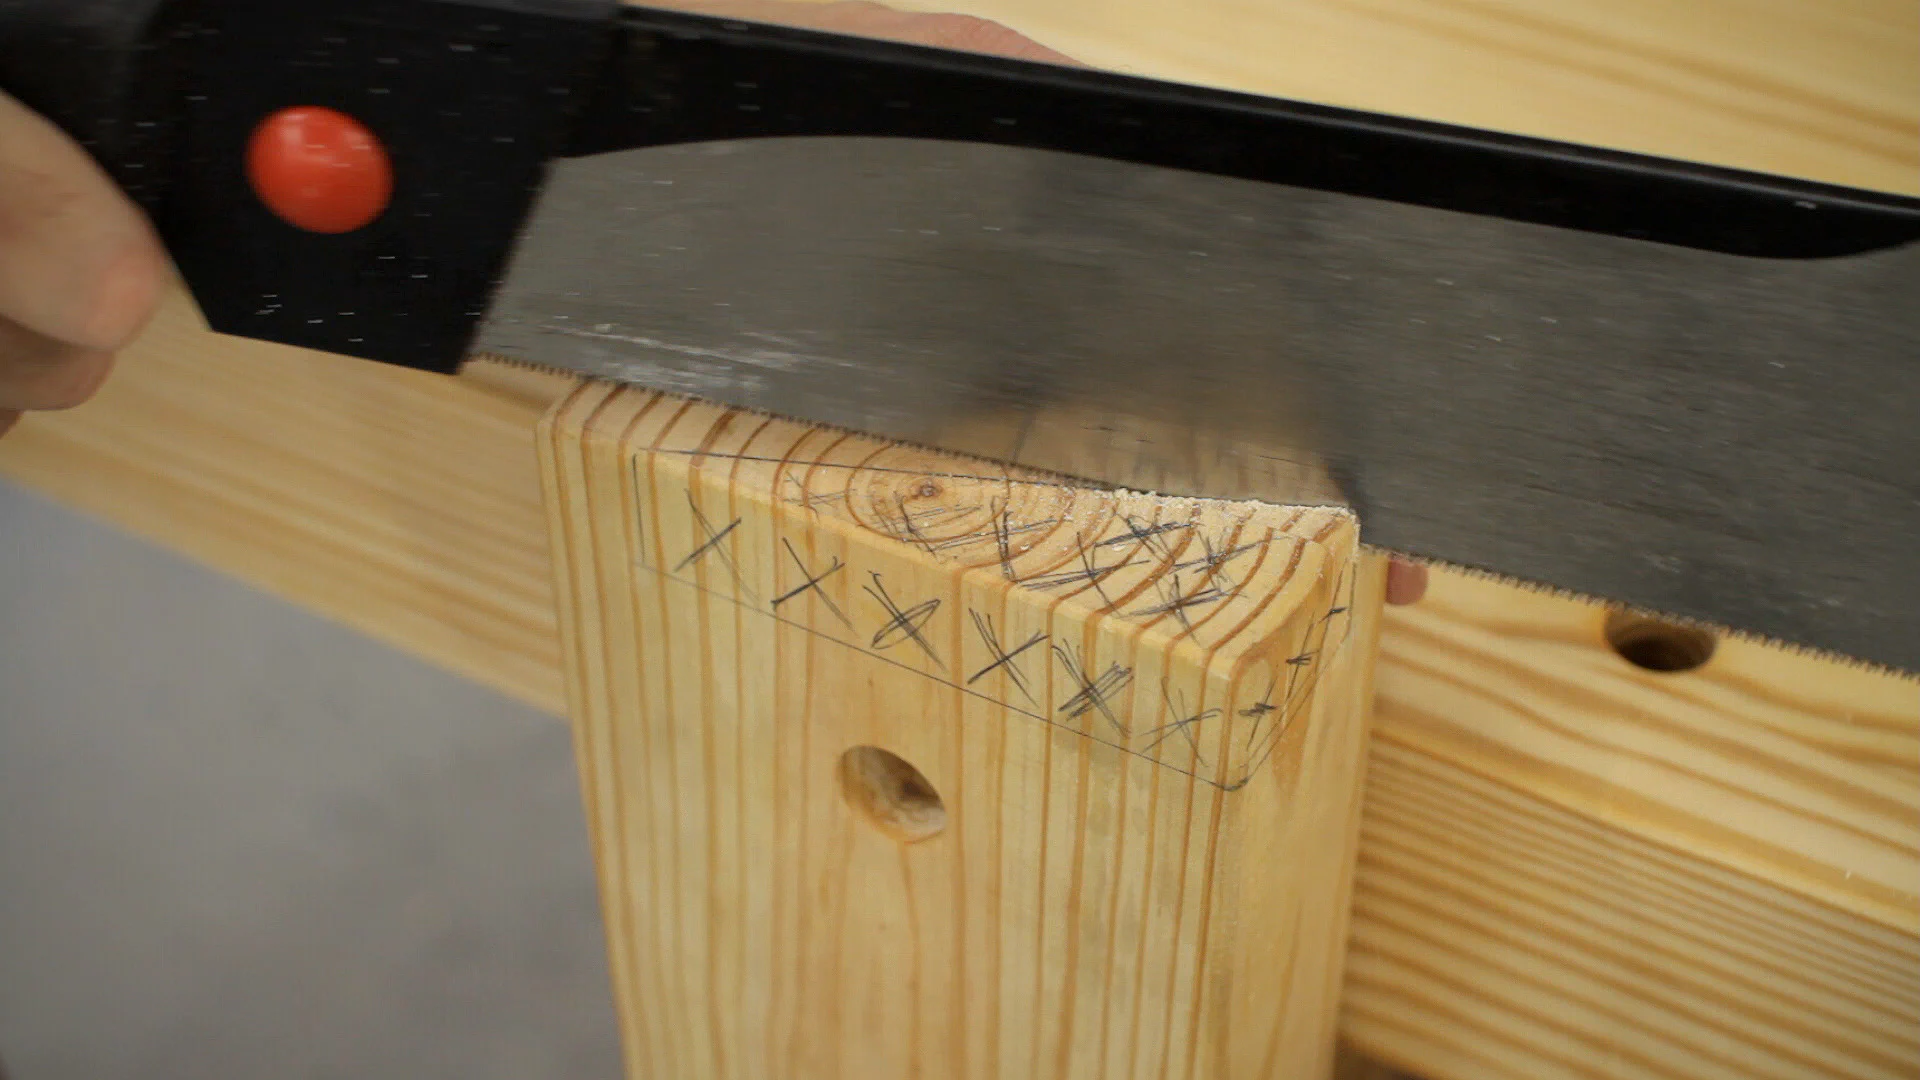
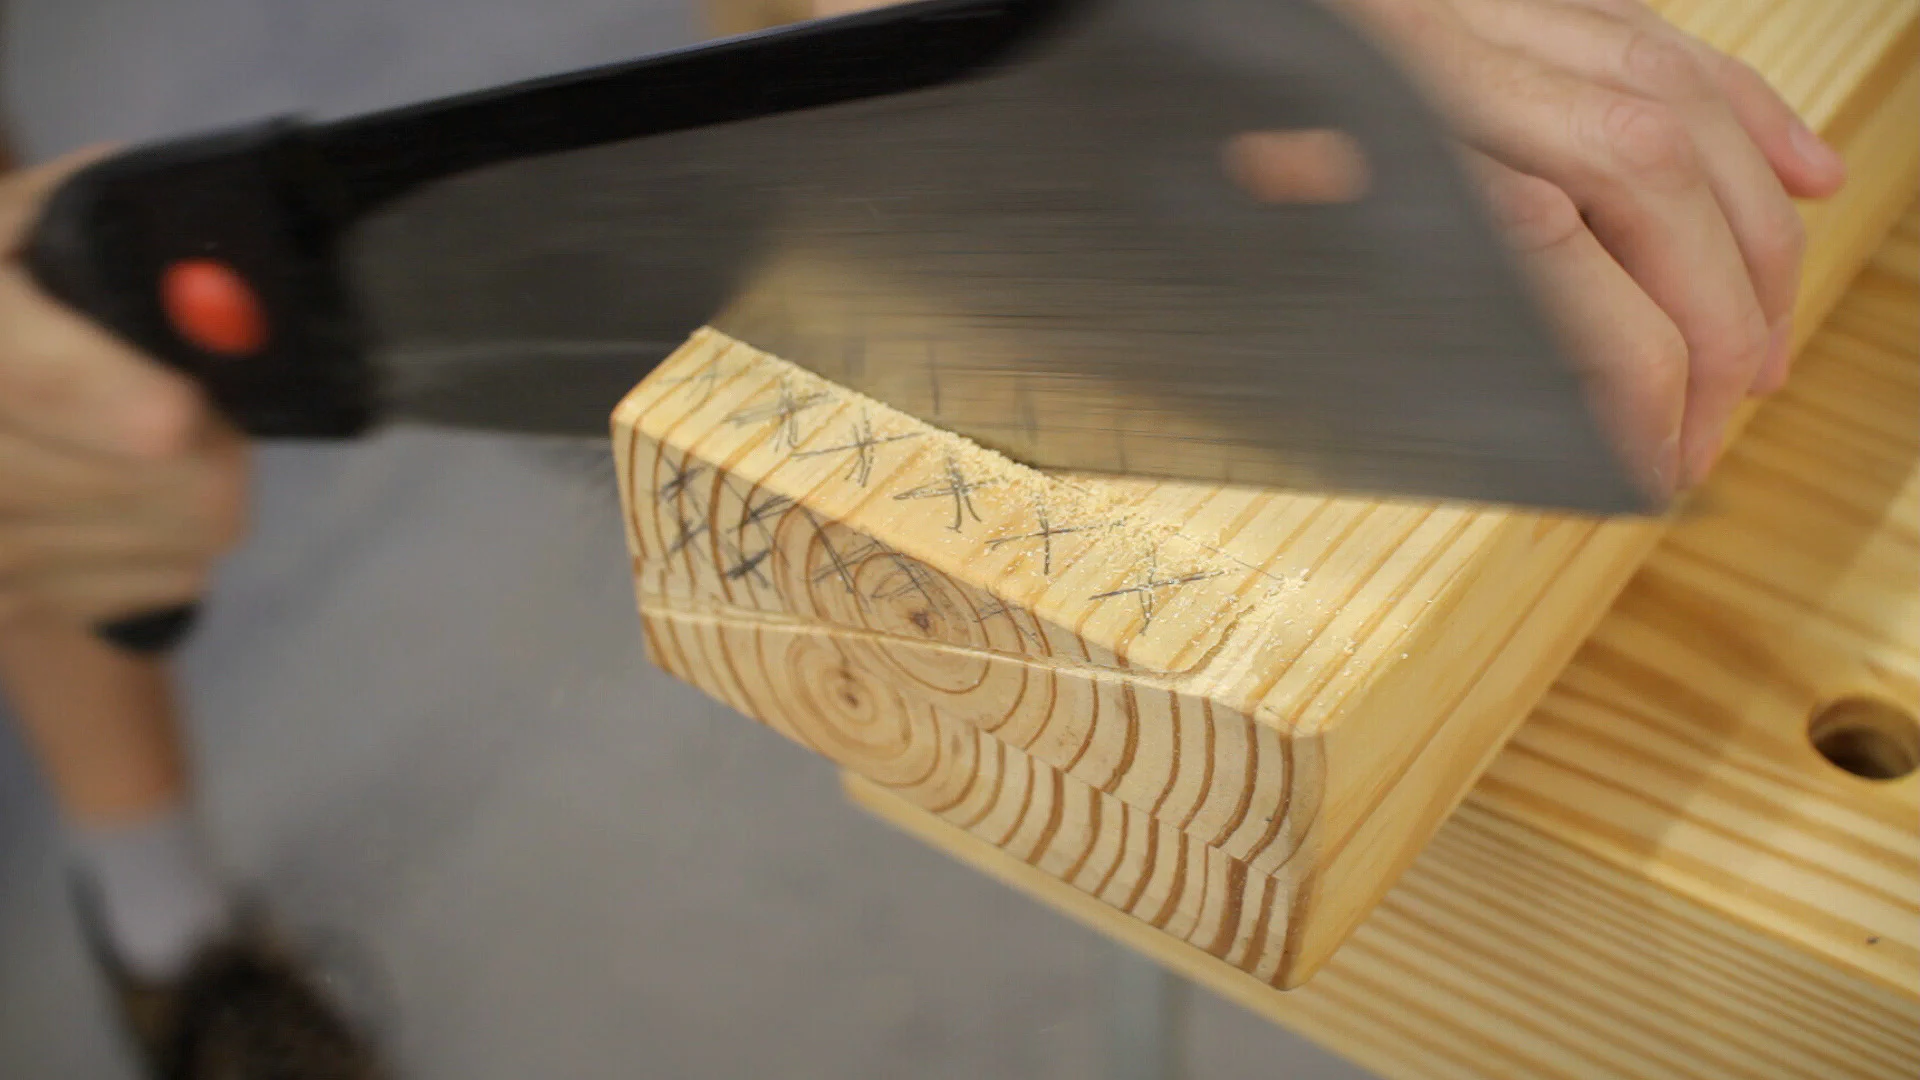
I surfaced another scrap piece of wood and cut it to 16" long by 6" wide to match the roughly 4" wide by 1.5" deep cut that I would be making in the vise chop. I then used some double-sided tape to secure it to a piece of MDF to act as a tapering jig at the table saw.
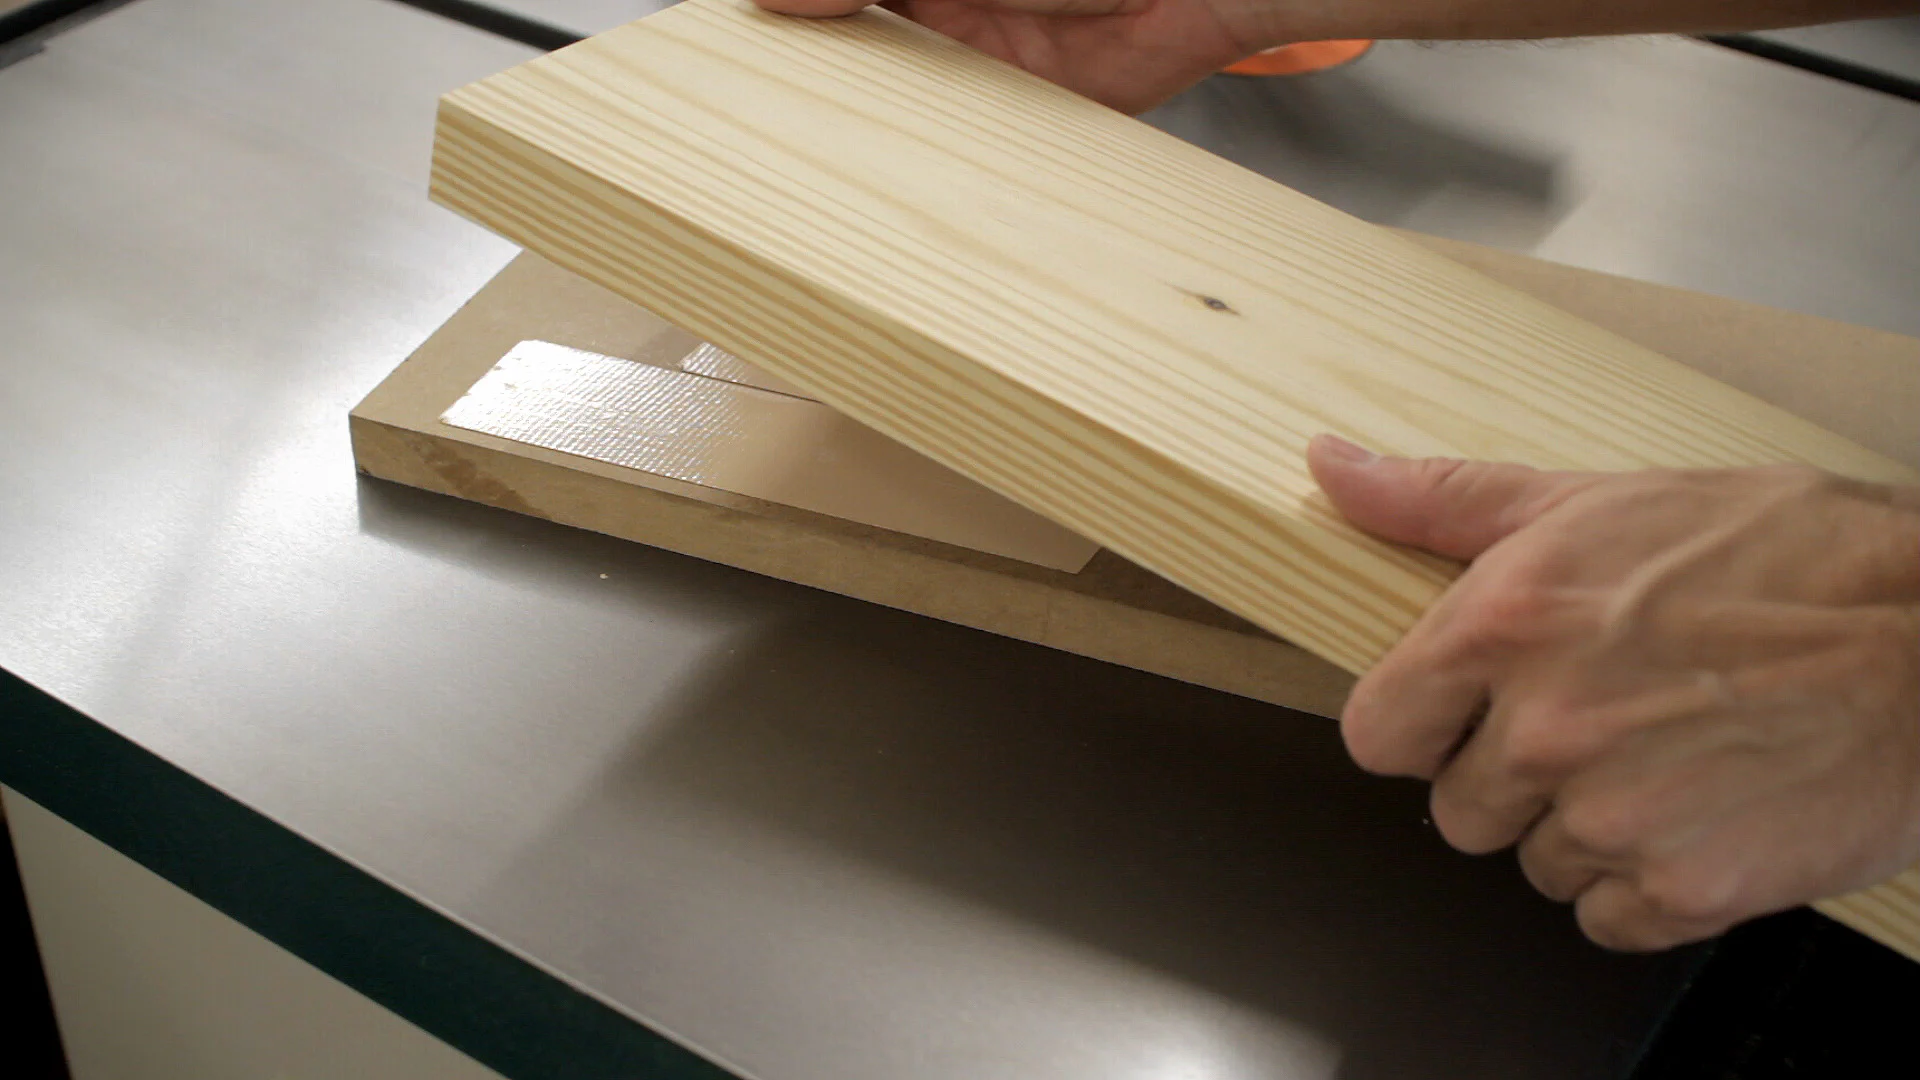
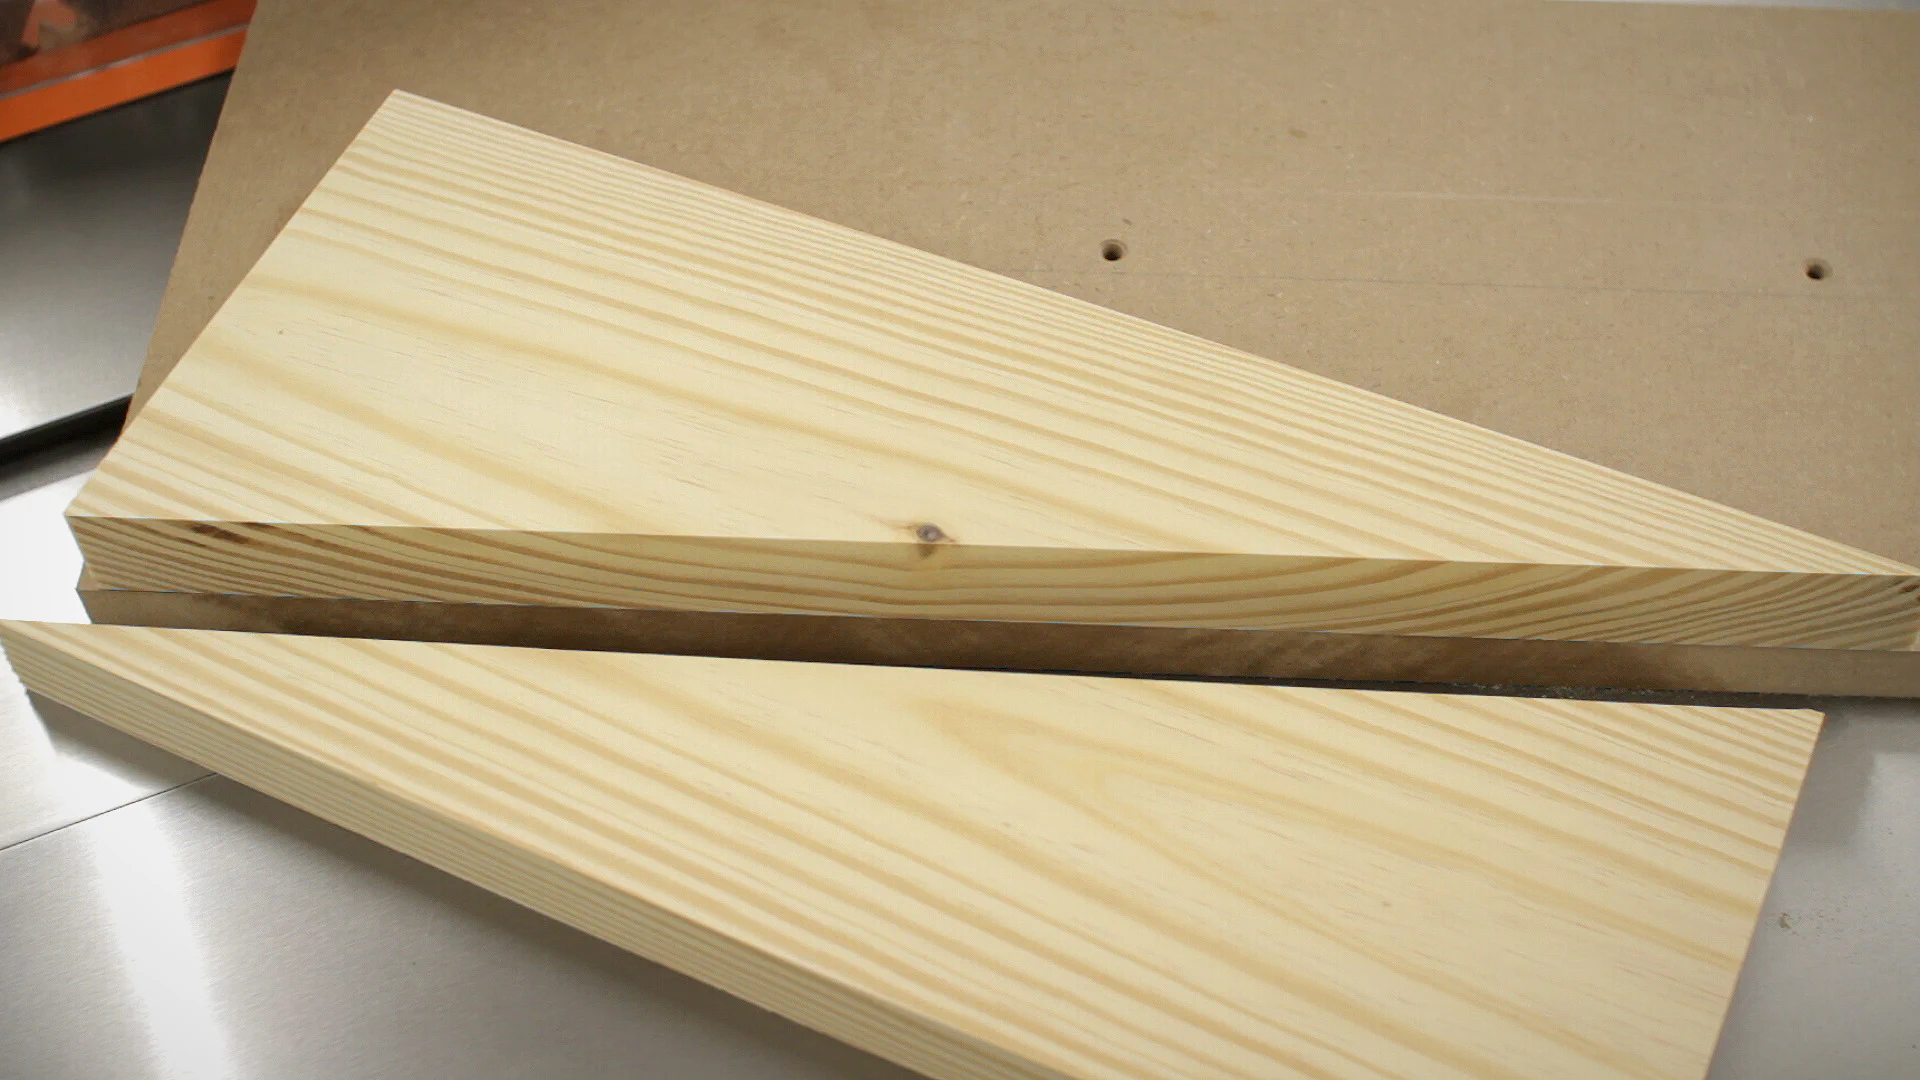
After ripping it into two pieces I cut one half down to make a smaller 12" wedge for workpieces up to 3" wide. I then used the wedge to mark off the corresponding piece that needed removing on the chop and cut it out using a hand saw.
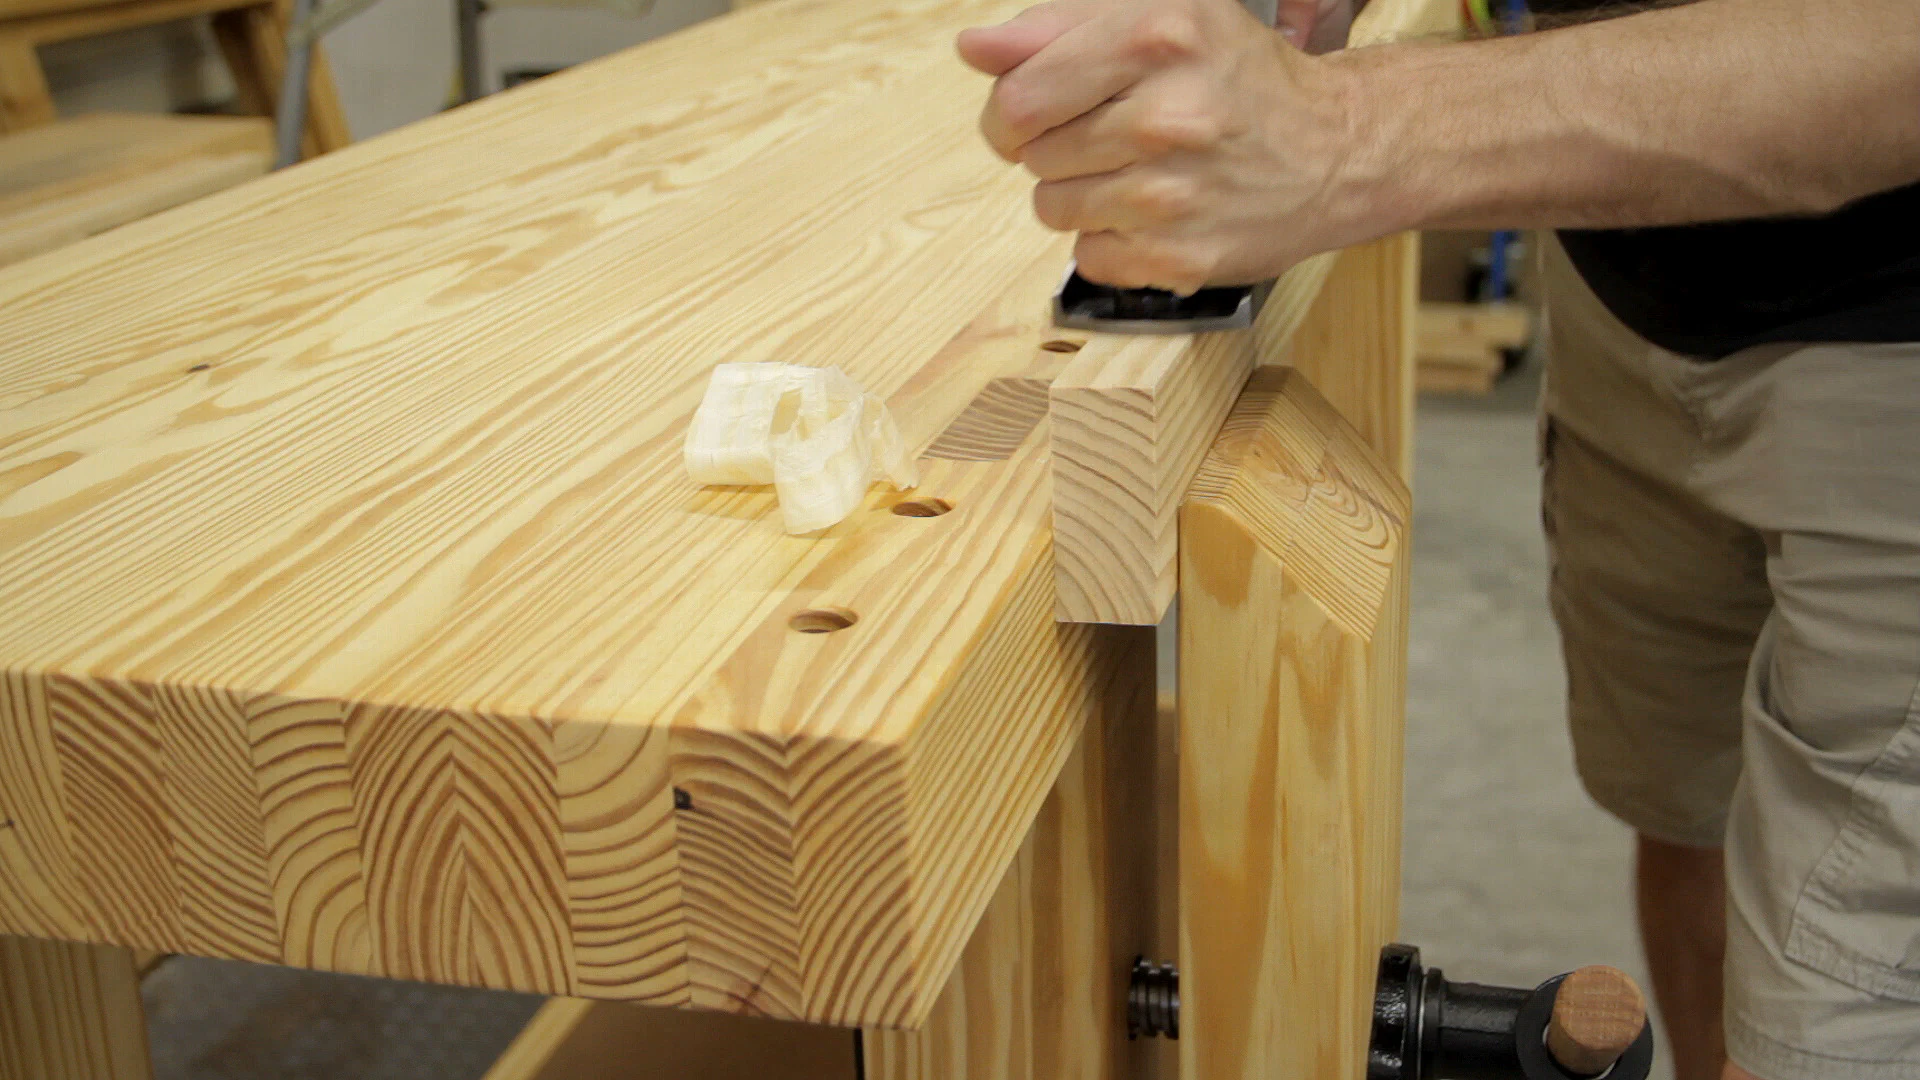
To finish up the chop I added a little wood glue to the hole for the shaft – mostly just to harden the wood around it as the fit was already tight enough to hold it in place.
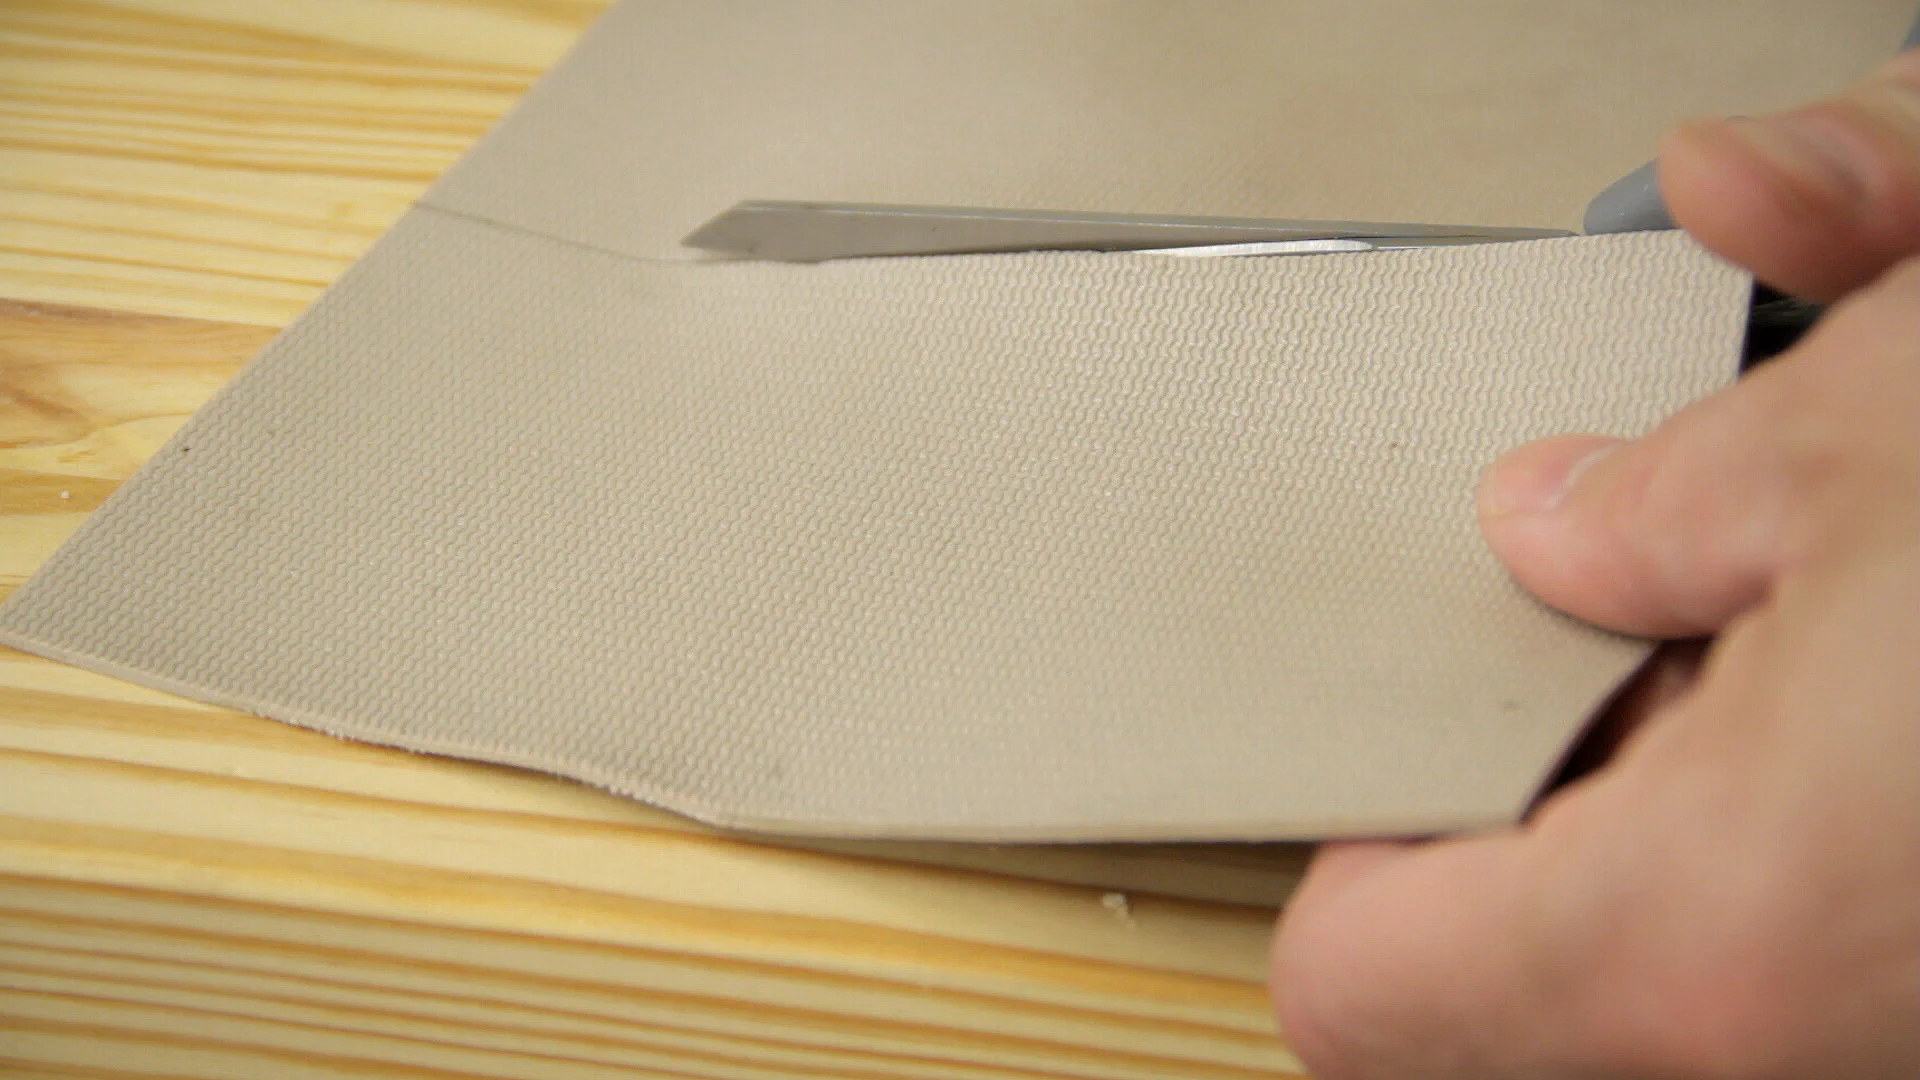
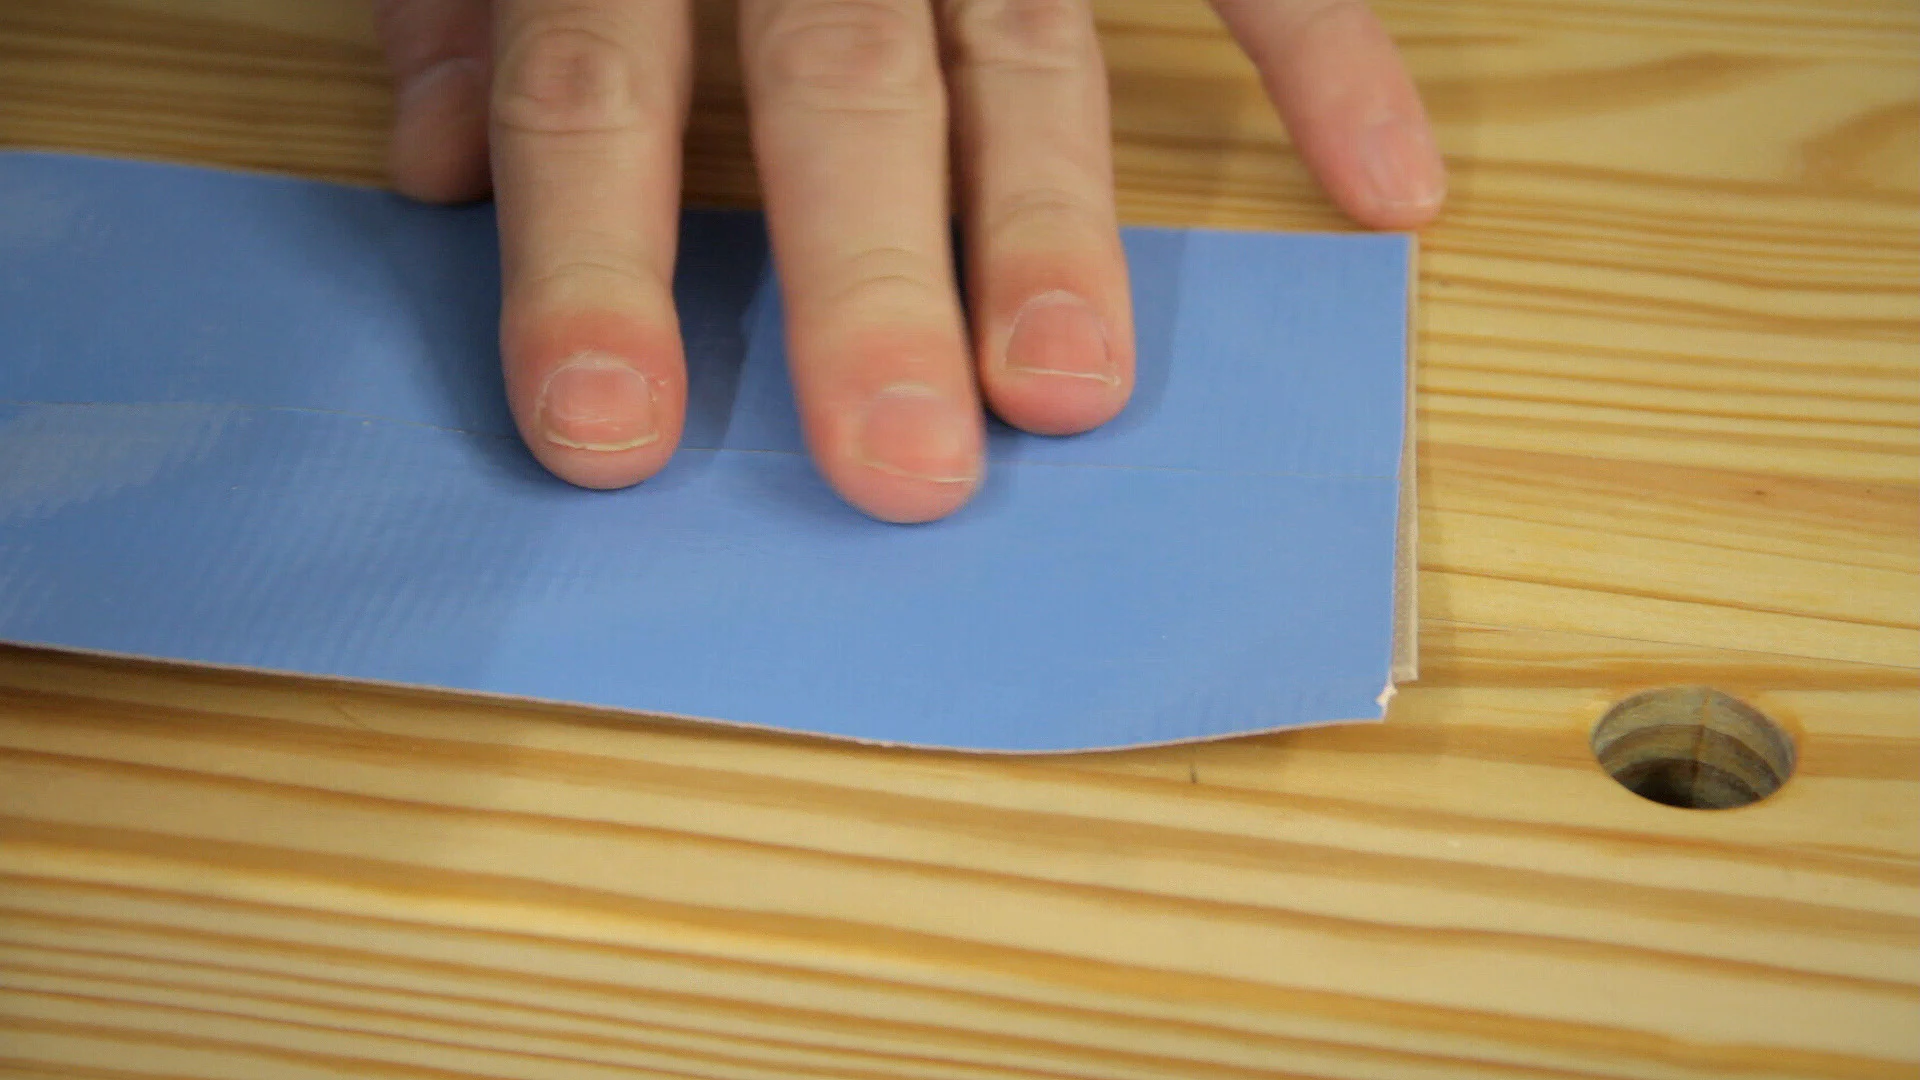
I also cut a piece of thick drawer liner to add even more grip to the top of the chop and used some double-sided tape to secure it in place.
With these changes, it’s now possible to apply a large amount of clamping pressure to a workpiece without fear of damaging the linear bearing. So thanks again to Jay for mentioning the wedge idea in his workbench videos.

Well, that will wrap up this leg vise build! I’m very happy with the way it turned out so far and can’t wait to start using it!
Check out the parts list below if you are interested in making one yourself. And if you have any questions or suggestions for improvements, please leave a comment! Next up will be a sliding dead-man, and then I’ll install an end vise to finish up the bench.
Materials & Tools
Be sure to check out Our Workshop page for more details!
Lumber
- Vise Jaw/Chop: (1) 2"x8"x8’ Southern Yellow Pine Board
Leg Vise
20mm Hardware
- 20mm Linear Motion Bearing
- 20mm Rod - Select 20mm/251-500mm and Customize to 400mm for a 16" rod.
- 20mm Forstner Bit
(or) 30mm Hardware
- 30mm Linear Motion Bearing
- 30mm Rod - Select 20mm/251-500mm and Customize to 400mm for a 16" rod.
- 30mm Forstner Bit
Tools
- Hitachi 12" Compound Sliding Miter Saw (C12RSH) - Latest version now sold by Metabo: C12RSH2S
- Dewalt Heavy Duty Miter Saw Stand (DWX723)
- Grizzly 8" Jointer (G0586) on Mobile Base
- Ridgid 13" 3-Blade Thickness Planer (R4330) ( Latest version: R4331)
- Grizzly 17" Bandsaw (G0513P)
- Grizzly G0691 Table Saw
- Craftsman 17" Drill Press (22901) on Mobile Base
- Drill Press Table
- Bosch 5" Random Orbit Sander (ROS20VSC)
- Rockler 16-Piece Forstner Drill Bit Set
- Ridgid 18V Power Tools 5-Piece Combo Kit