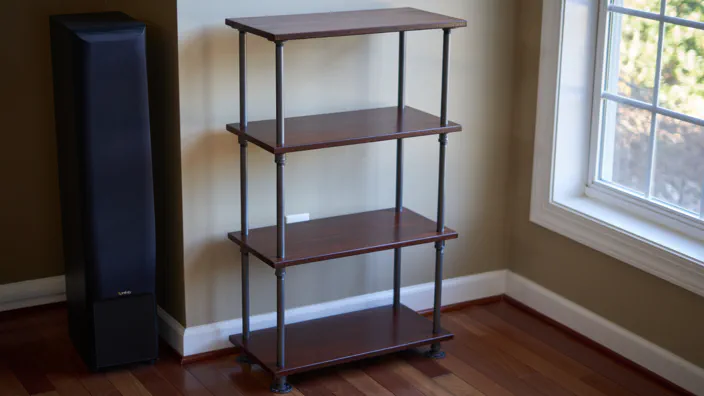
We’ve needed a bit more storage in our kitchen for a while now to make room for an ever-growing pot and pan collection, so we built this set of industrial-style shelves using 1/2" steel pipe and applied a gel-stained finish to pine shelving boards from our local home improvement store.
Parts and Materials
8 (1 pack) - 1/2" Floor Flange (10/pack)
4 (1 pack) - 1/2" Close Nipple (10/pack)
12 (1 pack) - 1/2" Pipe Coupling (20/pack)
12 (2 packs) - 1/2" x 12" Pipe (6/pack)
12" Pine Shelving Boards (Edge-glued if available)
The Legs
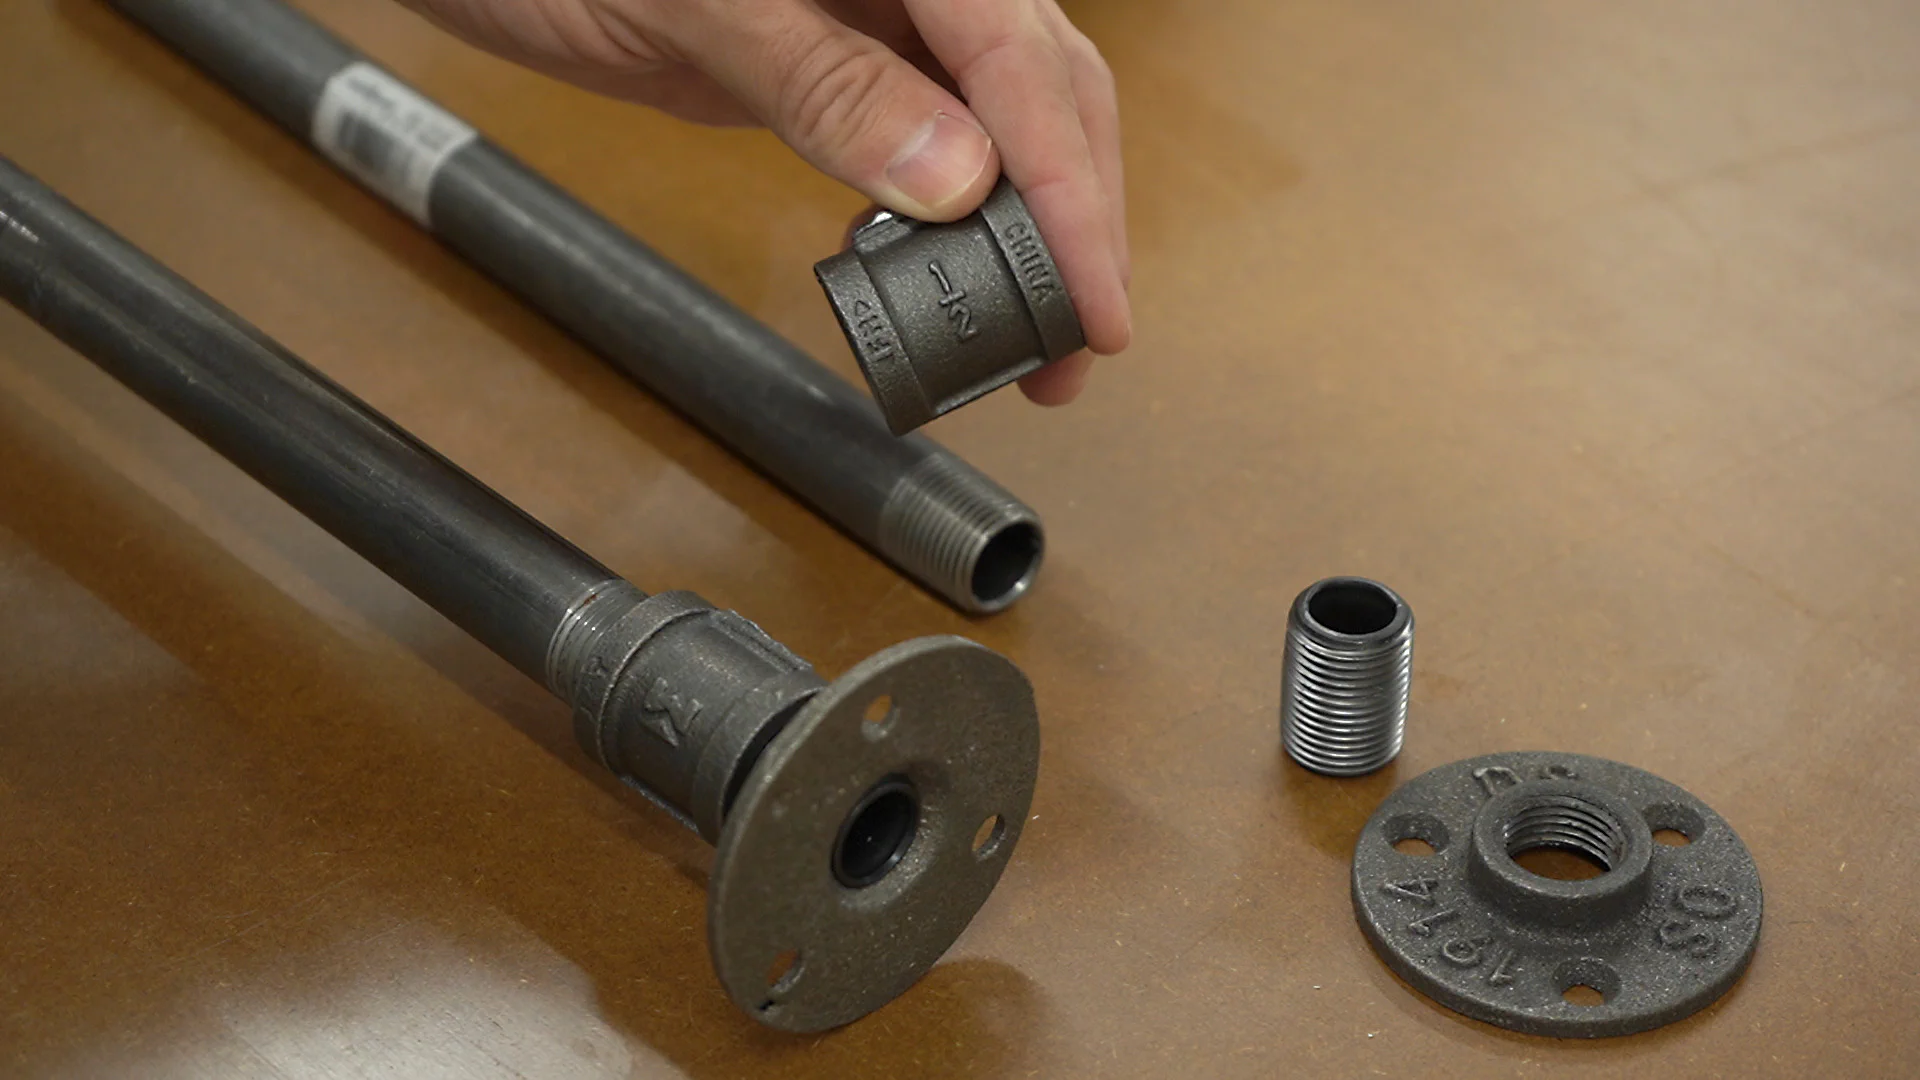
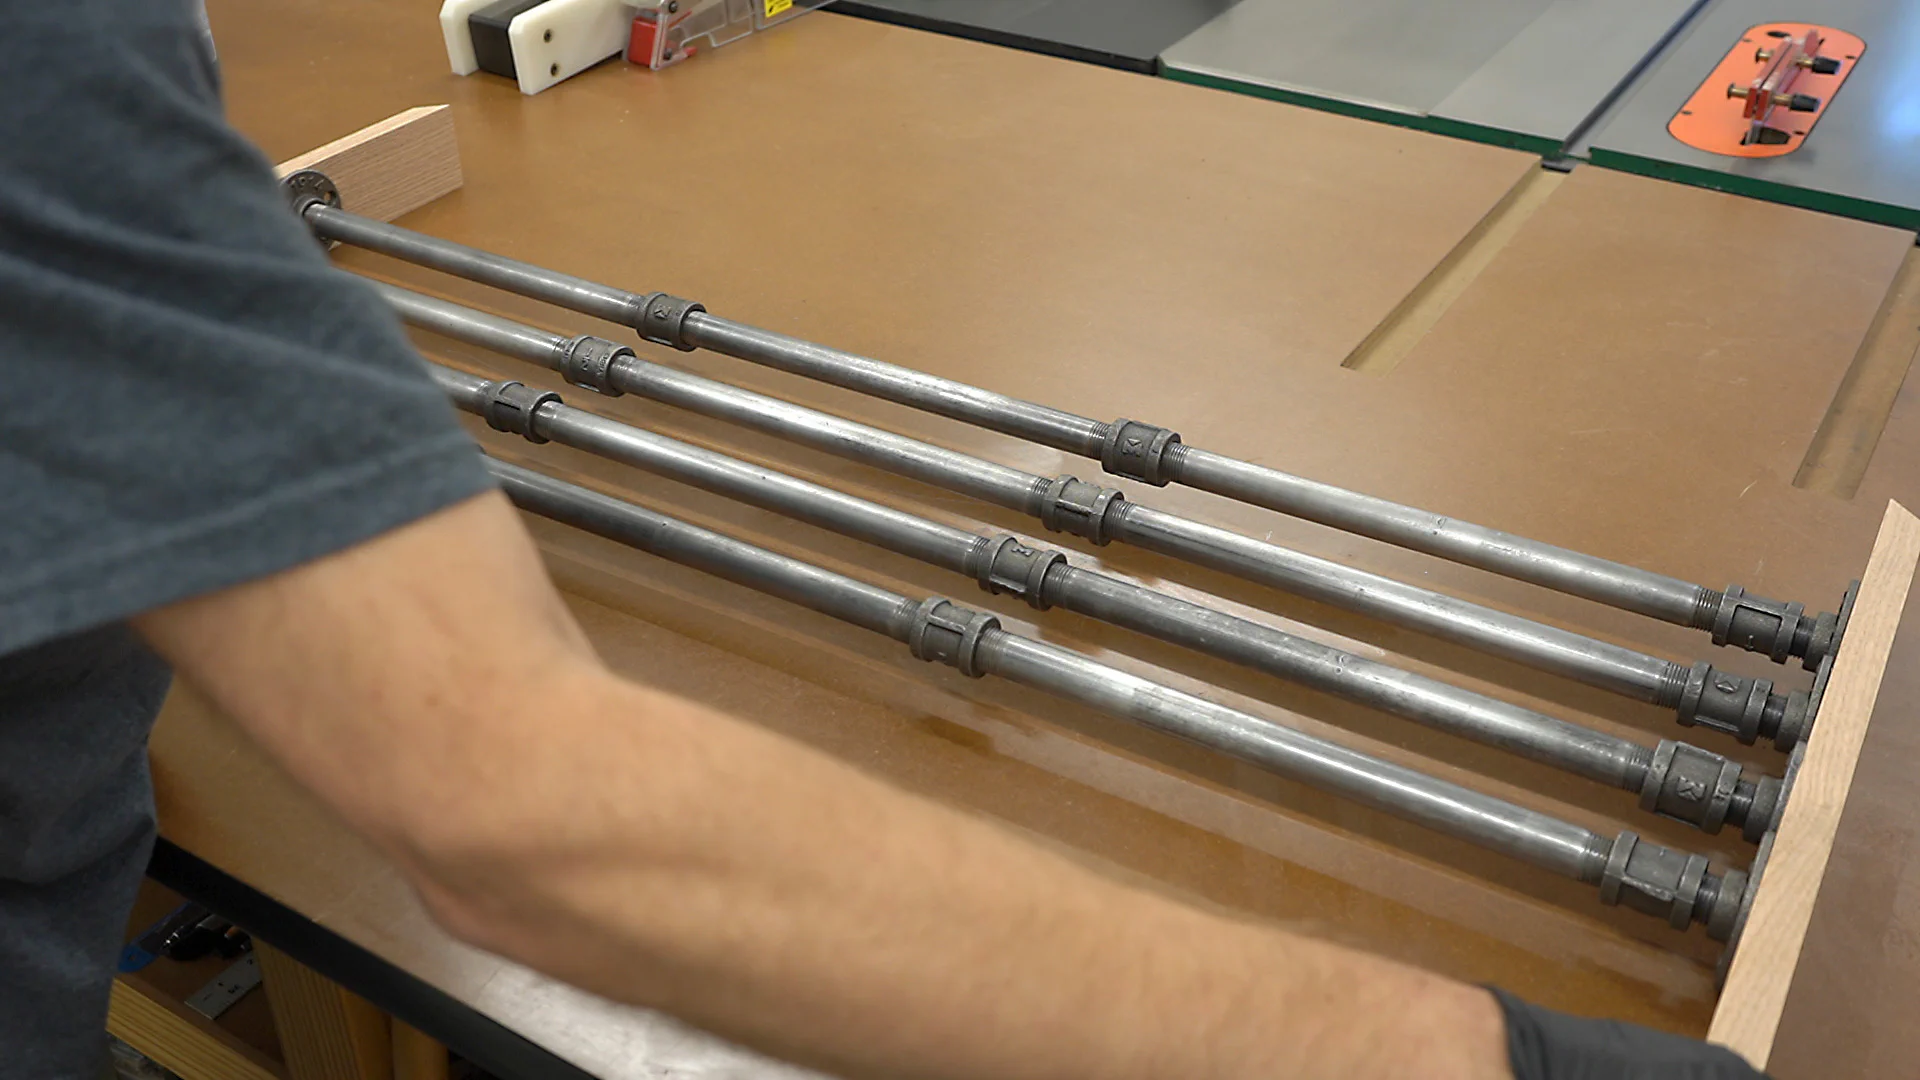
I started work on the legs with a quick test fit to see how well the different parts would go together. For feet, I used floor flanges that were connected using a 1/2" close nipple to a coupling which is what the shelves will rest on.
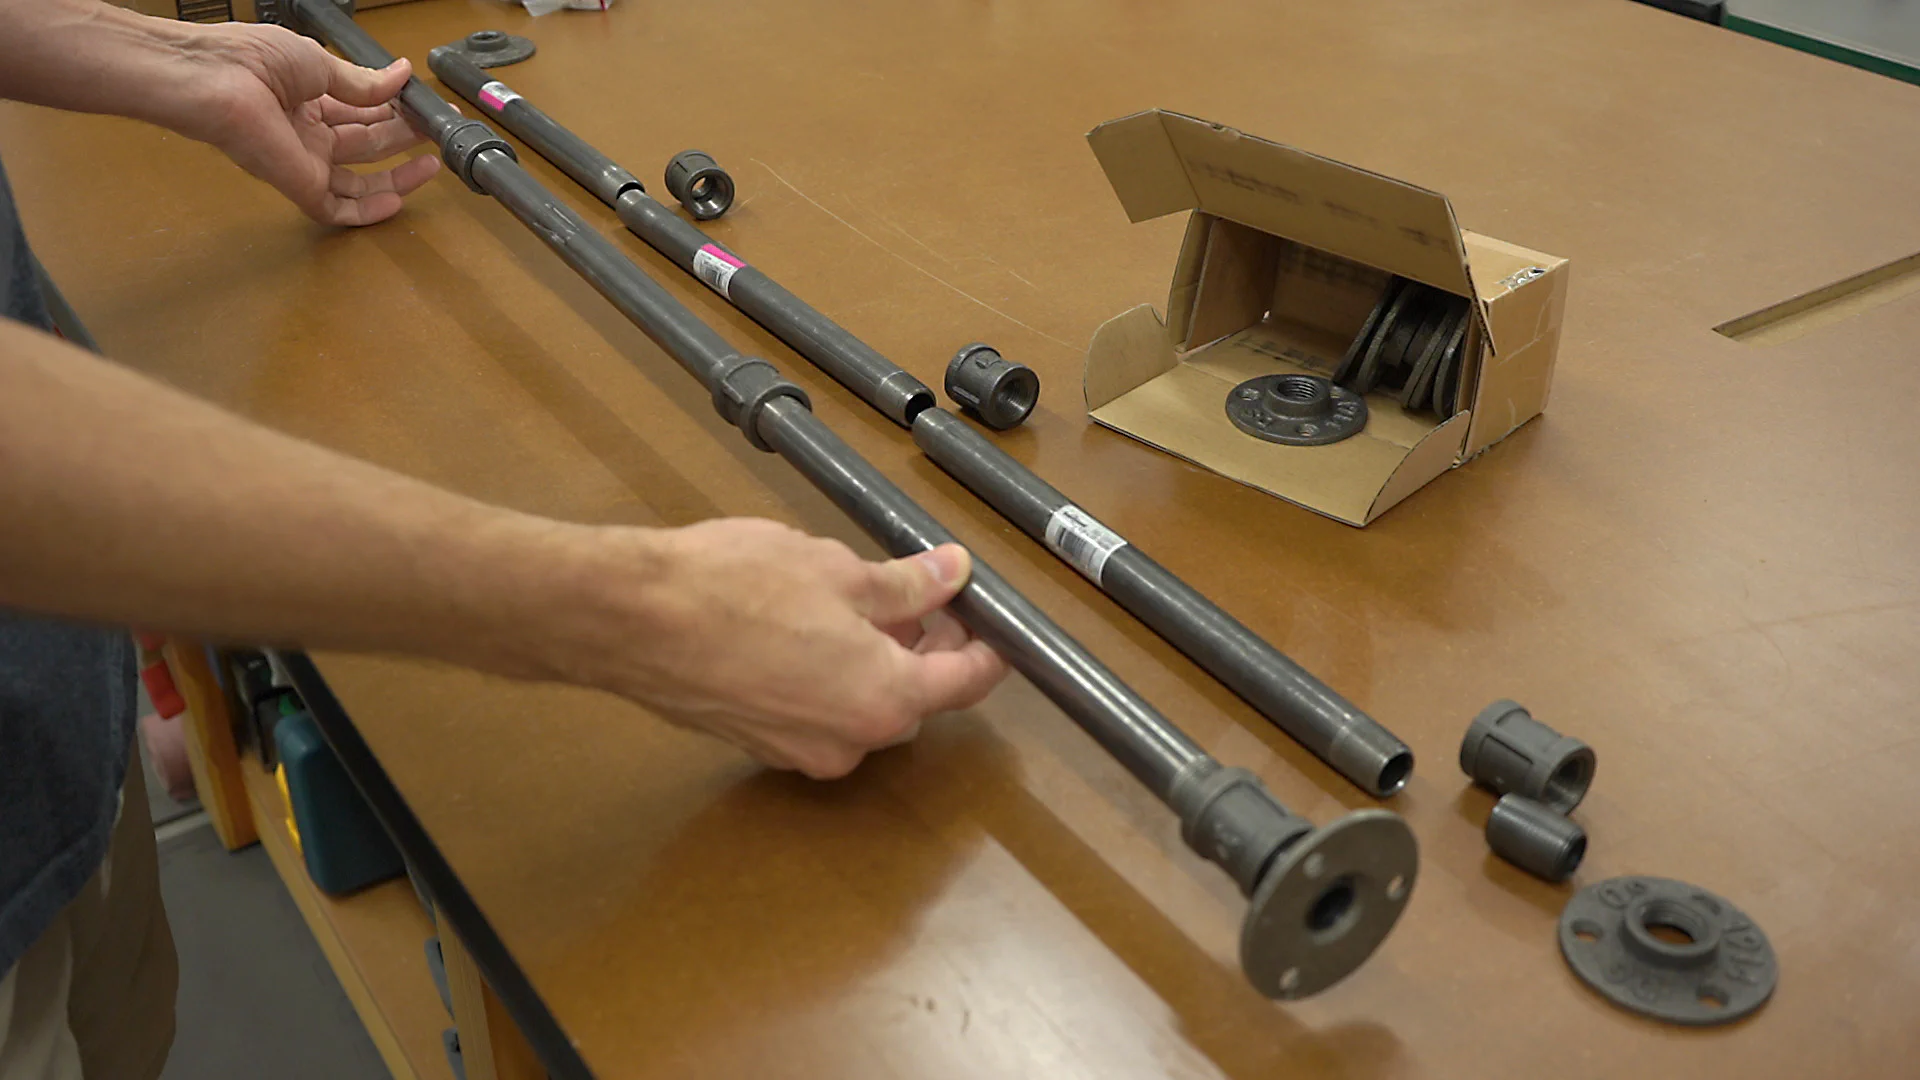
Then for each new shelf, I added a 12" section of threaded pipe and another coupling. To complete the legs, I added a final floor flange which will be screwed into the underside of the wooden top.
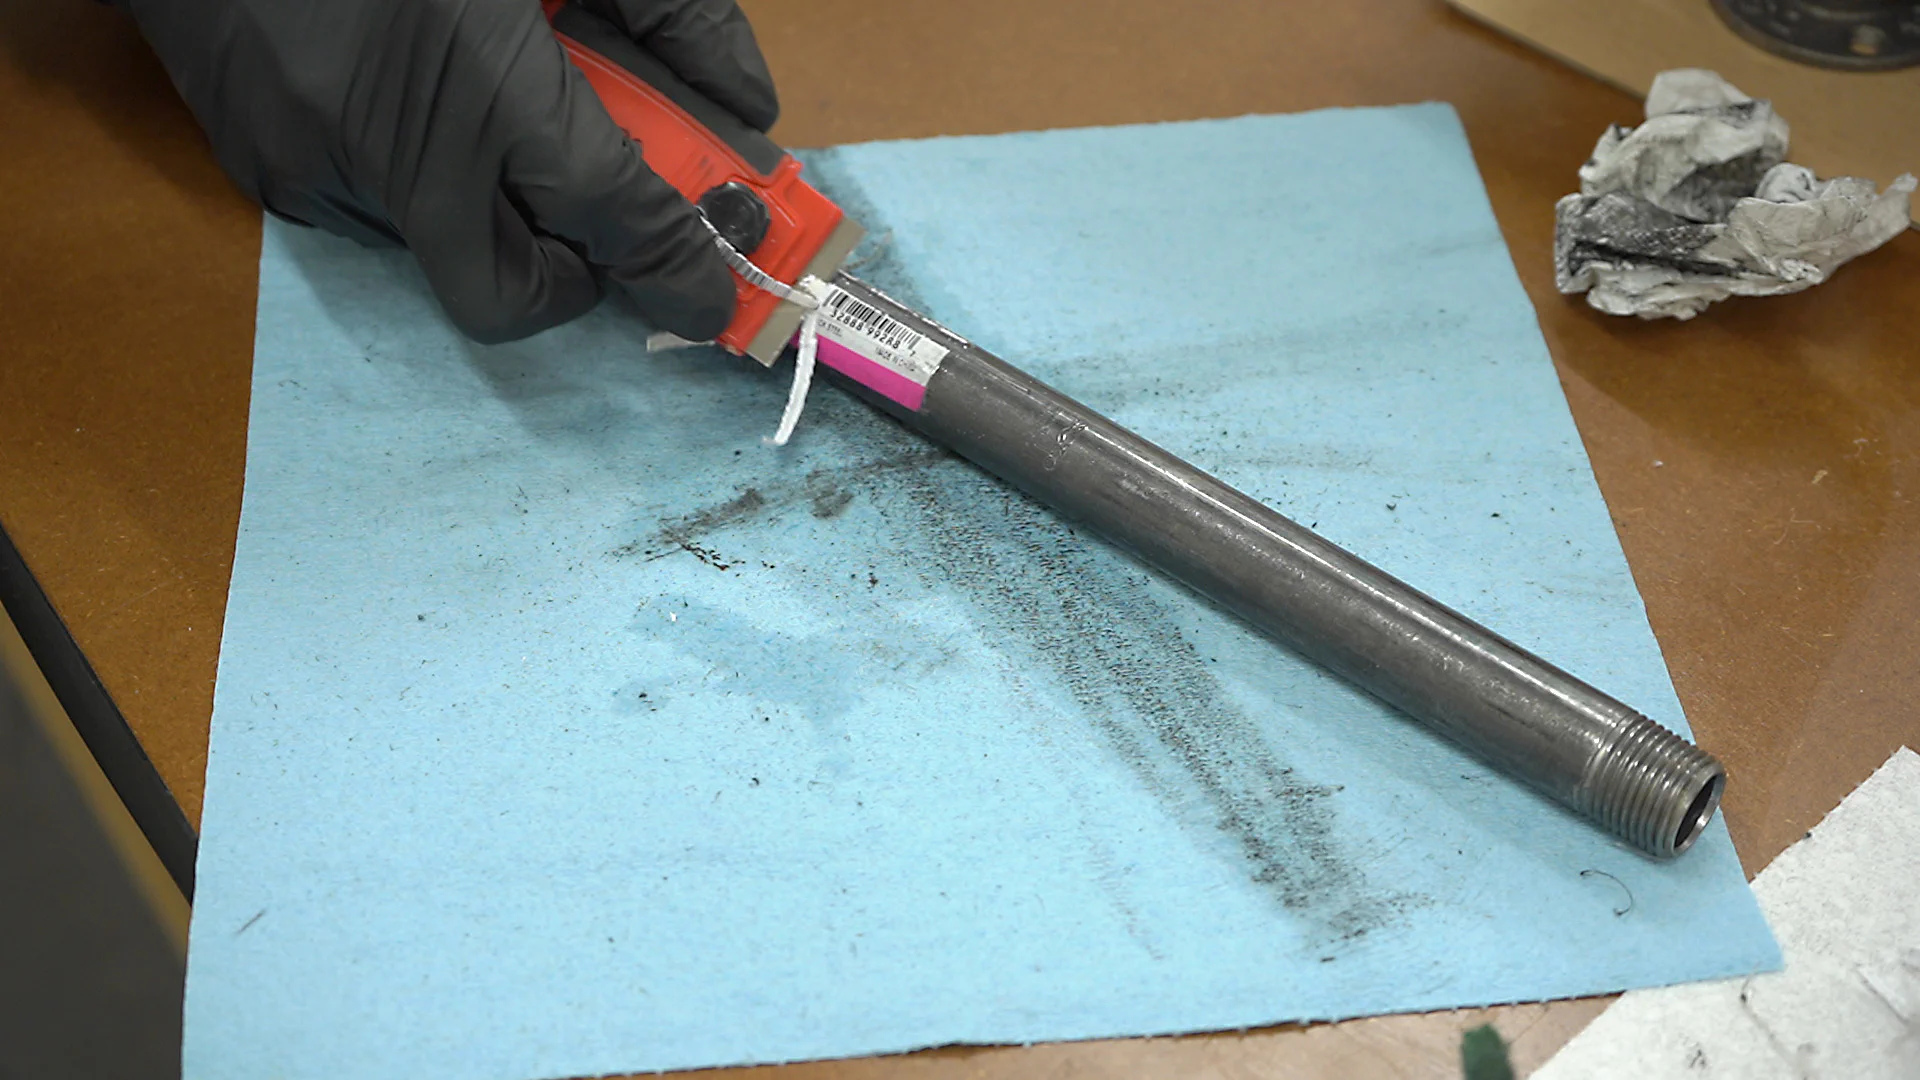
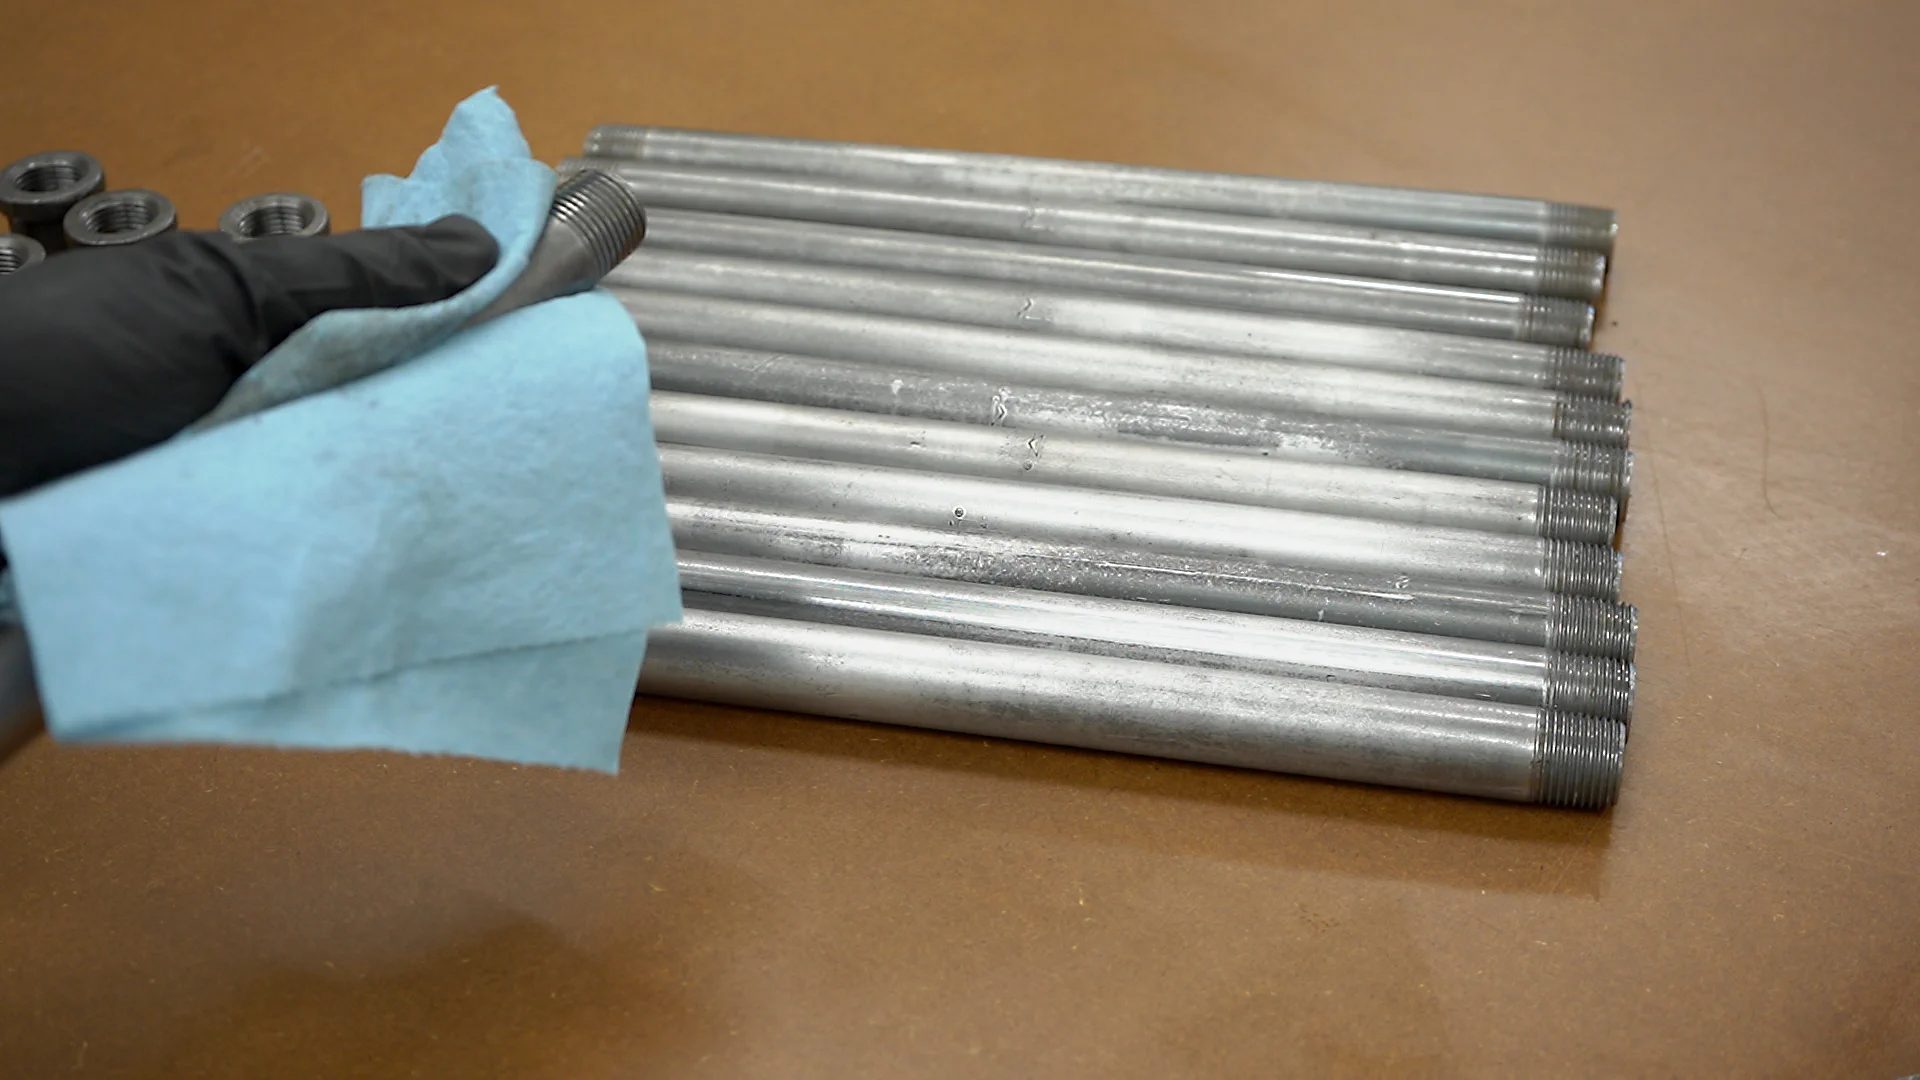
The next step was to clean up the pipe since the pieces I ordered came with stickers and were covered with a coating to prevent rust. Note that the parts listed above should be sticker-free, so that should require much less preparation and could simply be coated with some paste wax or polyurethane to keep from rusting.
To clean these I started by using a glass scraper to remove the stickers and tape. Then I used a little mineral spirits and a scrubbing pad to remove any sticky residue and to clean off the coating. Note that once this is done the pipe will start to rust if left in a humid environment!
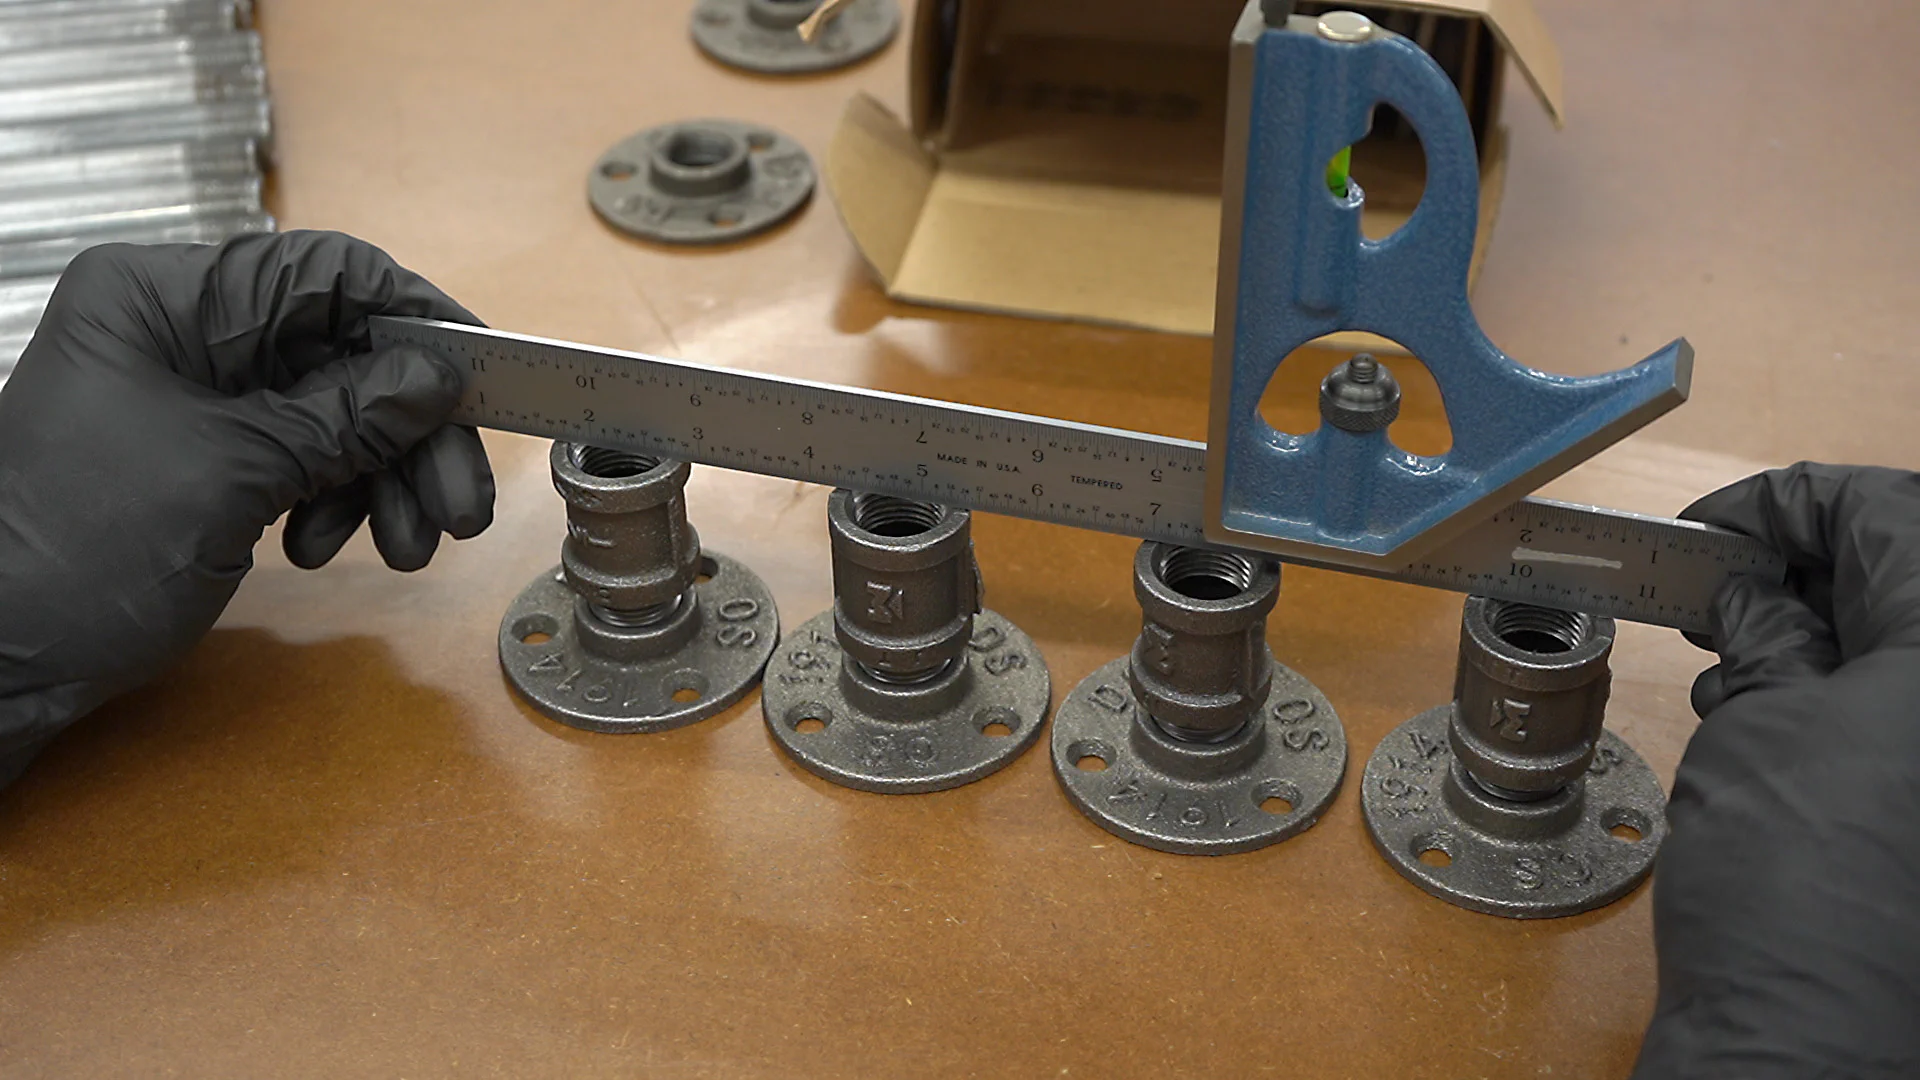
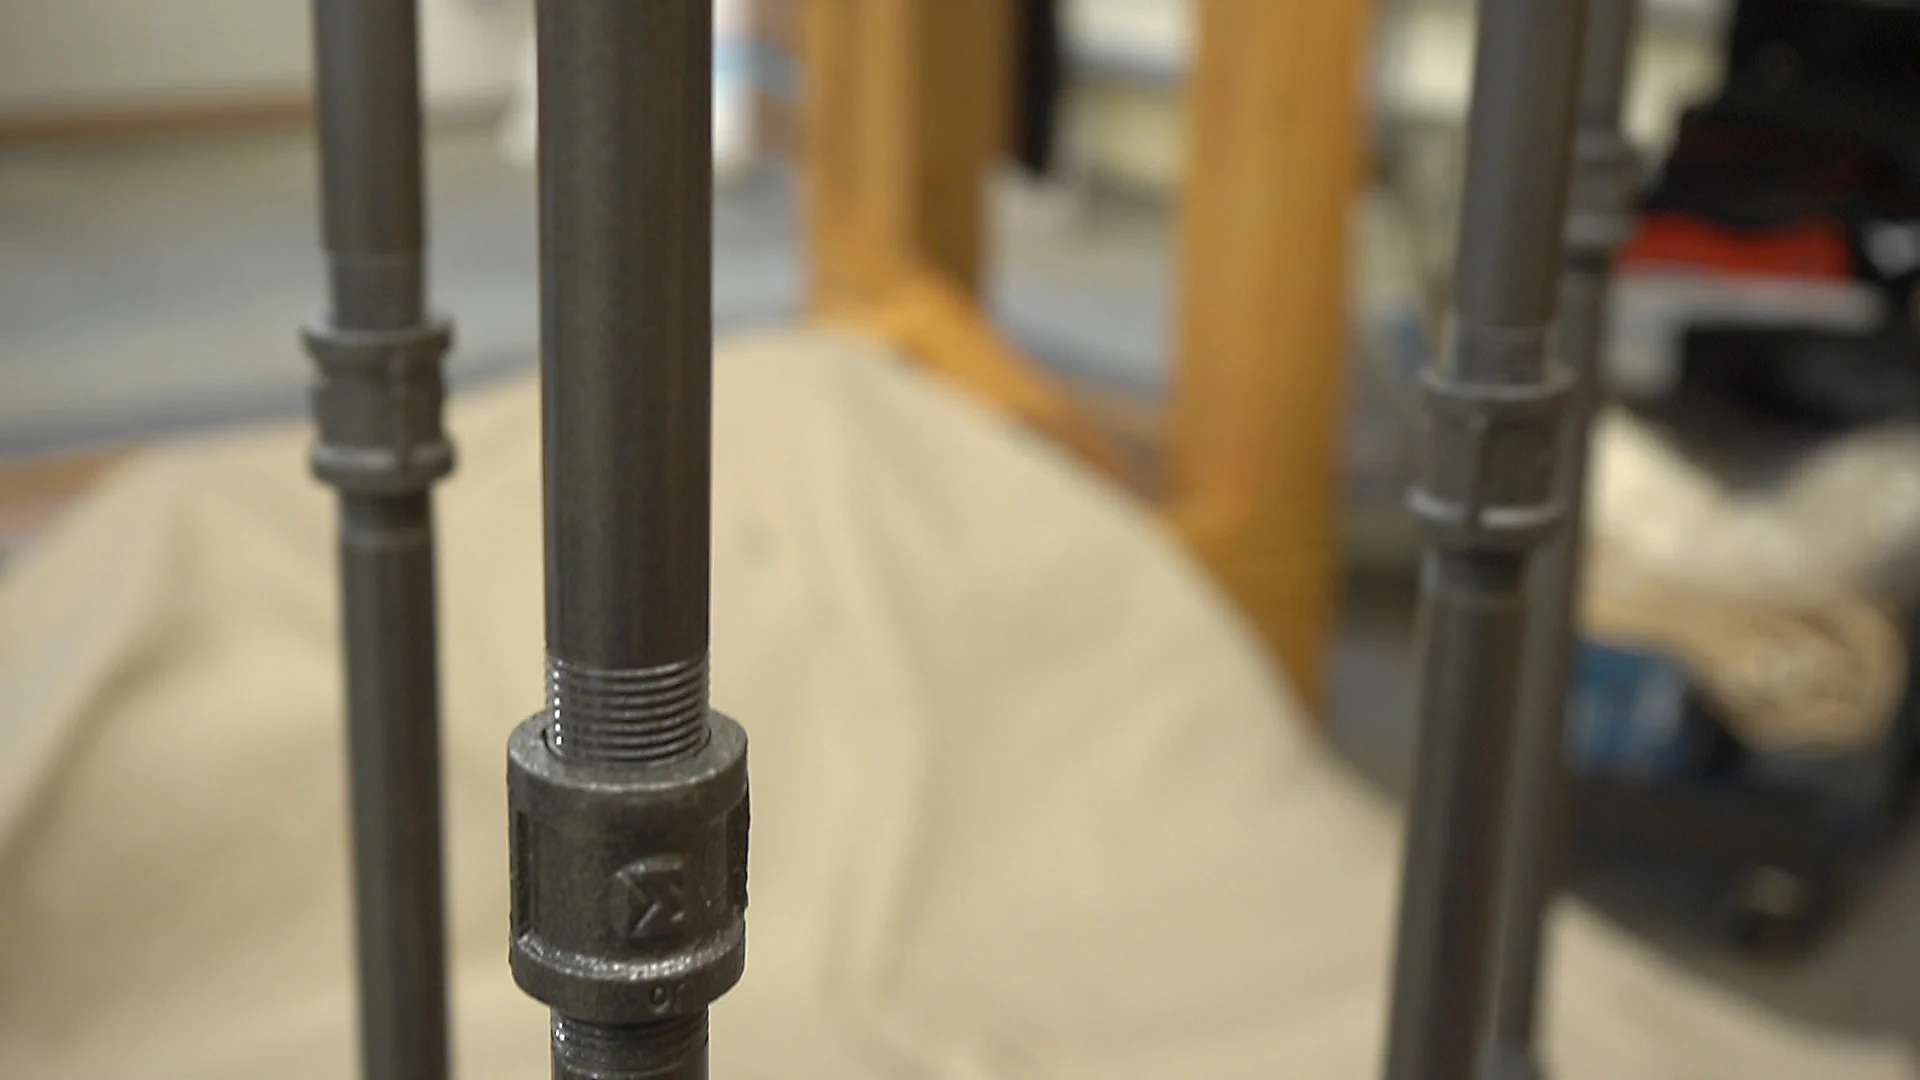
Next, it was time to start assembling the legs. Since these parts aren’t made to exact tolerances, I spent a while testing different combinations of pipe and couplers to get a level surface for the shelves.
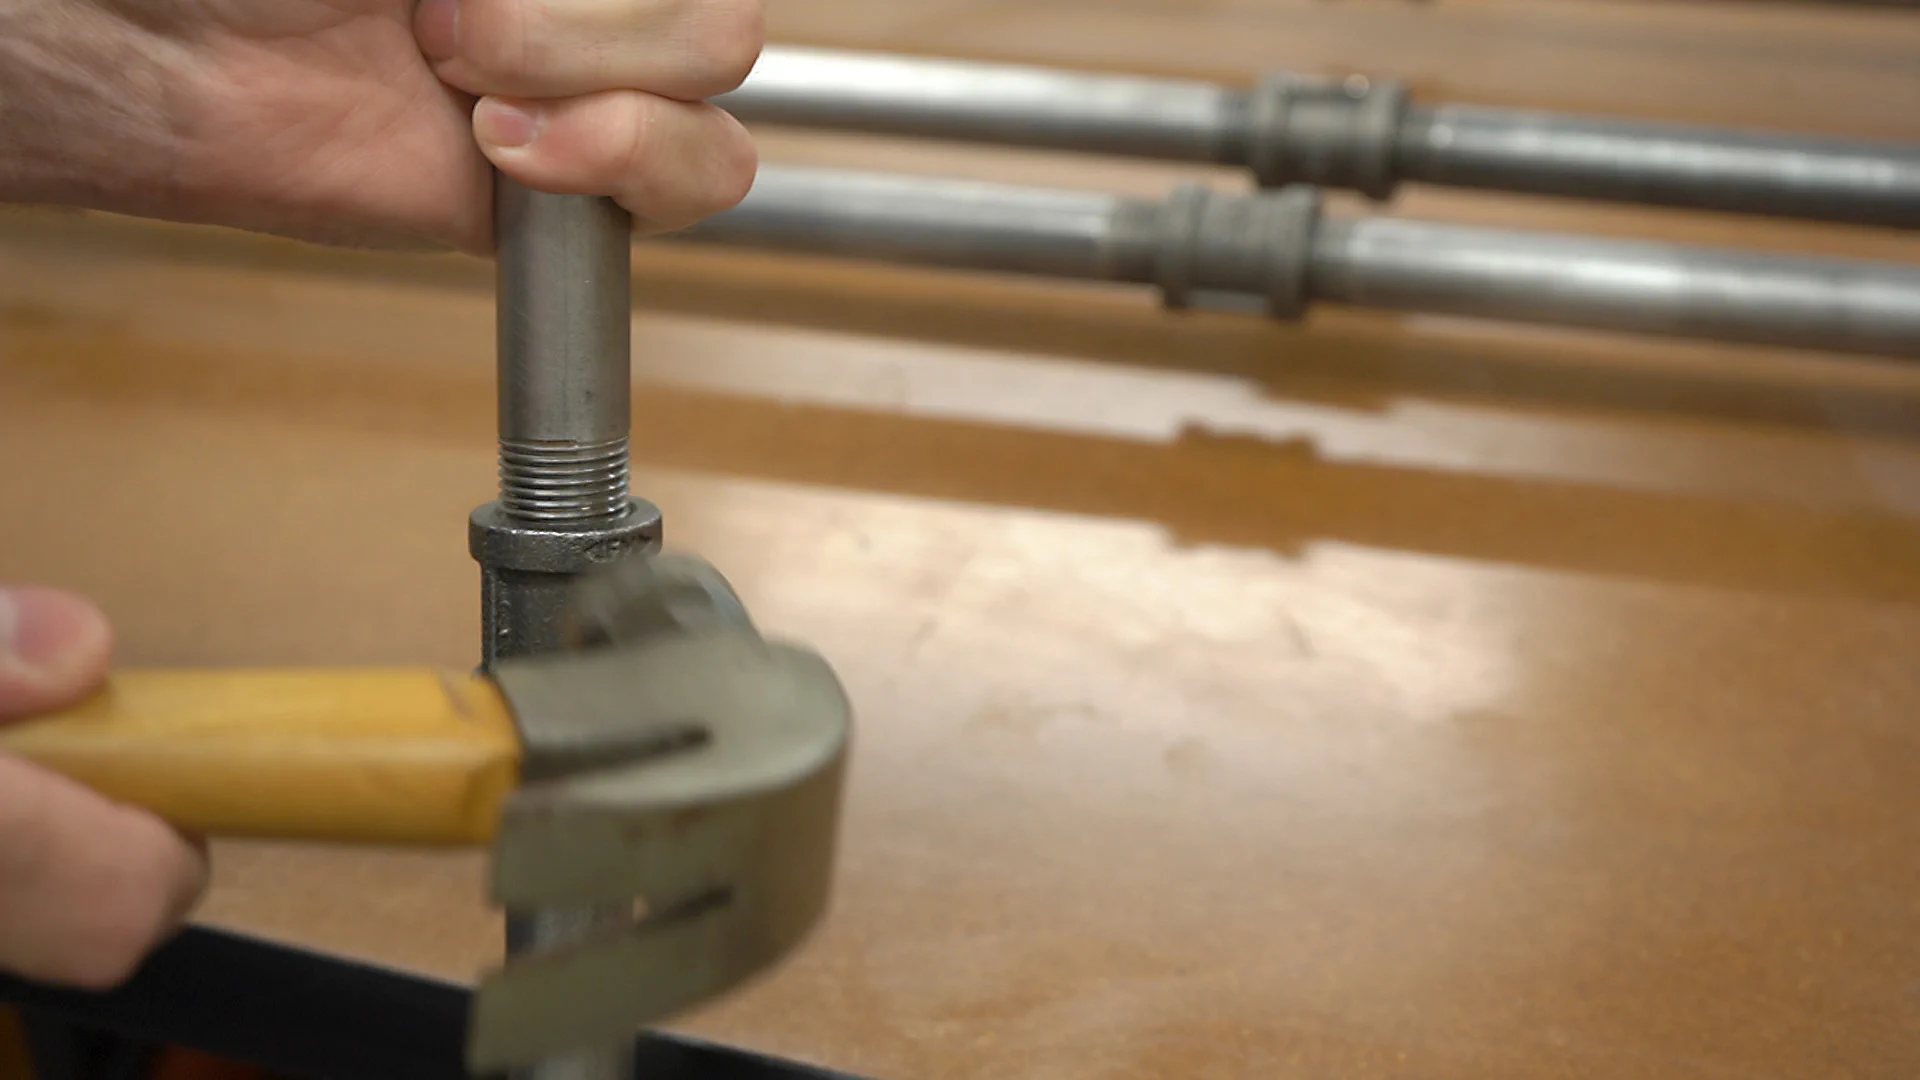
To disassemble any parts that were too tight to loosen by hand, I found that lightly tapping the couplers several times with a hammer made it easy to separate the parts.
For a final check, I used two scrap pieces to verify that everything was lining up nicely. Any small gaps will be filled in with silicone later, so it doesn’t have to be perfect but I tried to eliminate any over 1/16".
Before I started painting the legs, I loosened the pipe slightly at the top of each coupler so that the legs could be easily disassembled later when adding the shelves. For paint, I decided to go with Rust-oleum Metallic Flat “Soft Iron” spray paint.
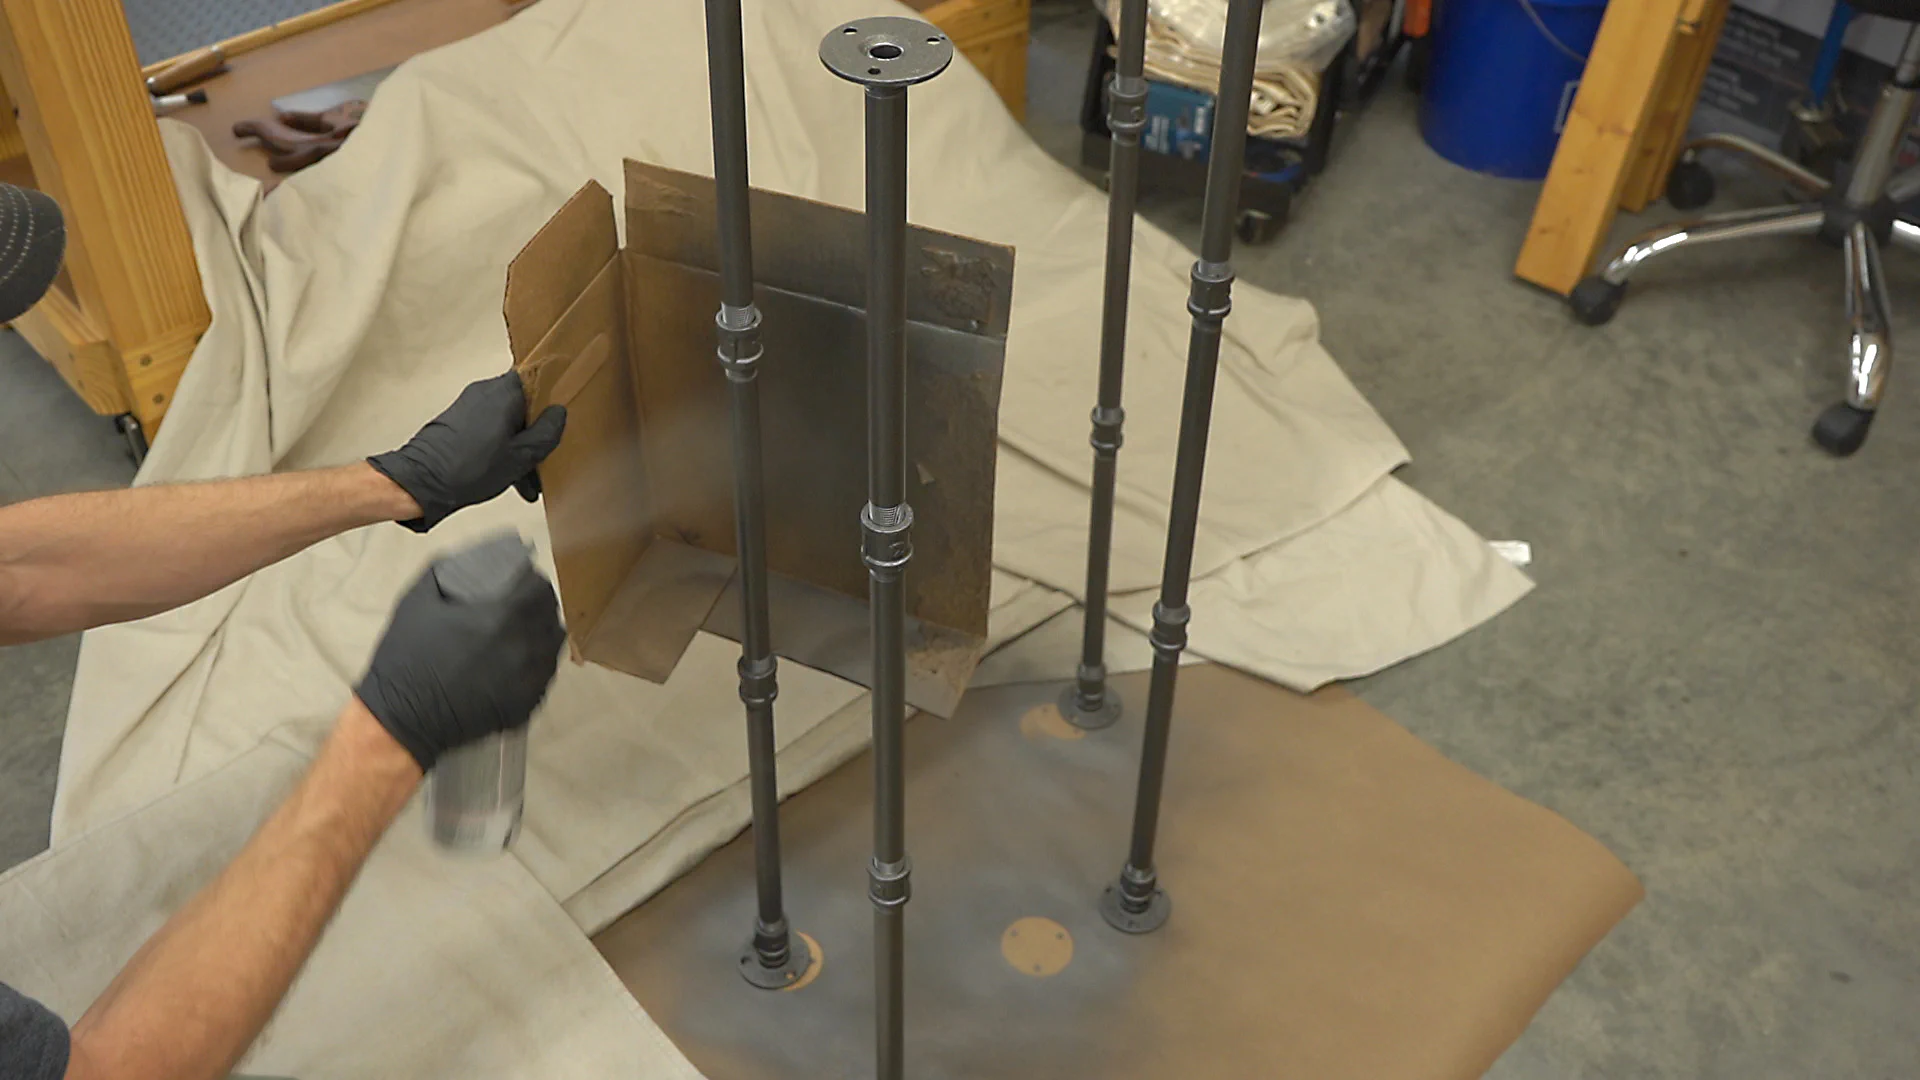
After two light coats, I think it turned out quite well, though next time I’ll try the nicer pipe and see if I can get by without needing to paint.
The Shelves
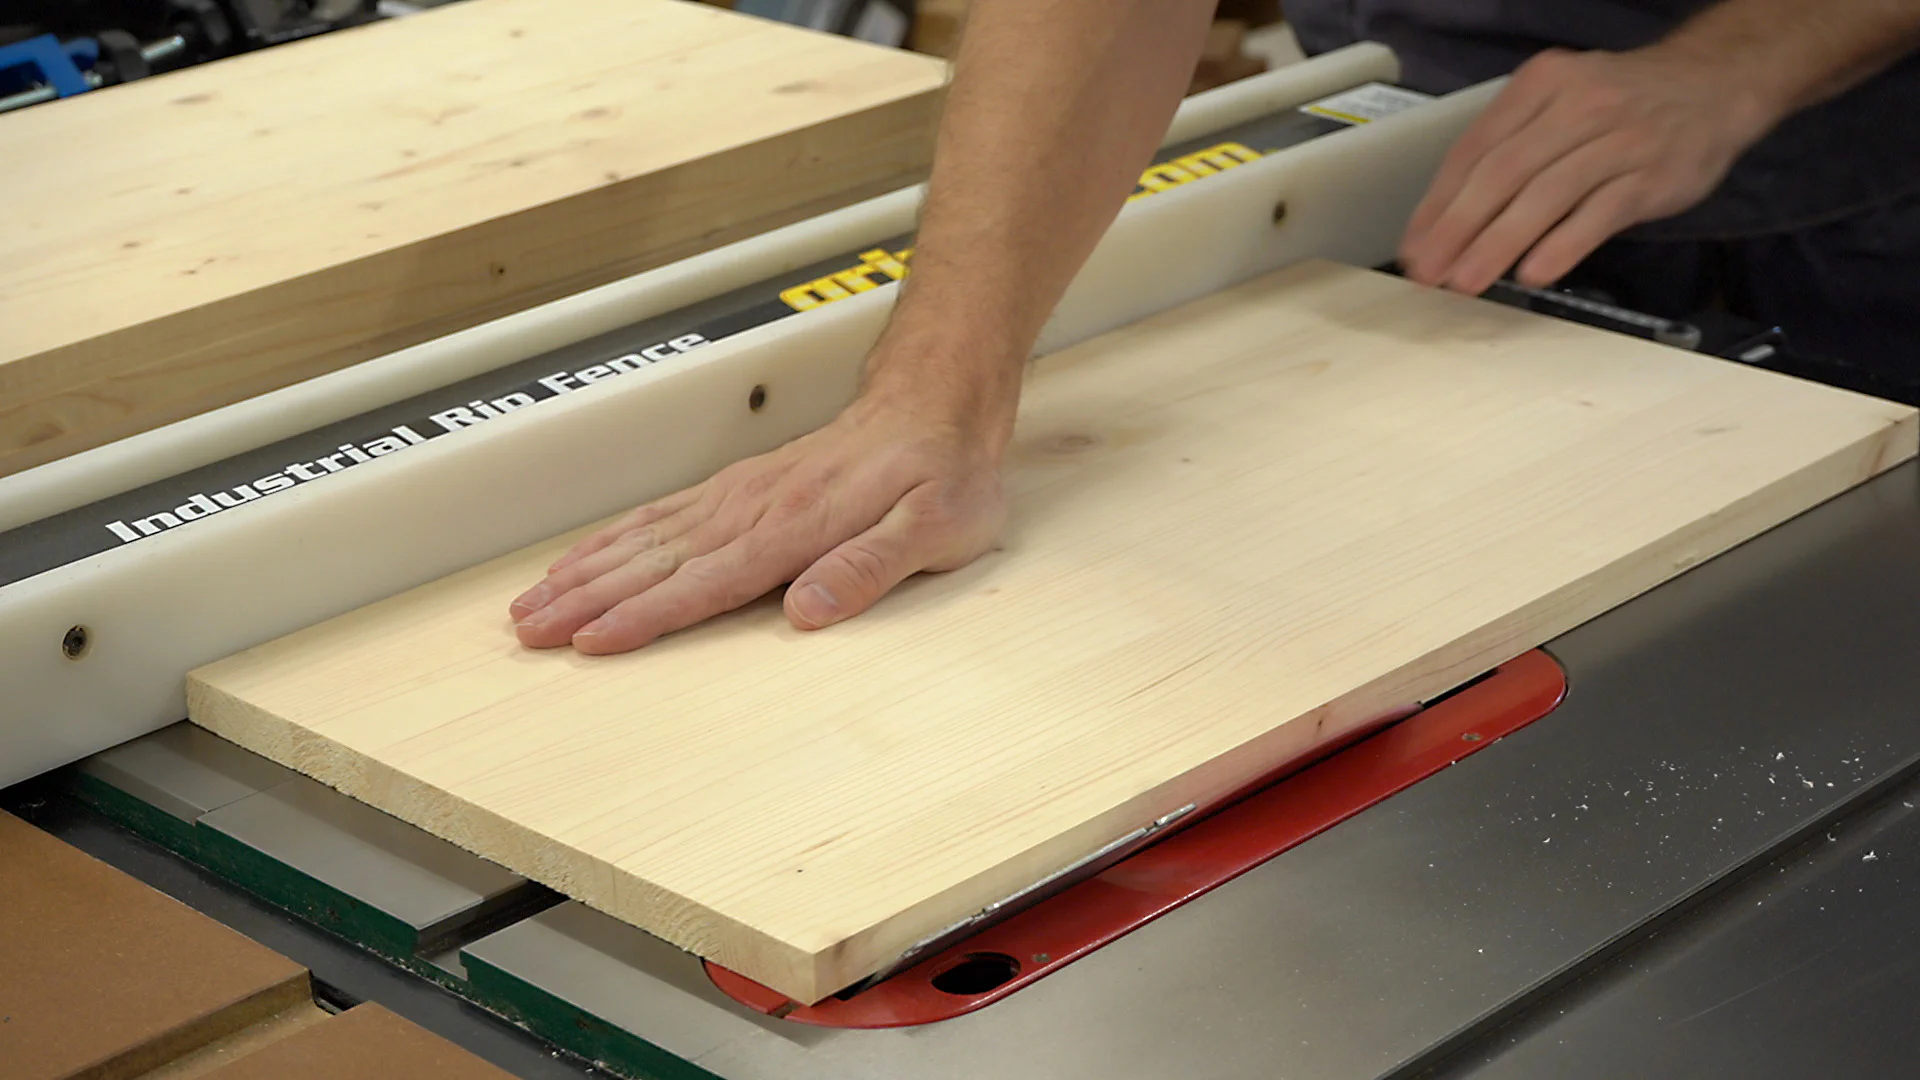
Next, it was finally time to start on the shelves. I decided to keep it simple here and go with 12" wide edge-glued shelving panels from Lowe’s.
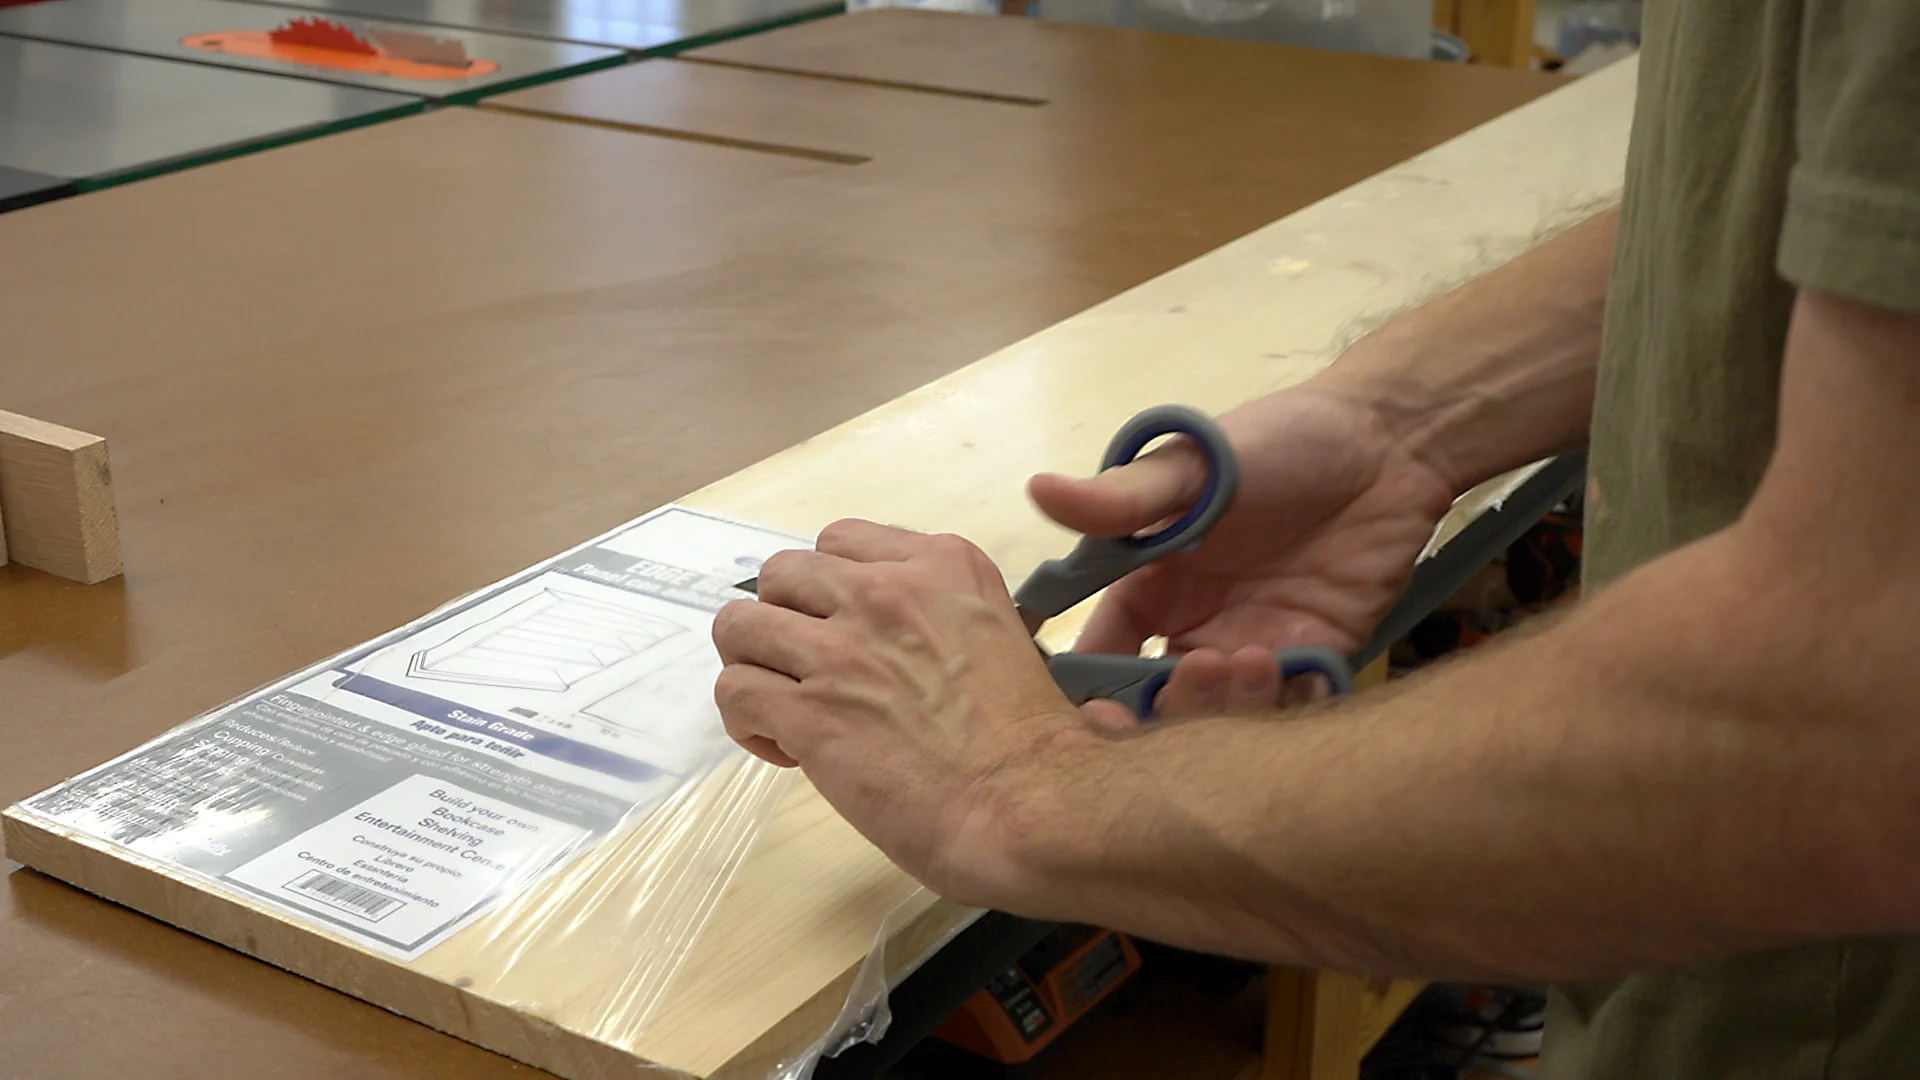
I started by cutting each shelf to length at my miter saw and then headed over to the table saw to cut a small chamfer along the front edges of each board though this could be done with a block plane or even a sanding block.
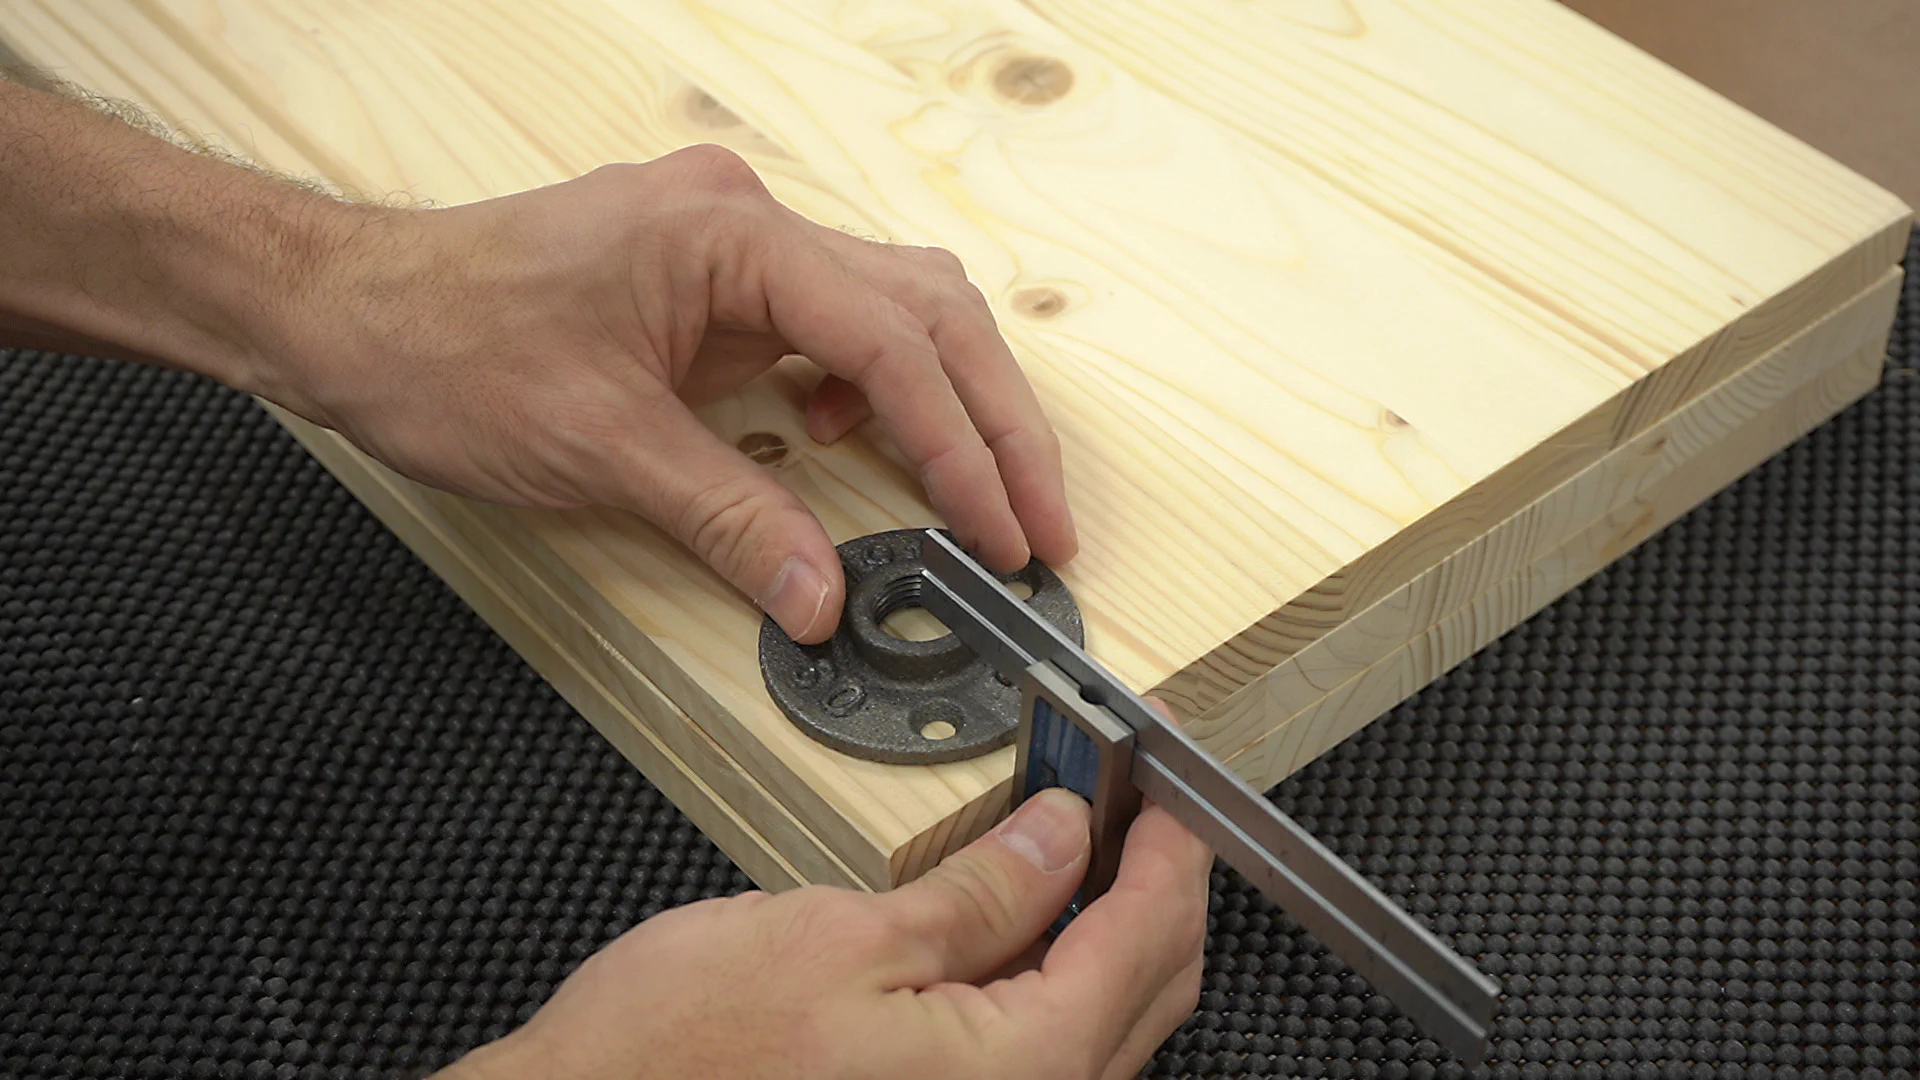
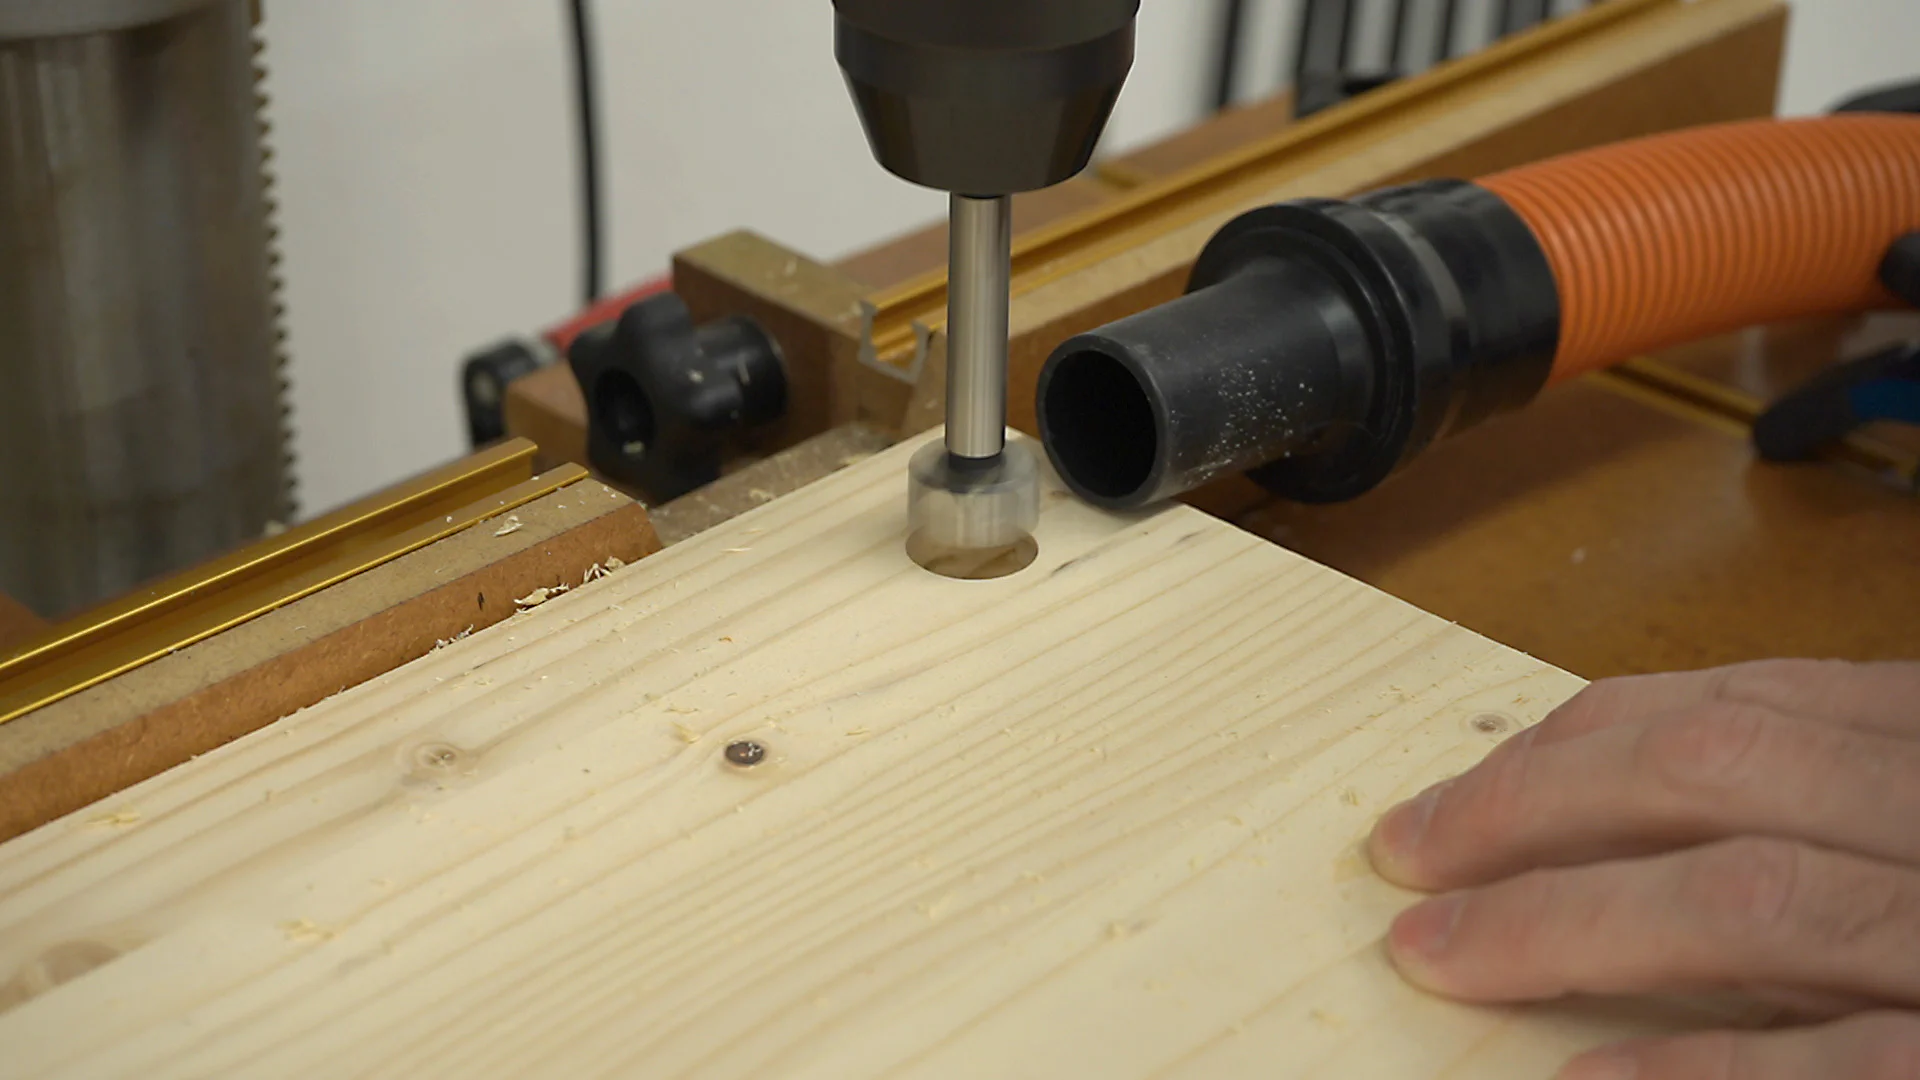
I then did a quick test to determine which drill bit size to use which turned out to be a 7/8" Forstner bit for this 1/2" pipe. After determining the hole locations for the legs using an inset floor flange as a guide, I clamped the three shelves together and then drilled each of the holes at my drill press. If you don’t have a drill press, it may be easiest to drill all the holes in one board and then use it as a template to drill holes in the remaining boards.
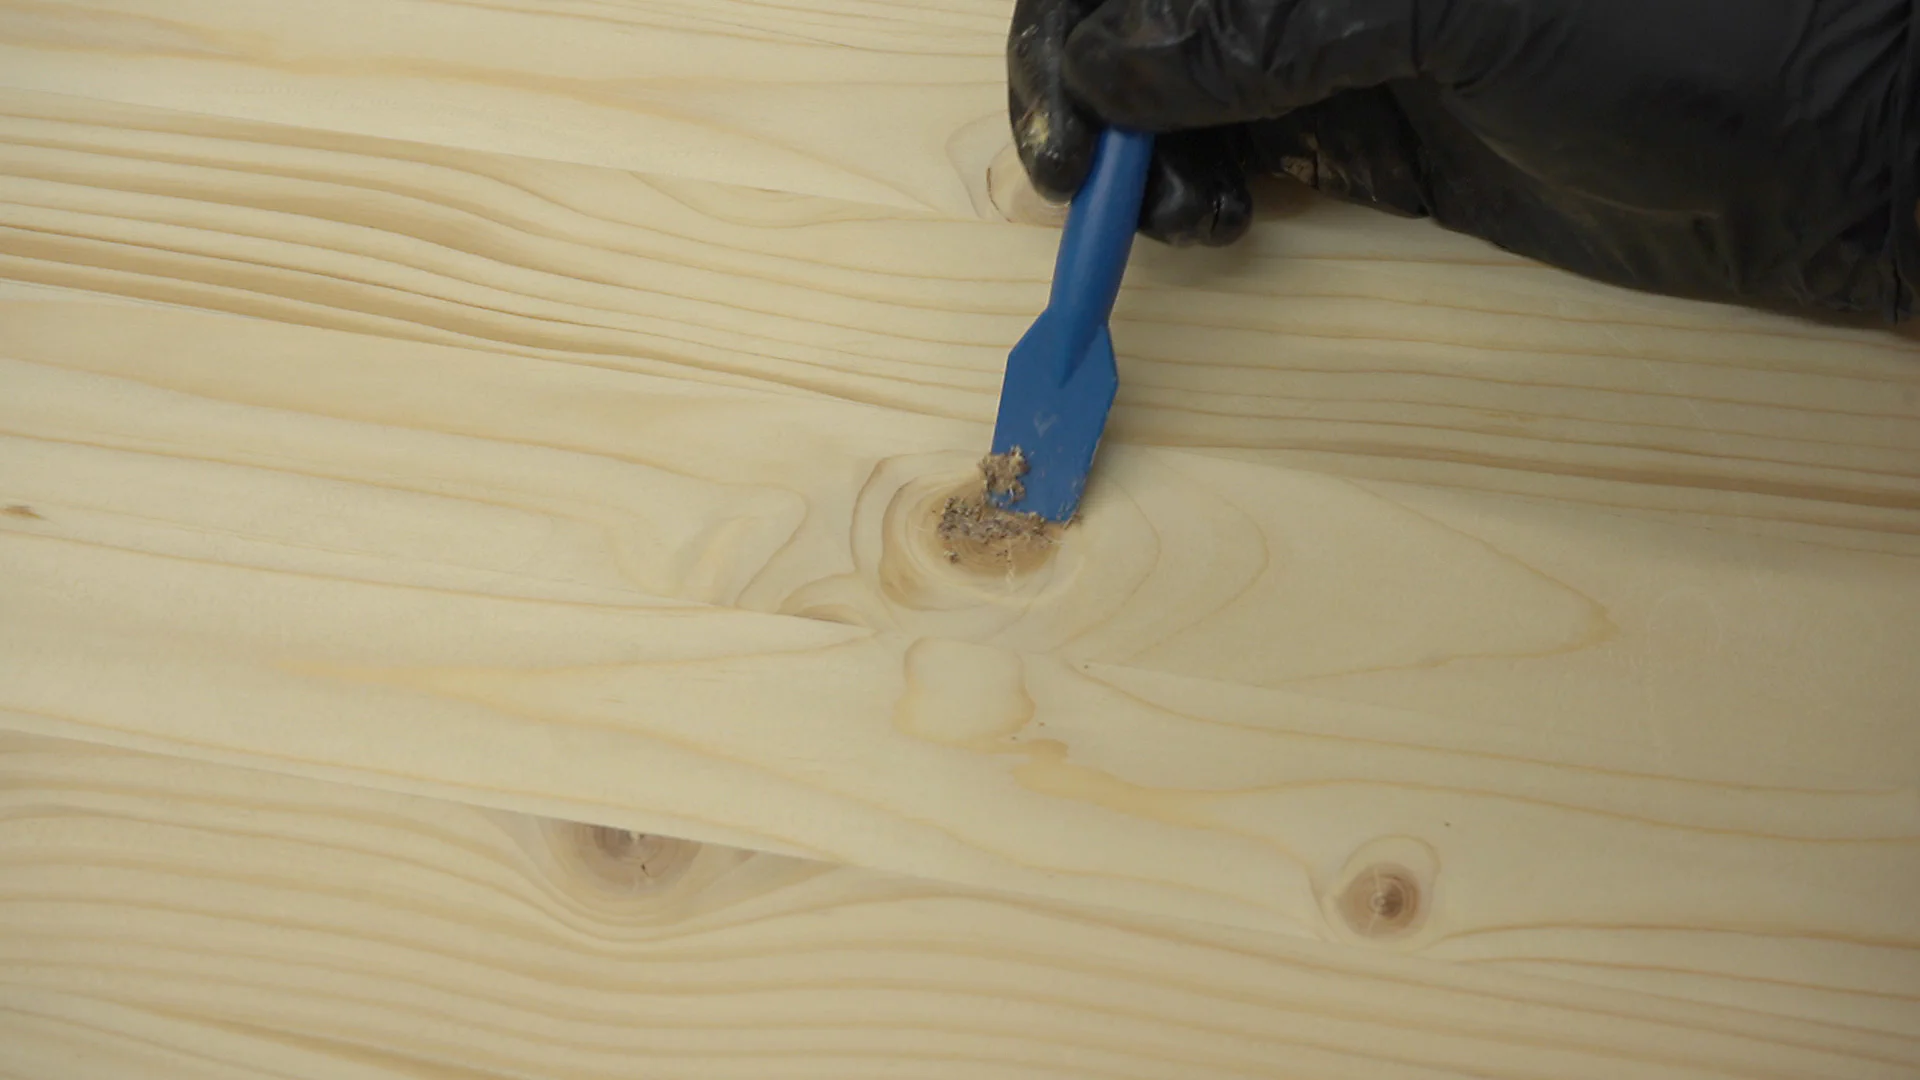
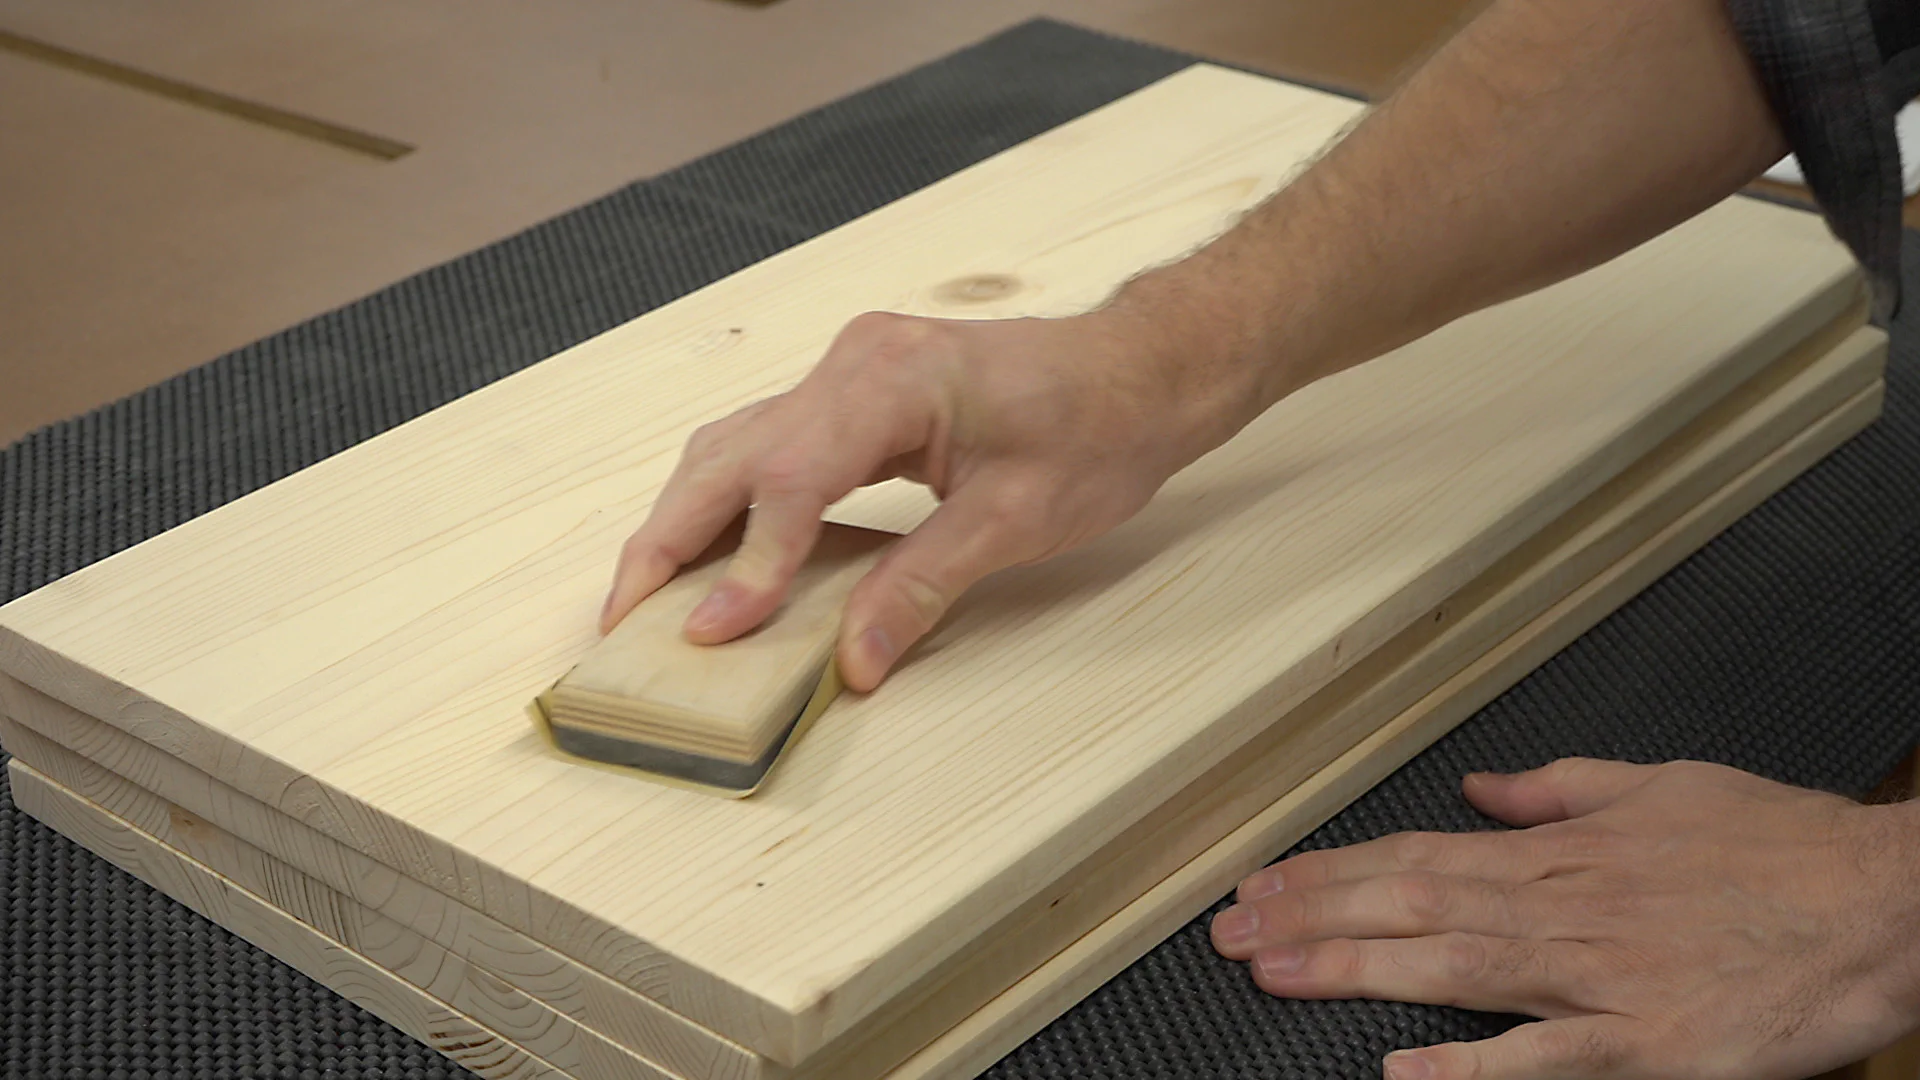
I then filled in any cracks with a bit of wood glue mixed with sawdust and once that dried, I sanded using 80 and 120 grit sandpaper with the grain. I would avoid using a random orbit sander here if you’re planning to apply a stain as the stain will make any swirl marks stand out very clearly.
Staining and Finishing
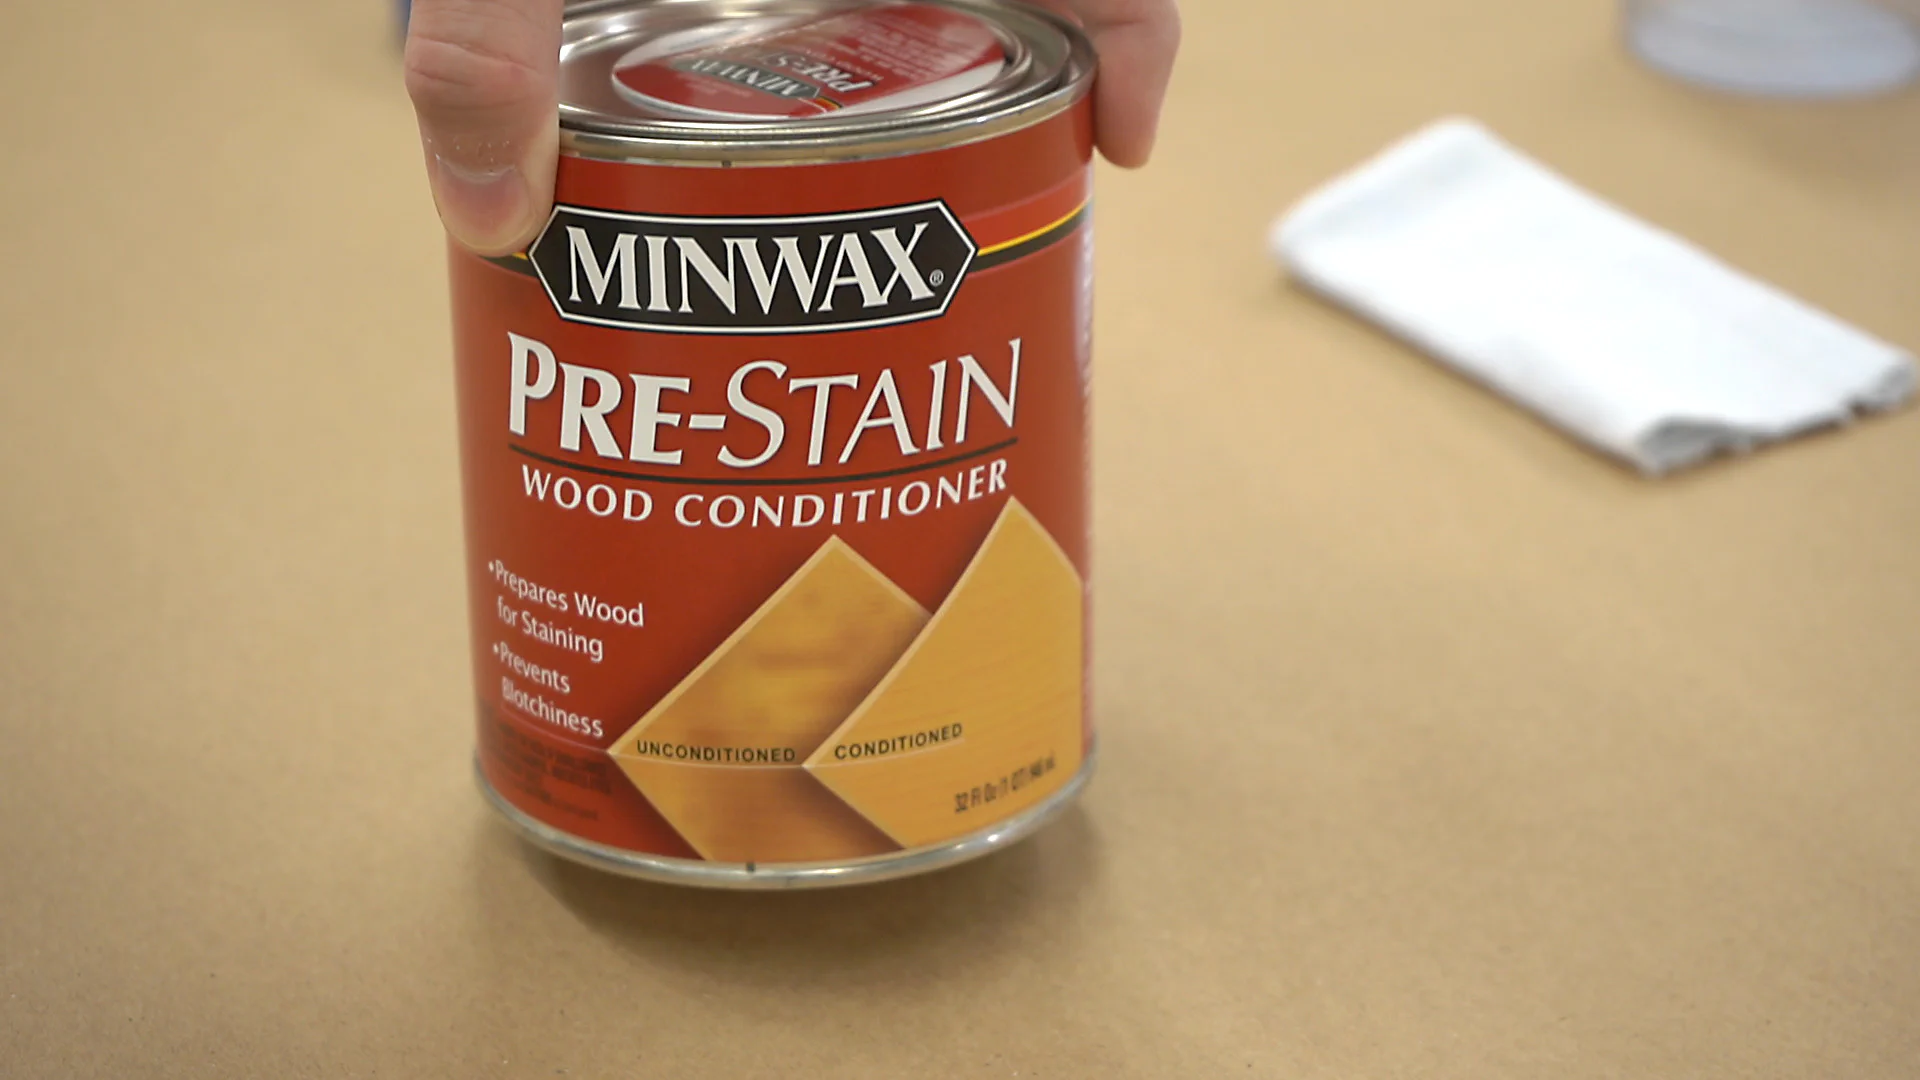
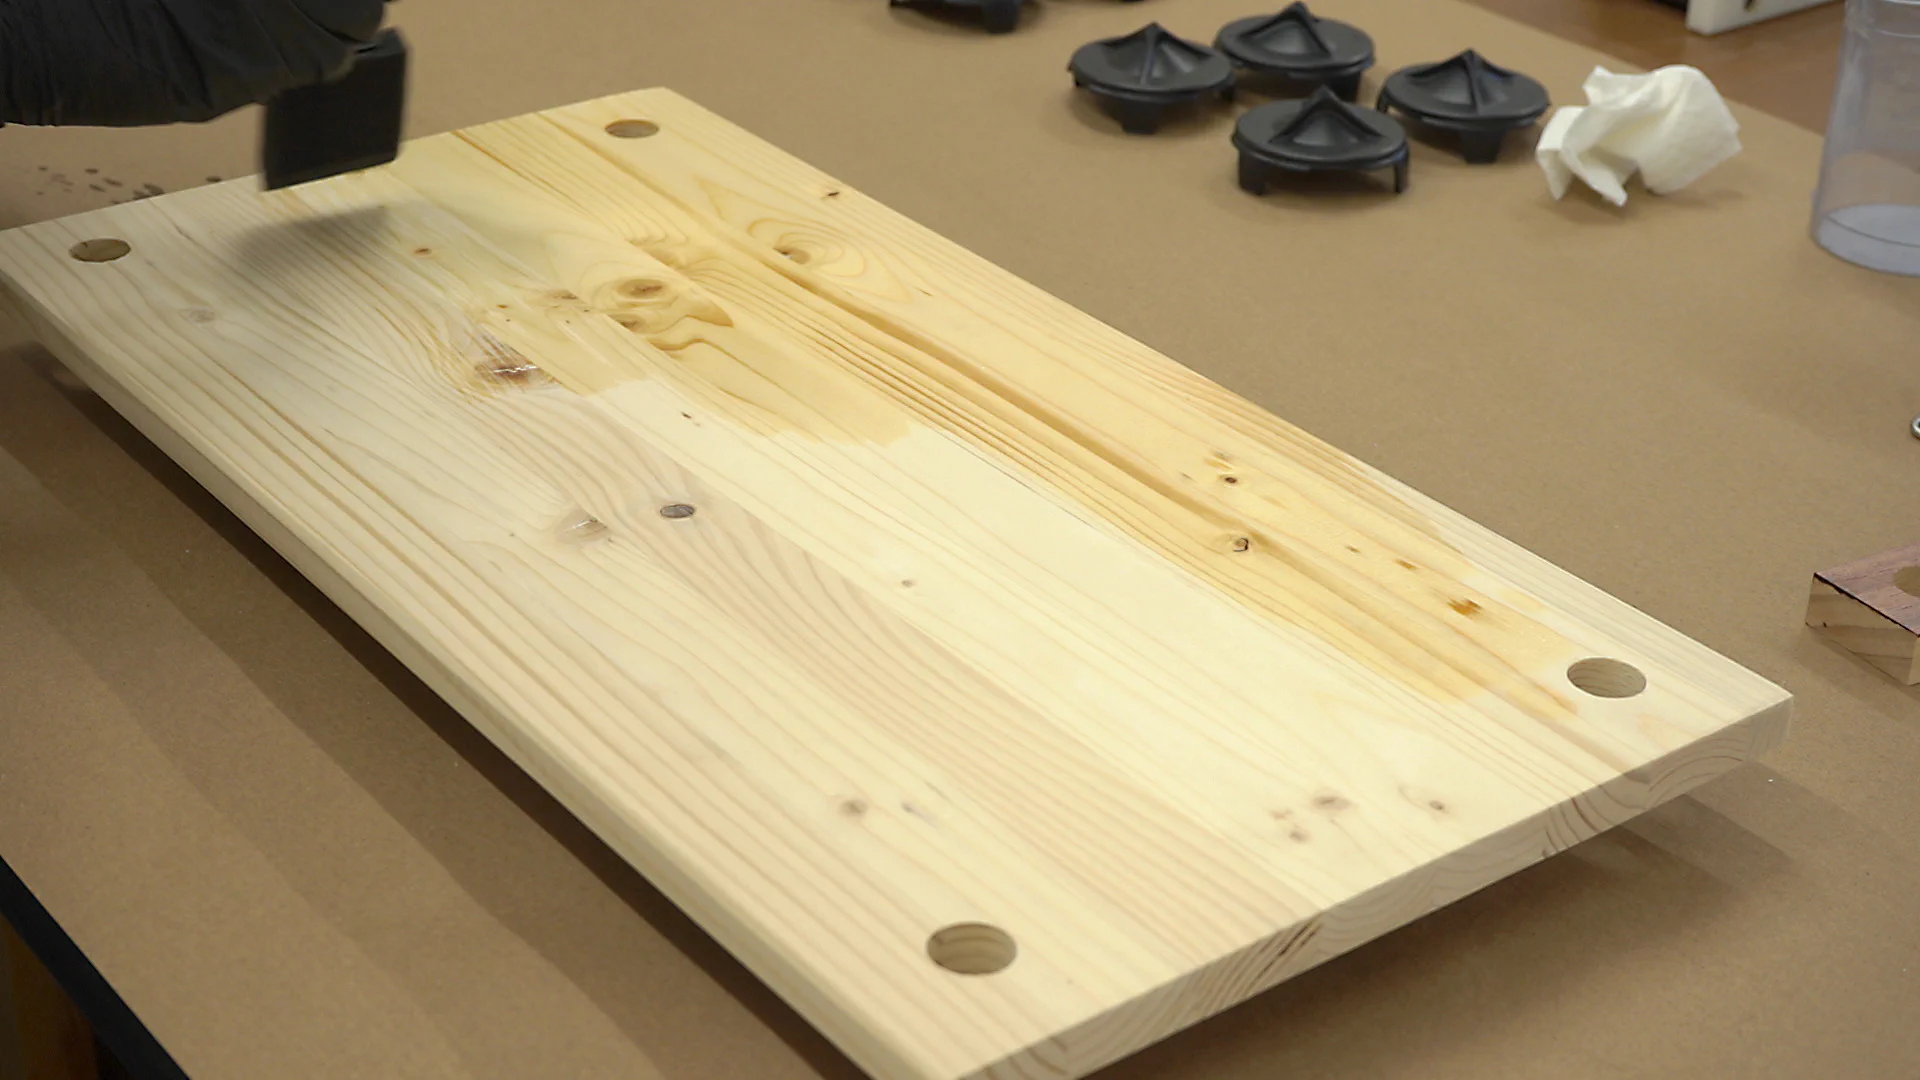
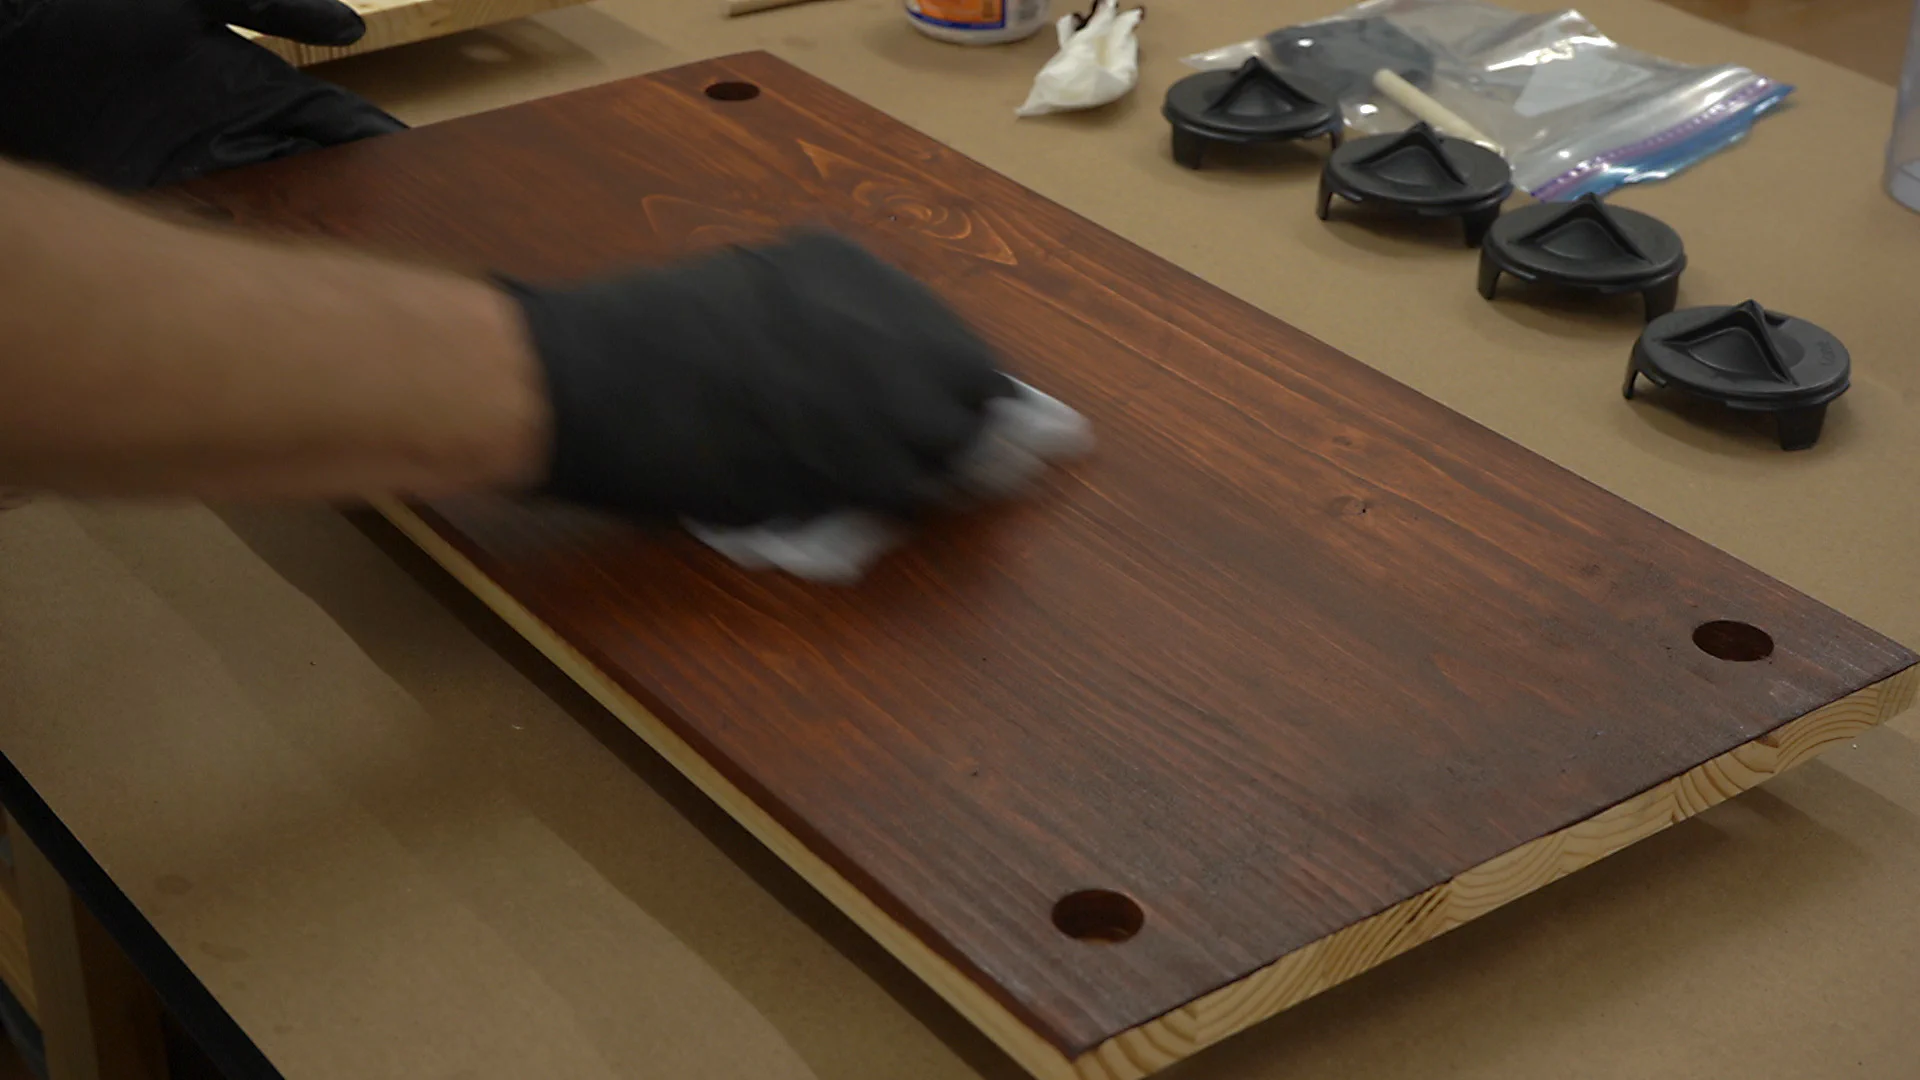
Next, it was time for the stain. To try and eliminate blotches, I decide to apply an oil-based pre-stain conditioner with a foam brush. In the end, I’m not sure how necessary this was on the edge-grain shelving with a fairly dark application of the stain, but it didn’t hurt and was pretty easy to do. I simply brushed it on and came back about 10 minutes later and wiped off any excess.
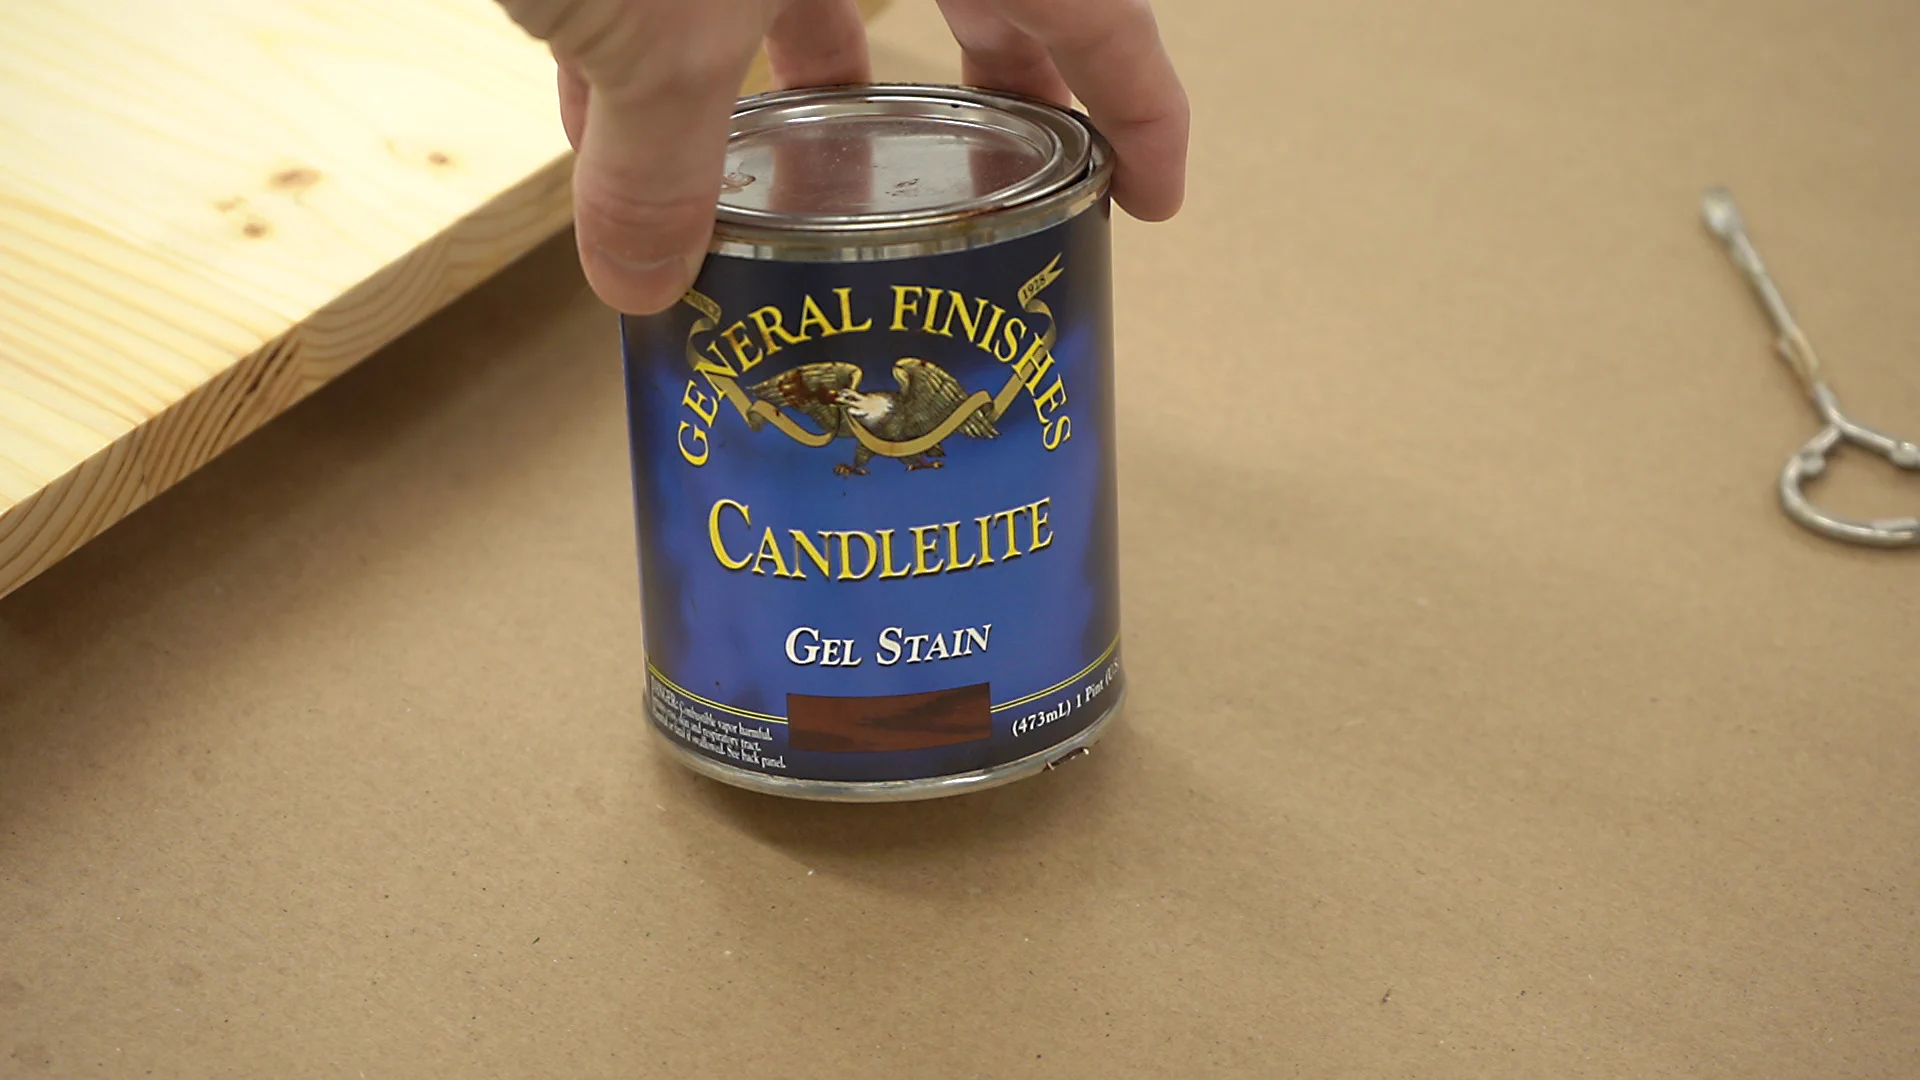
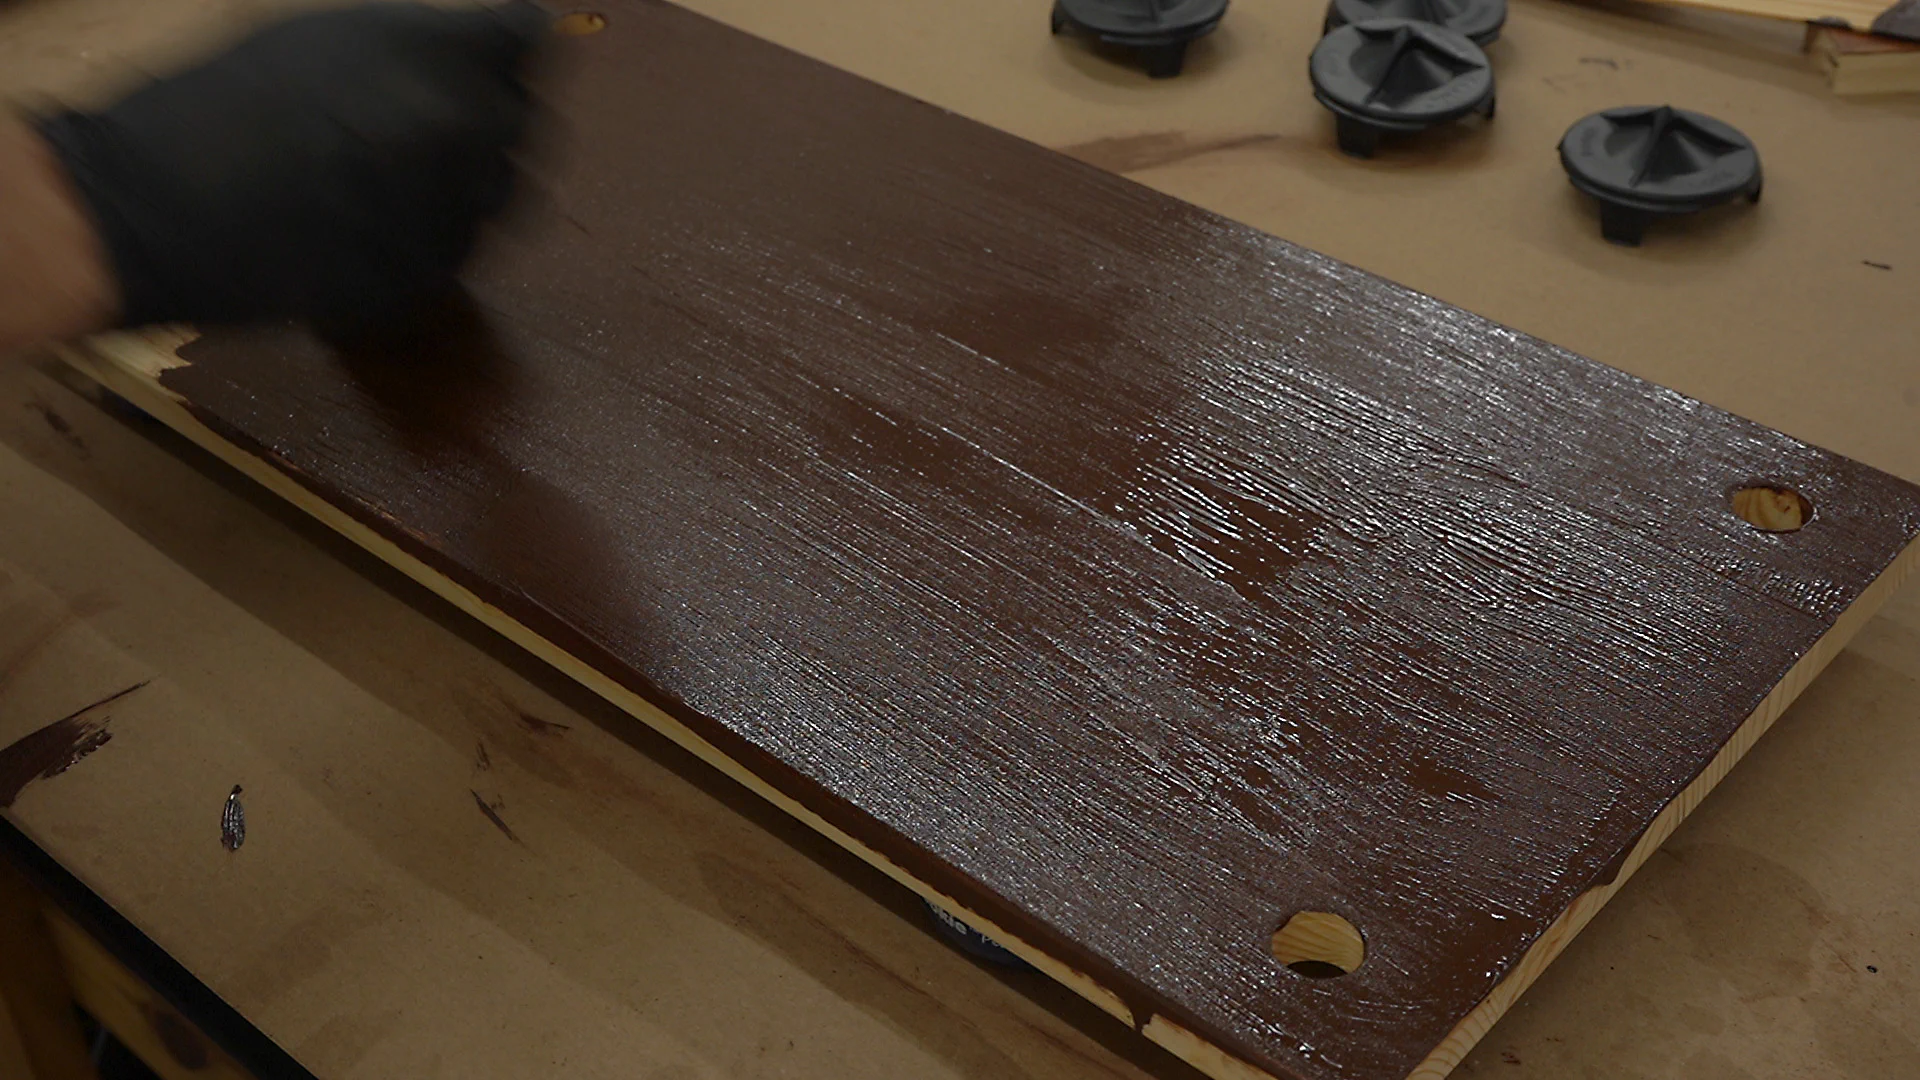
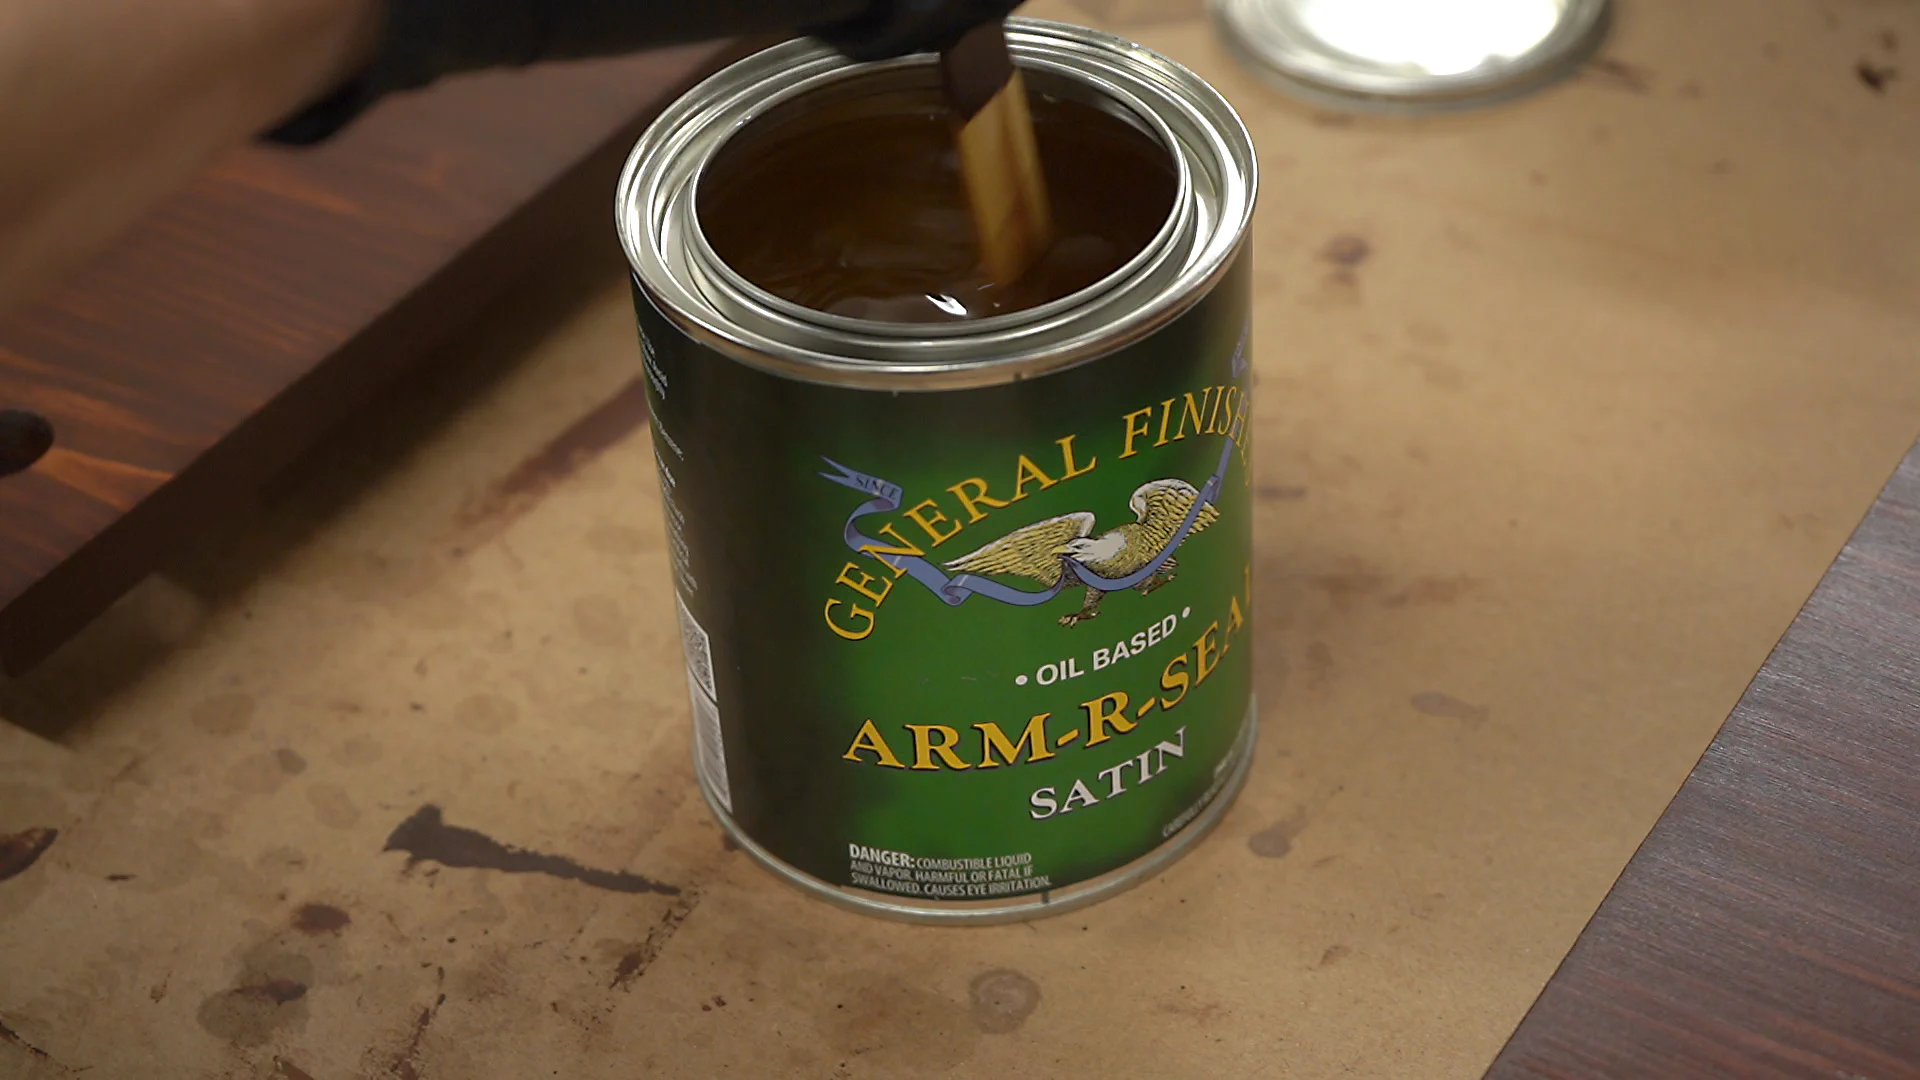
For this project, I used General Finishes Gel Stain in Candlelite. The recommended way to apply the stain is to brush it on in a heavy coat, wipe off the excess, and then apply additional coats after 12-24 hours if needed. But after three coats on a test piece, it still wasn’t quite as dark and even as I wanted, so I decided to experiment a bit.
For my first attempt, I brushed the stain on so that it was close to the final shade that I wanted. This may have been ok if I’d simply left it alone, but I thought I could wipe off a few spots of excess stain with a rag. The problem with applying it this thin is that the stain dries quickly and then it becomes sticky and impossible to wipe.

It was at this point that I noticed just how bad the swirl marks were from using my random orbit sander. So instead of just wiping off the stain with mineral spirits while it was still possible, I let it dry for a day and sanded it and the swirl marks off with 80 grit and then 120 grit sandpaper.
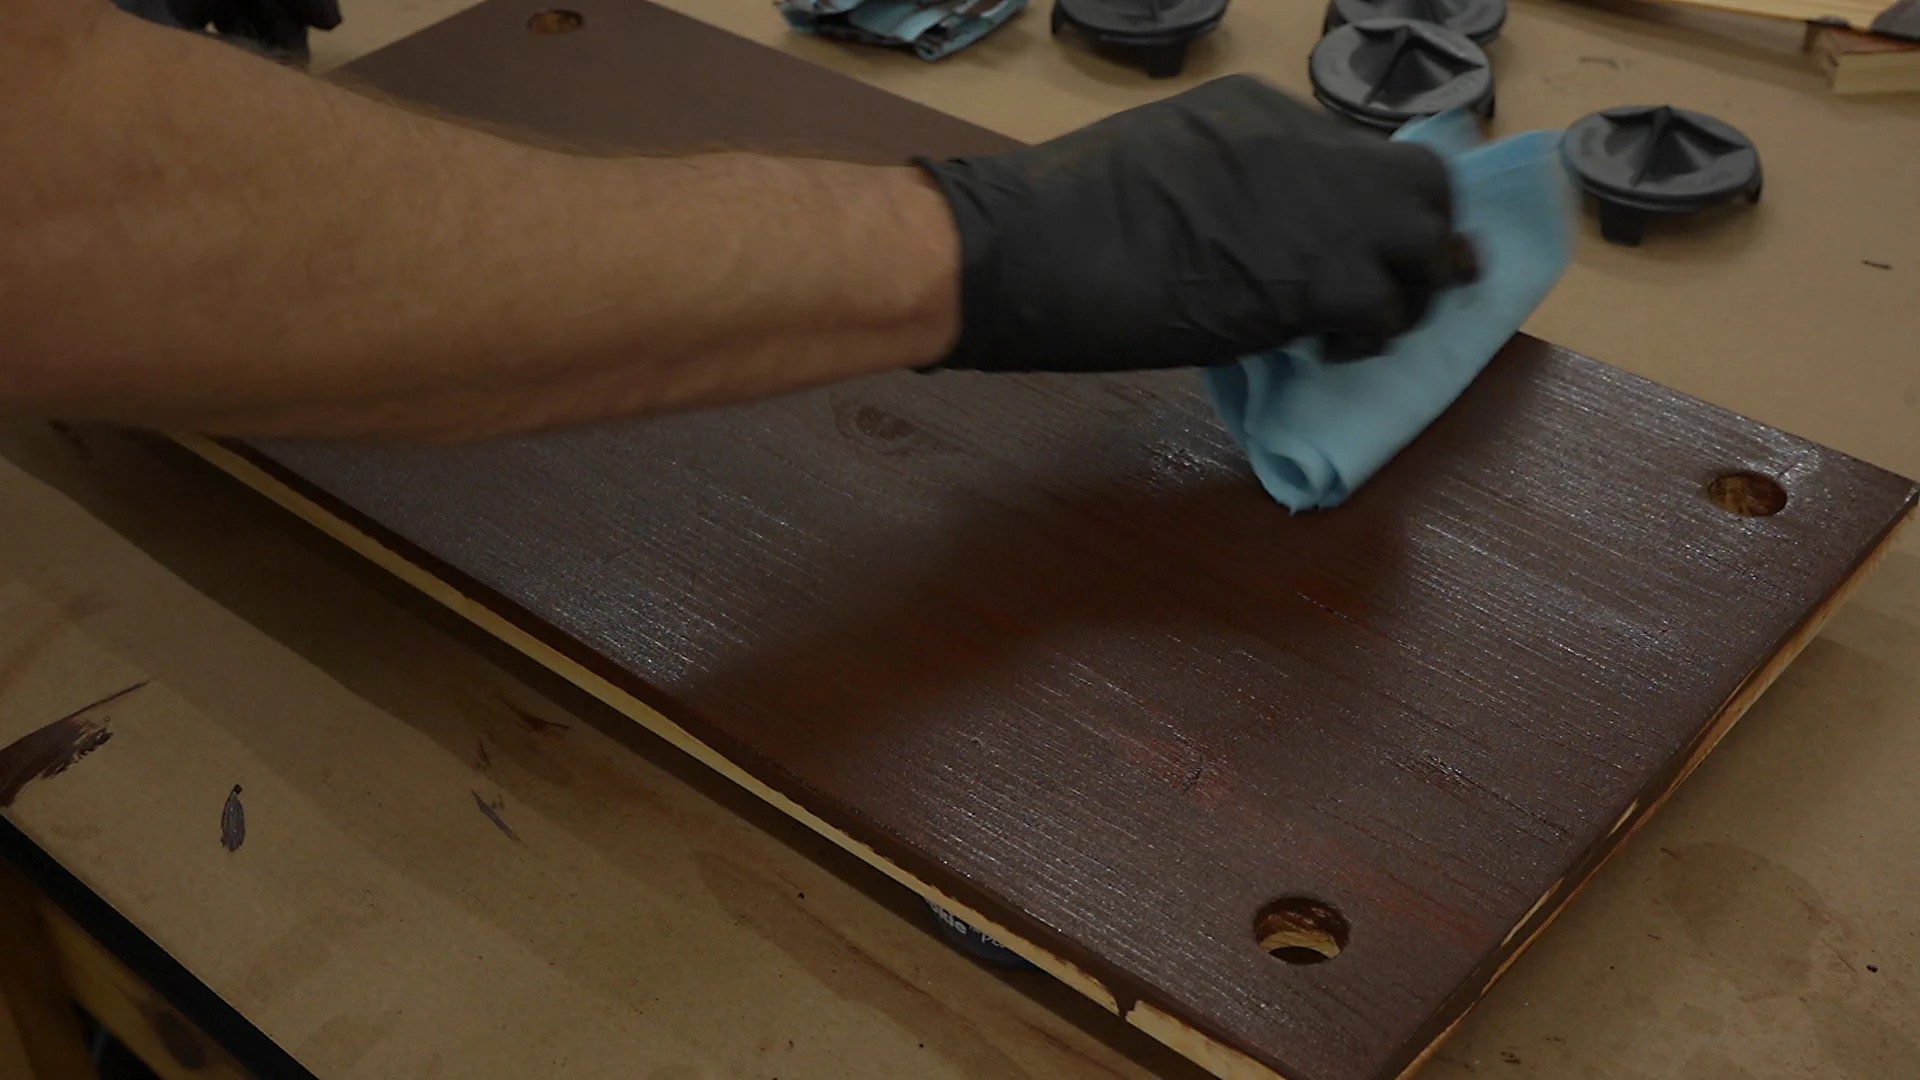
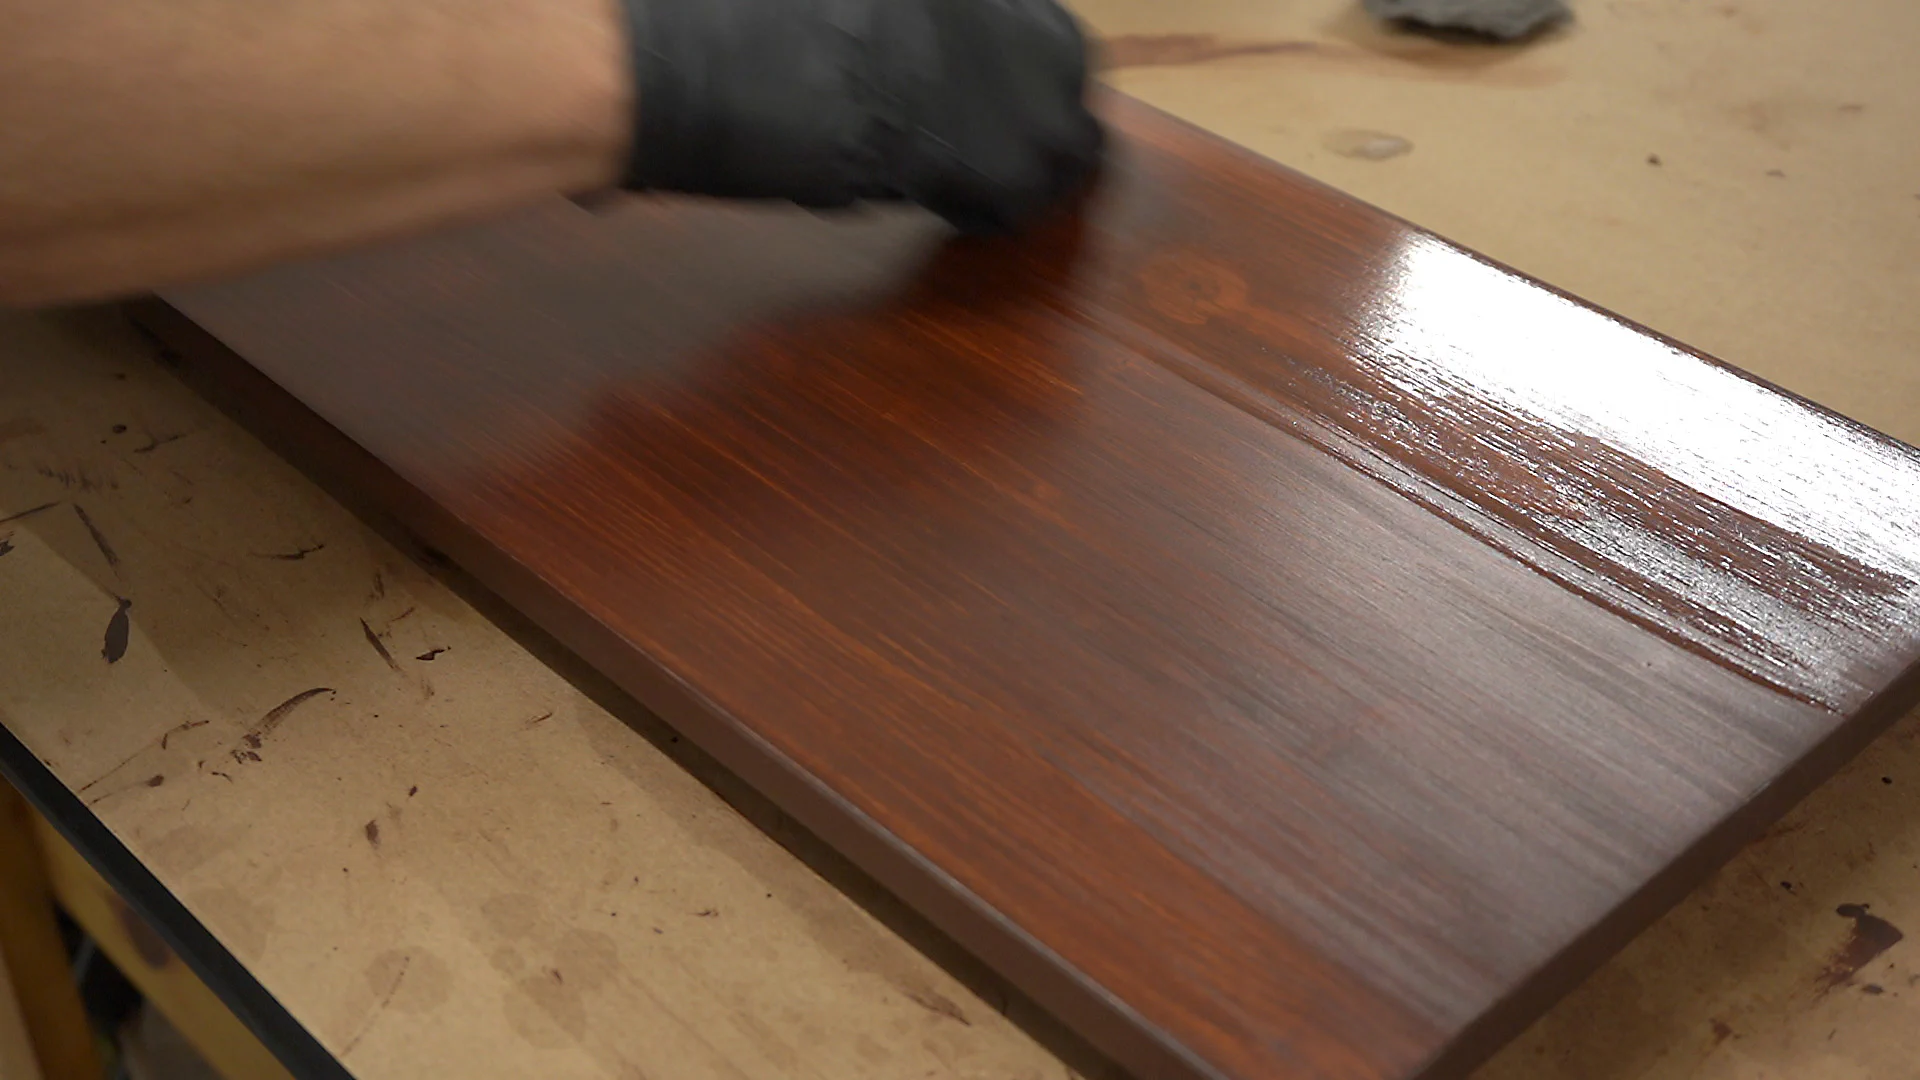
For the next attempt, I applied a thick coat of the stain, but instead of wiping it off heavily, I wiped it off with just enough pressure to remove the excess. And then wiped it with lighter and lighter passes until it was the shade that I wanted. This isn’t really a problem with other woods such as oak, but on this pine, I found it was easy to wipe off too much stain and end up with very contrasty grain.
The bottom of this board bottom actually ended up a little too dark, but by the time I started staining the tops I had figured out how much pressure to apply to get the results that I was after in just a single coat.
Once the stain dried for a day or two, I sanded the shelves very lightly with #0000 steel wool and vacuumed and wiped them clean.
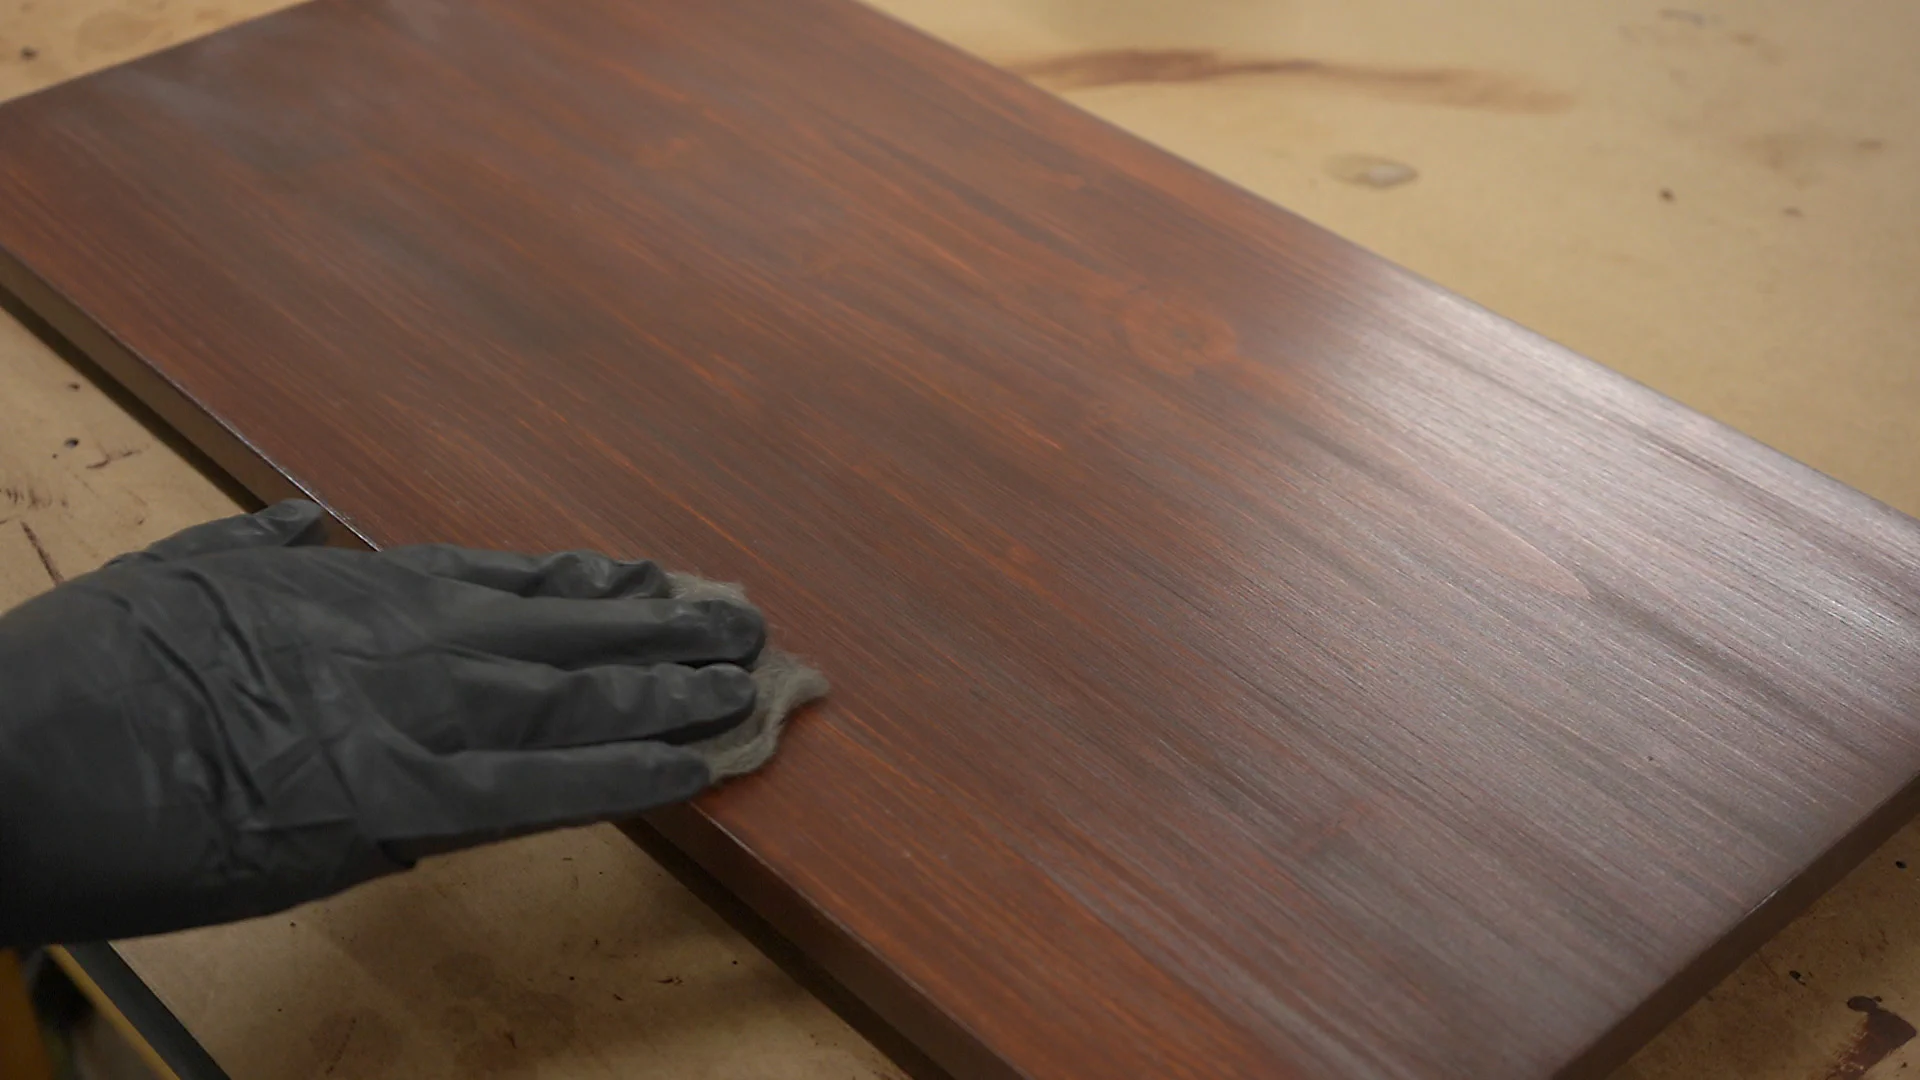
Then it was time to apply the finish. I used General Finishes Arm-R-Seal in satin and applied it 3-4 light coats sanding again with the steel wool between each coat and very lightly after the final coat.
Assembly
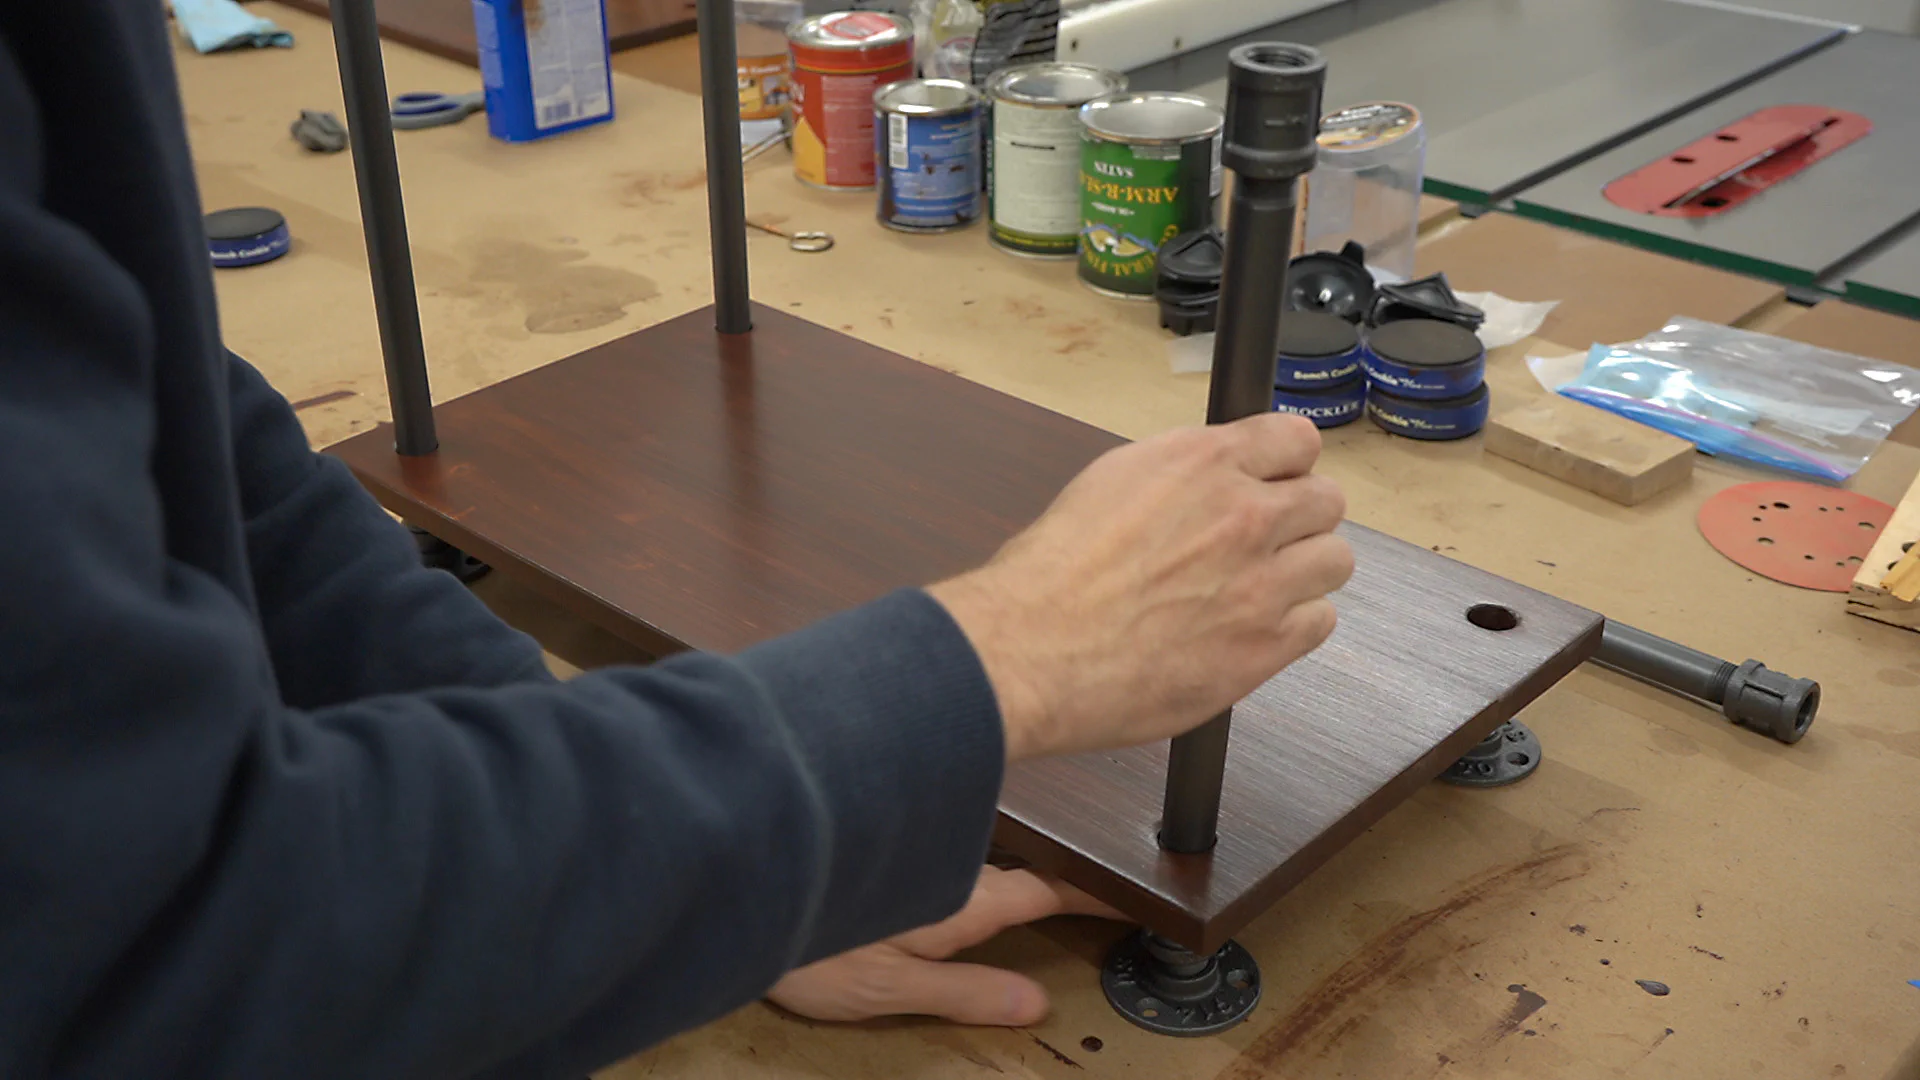
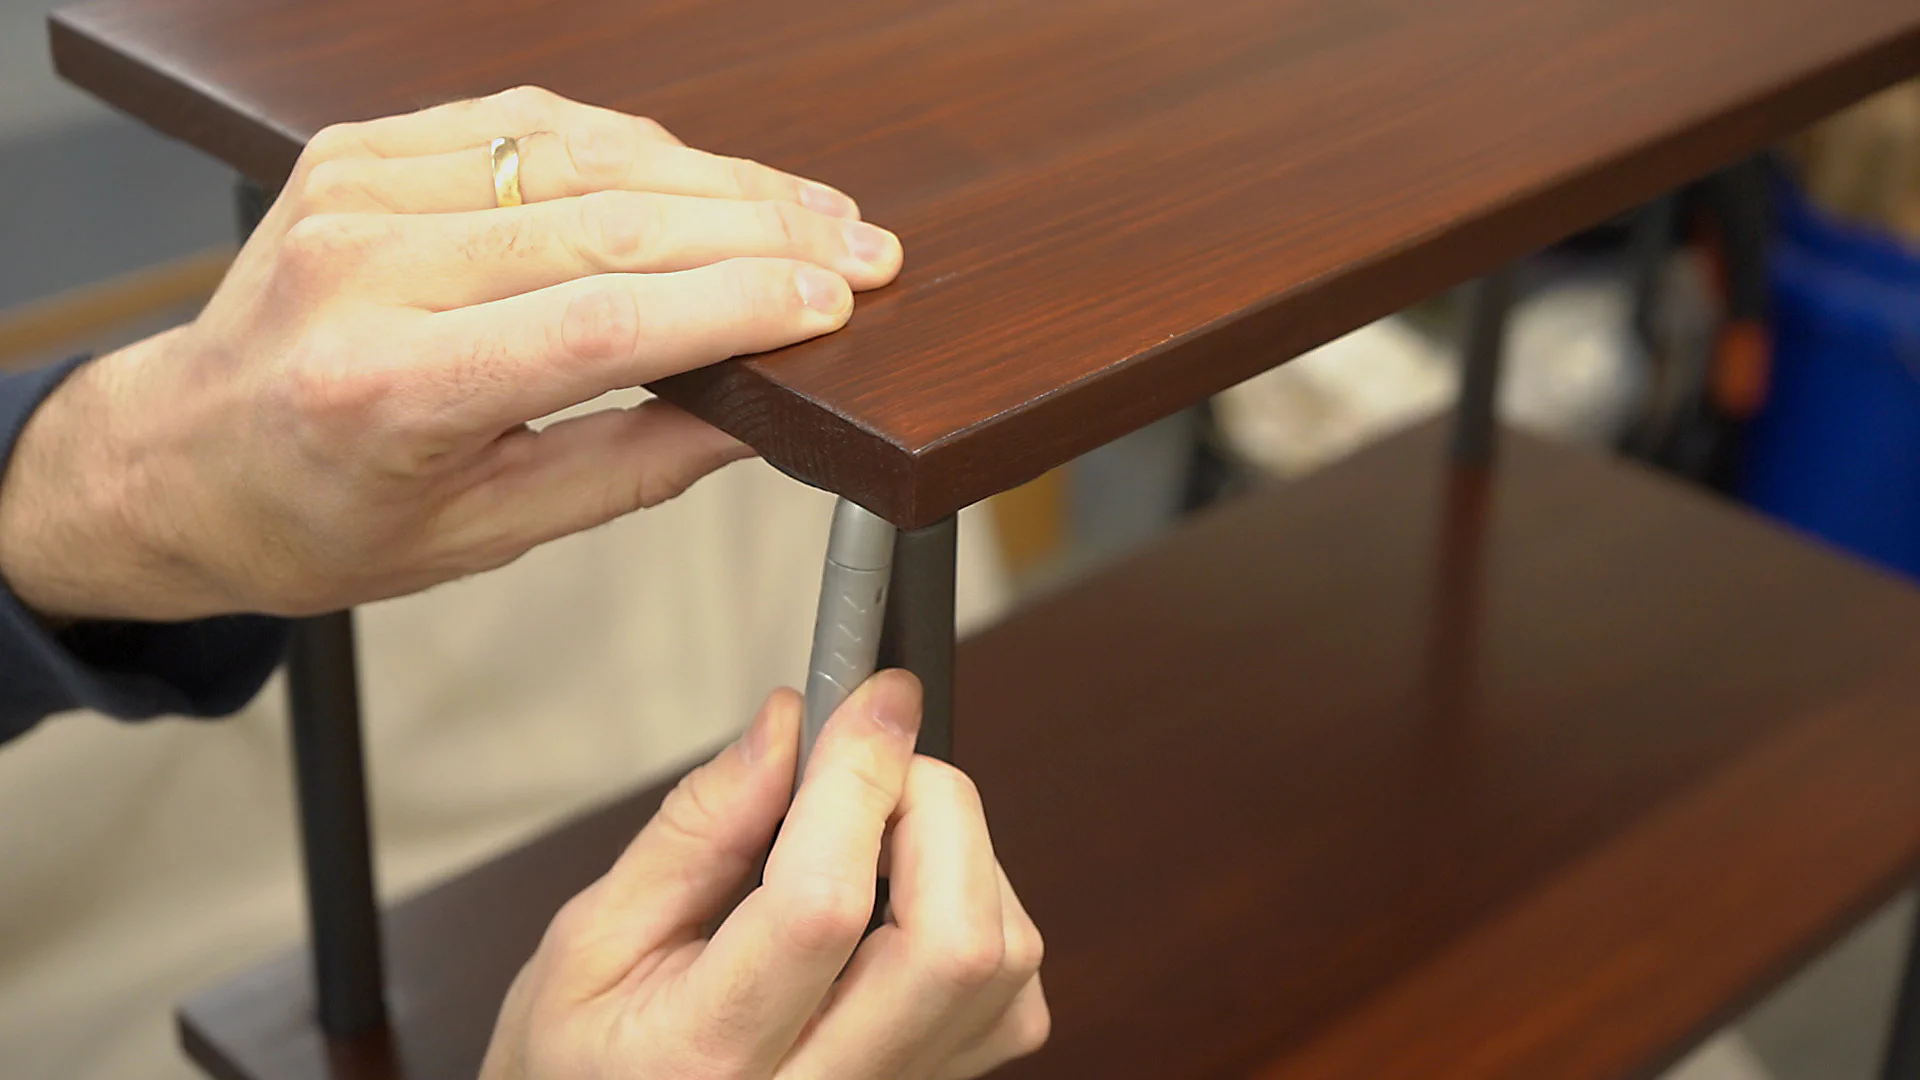
Next, it was finally time for the assembly! I started by disassembling the legs being careful to keep track of which pieces went together. I then worked from the bottom up attaching the pipe to the couplings through each shelf to avoid scuffing the paint on the pipes.
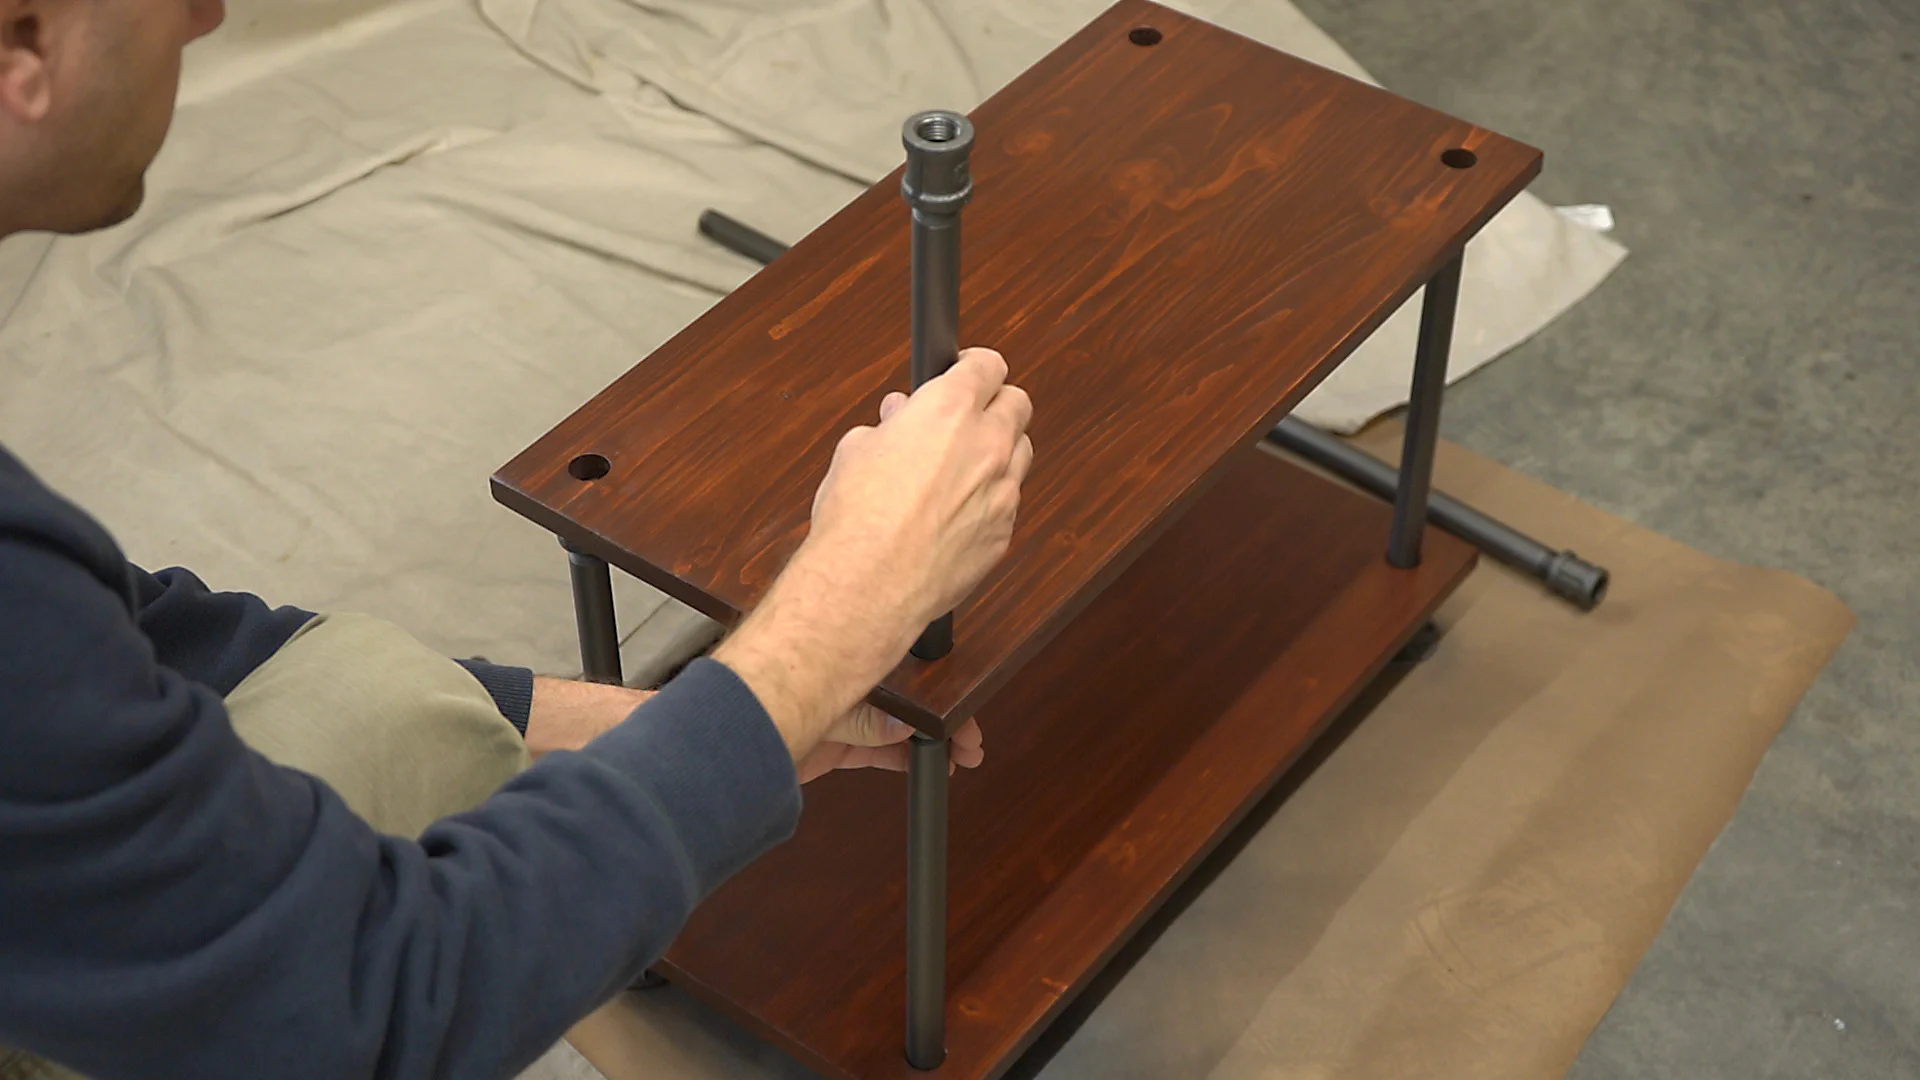
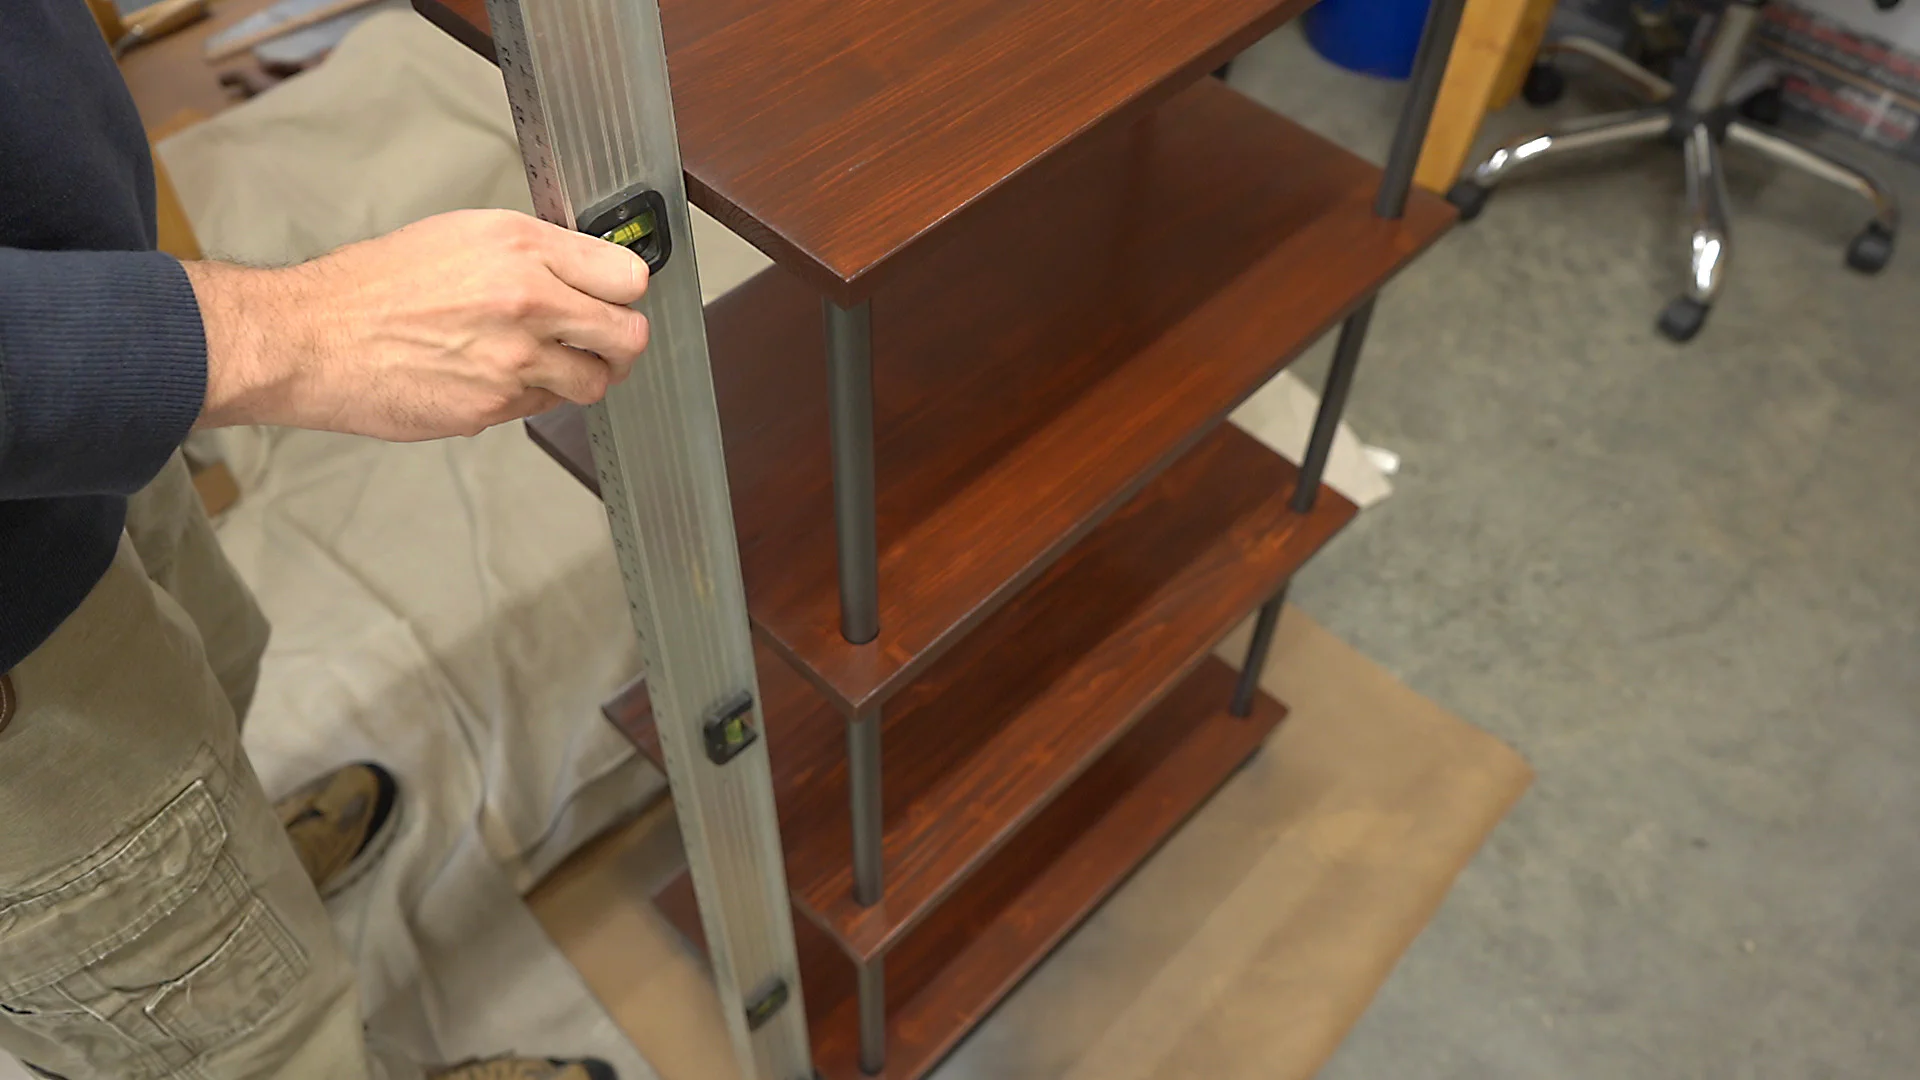
Next, I set the top in place and used a long straight edge to line it up with the shelves below.
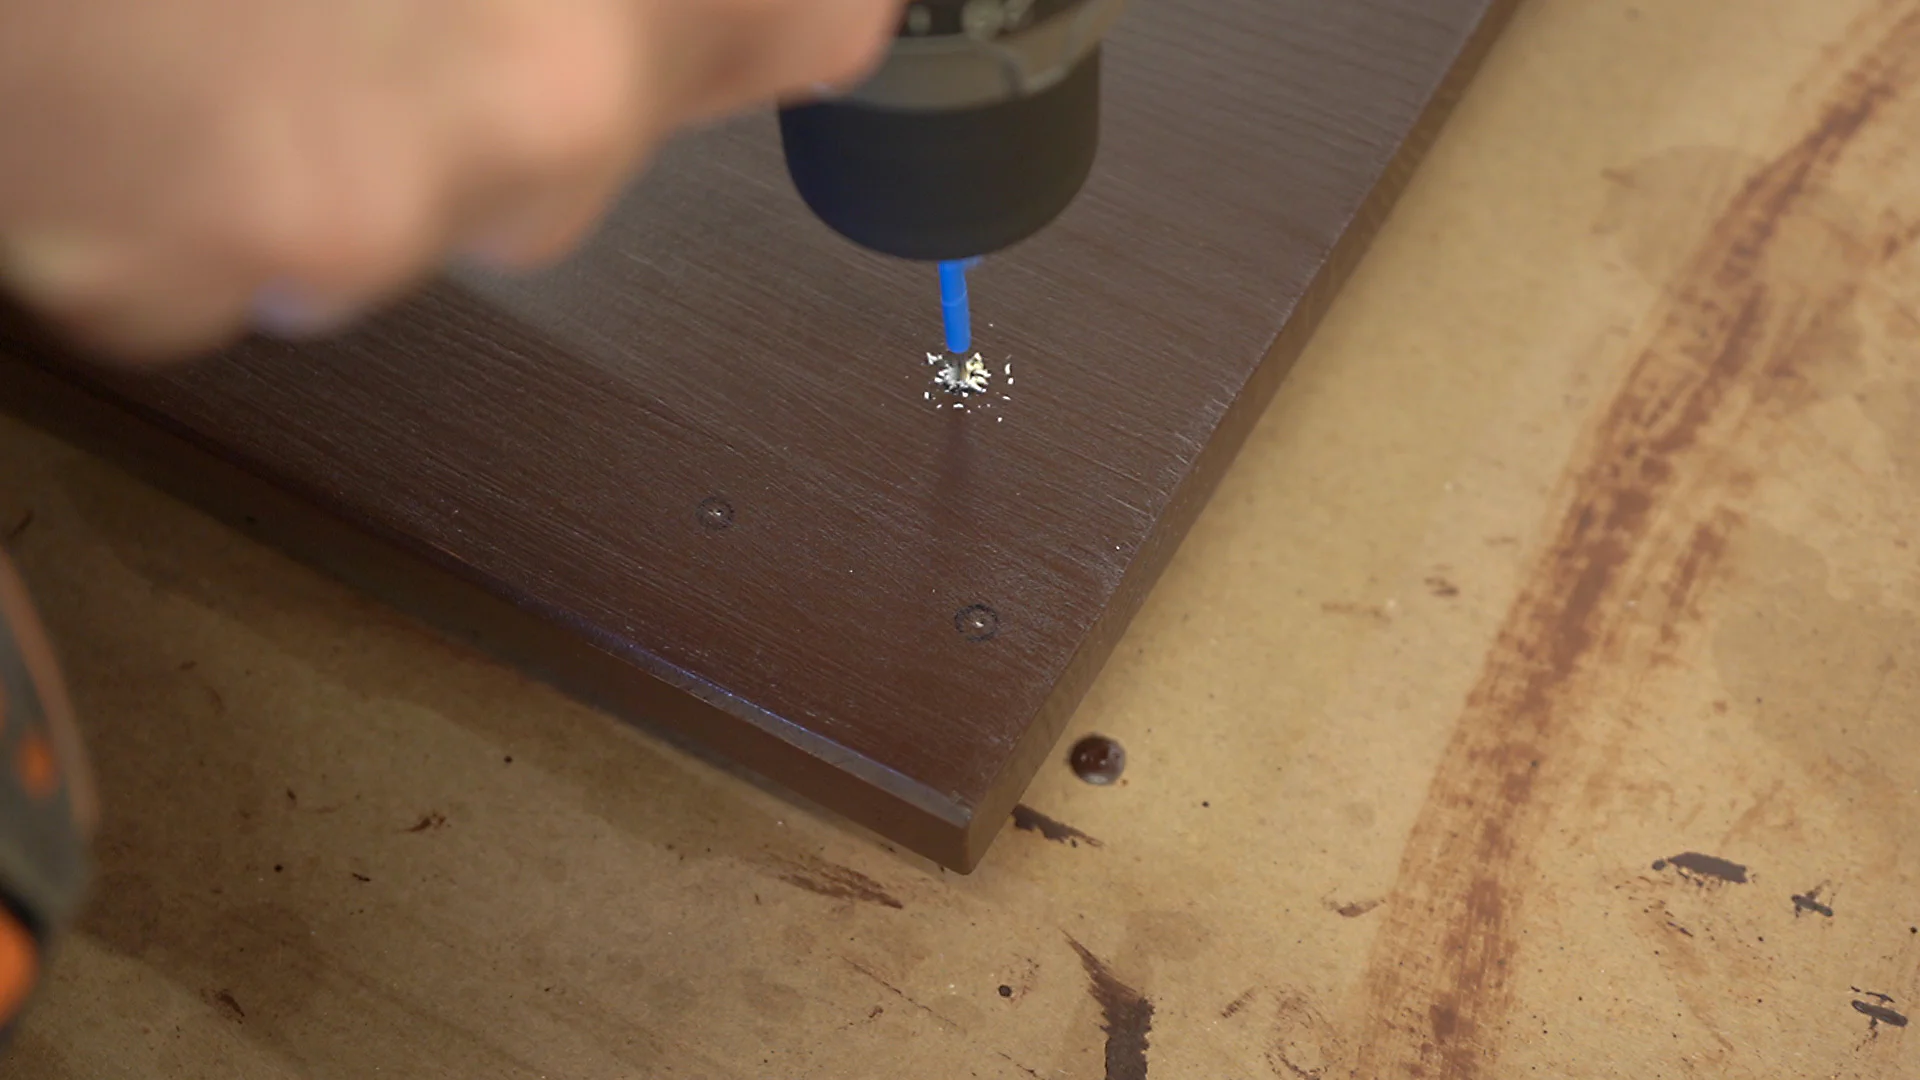
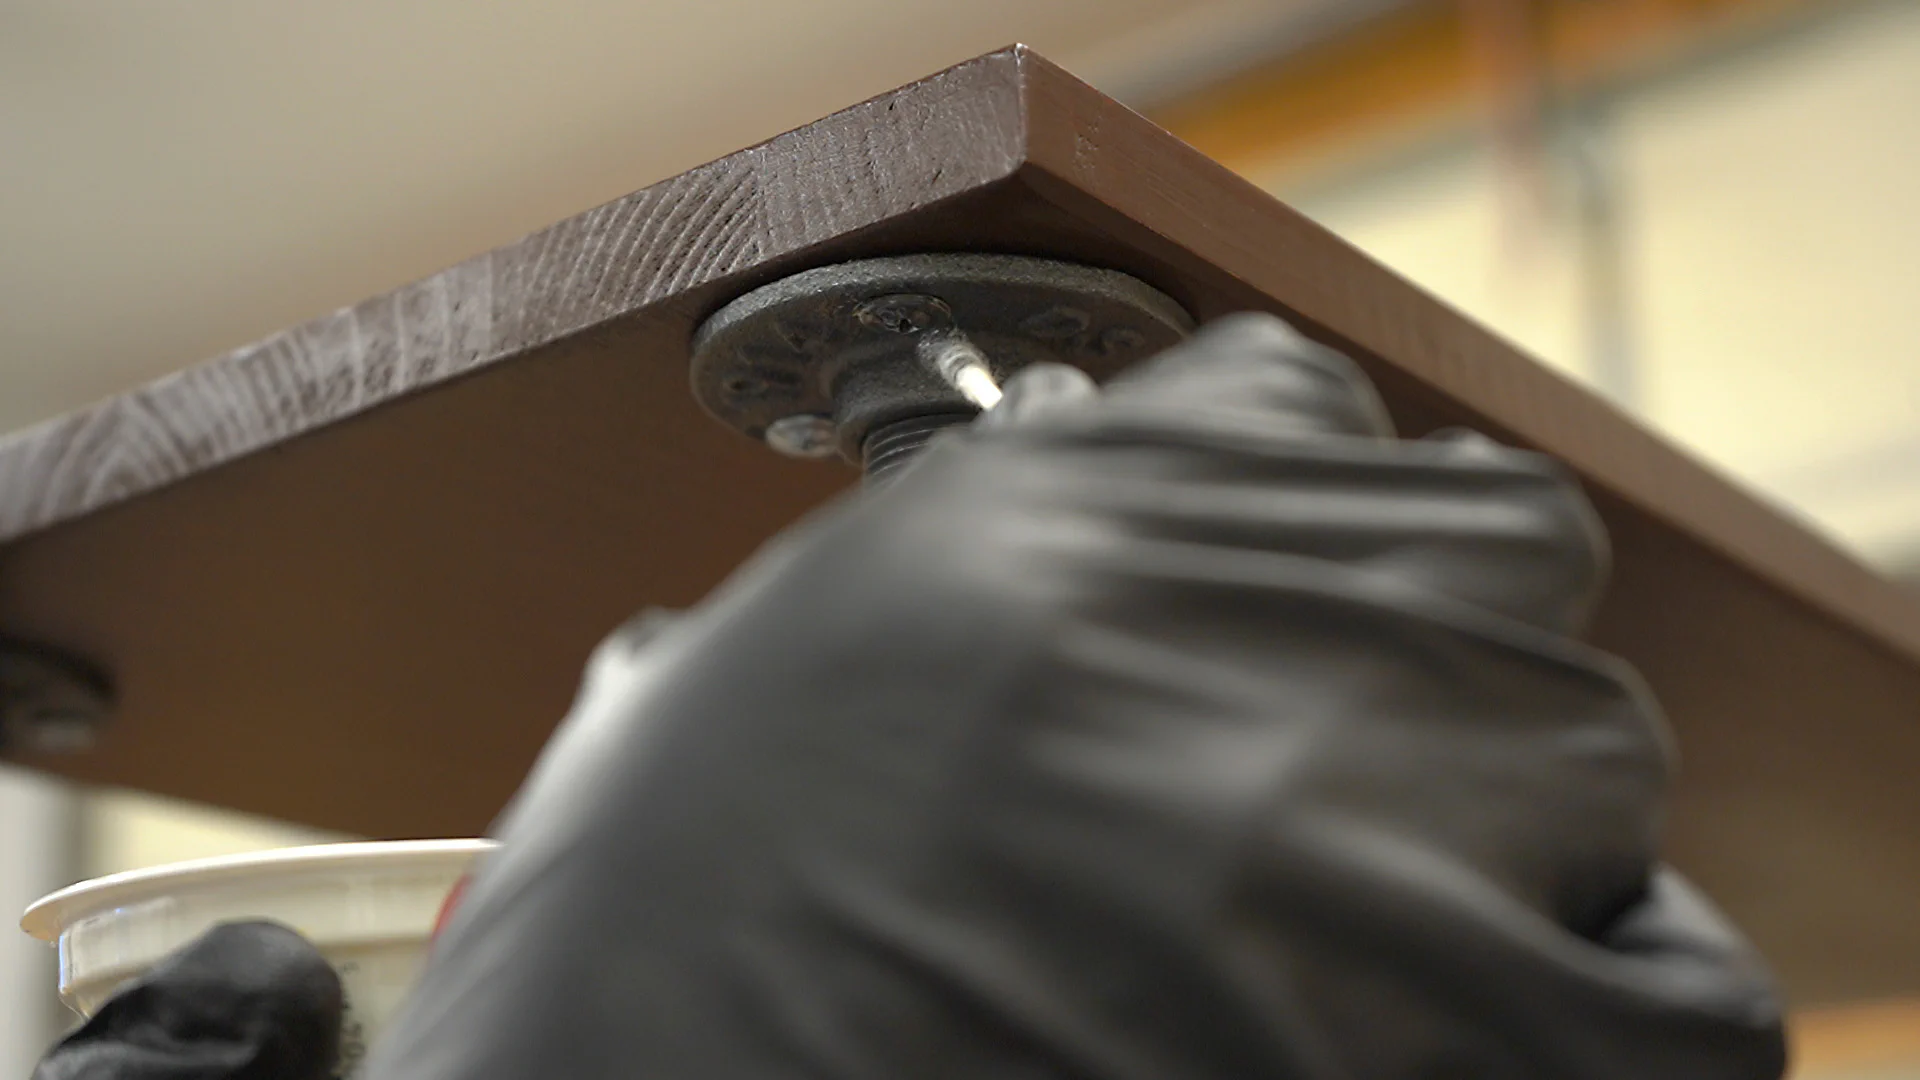
Once I was happy with its placement, I marked the location of the holes in the flanges and carefully drilled pilot holes in the top using a piece of painters tape to mark the depth.
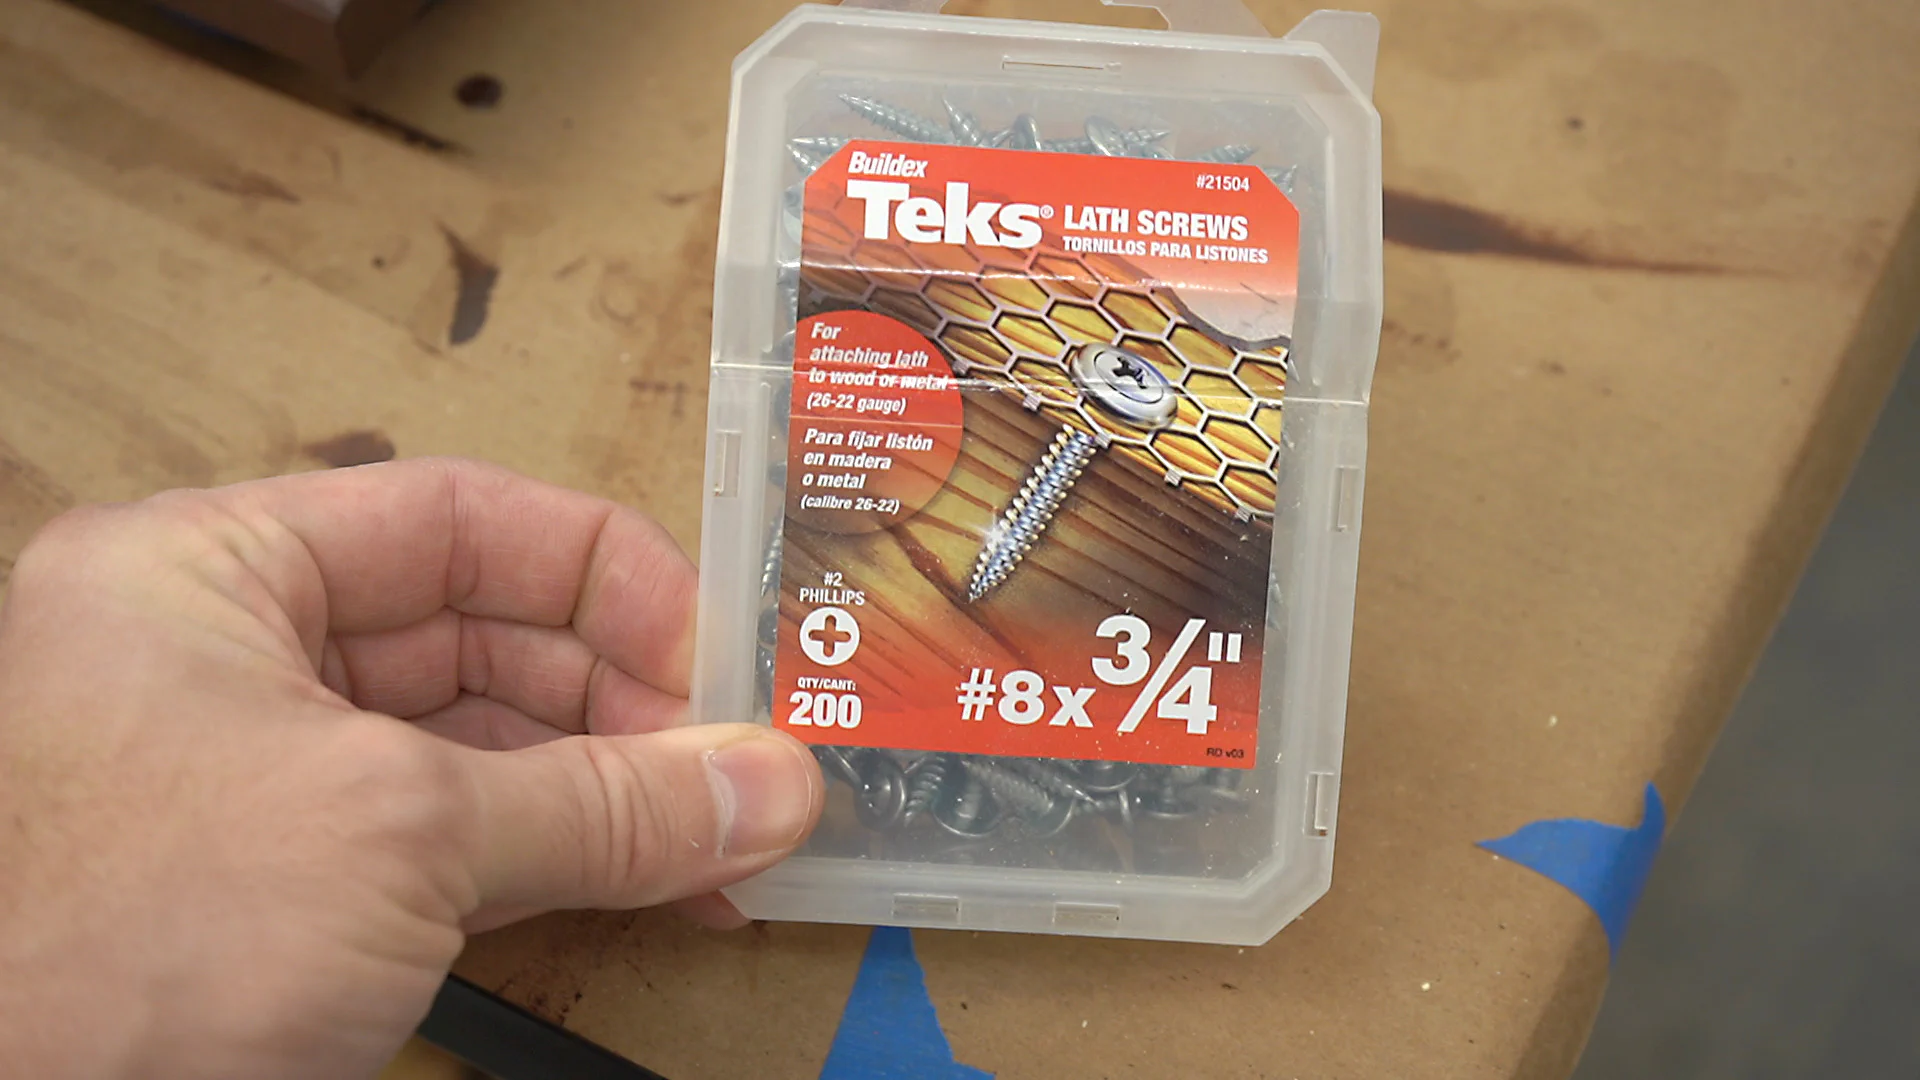
To attach the top, I used 3/4" flat head screws and touched them up with two coats of paint.
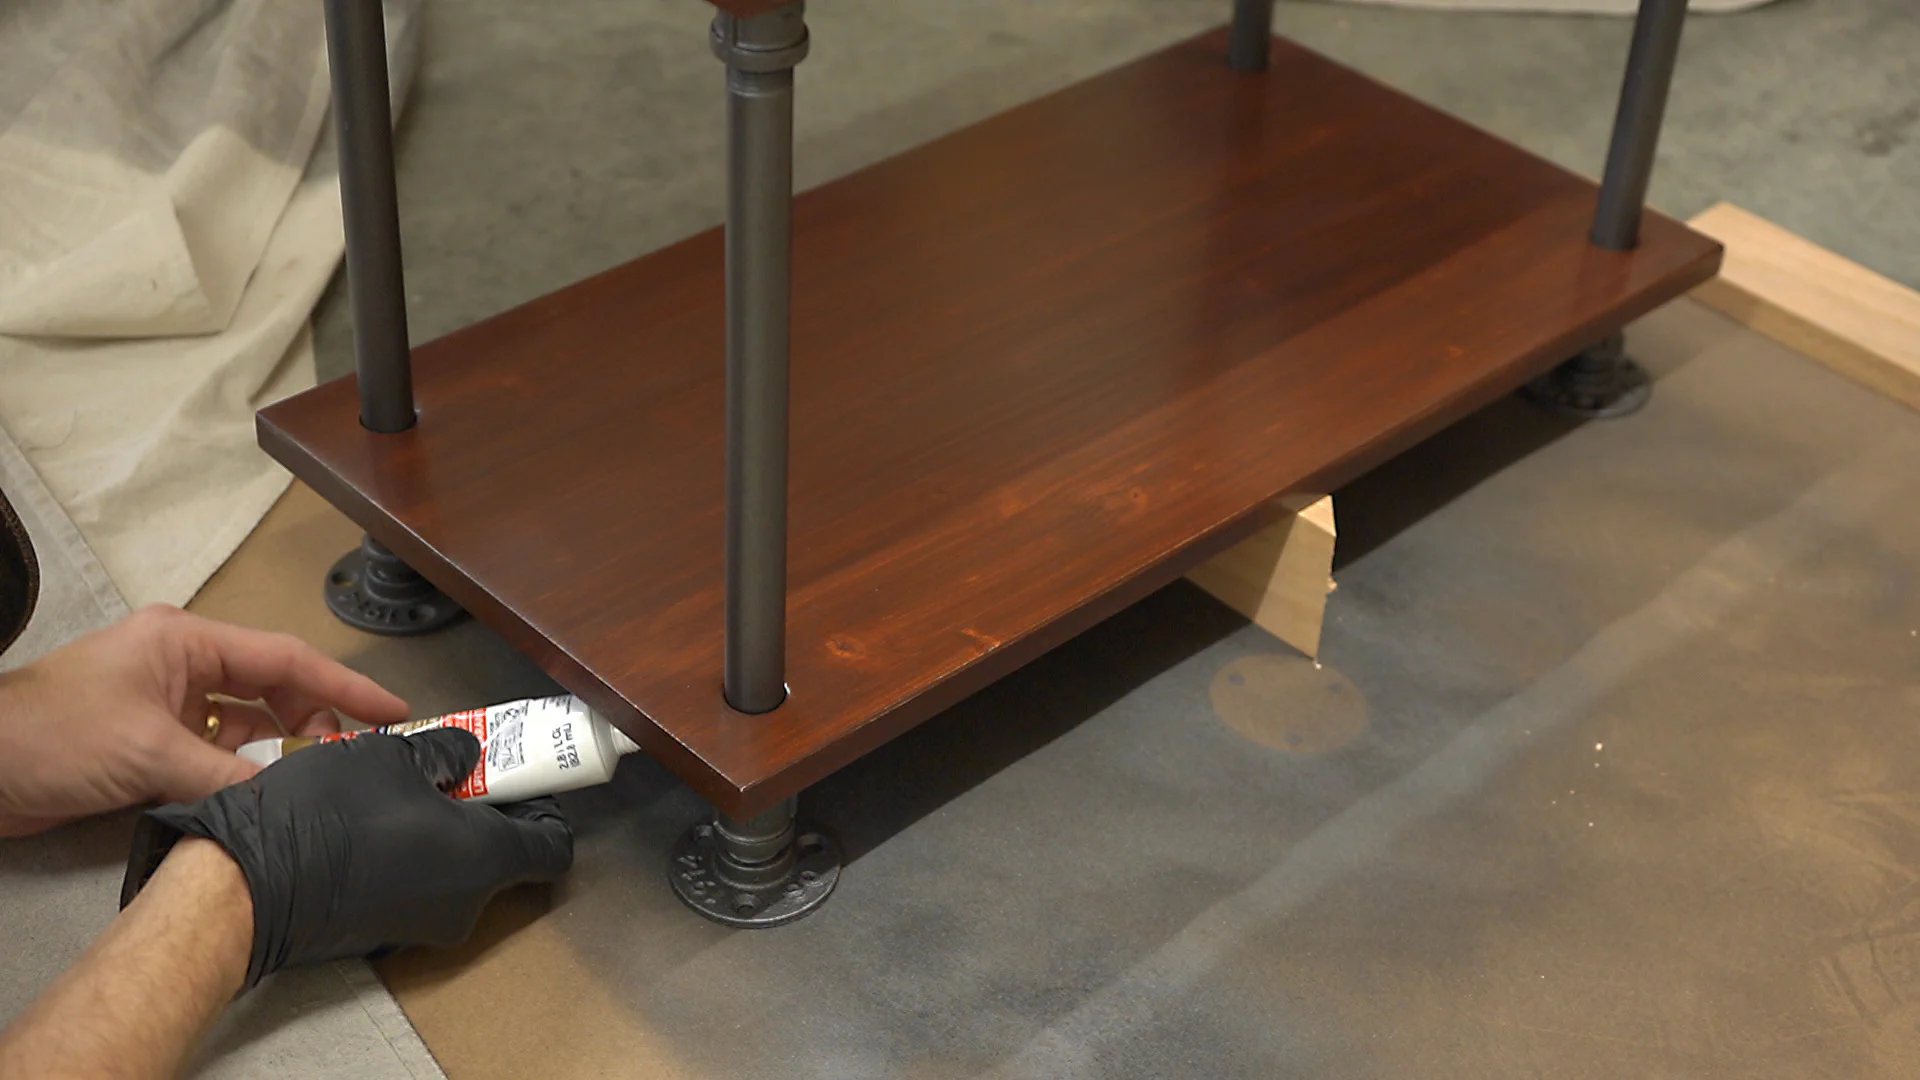
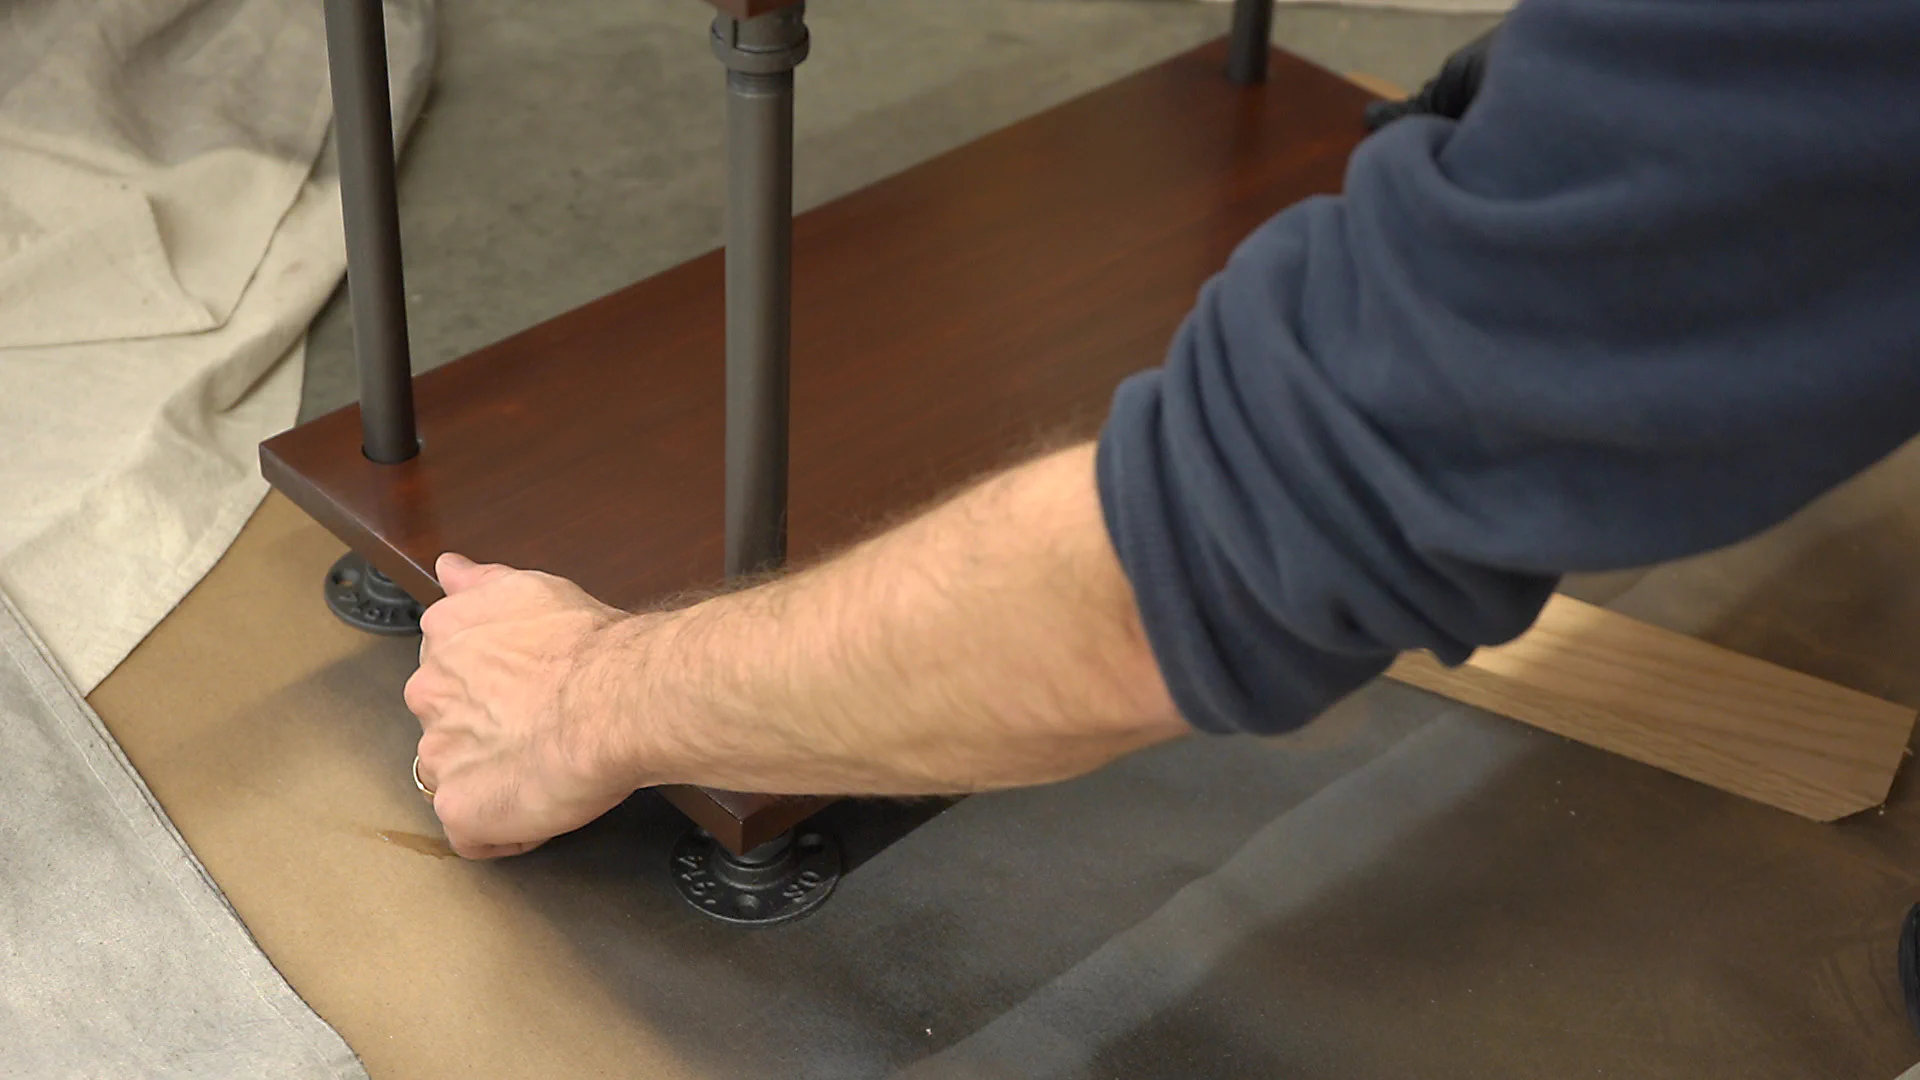
At this point, the shelves were quite stable, but I decided to run a bead of clear silicone caulk around the top of each coupling and press the shelves into it. Once the caulk dried it removed all movement from the shelves as the caulk fills in any gaps in the holes. Just be sure when moving the shelves, to always hold it by its legs!
Before moving them into their new home, I cut a few pieces of draw liner to sit them on to protect the flooring. And with that, they were finally finished!
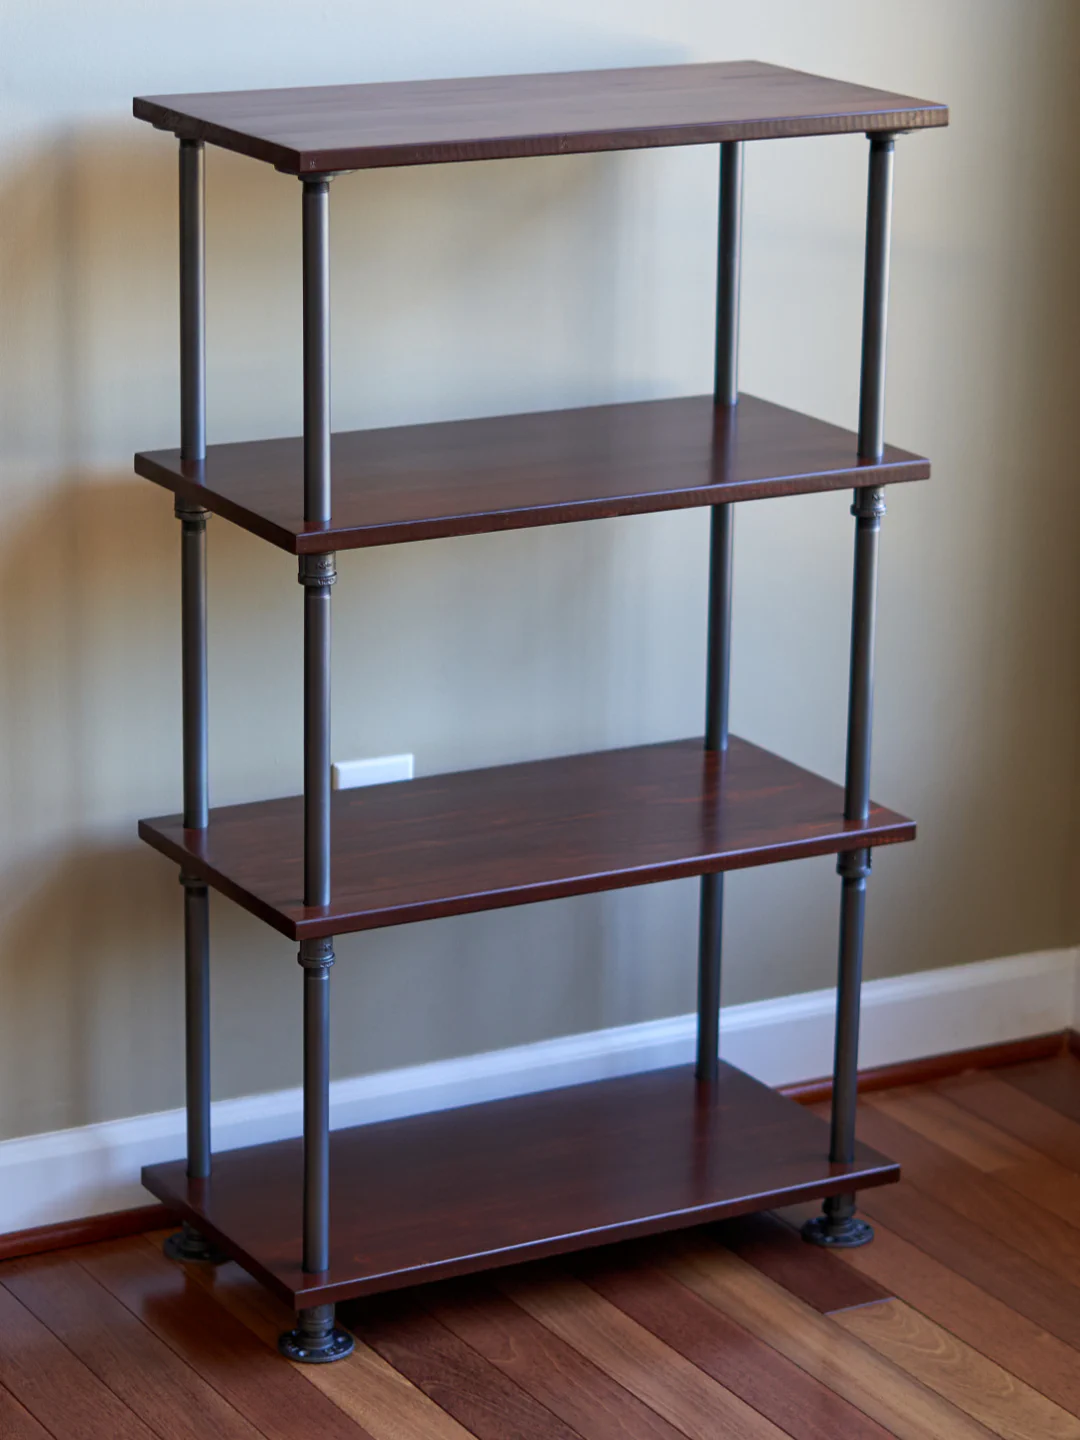
Other than having to practice a bit with the stain, this project was relatively quick and easy, and I’m really happy with the way it turned out. And more importantly, we now have room for more pots and pans!
Tools Used
Be sure to check out Our Workshop page for more details.
- Hitachi 12" Compound Sliding Miter Saw (C12RSH) - Latest version now sold by Metabo: C12RSH2S
- Grizzly G0691 Table Saw