For some reason, I’ve never owned a pair of sawhorses even though I’m sure they would have made several projects much easier. But with an upcoming workbench project planned, it was finally time to give in and buy or build a pair.
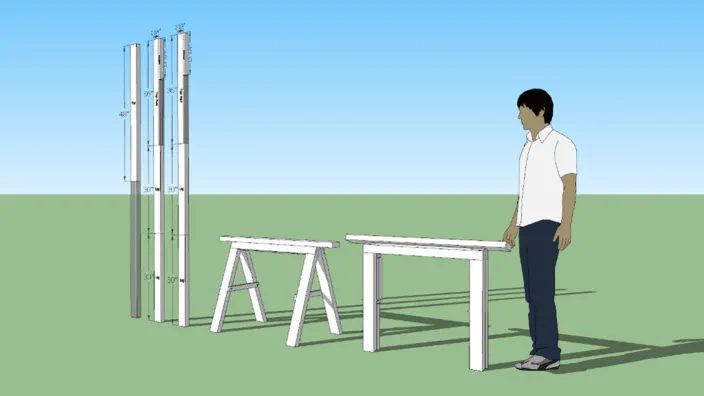
There are several options to look at if you’re interested in buying folding sawhorses. Popular choices seem to be either sawhorse brackets or plastic sawhorses. But after a little research and some sketching, I decided that I could build a homemade pair for less using five 2x4s and four strap hinges.
These are based on a design by Steve Ramsey, but with a few additional changes. I wasn’t a big fan of the shelf on his as it prevented items from being placed between the legs of the sawhorses when folded. I also wanted to beef the frames up a bit with a lap joint and make it easier to remove the top if it ever needed to be replaced.

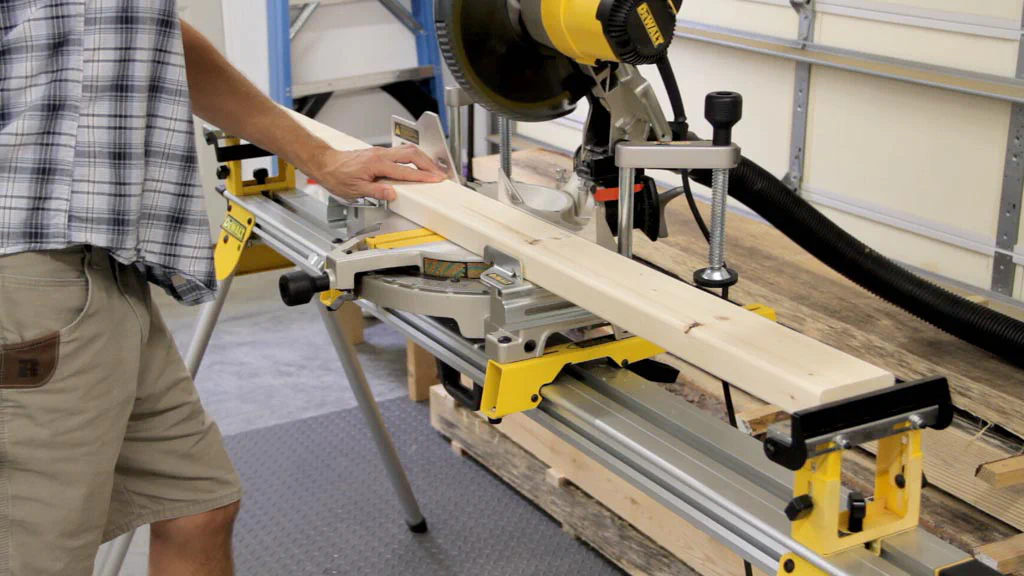
The first step was to cut the parts to length from the 2x4s. I used my miter saw with a stop to speed things along.
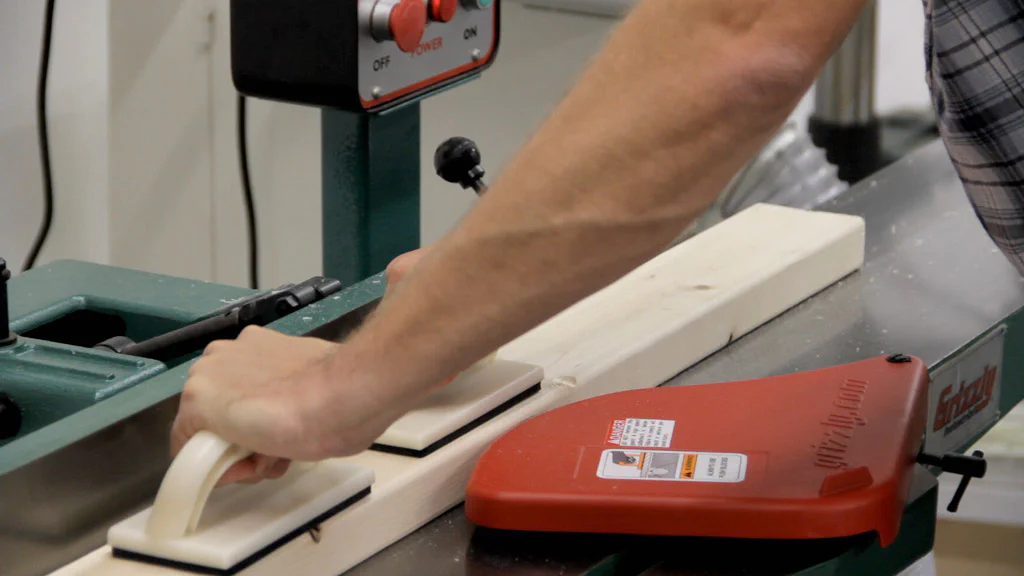
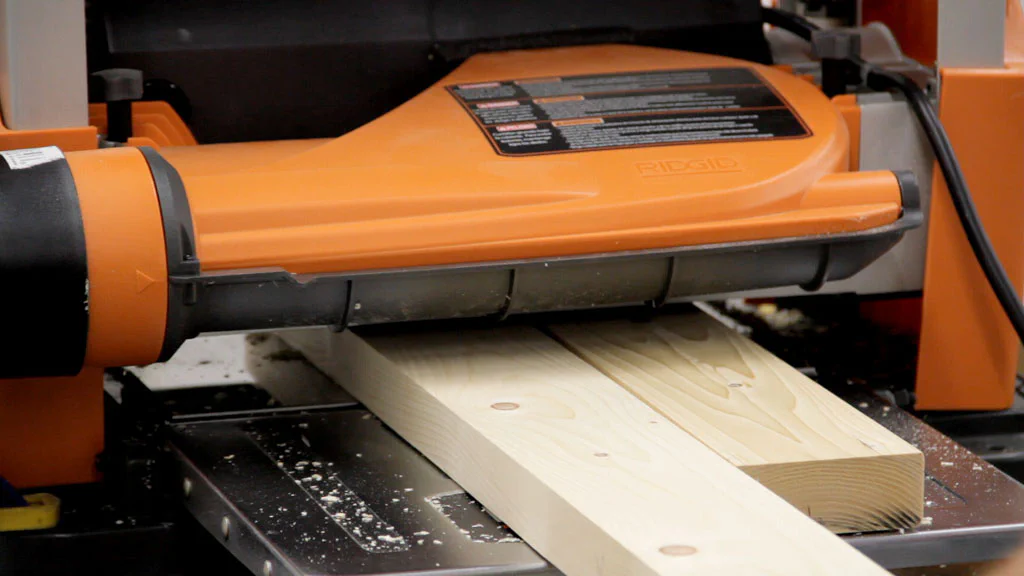
Next I decided to clean up the legs and top rails a bit on the jointer and planer. This is mostly optional, although the top rail pieces need to be straight for a couple of rip cuts.
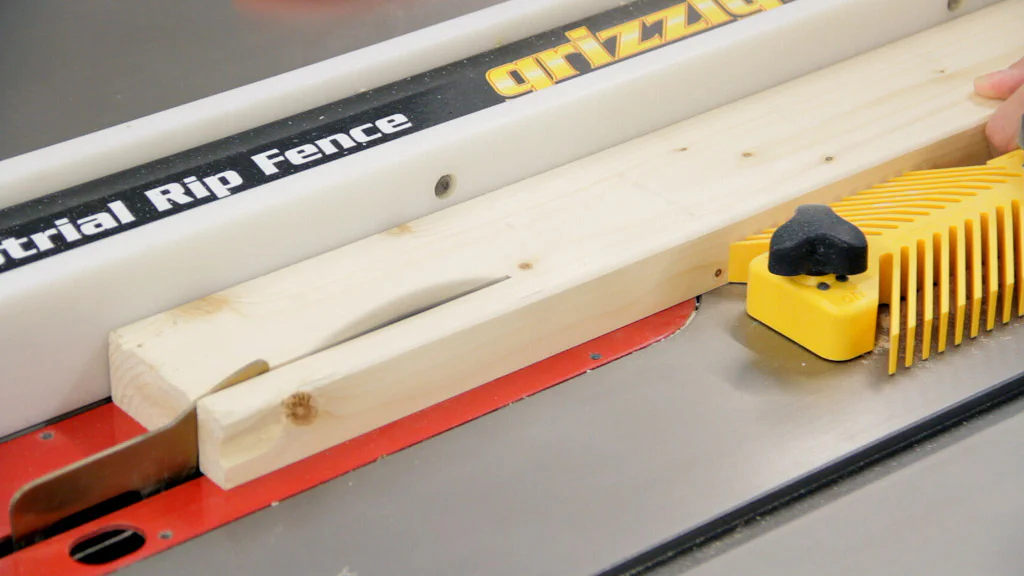
With that out of the way, I ripped the cross support piece from the top rail on the table saw.
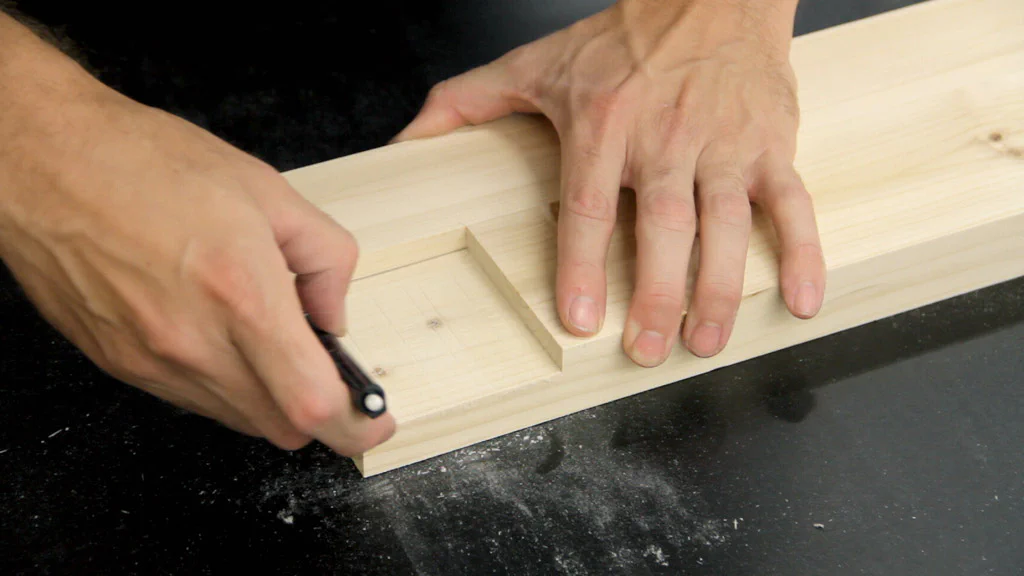
I decided to join the top rail and legs with a lap joint. Pocket screws would certainly be quicker here, but I thought this might be a little stronger and I can always use the practice. I simply lined up the top rail on the leg and marked where the two met.

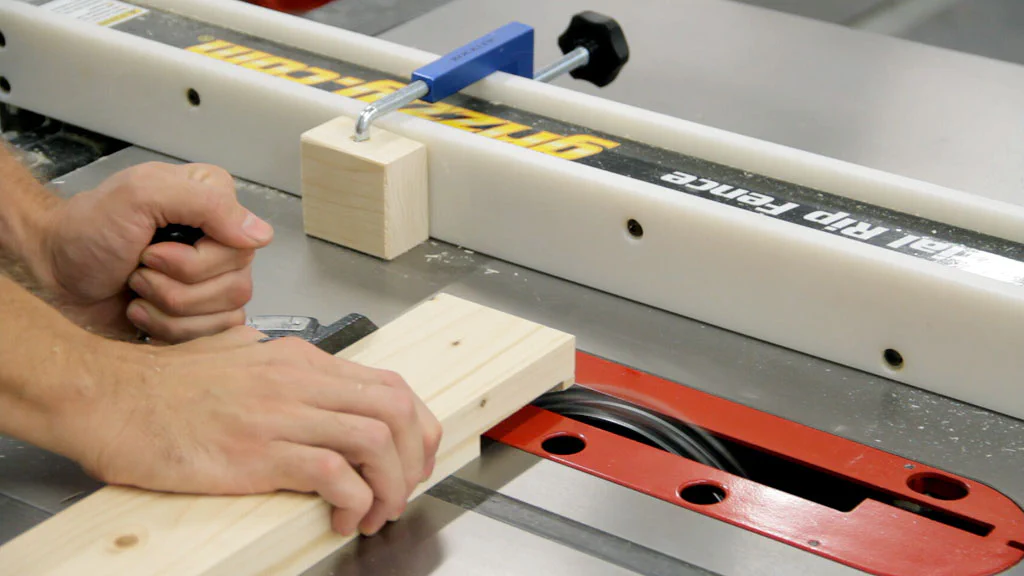
With the joint marked on the leg, I cut the first half on the table saw with my dado blade.
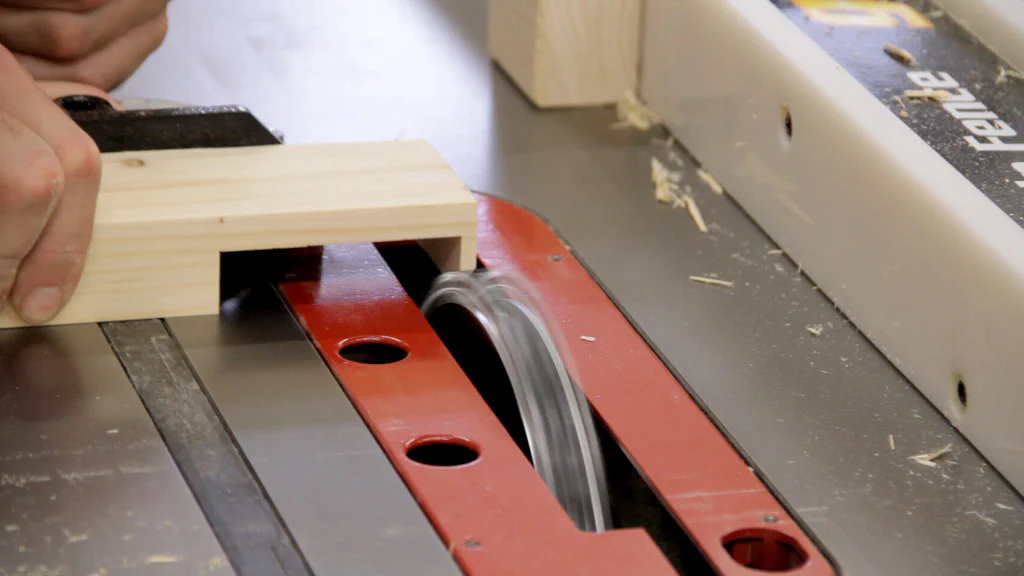
I then used the cut leg to mark the depth for the top rail and cut it on the table saw. Note that the cut should be made up to, but not over the line. Creeping up to the correct depth worked pretty well.
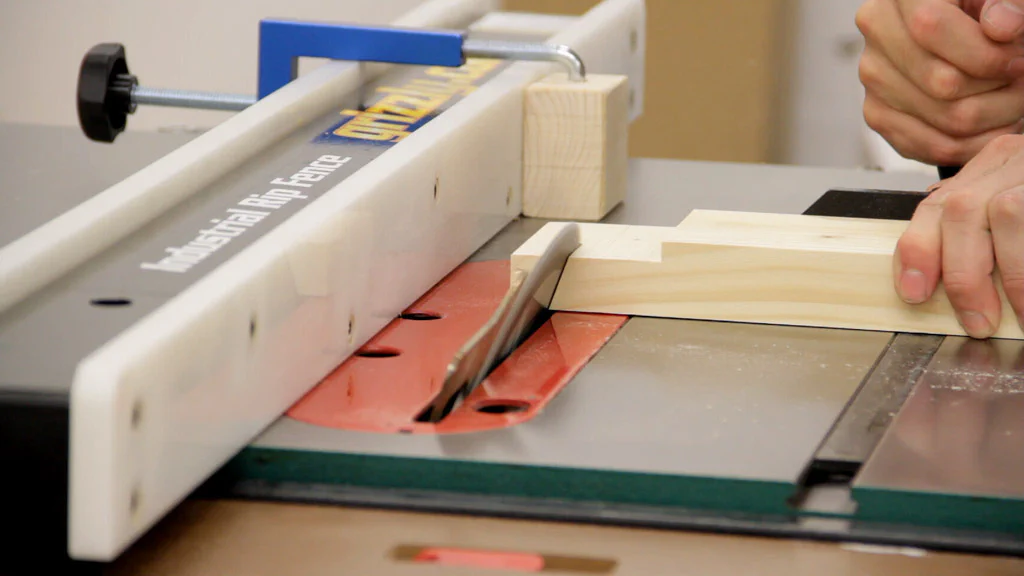
With the lap joints made, I then cut a 19° bevel in the top rail and on the top and bottom of all the legs. (I ended up wanting to cut a bad spot out at the top of one leg which is why it looks like I’m cutting off more than I should.)

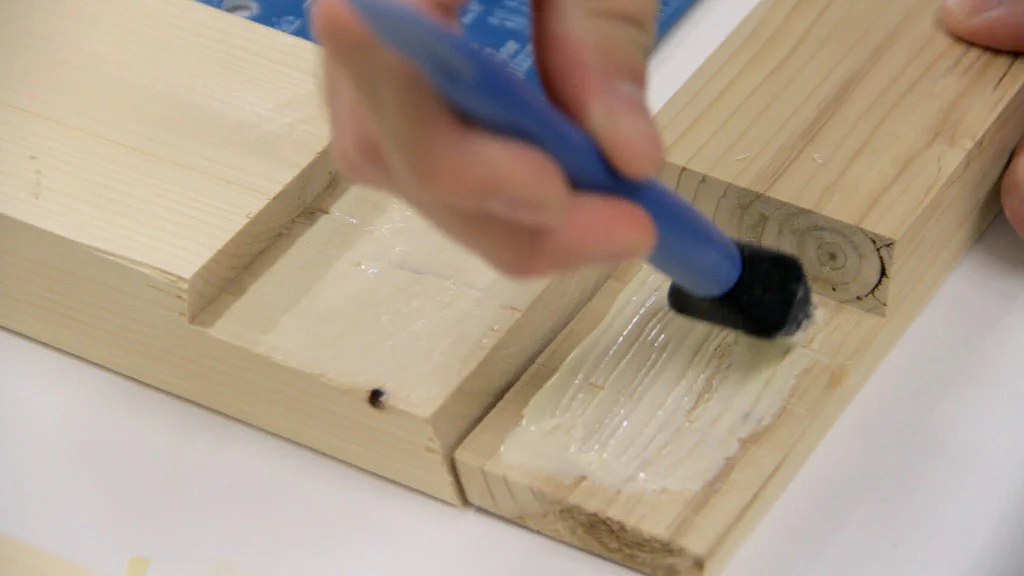
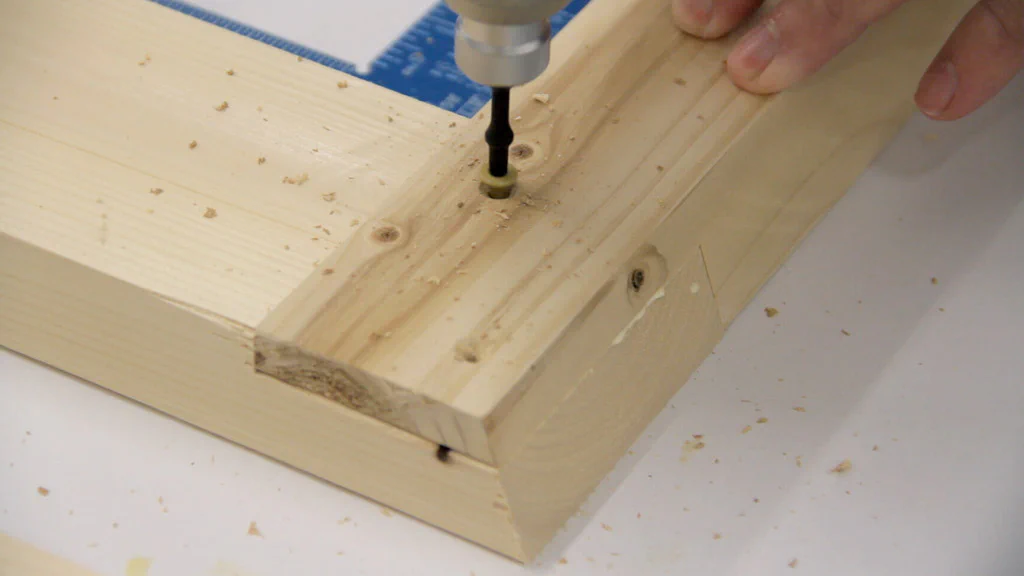
It was then time to glue up the lap joint. I used a framing square to align the rail and leg and then predrilled and countersunk two screws as well.
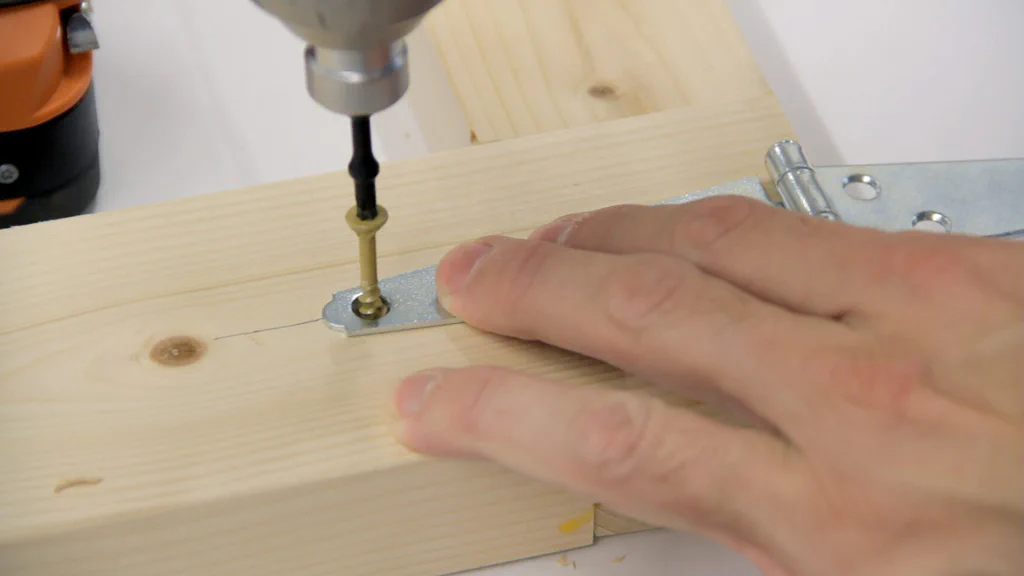
Once the glue dried, it was time to attach a pair of 4" strap hinges. To do this, I ran a center line down the top of the adjoining legs and marked where the holes should go on both legs. Then I attached the hinges with screws.
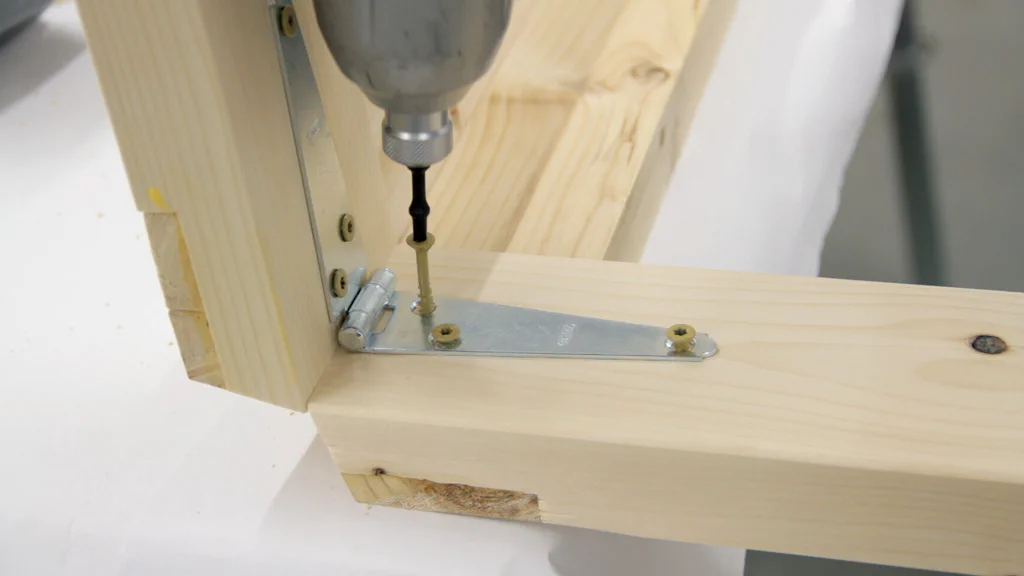
Attaching the second side of the hinge was a little tricky, but I just held the other frame in place while driving in the remaining screws.
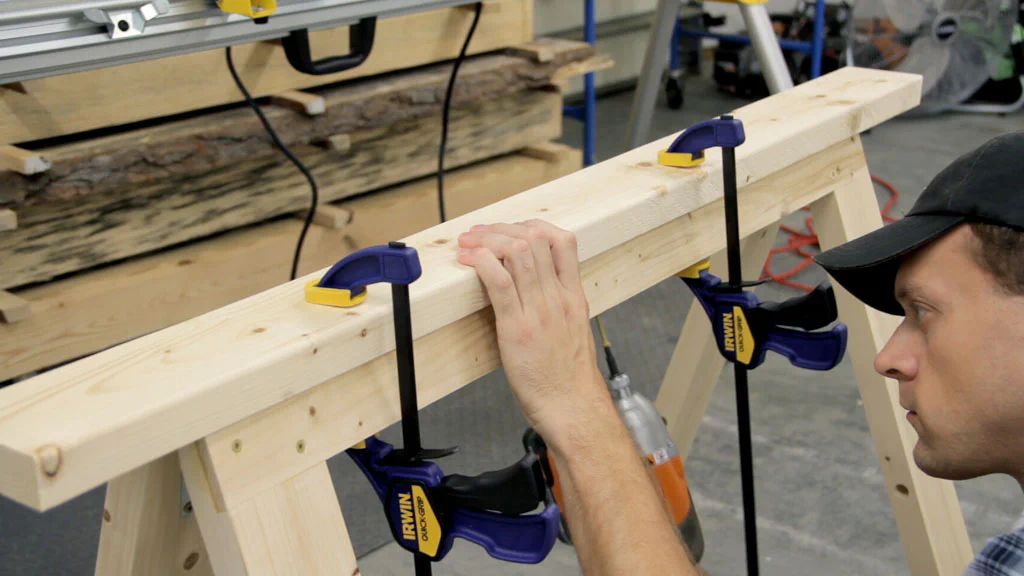
Next I attached the top to one rail with a few screws from underneath. This design makes it very easy to swap out a new top if one gets damaged. I might also try using a 2" x 6" board for the top to make clamping easier, and it would certainly be more comfortable to sit on!
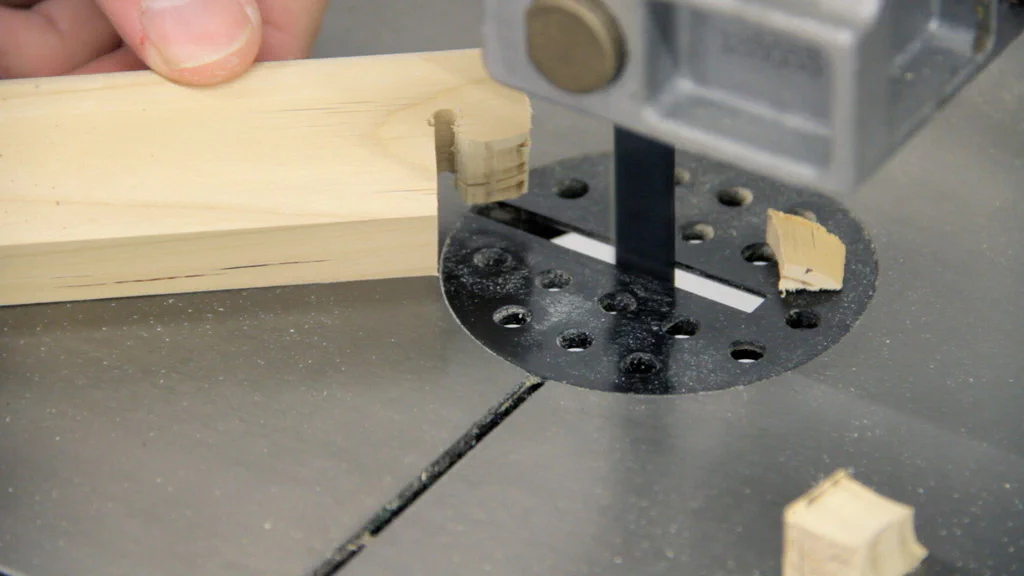
All that was left to do now was to make the cross supports. I predrilled two holes on either side and then used the band saw to cut an open latch in one side.
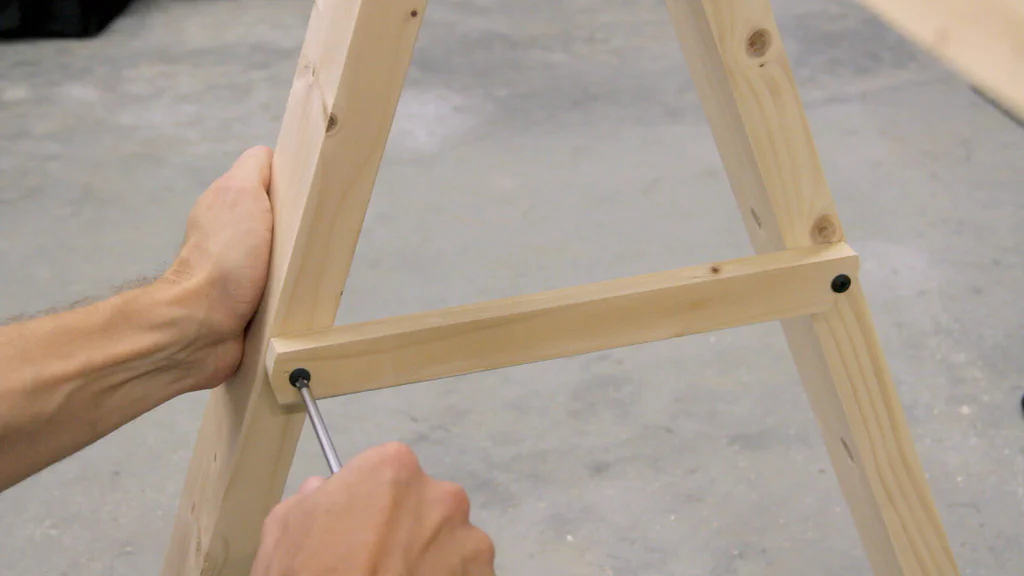
Finally, I attached the cross support to the leg using a cabinet screw. I tightened it enough to swing easily but also stay in place when rotated up when the sawhorse is folded.
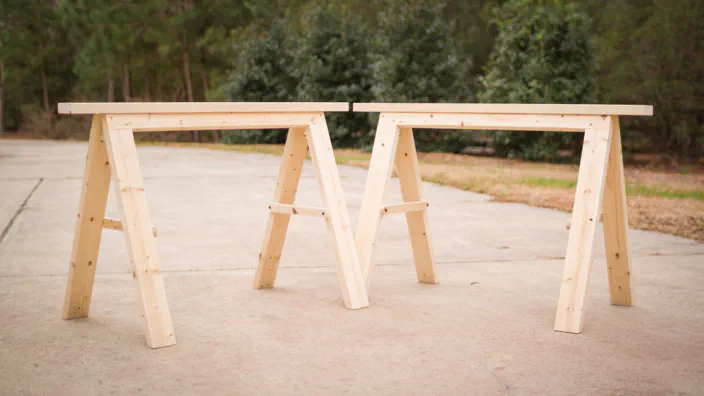
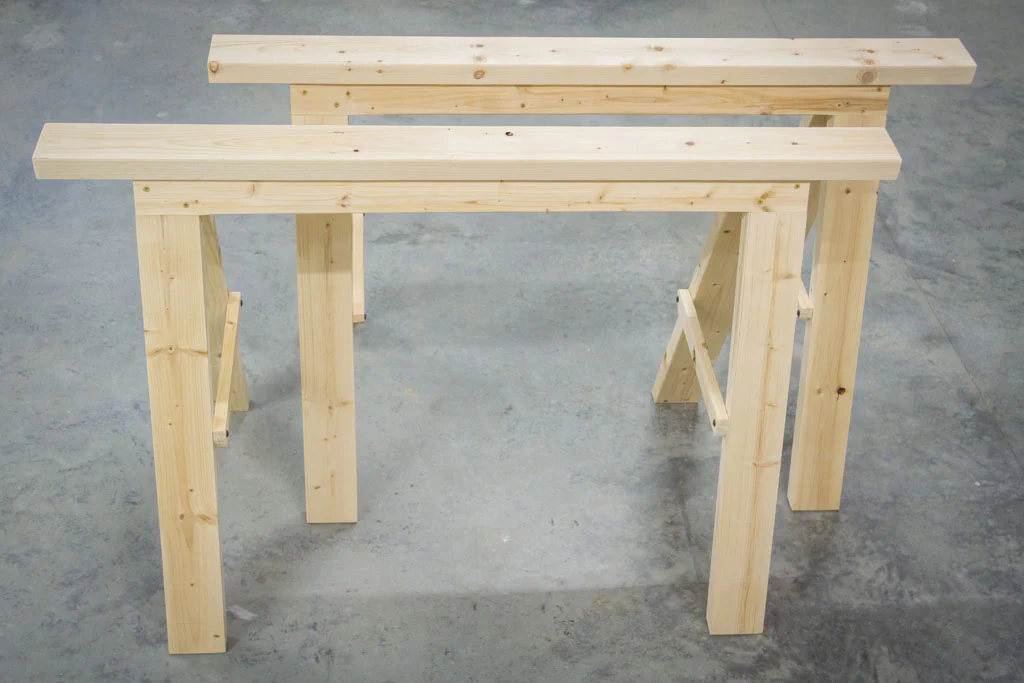
That finishes up this pair of folding sawhorses. The total cost was just under $20 for the pair and it turned out to be a fun little project.
Other than possibly using a 6" board for the top, I don’t think I would change anything after using them several times. The open center allows them to nest when working on smaller parts, and it’s been nice to have the additional room to store items between the legs when they’re folded.
A Quick Update
After using these sawhorses for almost a year, I decided to replace the 2x4 top with a 2x6. This makes it possible to clamp boards anywhere along the top which comes in handy. I also made sure to leave the tops a full 48" long this time. This makes clamping down 4’x8’ sheet goods much easier.
Plans