I’ve been wanting to make these edge-grain cutting boards for birthday and holiday gifts for quite a while now. The basic board is relatively straight forward to make, but in this article, I’ll also go over two ways to the route juice grooves and an easy setup for routing handles.
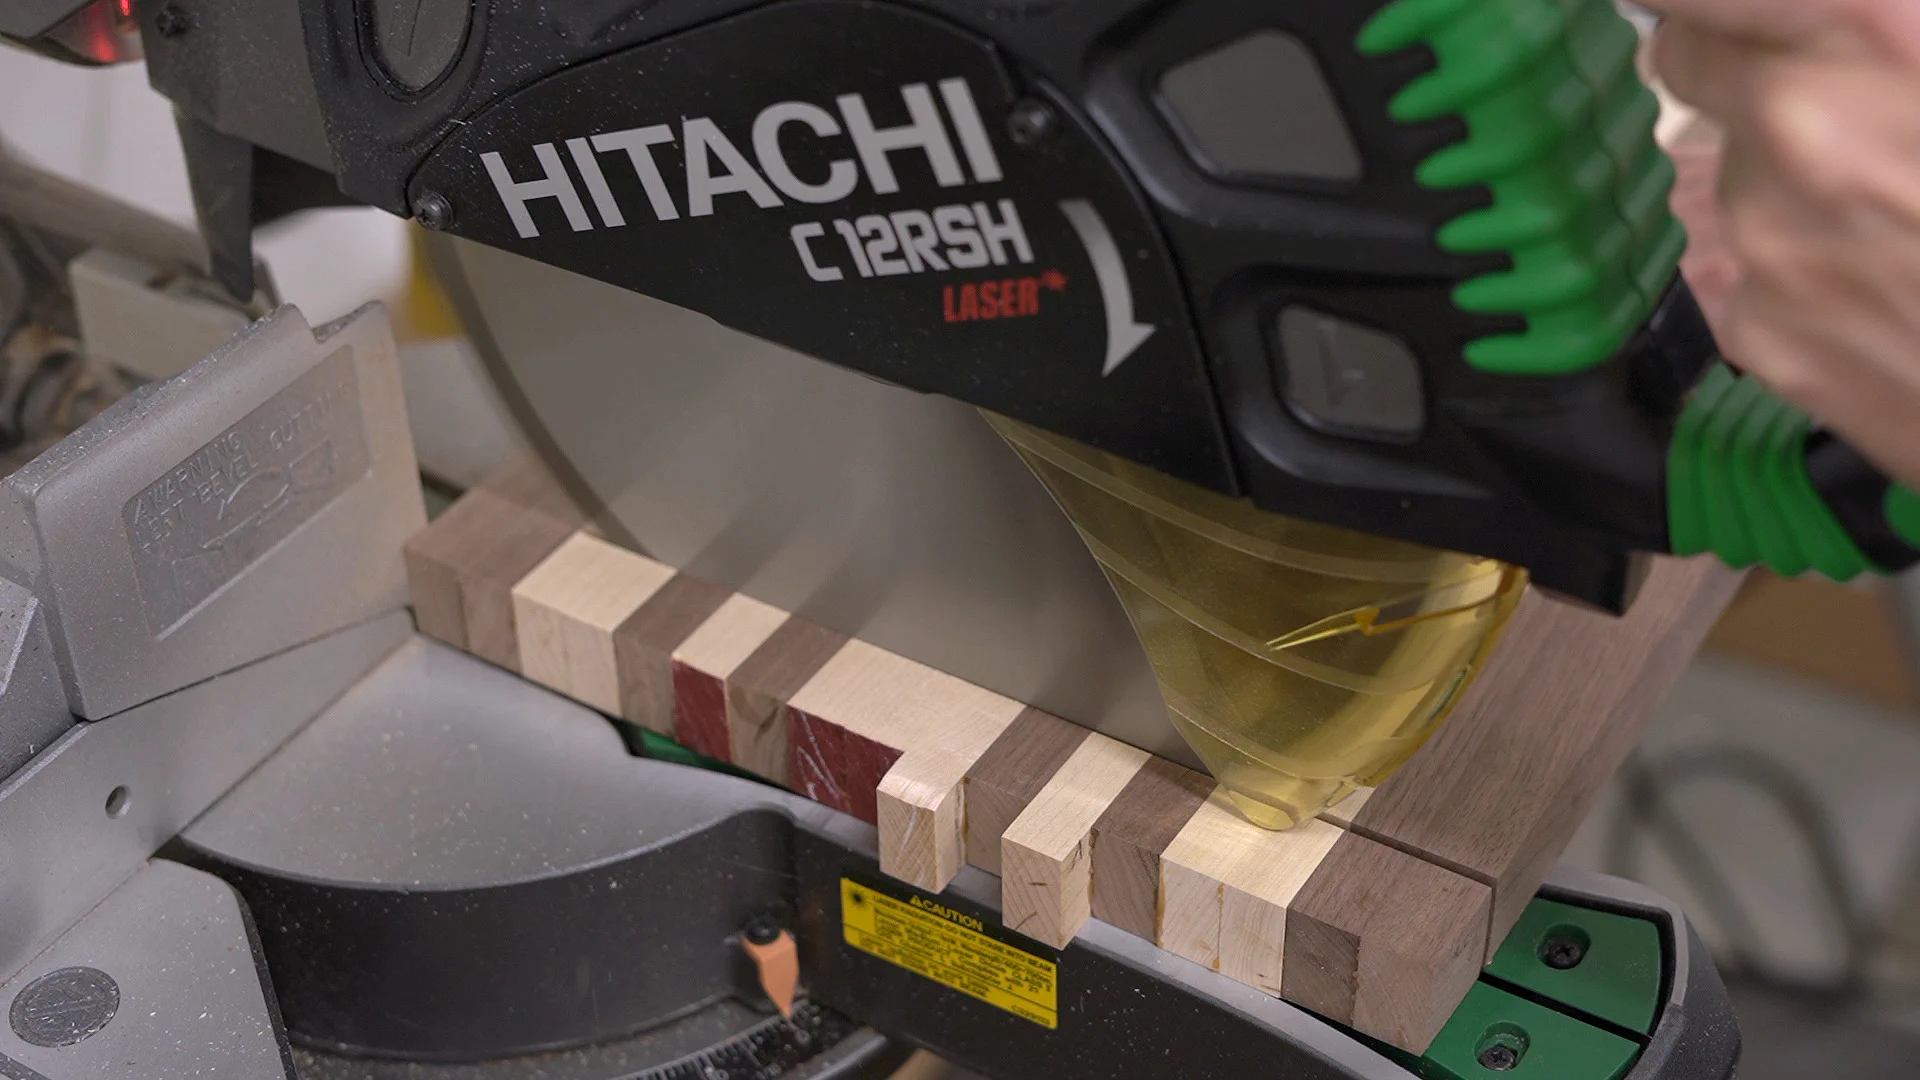
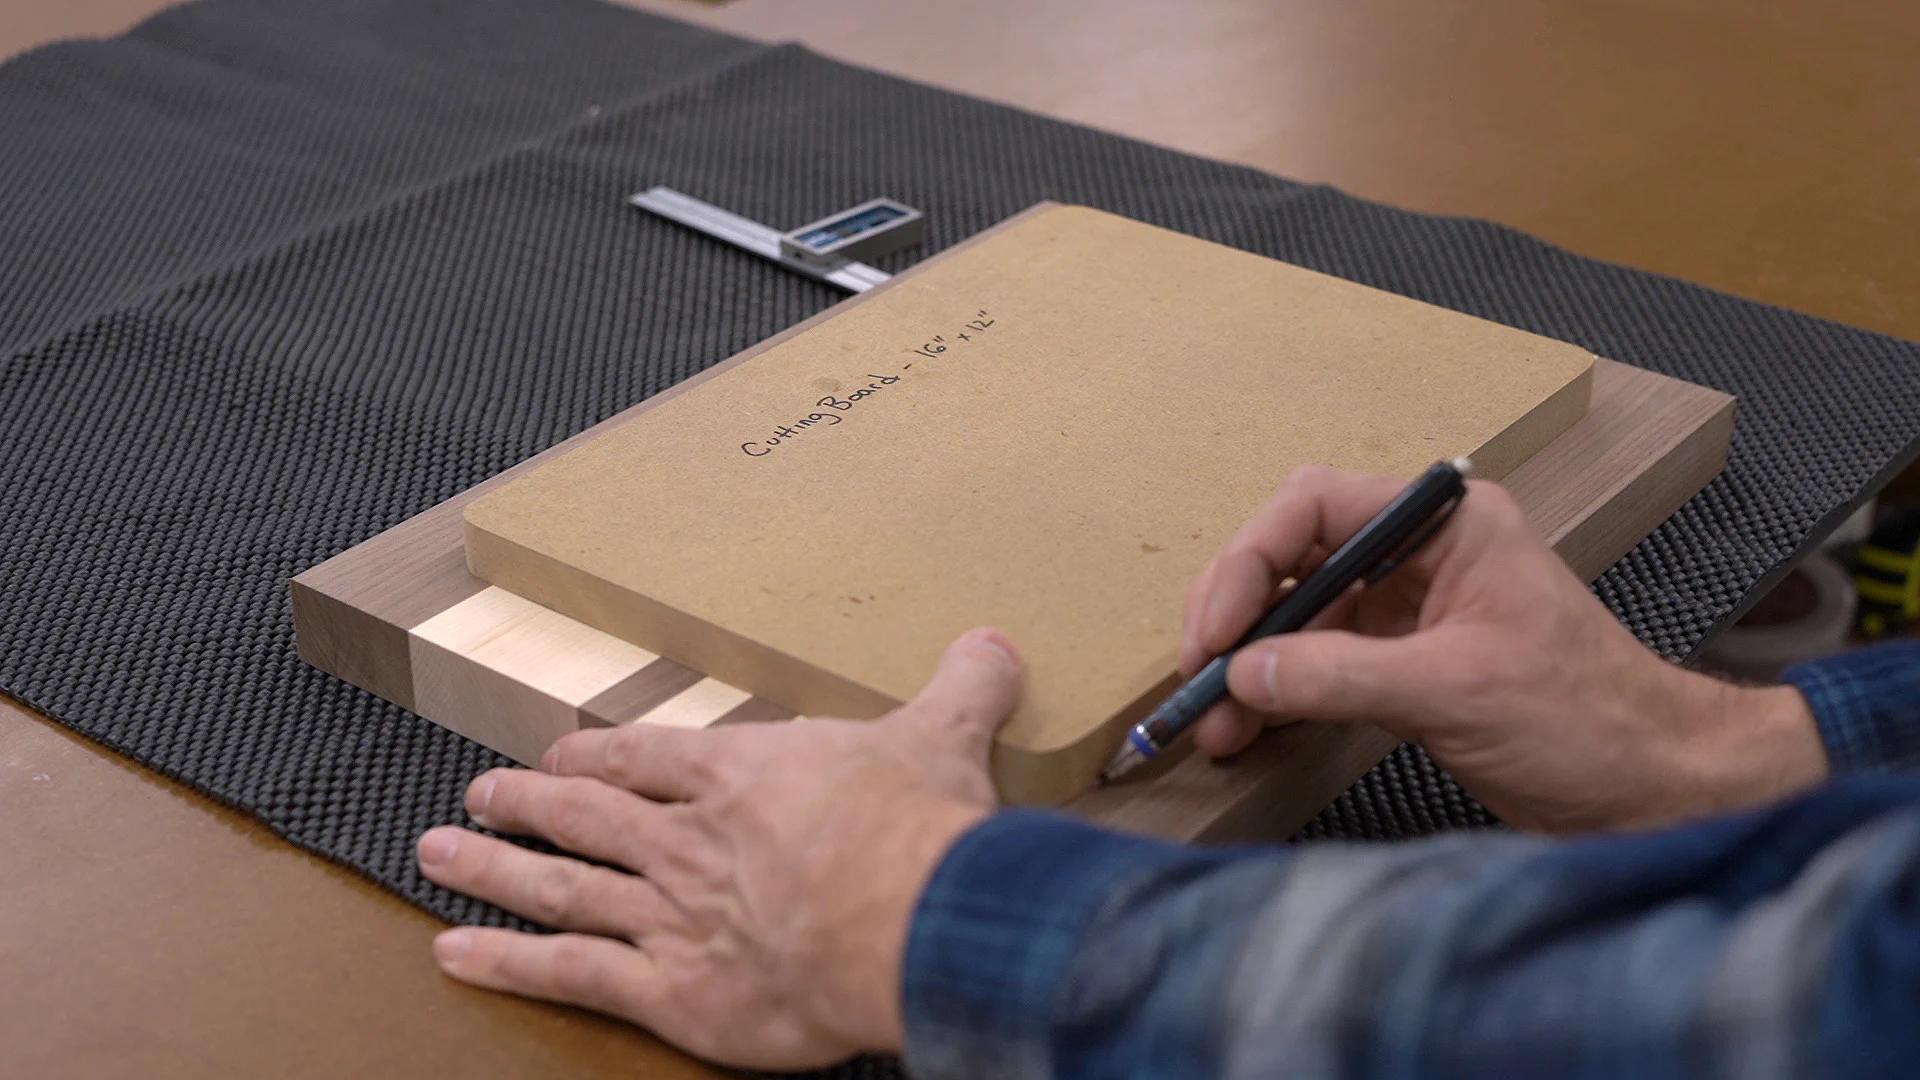
To get started, I went and picked up a pair of 6" - 7" wide hard maple and walnut boards at my local lumber yard. Since I wanted the final boards to be roughly 16" x 12" and at least 1.25" thick, I then cut the boards down to roughly 18" long at my miter saw.
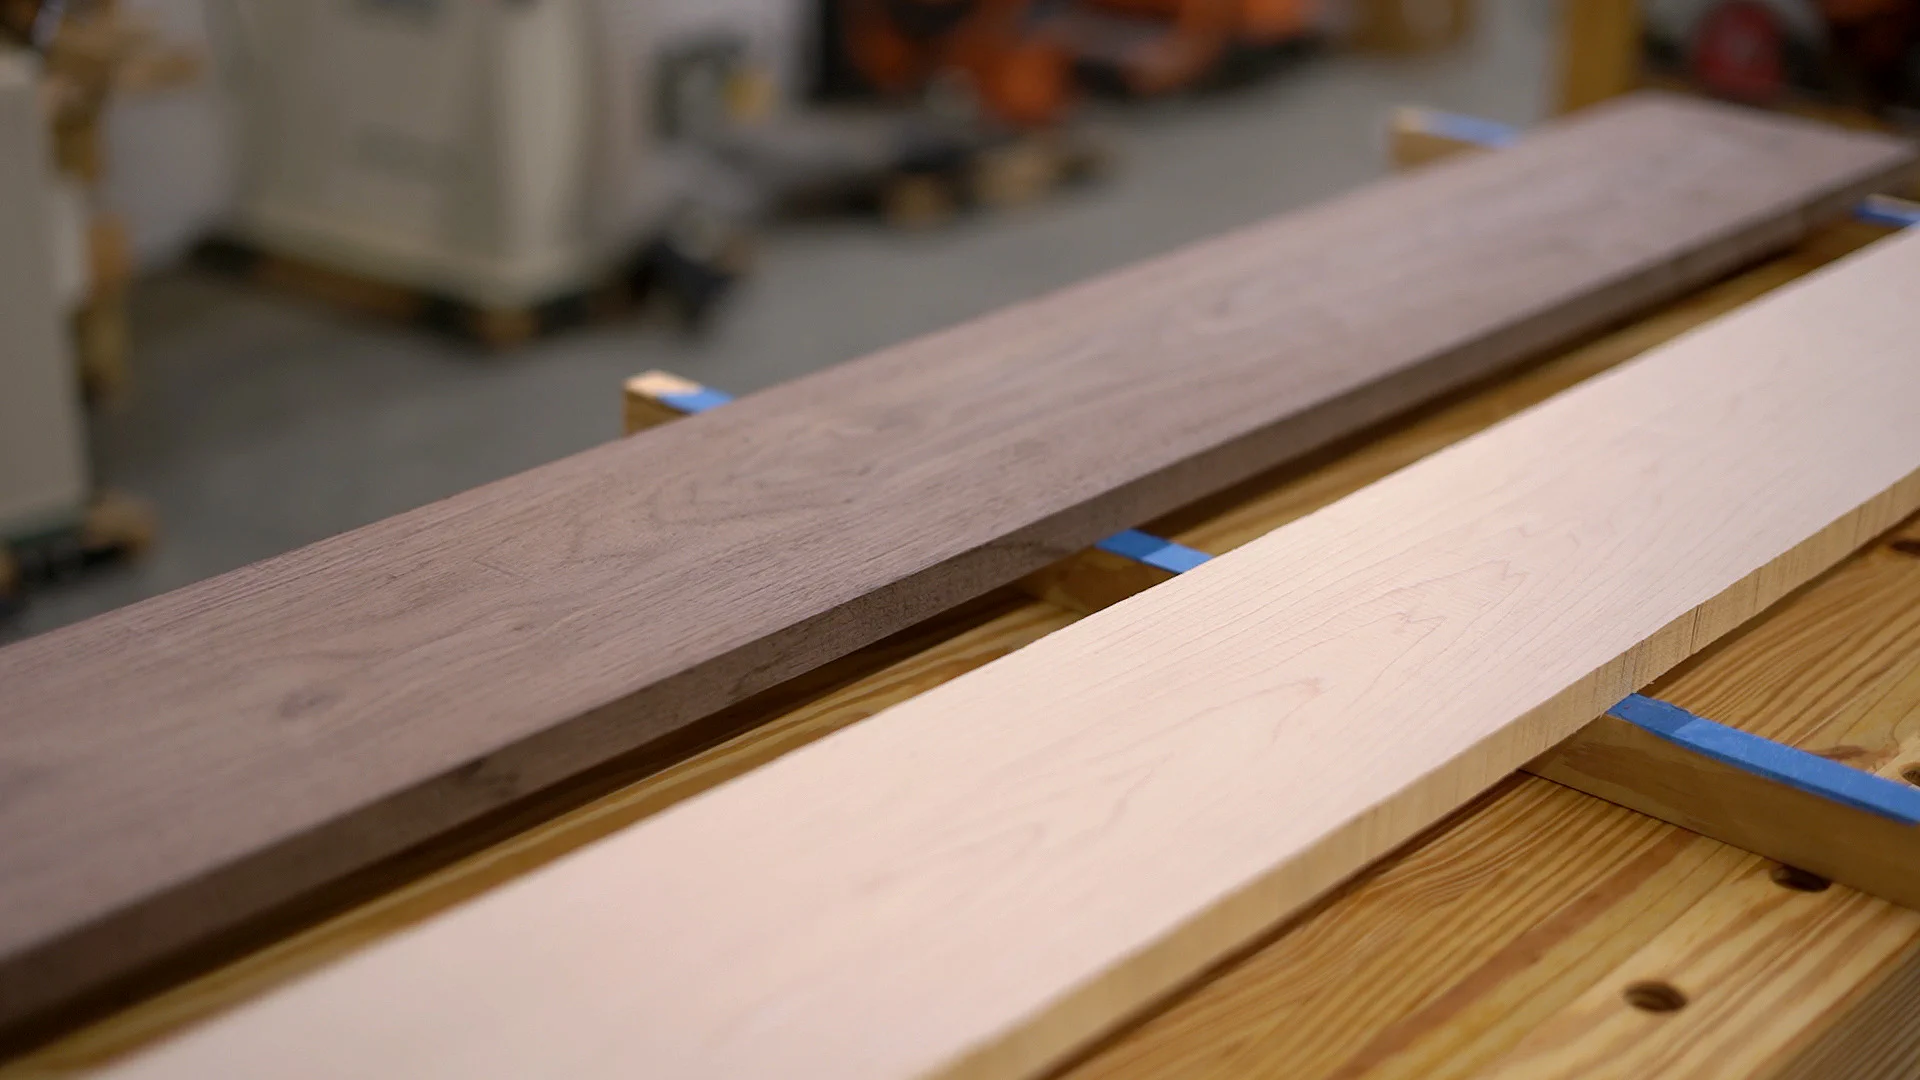
These boards were already surfaced on two sides but had a little twist in them, so I ran them through the jointer and squared up one edge before running them through my planer.
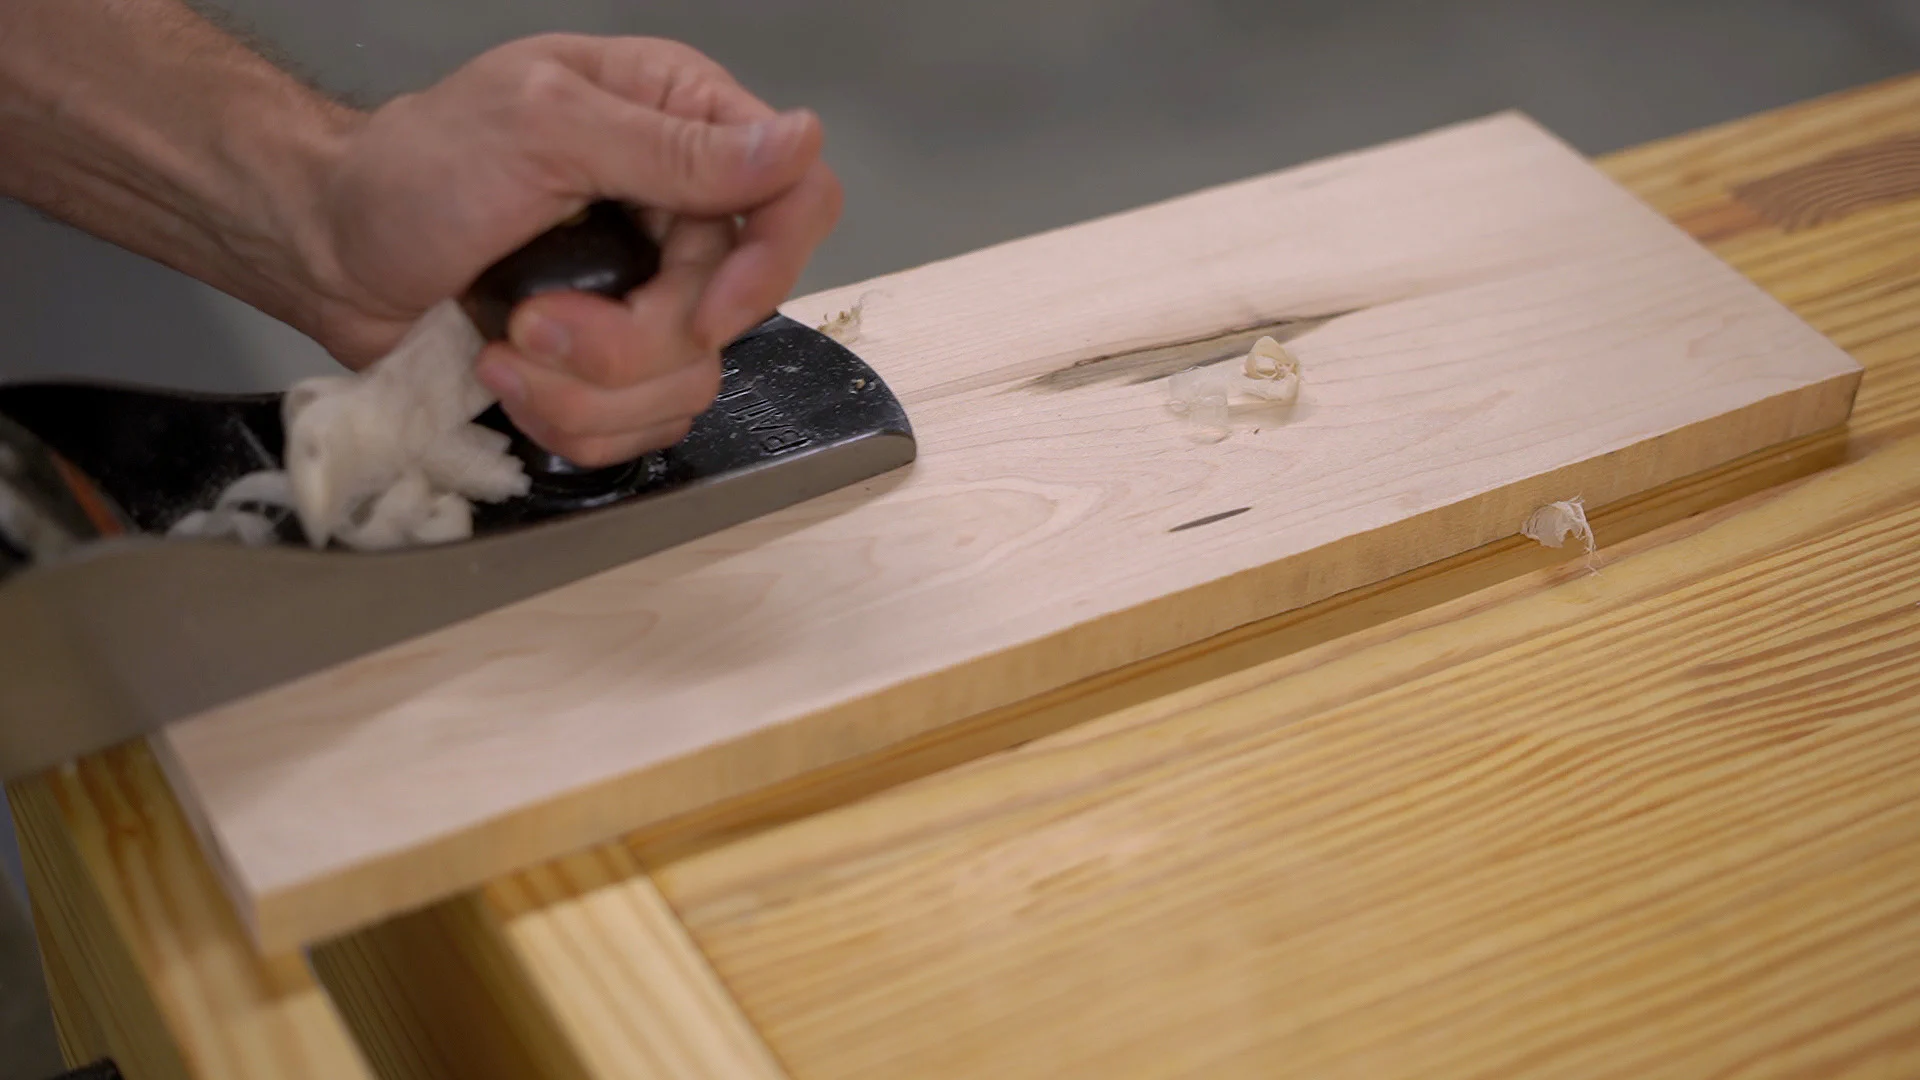
And to get a little practice and some exercise, I also decided to hand plane a couple of the boards and the walnut was definitely more fun to plane than the hard maple! A sharp iron and a little paraffin wax on the plane’s sole help considerably.
Once that was done, I headed over to the table saw and squared up the outside edge on two boards that had some damage in the middle. That way I could cut strips from either side to get the most useable pieces without having to change the fence later.
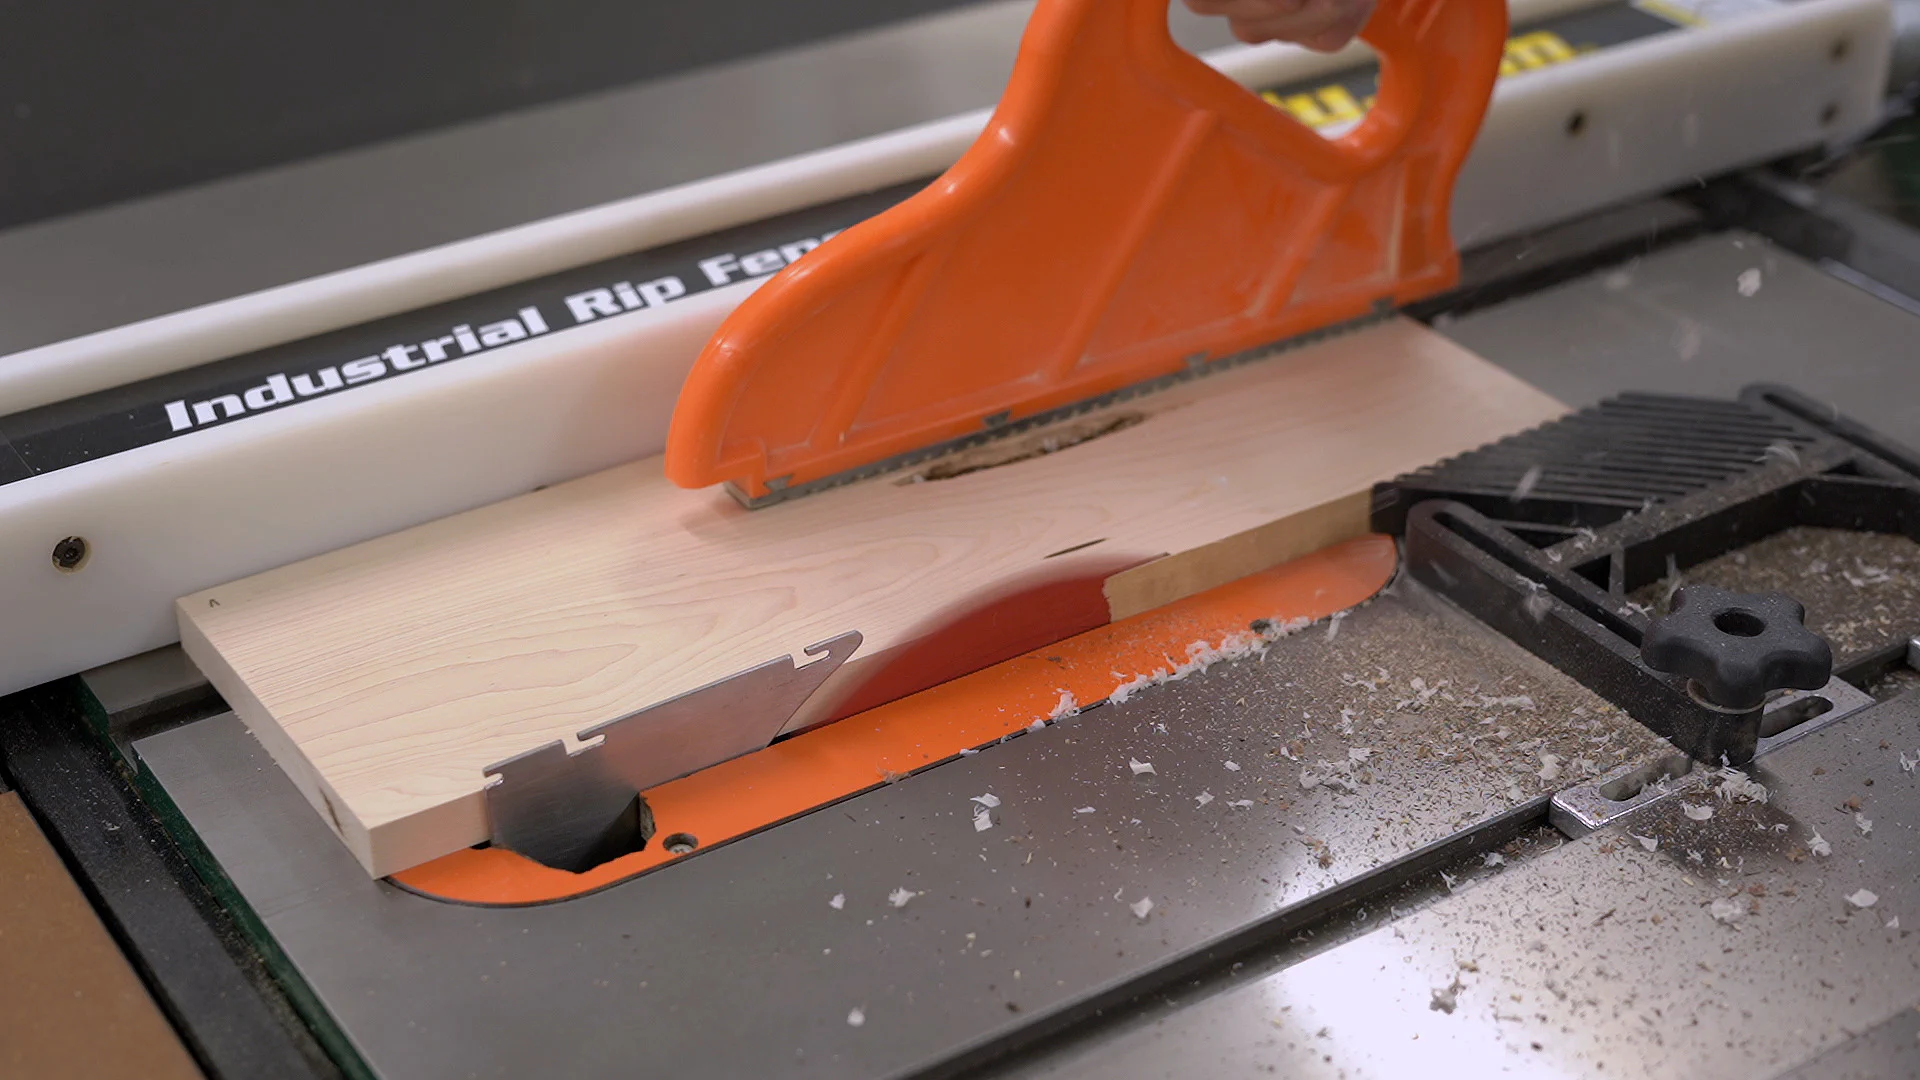
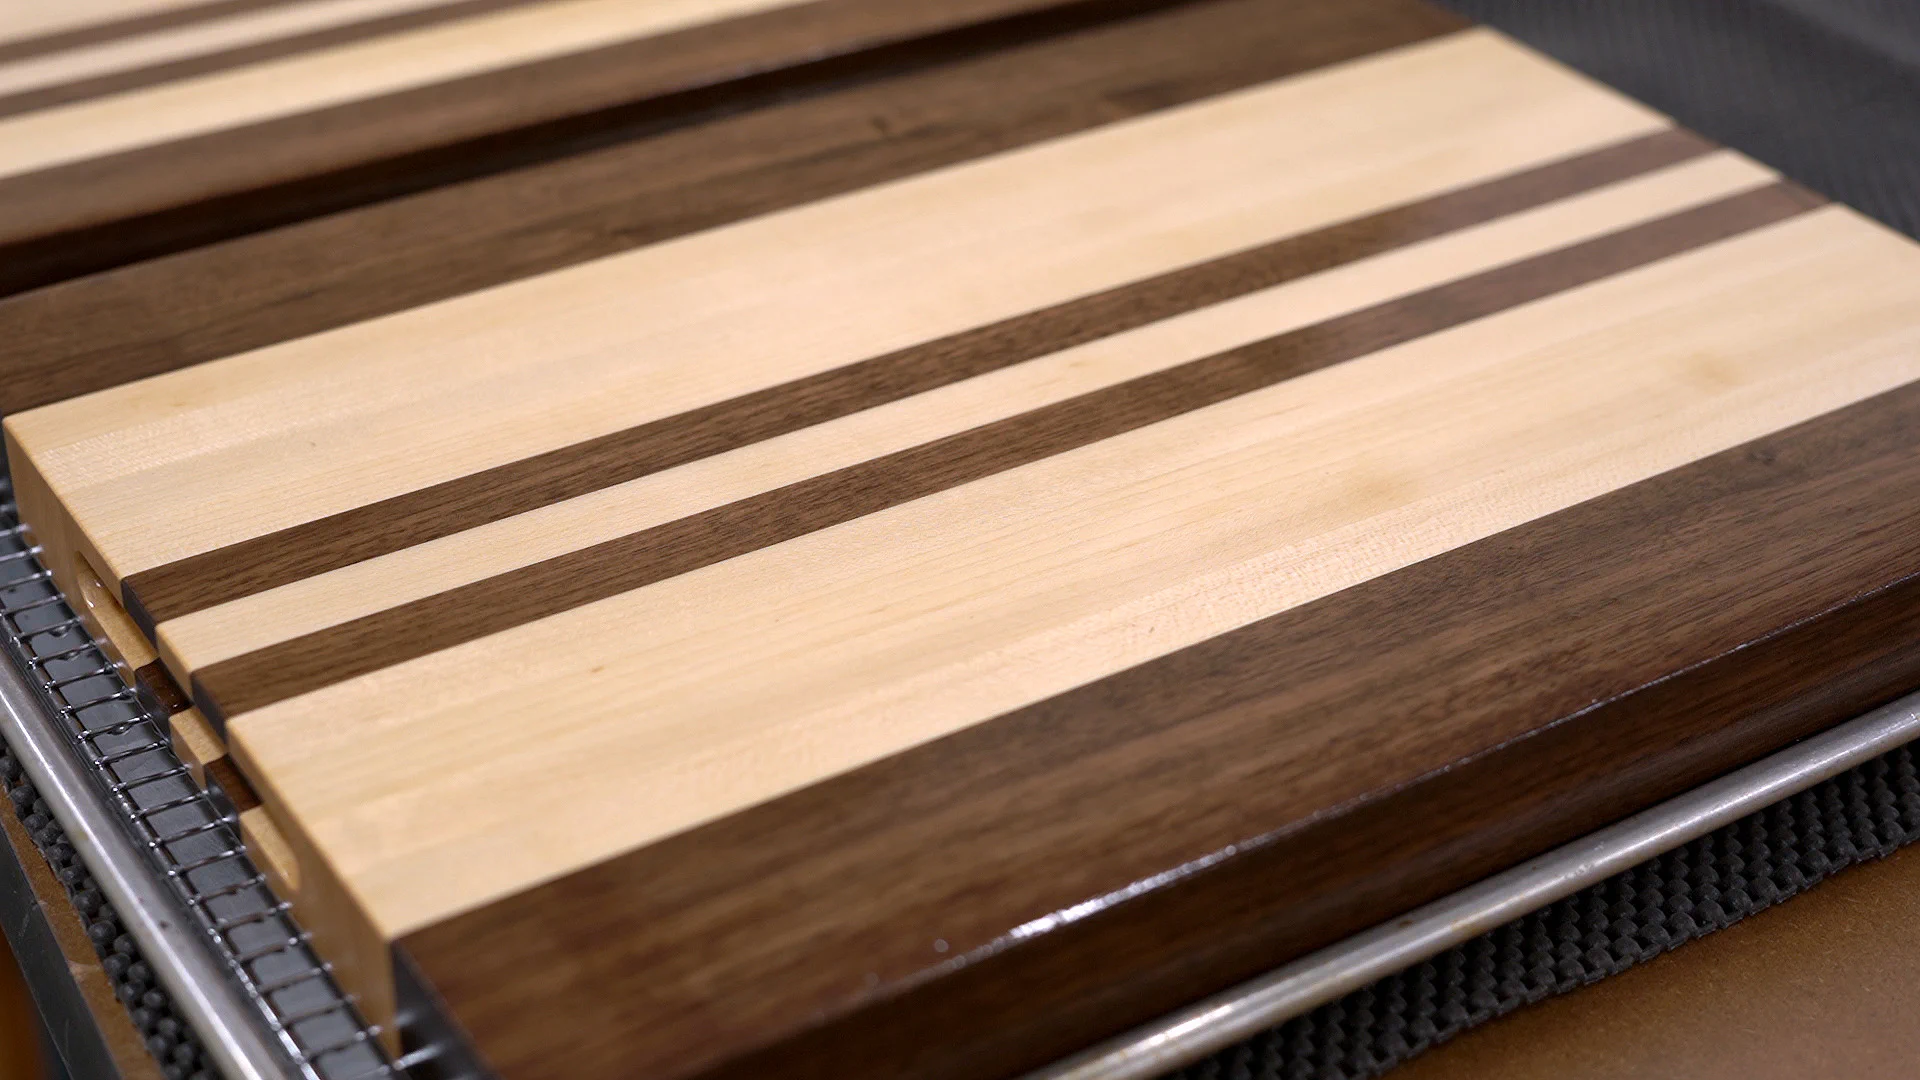
Then I started cutting all the boards into strips roughly 1 3/8" wide so that I could get 4 strips per 6" wide maple board and 5 from the wider 7" walnut boards.


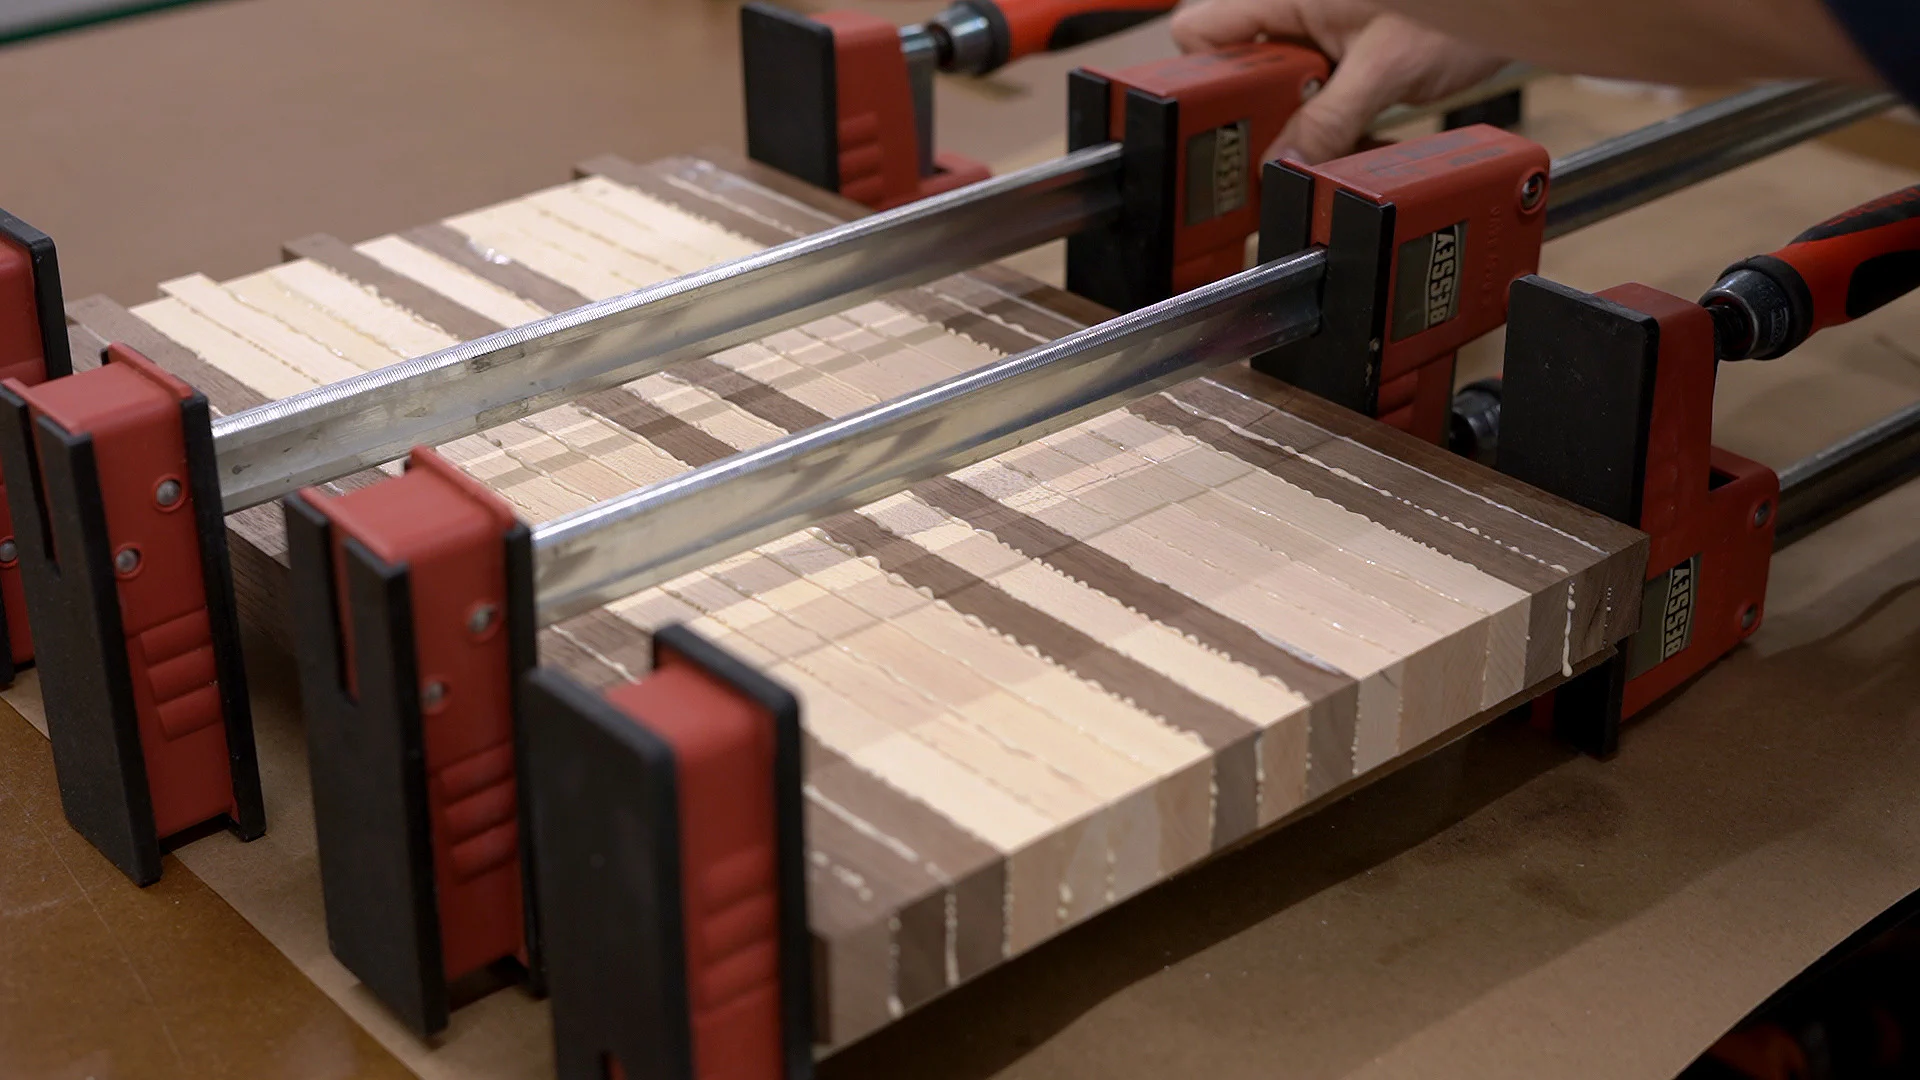
After experimenting with the layout for a bit, it was time for the first glue-up. I started by cutting a couple of pieces of paper and applied a little paraffin to keep excess glue off my clamps.

I then made a light mark across the top edges to avoid flipping a piece the wrong way, and after flipping them over, it was time for some glue. For this, I used Titebond III as it’s waterproof and has a longer open time. It’s approved for indirect food contact, and it’s their recommendation for cutting boards.
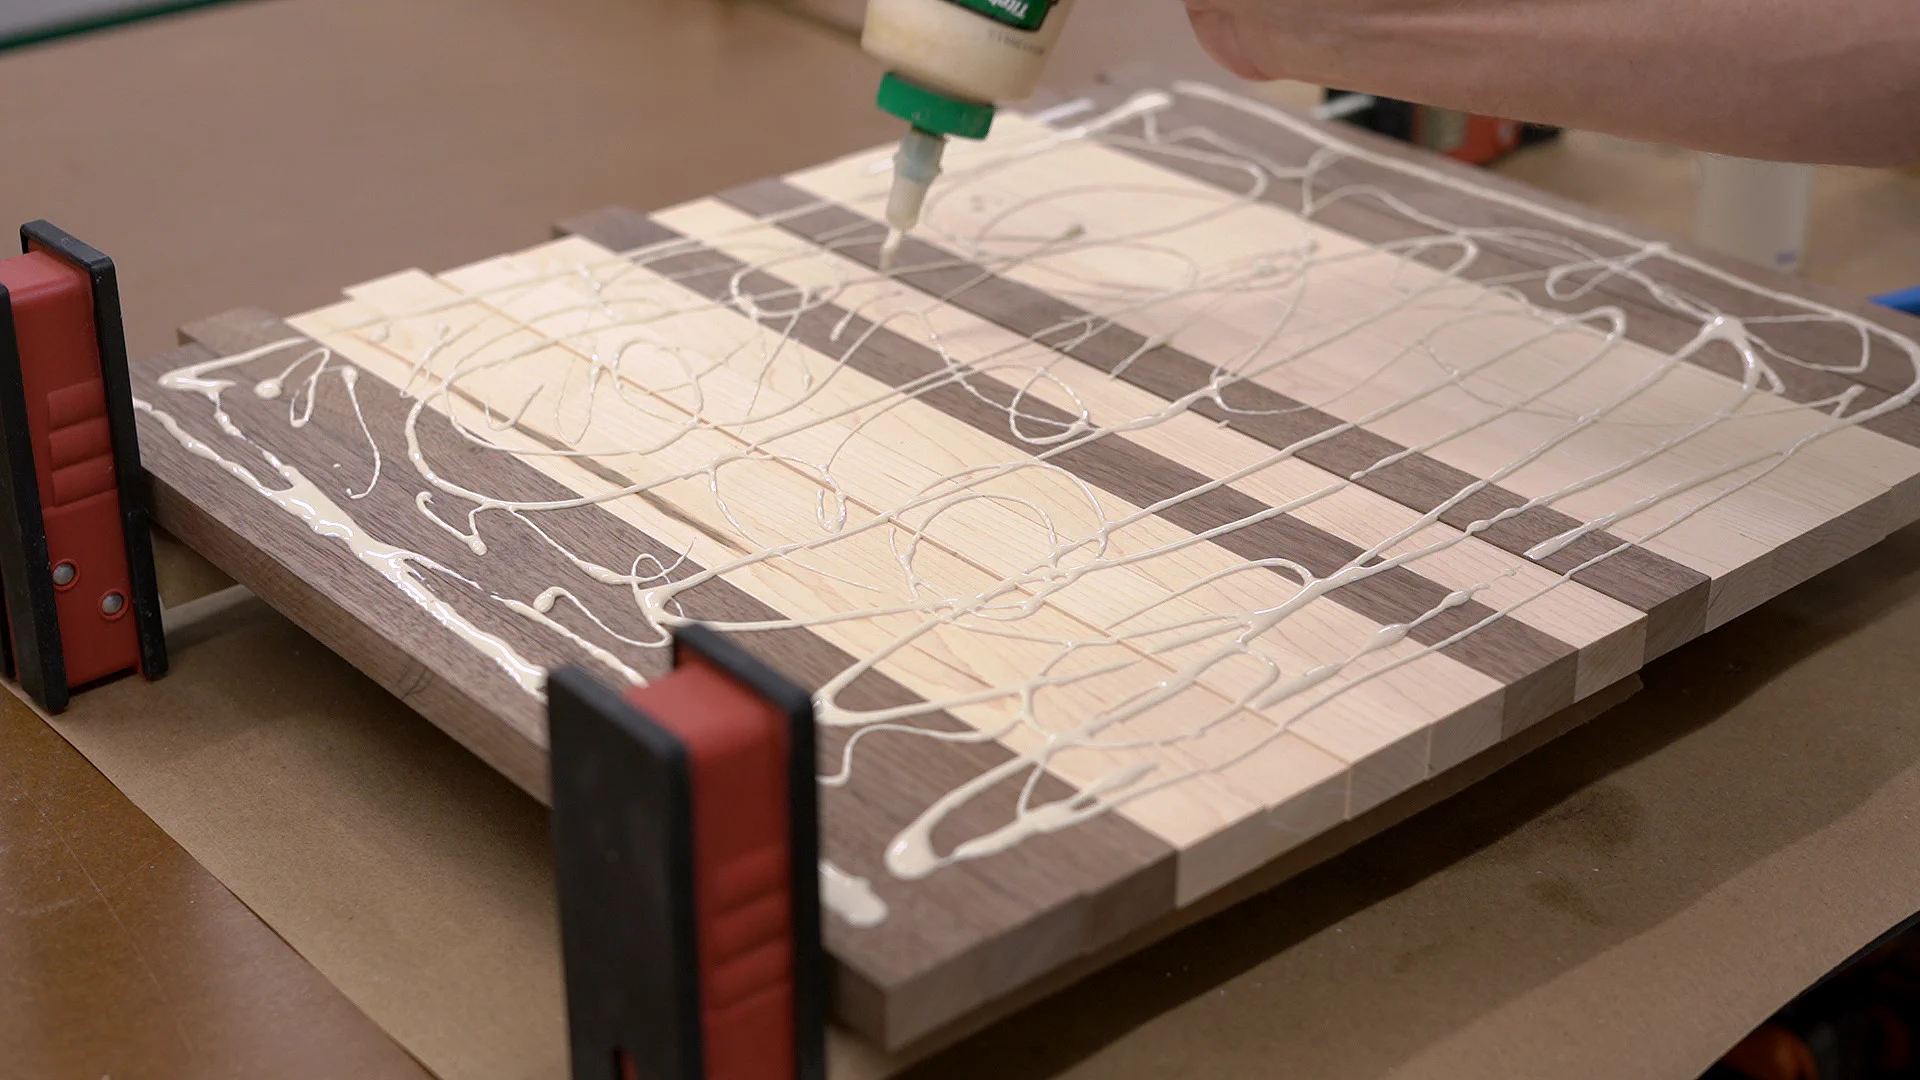
This part goes a bit faster if all the strips are the same thickness as it’s possible to use a roller to quickly apply the glue. Here I made a slight mistake. The strip on the right side doesn’t need glue, so to clean it up, I just scraped the glue off with a scrap piece and wiped it down with a wet paper towel.
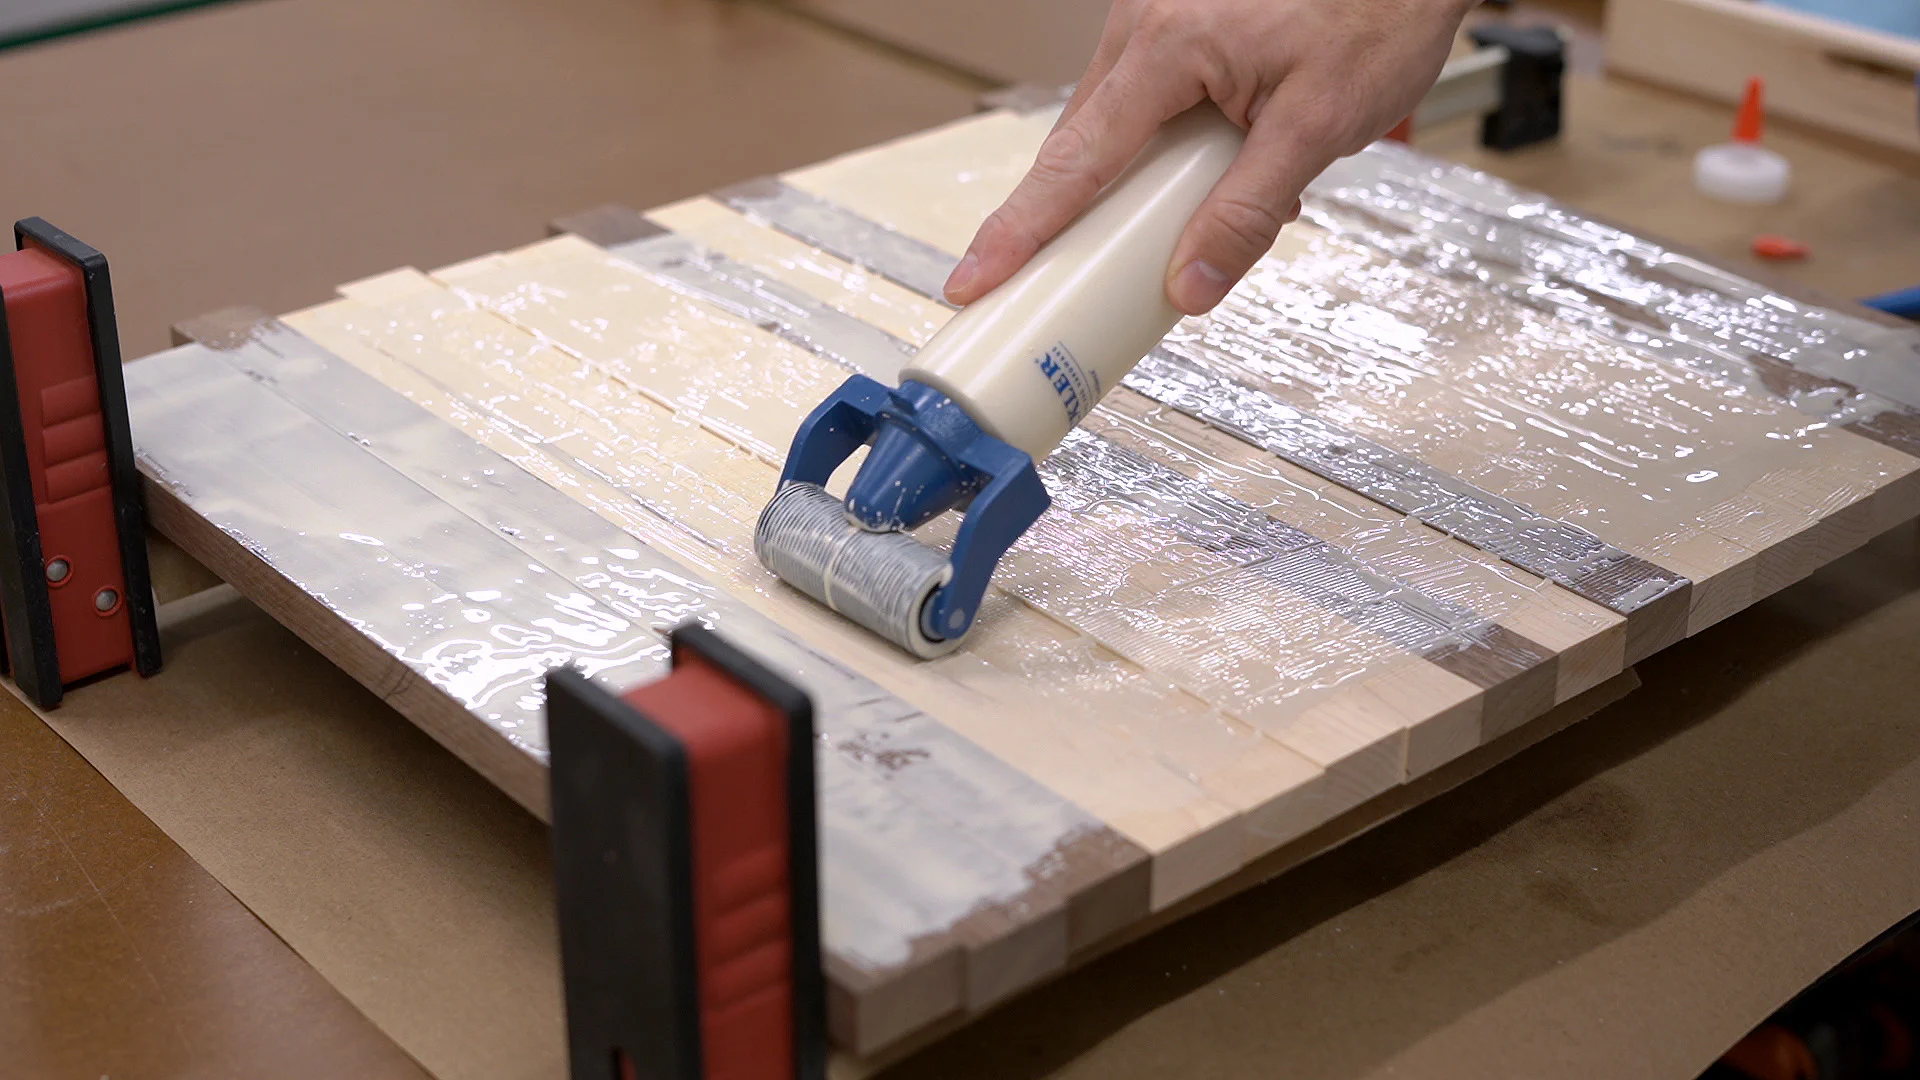
Then I aligned the strips at one end and added some more clamps.
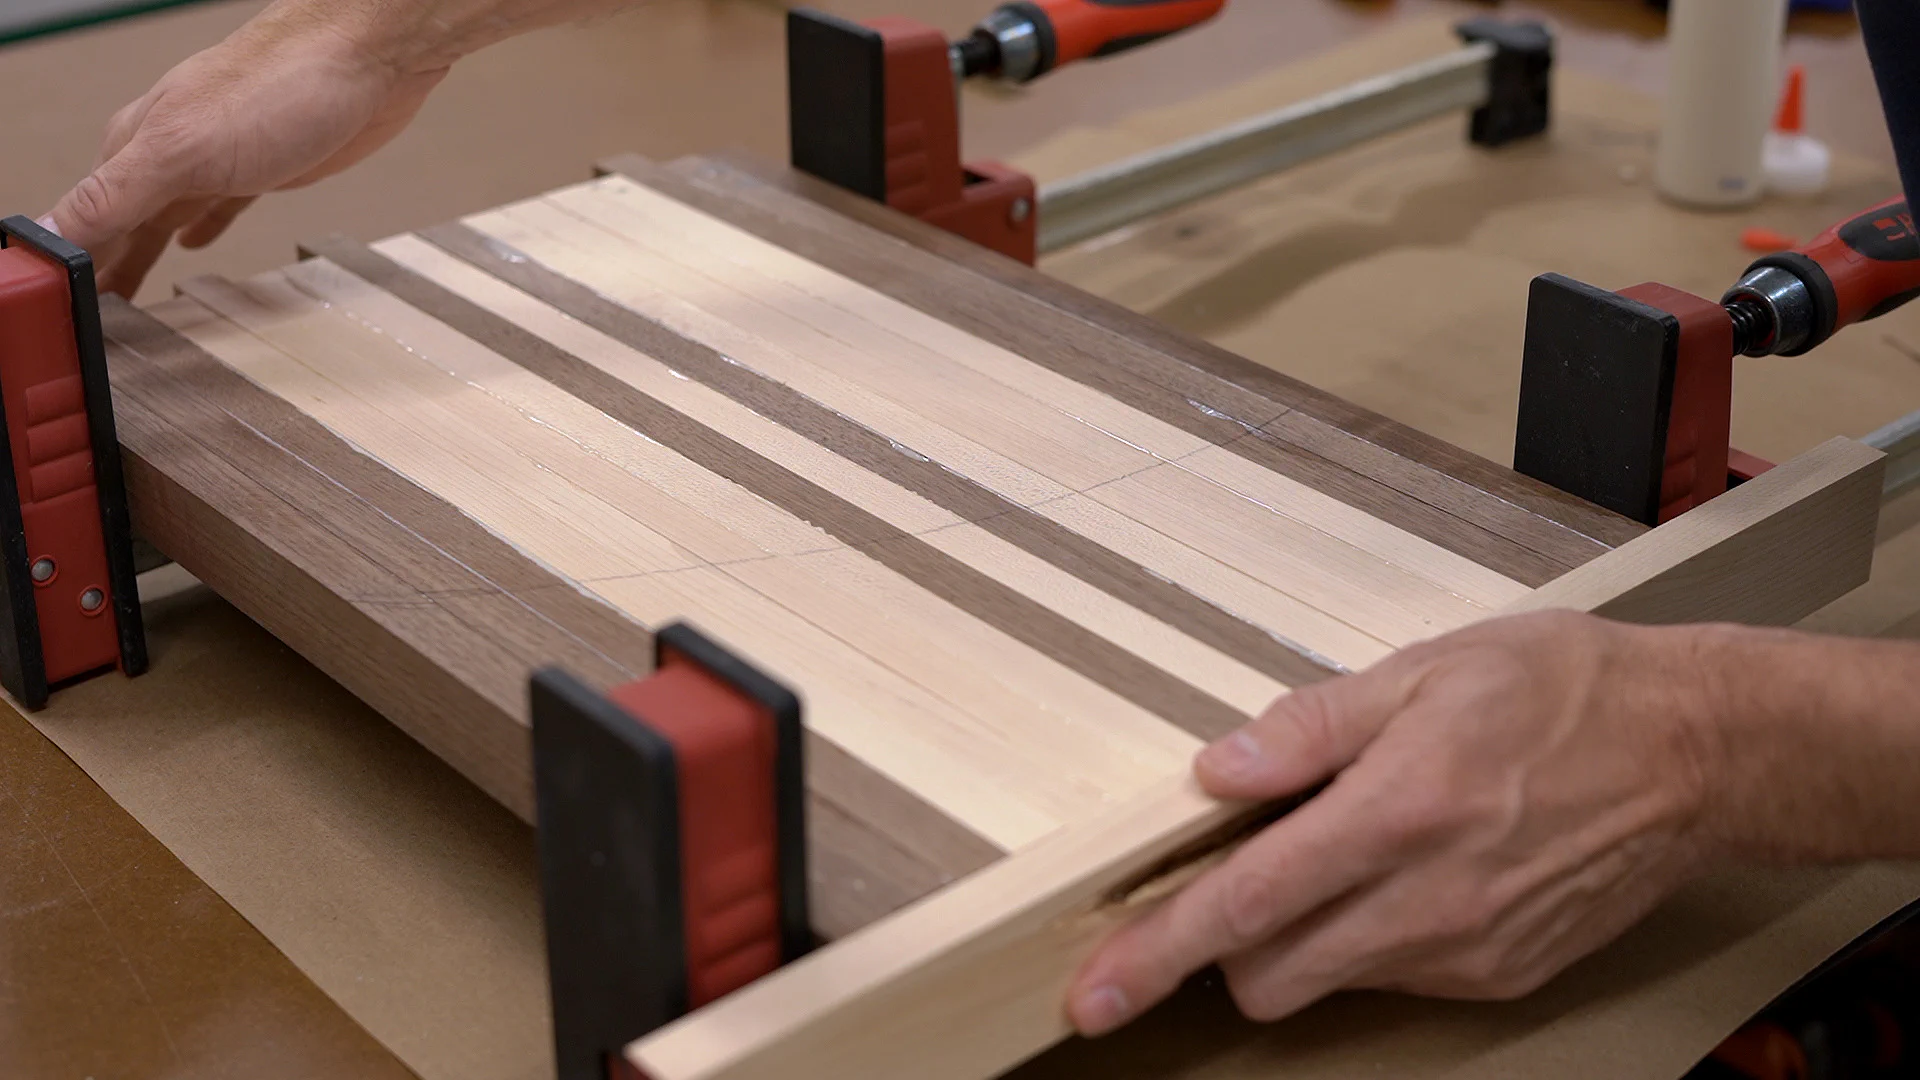
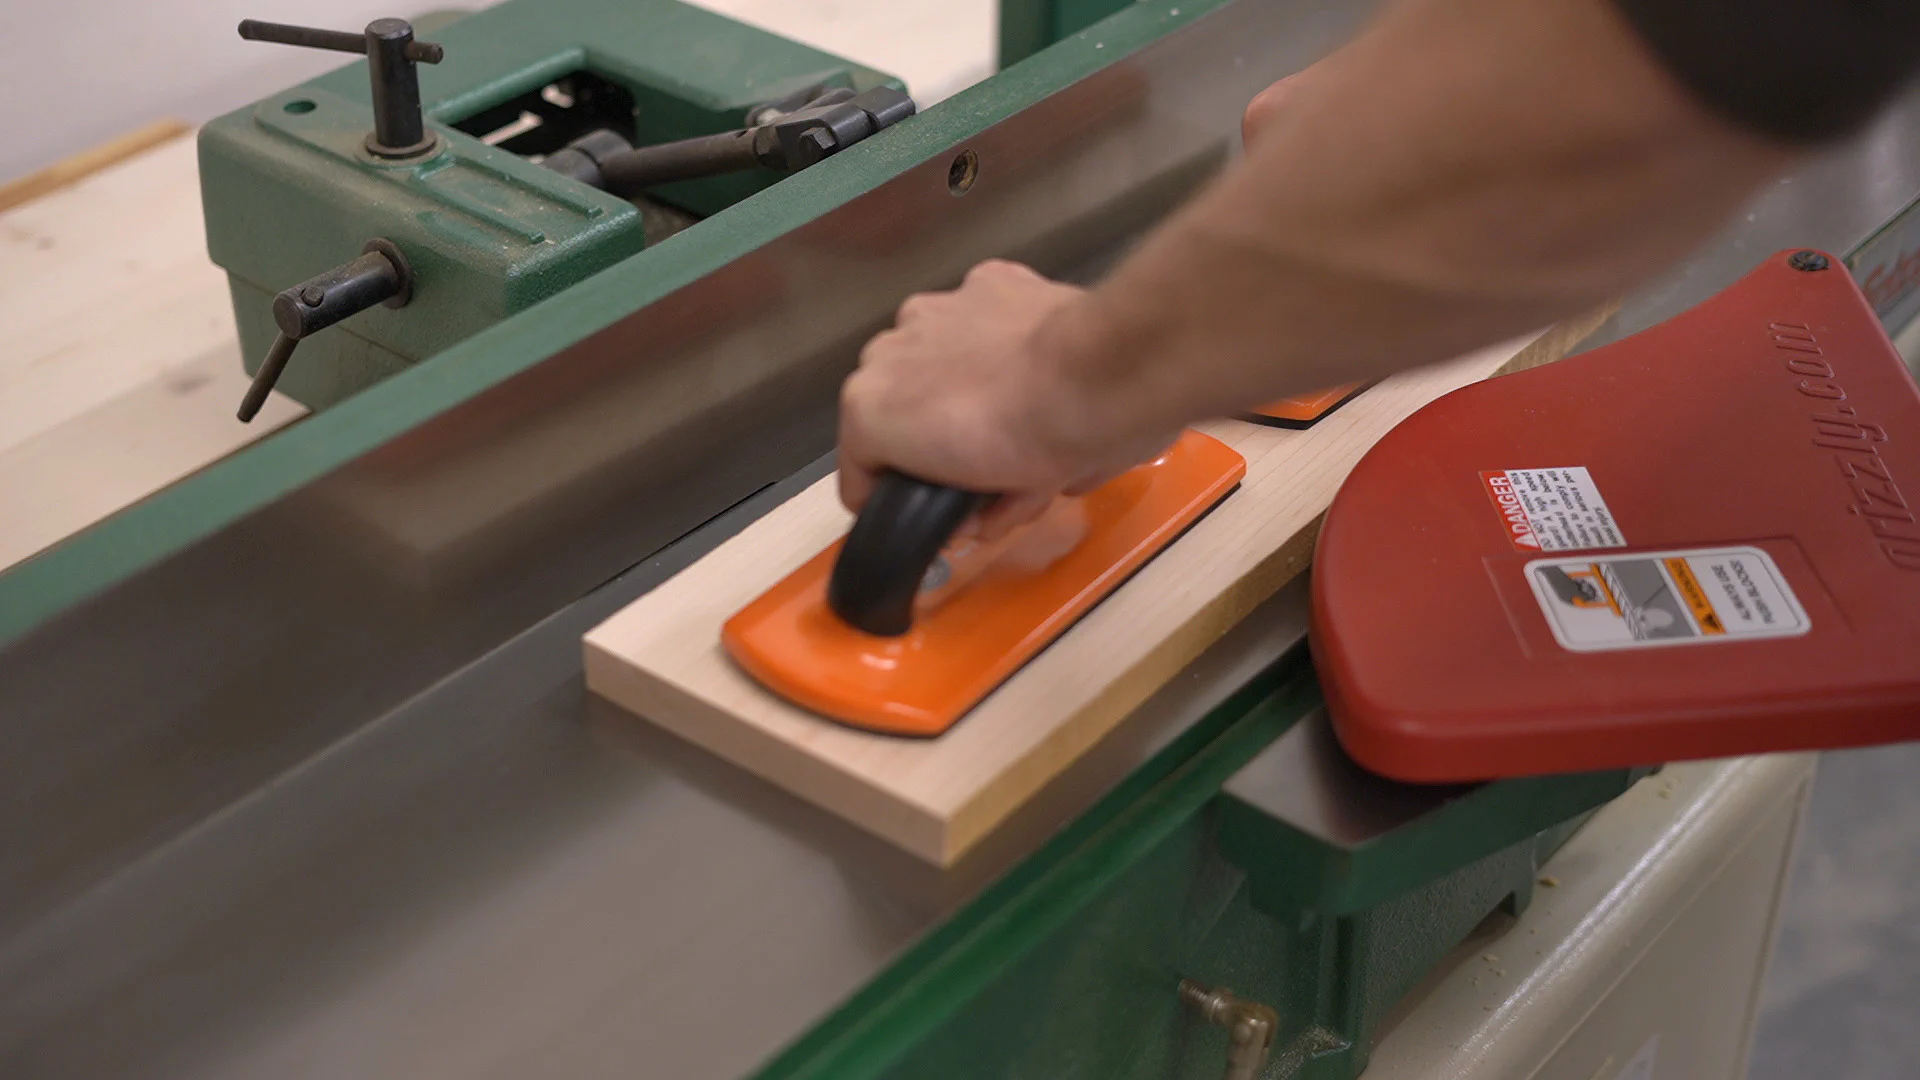
After a few minutes, I came back and scraped off the worst of the glue squeeze-out. Once the glue dried, I removed the clamps and started cleaning up the bottom with 60 grit sandpaper.

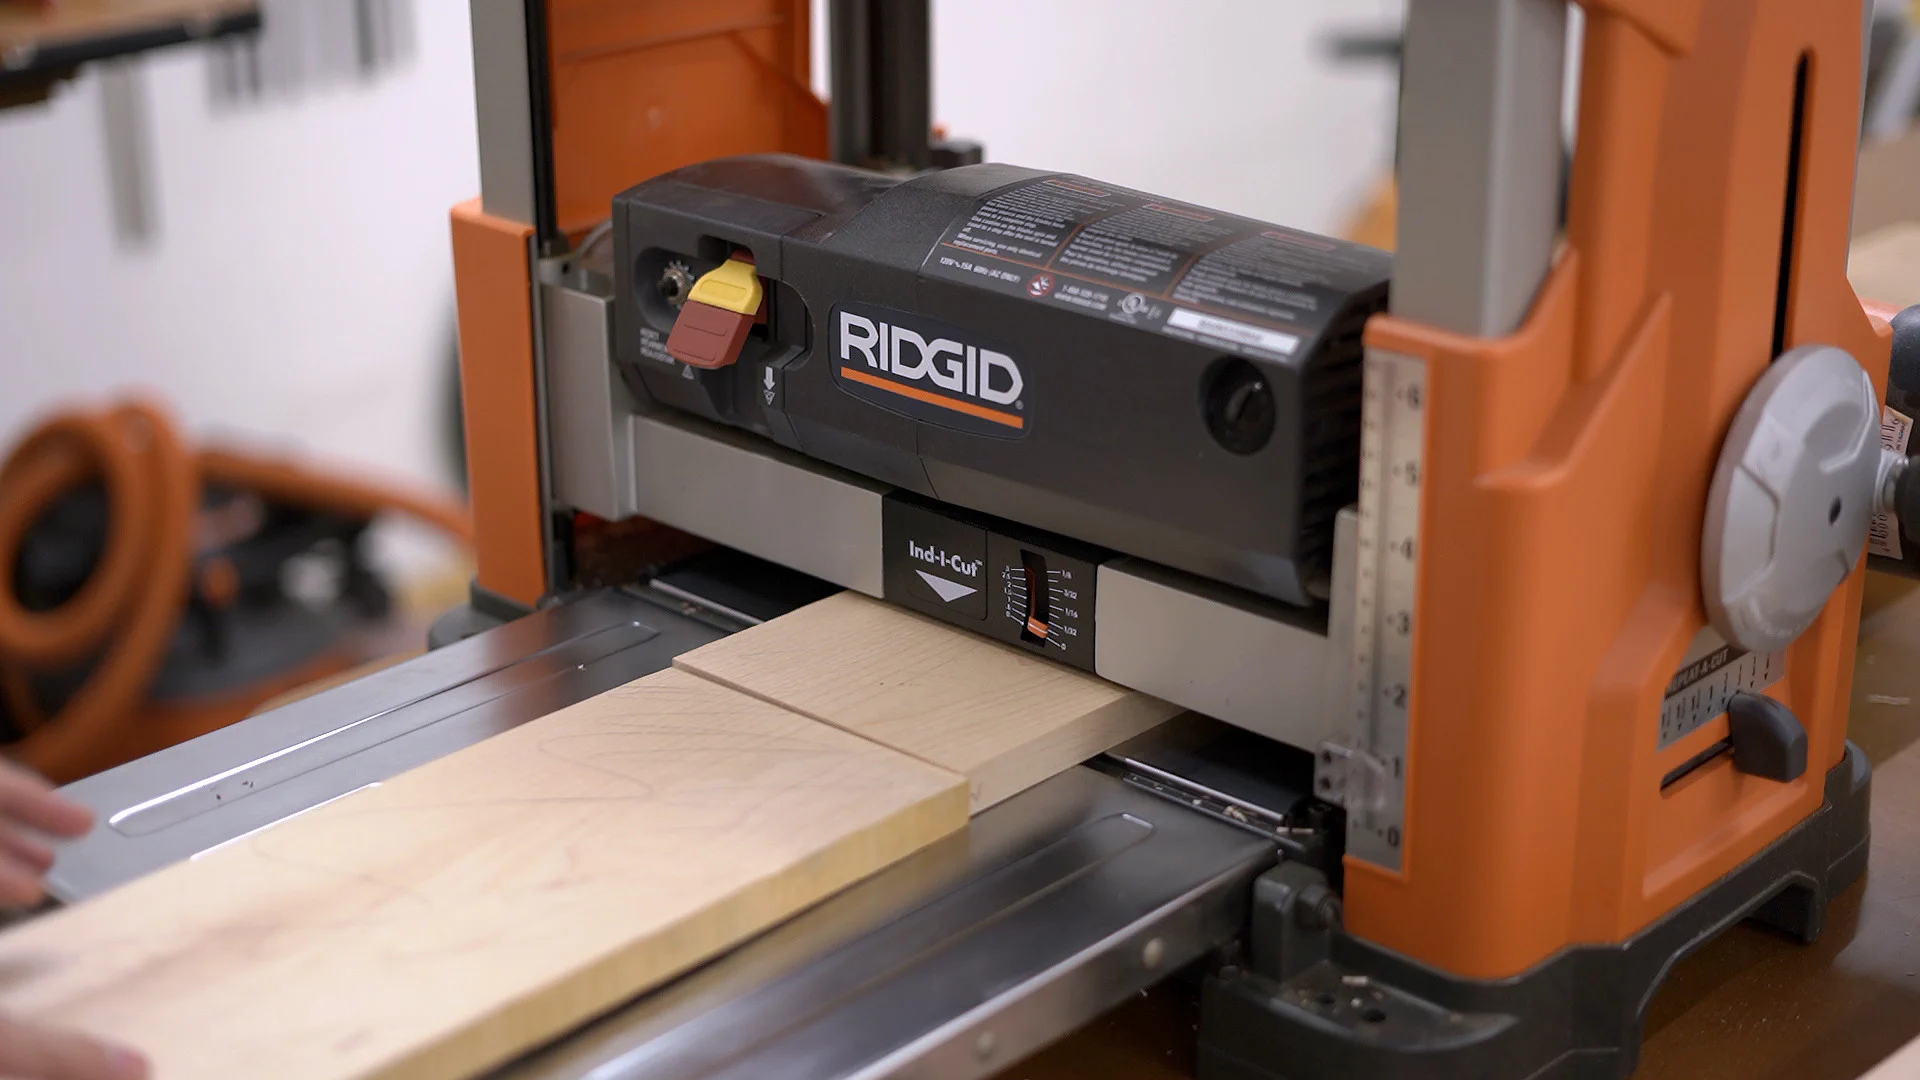
Next, I ran the cutting board through my planer taking a very light pass on each side. To avoid snipe, I tried using some scraps taped onto the edges which seemed to help.

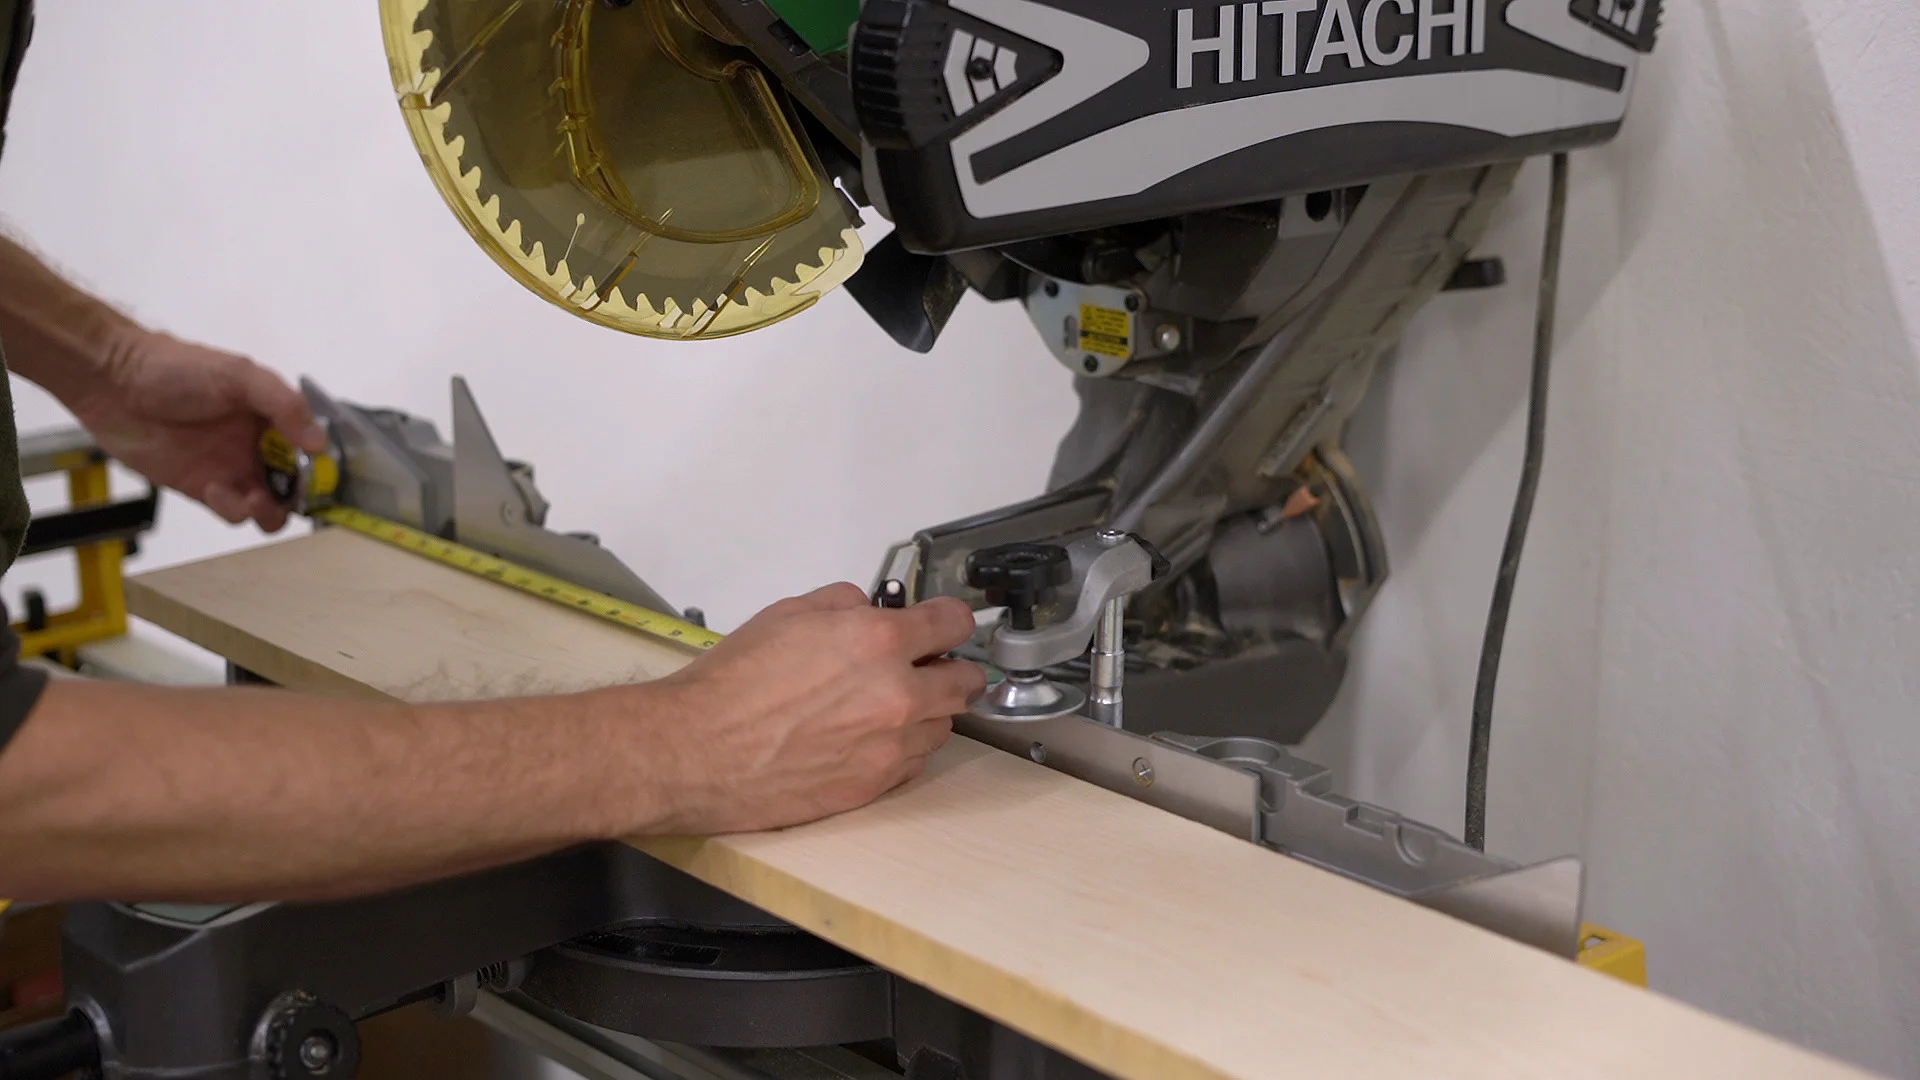
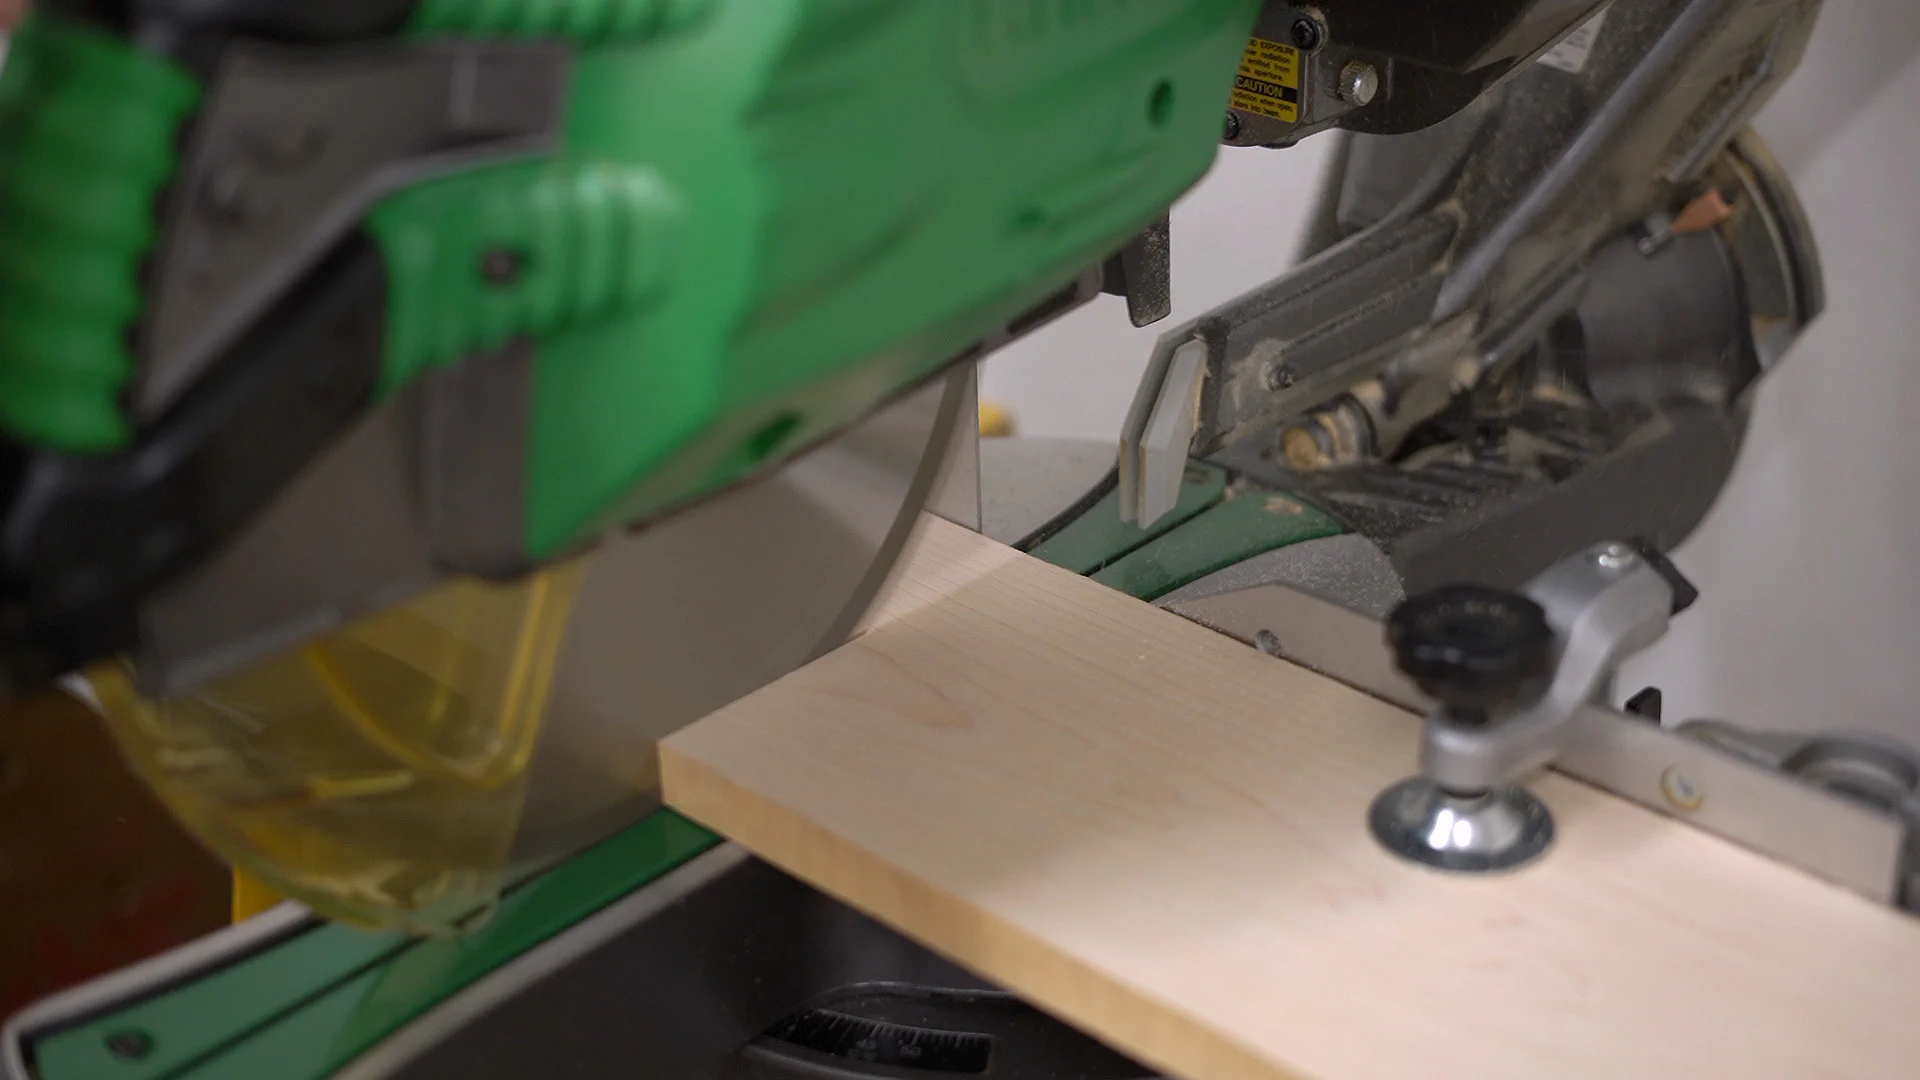
After one more pass with some 60 grit sandpaper, I was finally happy with how flat the top and bottom were, so I headed over to my miter saw to cut it to final length.
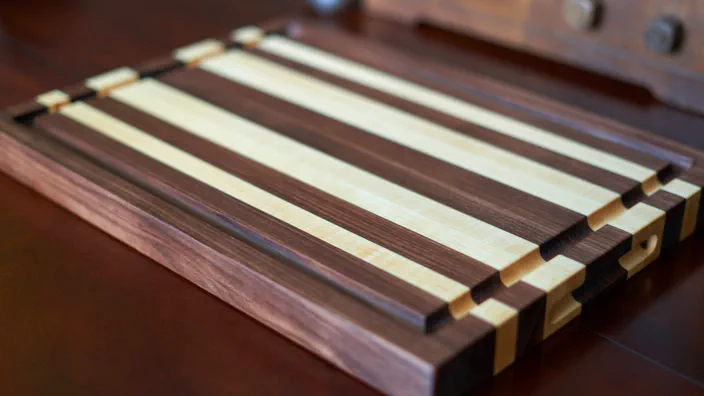
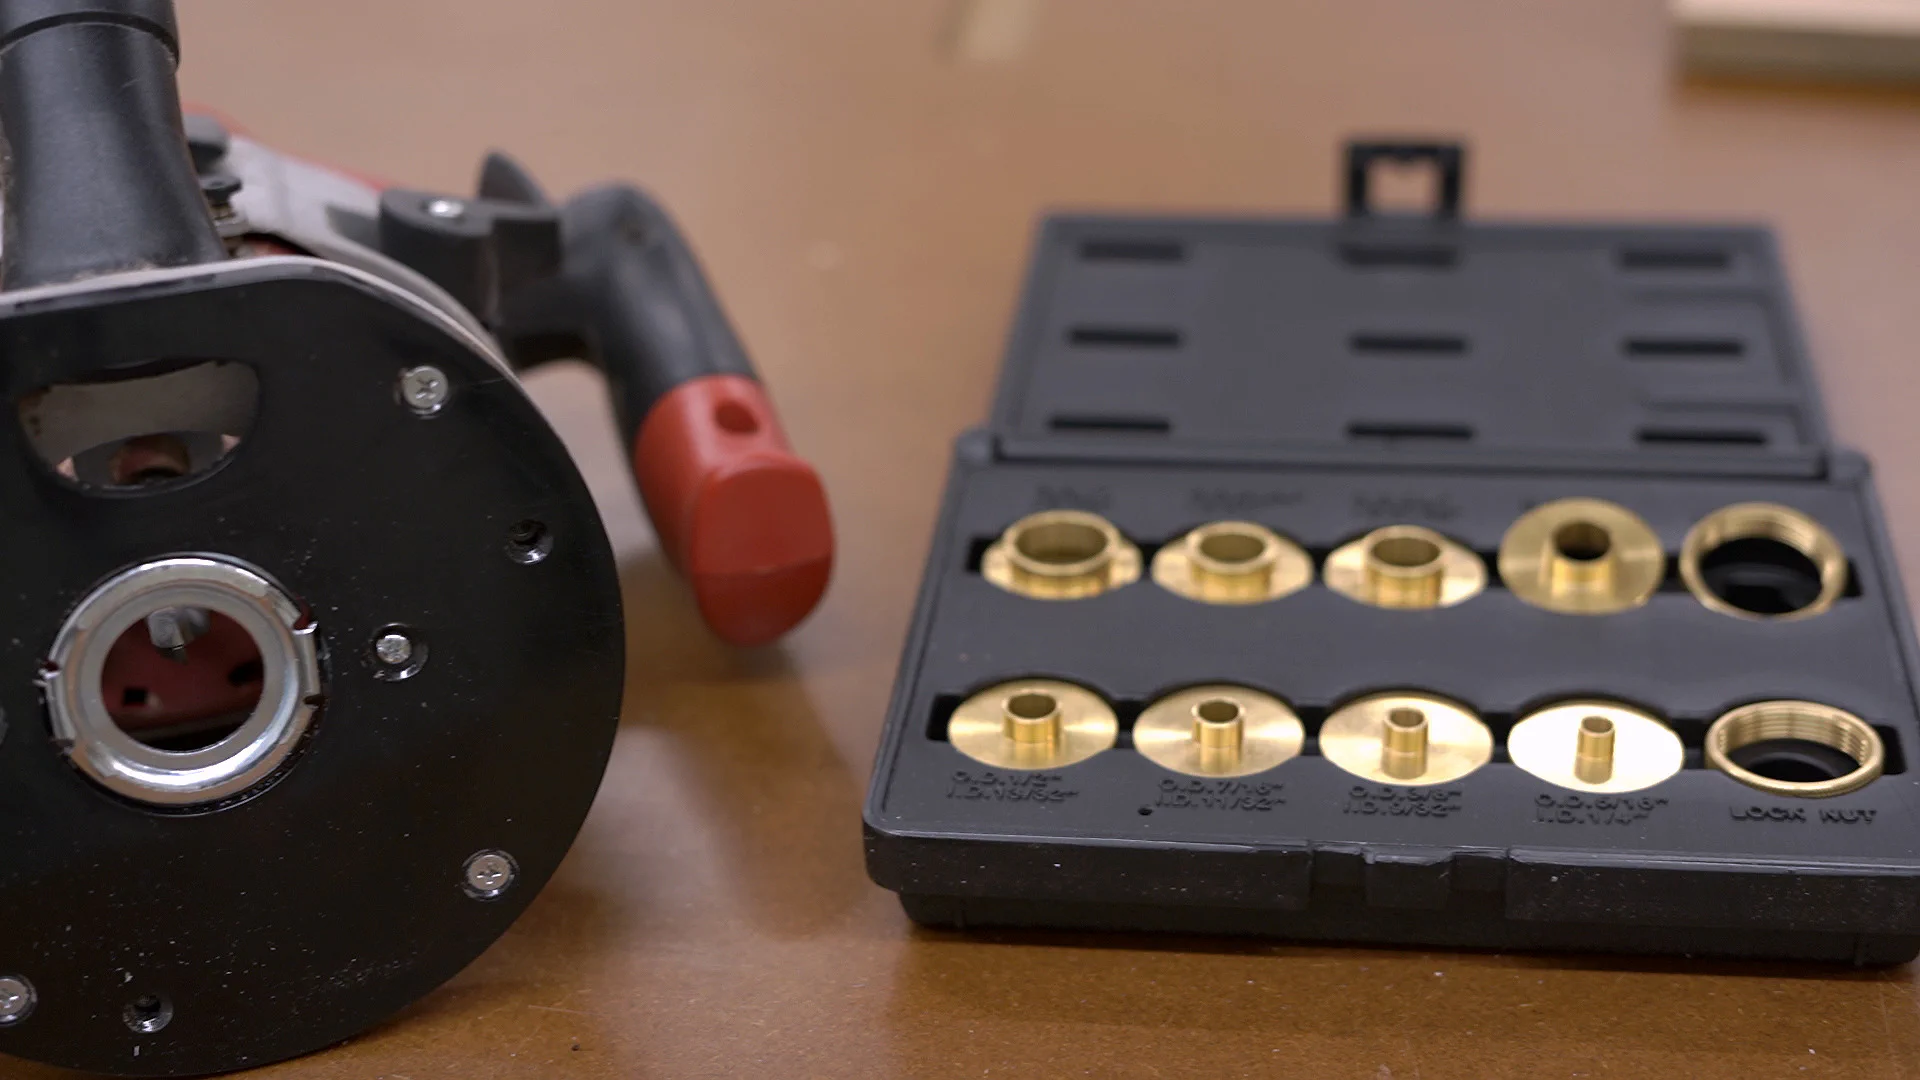
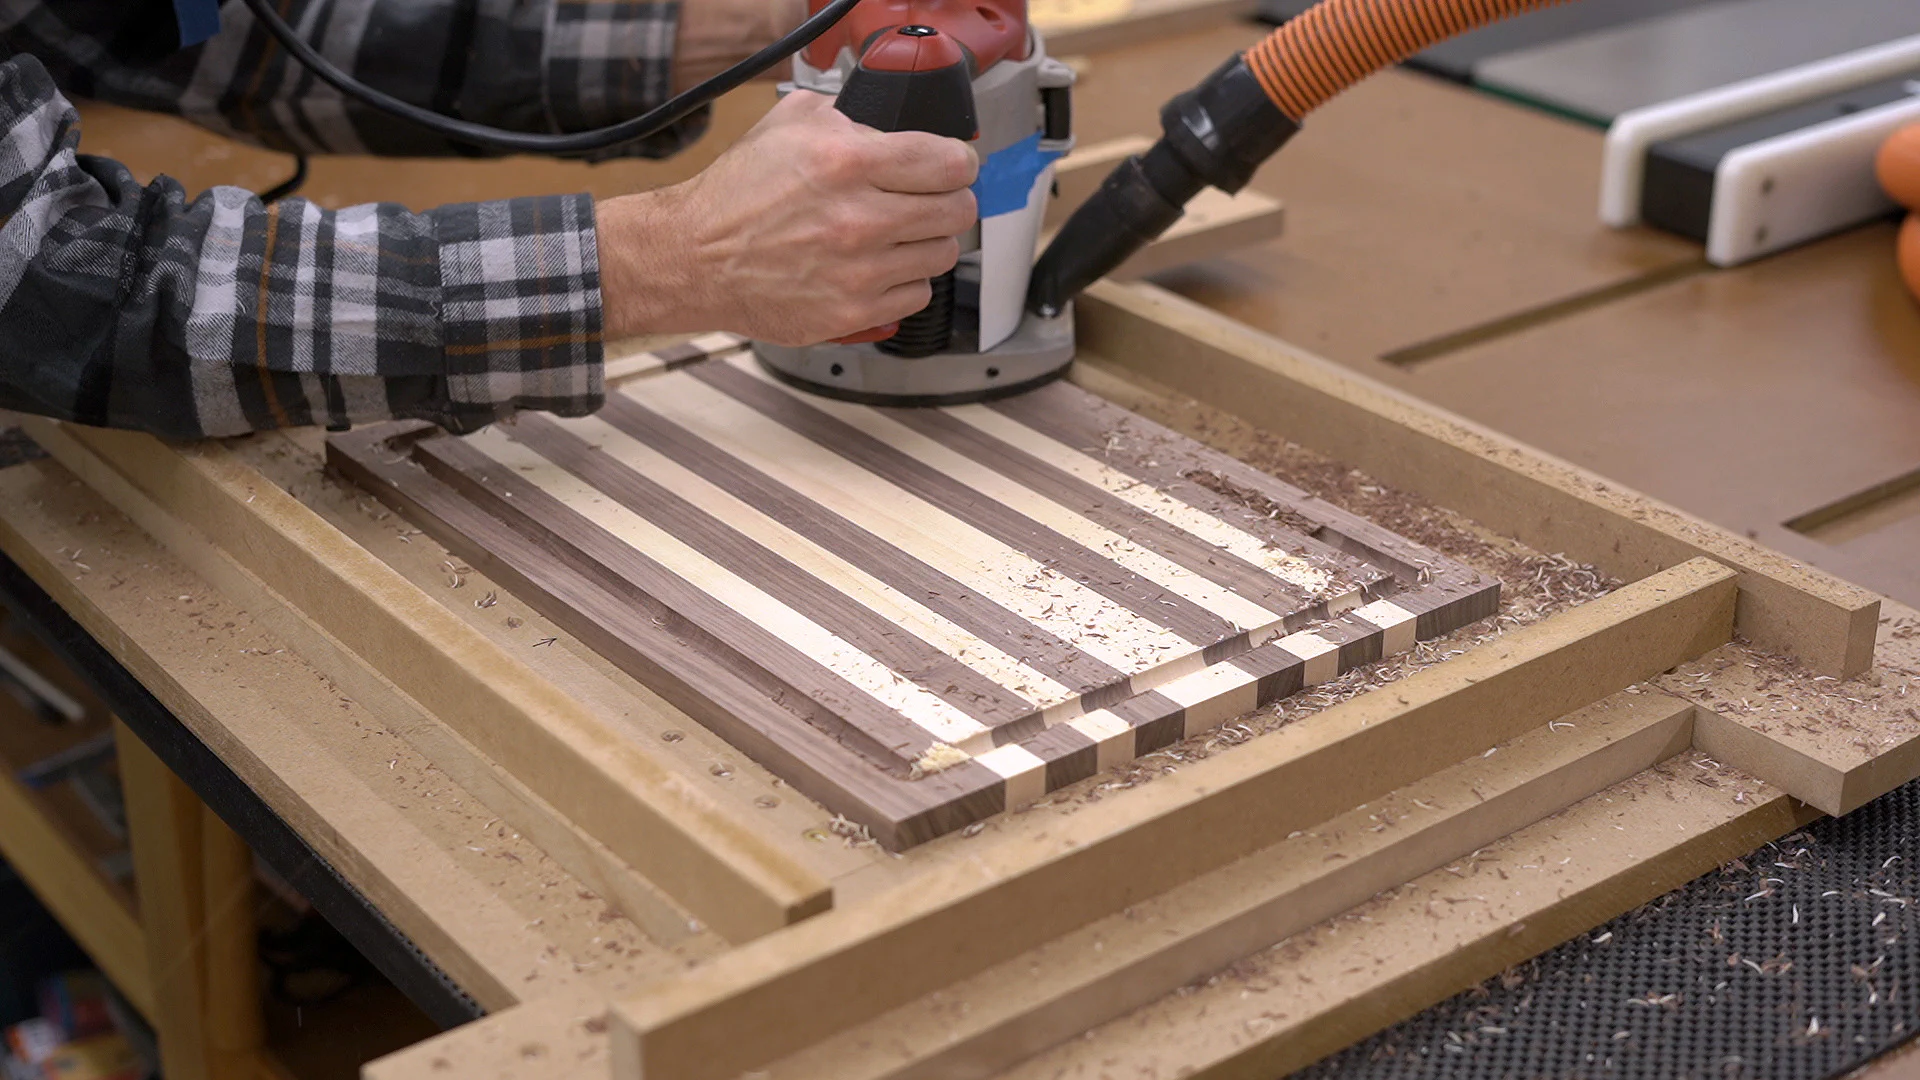
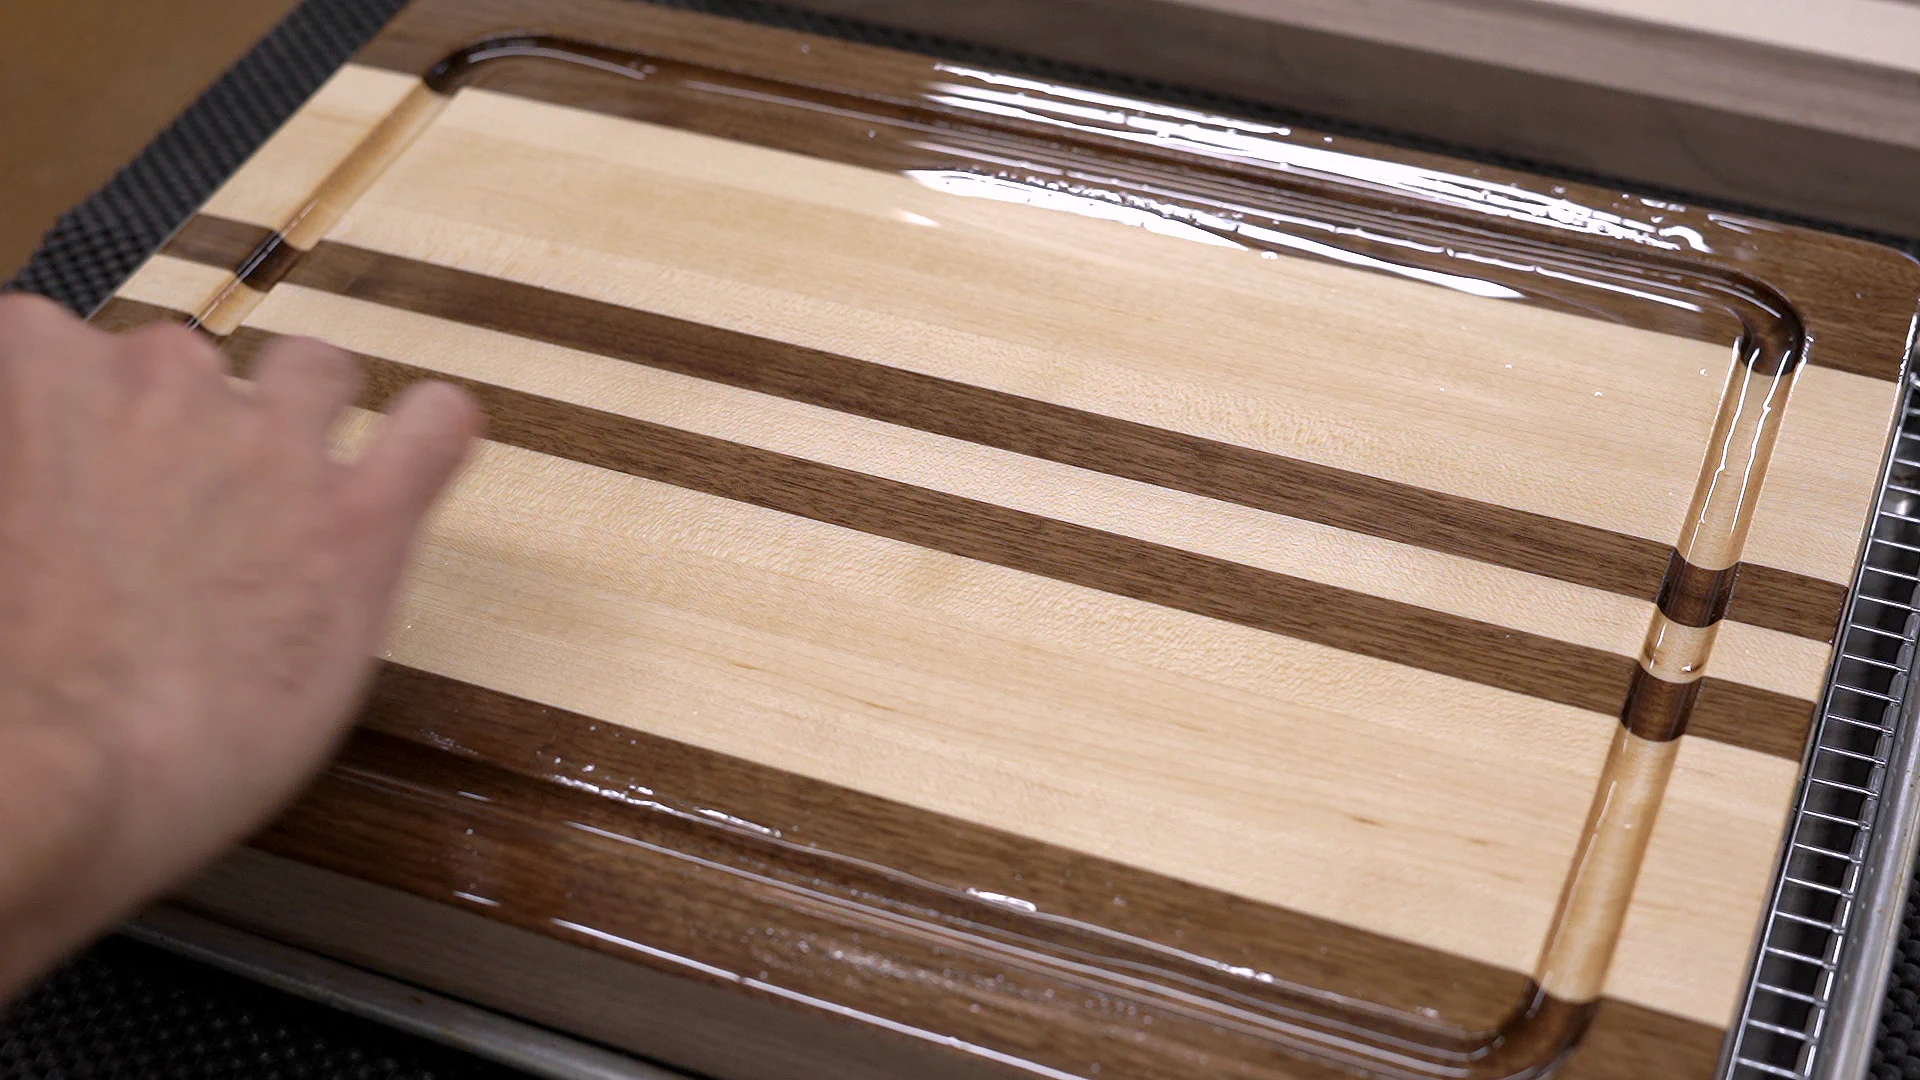
Next up was the juice groove. Since I was pressed for time, I used a single round nose bit with a bearing at the top, but a template guide bushing set would have made routing a little easier and saved a few dollars on the cost of the bit.
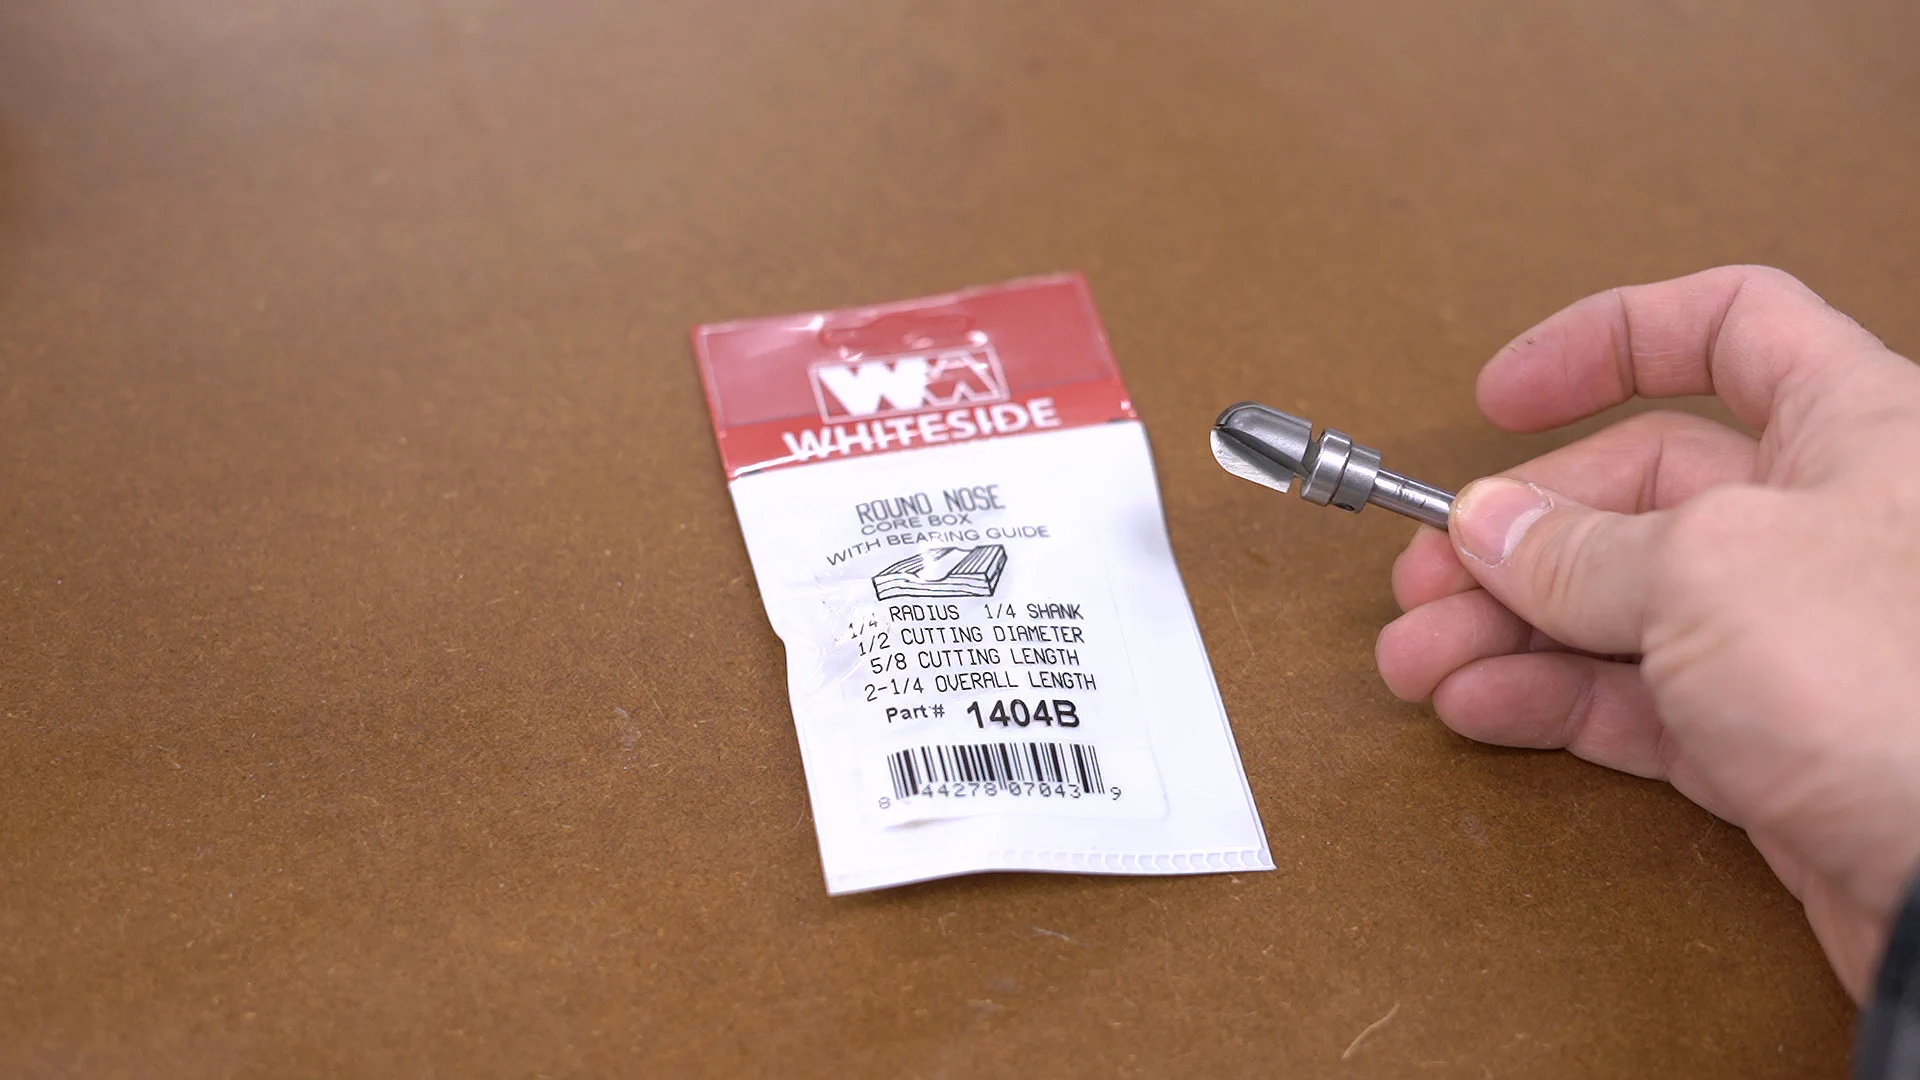
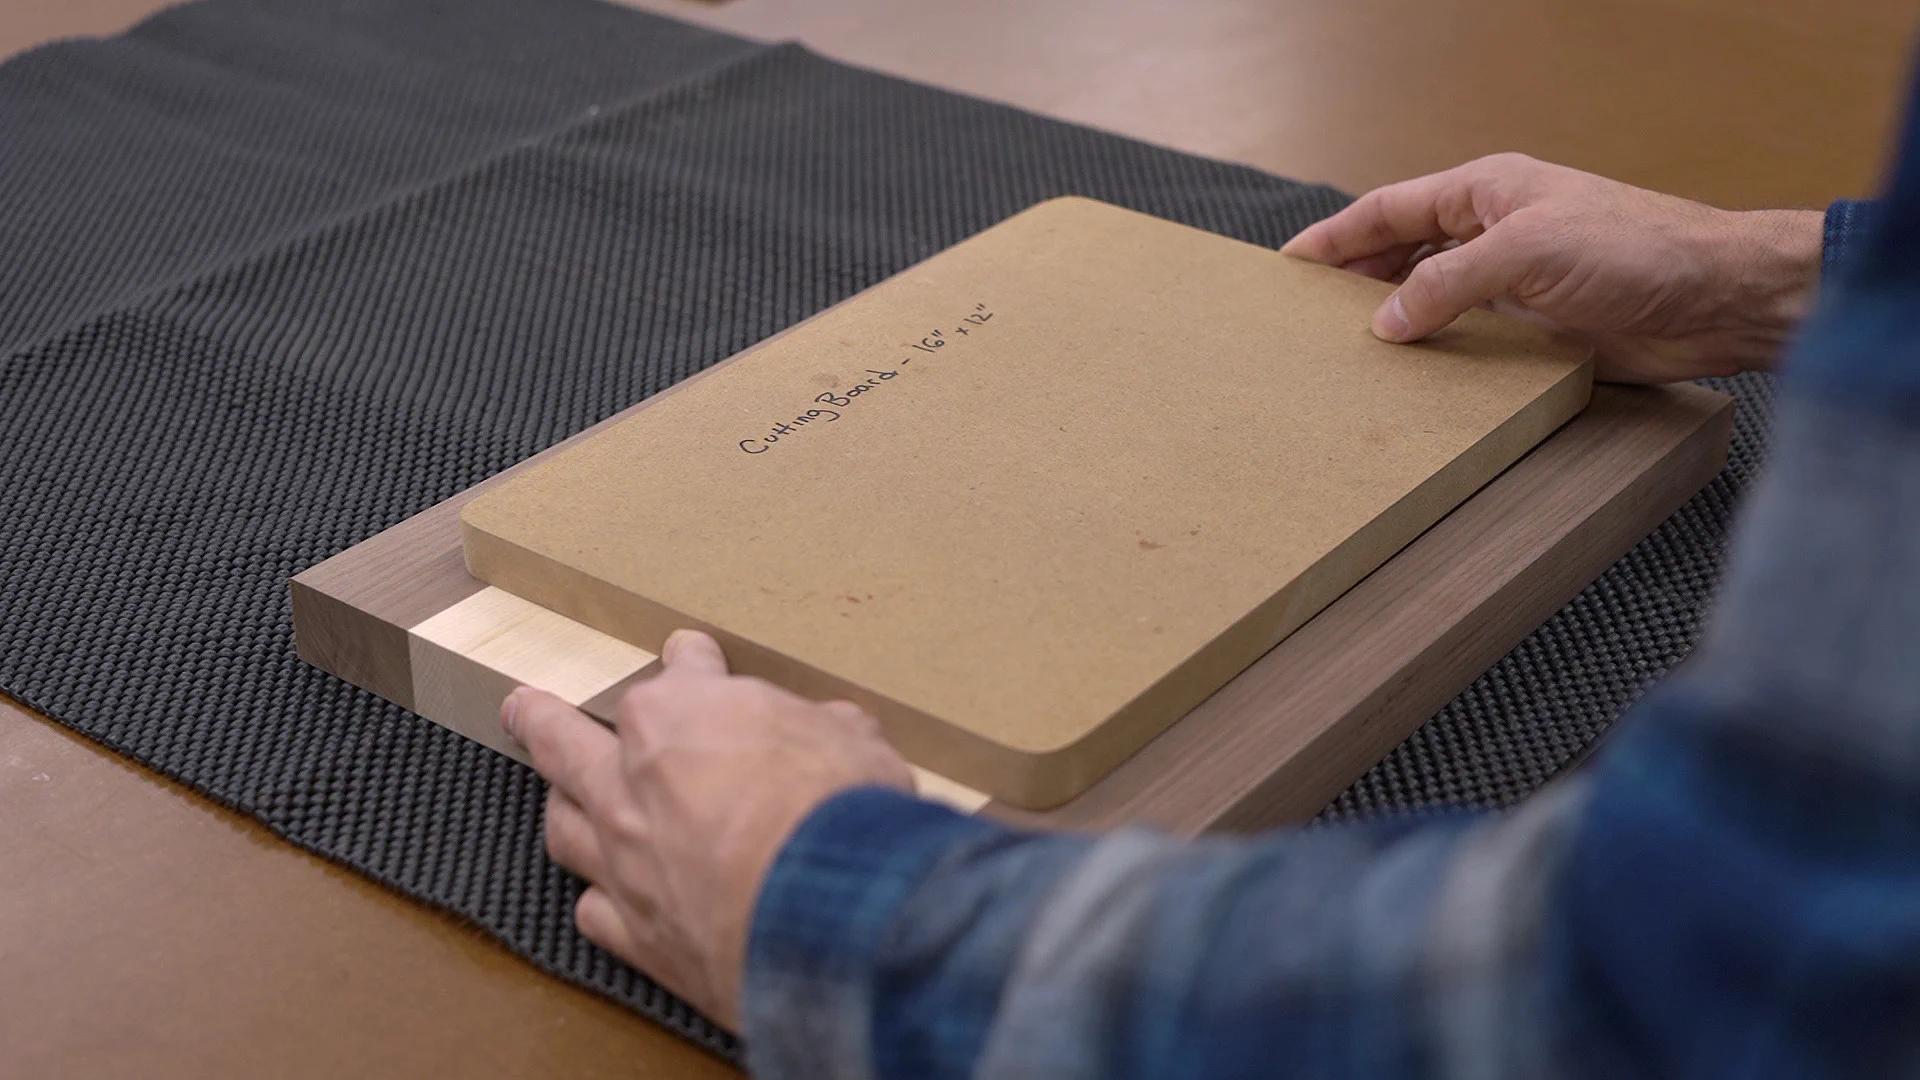
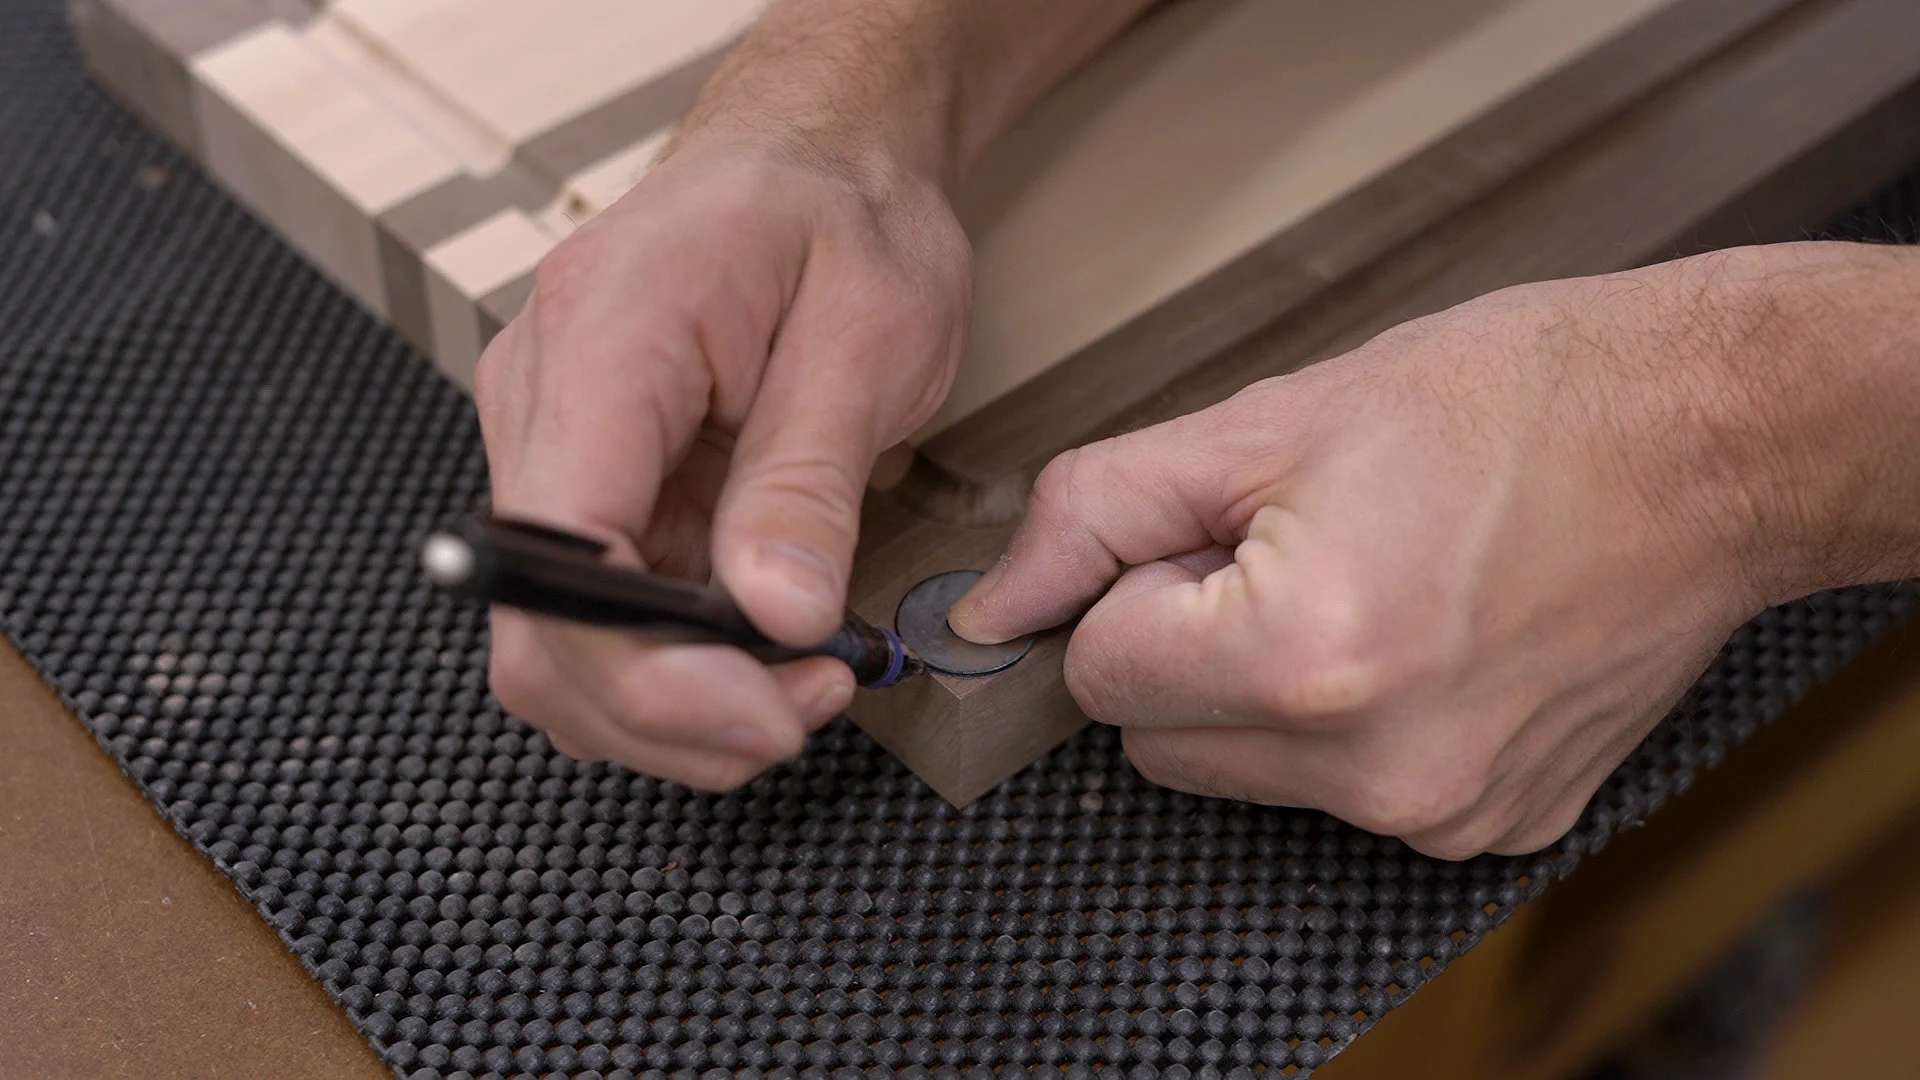
For the template, I used a piece of 3/4" MDF because the bearing was fairly high on the router bit. I cut it to size at the table saw and then used a 1" diameter washer to trace a small curve at the corners.


After cutting the curved corners at the band saw, I sanded the edges to make sure everything was smooth. I then made a few reference marks to center the template on the board.
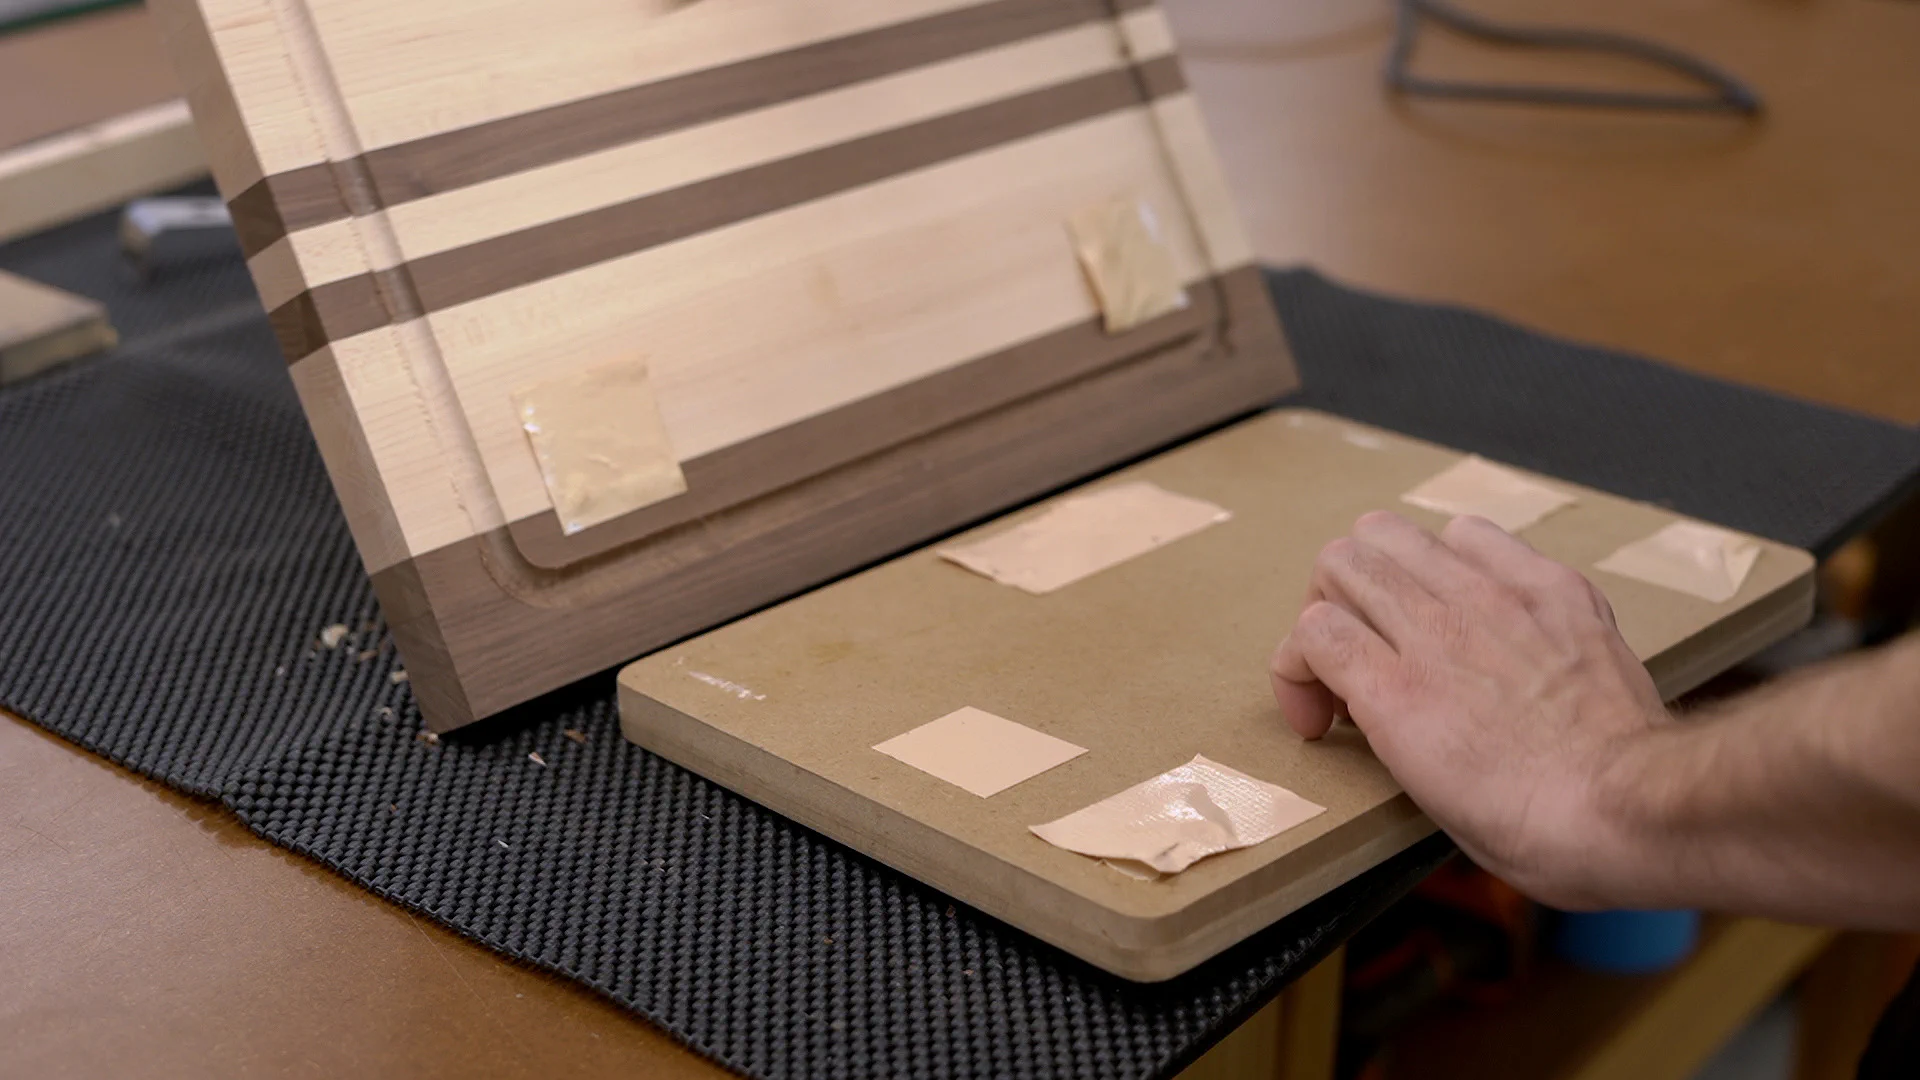
To attach it, I used a few strips of two-sided tape (which was probably about four more than were needed). It definitely stayed put while routing!

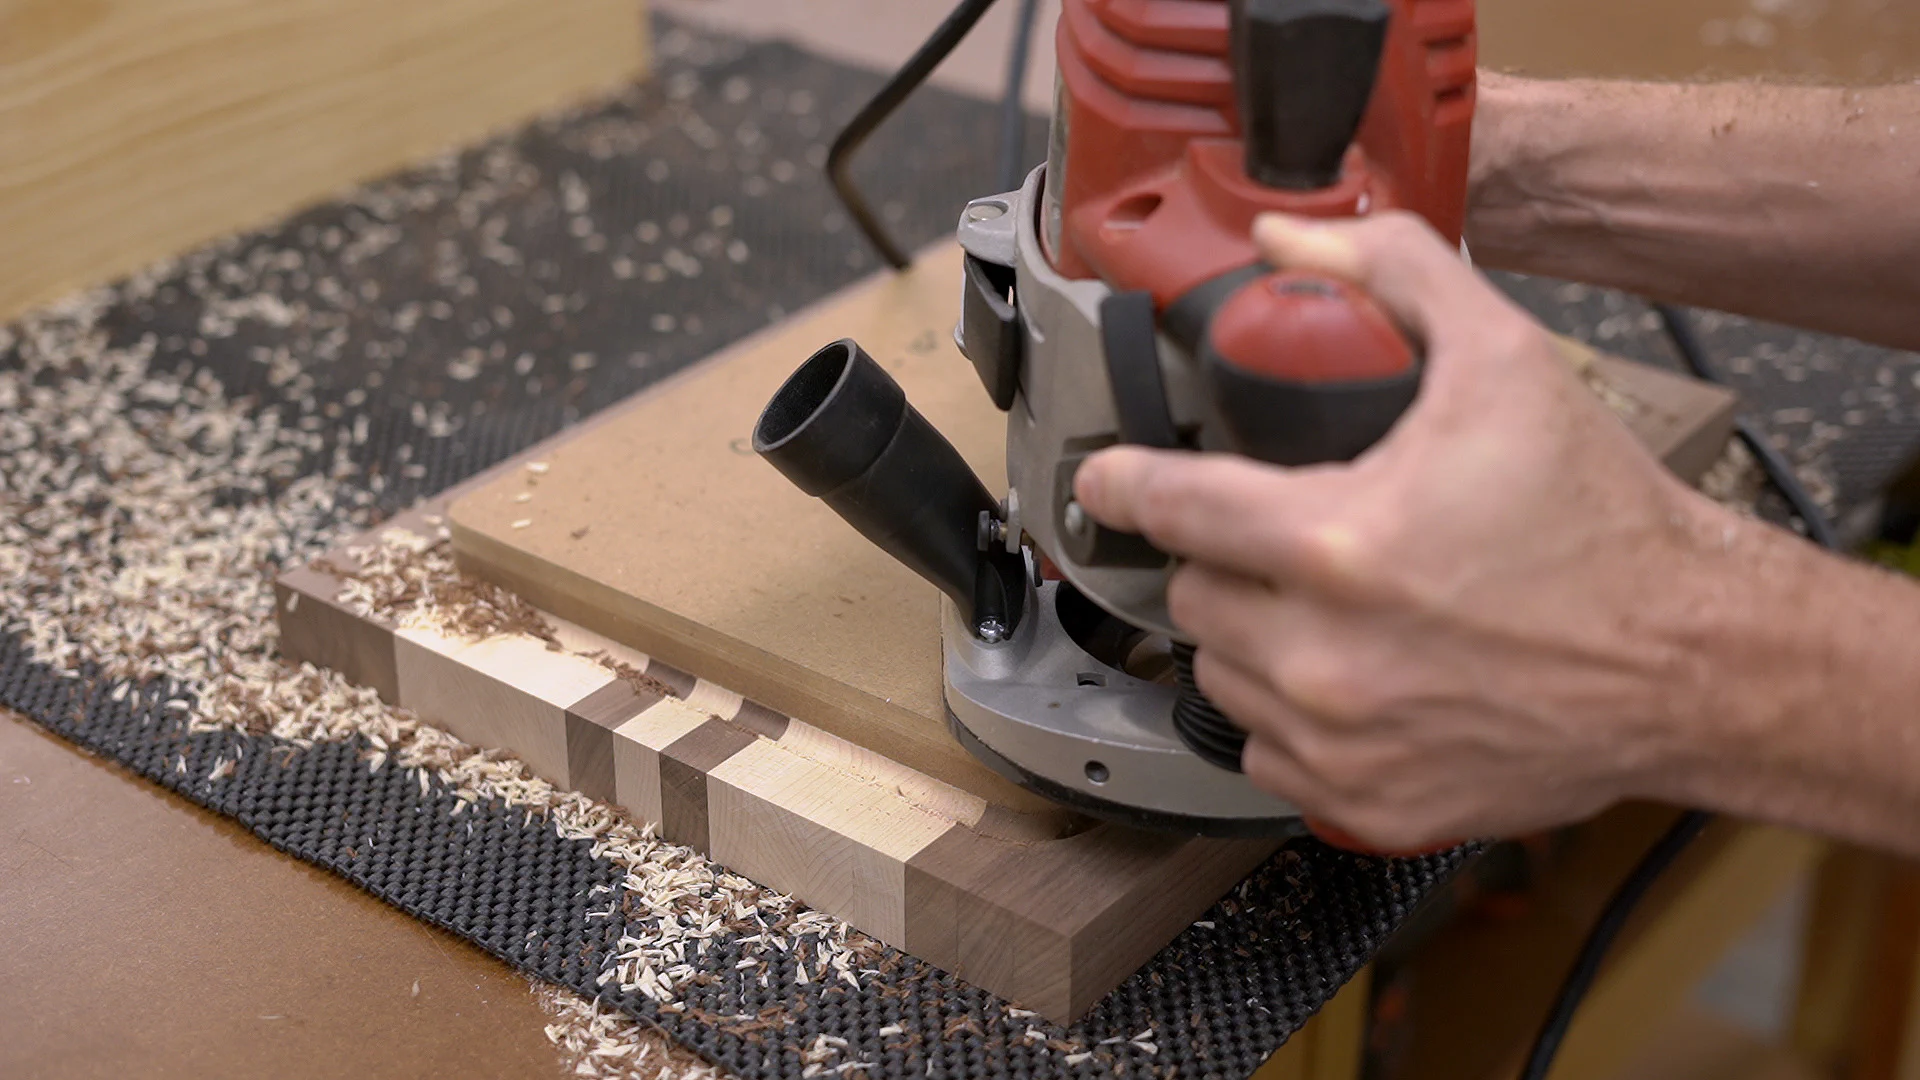
To route the groove, I started by carefully making the initial plunge, and then I immediately locked the height of the router. Then I just made sure to hold the router flat and against the template while routing in a counter-clockwise direction.

This can be pretty stressful and although I did it in one pass, it would probably be best to make two passes. Any pauses while routing will likely leave a mark, such as when I stopped to adjust the cable, so keep that in mind as well.
If you do end up with a few burn marks, you can always set a slightly lower plunge depth and make a final pass. Sanding might work on light burn marks, but I didn’t have much luck even with 60 grit paper on one of mine.
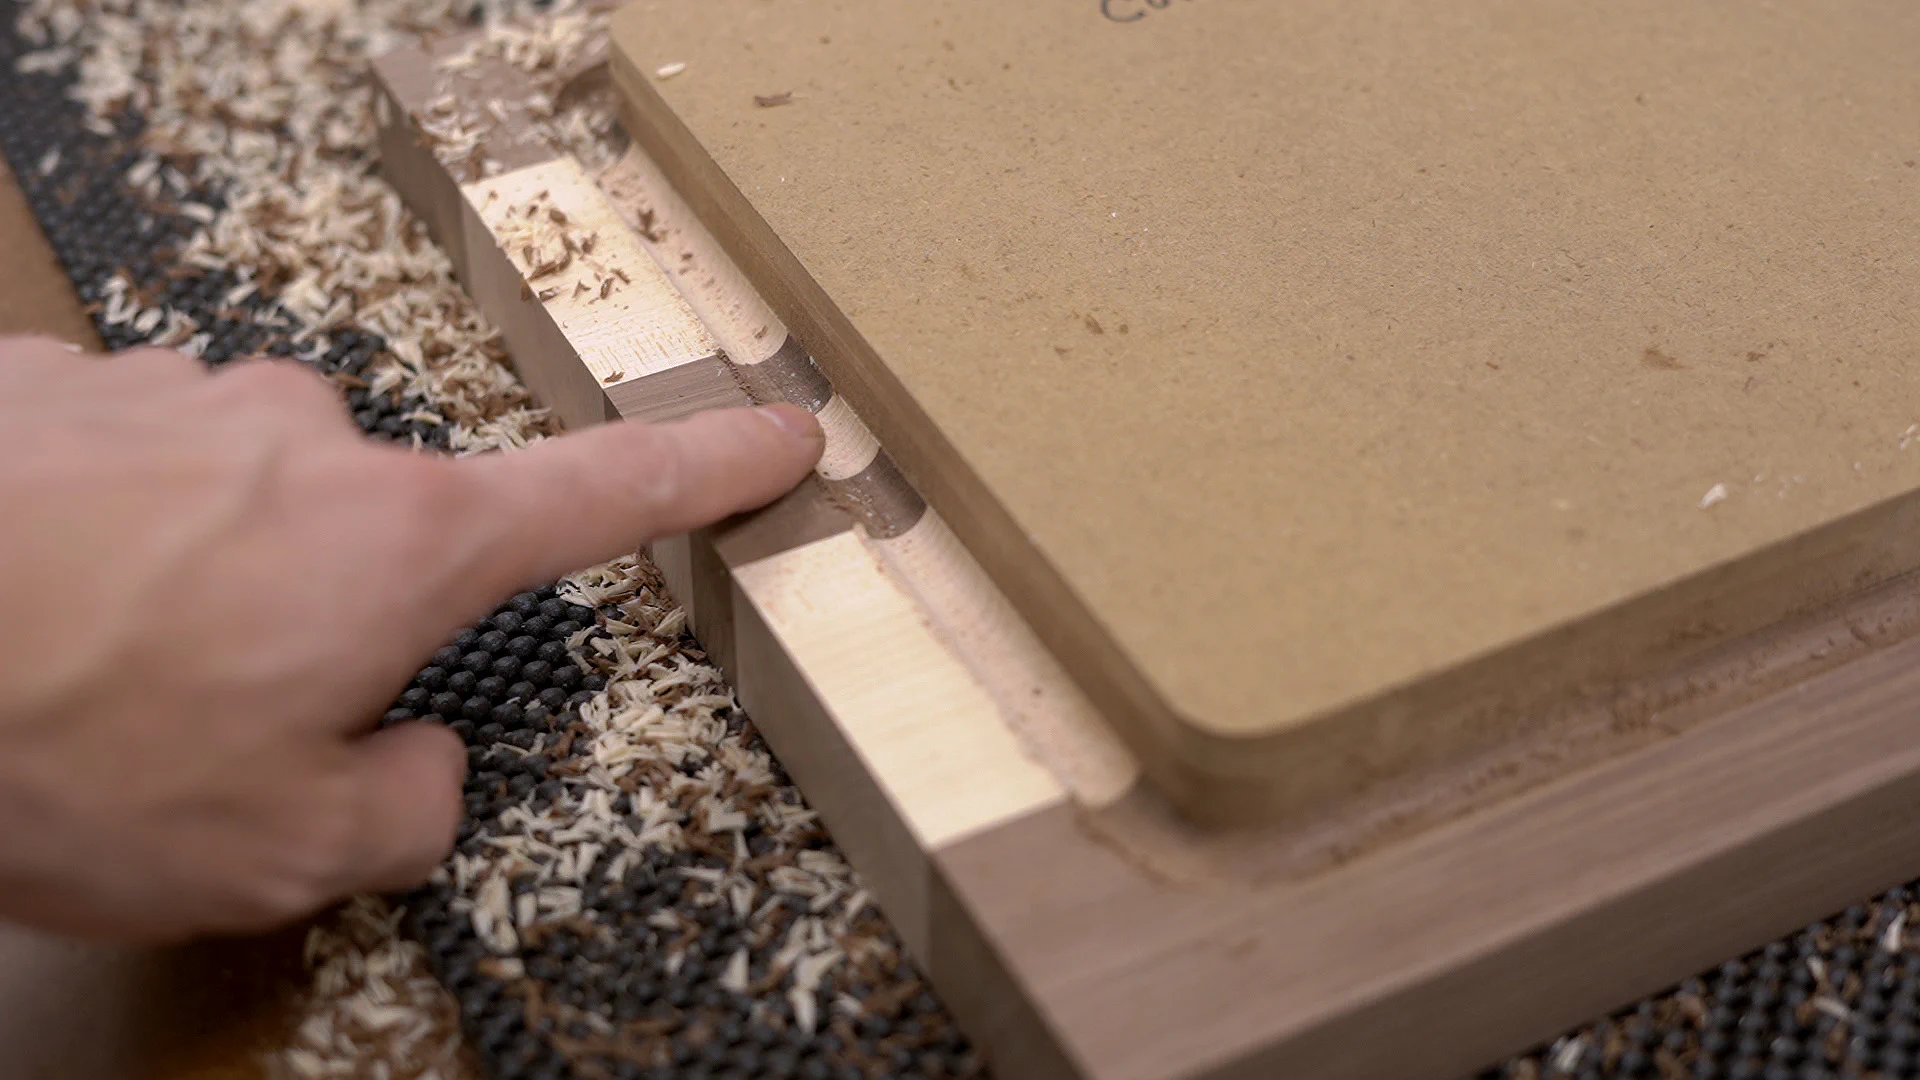
To remove the template I very gently used a small pry bar along the top running it into the piece of tape to avoid damaging the board, but having a bevel on the bottom edge of the template would have made it much easier to insert the pry bar.
Another way to route juice grooves for rectangular boards is to create a set of four L-shaped pieces that can surround the outside of the cutting board. I made these from some scrap MDF for a different pair of boards and located the vertical pieces such that when the router base runs along them, the bit would cut a groove that was centered an inch inside the board.

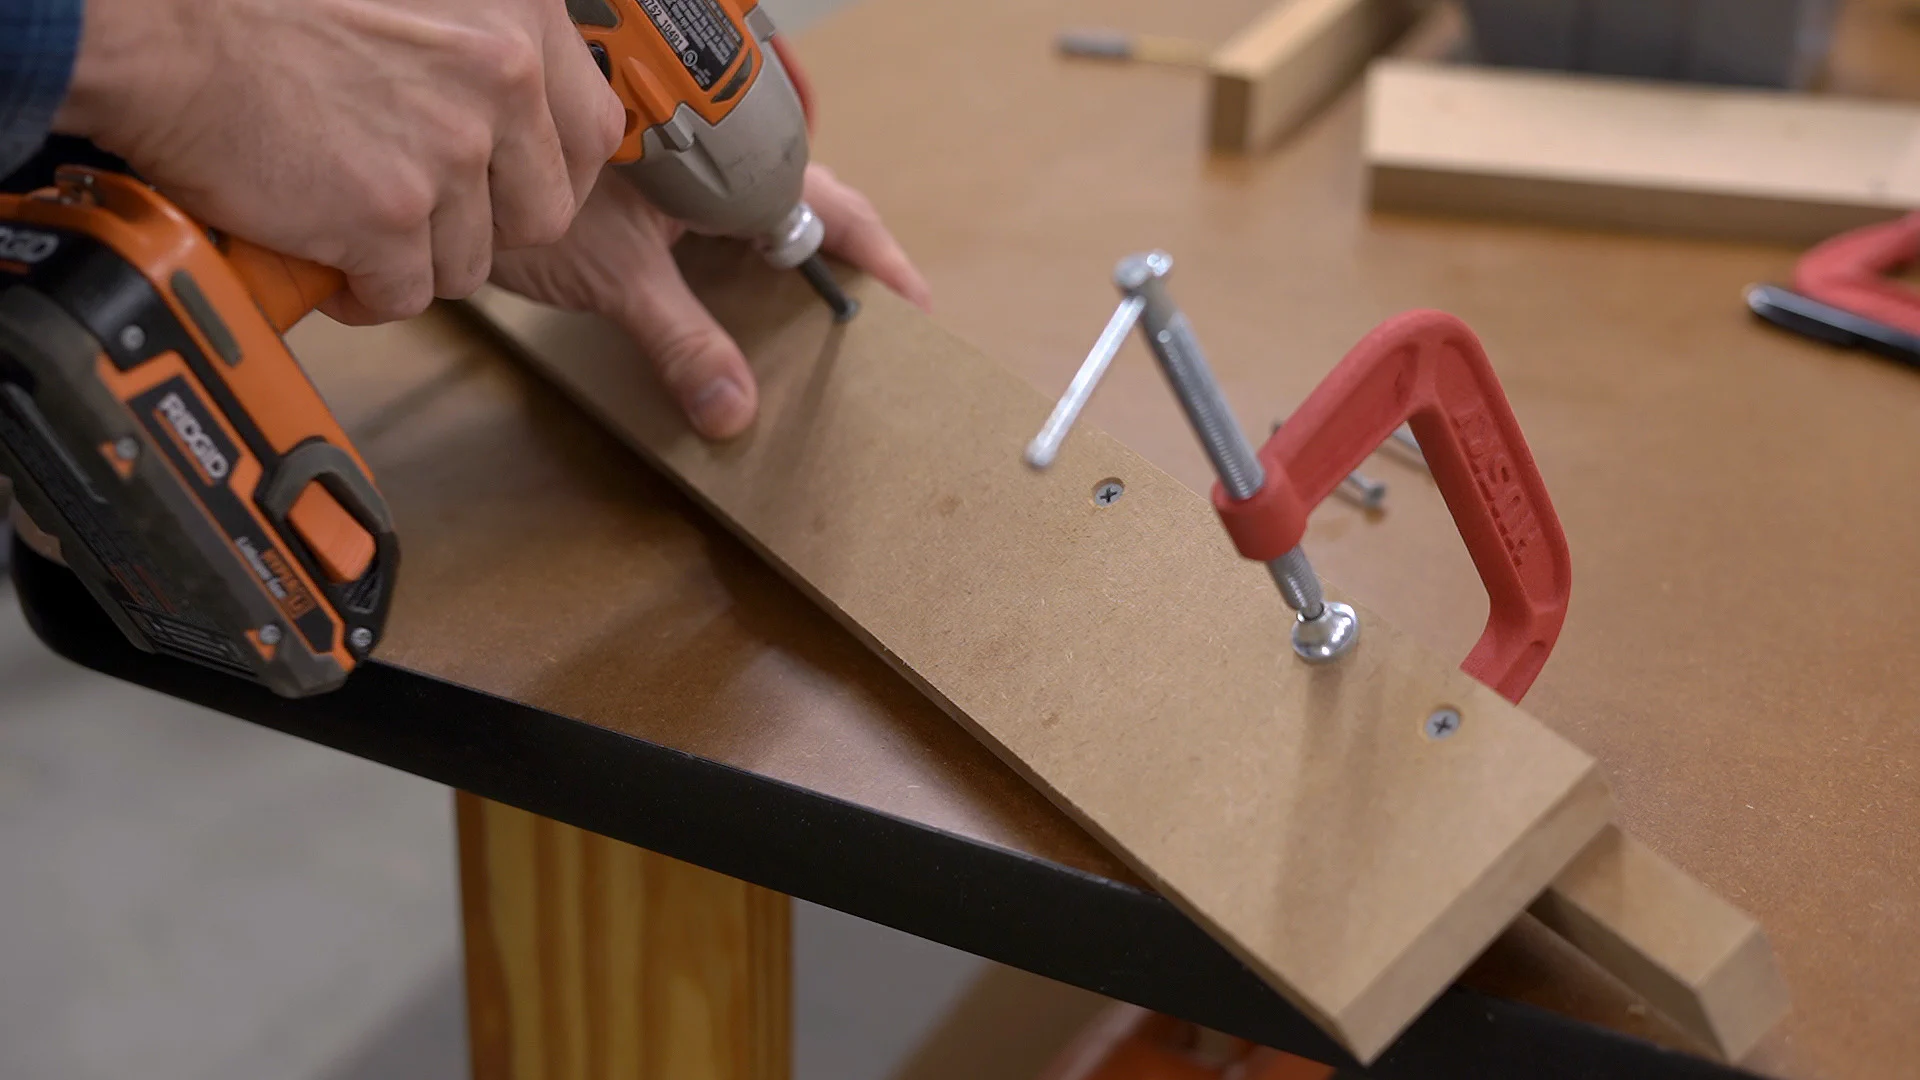
To hold everything in place I secured the frame pieces to another larger piece of MDF and then routed the grooves in a clockwise direction being careful to always keep the curved piece (not flat) of the router base against the frame.
One nice thing about this approach is that, unlike the template, the frame easily adjusts to different sized cutting boards and there’s also no sticky residue to clean up.
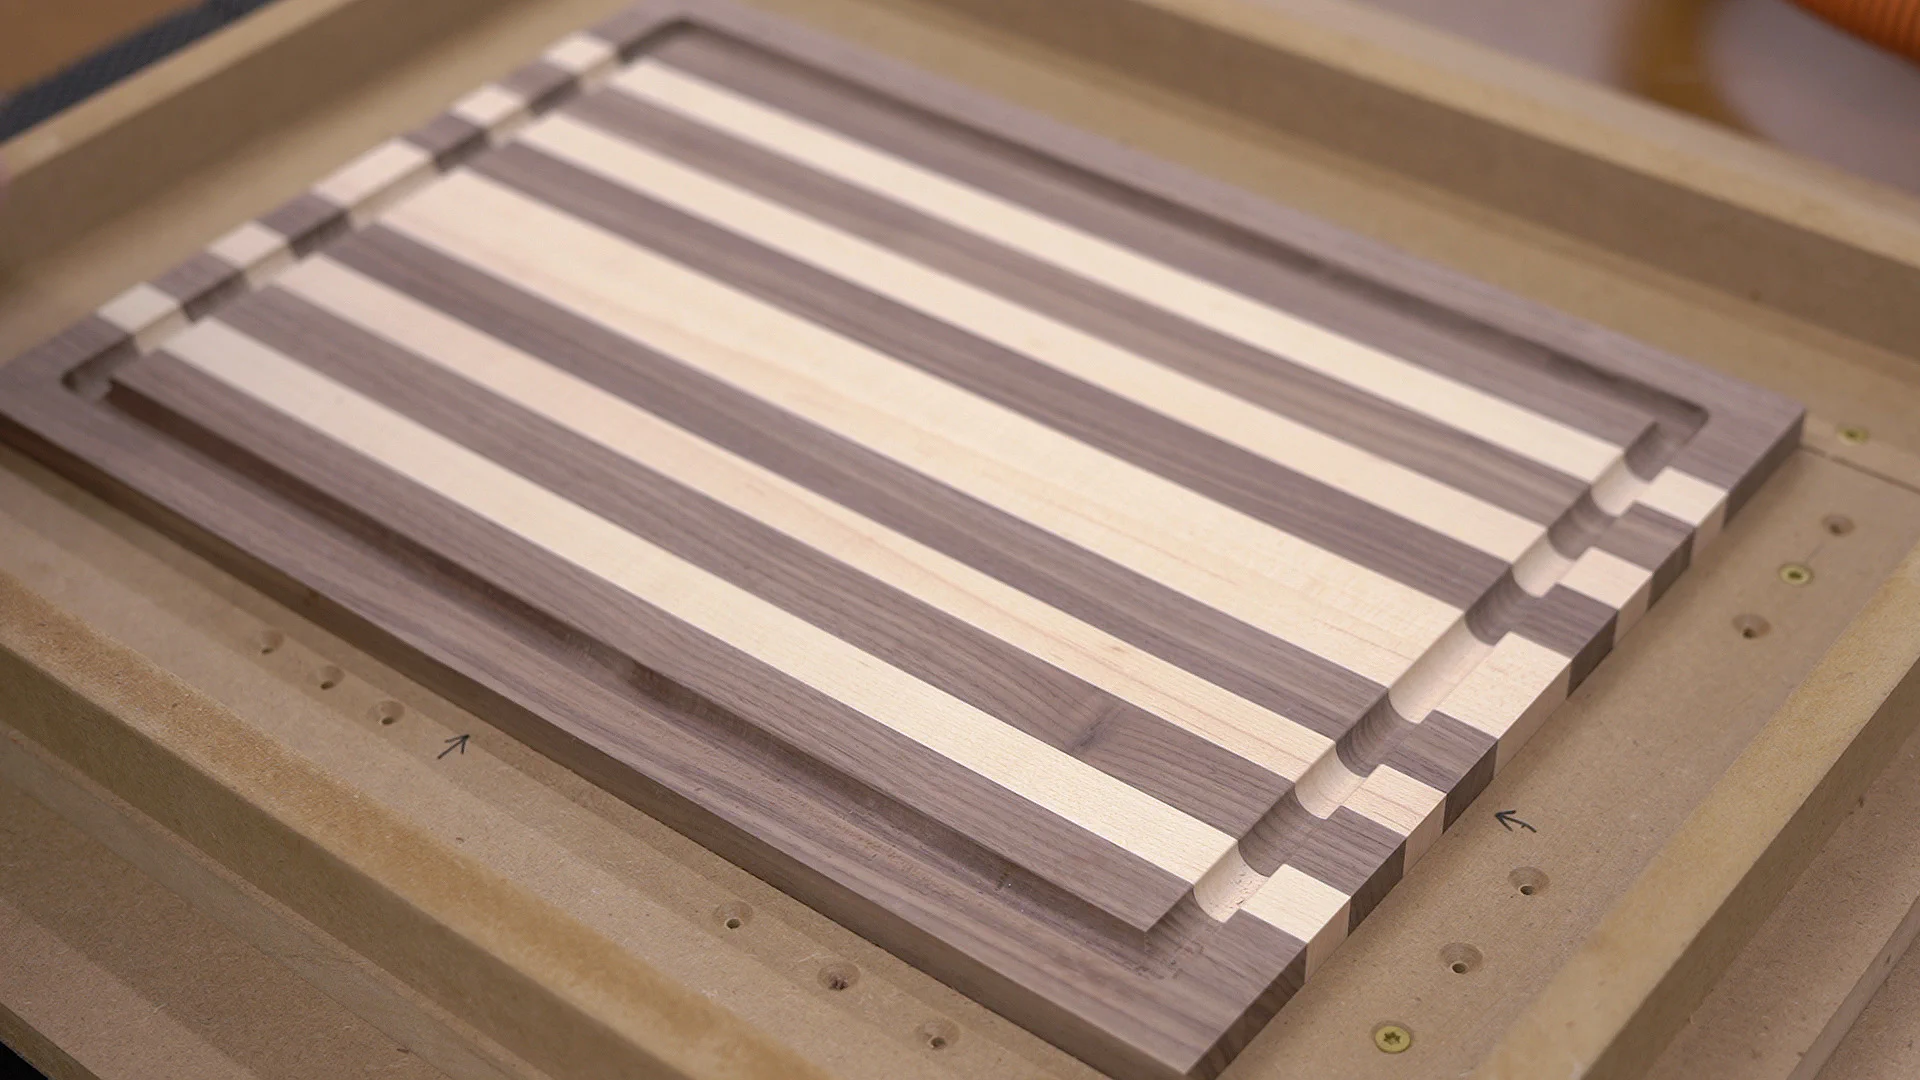
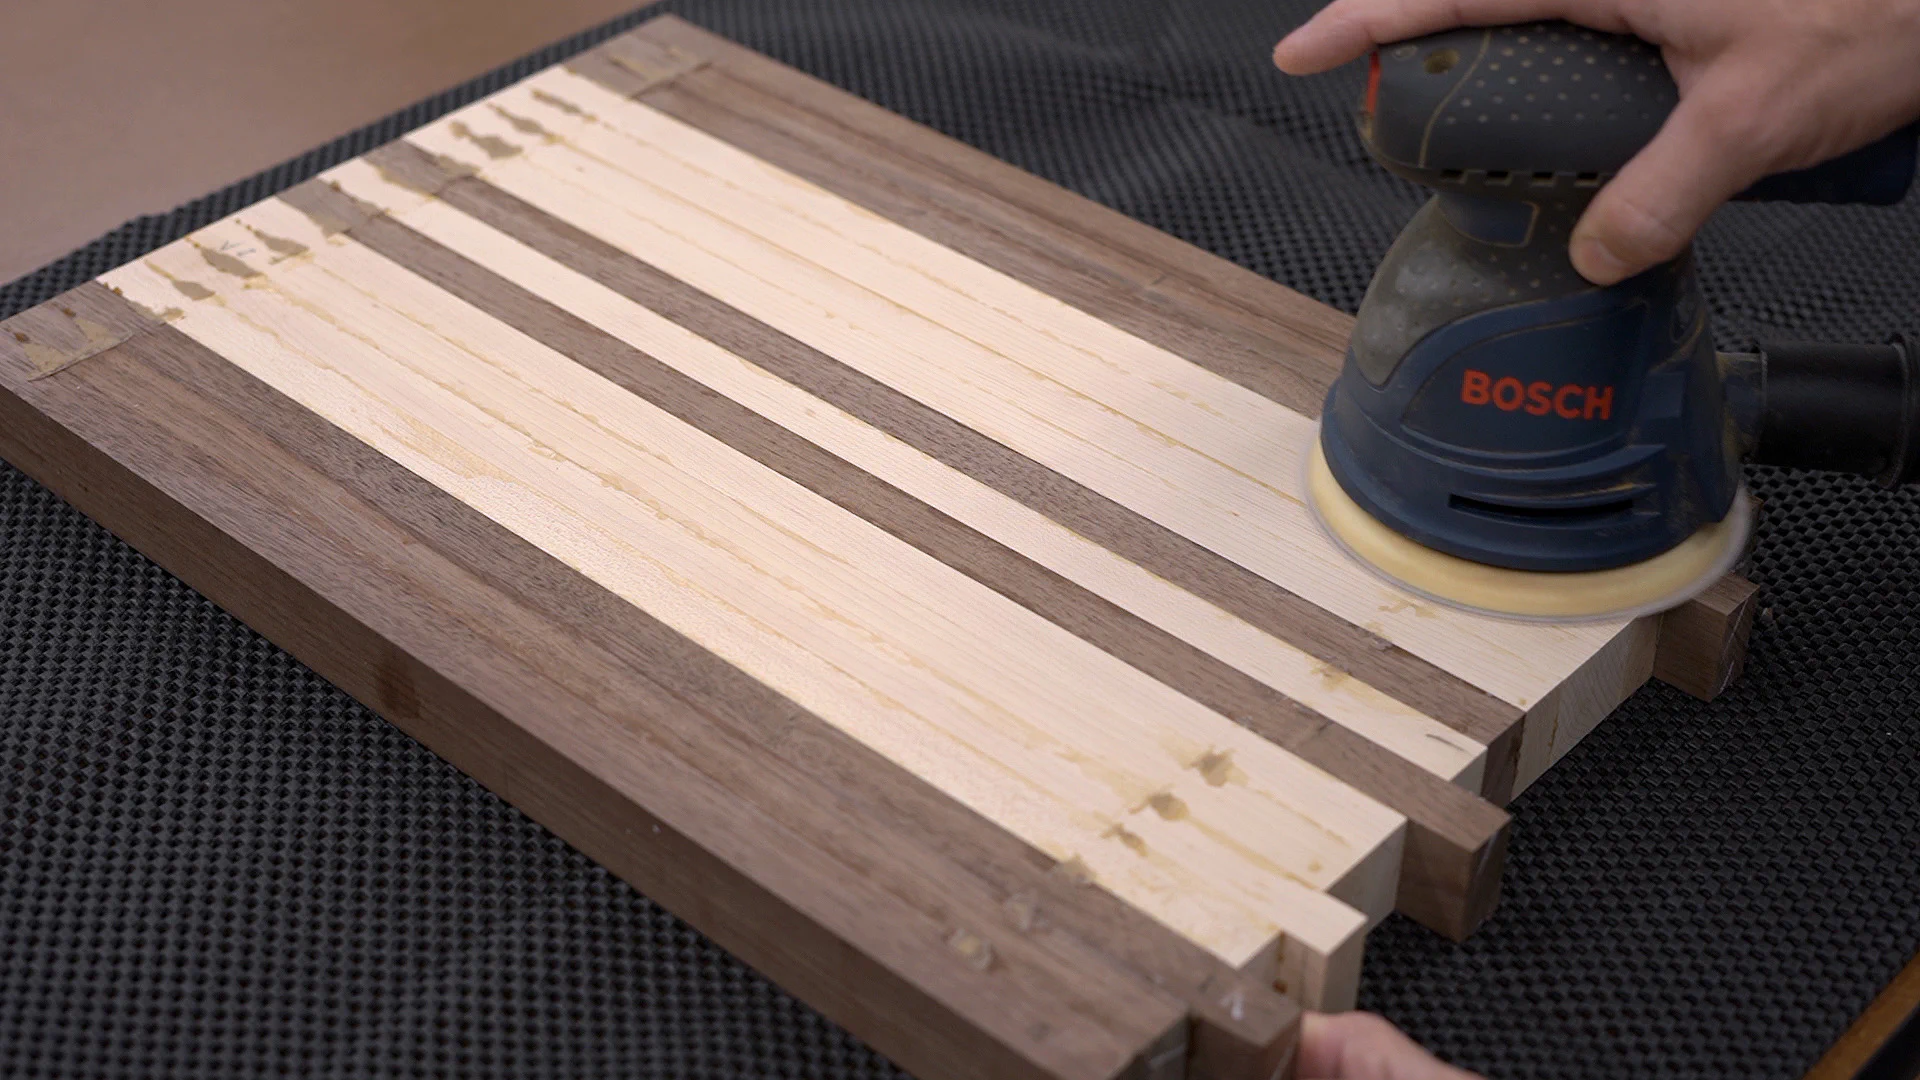
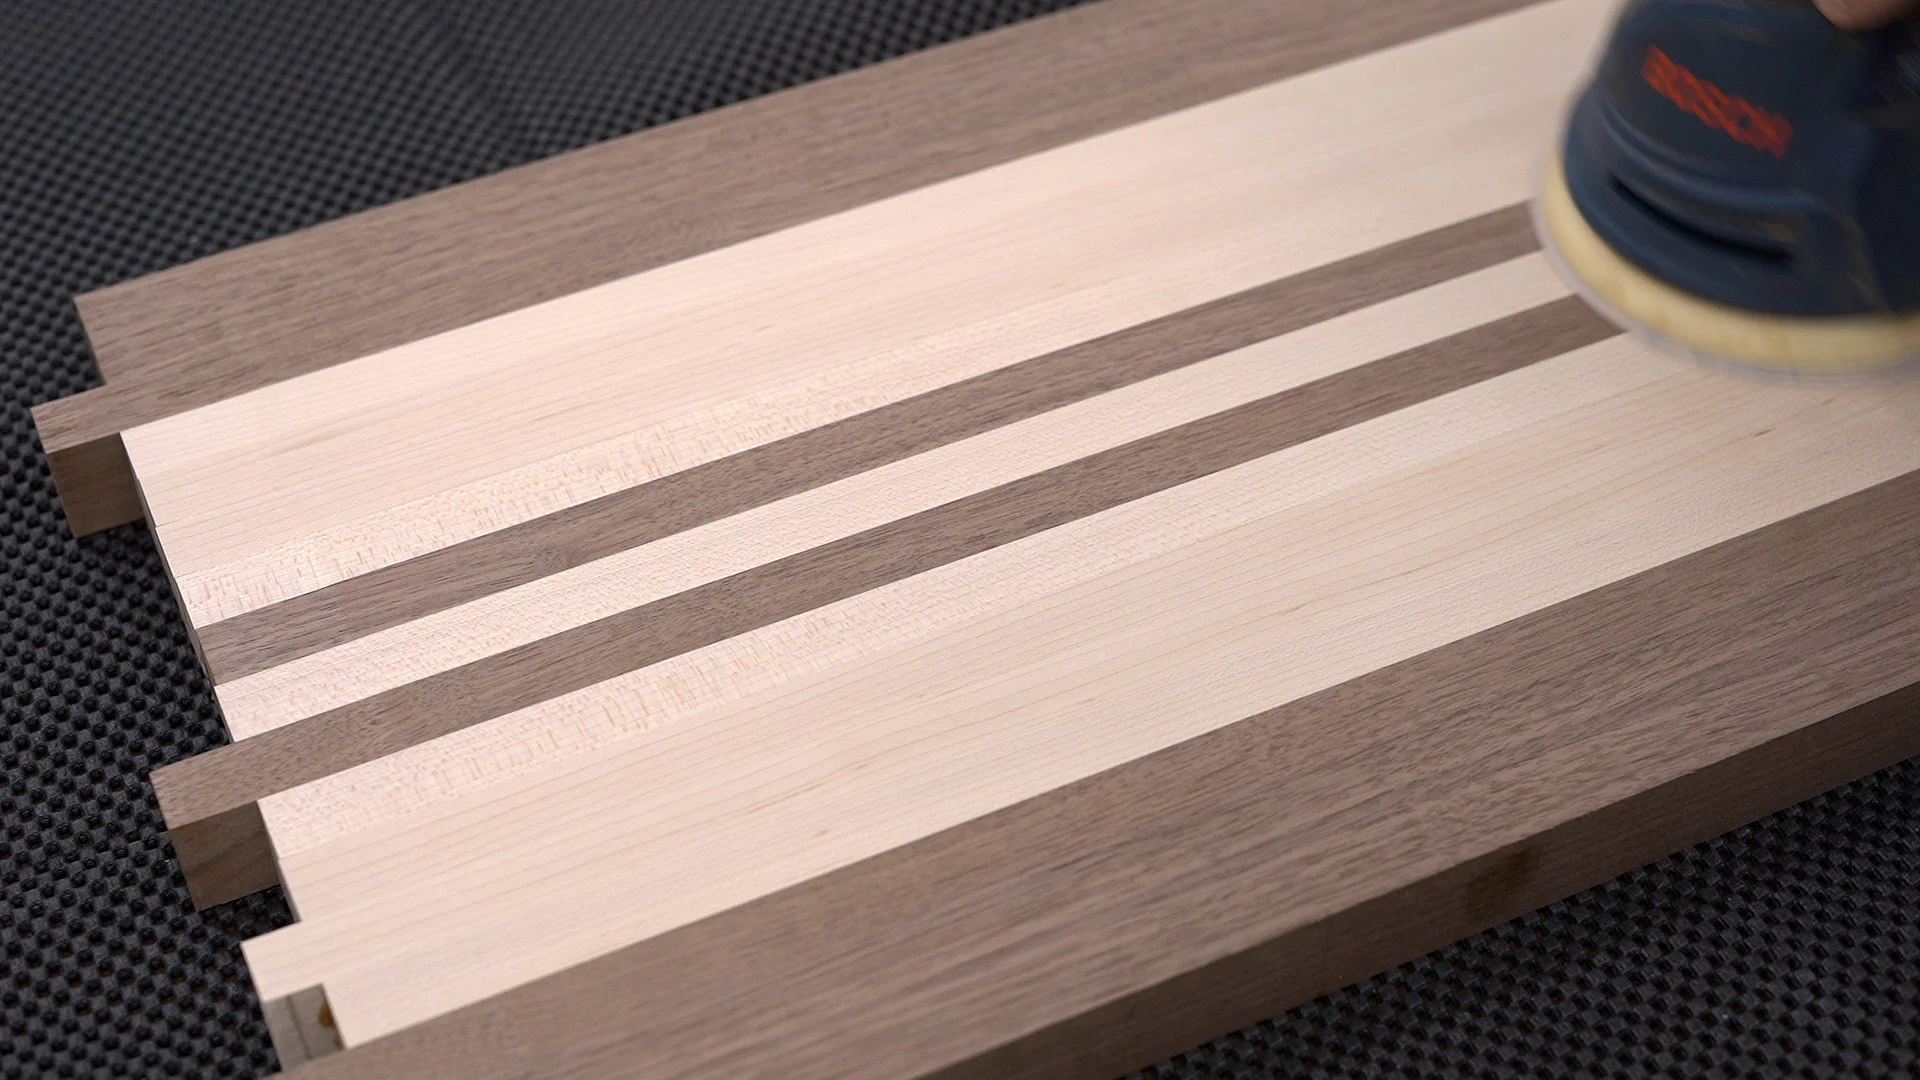
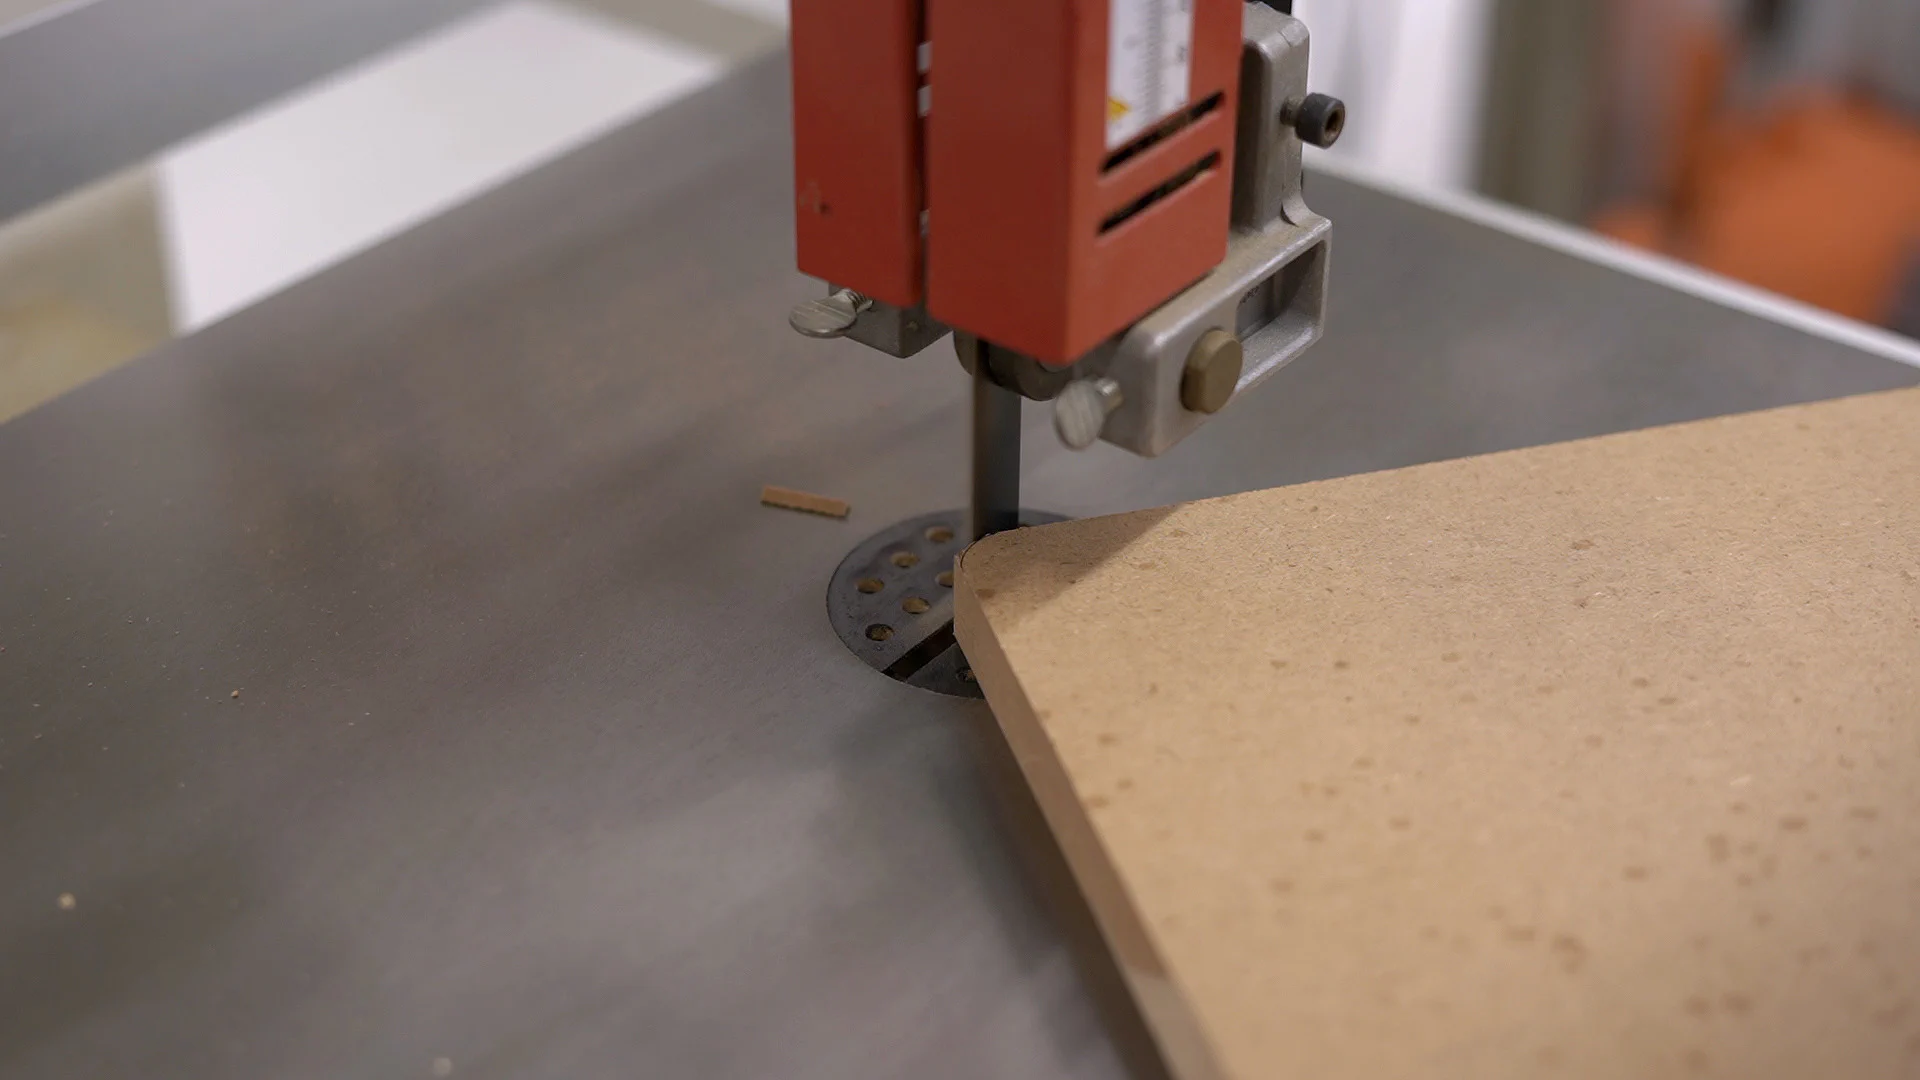
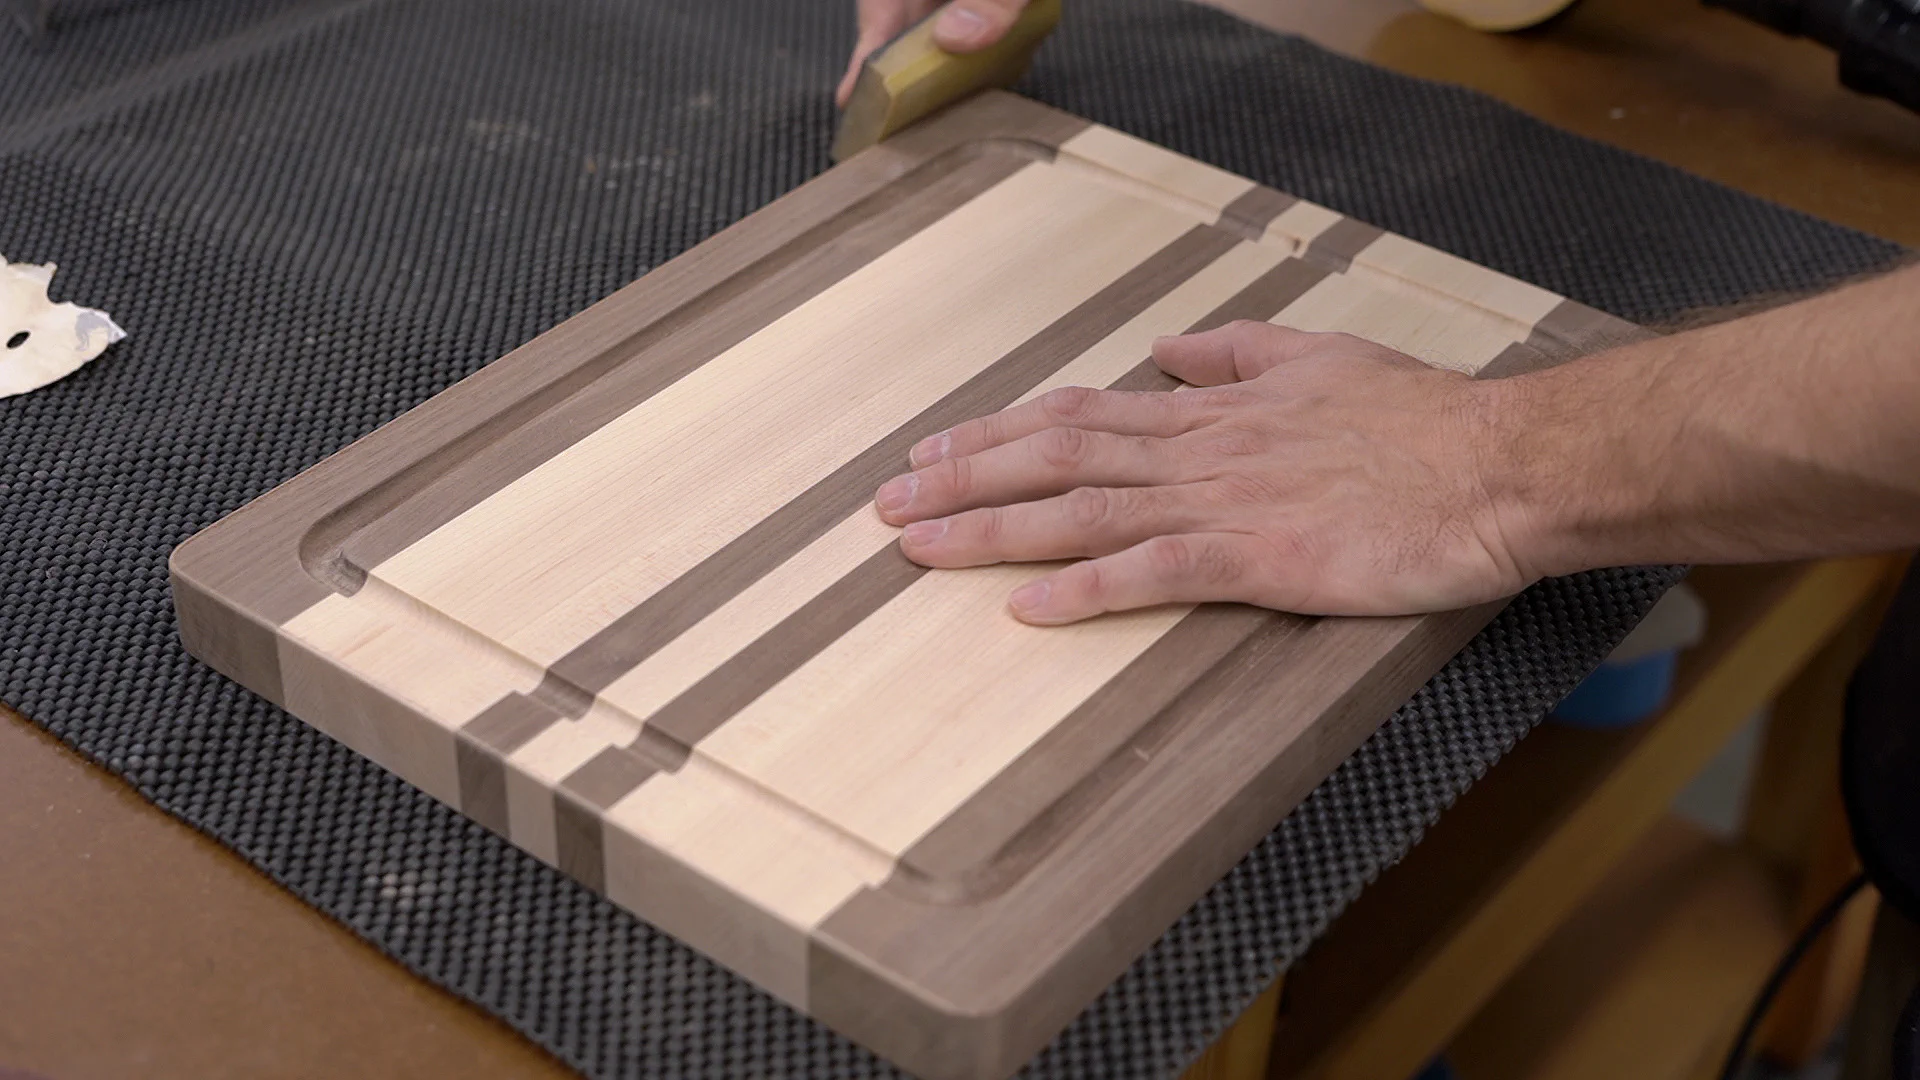
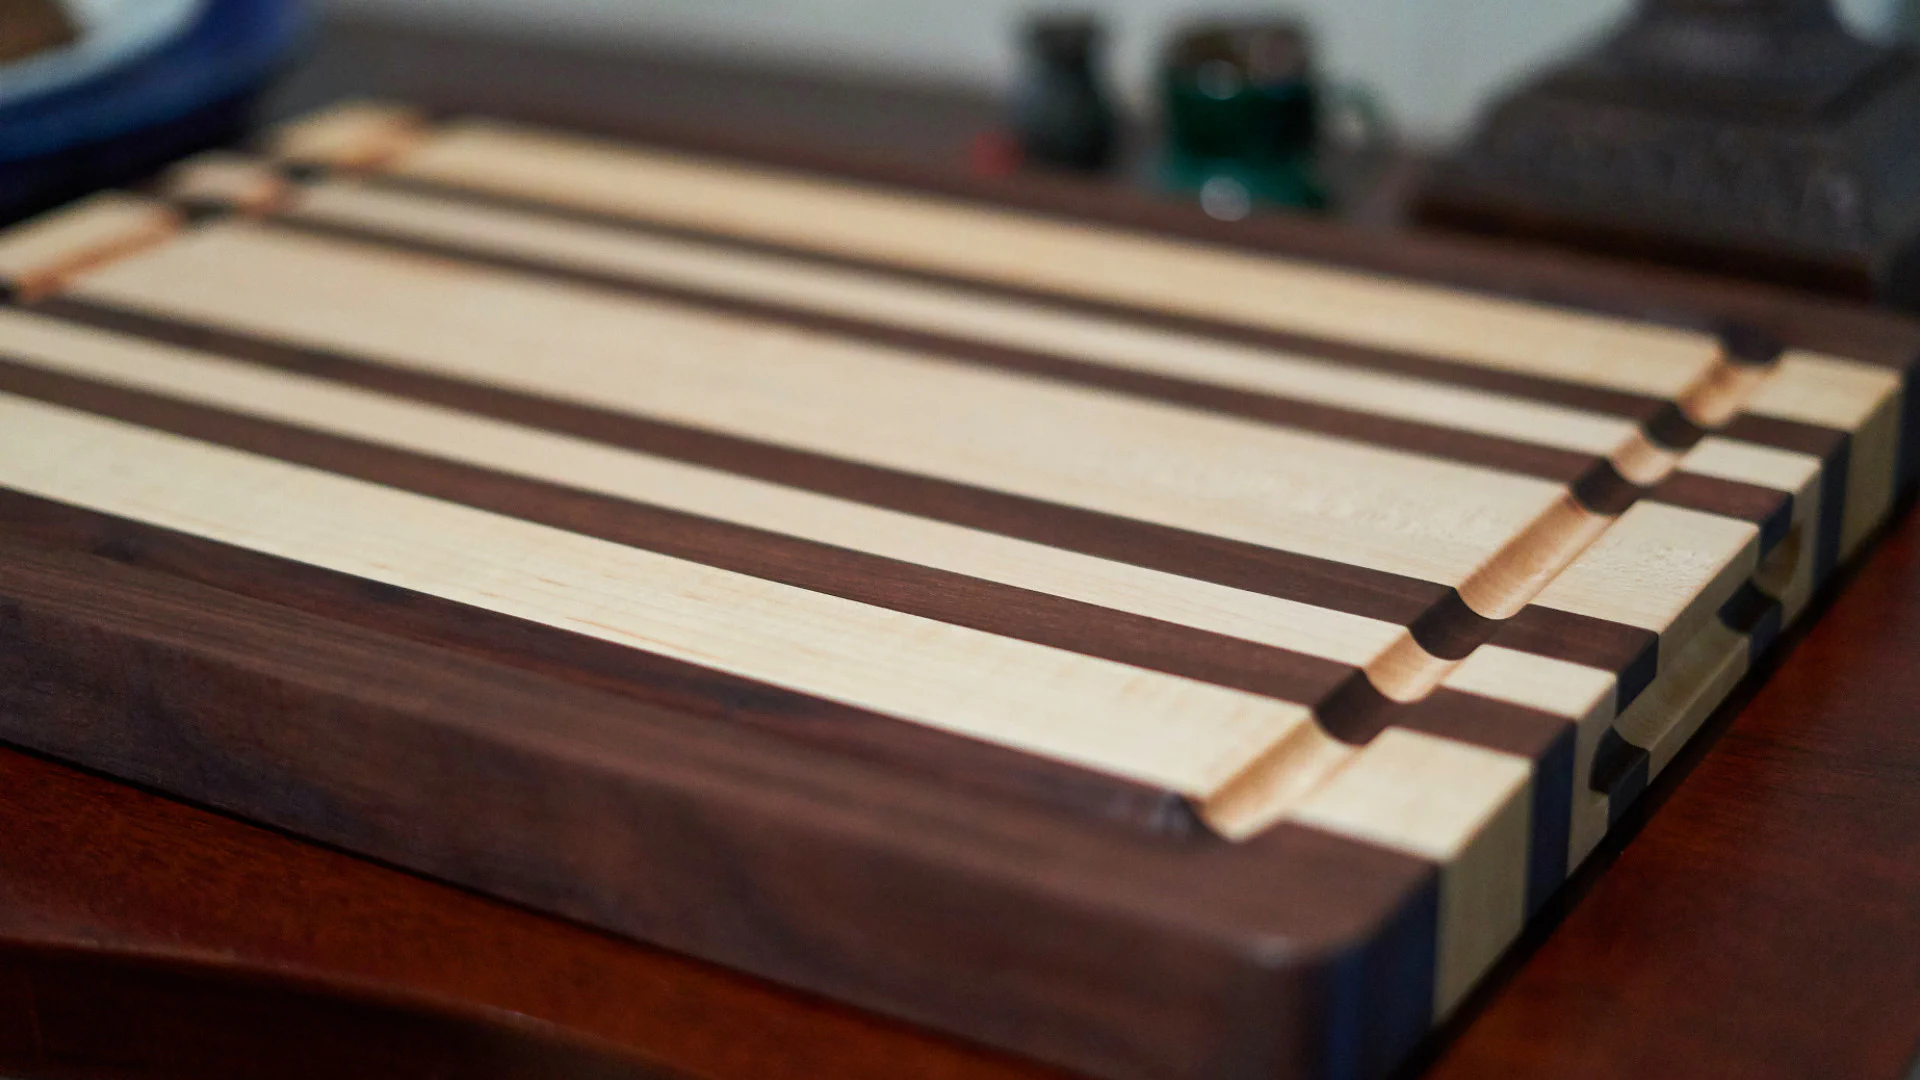
So with the juice grooves routed, I then sanded the boards with my sanding block and a 1/2" piece of dowel. For the boards that used the template, I used the same washer again as a guide and rounded over the corners of the cutting board at the band saw and sanded them smooth.

I also went ahead and eased over all the sharp edges along the top and bottom of the board so that the whole board was nice and smooth to the touch.
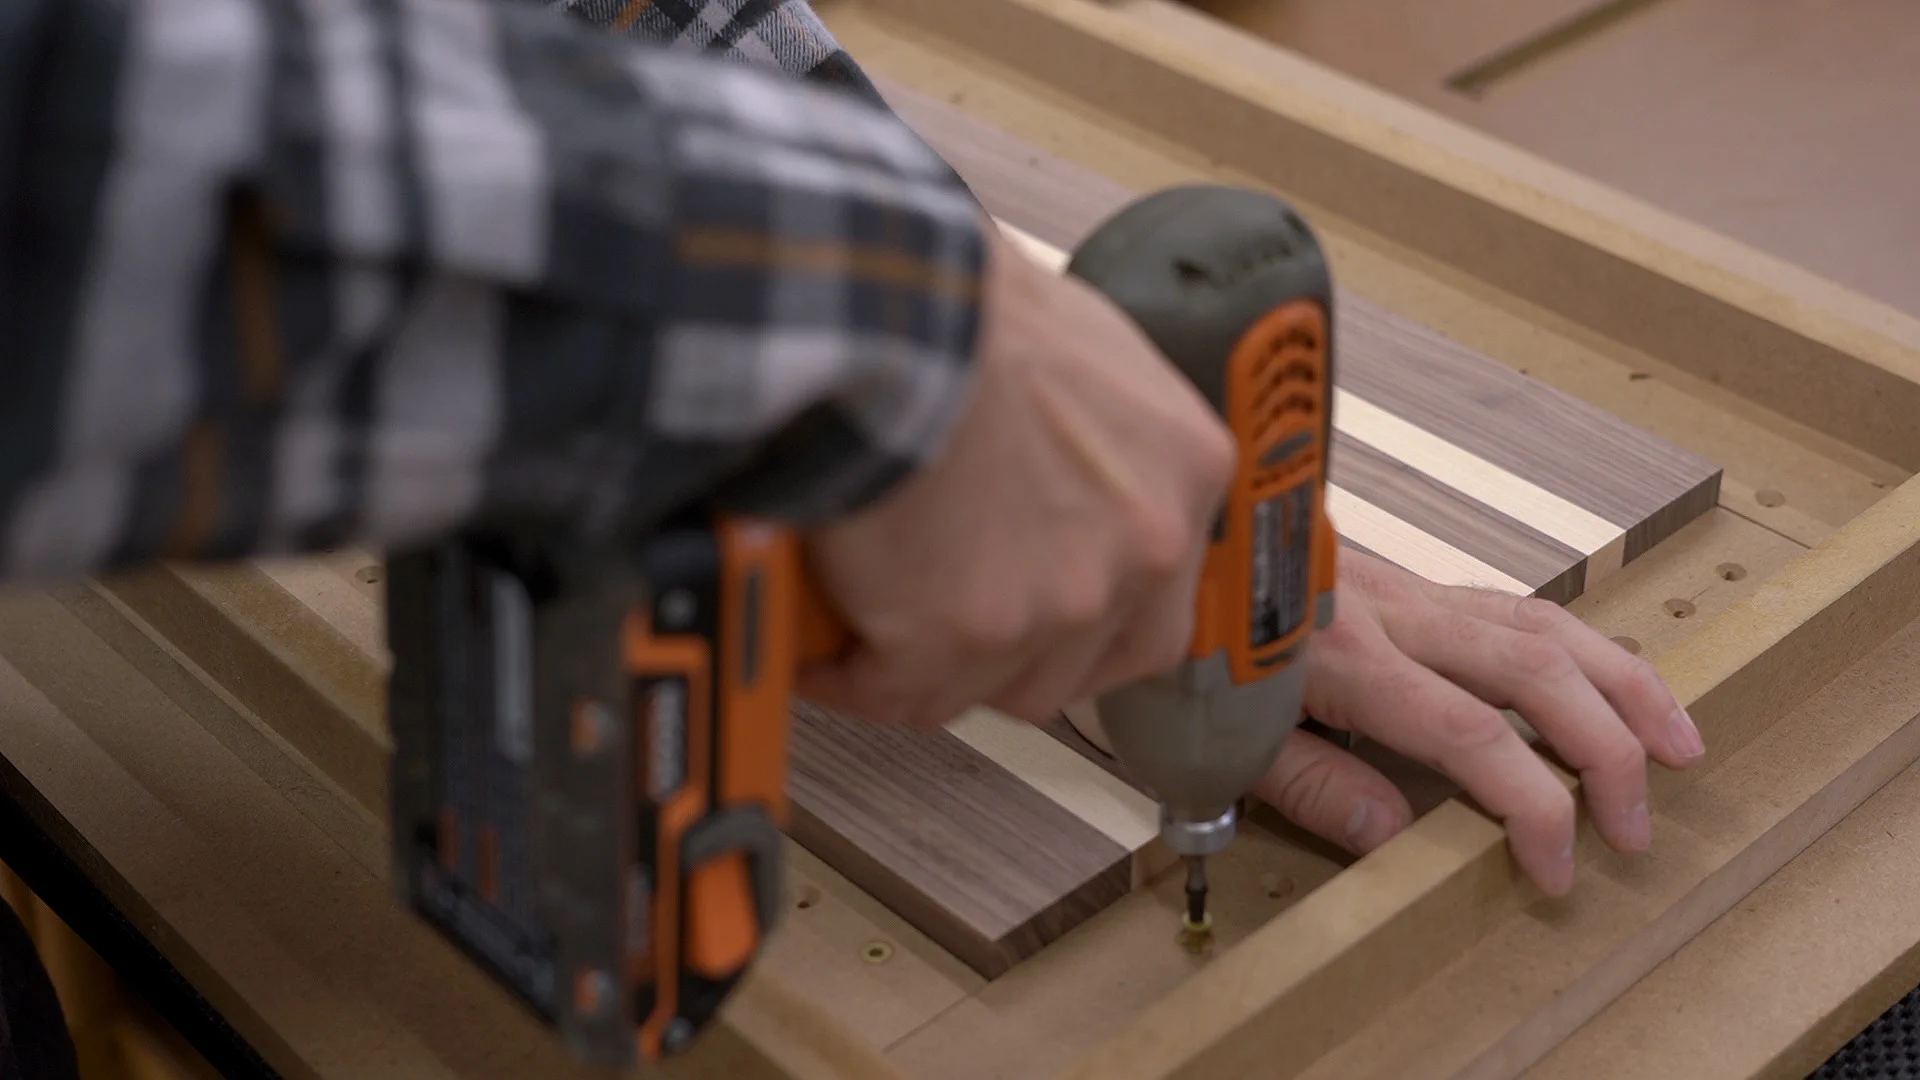
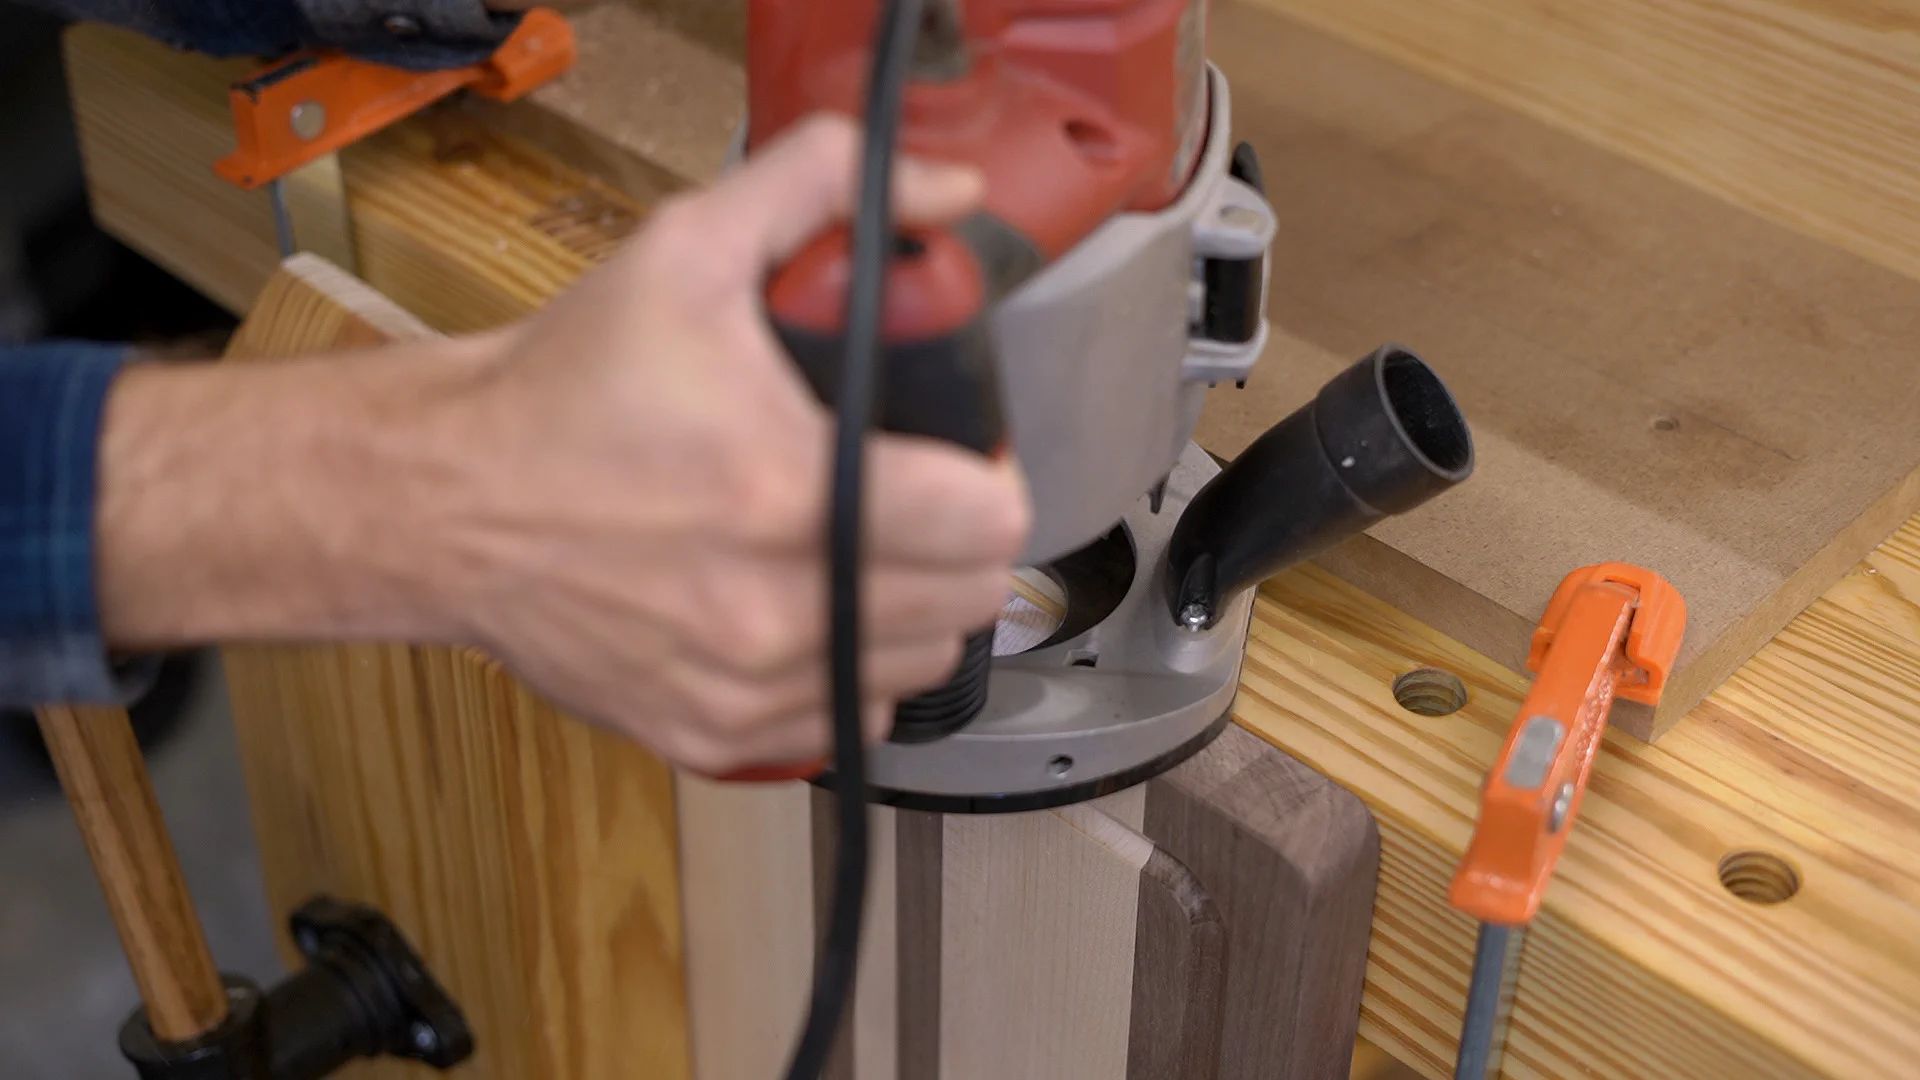
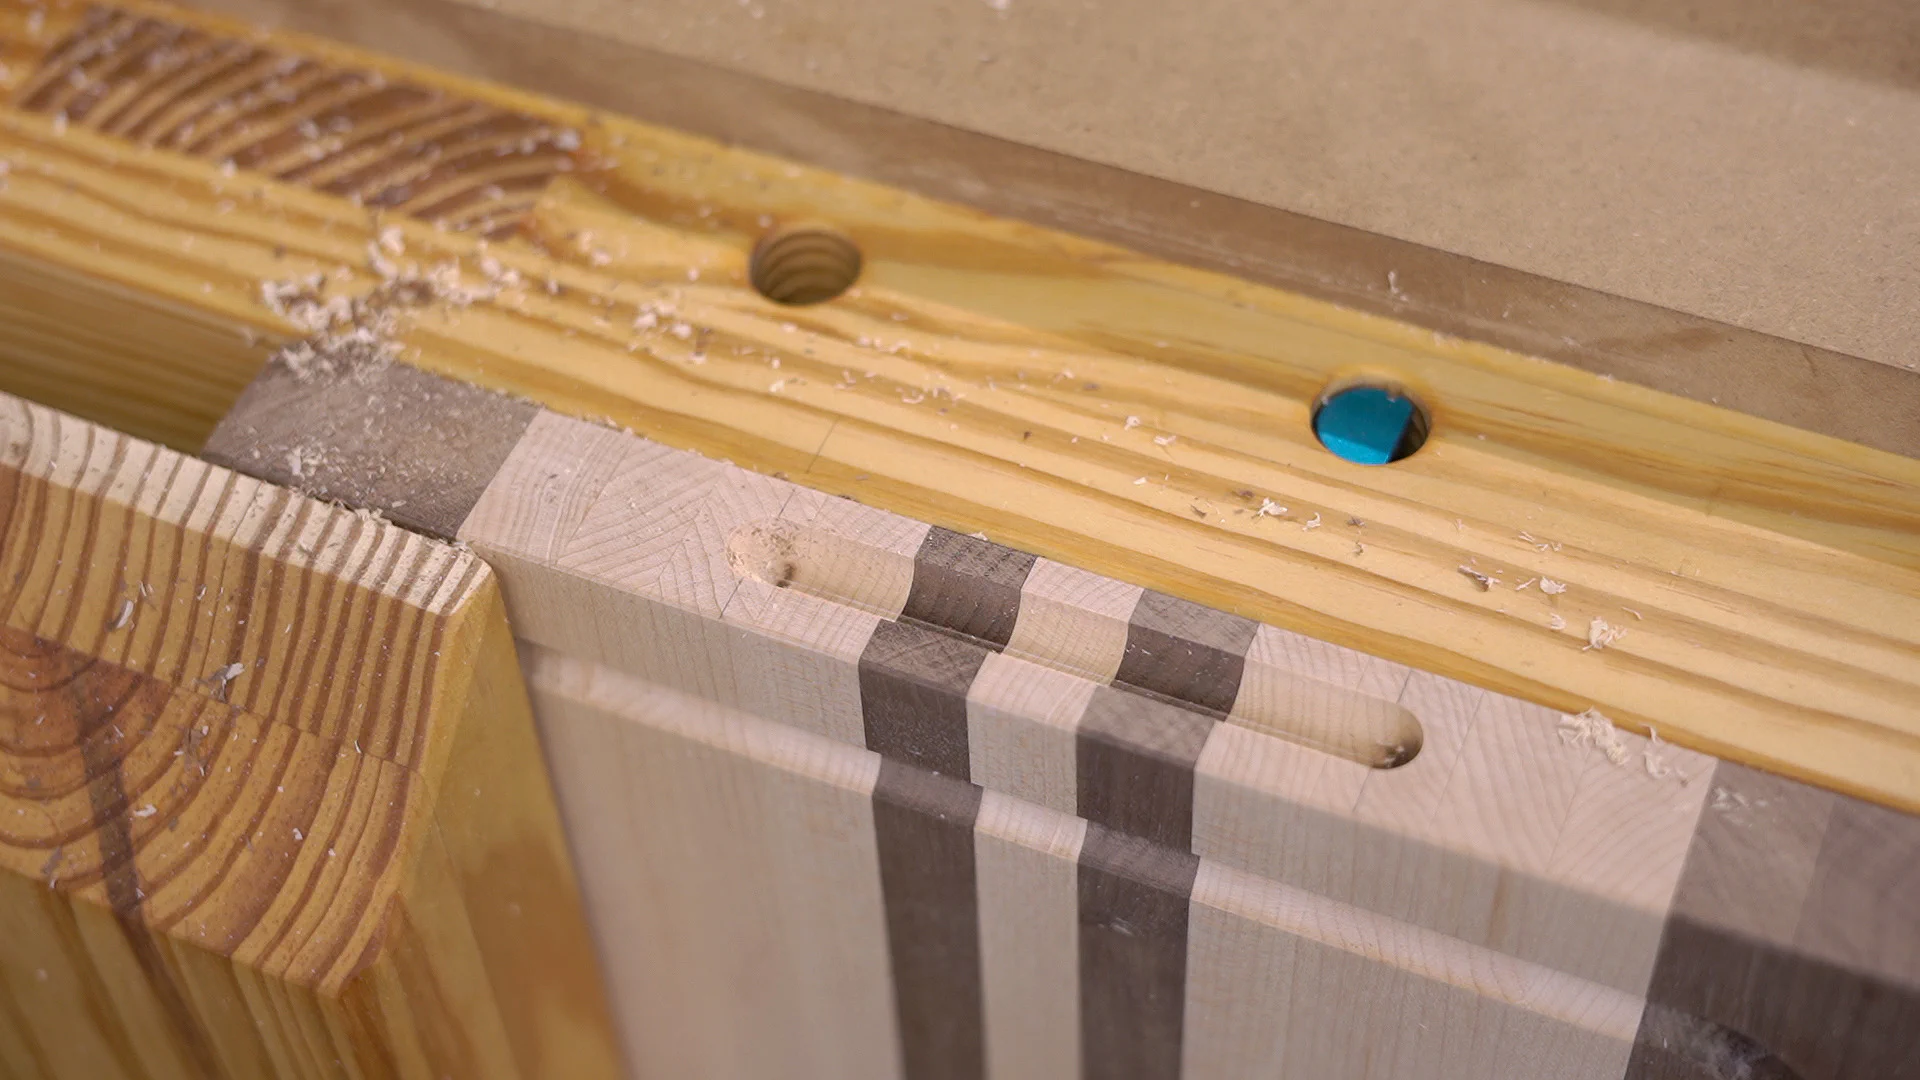
Next, it was time to route the grooves for the handles. I started by marking in from the top and bottom edges to mark the start and end points for a roughly 4" long groove.

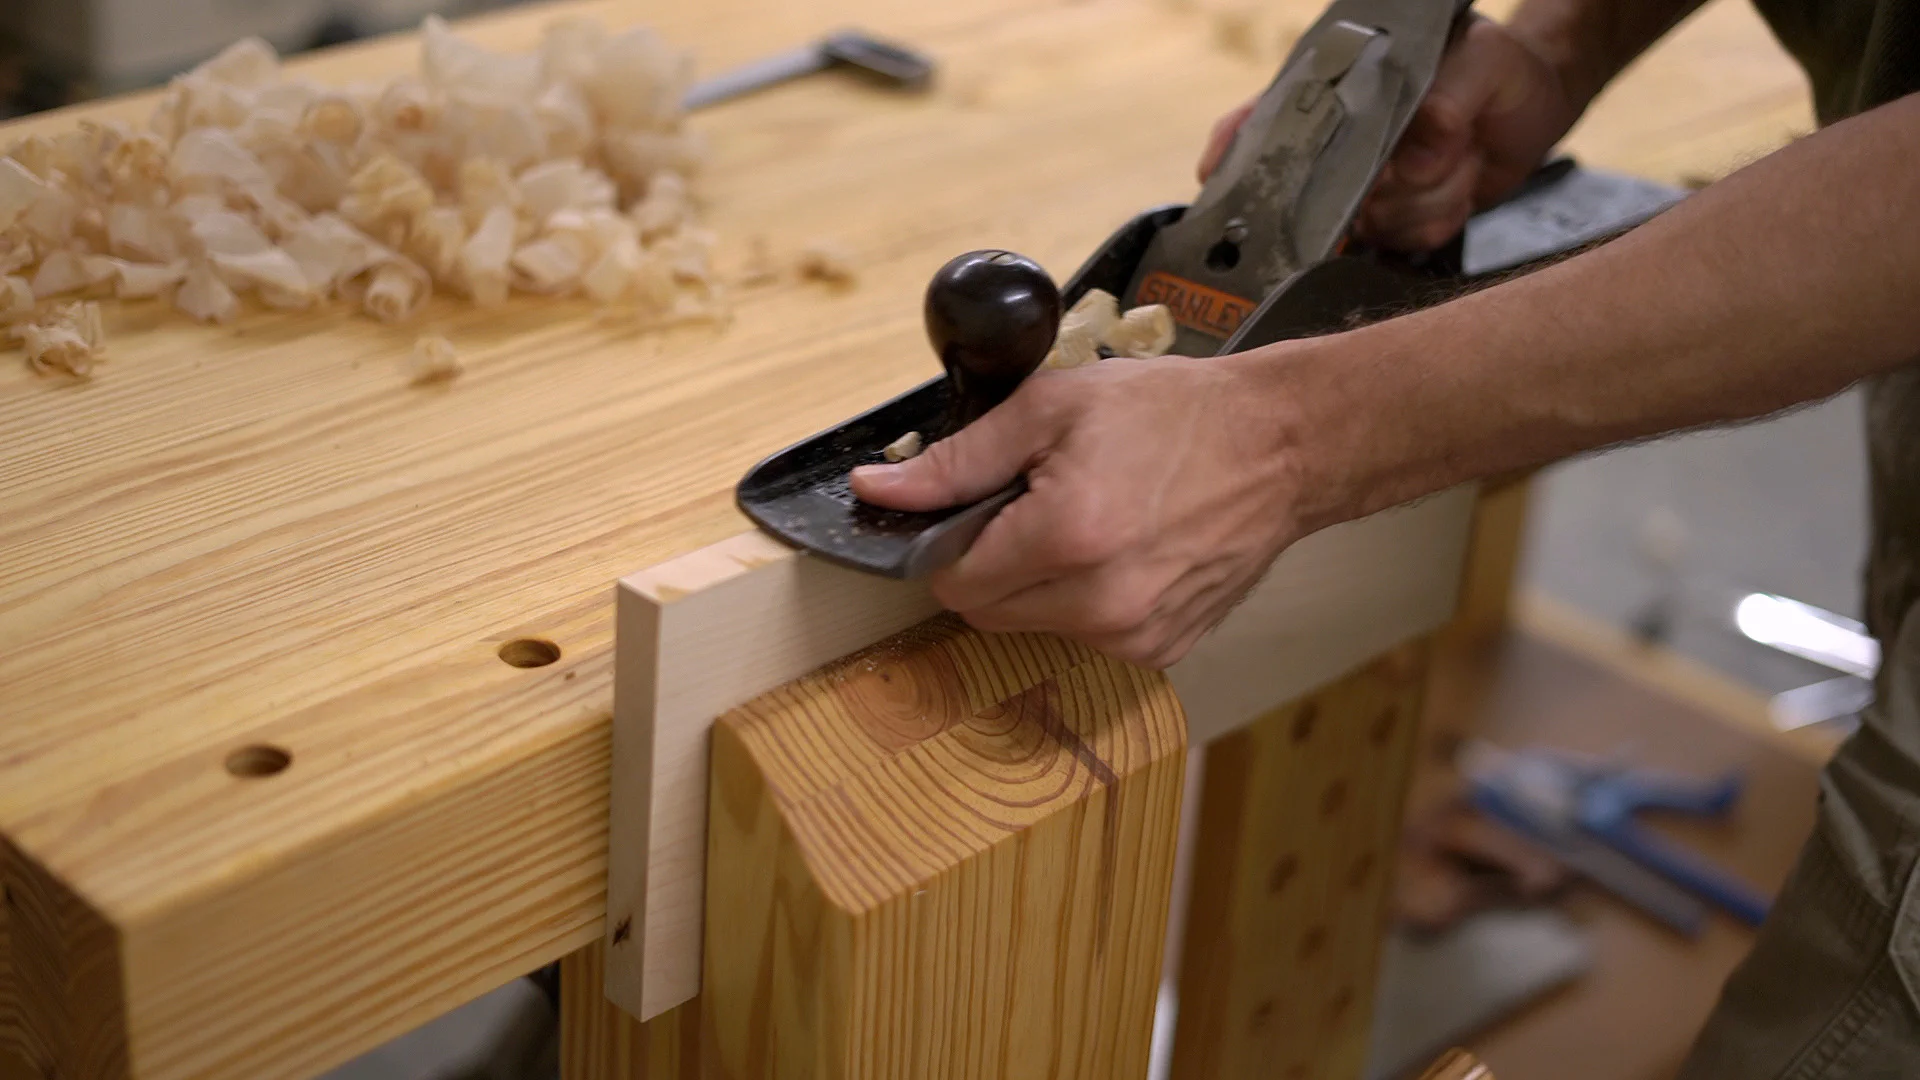
I then clamped the board in my leg vise and used a flat piece of scrap wood to make sure that it was flush to the top of the bench. For a guide, I clamped a piece of 3/4" MDF to the bench such that the router bit was offset perfectly at the start and end of the groove marks.
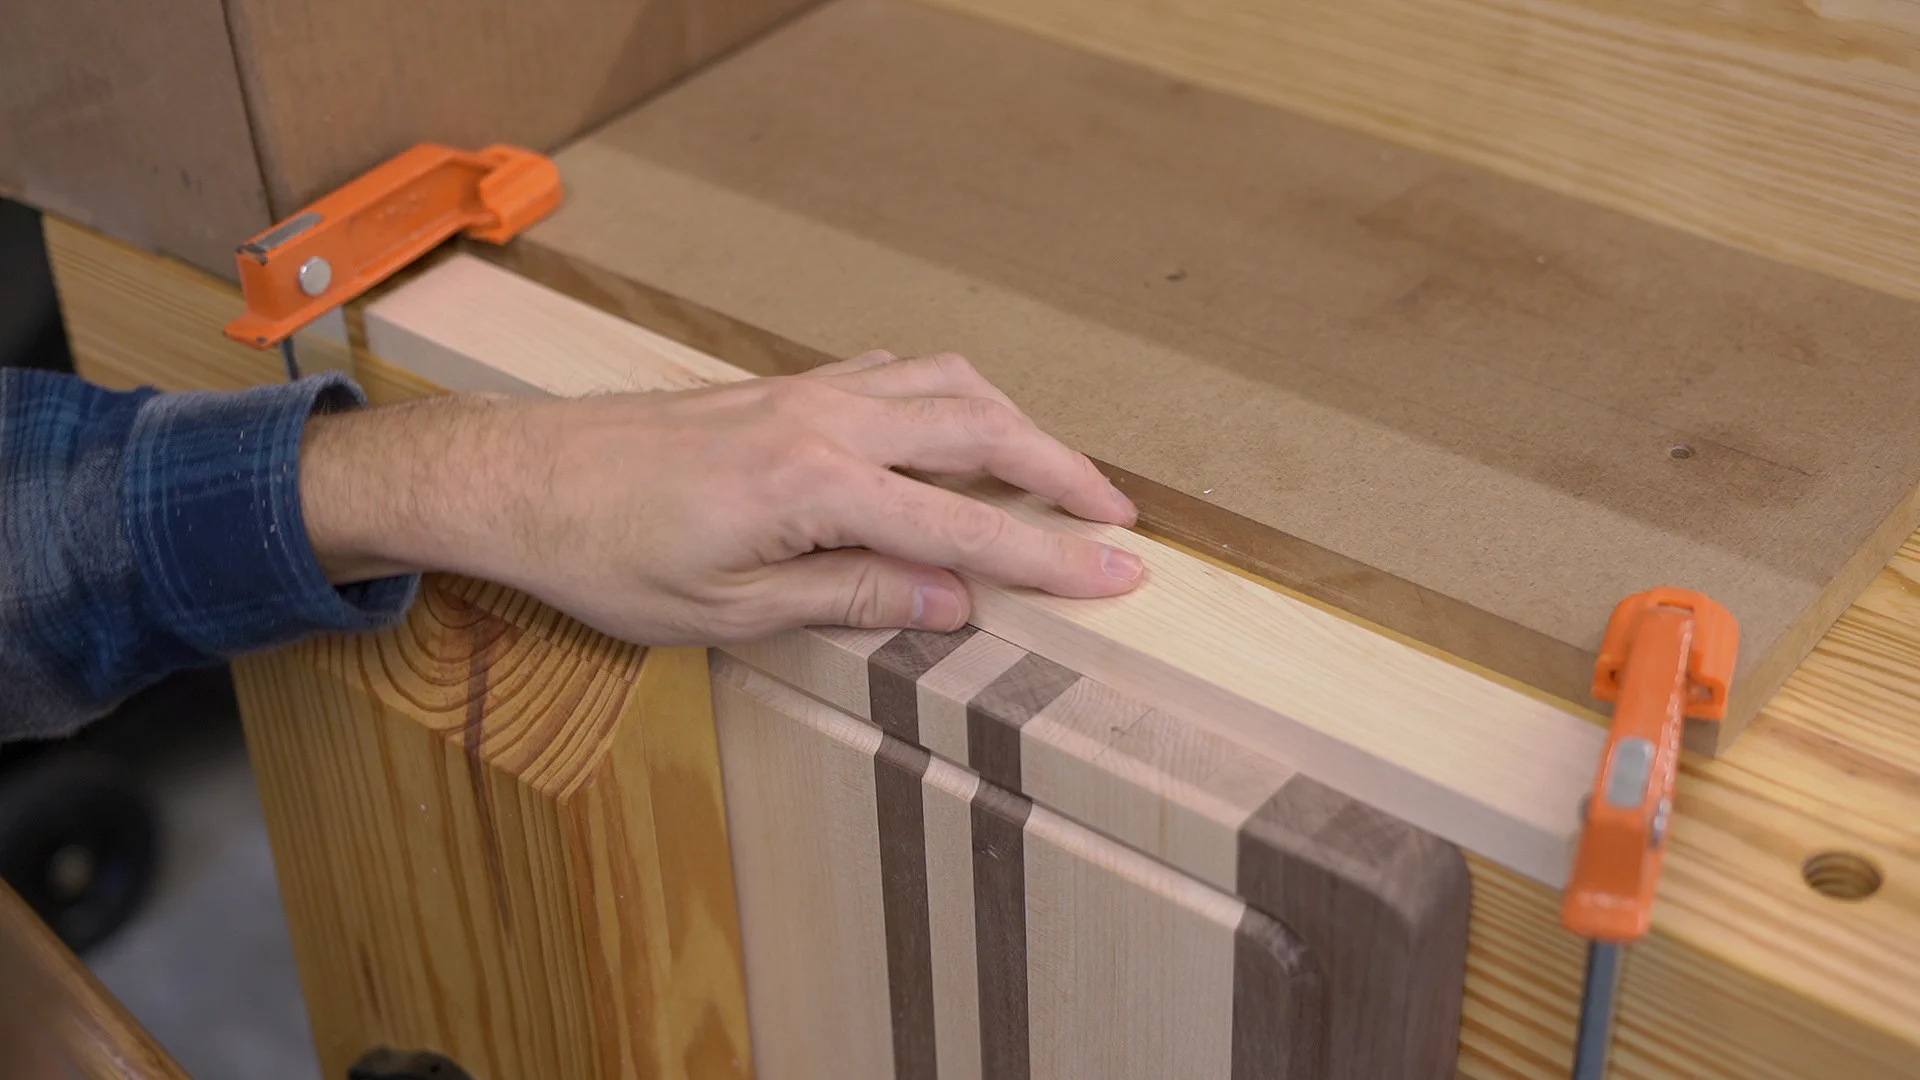
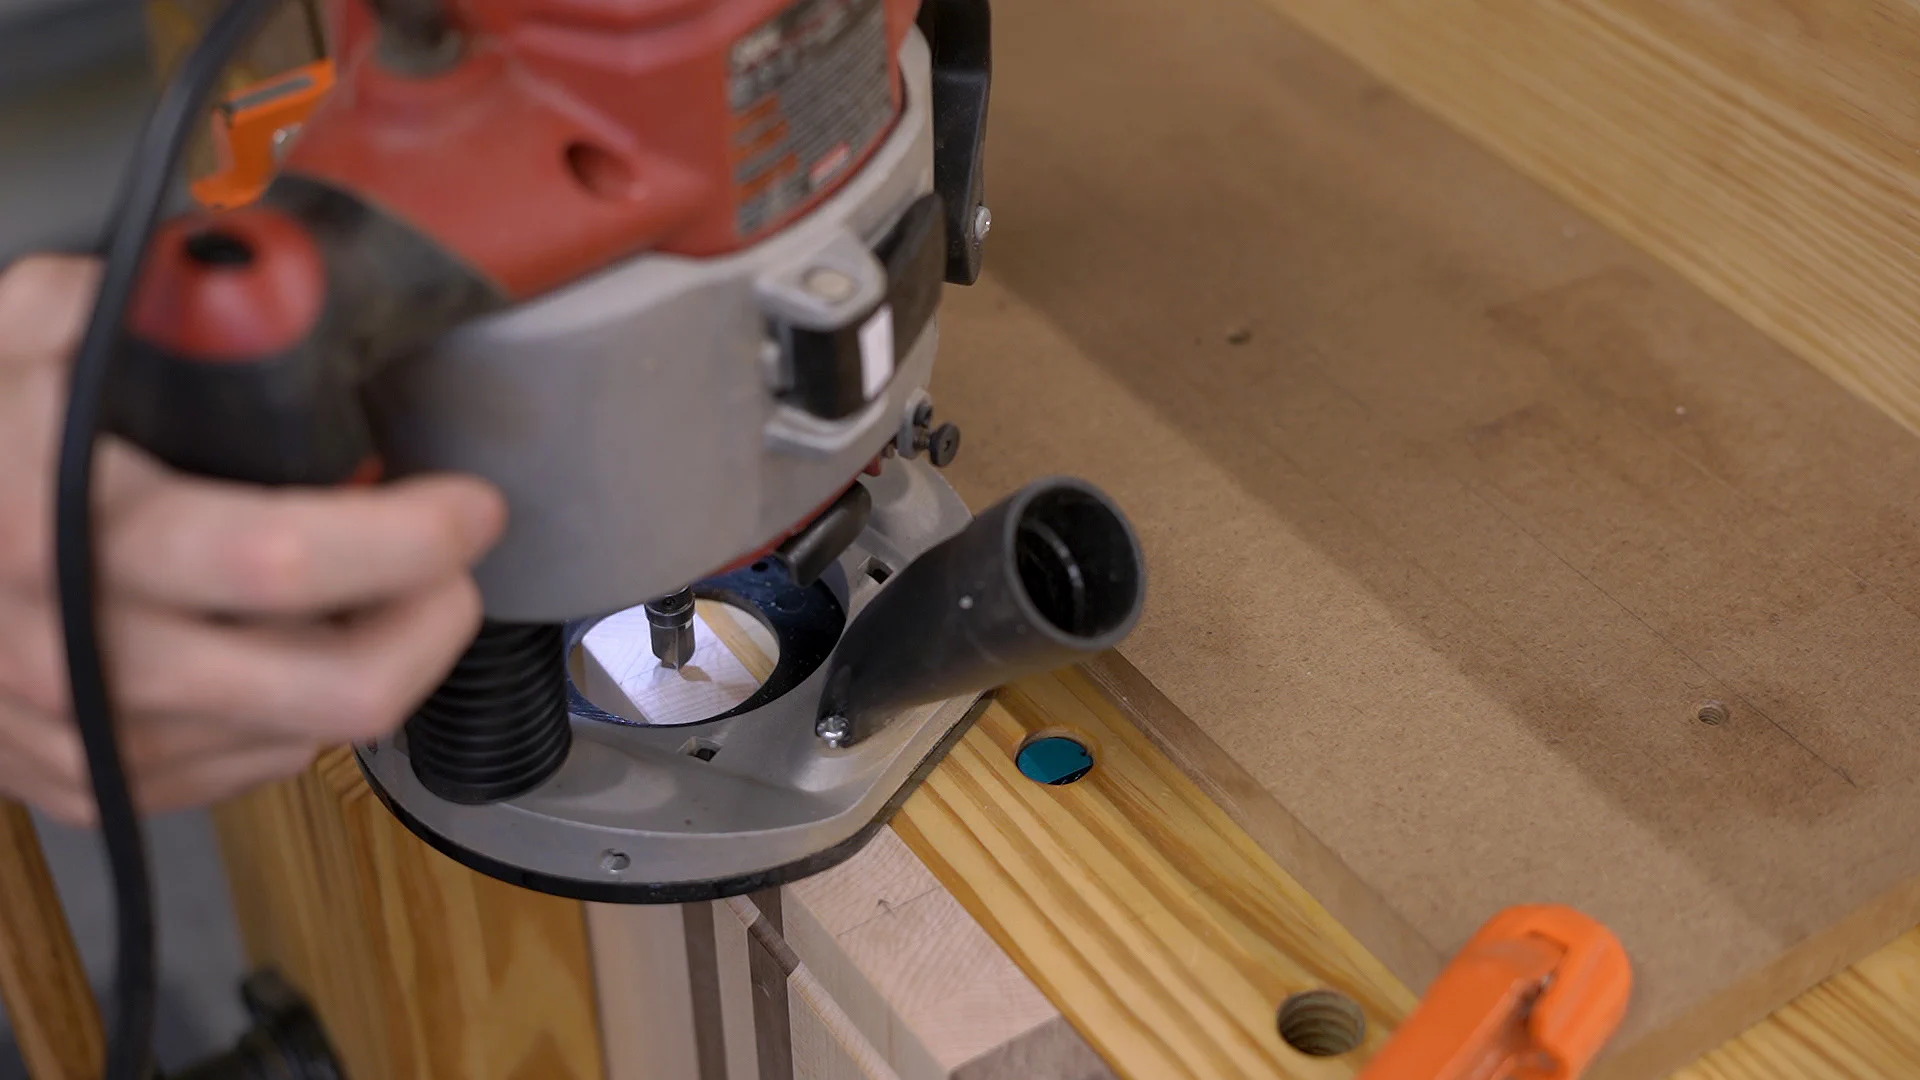
One thing I wanted to point out again is that my plunge router has a flat section along the back of its base. I like to avoid using it as any rotation changes how far it’s offset from the guide, so I held the router about 45 degrees from the flat section and used that distance to adjust the guide.

With everything set up, it was then pretty easy to route the handle though I did end up with a few small burn marks in the corners. A second light pass or a slower router speed may have helped with those.
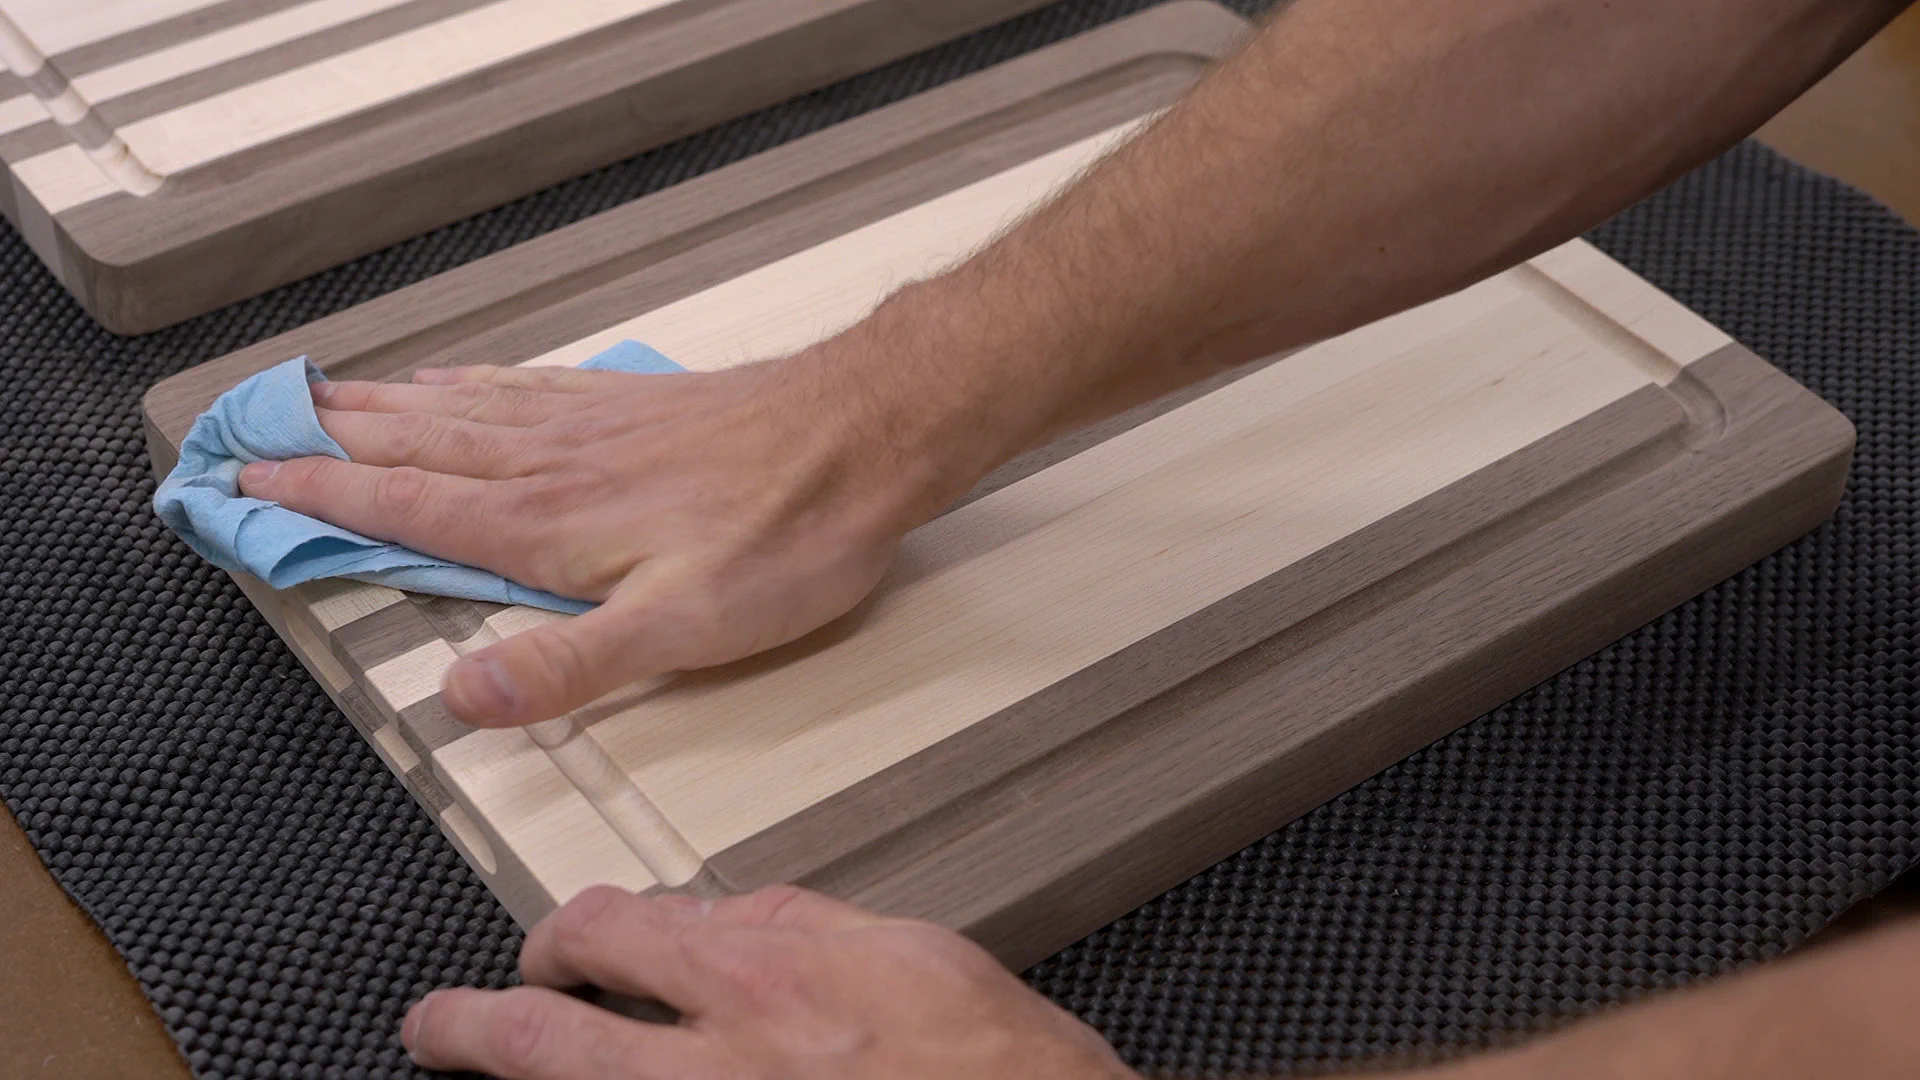
After more sanding using 120, 220, and 320 grit, I sprayed the cutting board lightly with water to raise the grain.
Once it dried, I came back with 400 grit paper and very lightly sanded with the grain until it was smooth to the touch to prevent the board from feeling fuzzy the first time it is cleaned.

To finish up, I vacuumed and wiped off all the dust and started applying a thick coat of mineral oil which I let it sit for a few hours before flipping it over and repeating the process on the bottom.
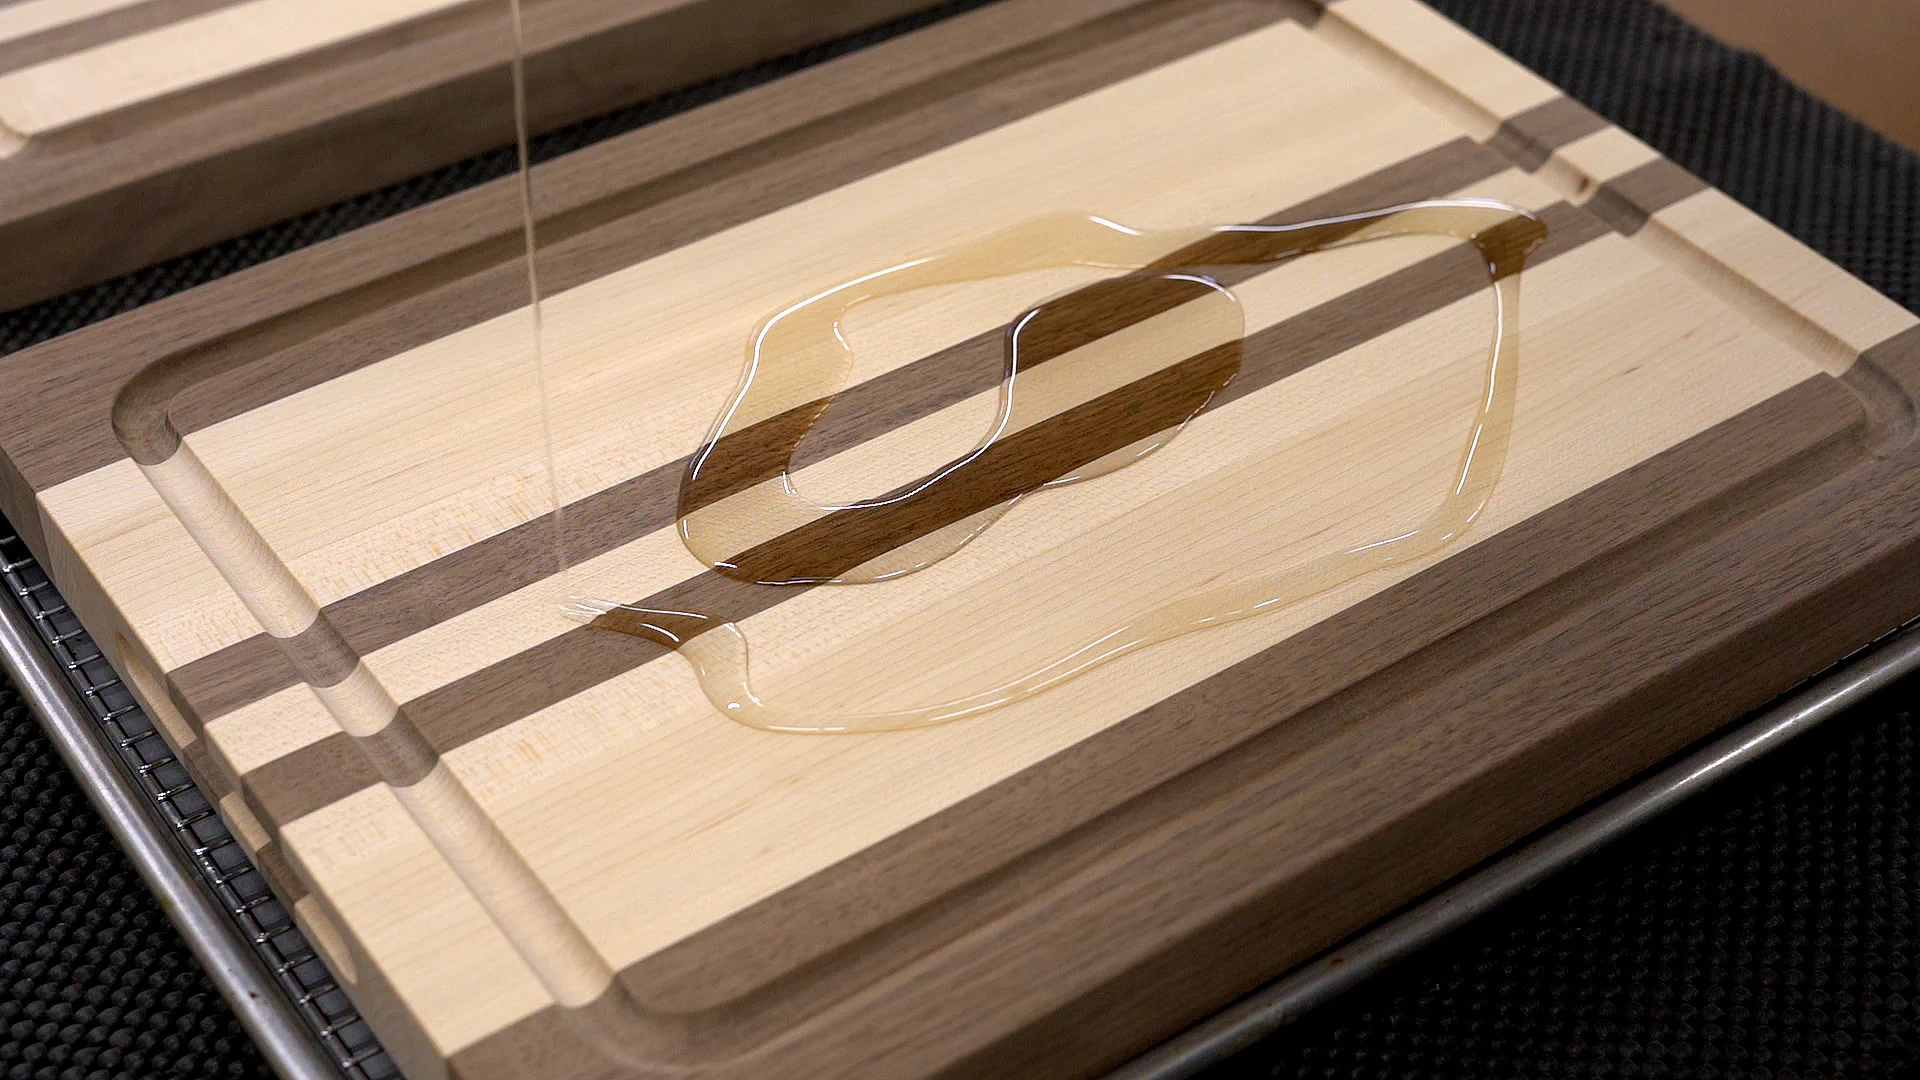
After a few more hours I wiped all the excess oil off and it was time to finally call them done!
So except for few minor issues, I think they turned out pretty well for a first attempt. And I imagine I’ll get a little more practice making a few more before long!
Materials and Hardware
For two 16" x 12" cutting boards:
- (1) - 6-7" wide x 8’ x 4/4 Walnut Board
- (1) - 6-7" wide x 8’ x 4/4 Hard Maple Board
- Titebond III Wood Glue
Tools Used
Be sure to check out Our Workshop page for more details.
Hitachi 12" Compound Sliding Miter Saw (C12RSH) - Latest version now sold by Metabo: C12RSH2S
Ridgid 13" 3-Blade Thickness Planer (R4330) ( Latest version: R4331)