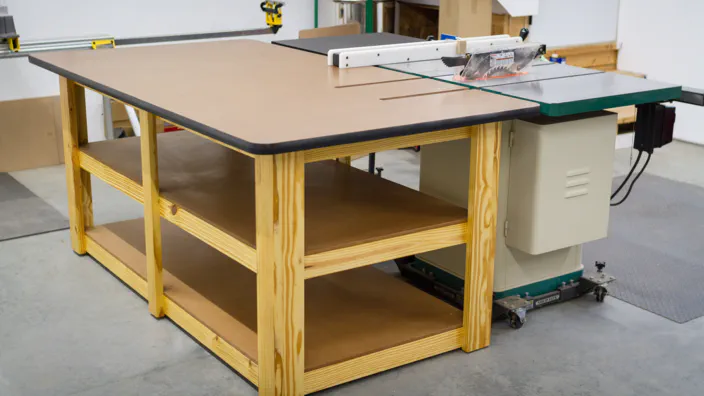
I had several scrap pieces of MDF and a little T-molding left over from my previous workbench build, so I thought it would be a good time to make a table and fence for my drill press.
The table top started off similar to the workbench top with a piece of 3/4" MDF for the bottom. But to avoid having to route the grooves for the T-track and the inserts, I decided to cut individual pieces and leave room for the track and inserts at the end.
Once I had all the pieces for the top cut to size, I went ahead and cut the replaceable inserts as well. These are 5" x 5" pieces of 1/2" MDF and are offset 1" to the left of the drill bit. They can be slid, rotated, and flipped around to get as much use as possible out of them before they have to be replaced.

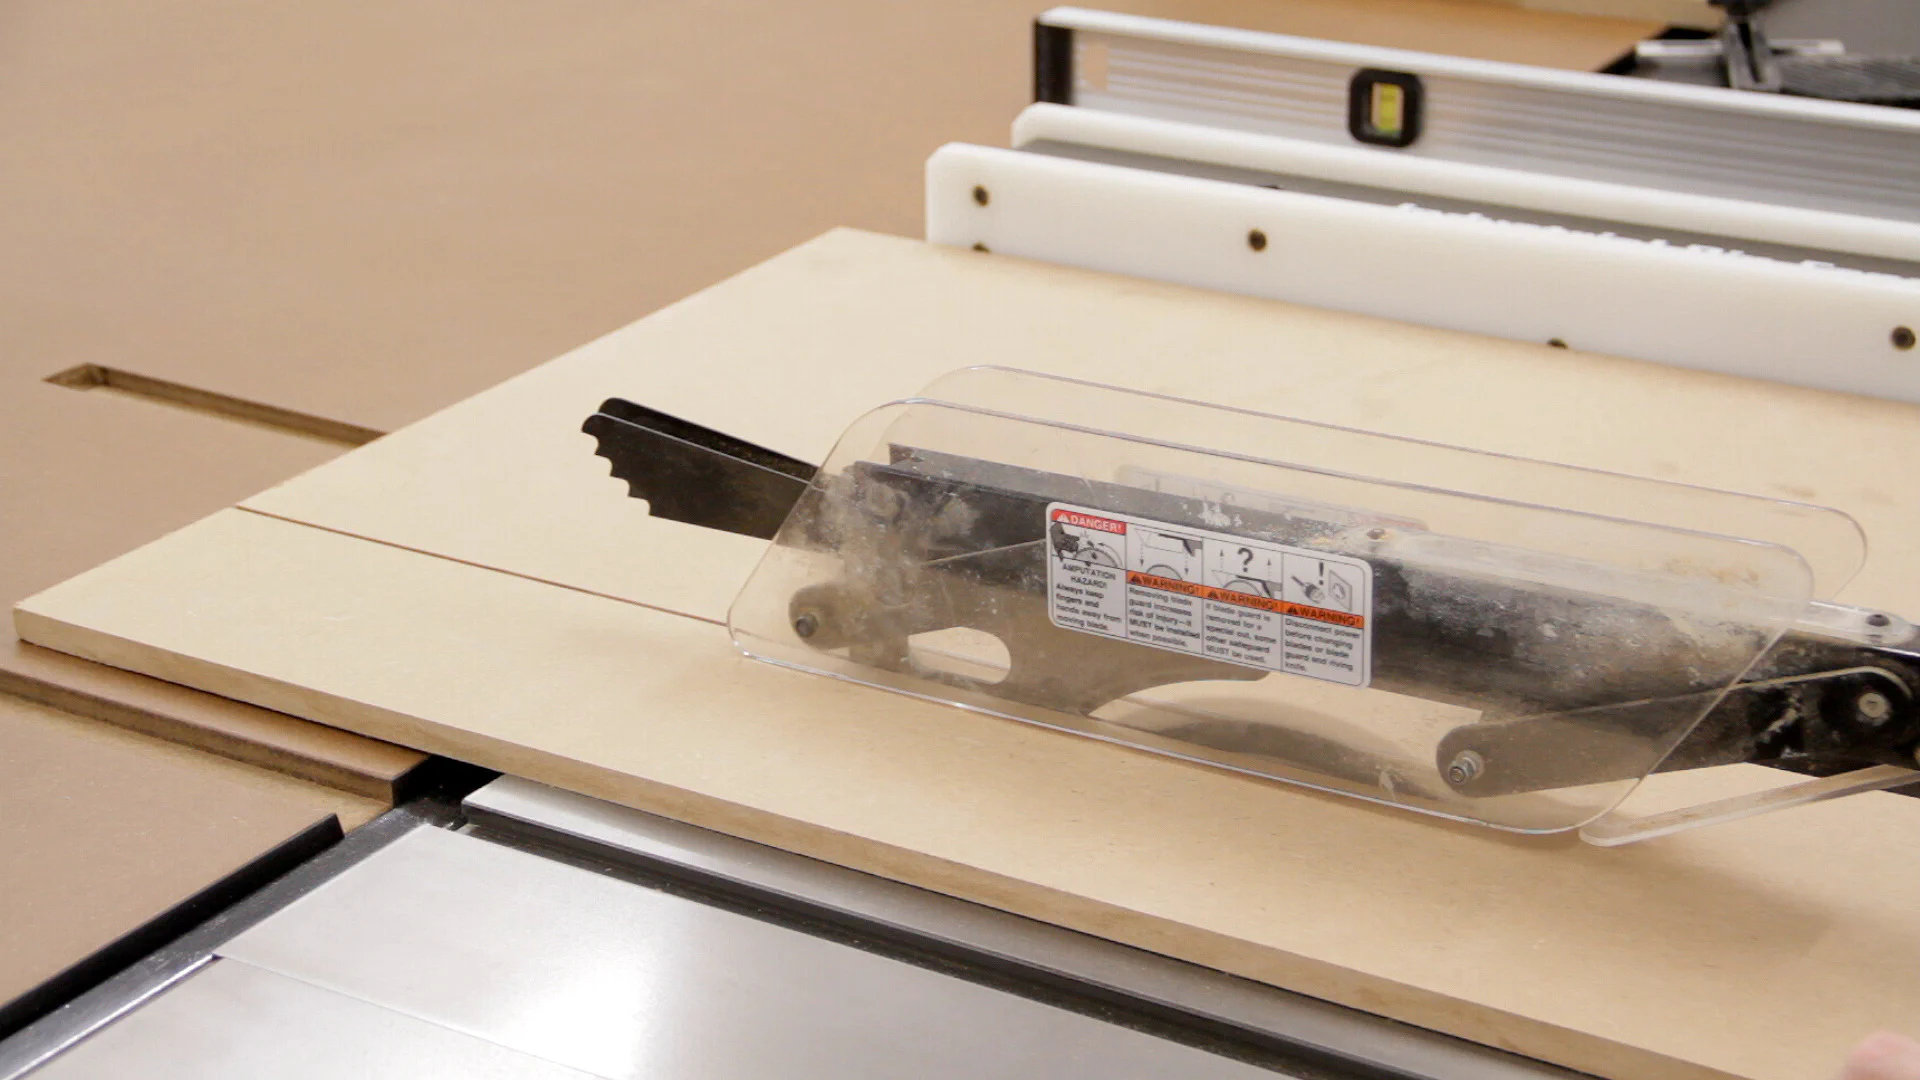
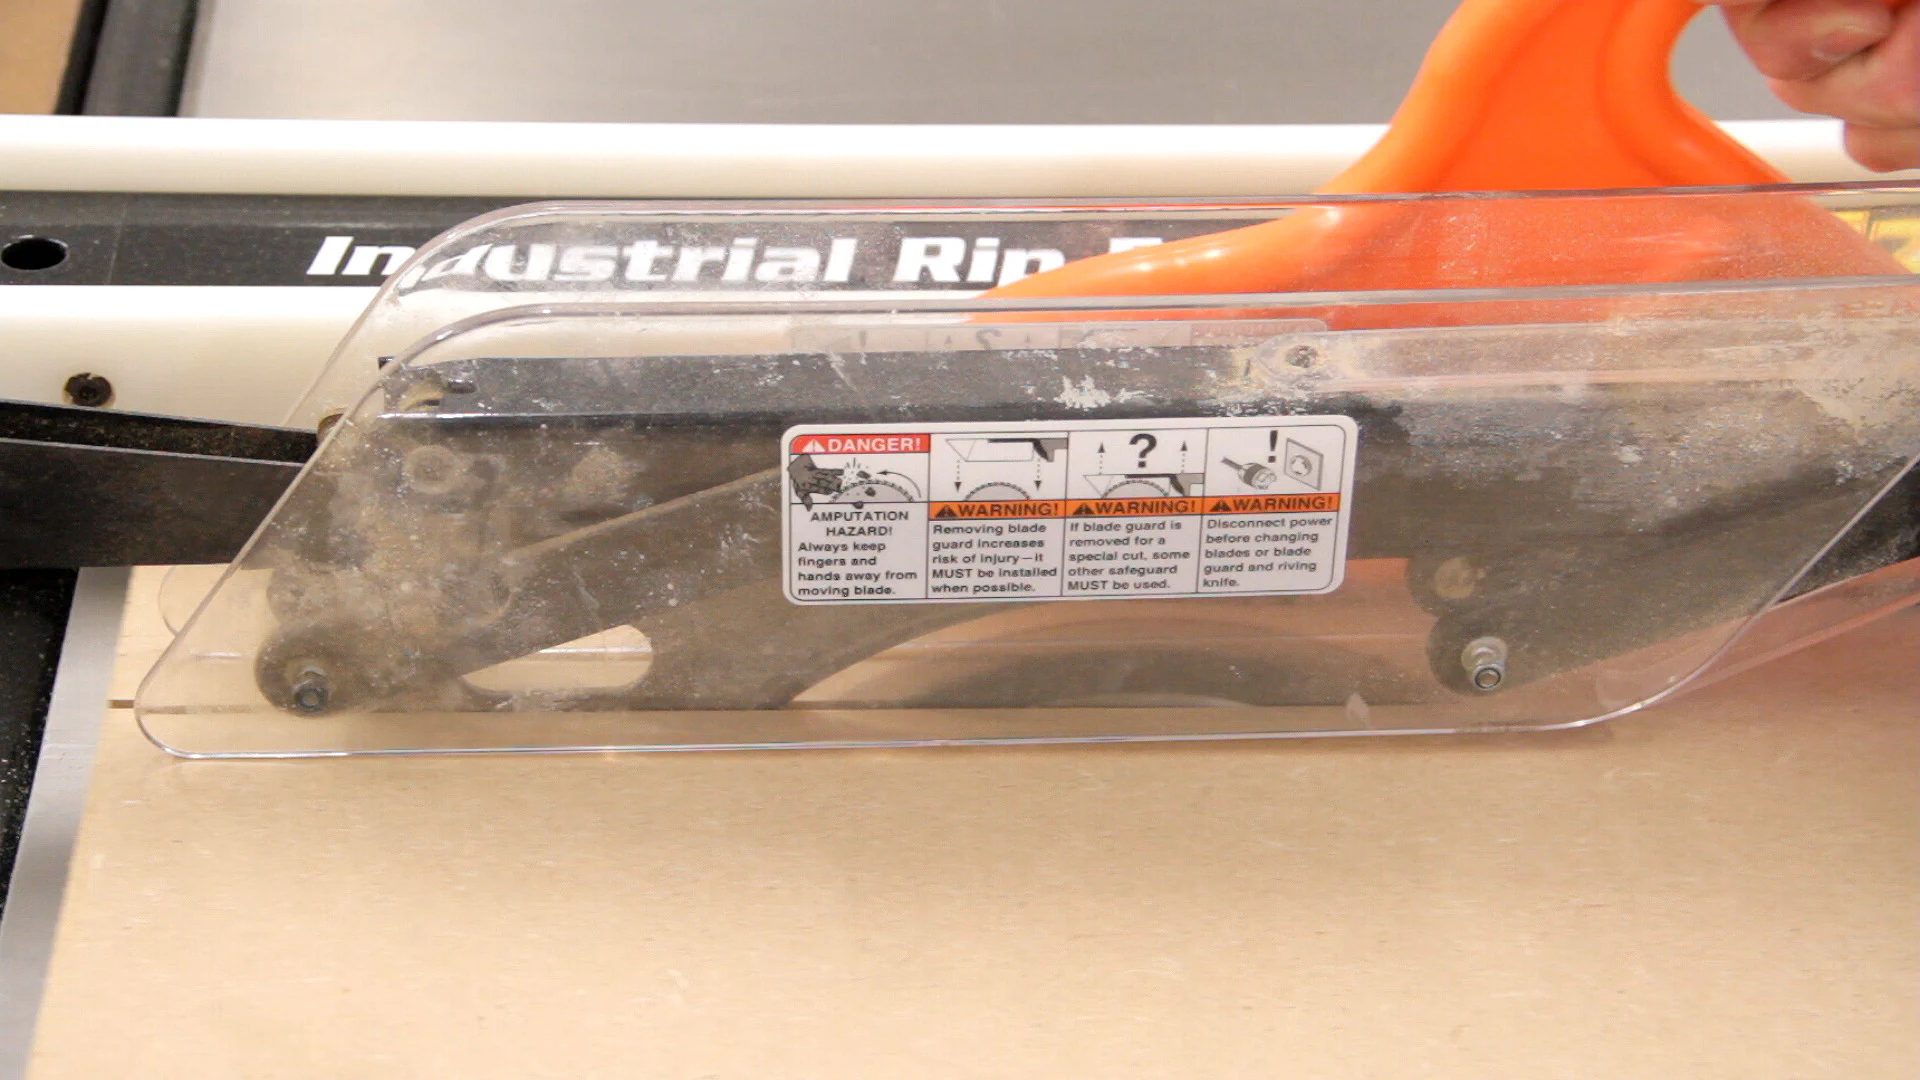
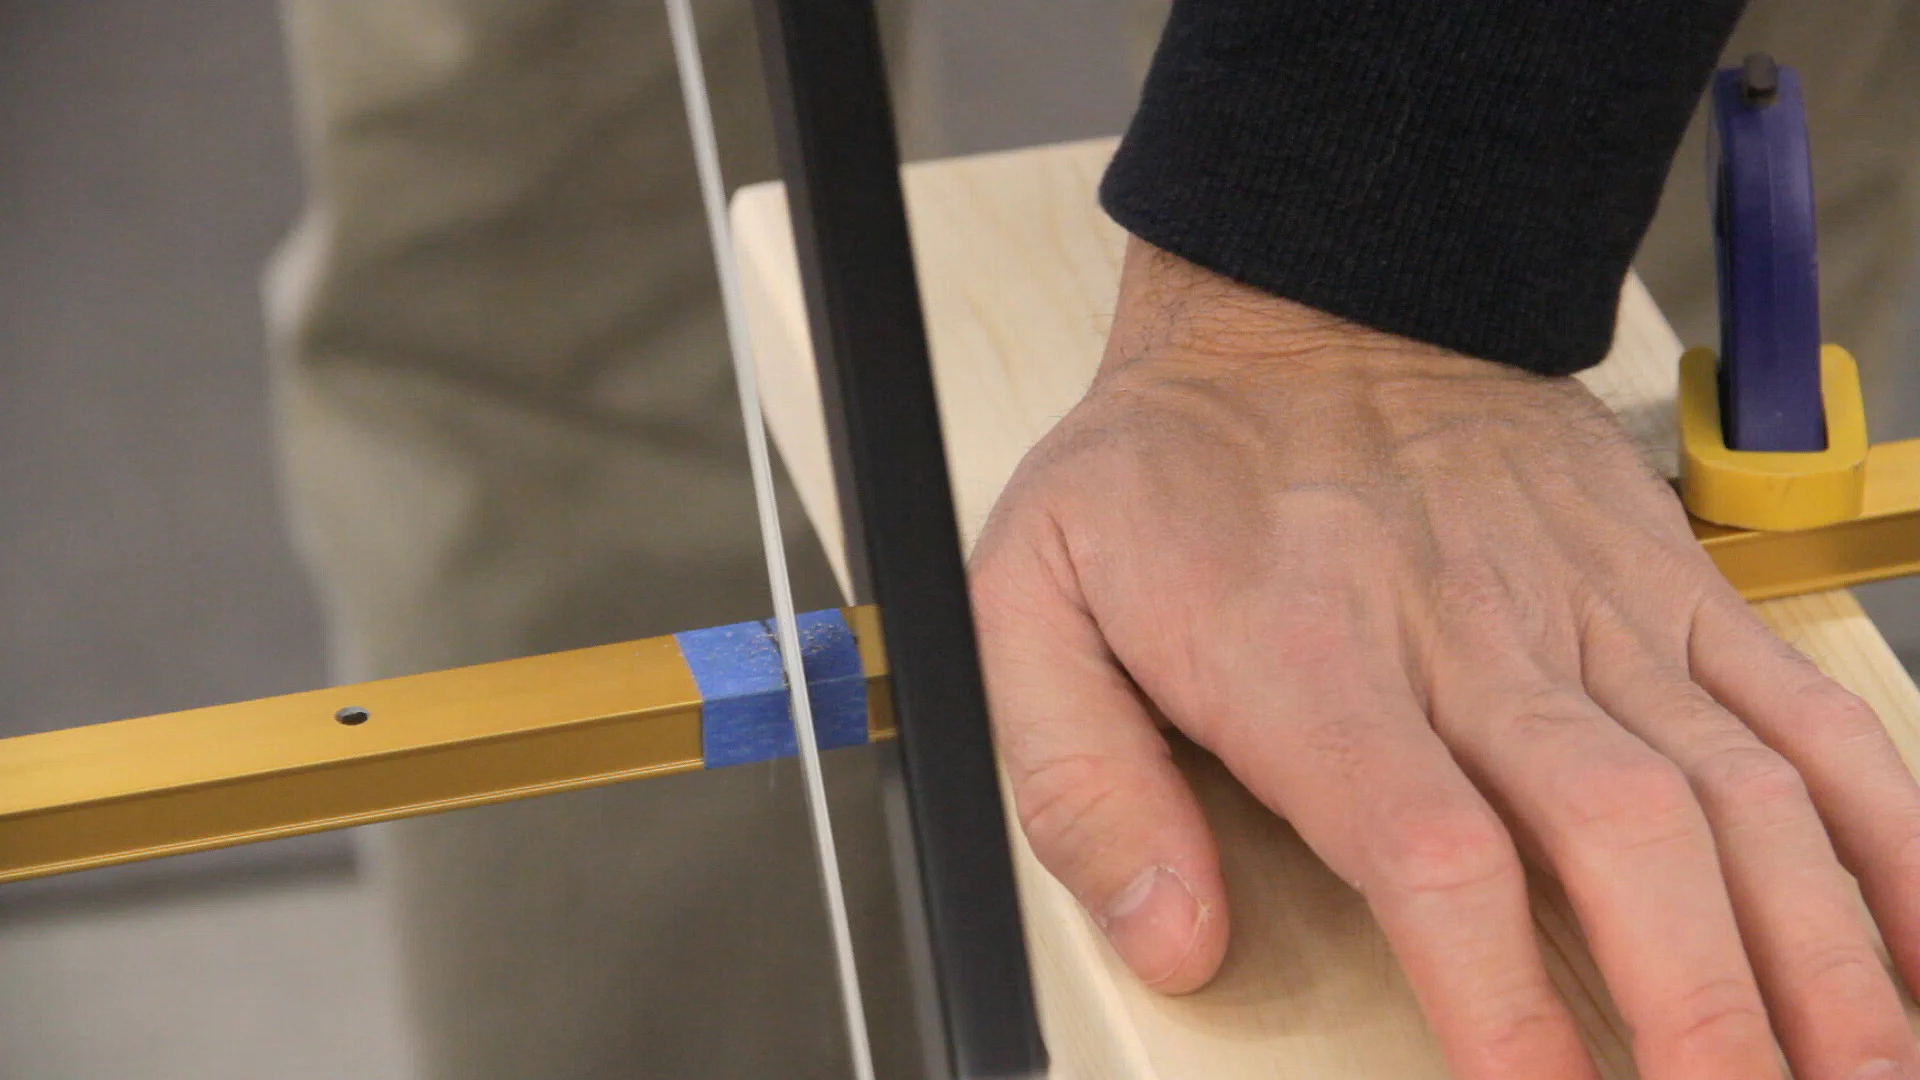
Next, I cut the center piece of T-track to use as a guide. Since the T-track is aluminum it is pretty easy to cut with a hacksaw, but a piece of tape helped keep the saw from sliding around and damaging the track when starting the cut.
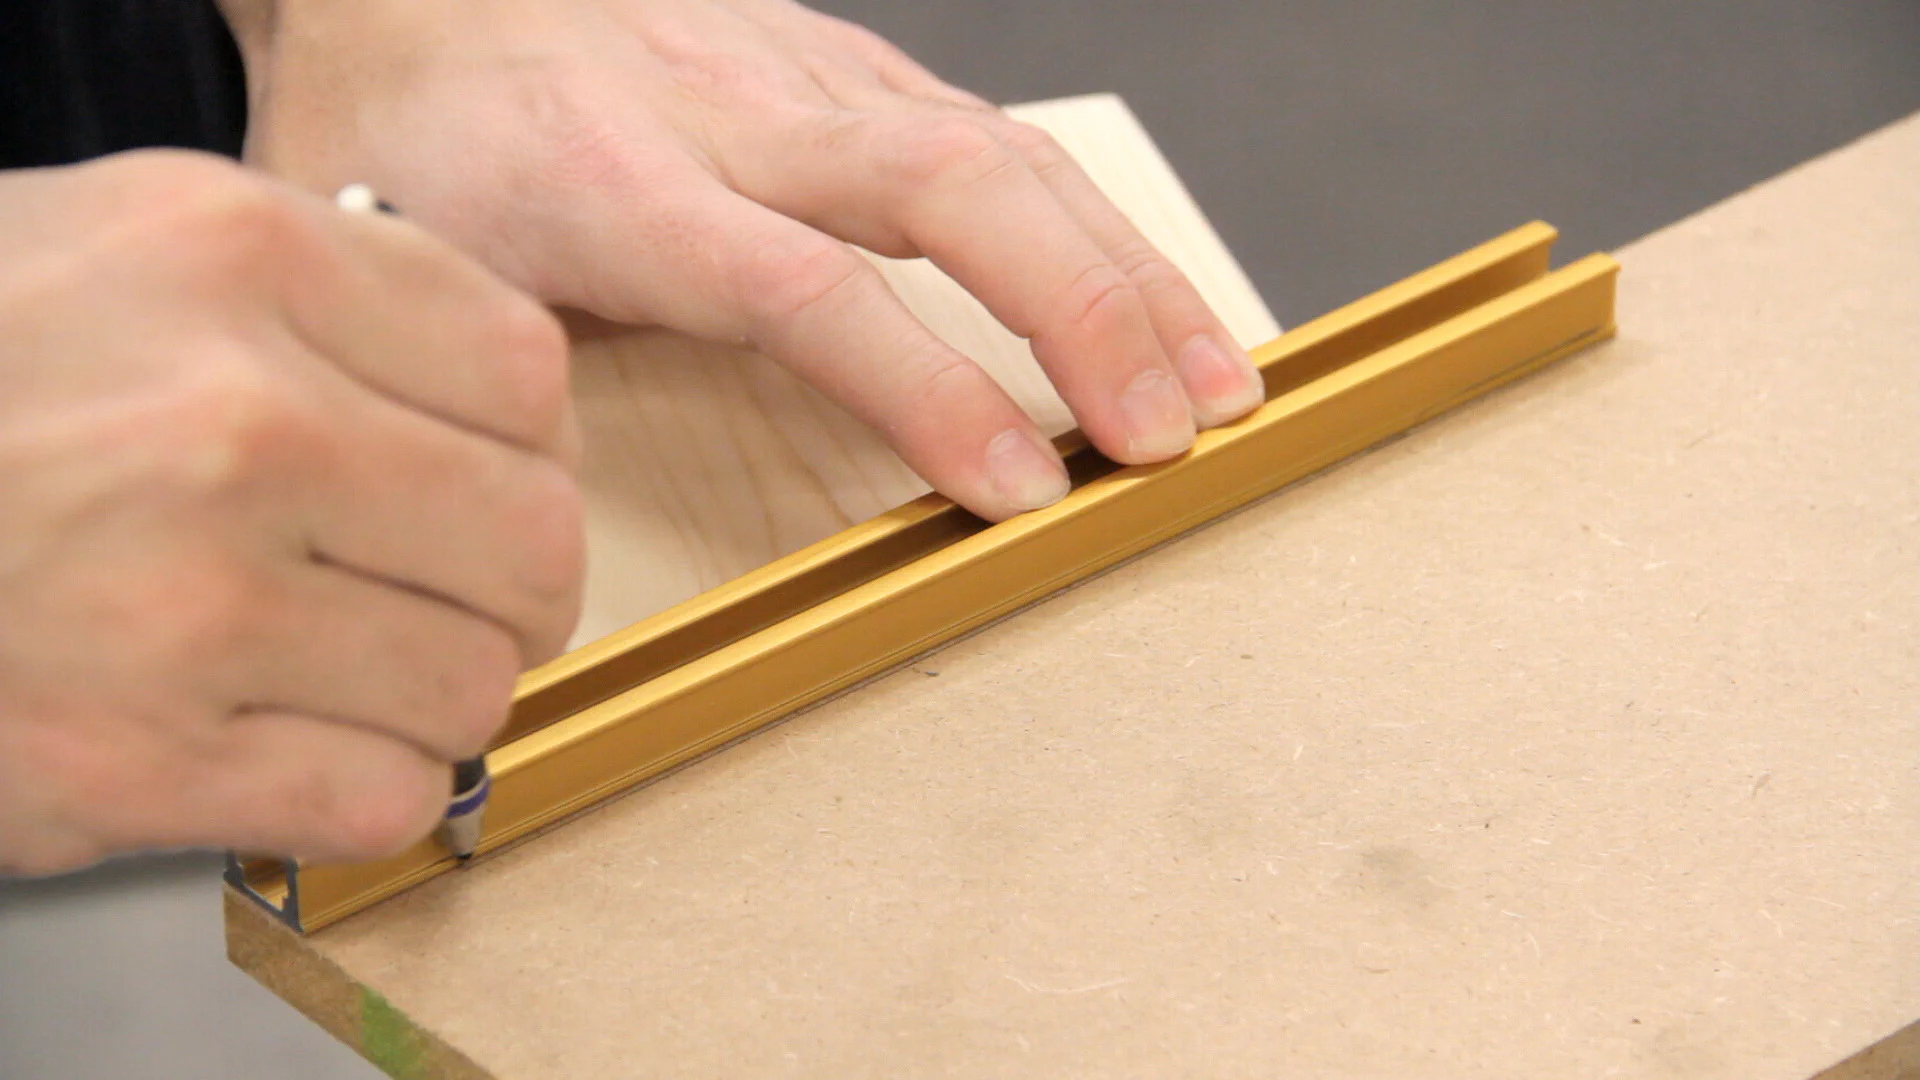
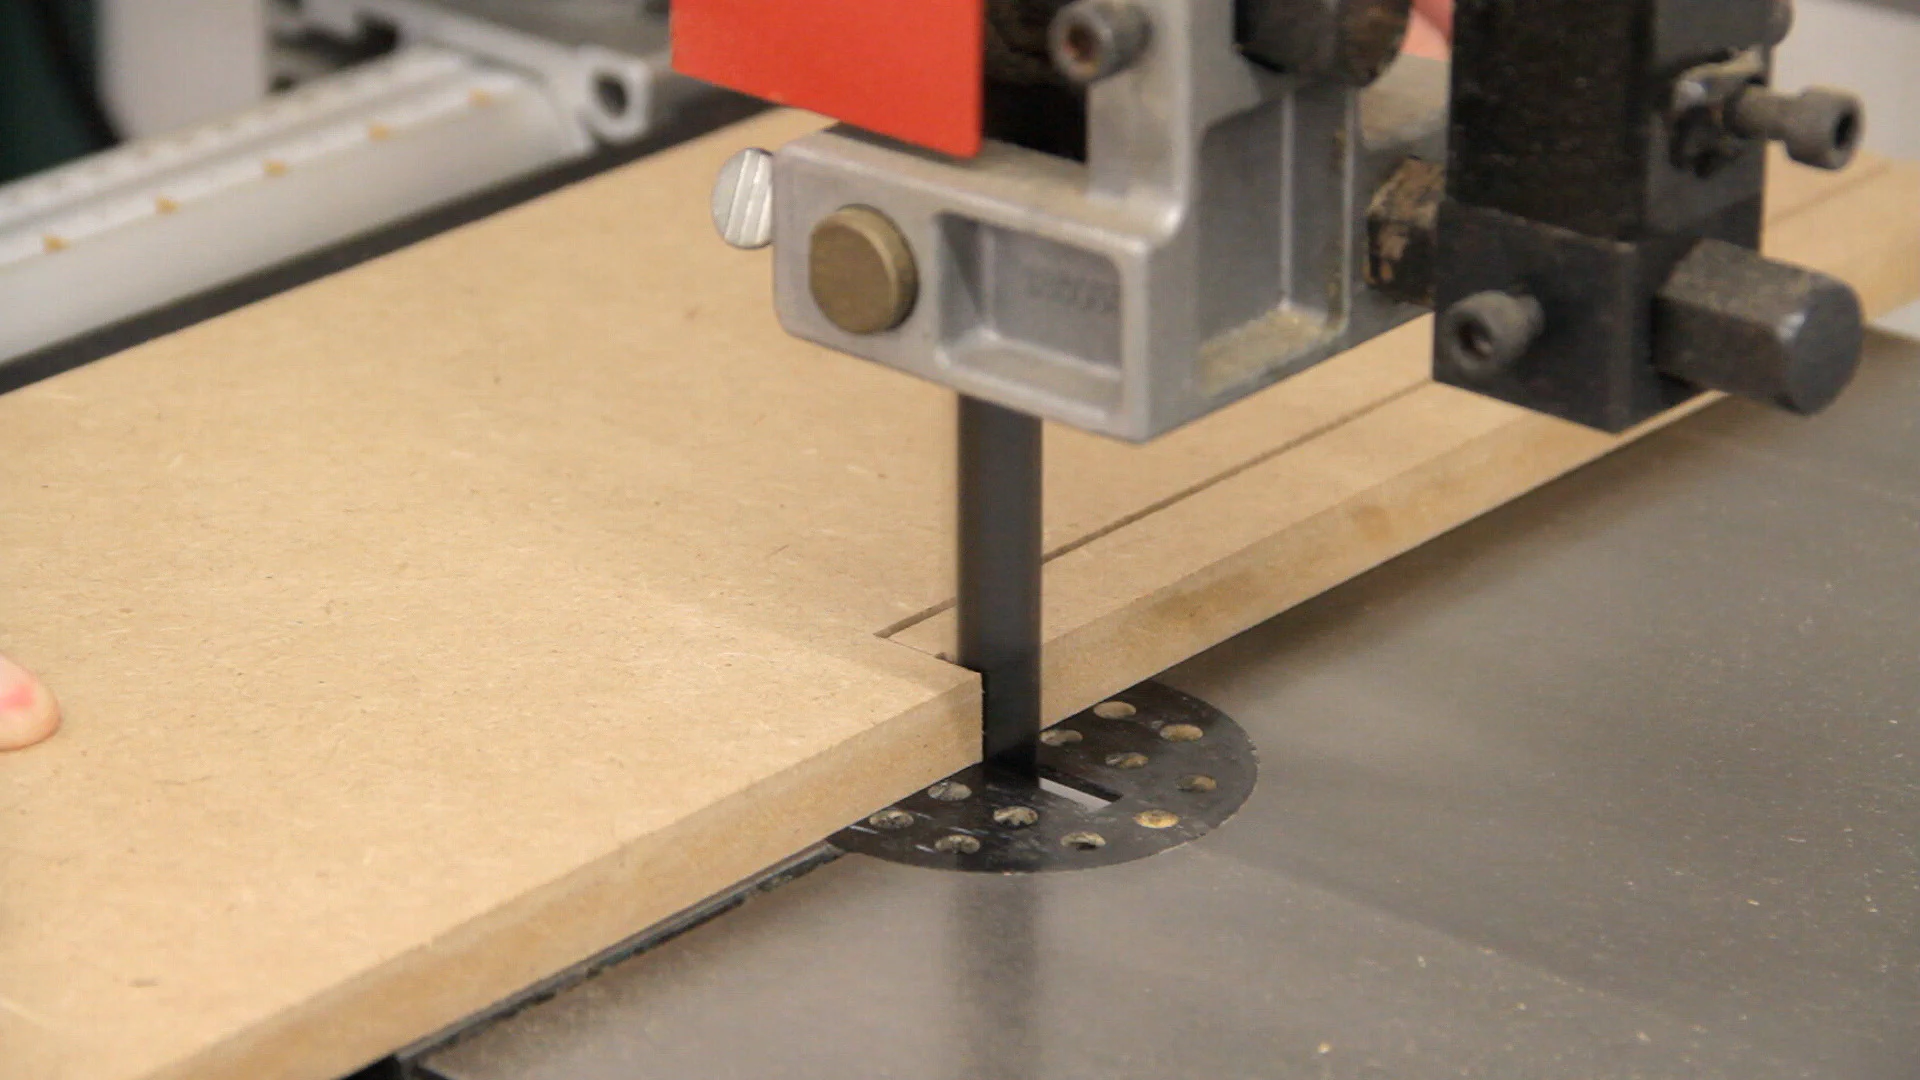
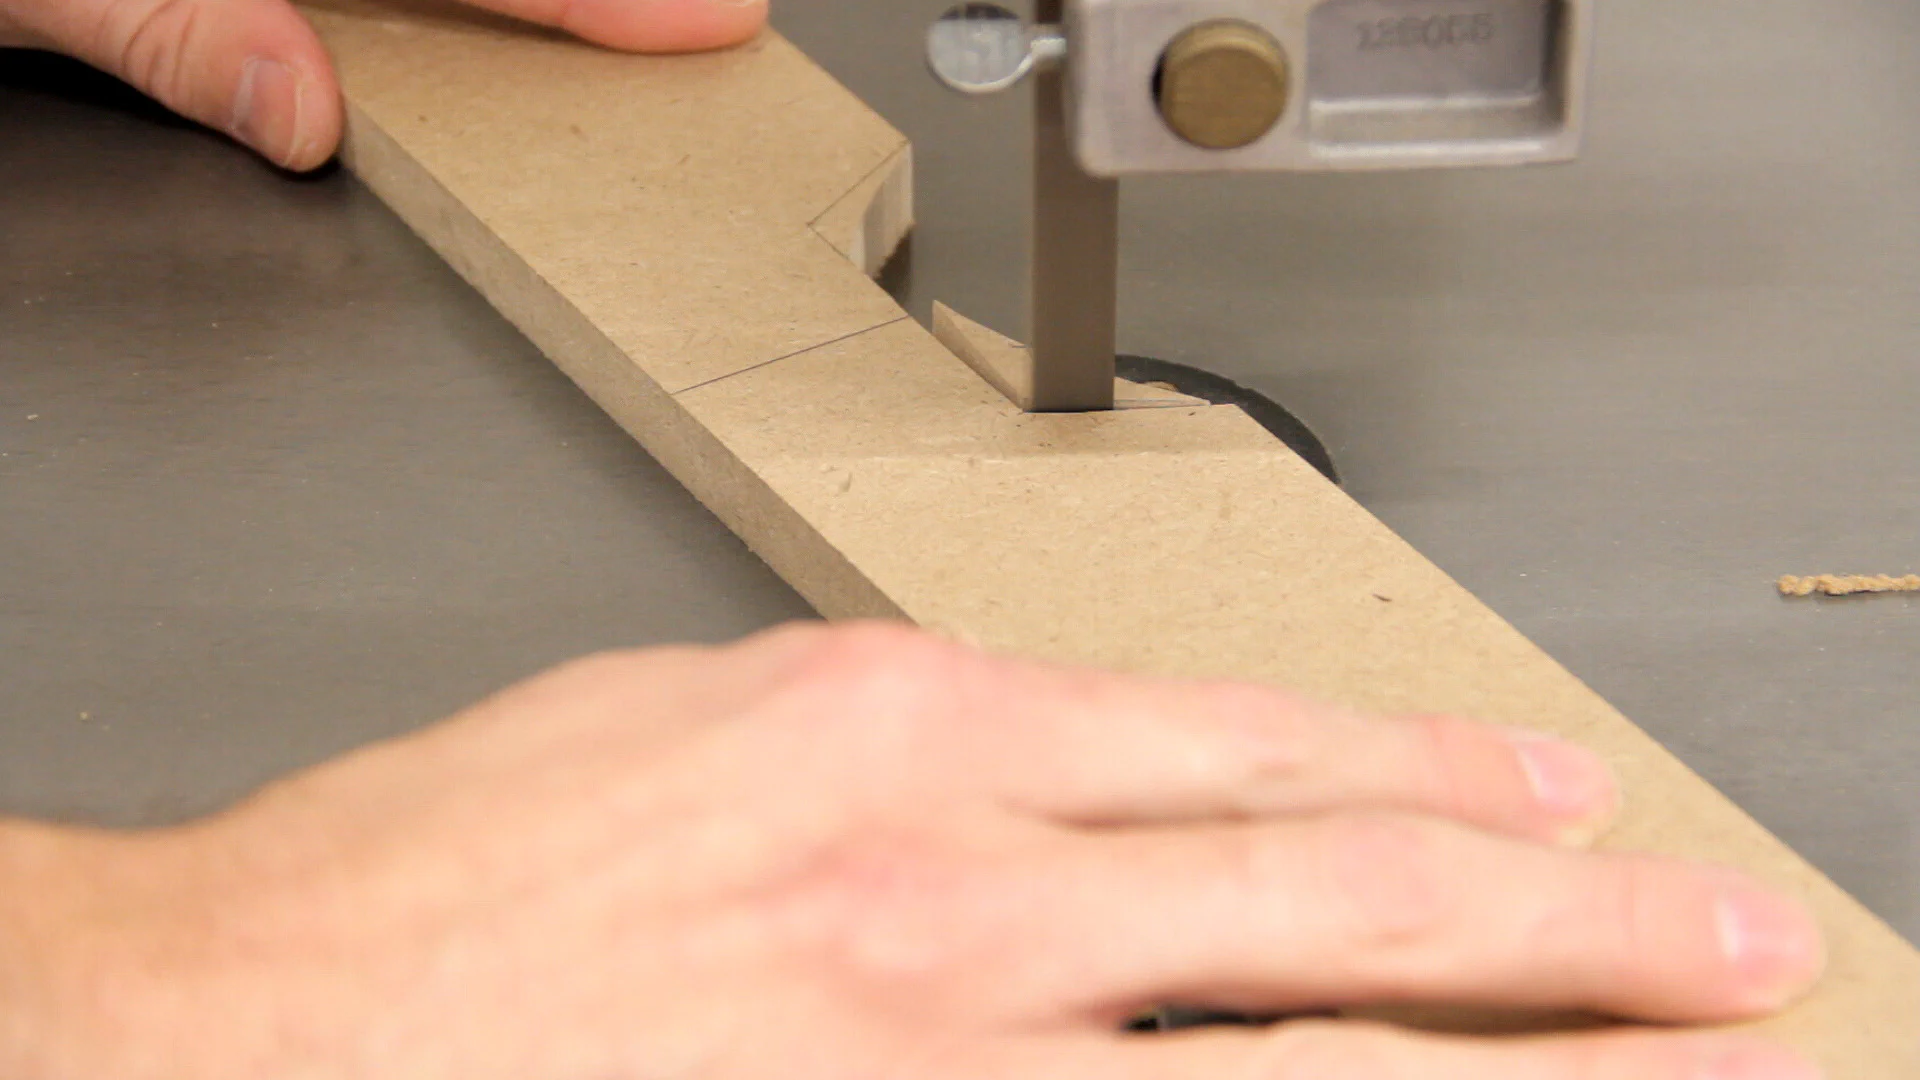
I then used the T-track to mark where it will go in the top piece and then cut a notch out for it using the band saw.
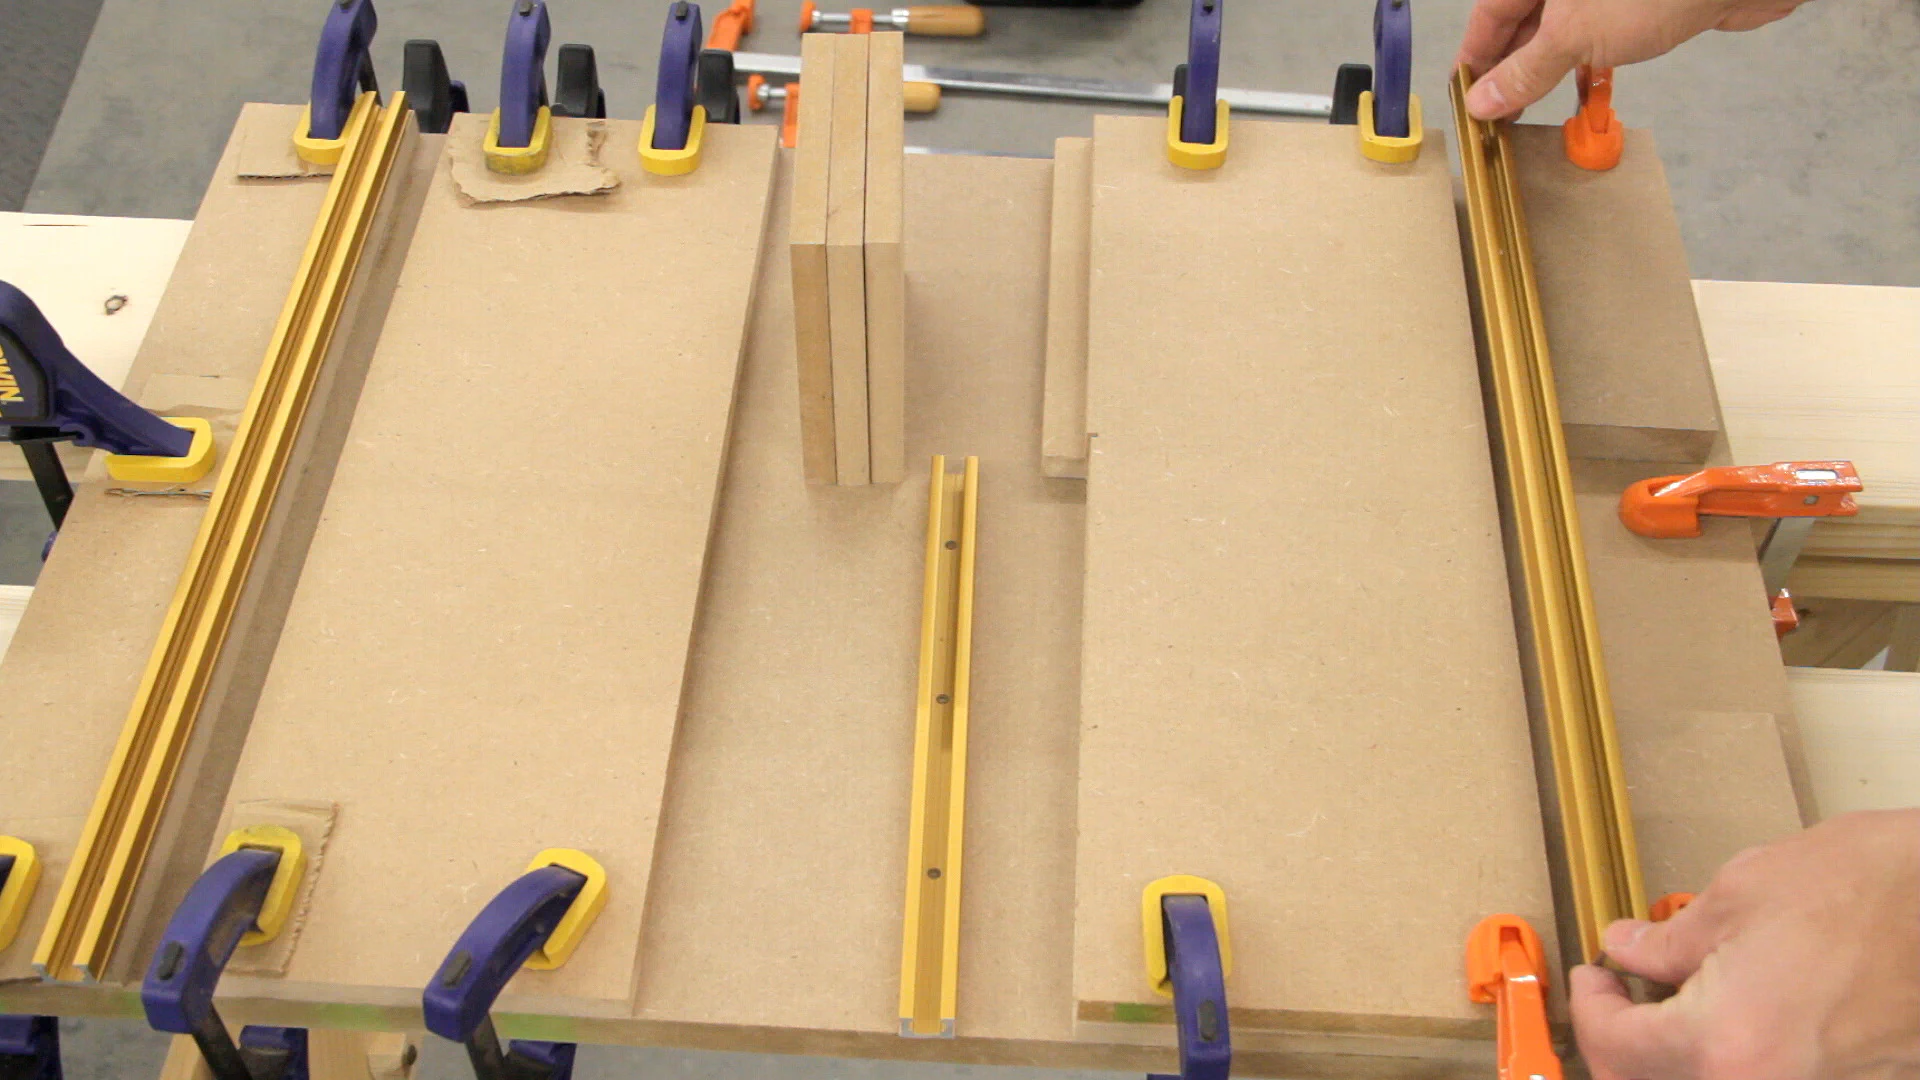
Next, I started gluing and clamping the individual top pieces down. I used the T-track and inserts as spacers and to help align all the pieces.
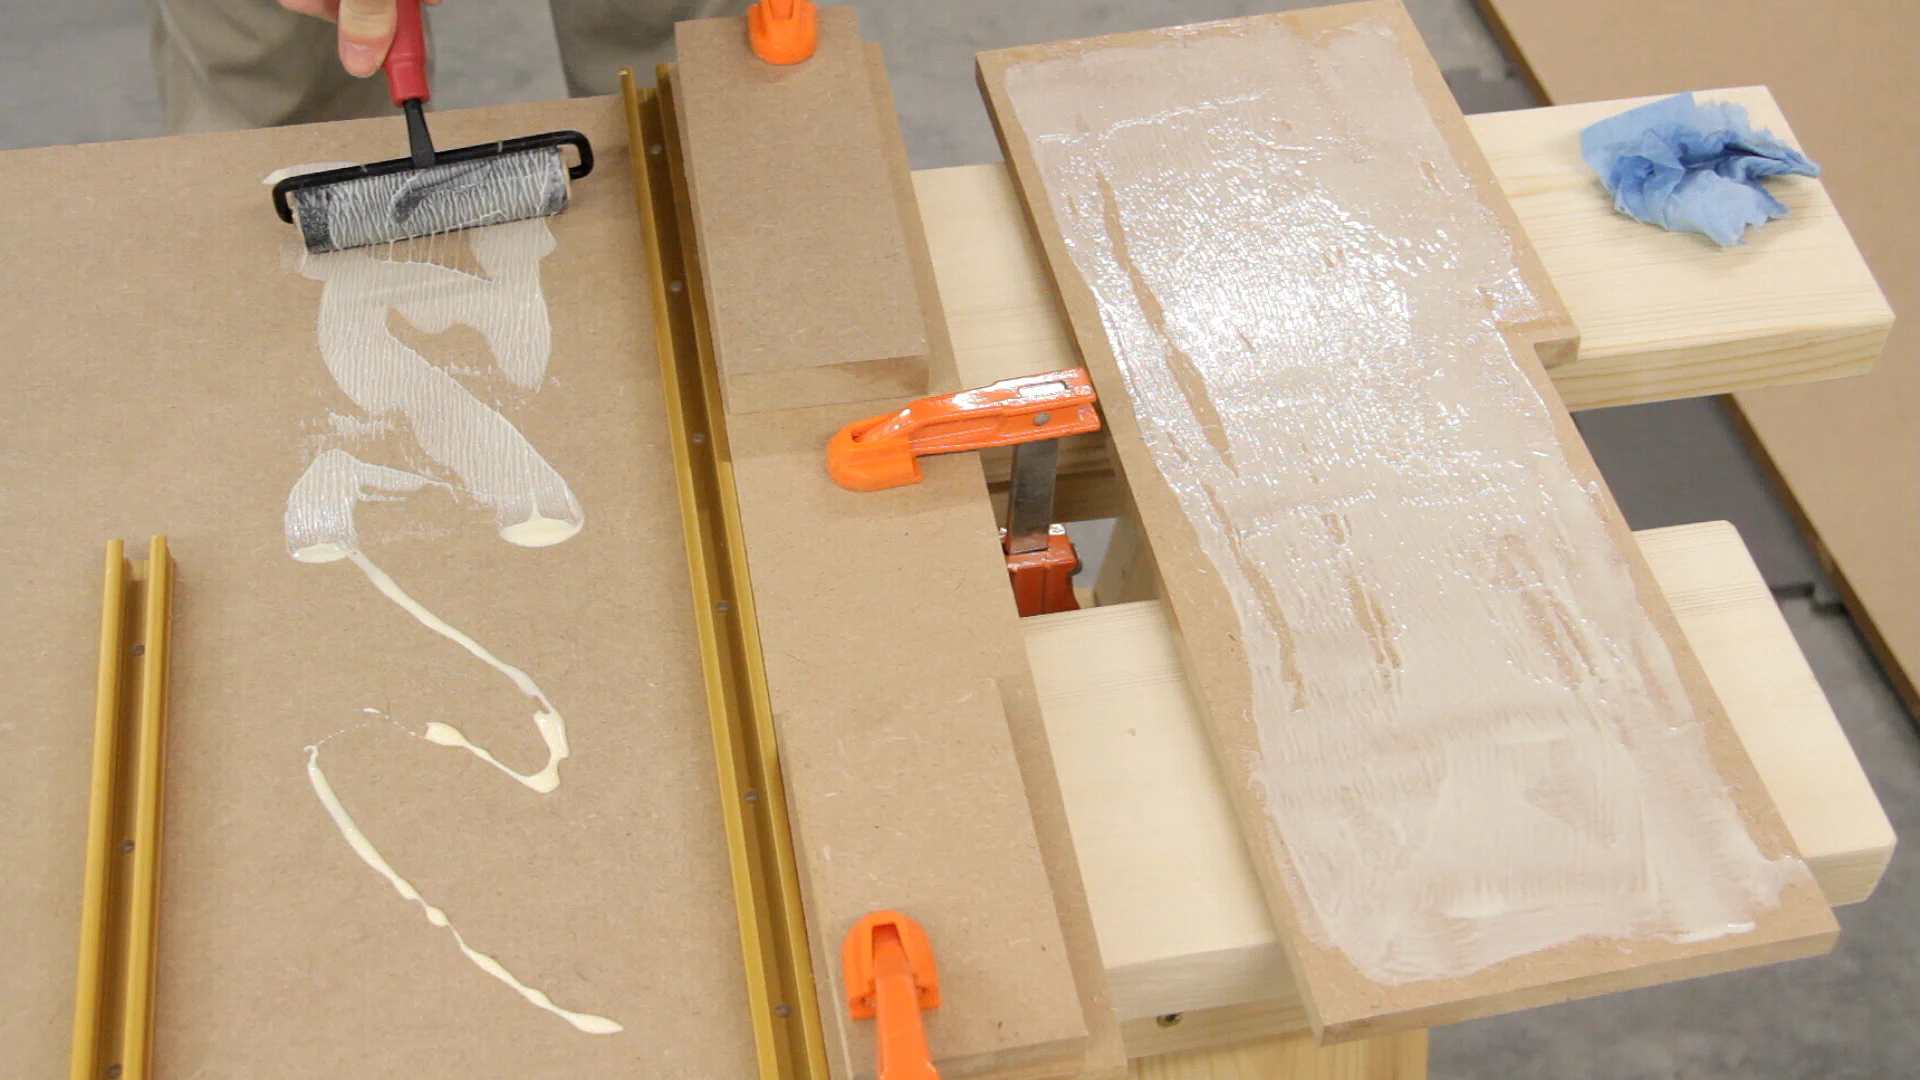
Once everything was glued down, I made sure to remove the track and inserts to prevent any squeeze-out from gluing them into place as well. Then I added a little more weight to the top and waited for the glue to dry.

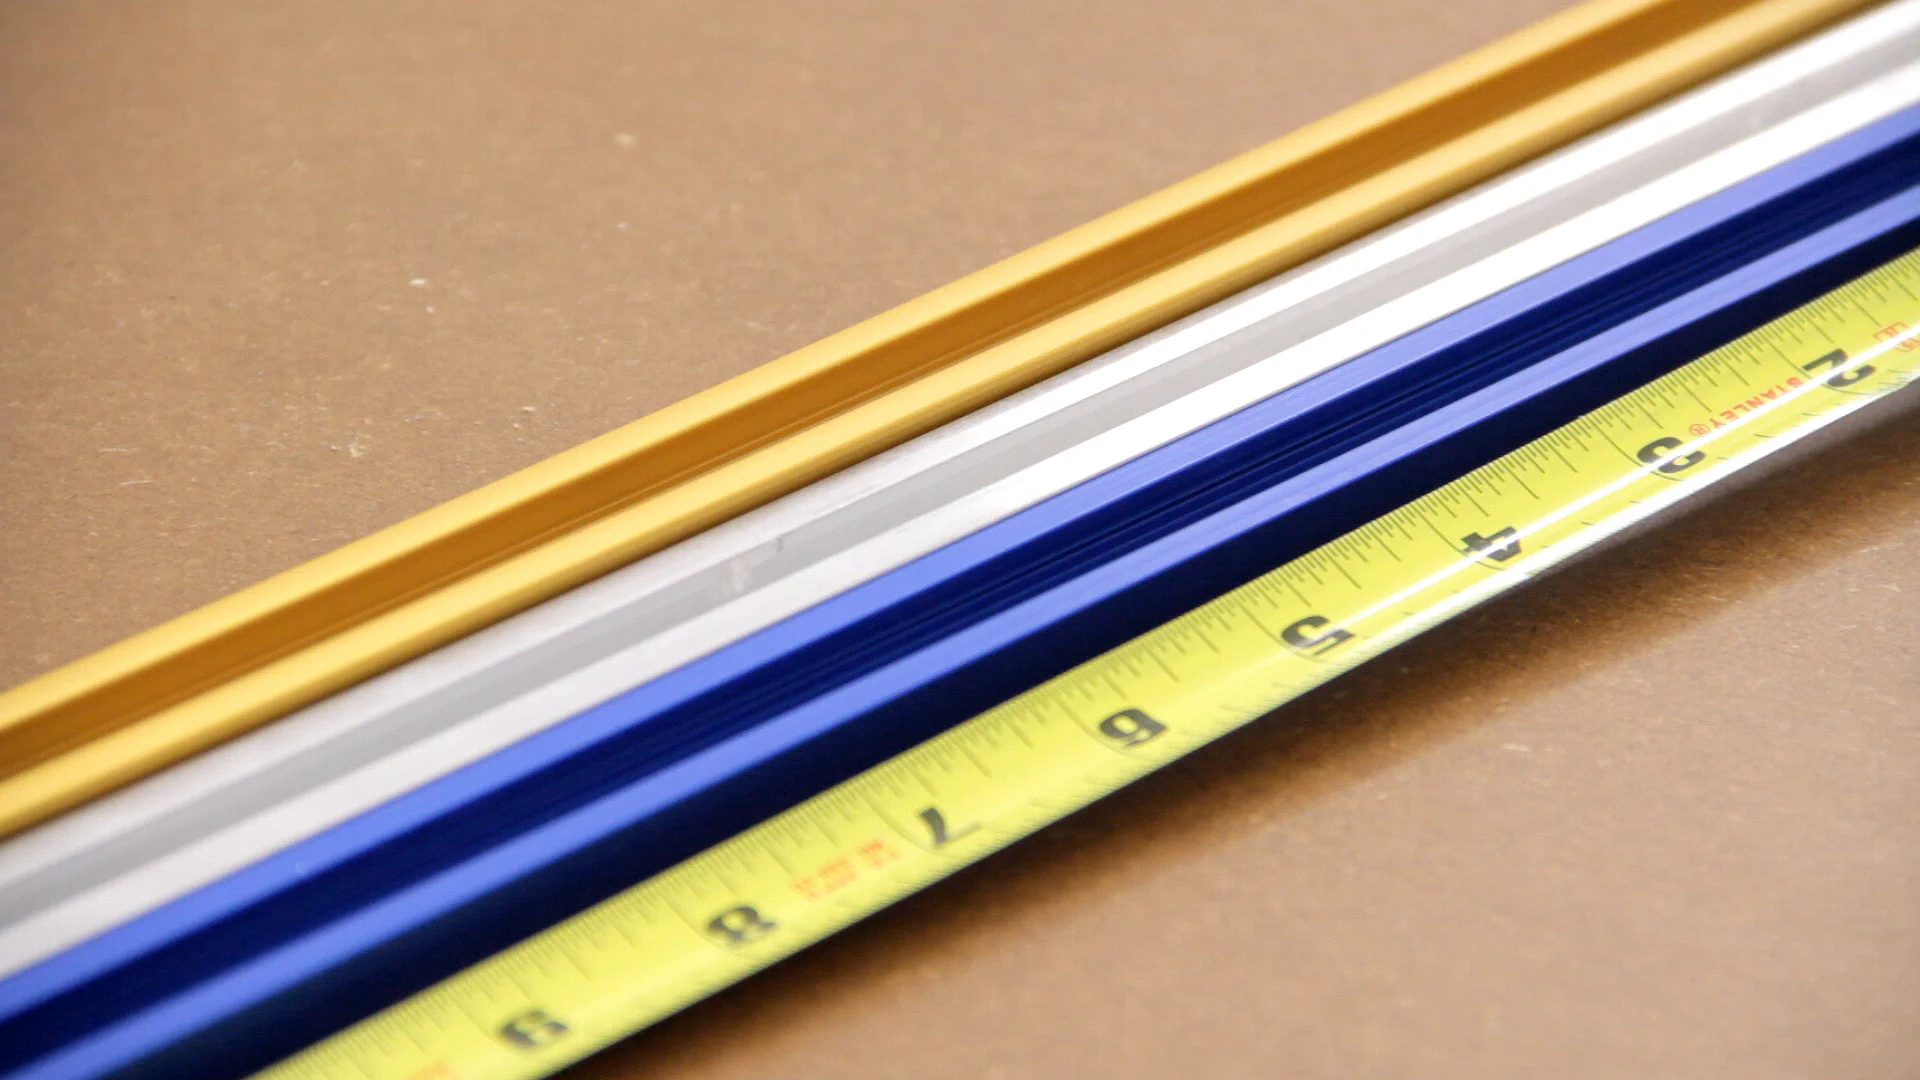
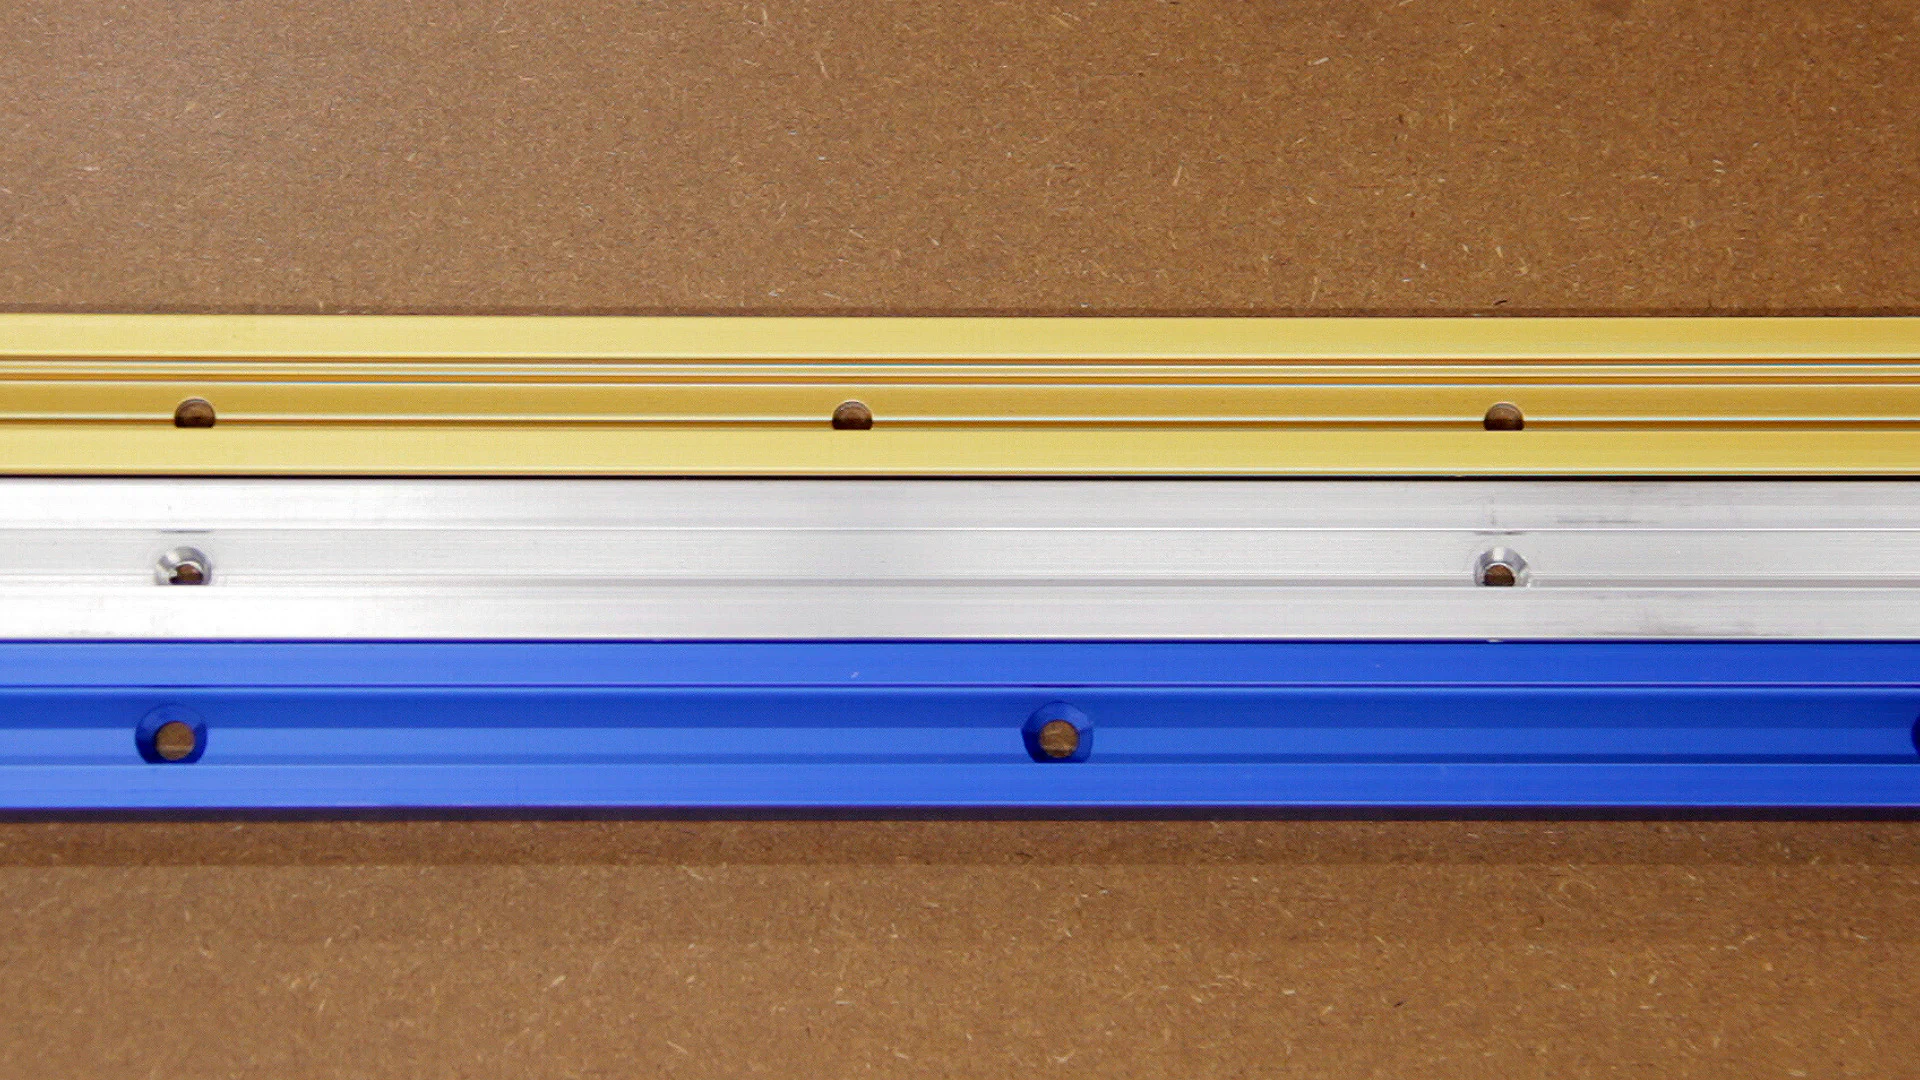
One thing I did want to mention was the variety in height between different brands of T-track. The gold colored T-track that I used is by INCRA and is just under 1/2" high which makes it work well with 1/2" MDF. The blue track is by Rockler and is about 3/8" tall as is the gray track from Taylor Toolworks. It’s just something to keep in mind if you make the top using thinner plywood that isn’t exactly 1/2" thick.
Also, note that the hole spacing varies between brands. The INCRA track has holes spaced every 3", while Rockler’s has holes every 4", and the Taylor Toolworks’ holes are spaced every 6".
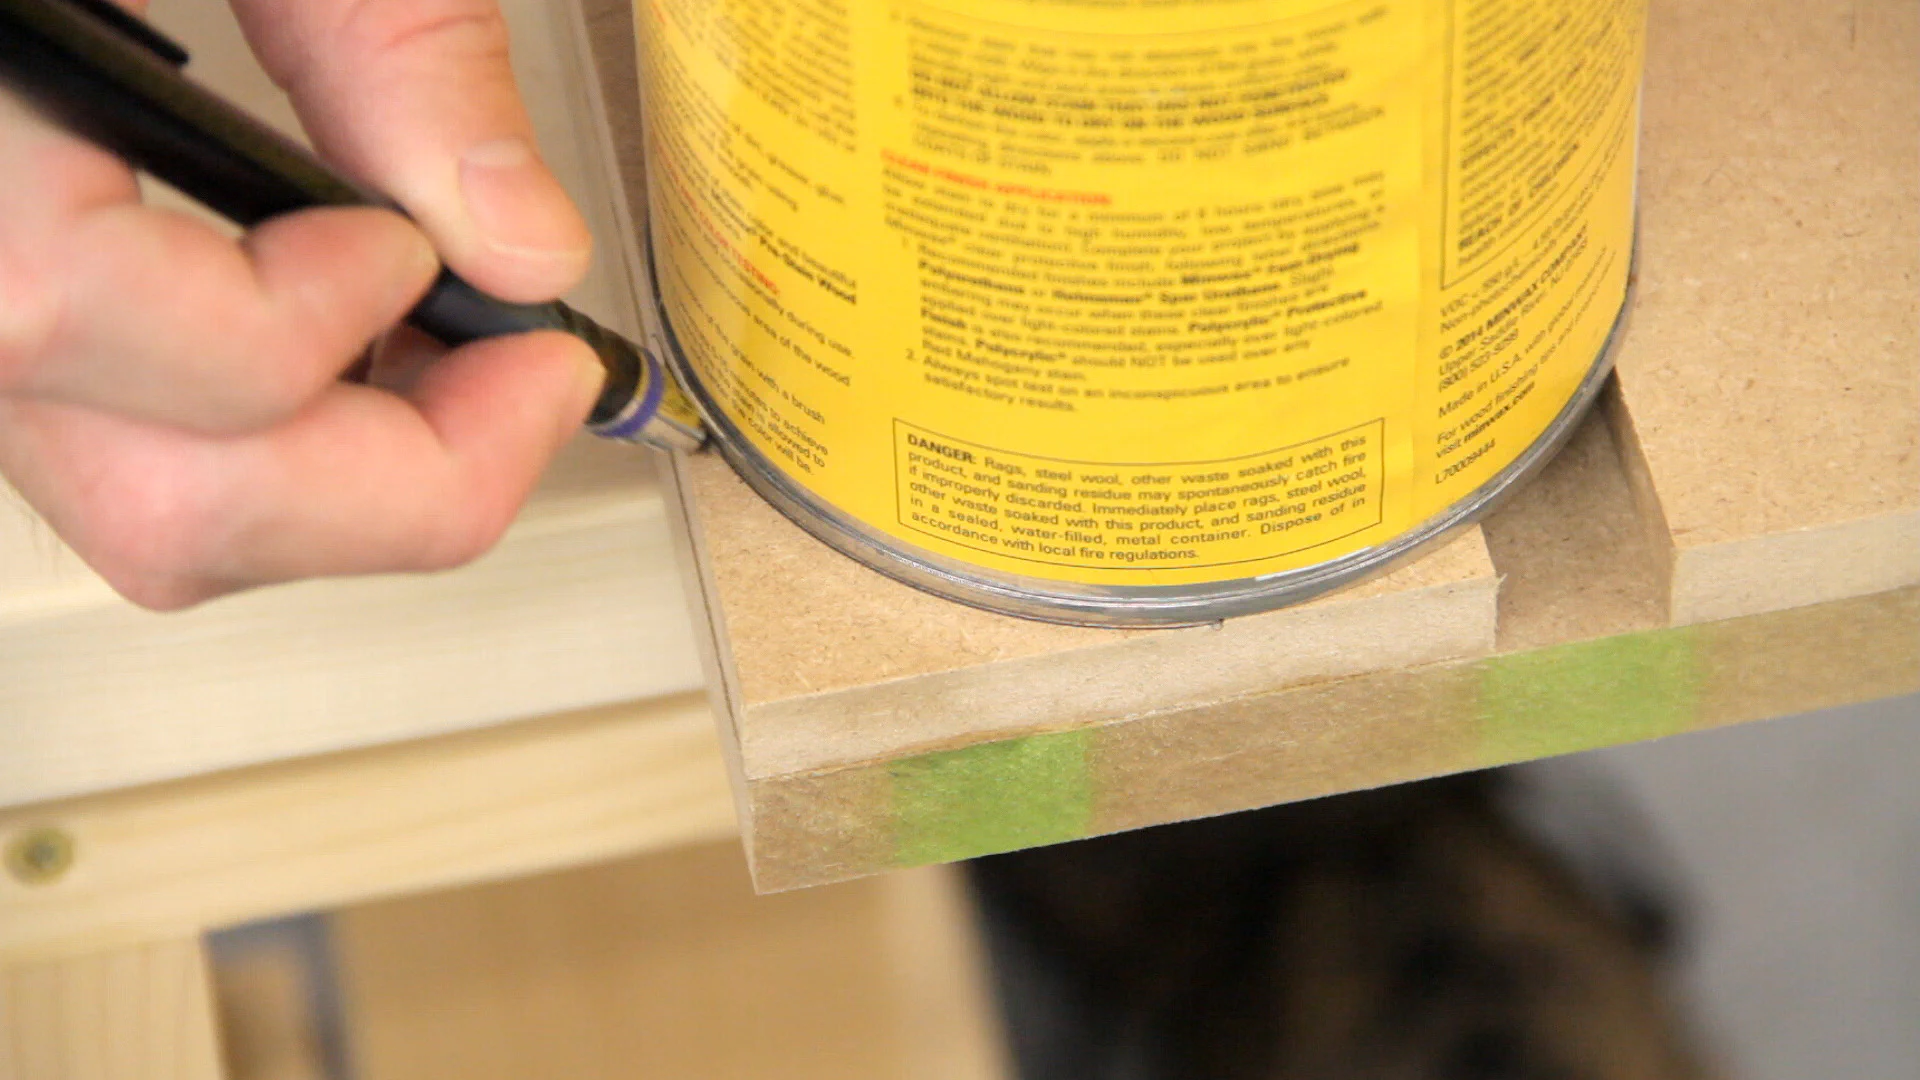
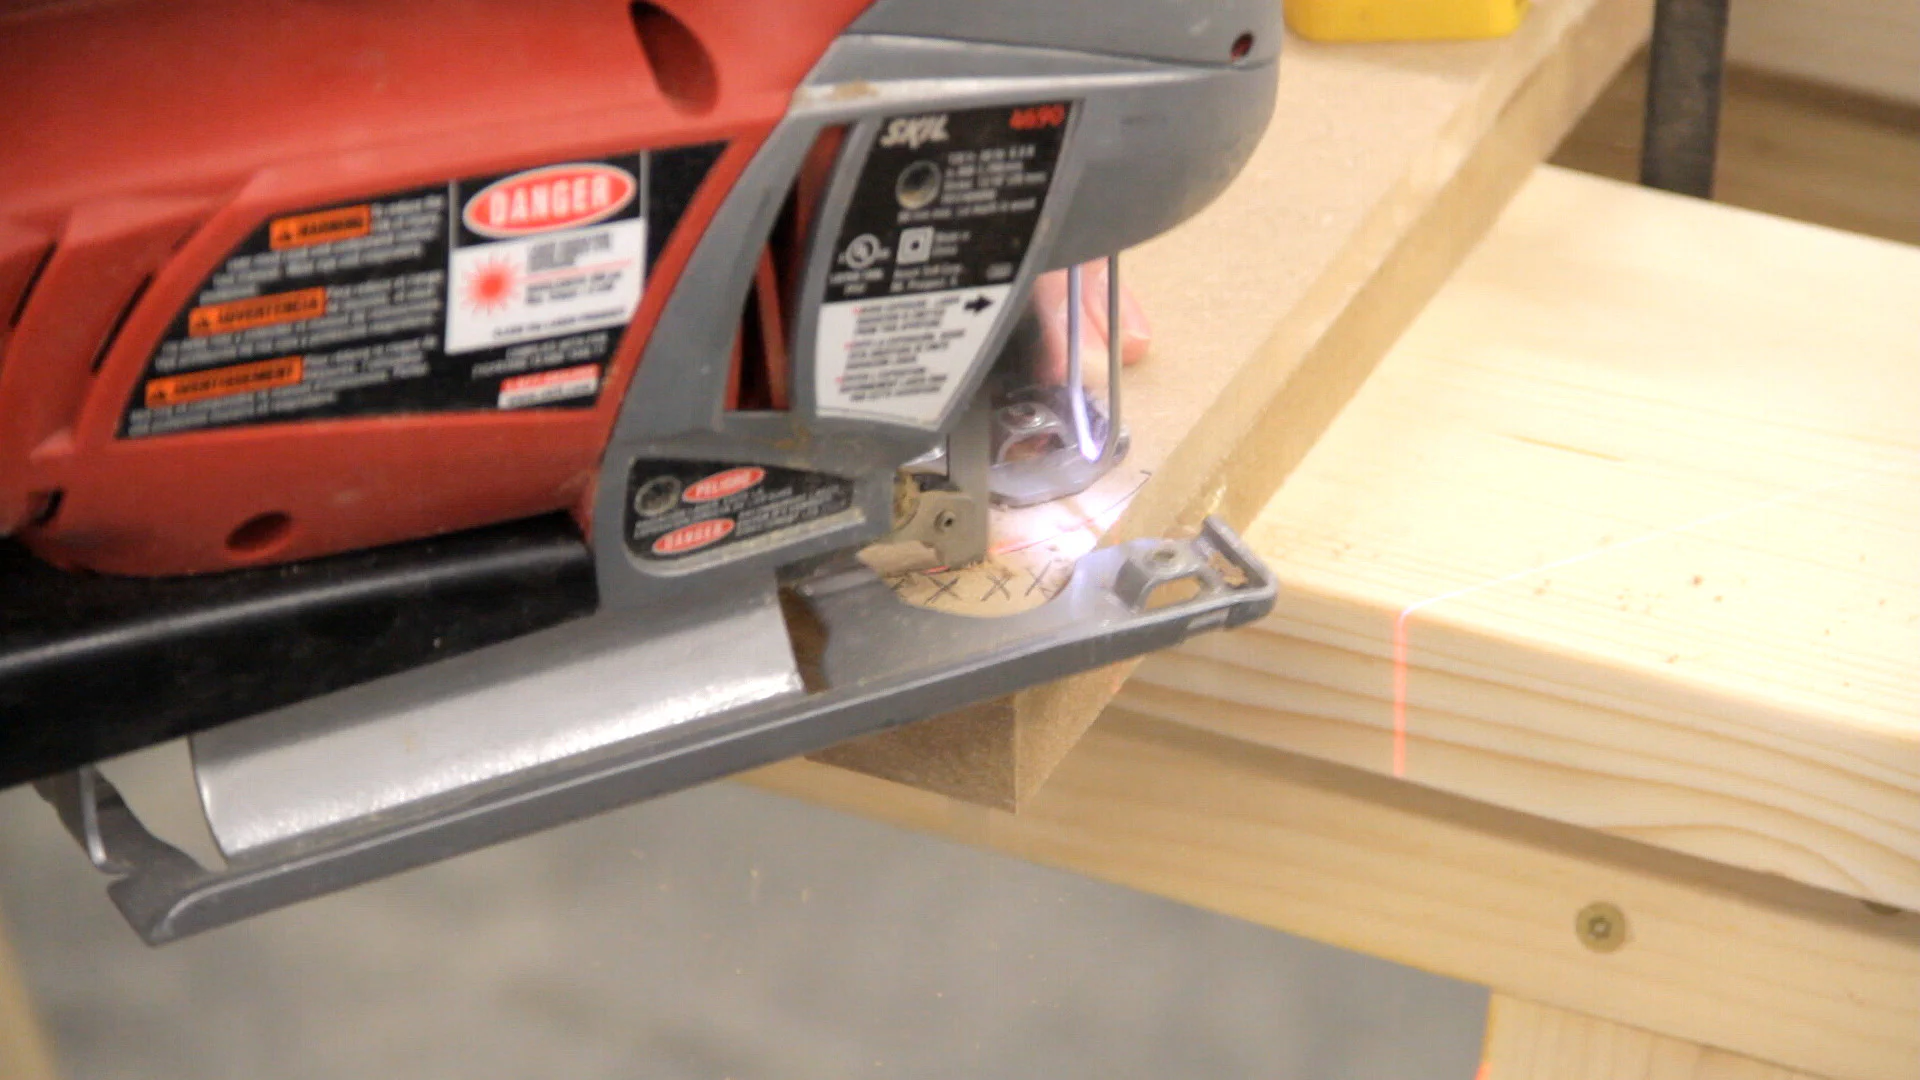
After the glue dried on the top pieces, I used a quart can to trace a curve on the front two corners. I then used a jigsaw to cut the corners off and sanded them down smooth making sure they were still square to the top surface.

Next, it was time to route a groove for the plastic T-molding. For this, I used a slot-cutting bit in my router. To help control the dust a bit I taped a cardboard blast shield on the front of the router which actually helped quite a bit.

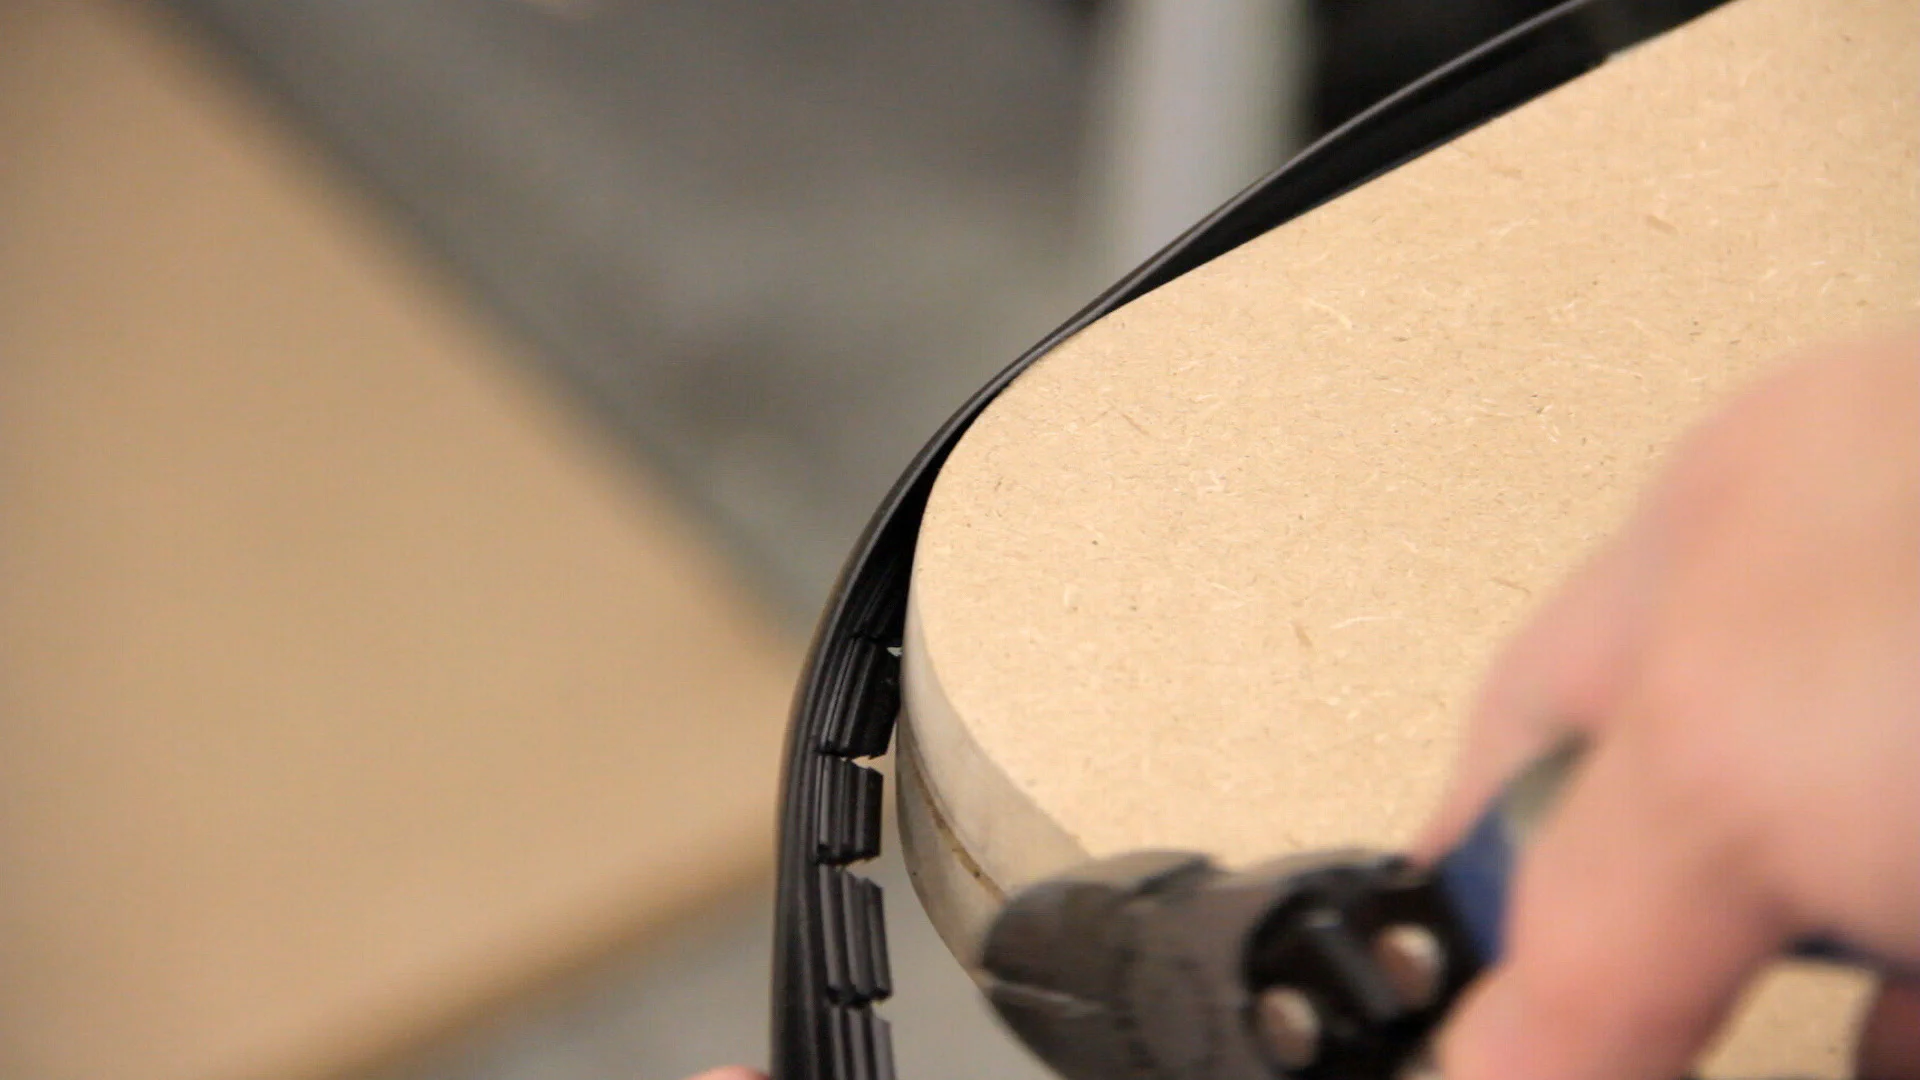
To install the 1.25" T-molding, I started at the back left corner and worked my way around the top using a bit of wood glue. To make it easier to bend the molding around the corners, I cut three or four small notches in the molding’s tongue.
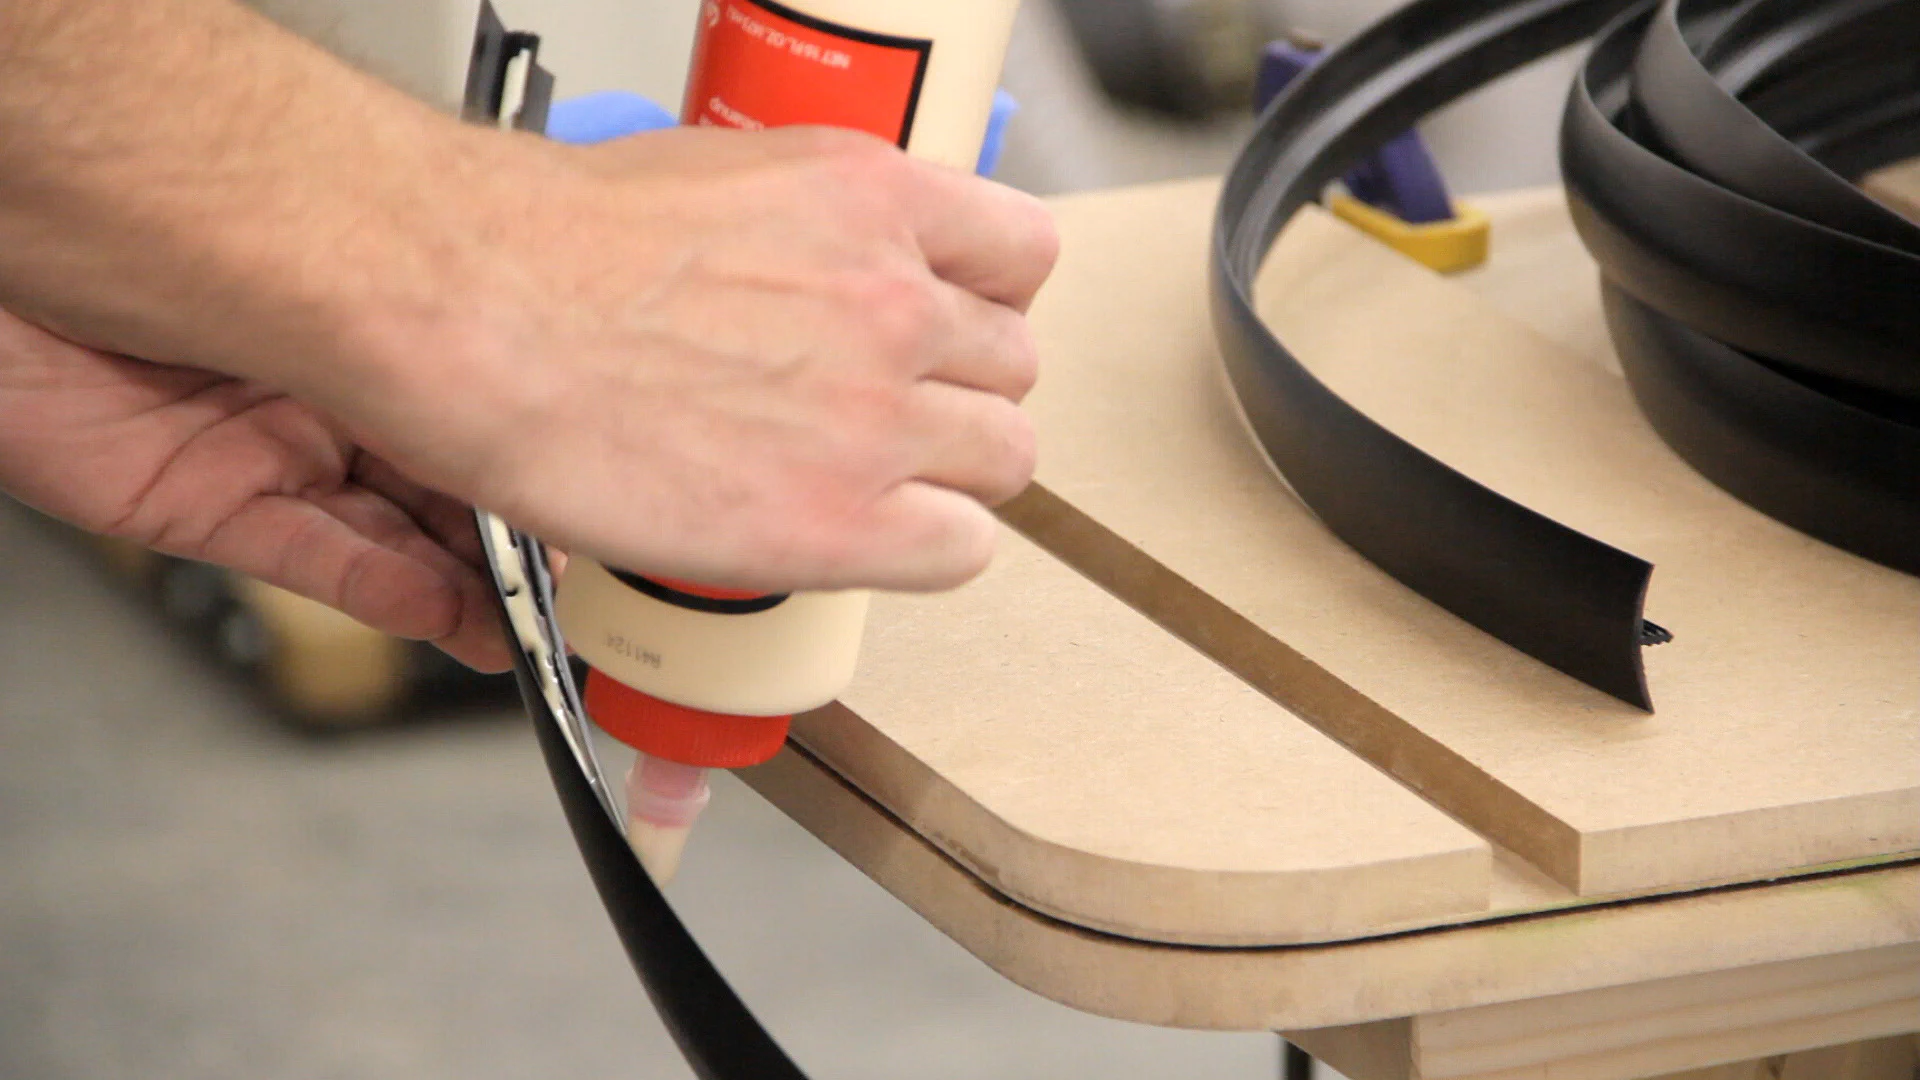
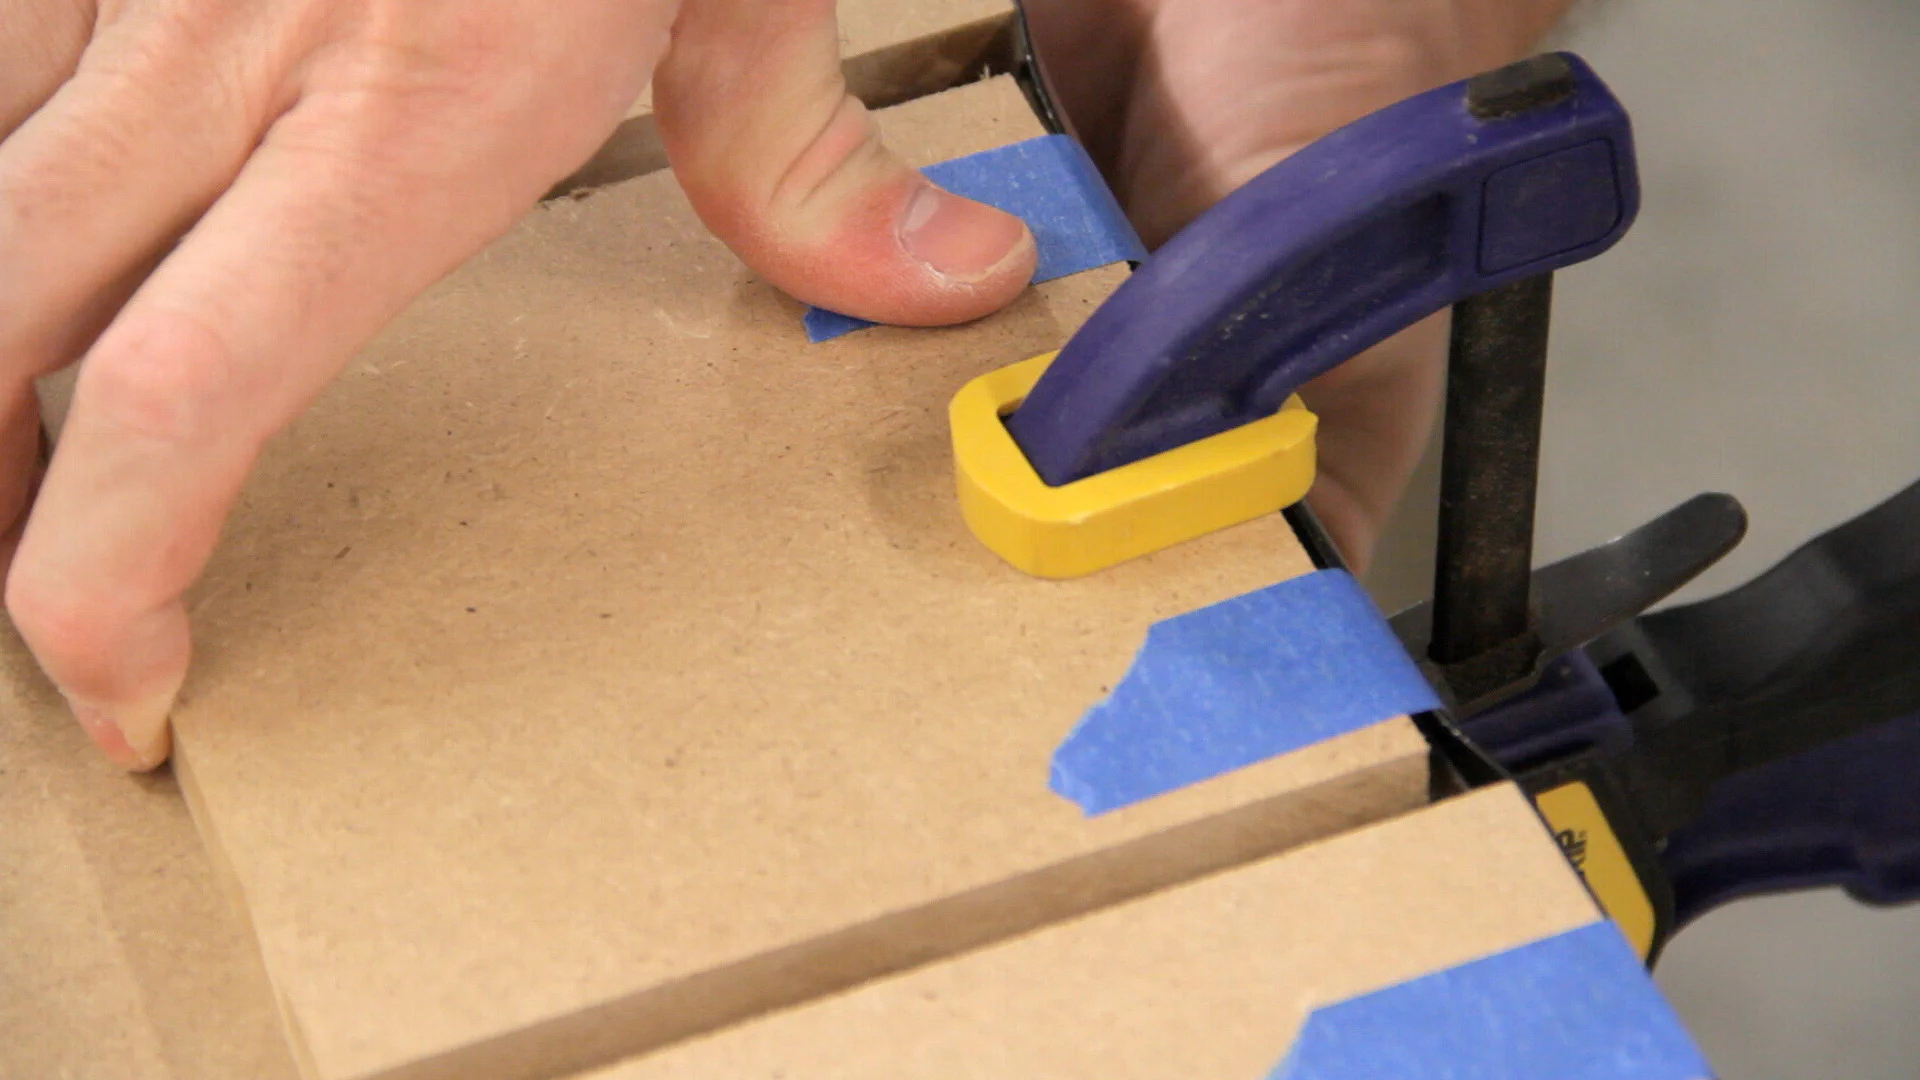
I then used small strips of painters tape as clamps to hold the molding tight against the edge while the glue dried. To get the molding as tight as possible along the center, I clamped one of the inserts in place and then used tape to pull the molding tight against it.
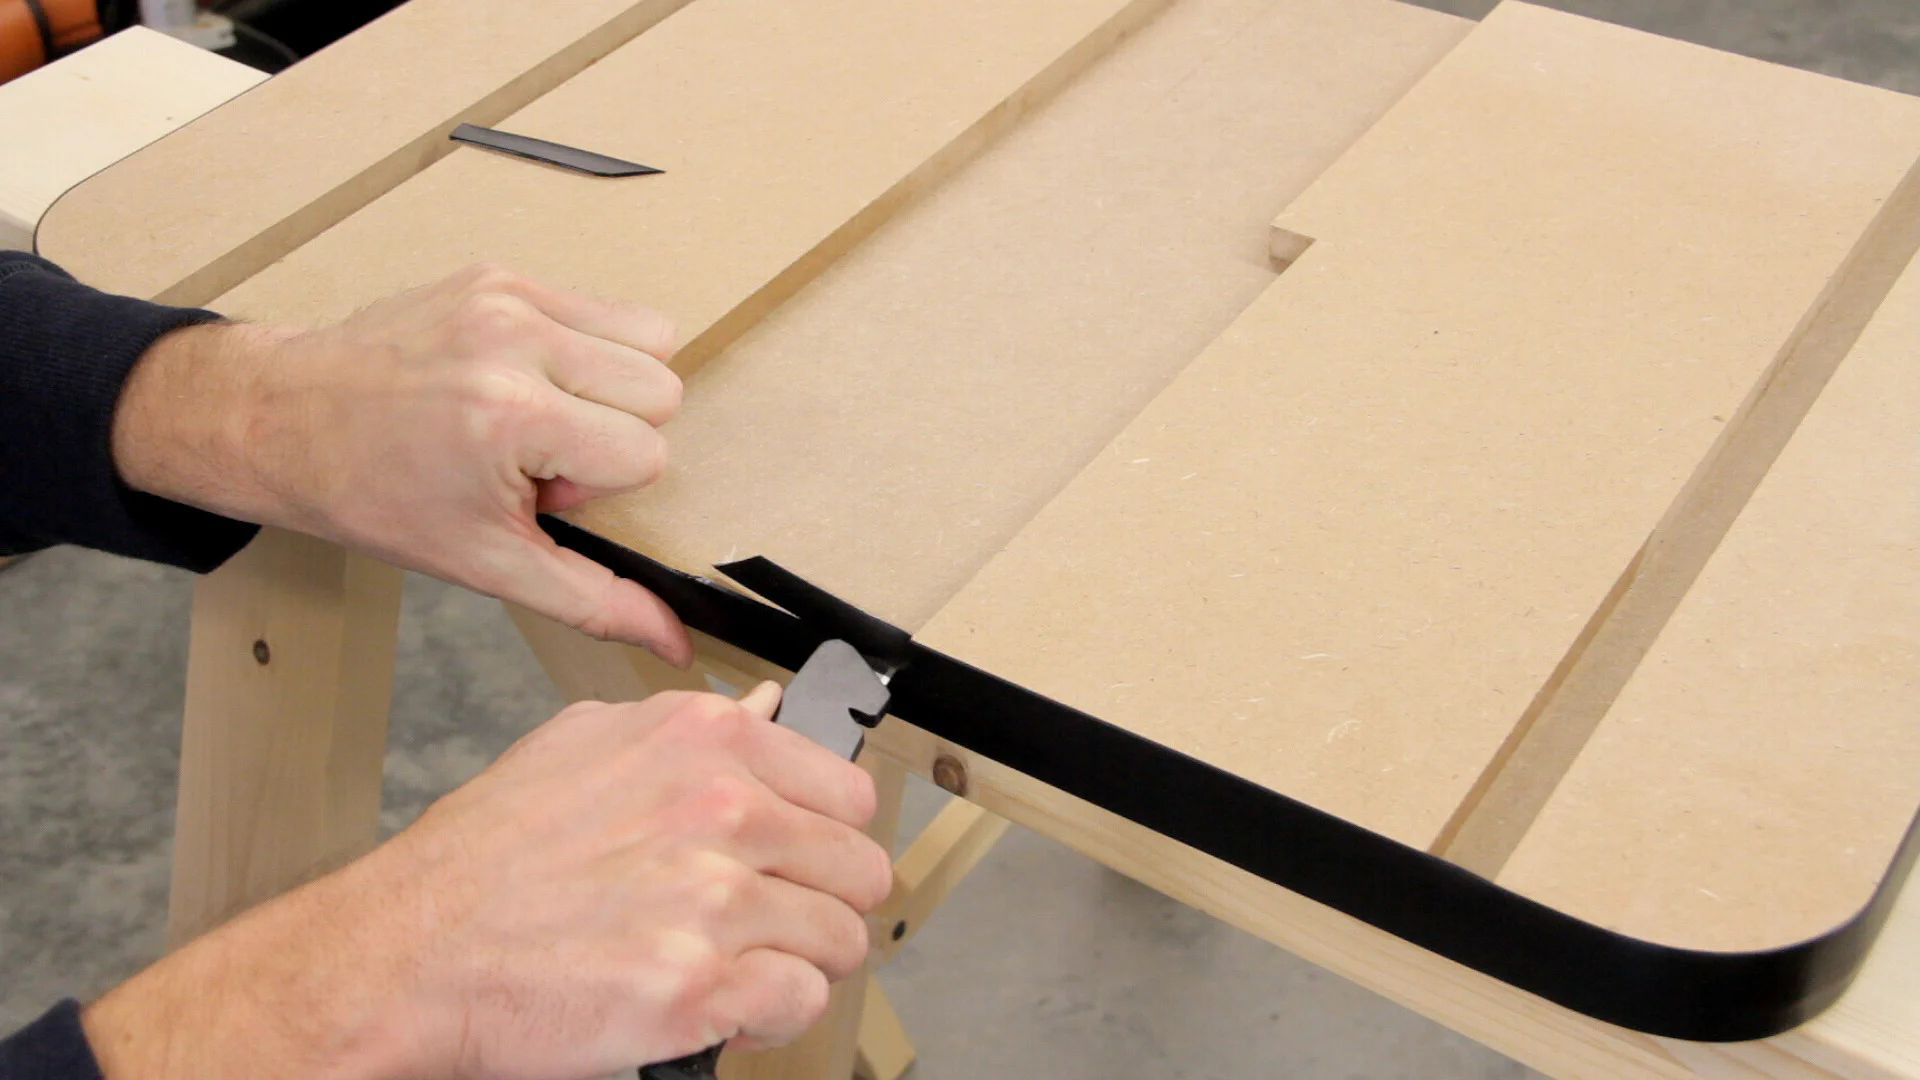
The next day I came back and cut the excess T-molding off with a sharp knife and then gave it a quick coat of boiled linseed oil.

Next, it was time to secure the new table to the drill press table. I started by making two 1/2" thick cleats out of 1/2" thick MDF. I then glued and screwed one of the cleats along the back of the bottom of the new table.
After centering the table on the drill press, I marked the location of the left cleat and then glued and screwed it on as well.

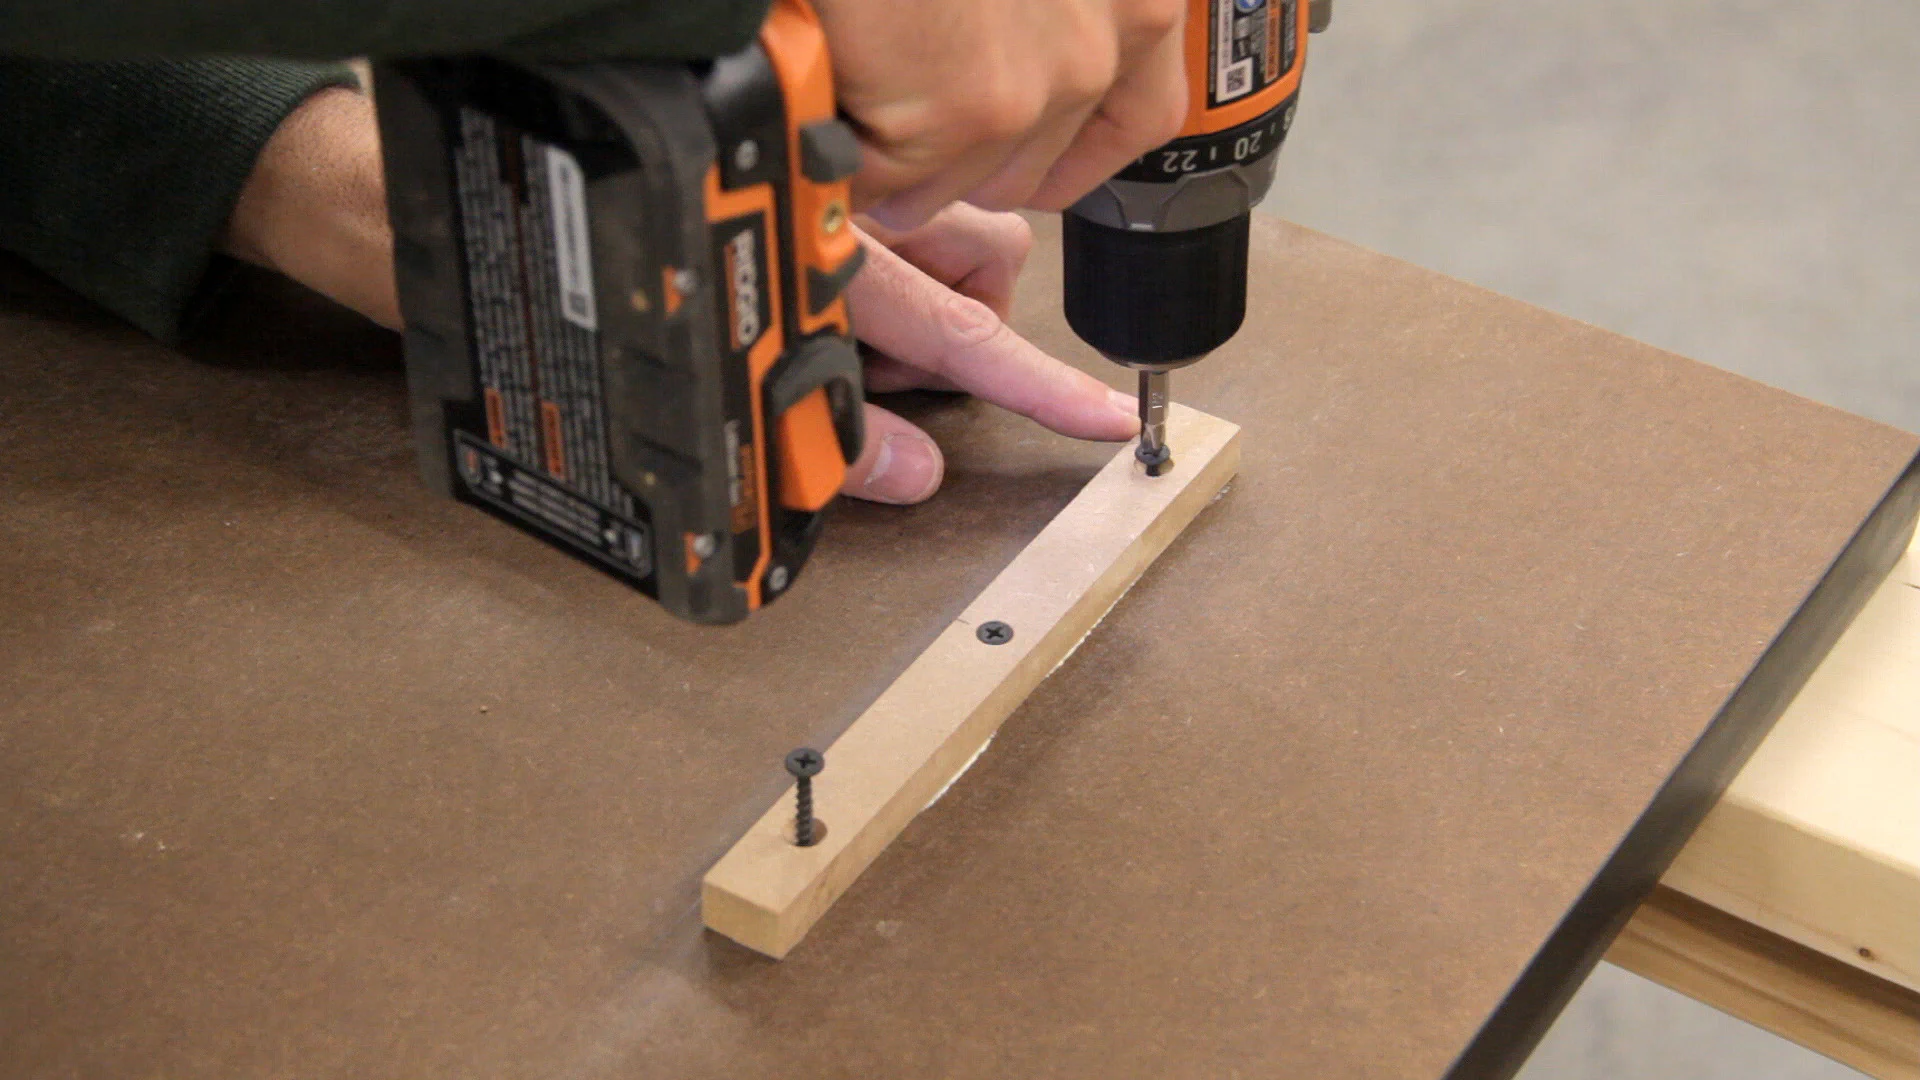
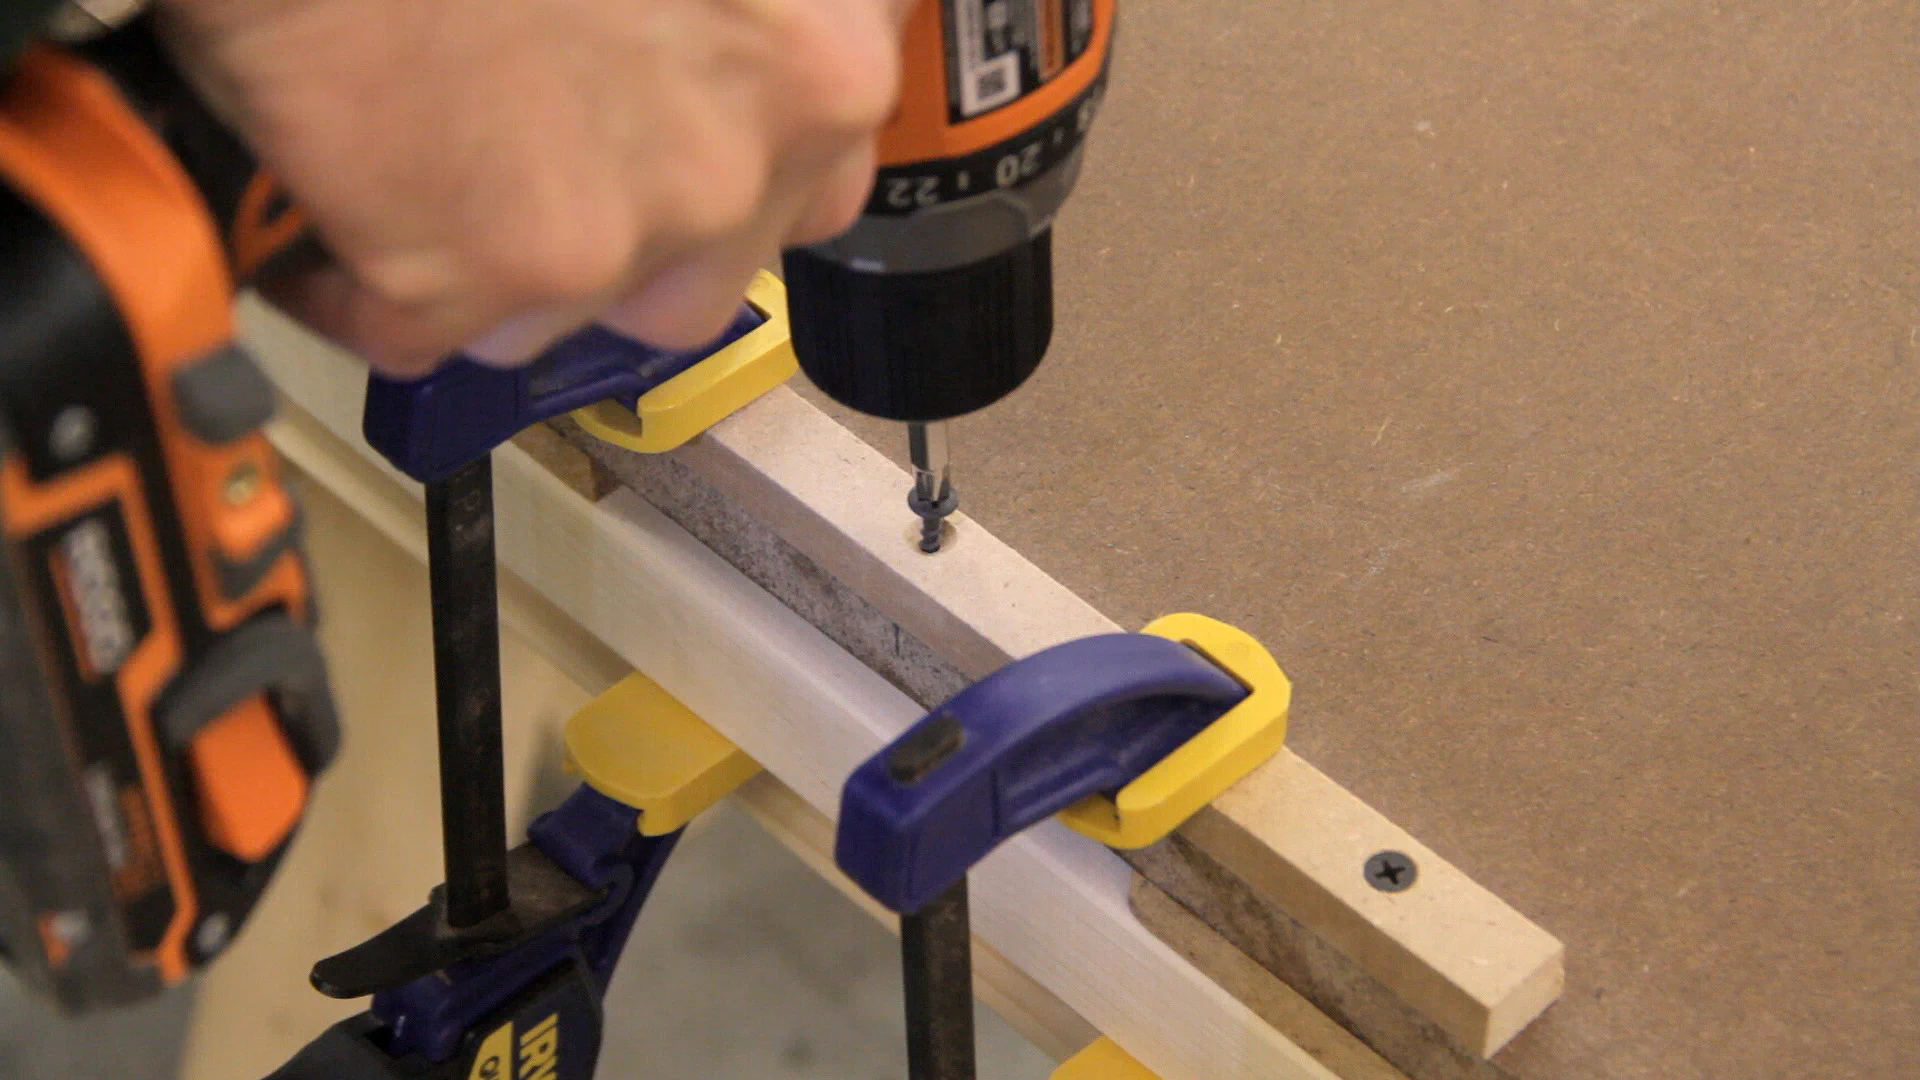
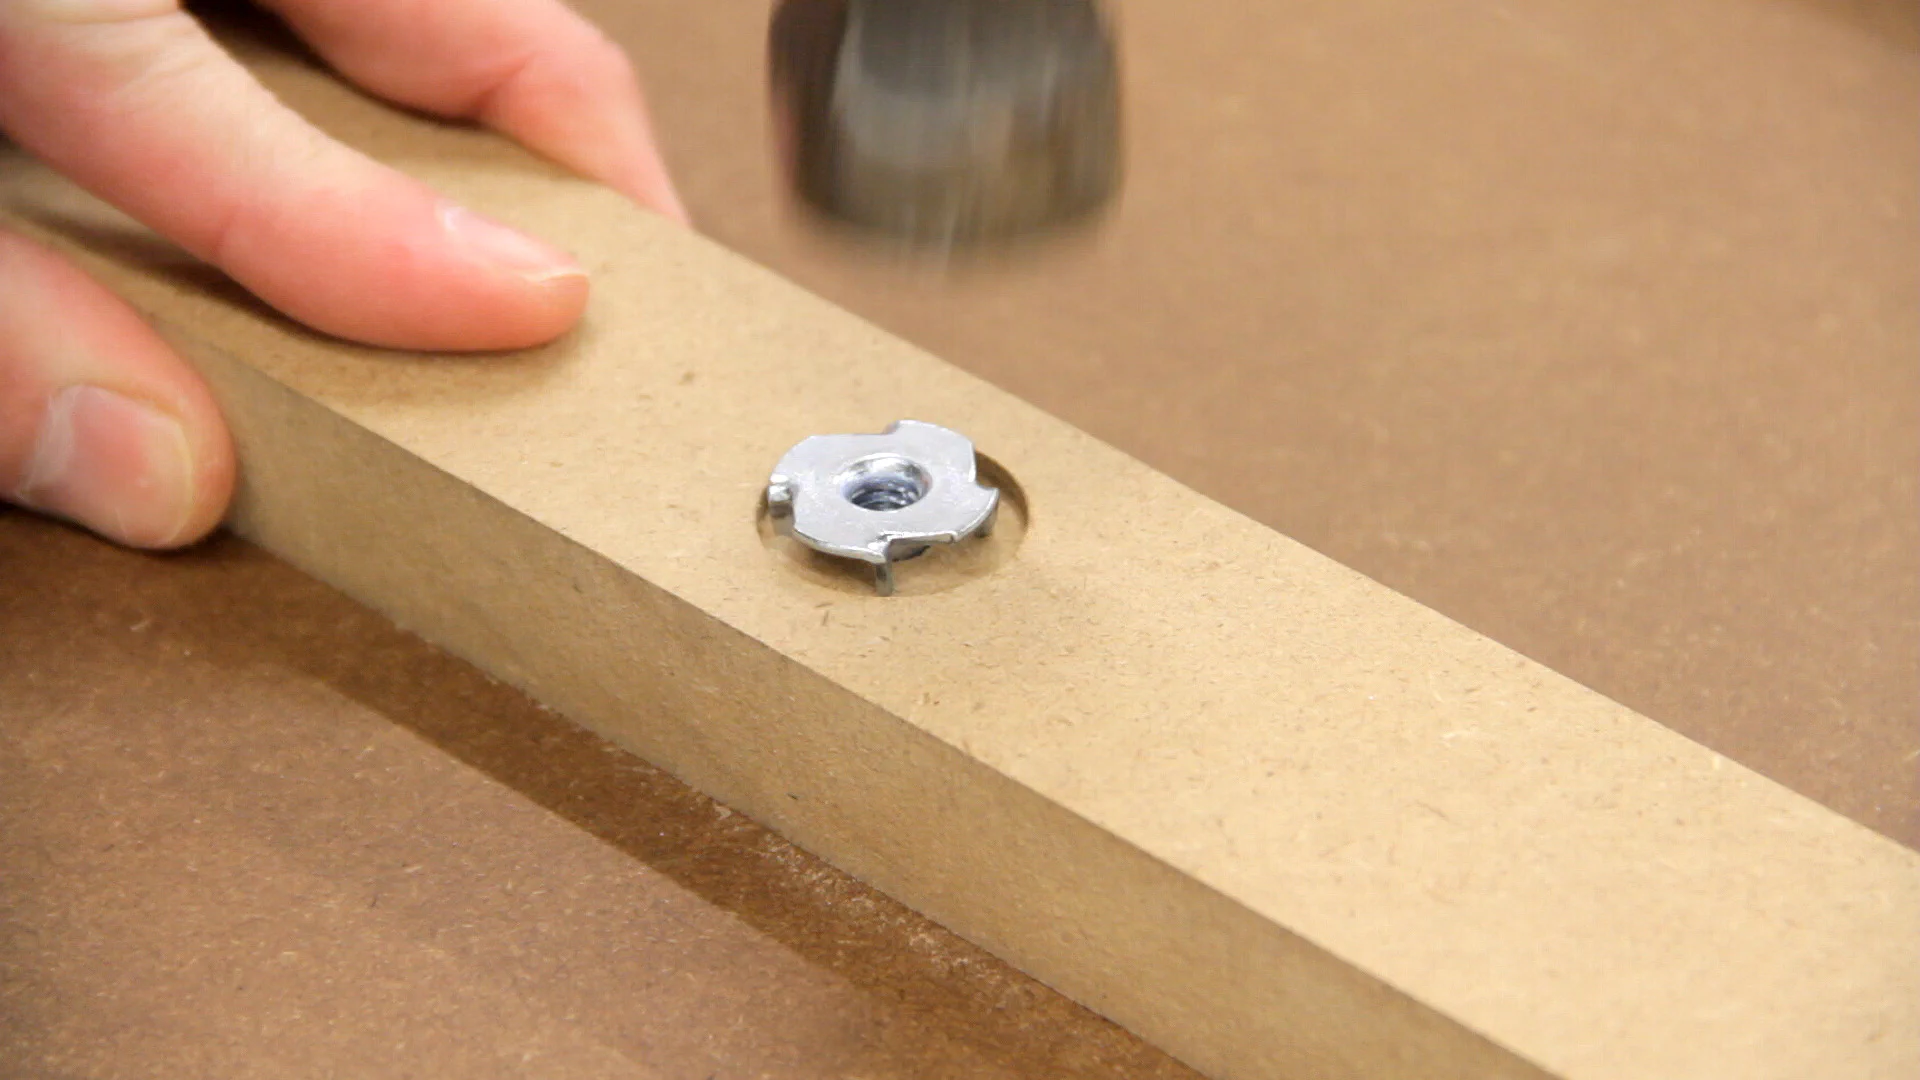
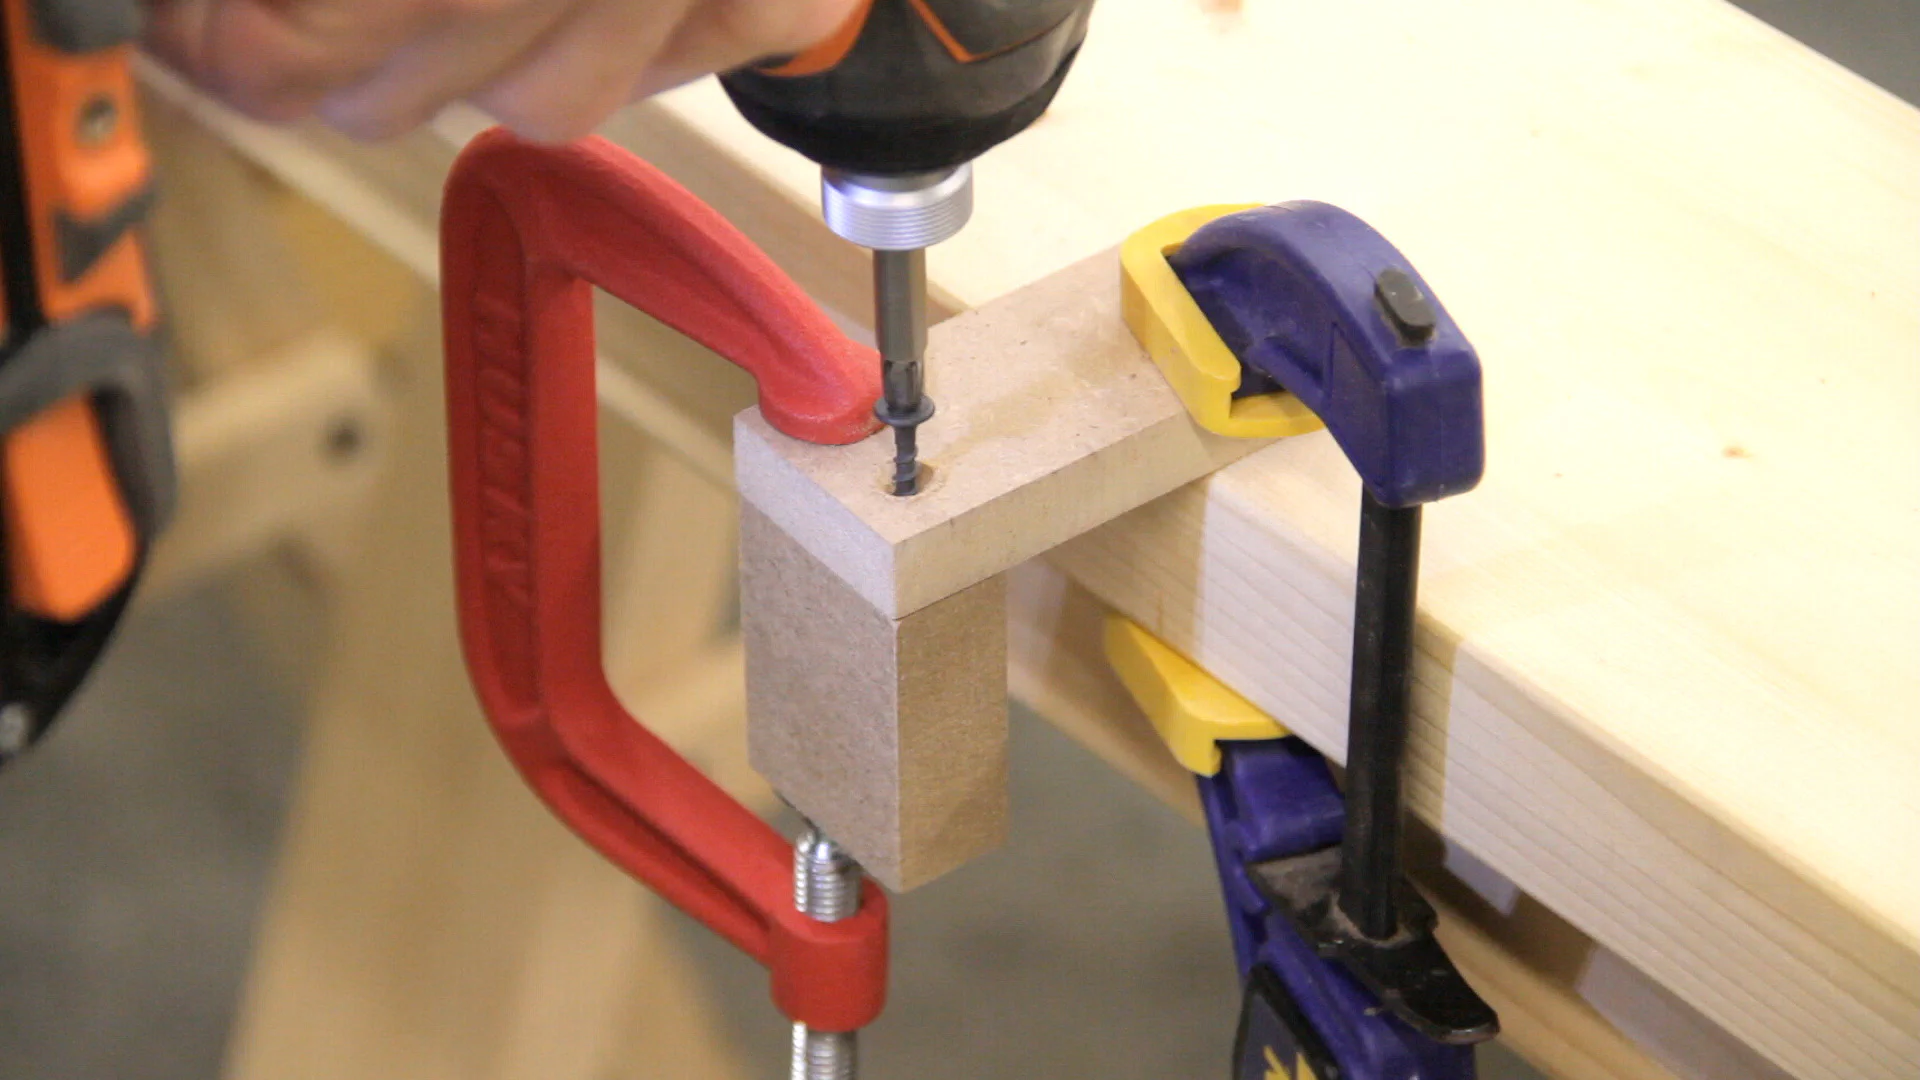
For the front and right sides, I cut 1-1/4" tall cleats out of 3/4" MDF and counterbored and drilled a hole for a T-nut in the center of each. Then I marked the location of each cleat on the bottom of the table and predrilled holes in both the cleat and table bottom.
Since the screws would be going into the edge of the MDF, I attached each cleat using two long cabinet screws (flat head screws) to keep the MDF from splitting. I also made sure that the T-nut was facing inwards so that it would not get pushed out later by the thumbscrew.

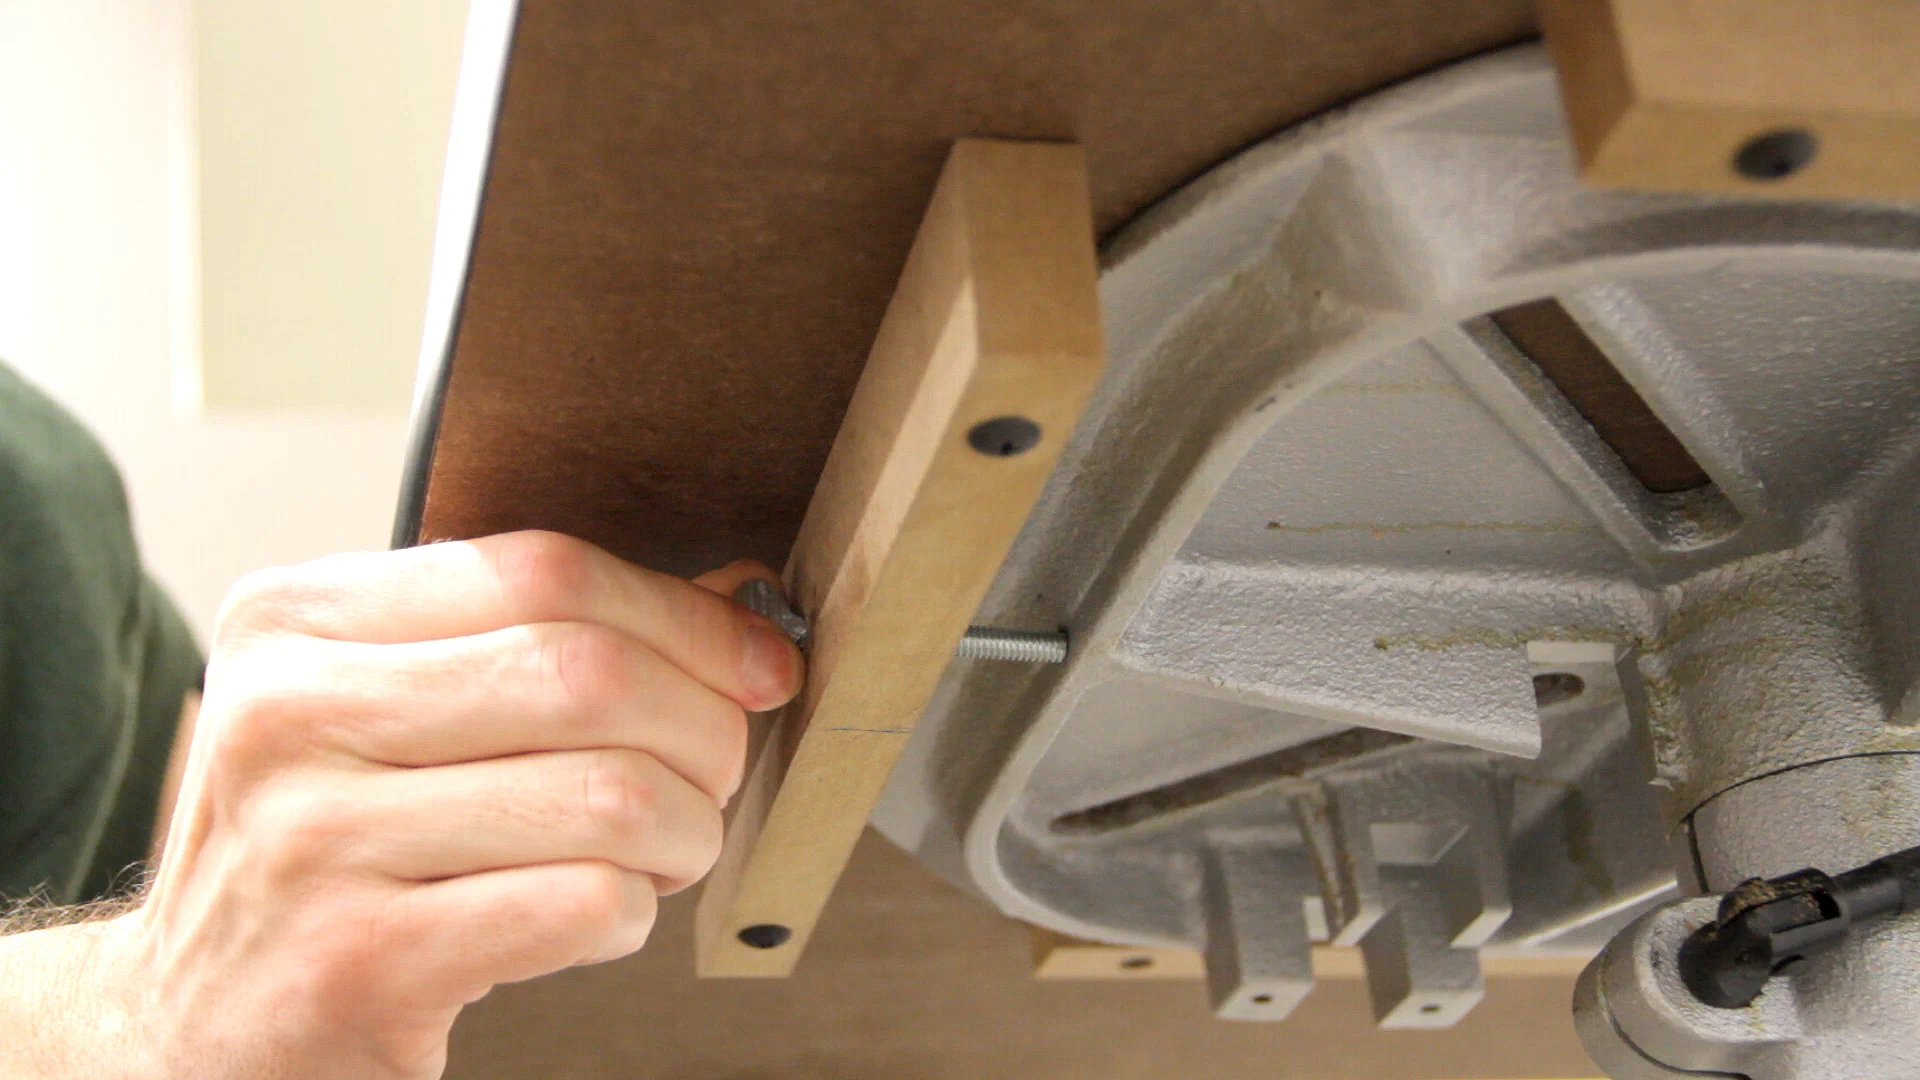
With that completed, the new table can be secured to the drill press using a pair of thumbscrews. This also makes it very easy to remove the table later if need be. Note that original drill press tables will vary by manufacturer, so a pair of toggle clamps may work better in some cases.
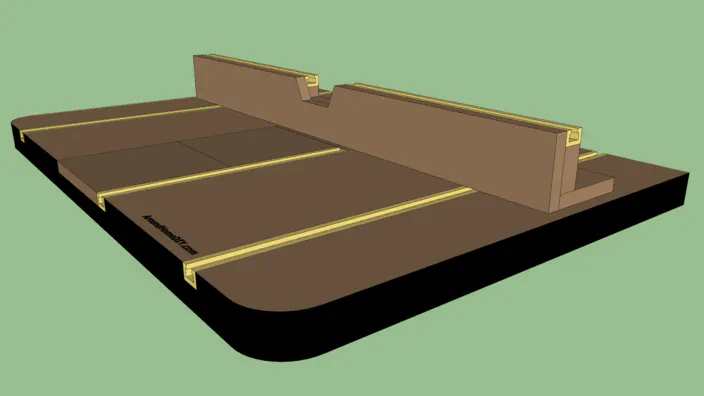
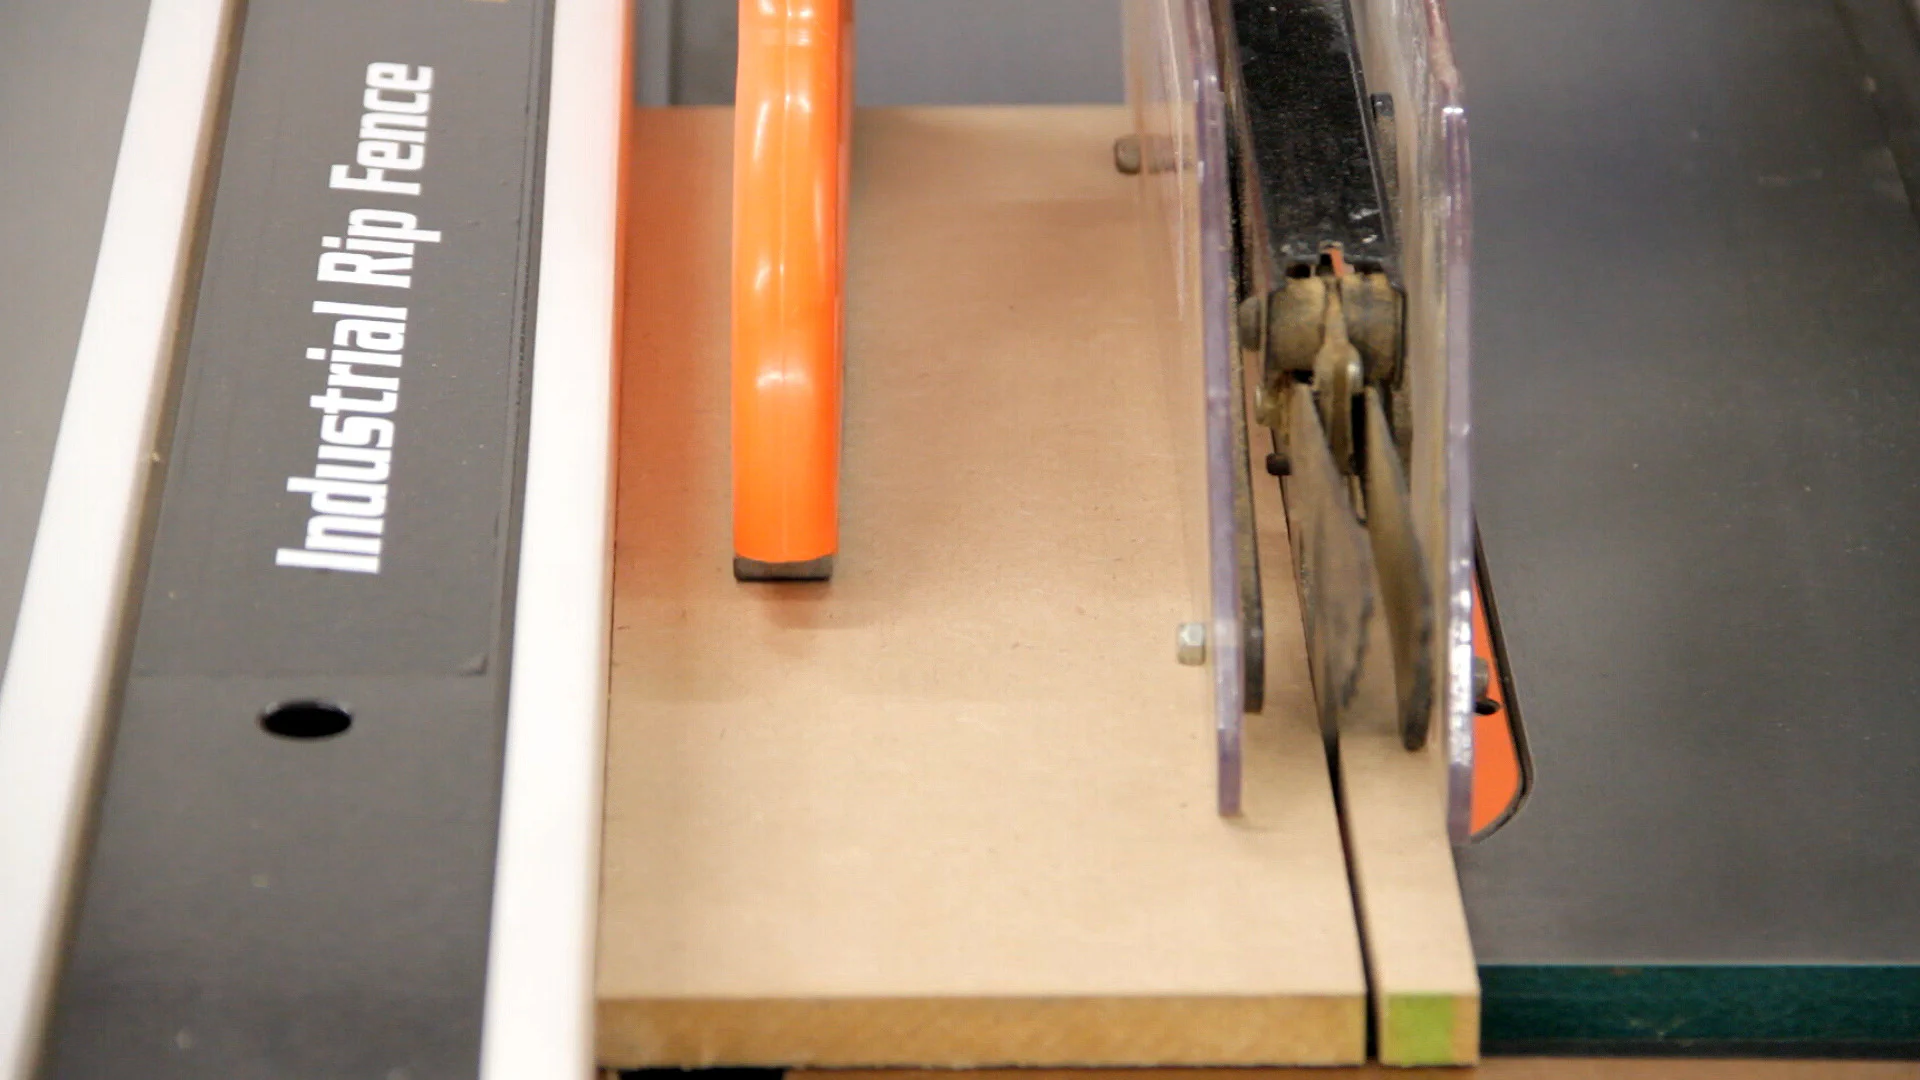
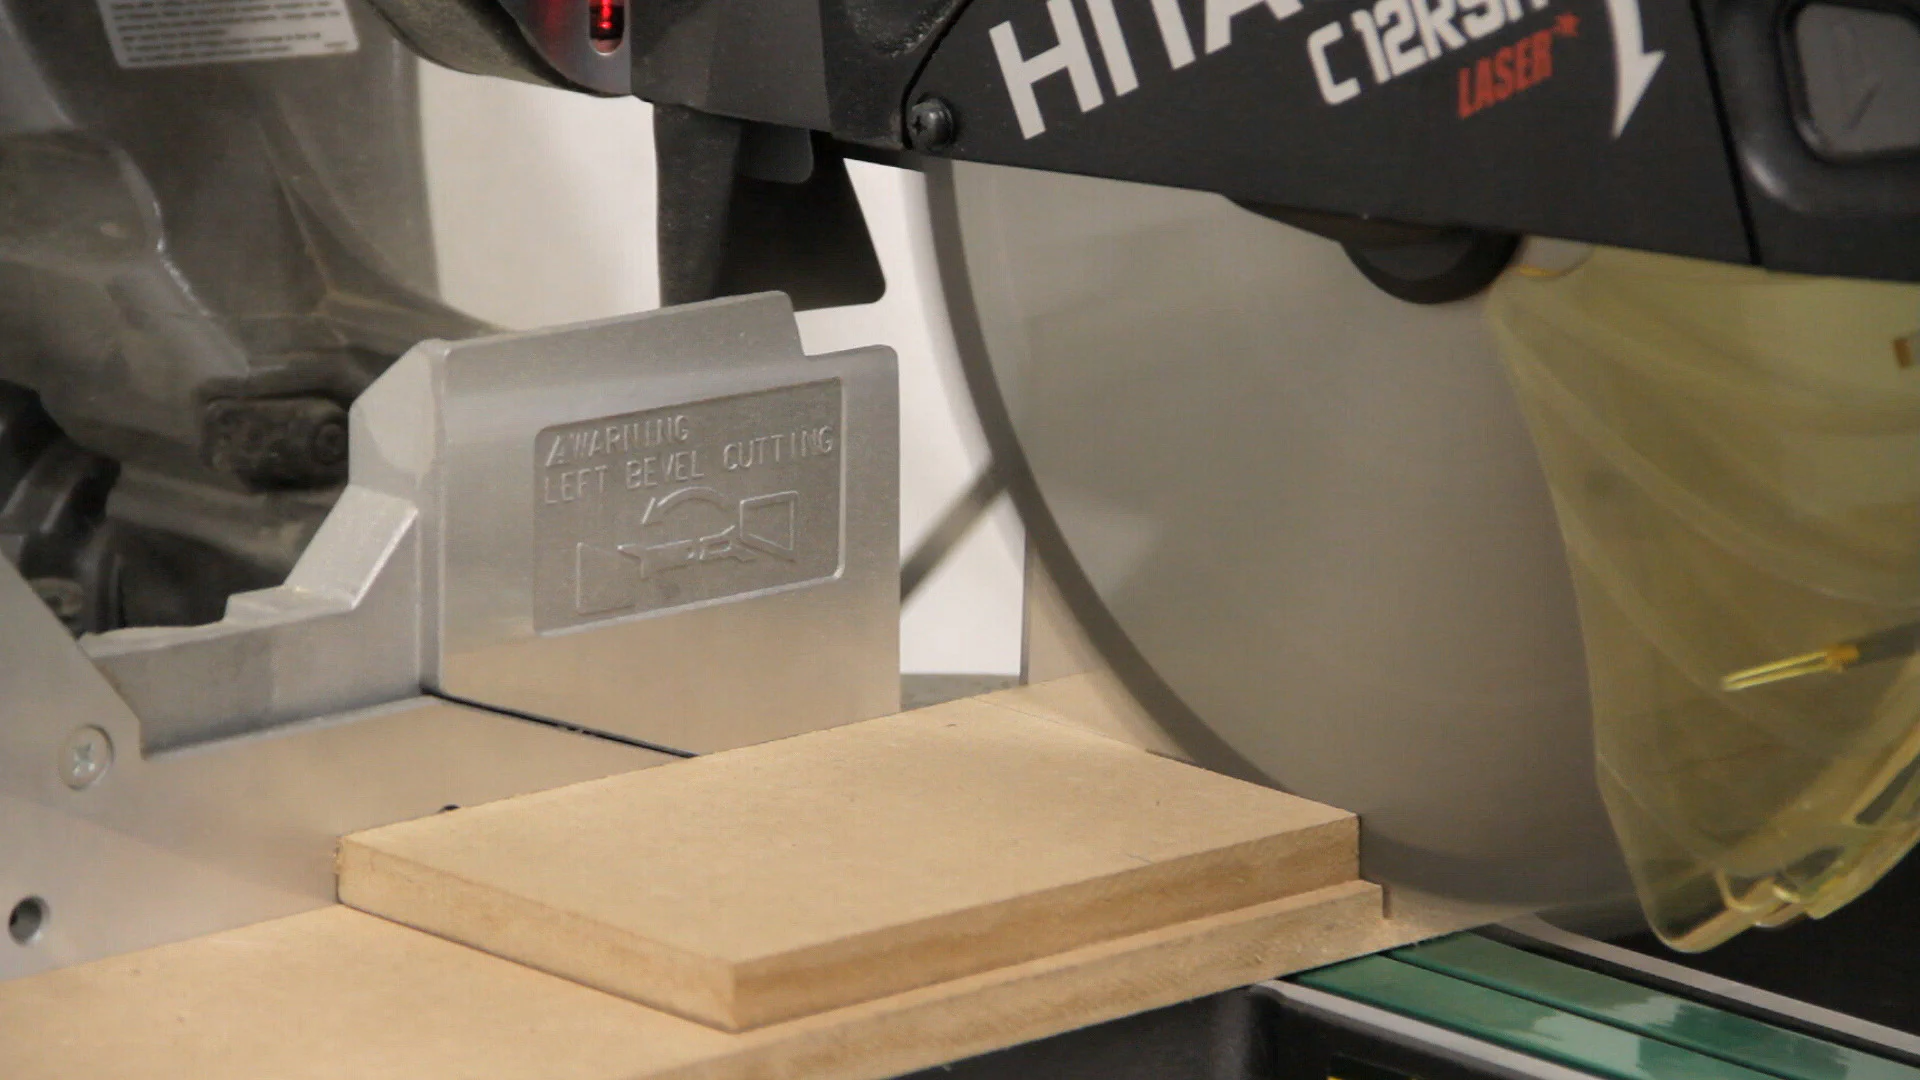
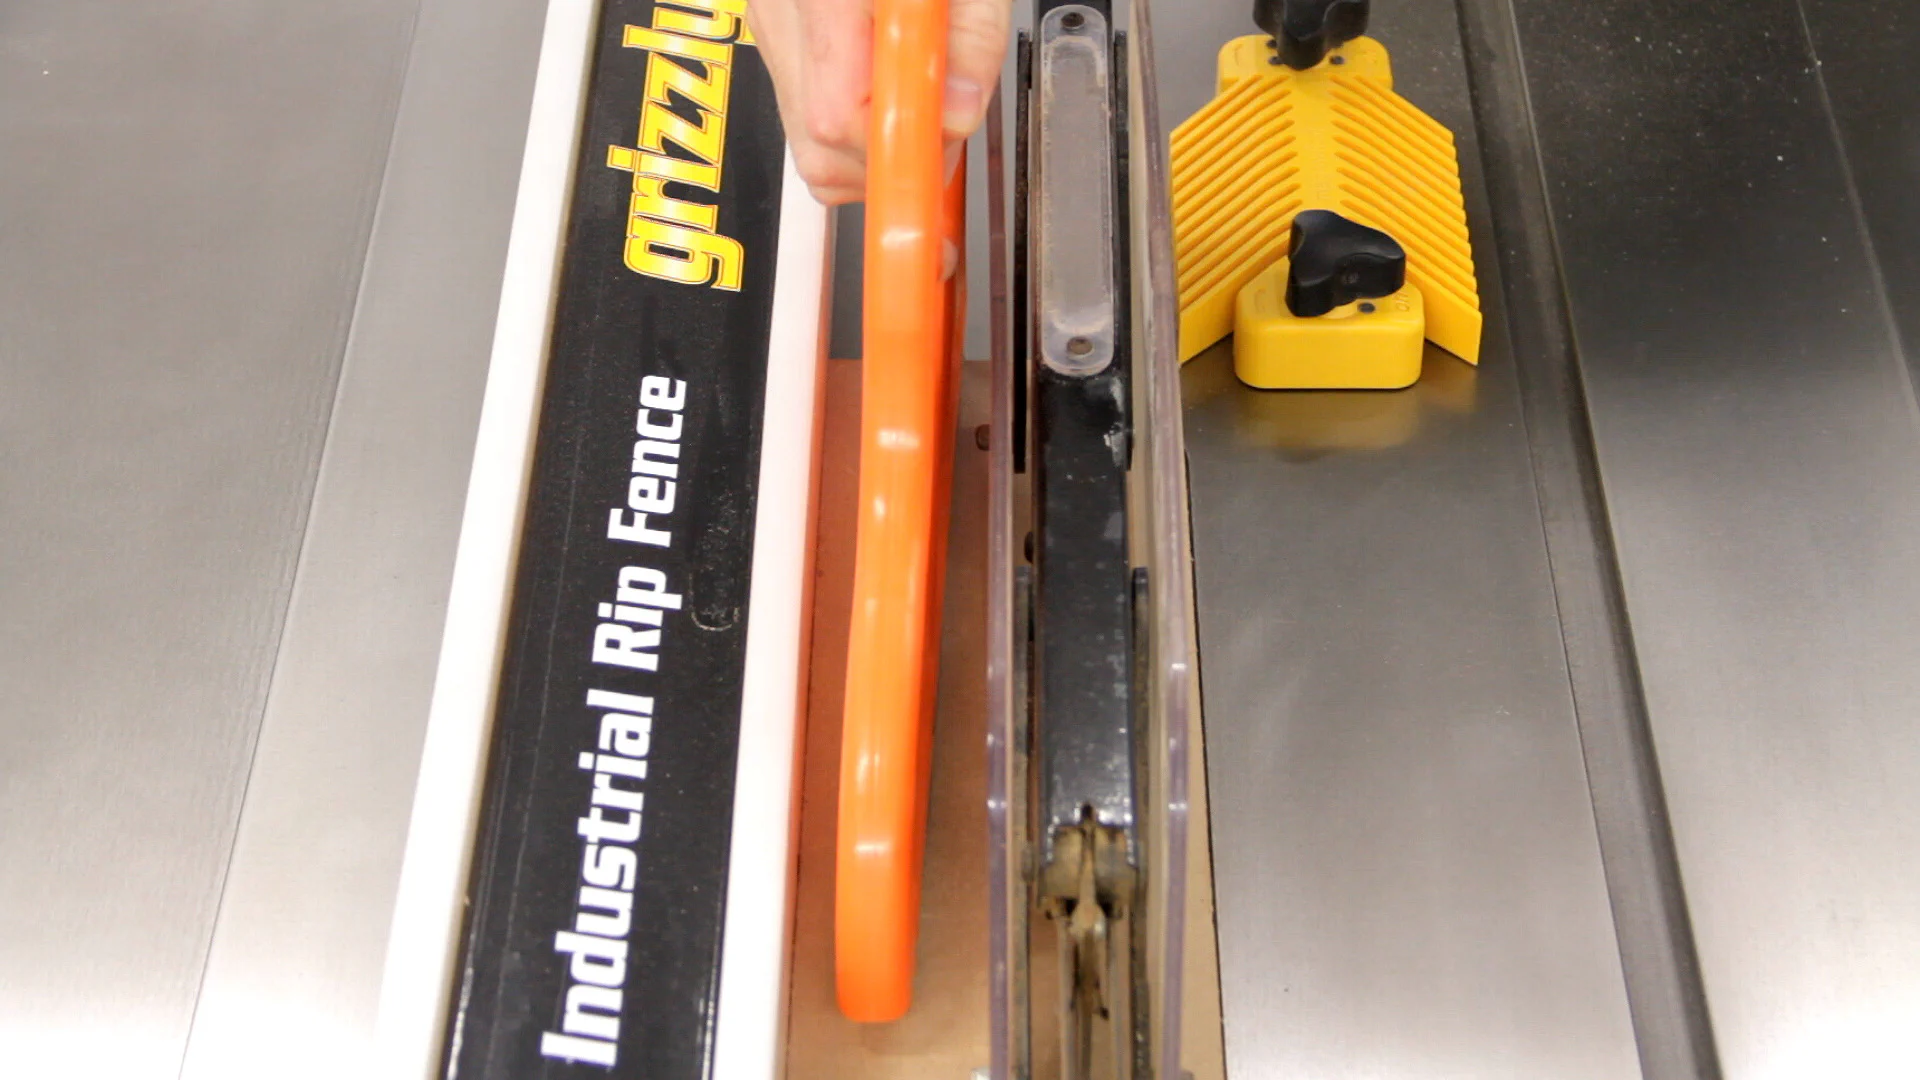
Next, up was the fence. I started by cutting a piece of 1/2" and 3/4" MDF to length at the miter saw and then ripped the 1/2" MDF into two pieces and the 3/4" into a single piece at the table saw.
The idea was to use a 1/2" piece for the bottom, and then a shorter 3/4" piece on top of that which would hold a piece of T-Track. The 2nd piece of 1/2" MDF would then be glued onto the front just to create a smooth surface. But to keep the drill press chuck bumping into the fence, I cut a groove in the top center of the front 1/2" and 3/4" pieces. Then I just glued and clamped the 3/4" piece in place. Note that it is important that the surface the fence bottom is clamped to is flat so that it will not bow the fence.

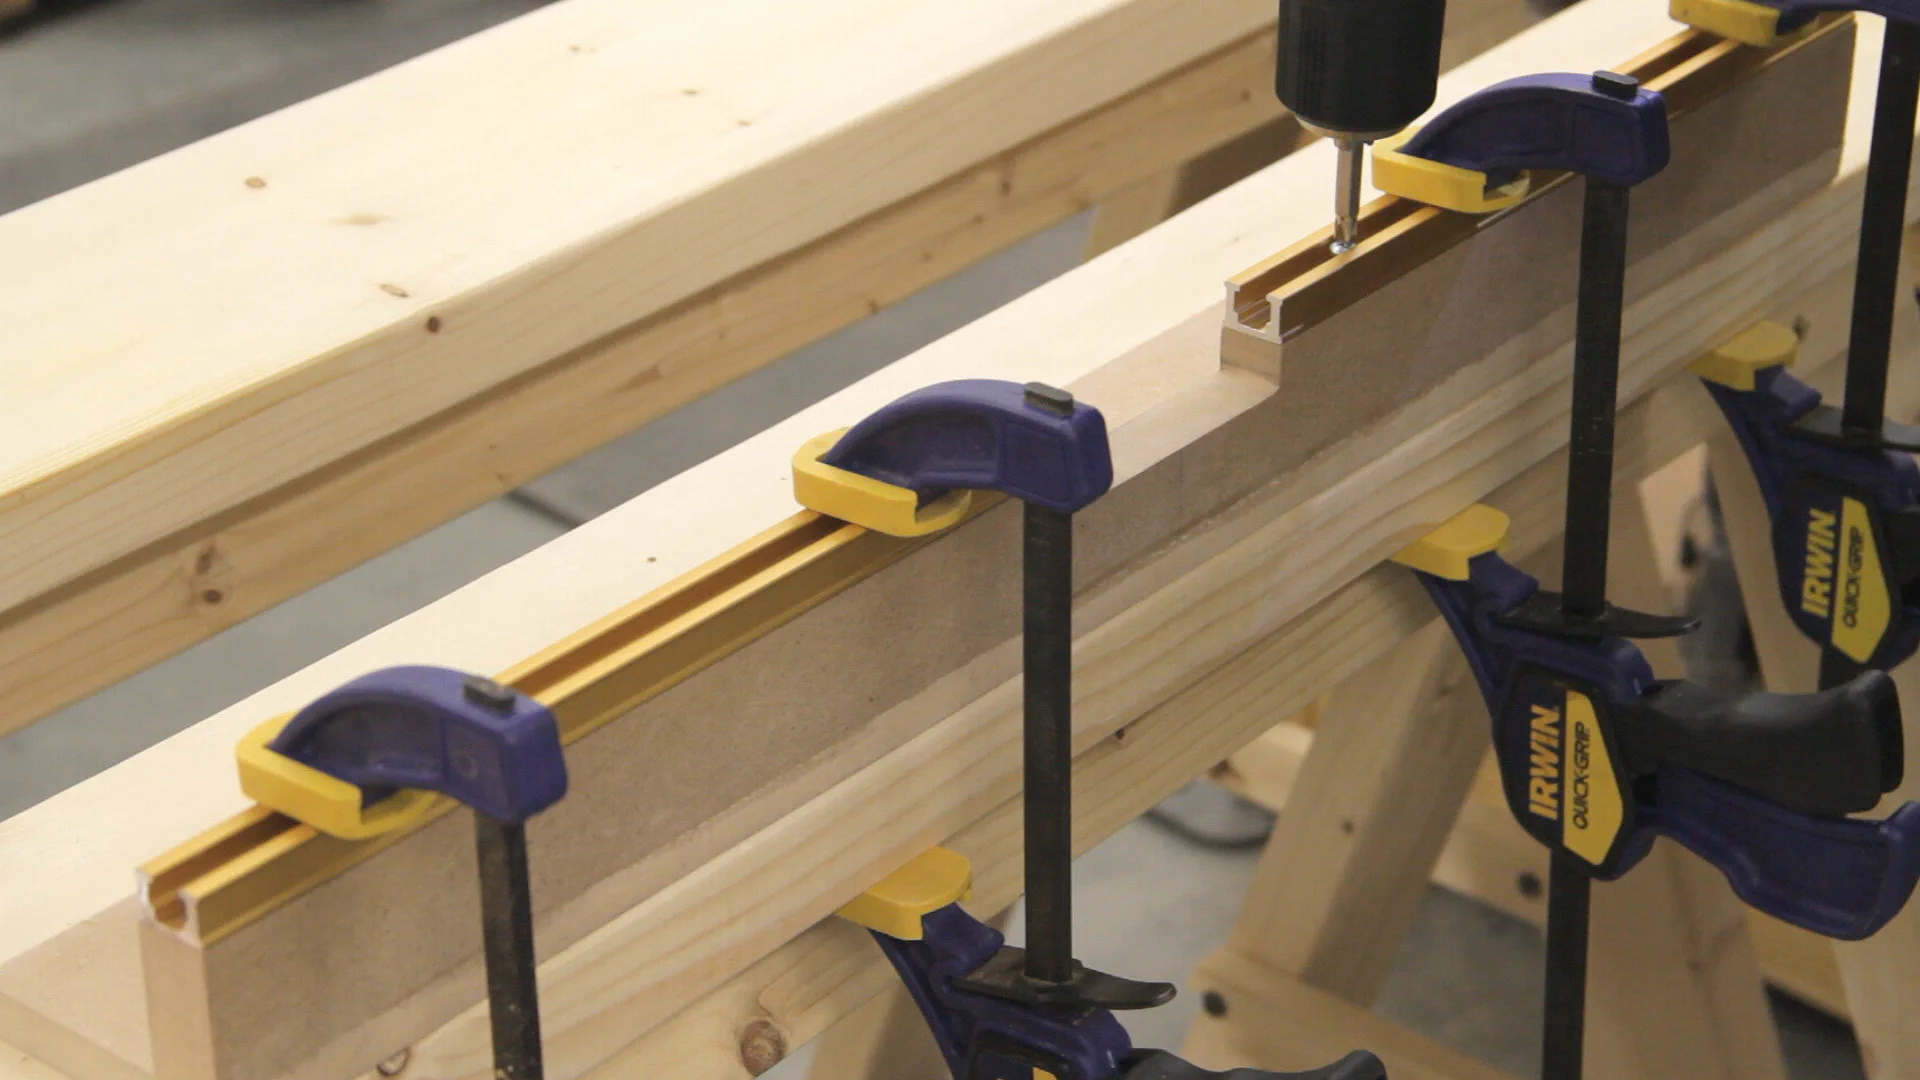
While the glue was drying I measured and cut the T-track pieces for the fence. I then predrilled and screwed them into place. Once that was done, I glued the front piece of 1/2" MDF into place making sure the top was flush with the top of the T-track.
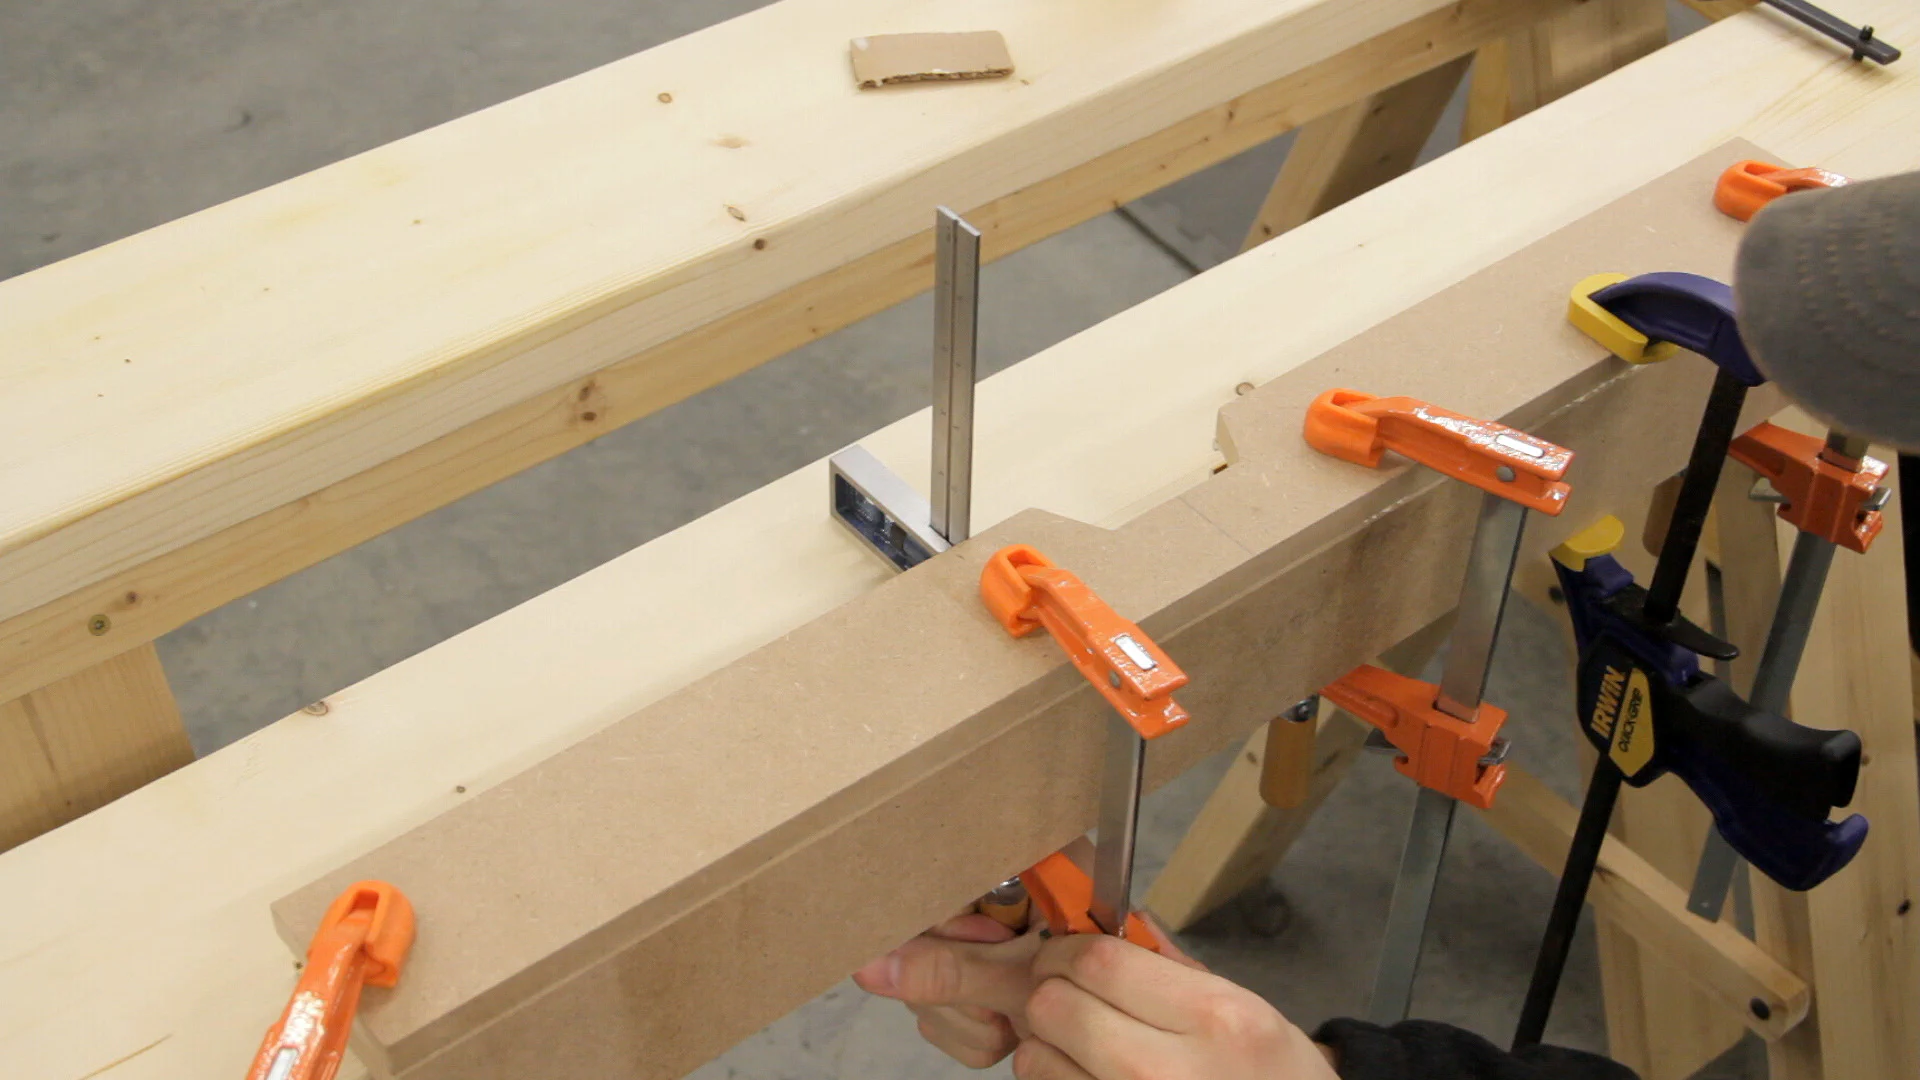
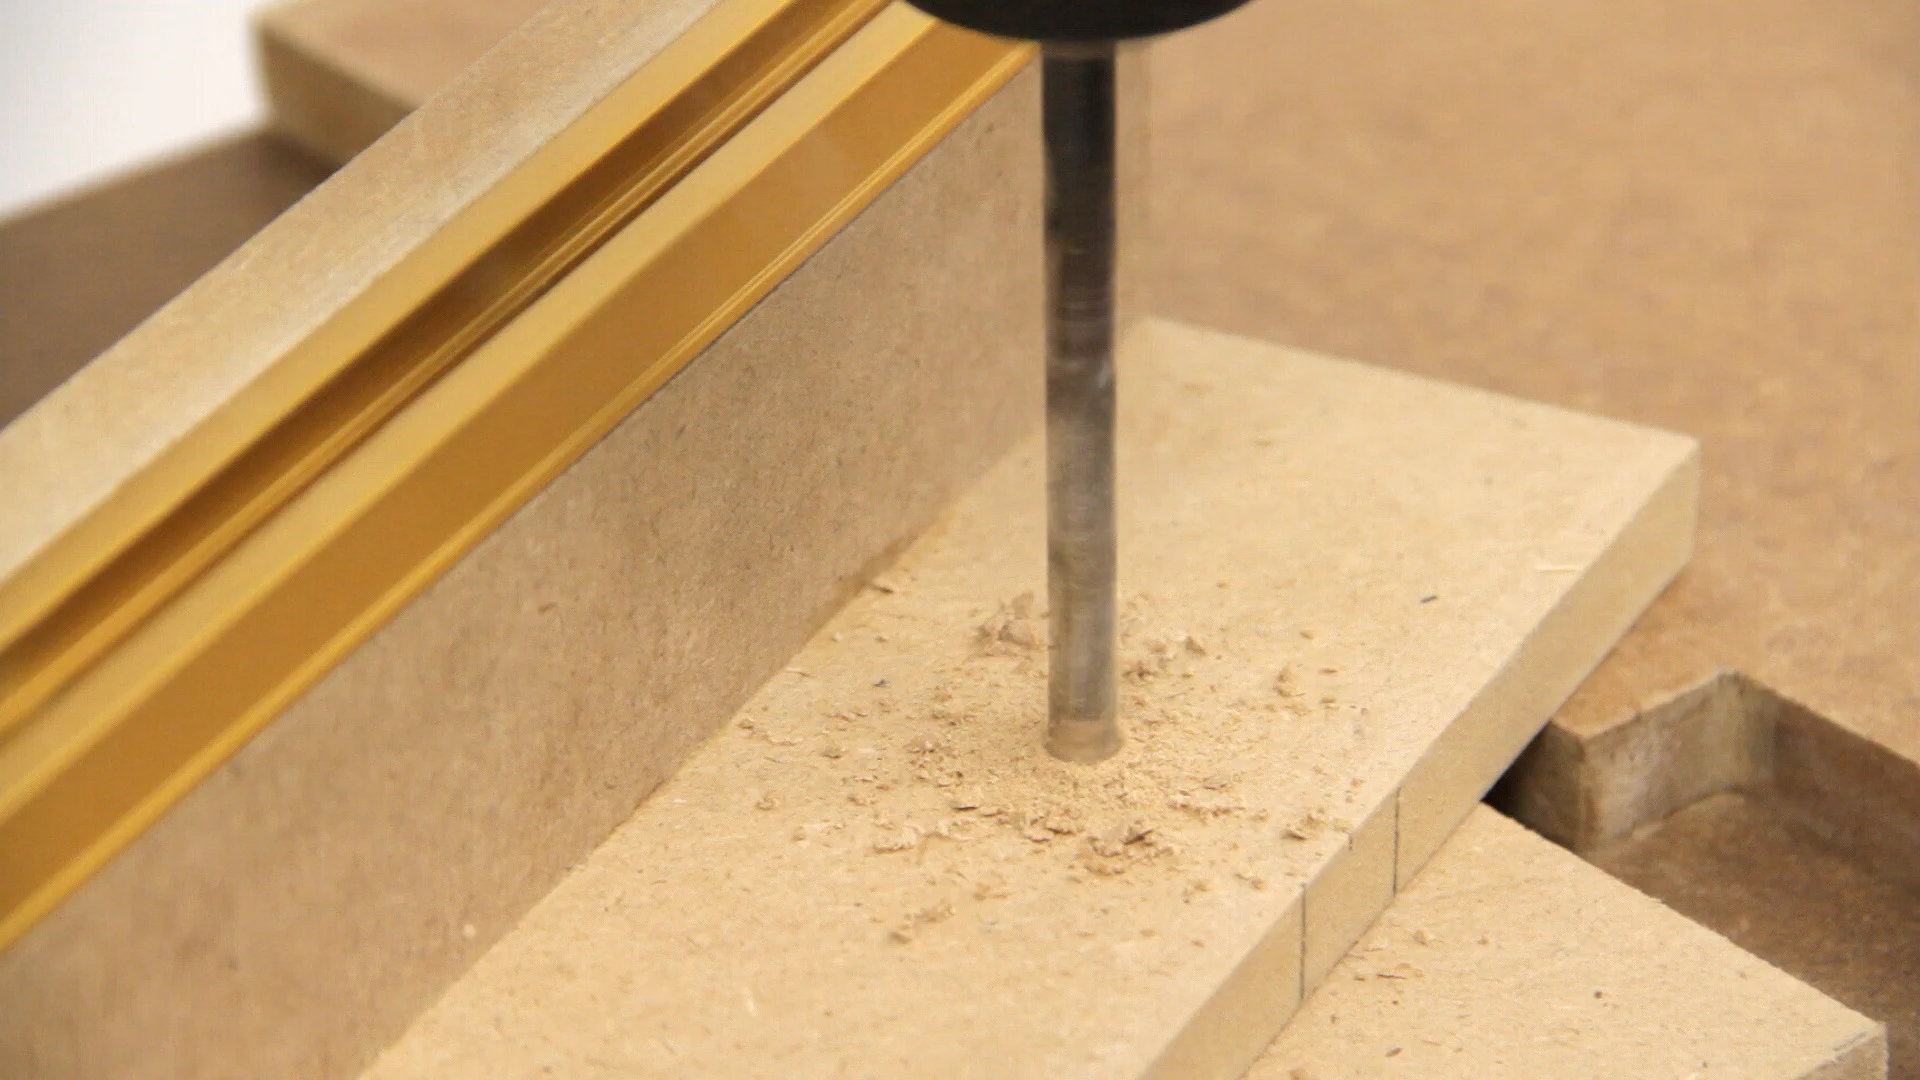
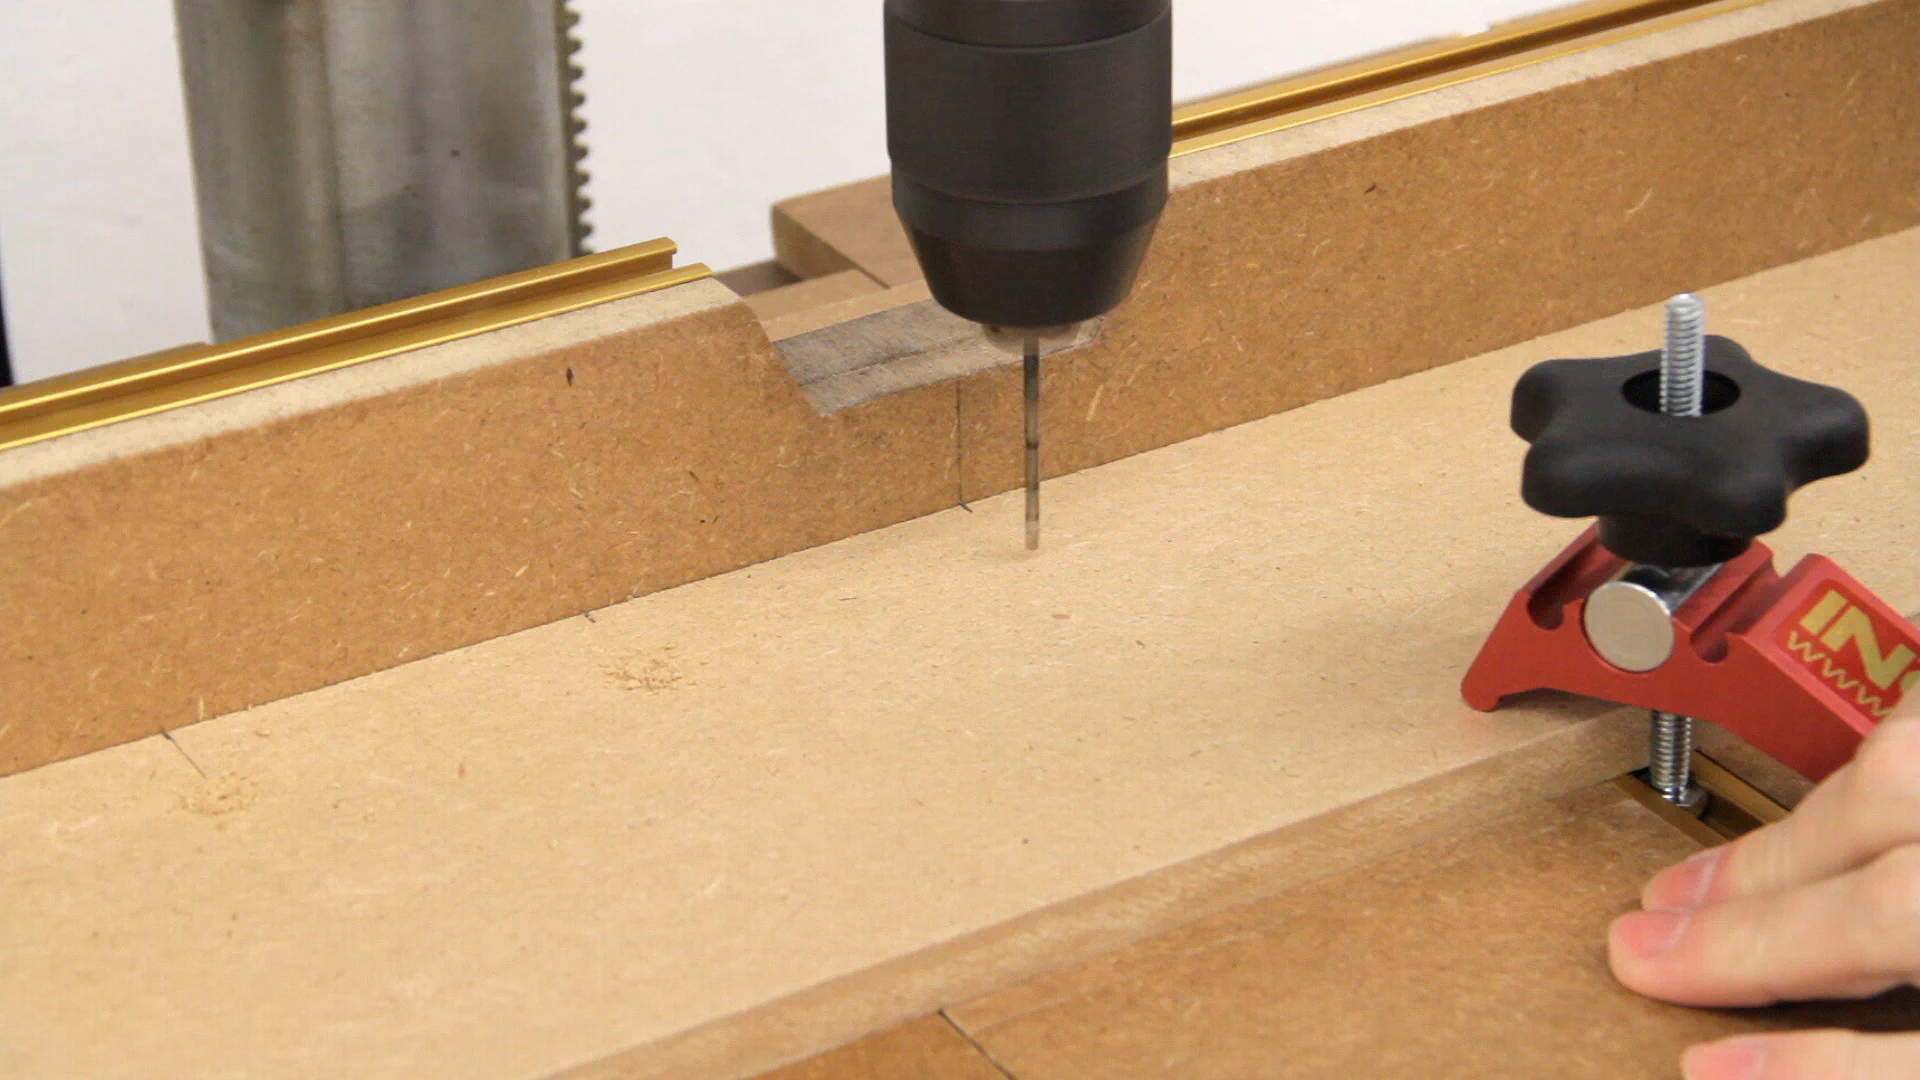
Once the glue dried on the fence, I then clamped it square across the table to locate holes that would be used to attach the fence to bolts in the T-track. After finding a good location so the knobs would be easy to turn, I drilled a hole on either side of the bottom of the fence.

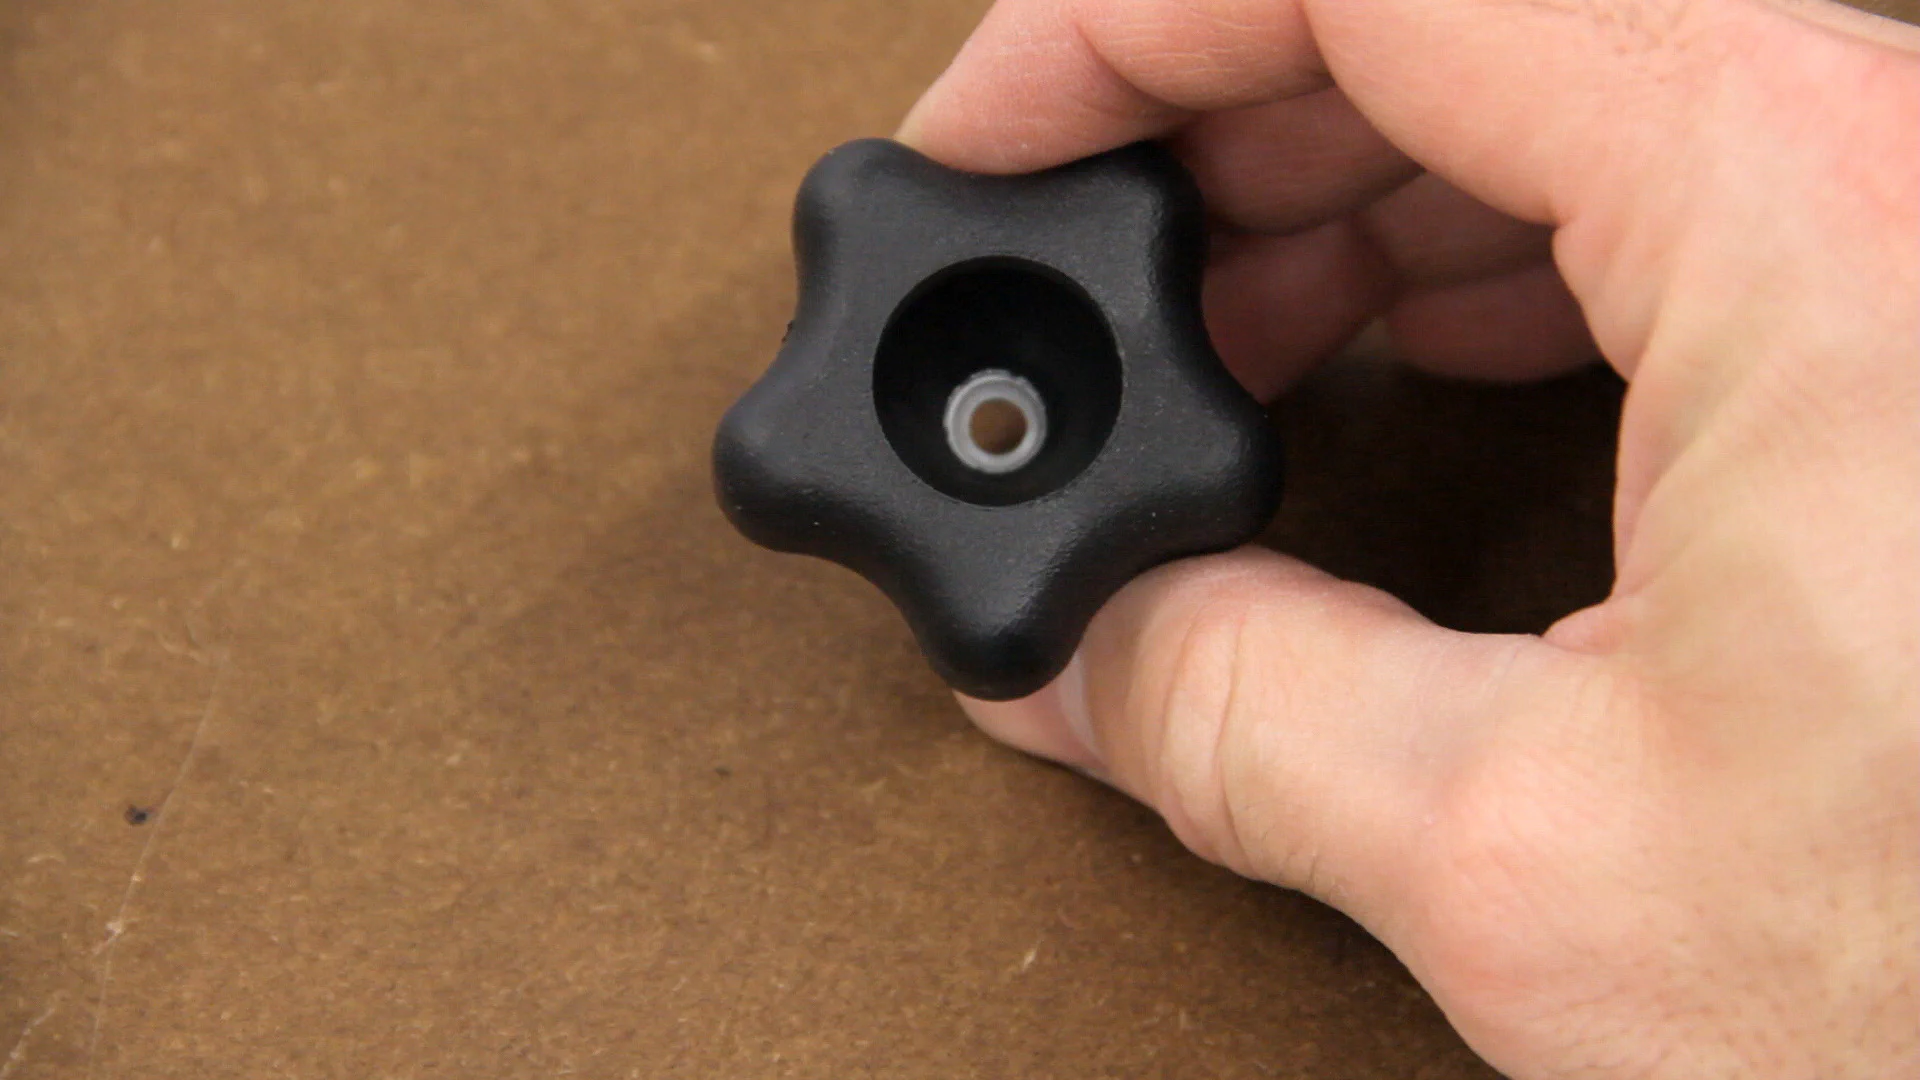
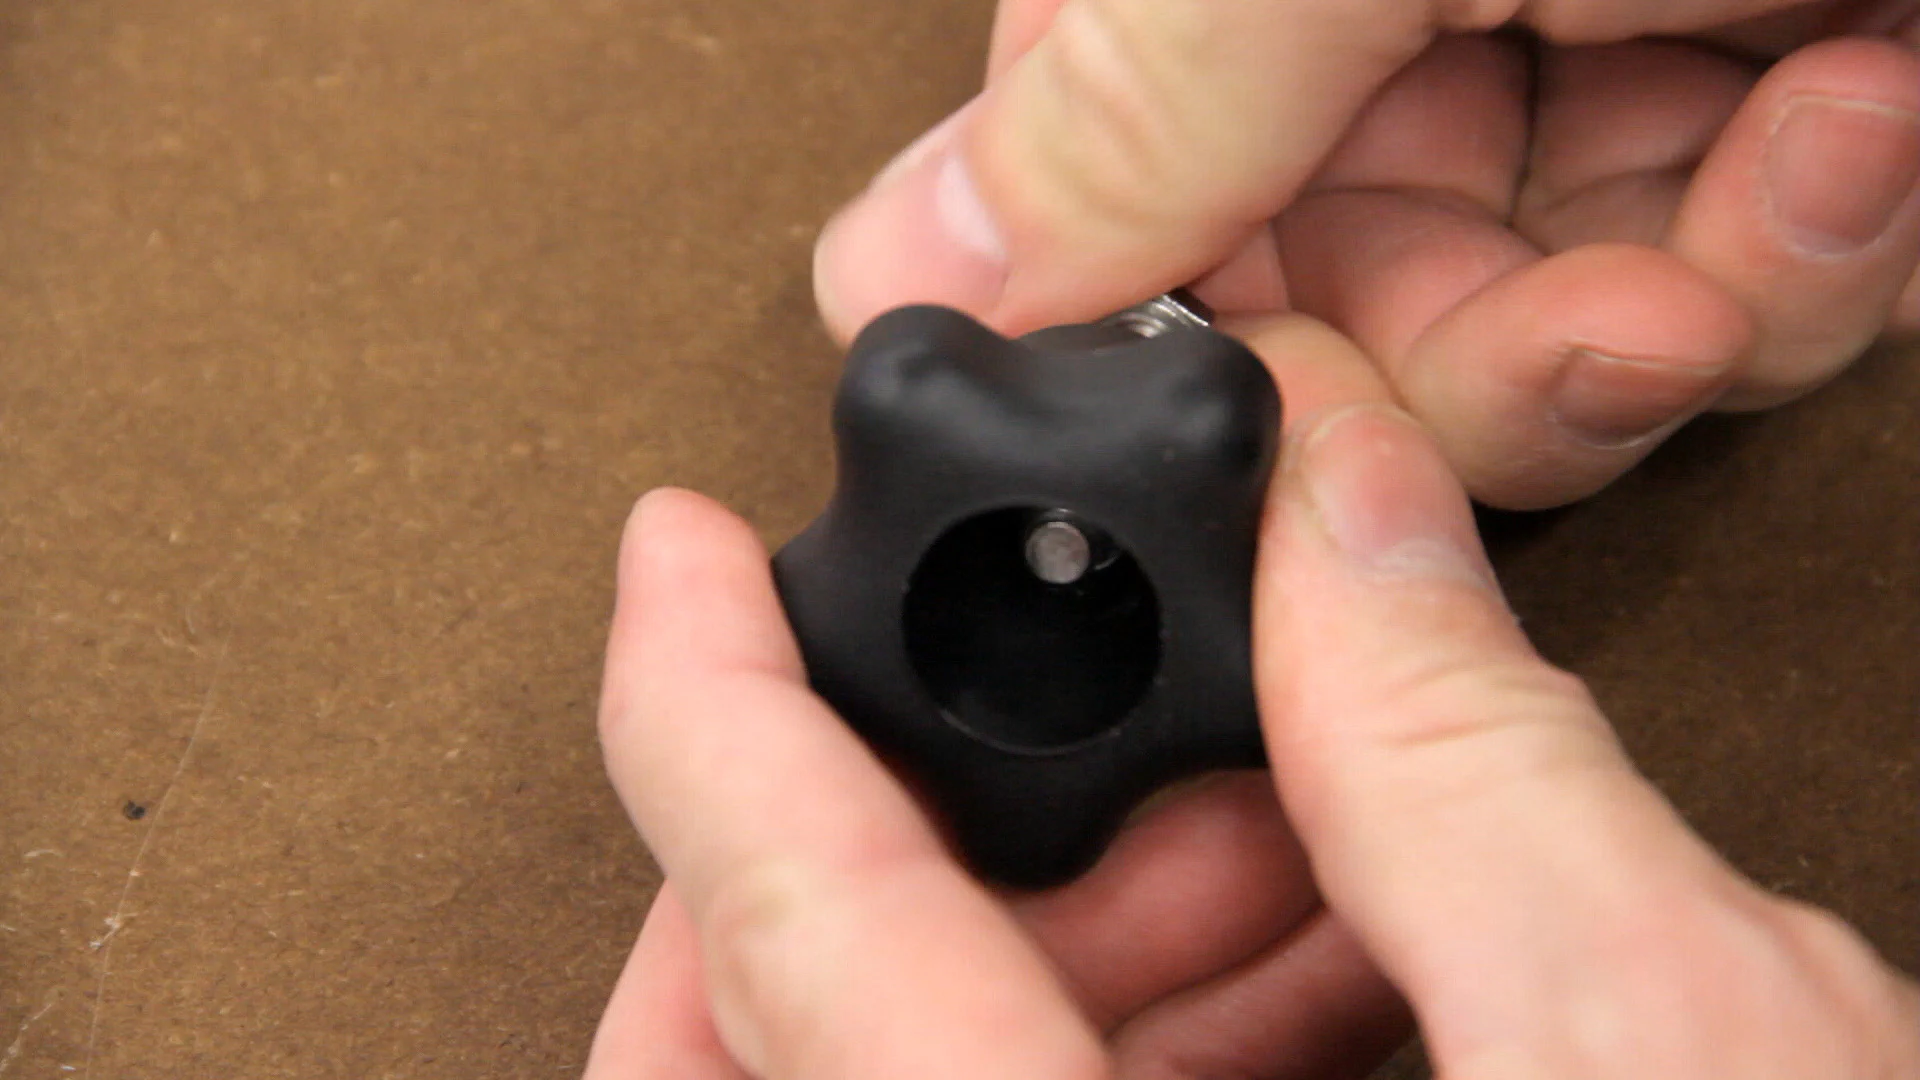
Since the star knobs that I was using had plastic lock washers, I needed to ream the washer out with a flat-head screwdriver so that the bolt would thread easily.
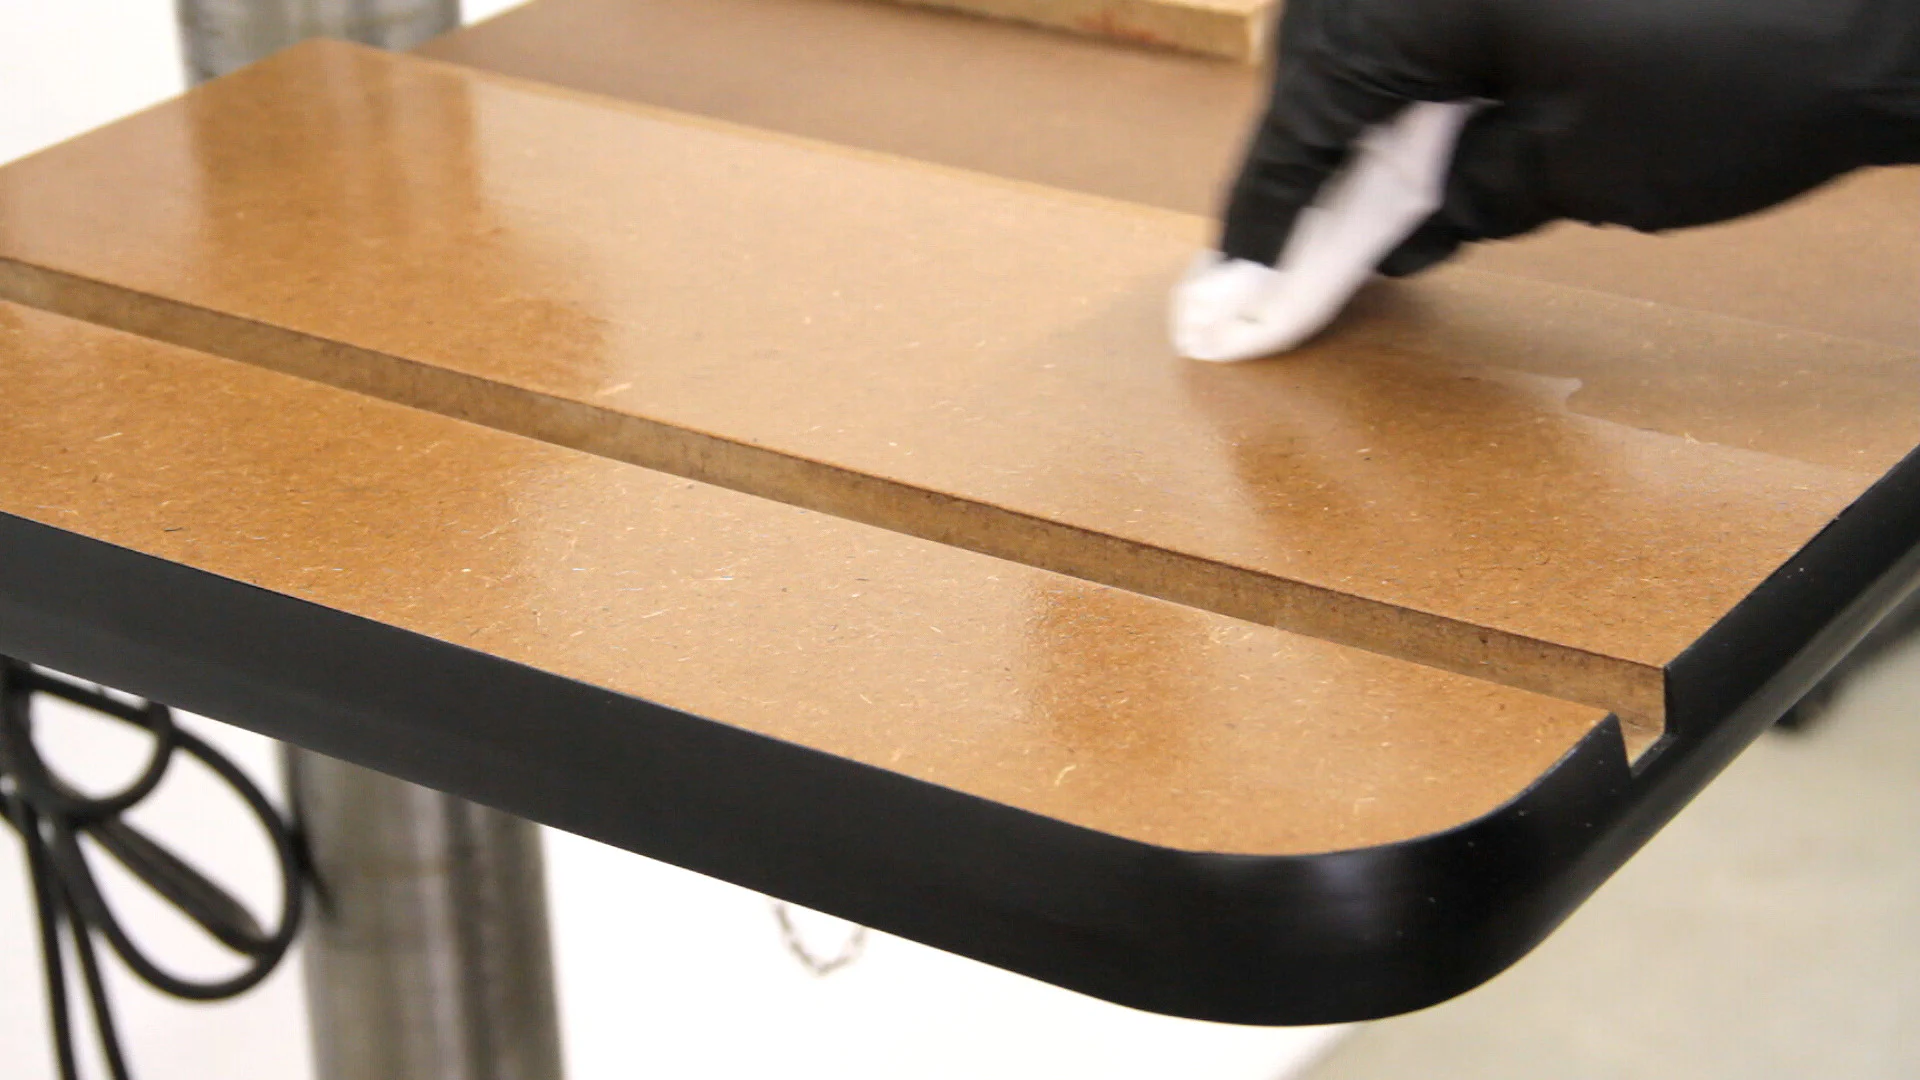
Before installing the last of the T-track, I went ahead and applied a few coats of wipe-on polyurethane to the table and fence with a little light sanding between coats.
Finally, it was time to install the remaining T-track. I used a little super glue first and then tapped the track into place. I then predrilled and screwed the track down.


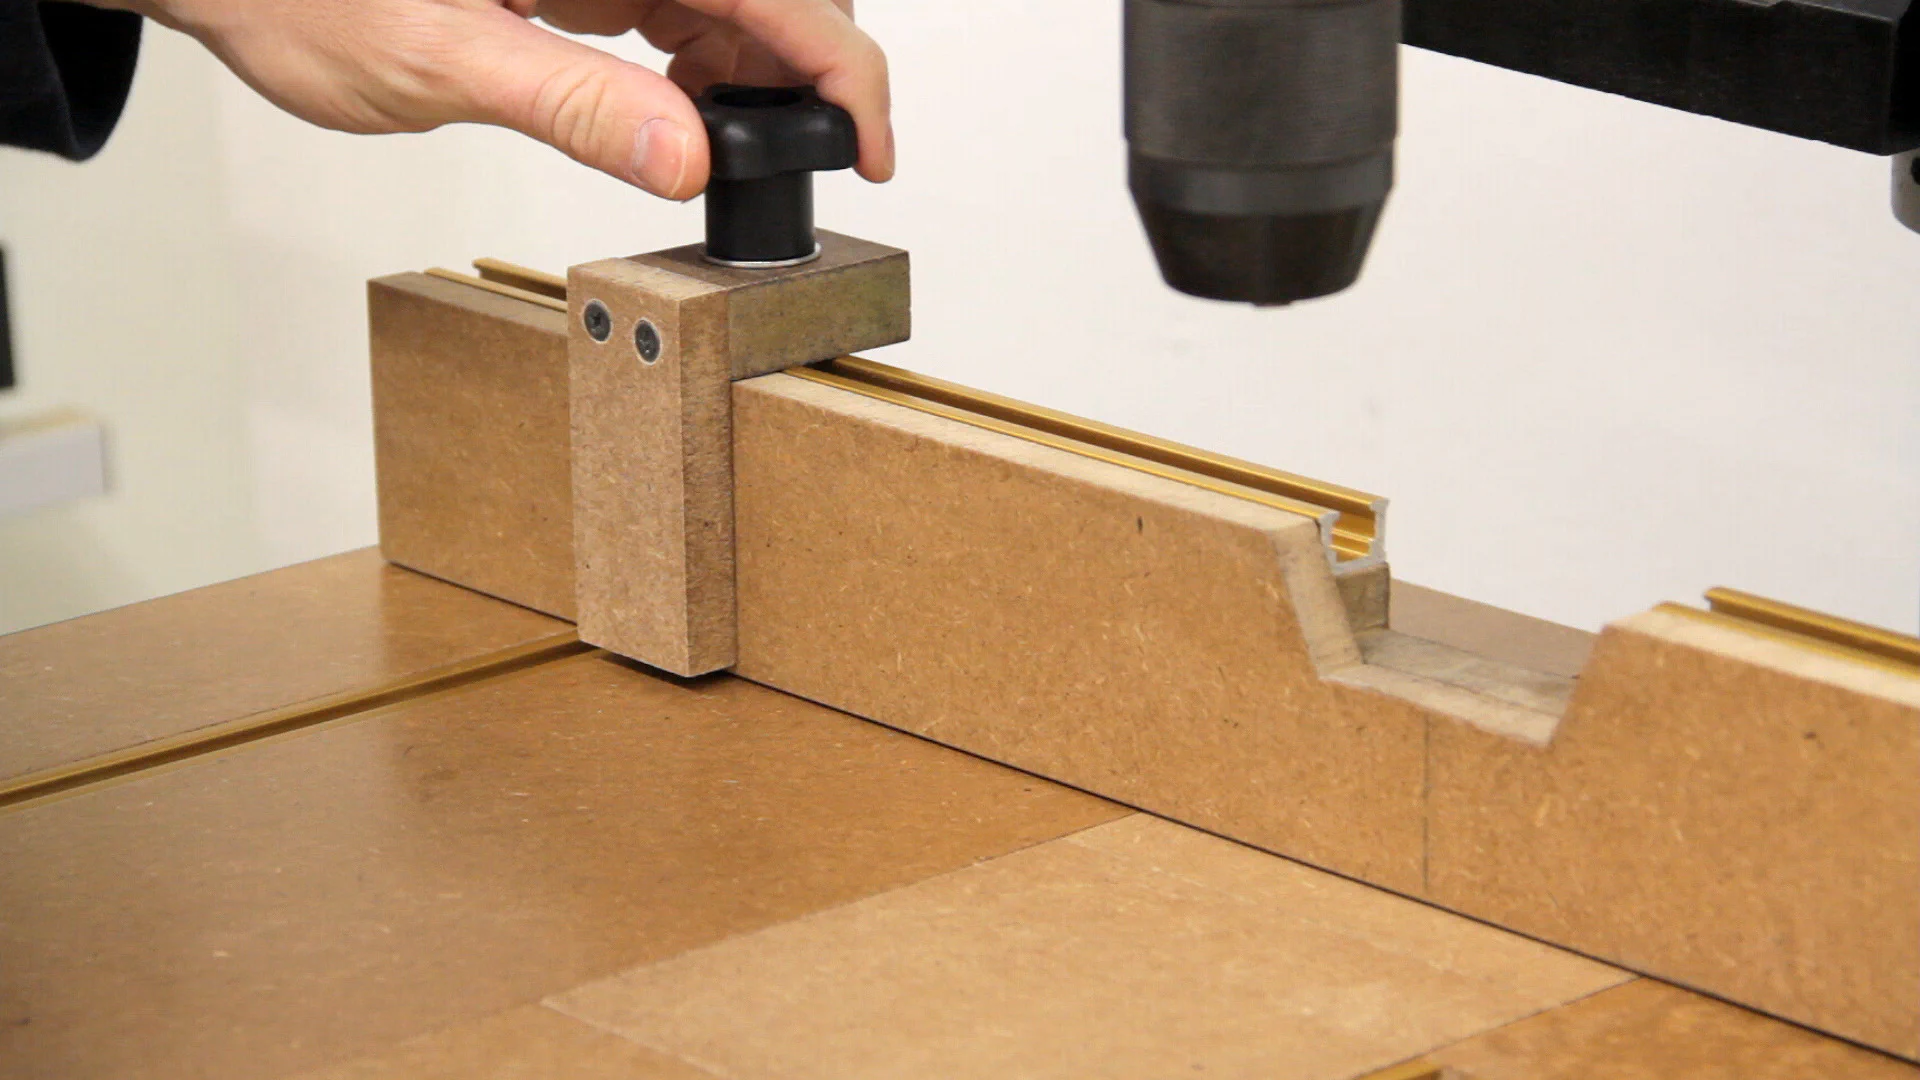
Since I had several small scraps left over I went ahead and made a movable stop for the fence using the band saw. For this, I just cut a 3/4" and 1/2" piece of MDF, clamped the two in an “L” shape and screwed the two pieces together. Then I drilled a hole for another bolt and star knob to finish everything up.
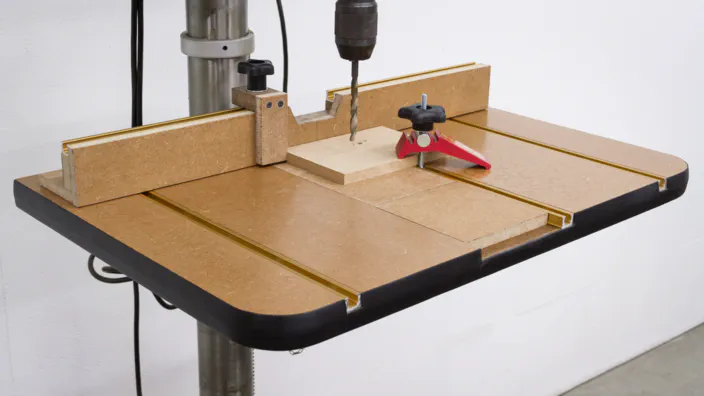
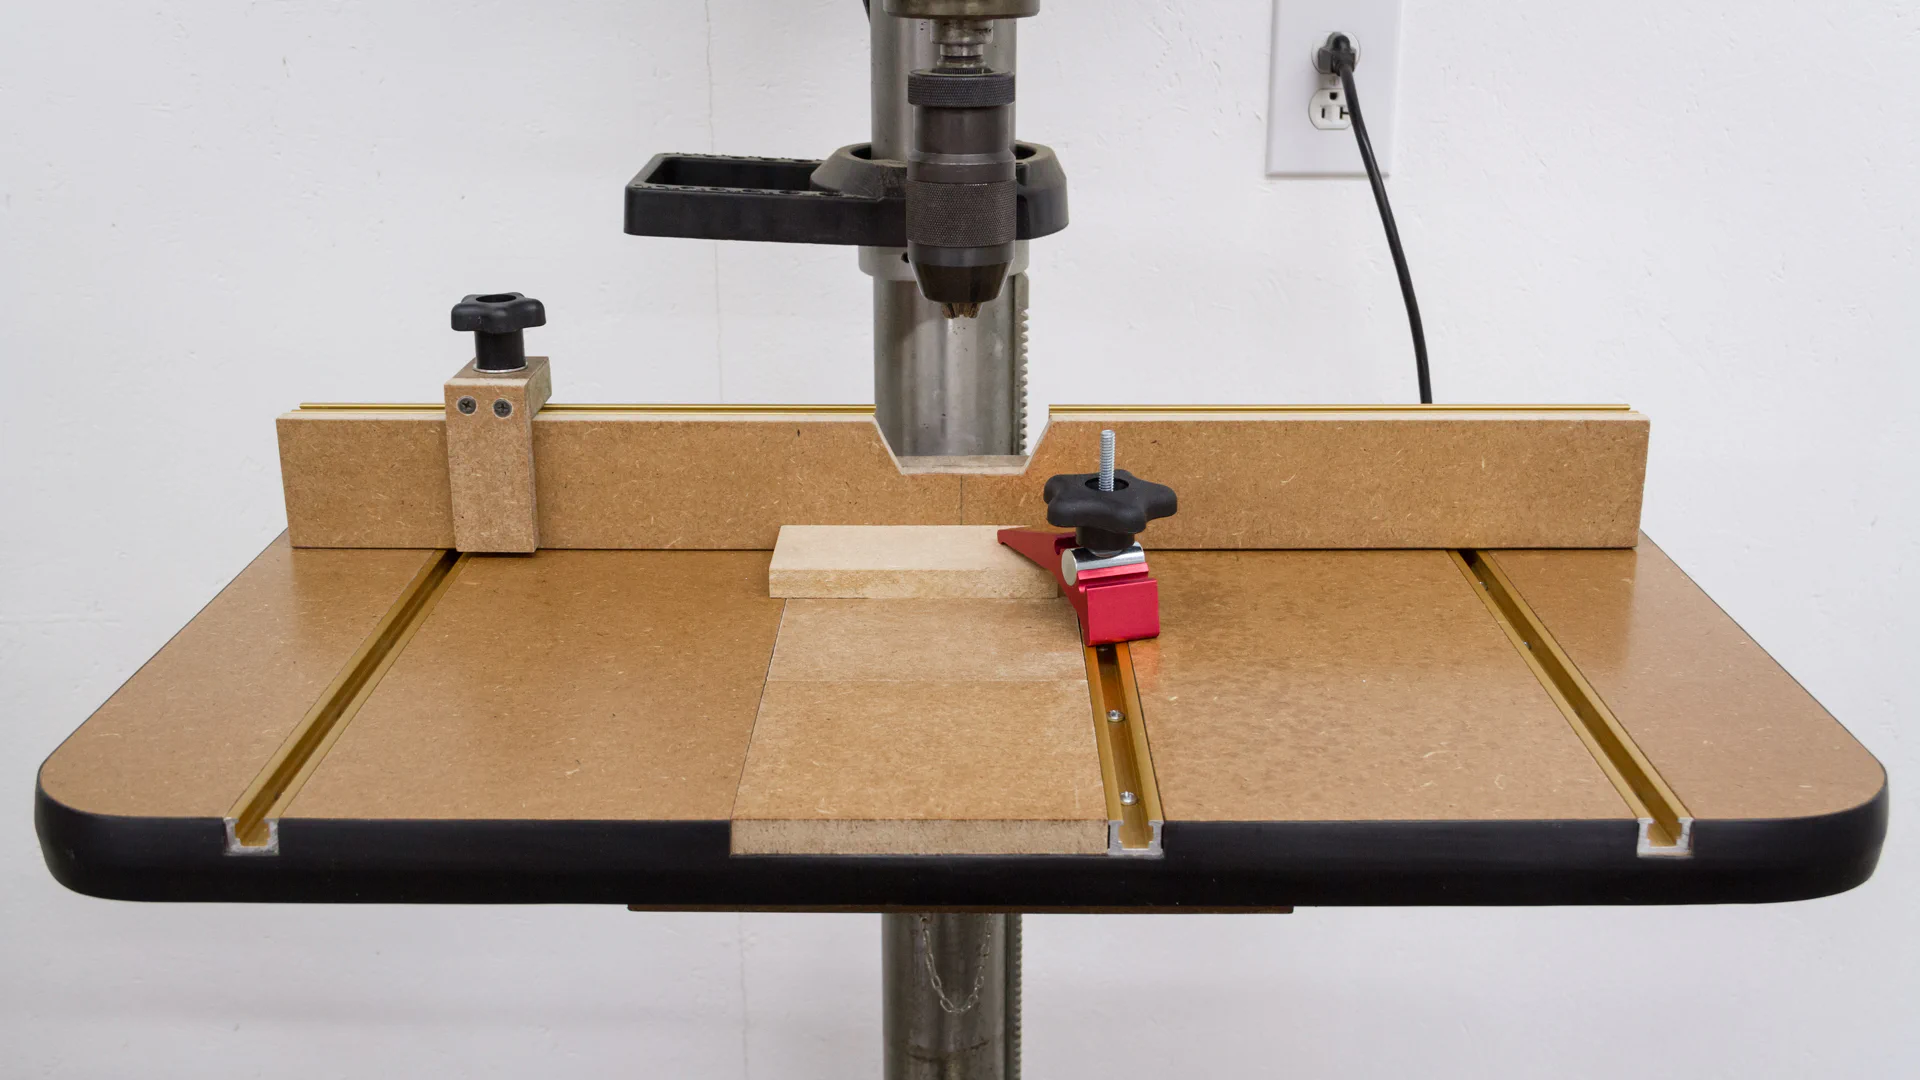
After using it a few times already, I think the table and fence will come in very handy. And if you’re wondering what the line on the center of the fence is for, it’s just there to speed up drilling multiple holes along the edge of a workpiece.
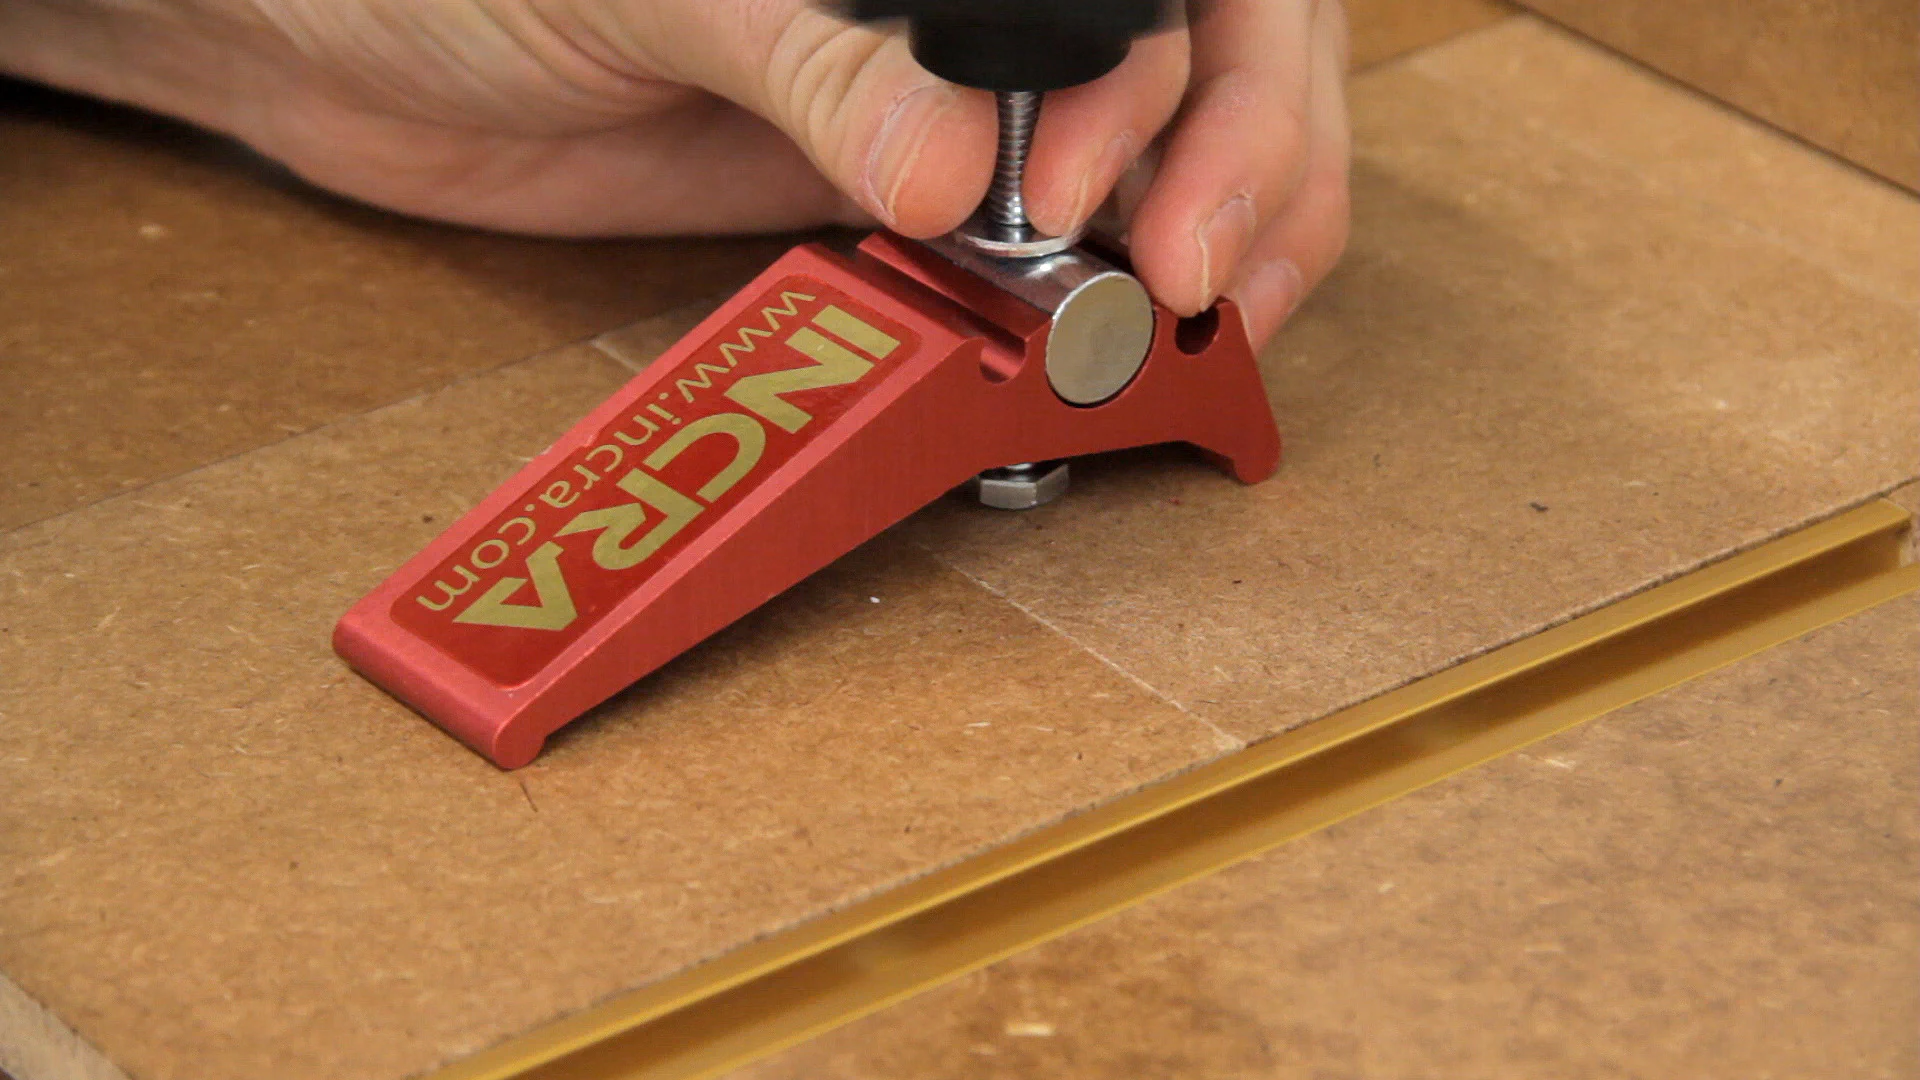
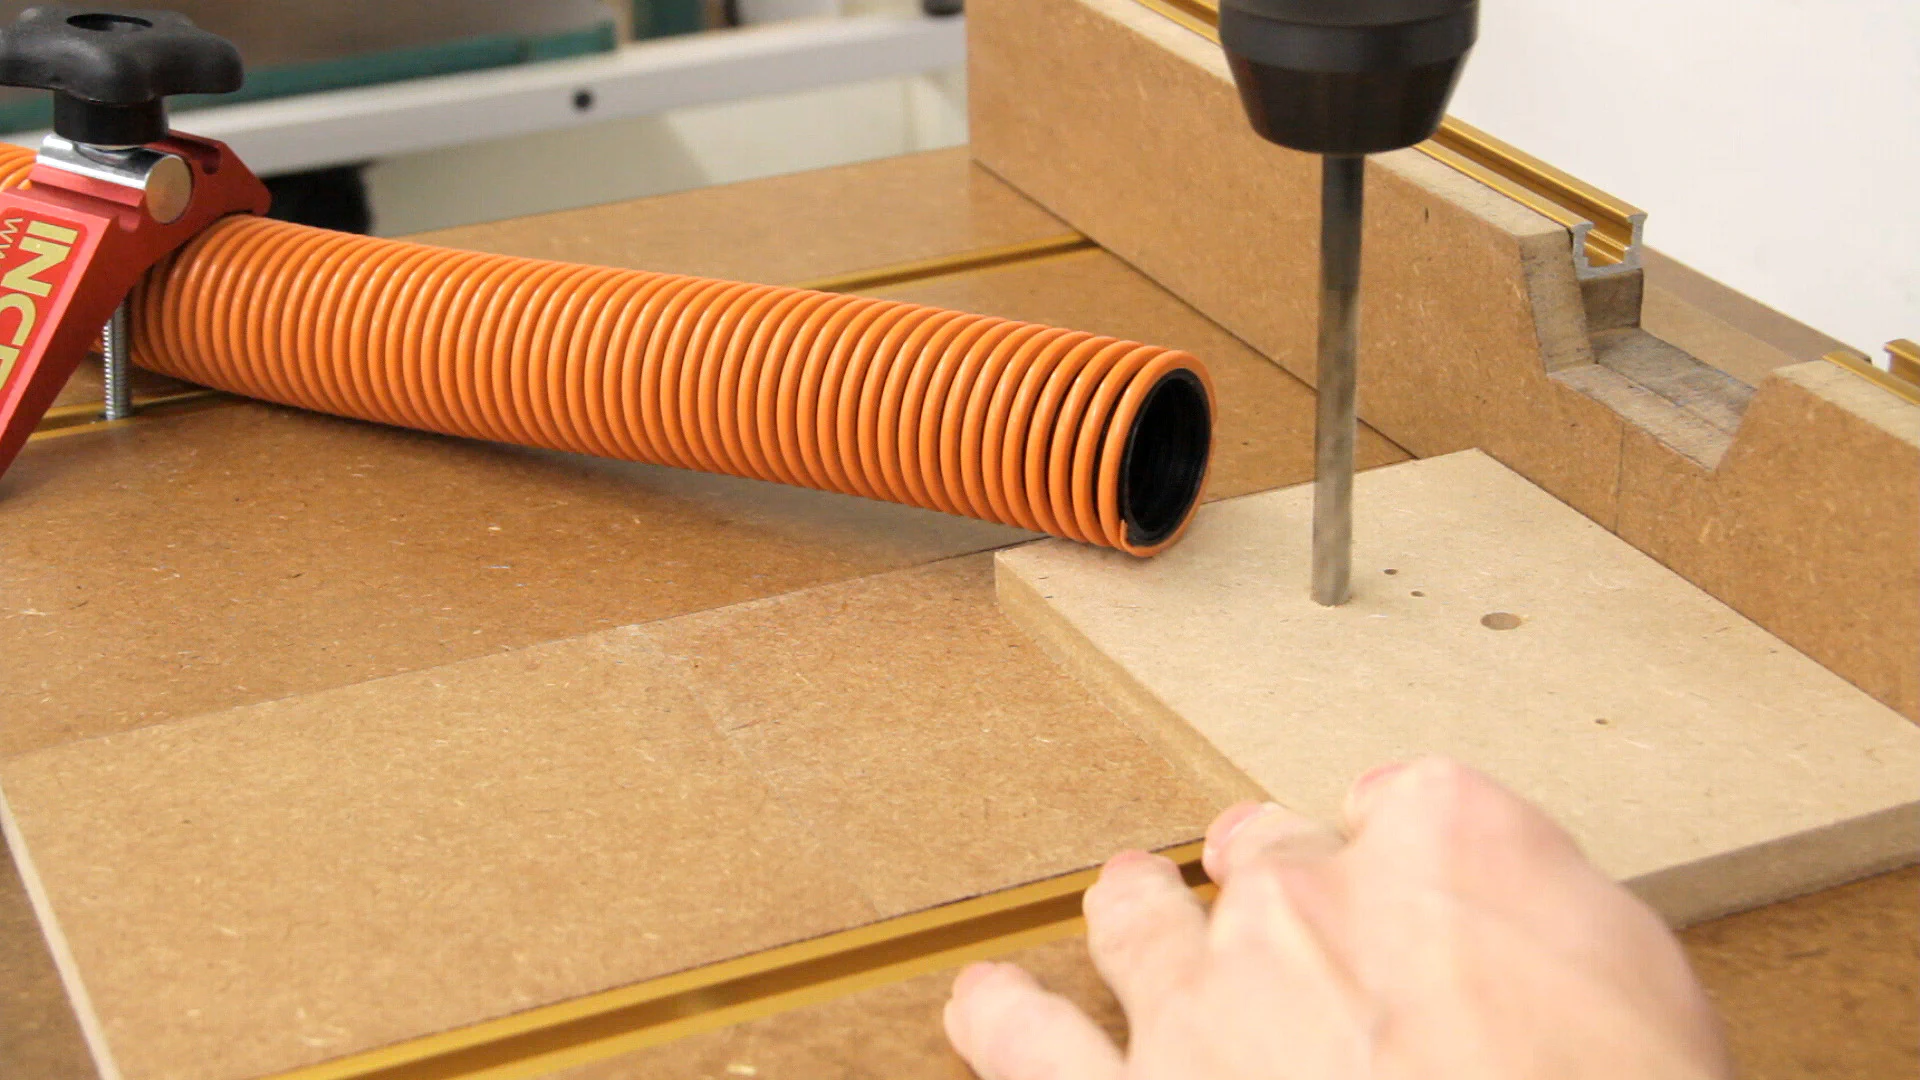
I did order a hold-down to use in the T-track and it seems to work very well. As far as dust collection goes, I decided to keep things simple for now. The hold-down can be used to easily secure the shop vac hose in place, so I’ll probably buy or build a dedicated hold-down for that soon.
Well, that wraps up this build! Be sure to follow us on social media if you enjoyed the article and, if you’re interested in building a similar drill press table, check out the parts list and free set of plans below.
Parts and Materials
- 1/2" x 2’ x 4’ MDF
- 3/4" x 2’ x 4’ MDF
- 5.5’ - 1-1/4" Black T-Molding
- 2 - 36" INCRA T-Track
- 3 - Star Knobs or INCRA Build-It Knobs
- 3 - 1" x 1/4-20 Bolts and Washers (Comes with INCRA Knobs)
- 2 - 1/4" T-nut
- 2- 2" Thumbscrews
- INCRA Hold Down
- Titebond-I Wood Glue
- 1-1/4" Drywall Screws
- 2" Cabinet Screws
Tools Used
Be sure to check out Our Workshop page for more details.
Freud 3/32" Slot Cutter Bit - 1/4" Shank or 1/2" Shank
Hitachi 12" Compound Sliding Miter Saw (C12RSH) - Latest version now sold by Metabo: C12RSH2S
Ridgid 18V Cordless Circular Saw & Drill
Bosch Random Orbit Sander, Jigsaw, Router
Plans
Plans for this project are available as a PDF or SketchUp file.