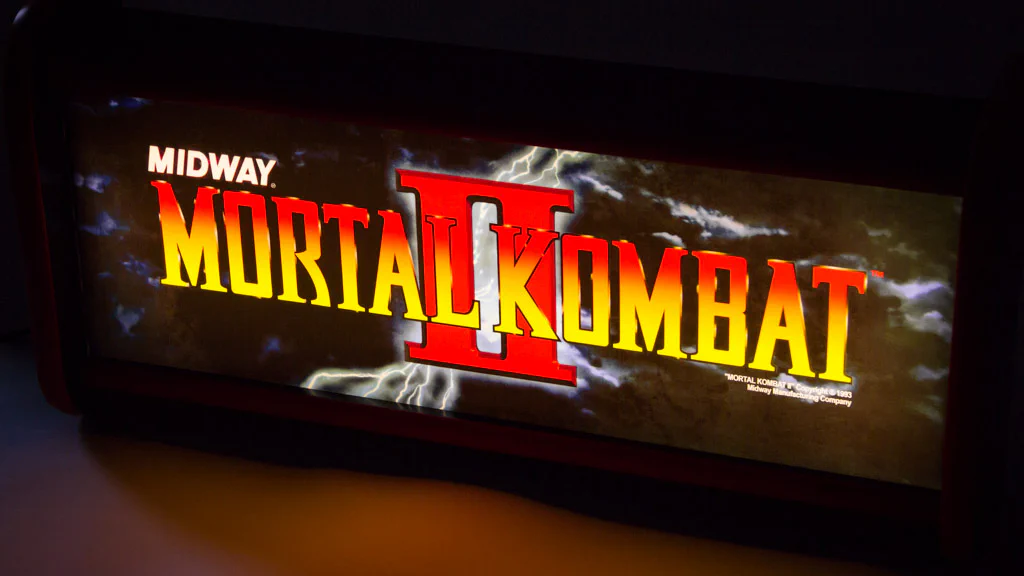
When some friends asked if I could build them arcade marquee lightboxes, I thought it would be an interesting project. And since I spent way too many hours in the arcade growing up, I couldn’t resist building one for myself as well!
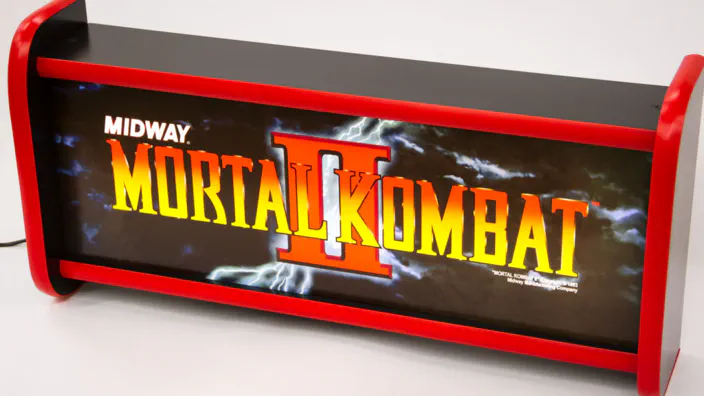
The lightbox is basically a five-sided box with an additional pair of curved outer sides. The front is replaced by a piece of clear acrylic with a marquee adhered to it and lit from behind with lights. New arcade marquees can be purchased from several online stores and original marquees can be purchased on sites like eBay. If you have a color printer, you can even print your own marquee.
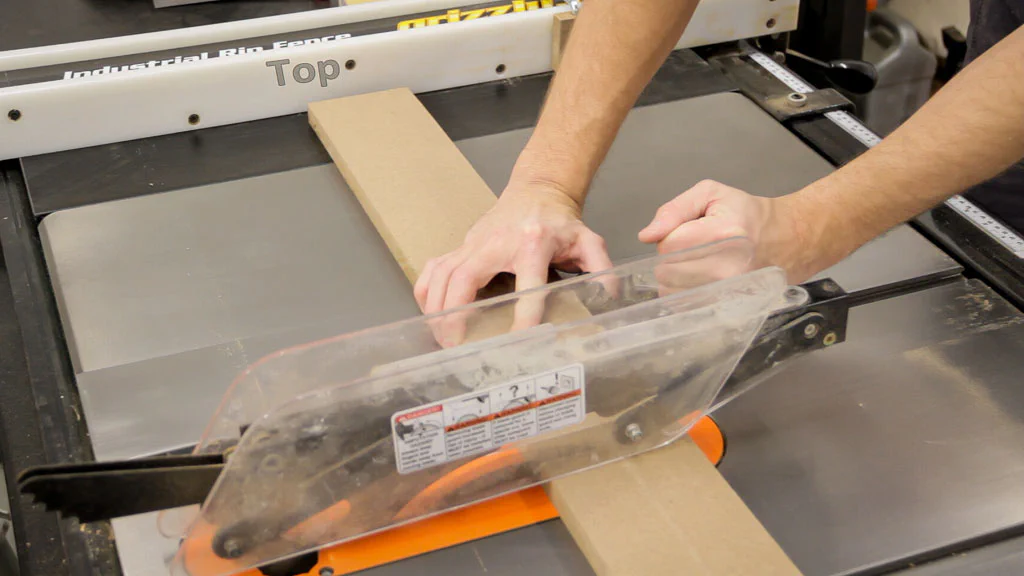
The first step in creating the lightbox was to rip a 4’ x 2’ piece of 3/4" MDF to the correct widths for the different parts. Note that the plans are laid out for making a single lightbox, but it’s possible to be a bit more optimal with the layout when doing multiple boxes at once.
Next, I used a universal fence clamp and a stop block to help crosscut the top, bottom, inner and outer sides to final size.
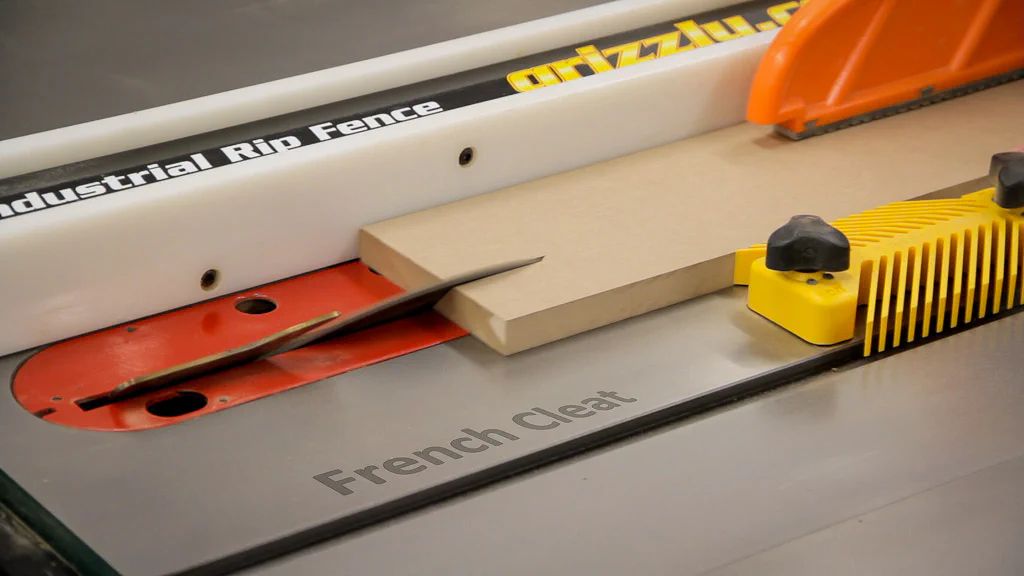
Then I went ahead and ripped a 45° cut for the French cleat which will be used to mount the box on the wall.
I wanted as much light as possible to reach the marquee, so I cut a bevel on the front edges of the inner side pieces. I left a little over 1/8" on the edges to provide a little more support for the somewhat thin acrylic and to help block light from bleeding around the sides of the marquee.

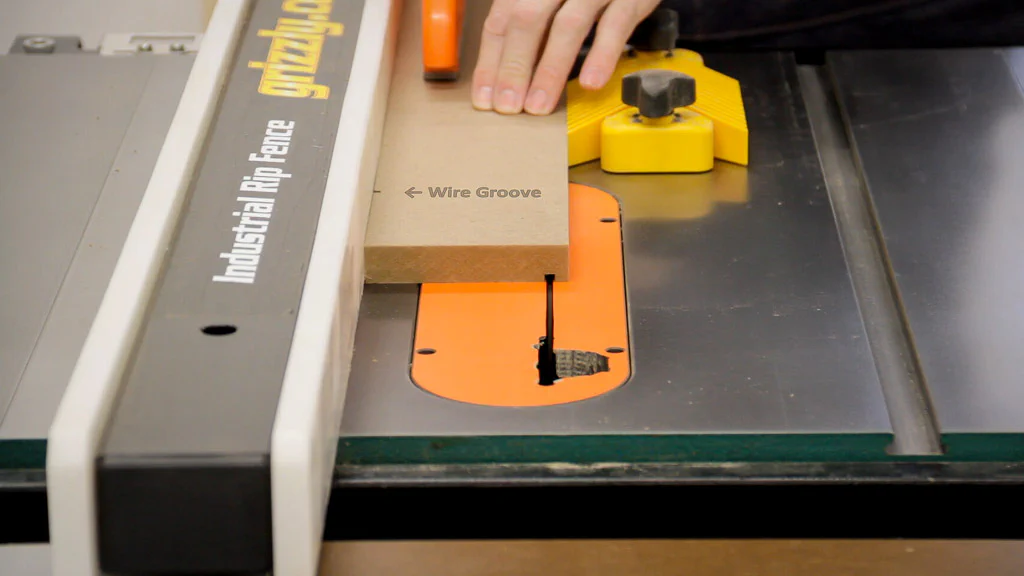
Then I cut a small notch in the bottom piece where the wire from the switch to the lights will run. And then on both the top and bottom, I cut a 3/16" deep groove about 1/4" in from the front edge. These grooves will hold the marquee in place once the box is complete.
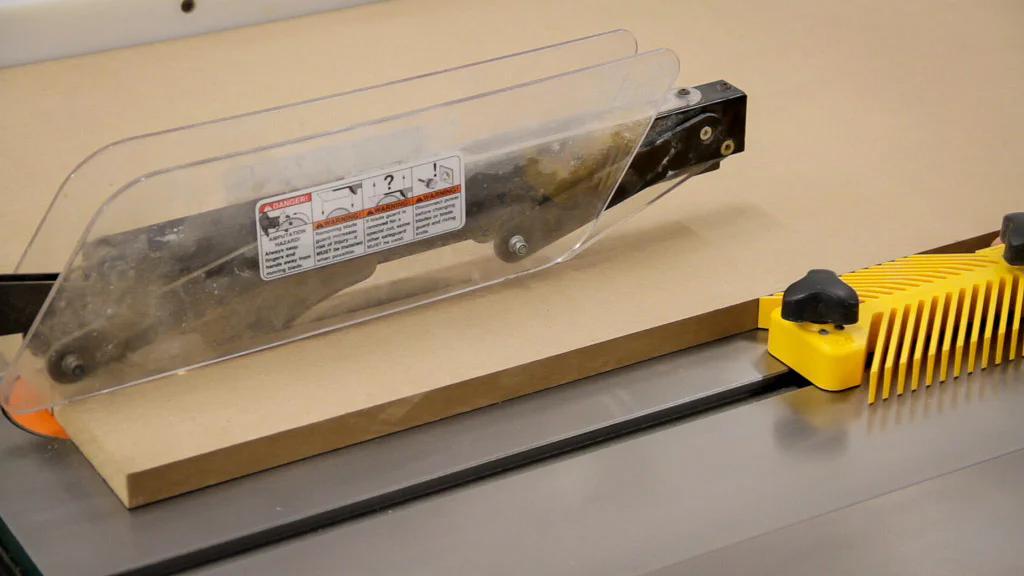
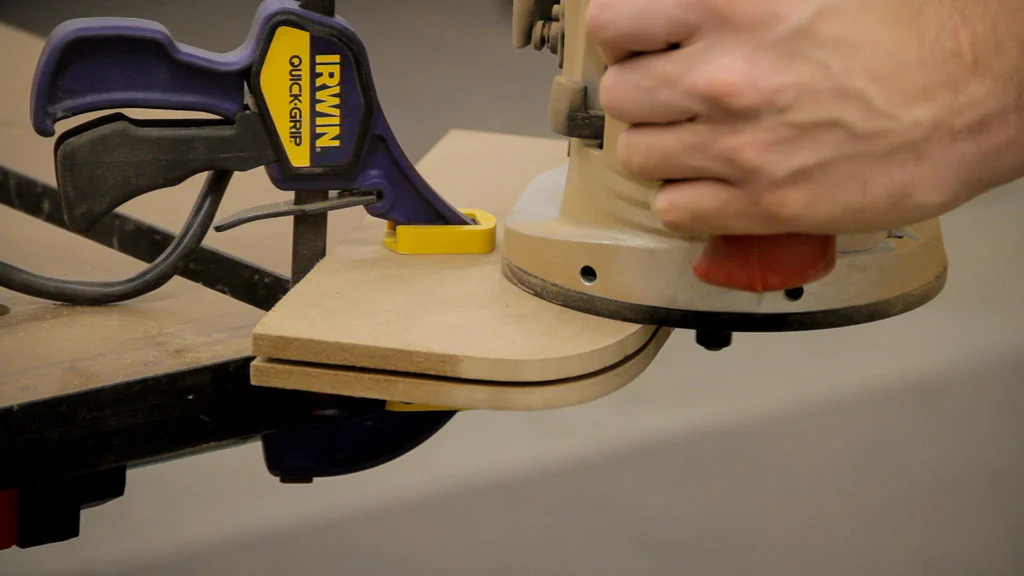
Next, I headed over to the band saw and cut the curves in the outer side pieces which I stacked together to save a little time. After that, I spent a few minutes sanding off any saw marks.

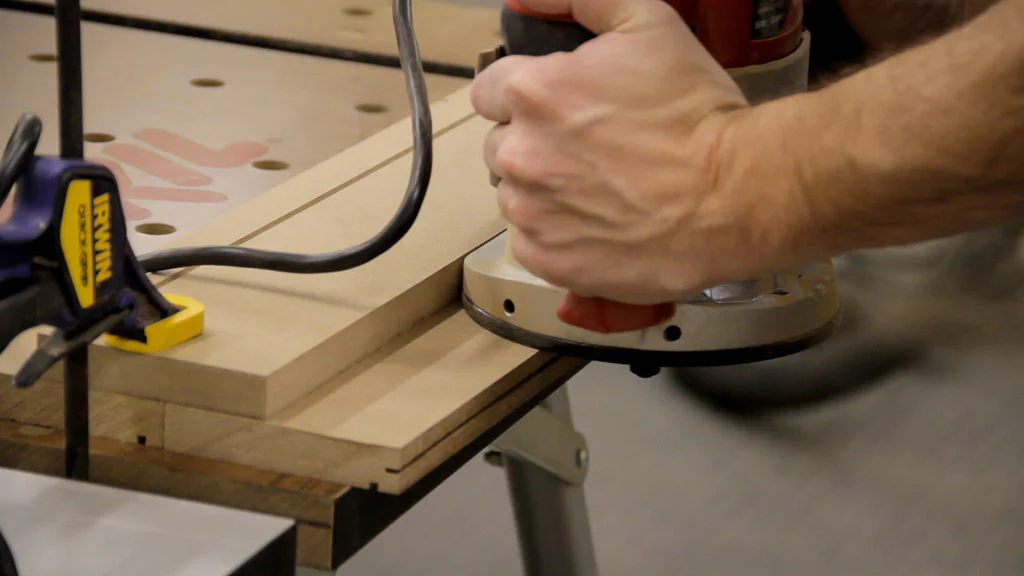
I then installed a 3/32" slot-cutting bit in my router to make the slots for the T-molding. This bit would normally cut a little deeper than I wanted it to in the top and bottom pieces, so I set up a simple fence as I did not have a larger bearing to use.
I then routed the slots in the top, bottom, and outer side pieces. This is extremely dusty without dust collection, so be sure to use a respirator and proper eye protection!
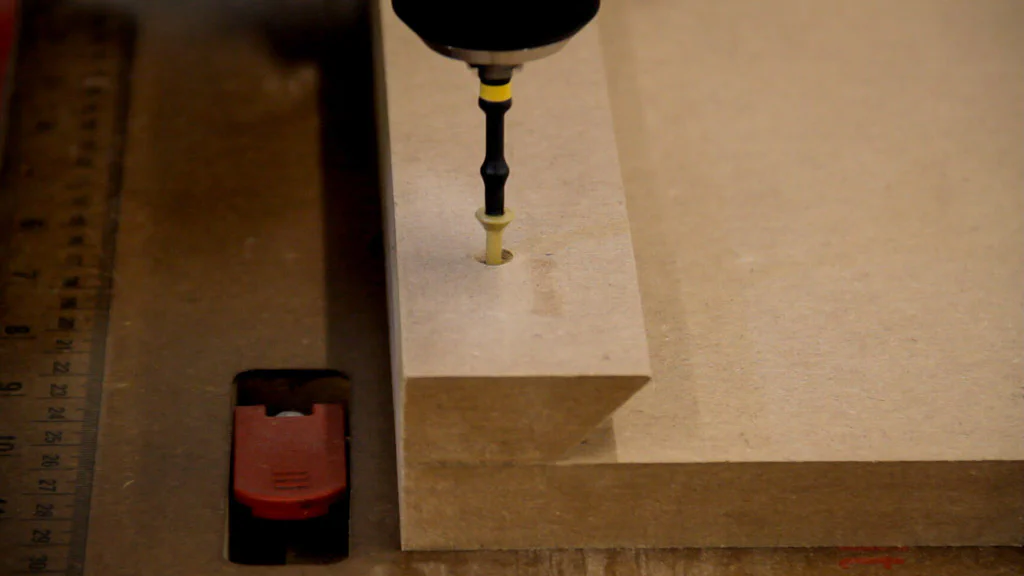
After the routing was finished, I drilled out a hole in the back piece near the bottom that was large enough to run the connector for the LED lights.

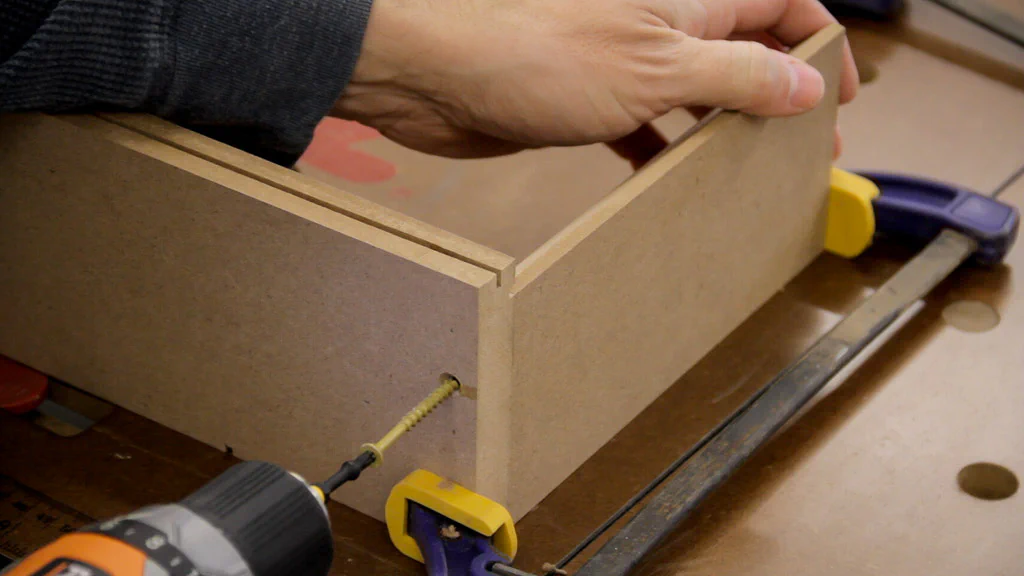
It was then time to start assembling the lightbox. I started by clamping the inner side pieces to the bottom, making sure that the pieces were flush. I then predrilled and countersunk two 2" screws from the bottom into each of the sides.
Next, I glued the French cleat to the top of the back and used three 1-1/4" countersunk screws as well.
I attached the back to the box using two 2" screws from the sides and one 2" screw from the bottom. I then predrilled a single hole per side on the top piece, though it does not get screwed-on until the very end. I also attached the outer sides using two 1-1/4" screws from the inside of the box. This can also be done after painting as it is a bit easier to paint with them off.

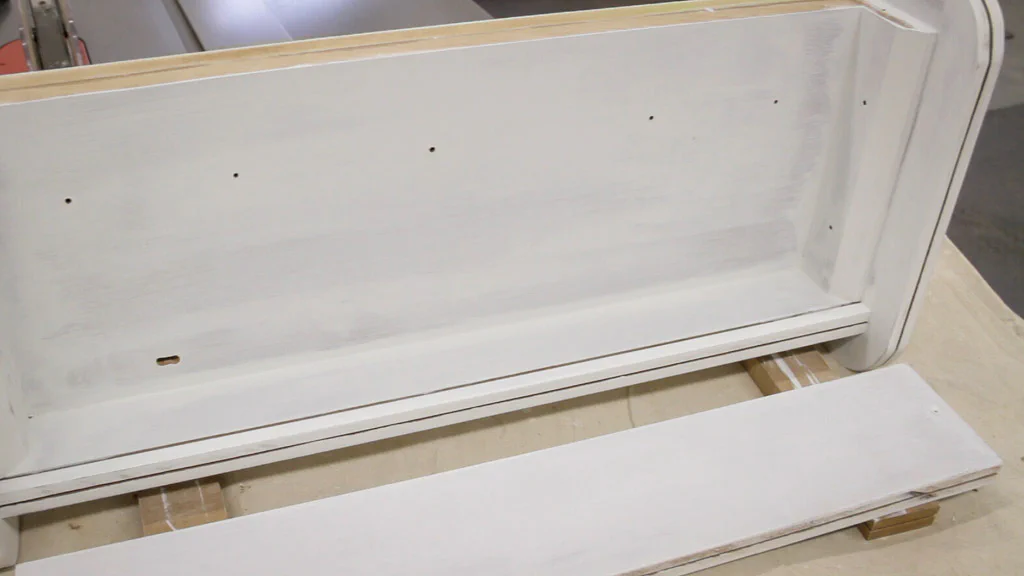
Next, I primed the entire box and then painted any parts that would be visible when completed. For the Dig Dug box, I used a paint brush and for the Mortal Kombat 2 box, I used a cheap HVLP spray gun from Harbor Freight. Both were painted with latex paint. I think both turned out well, but I will definitely be experimenting more with the spray gun. Here you can also see a few extra ventilation holes I drilled in the back.
Once the paint dried completely, I attached the LED light switch to the bottom and ran the wire through the notch and into the hole on the back.

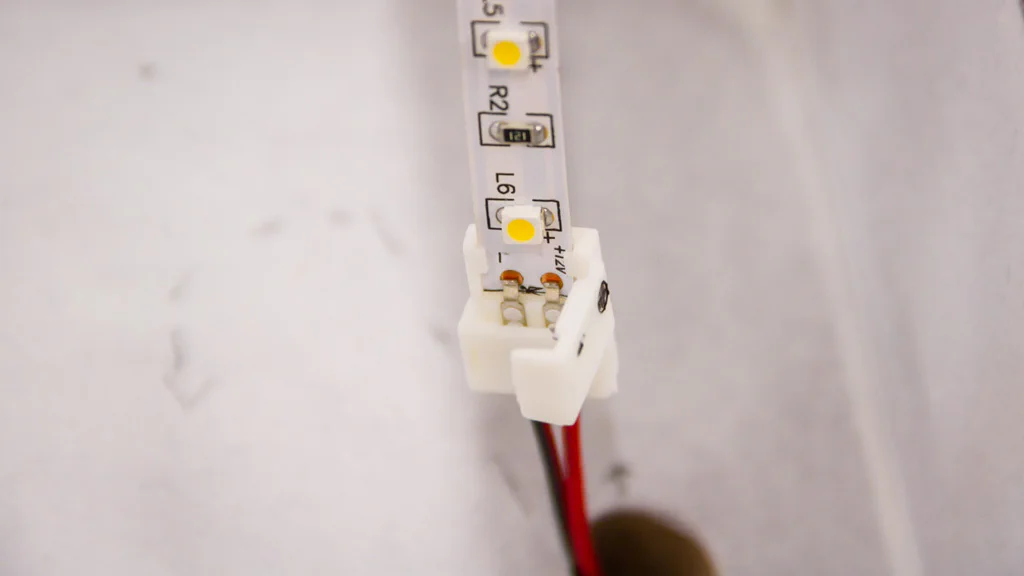
To connect the LED strip lights, I opened the cover on the connector and ran the strip through the slot and under the metal contacts. The connector’s contacts should match the strip’s polarity and touch the small copper contacts on the strip. I also did a quick test here to make sure everything worked before gluing down the strip lights.
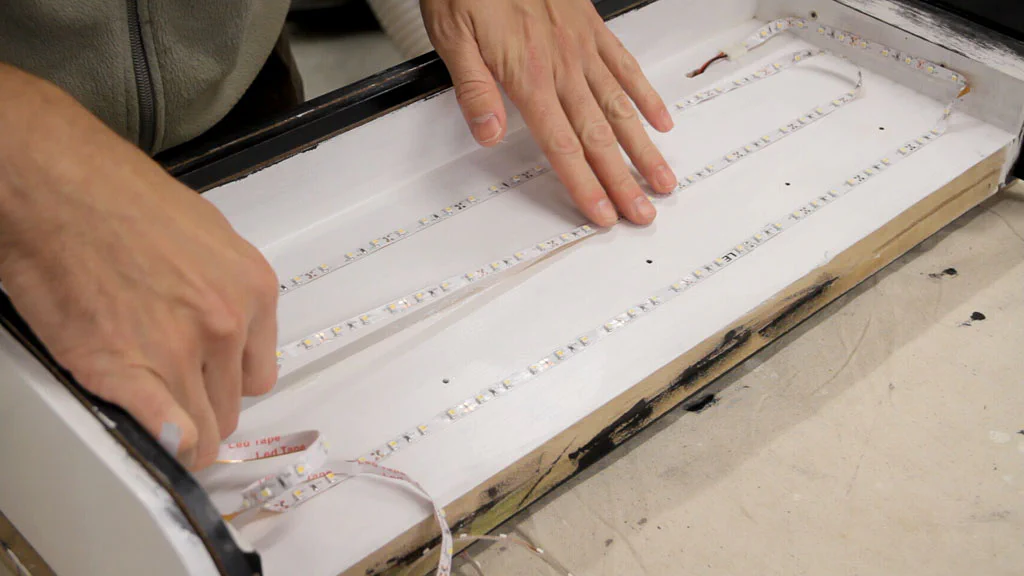
To run the lights, I simply made a spiral pattern and used a little hot glue to help the lights stick better. The sticky on the back wasn’t always enough to keep them in place.
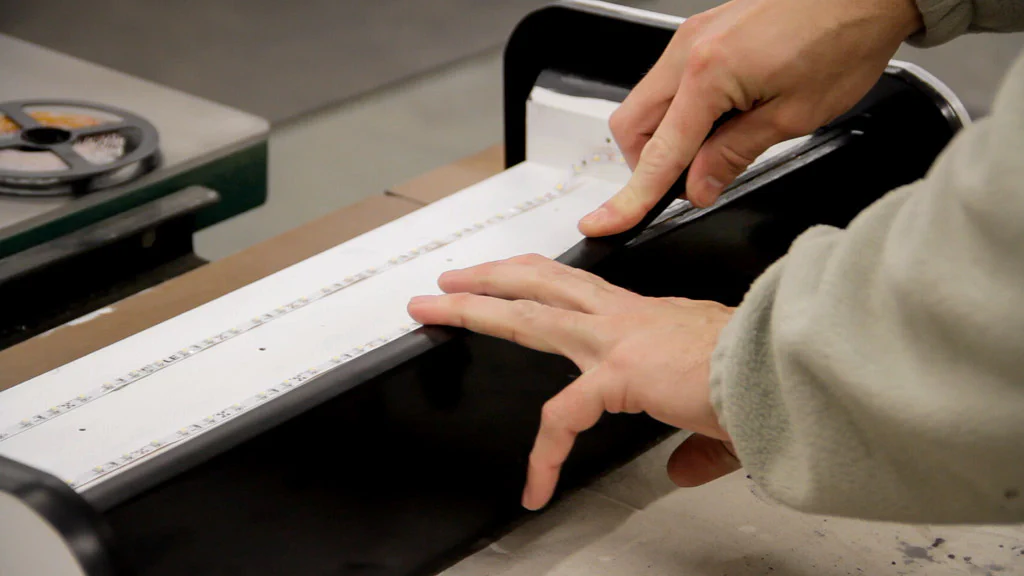
These strip lights can be cut every third light, so when I got to the end, I simply used a pair of scissors and cut on the line.

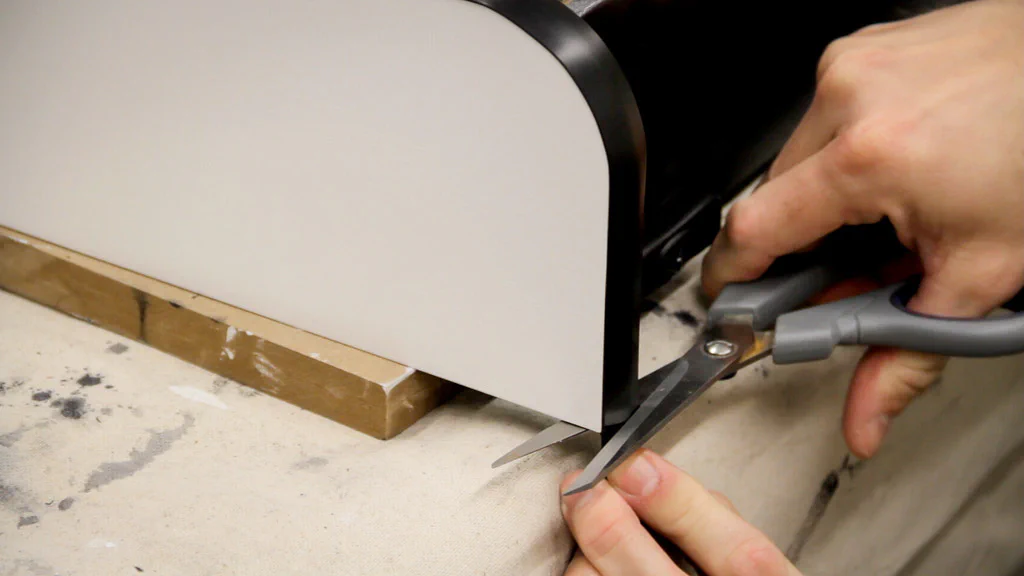
The next step was to add the T-molding to the front edges of the top, bottom, and outer sides. I just inserted it into the groove and if there was a spot that refused to lay flat, I added a little hot glue in the groove. When I reached the end, I just used a sharp pair of scissors to cut the molding.
Since these were new marquees, I needed to cut a piece of acrylic to size. I used the table saw, but it would probably have been just as easy (and less messy) to use an acrylic cutting knife.
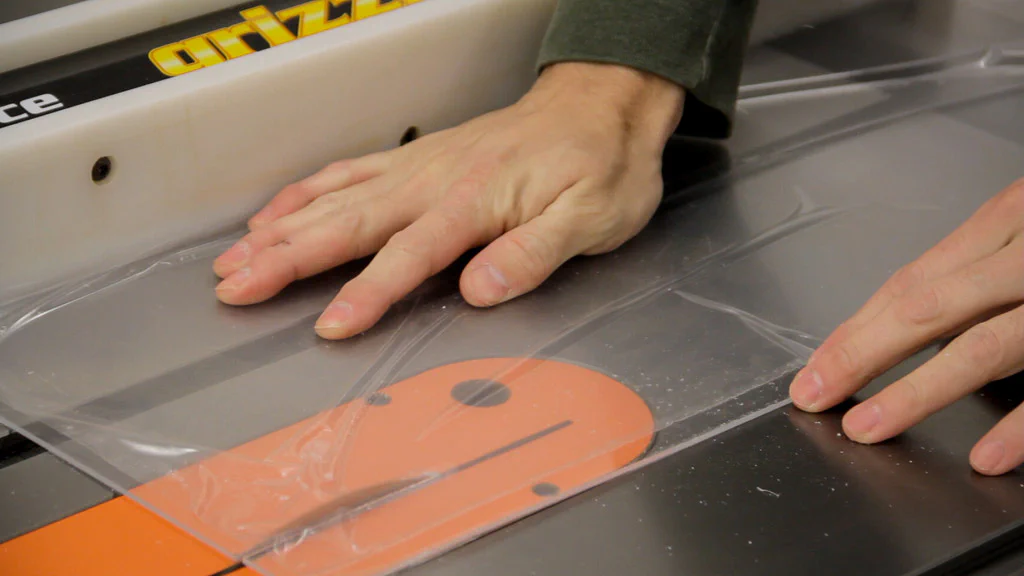
After sanding the edges smooth and cleaning any dust off, I applied the marquee to the sheet of acrylic. These marquees came with a peel-and-stick back, but you could also use a can of spray adhesive as well.
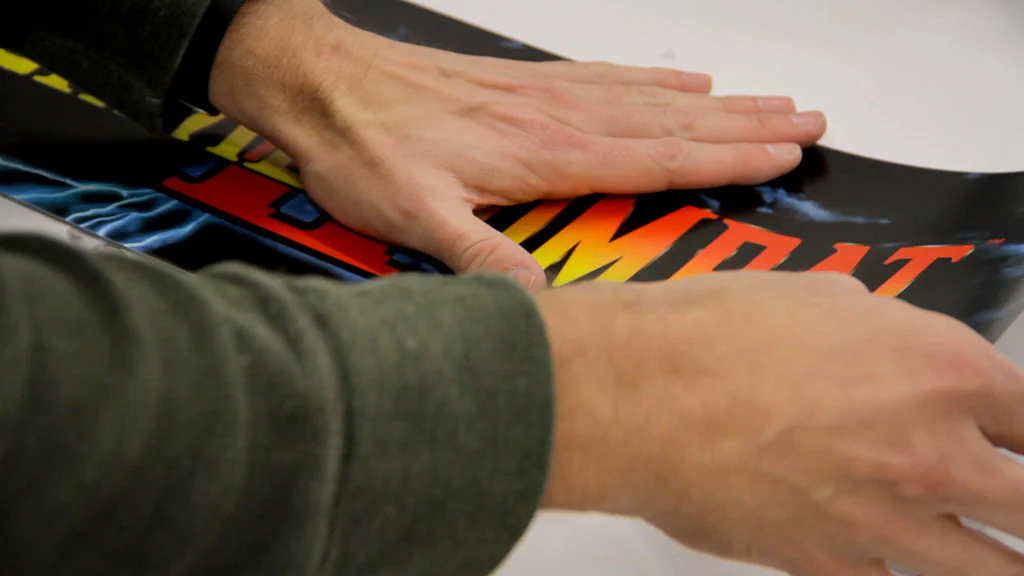
And finally, I inserted the marquee into the grooves in the top and bottom of the box and attached the top with two 1-1/4" screws.
The lights are powered with a small 12V, 3A power supply that simply plugs into the connection on the switch. There’s even an optional remote control that could be used in place of the switch!

Parts List
- ~ 2’ x 4’ sheet of 3/4" MDF
- LED Light Switch
- LED Strip Lights (~8')
- 12V, 3A Power Supply
- Remote Control (optional, replaces switch)
- 3/4" Plastic T-Molding (~10')
- Marquee
- 0.08" x 18" x 24" Acrylic sheet (0.118" thick should work as well)
- Primer, Paint
- Screws - 2", 1-1/4"
Tools Used
Be sure to check out Our Workshop page for more details.
- Freud 3/32" Slot Cutter Bit - 1/4" Shank or 1/2" Shank
- Countersink Drill Bit Set
- Hot Glue Gun
- Magswitch Magnetic Feather Board
- Power Hands Push Stick
- HVLP Spray Gun
- Grizzly G0691 Table Saw
- Grizzly G0513P Bandsaw
- Ridgid Cordless Drill
Plans
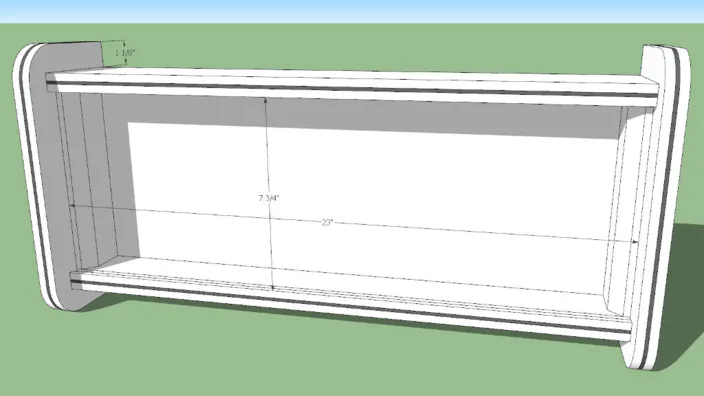
Note: The plans below will need to be changed based on the size of the marquee.