AMD recently released their new 3000-series (3600, 3600X, 3700X, 3800X, 3900X) CPUs, so I thought it would be a great time to build a new PC for video editing, 3D modelling, and gaming!
Parts
The parts I used for this build are listed below in bold along with a few alternative options that should work great as well:
- CPU
- AMD Ryzen 5 3600 - 6 Cores / 12 Threads - 3.6GHz - 4.2GHz - 65W
- AMD Ryzen 5 3600X - 6 Cores / 12 Threads - 3.8GHz - 4.4GHz - 95W
- AMD Ryzen 7 3700X - 8 Cores / 16 Threads - 3.6GHz - 4.4GHz - 65W
- AMD Ryzen 7 3800X - 8 Cores / 16 Threads - 3.9GHz - 4.5GHz - 105W
- AMD Ryzen 9 3900X - 12 Cores / 24 Threads - 3.8GHz - 4.6GHz - 105W
- CPU Cooler
- Motherboard
- RAM
- GPU
- SSDs
- Case
- Front Fans
- (2) - Noctua NF-A14 PWM - 140mm - 4 Pin / ( Black)
- (1) - Fractal Design Dynamic X2 - GP-12 PWM / ( GP-14 PWM)
- Rear Fan
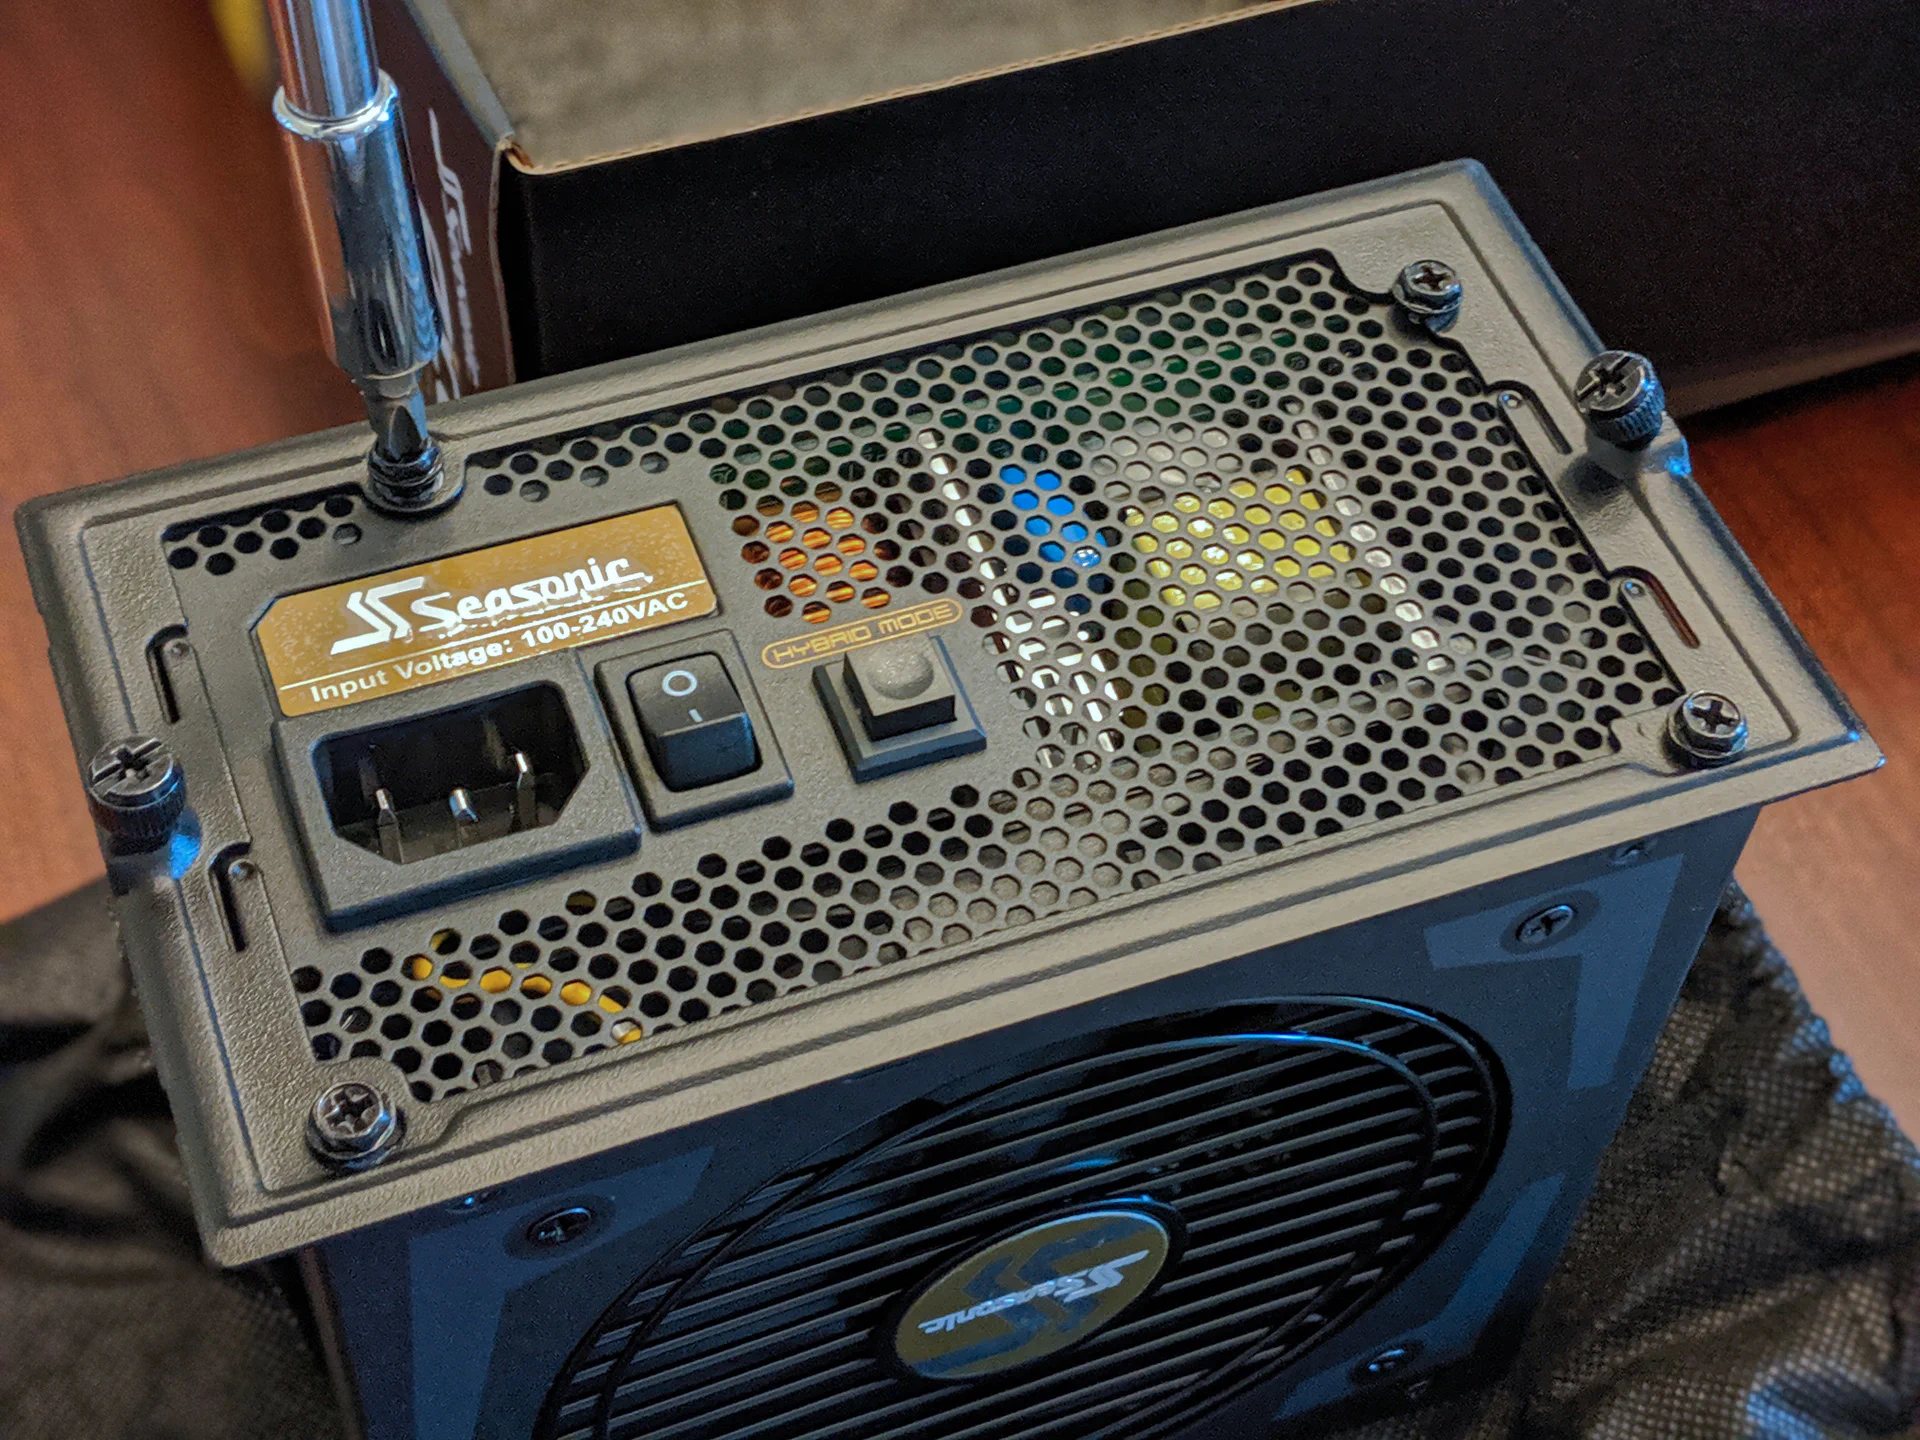
- Power Supply
- Monitors
- Mouse
- Keyboard

Goals
Here are a few of the most important goals and tasks that I had for this build:
- Low Noise Levels - I work (and play) quite a bit on my PC and share an office with my wife, so having it be as quiet as possible is a huge goal for me. For normal tasks I’d like it to be silent. And yes, I realize this is a bit of a contradiction given my choice of a mechanical keyboard! :)
- Video Editing - For our YouTube channel, I’d like it to handle 1080P/4K video editing with Hit Film and Da Vinci Resolve with minimal delays and provide basic data protection to avoid losing any work.
- Game Development - I primarily work in Unity, Visual Studio, Blender, Krita, and Affinity Photo these days so it should be able to handle these apps as well.
- Gaming - League of Legends, Fortnite, Apex Legends, etc.
There are also a few “non-goals” or things I’m not necessarily trying to achieve with this build:
- Overclocking - These new AMD chips do quite well boosting on their own, and since stability is required, I tend to avoid overclocking. It could certainly be done though, especially with the additional cooling upgrades.
- LED Lightshow - I admit there are some sweet looking lit builds out there, but this computer will be mounted underneath a sit/stand desk, and the holder would sadly hide most of the “cool-factor”.
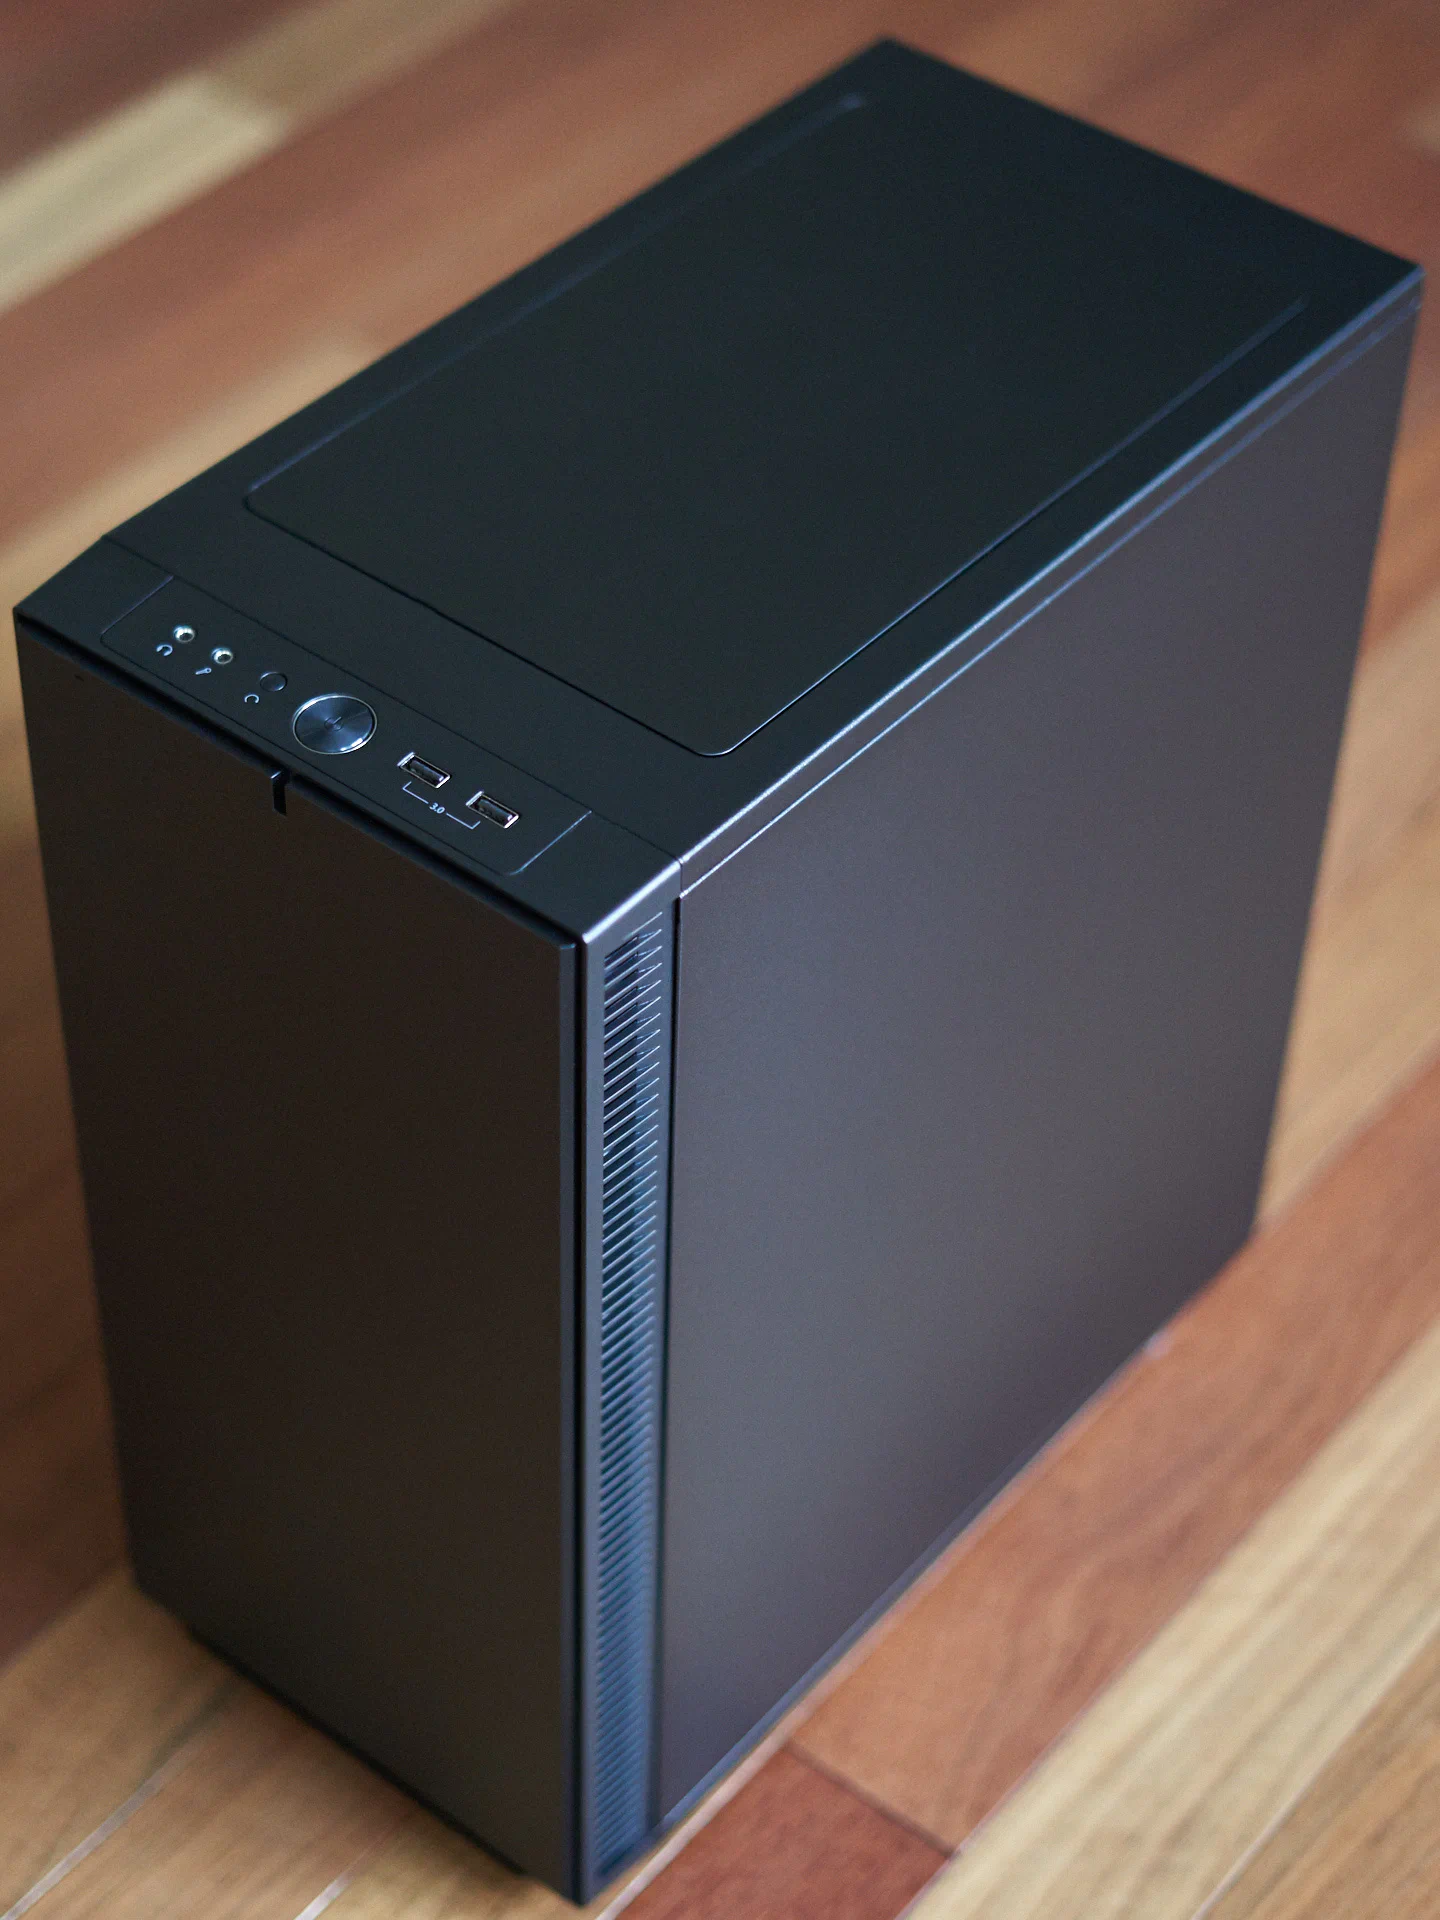
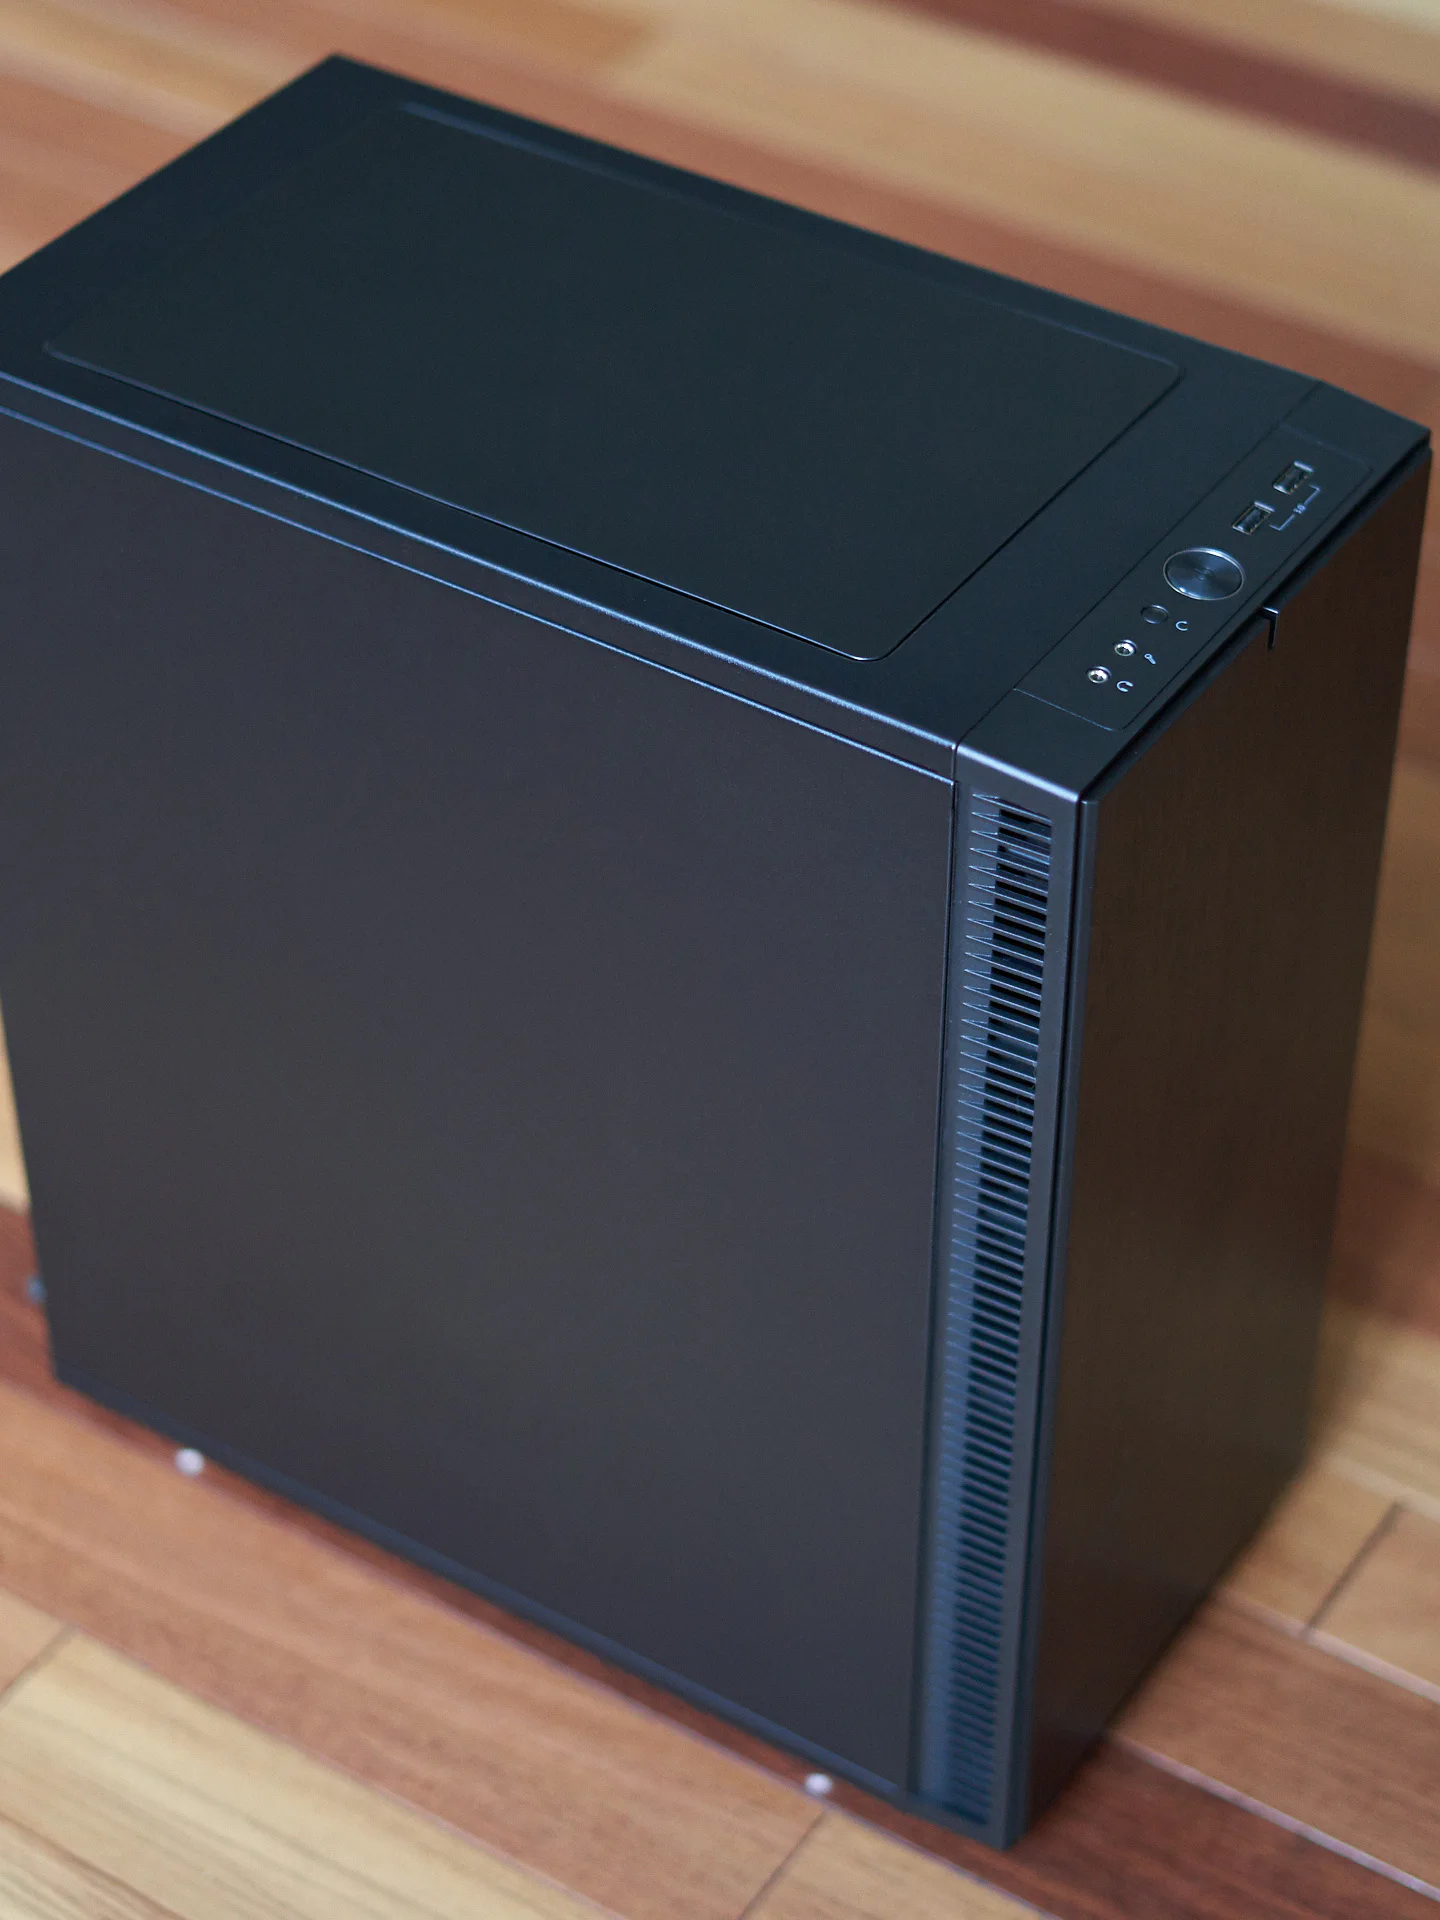
The Case
For this build I’m using a Fractal Design Define C ATX case. It’s a pretty sleek and compact case with some fairly decent sound dampening. There’s a tempered glass version for those wanting to show off their components as well as a mesh-front version with slightly improved airflow.
Installing the CPU and RAM
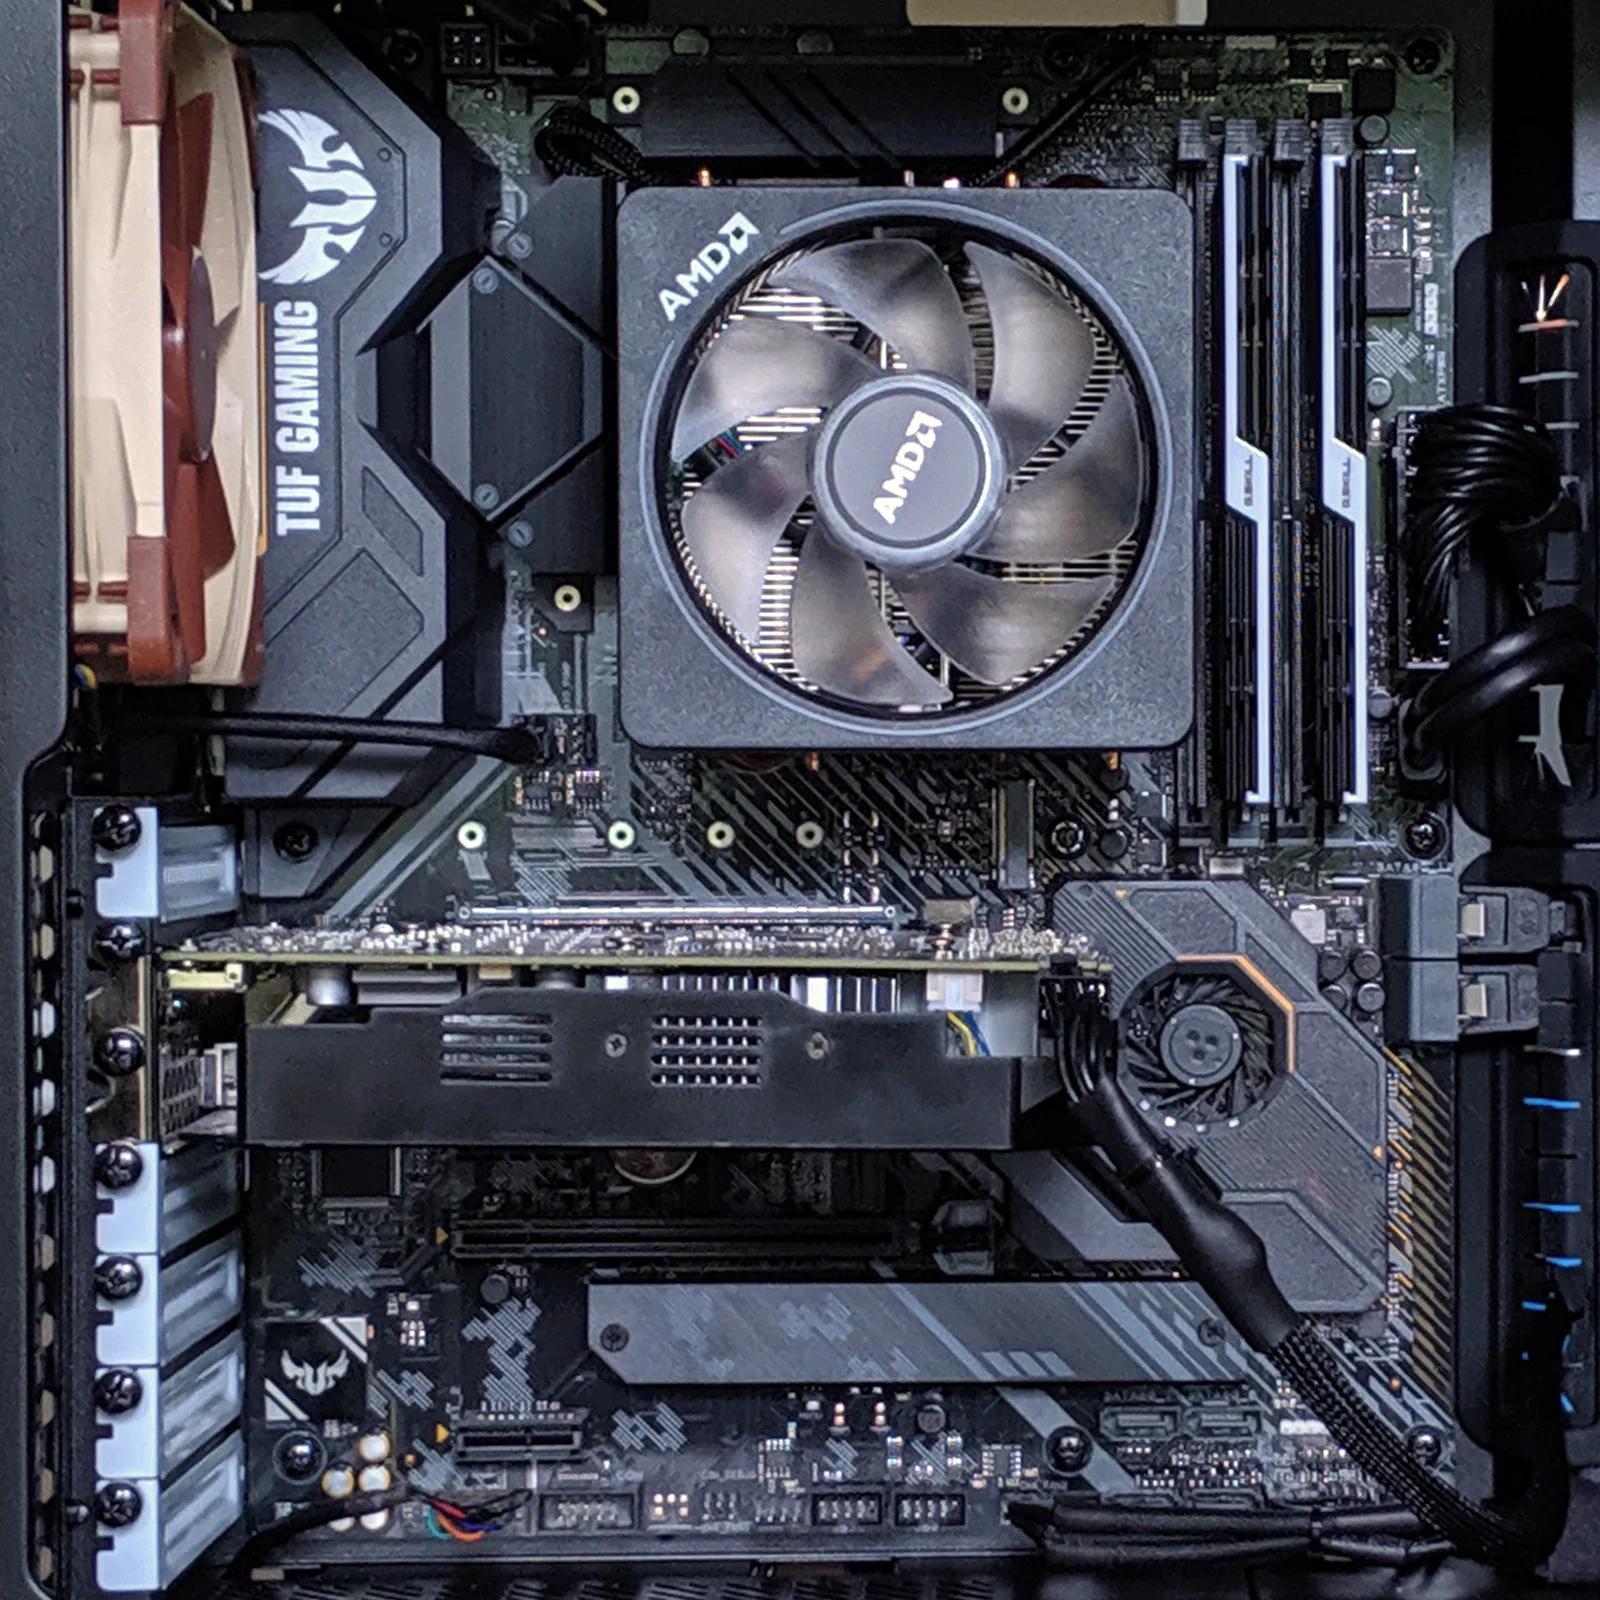
After a good bit of research, I finally decided to go with AMD’s 3700X CPU, an ASUS AM4 TUF Gaming X570-Plus (Wi-Fi) Motherboard, and 32GB of G.SKILL TridentZ 3200MHz RAM. The 3700X (vs. a 3600/3600X) and 32GB vs 16GB of RAM might have been a bit overkill for most of what I do, but I was able to catch the RAM on sale so I figured I’d splurge a little bit (yes, that’s how they get ya).
I usually start by getting the CPU and RAM mounted to the motherboard before inserting it into the case, just to have a bit more room to work.

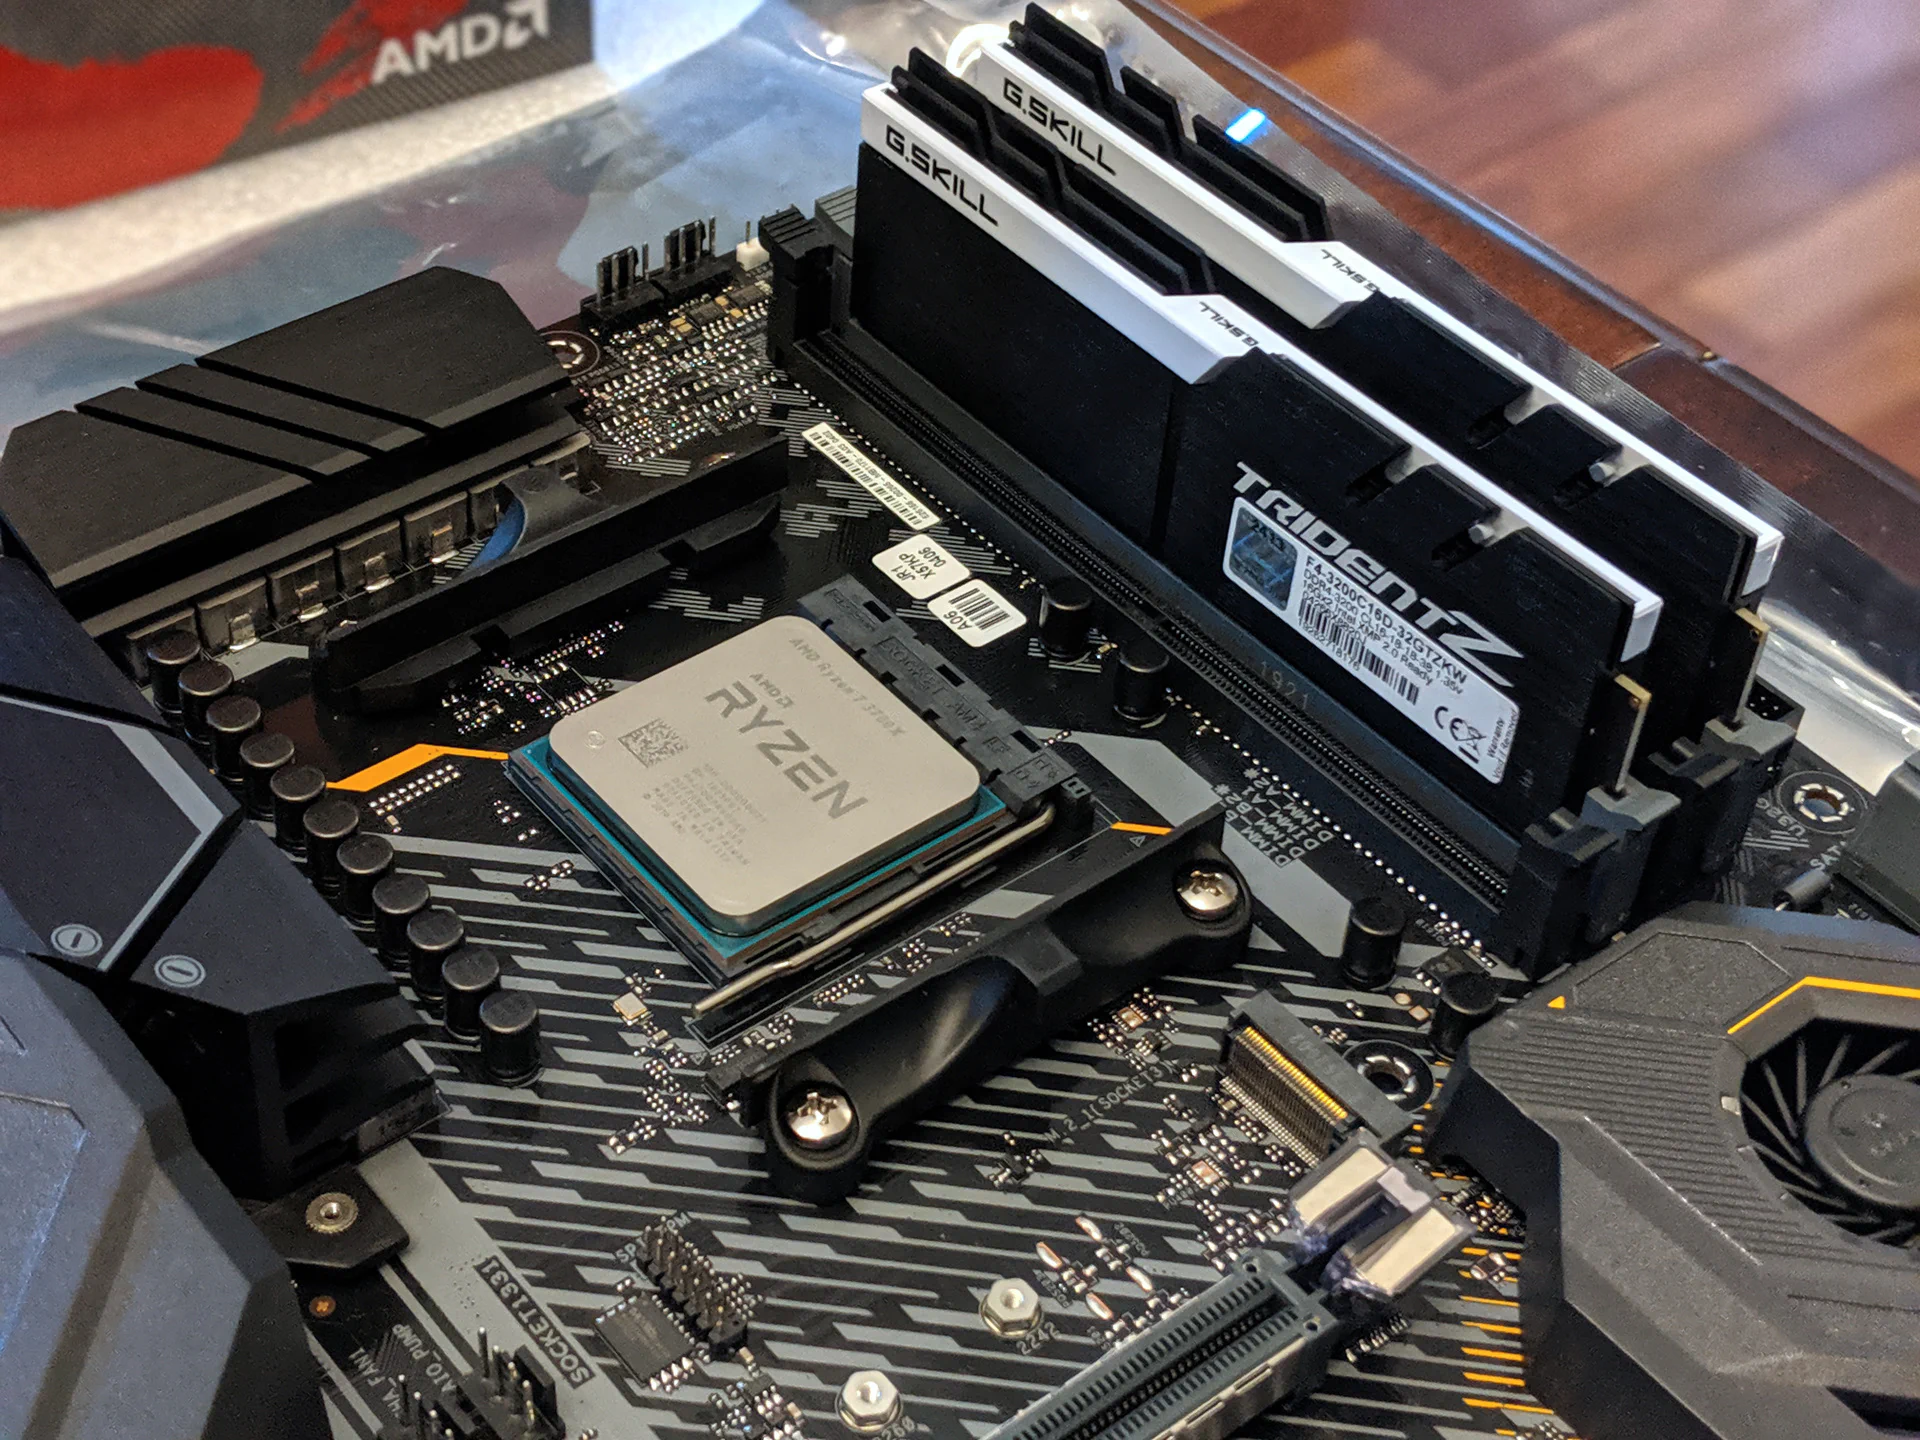
If you’ve never built a PC before, the process of inserting the CPU is pretty painless (AMD has a nice video). Make sure you’ve done everything possible to avoid an electrostatic discharge and simply raise the CPU socket lever on the motherboard up and slightly out. Then, orient the CPU properly so that the gold triangle in one corner matches the triangle on the motherboard’s socket. Finally, place the CPU in the socket so that it’s firmly seated and lower the socket lever back into place (it shouldn’t take much effort).
When using only 2 RAM modules, the motherboard manual should have a diagram that shows which slots to use (the light gray slots for this ASUS). Simply open the tabs on the slot sides outward and with the module oriented properly, insert it into the slot while applying pressure along the top outer edges. The clips should pop back and lock the RAM into place.
Installing the AMD Stock CPU Cooler
The AMD Ryzen 3000 series CPUs all come with a stock cooler which consists of a heatsink and fan. The 3700X CPU used in this build includes the Wraith Prism cooler shown below.
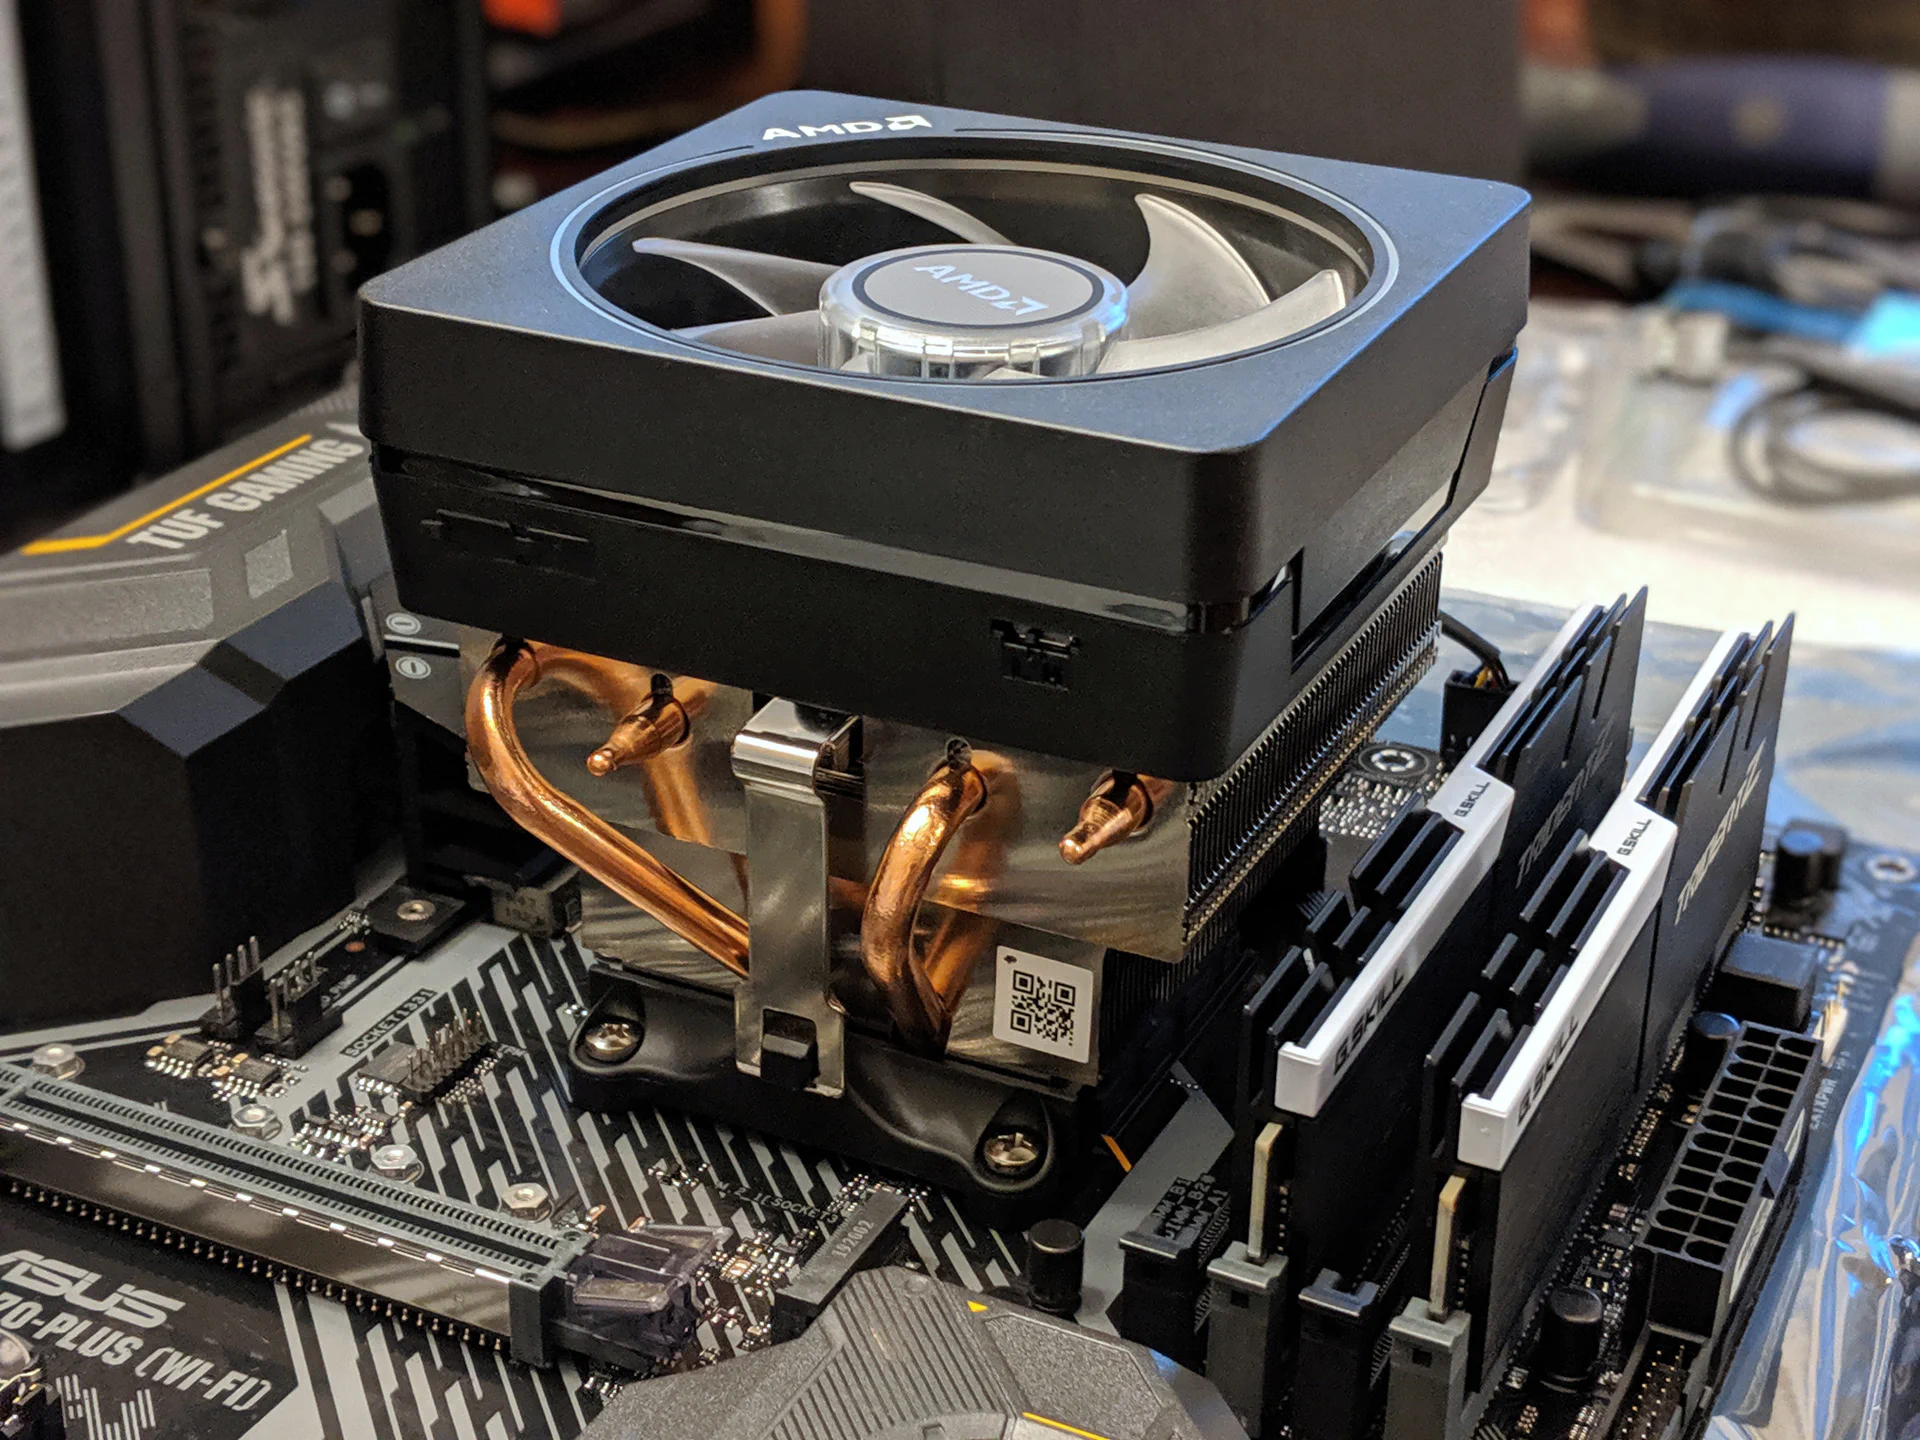
Installing it can be a bit fiddly as there is a layer of thermal paste on the bottom of the heatsink that needs to make contact with the top of the CPU. After determining the proper orientation of the cooler, remove the protective plastic from the bottom and lower the heatsink directly on top of the CPU using the latches as guides.
Then, latch the inner side (shown in the photo above) around the plastic retention bracket on the motherboard. Getting the other side to do the same may require a little pressure, but once it is in place there is a lever on the opposite side that is thrown to lock everything in place.
The last thing to do is to plug the fan cable into the CPU_FAN header on the motherboard. For LED color control, there’s an extra wire that connects to the fan (front-left in the photo). This wire then connects to the RGB_HEADER1 located next to the CPU fan header on the motherboard.
Installing Additional Case Fans
In an attempt to achieve my goal of having a near-silent case, I decided to install 2 - 140mm Noctua NF-A14 fans in the front of the case and one 120mm Noctua NF-S12A fan in the rear, replacing the include 120mm fans. For those that hate Noctua’s Whoppers-themed color choices, there are black variations listed above as well.
The larger 140mm front fans should move a bit more air at lower RPM (noise level), but a cheaper alternative would be to simply add a single Noctua or another Fractal Design Dynamic X2 (GP-12 PWM or GP-14 PWM) to the front. Be sure to get the PWM version and possibly a PWM Y-Splitter Cable. (Note: These Noctua fans include a splitter cable.)
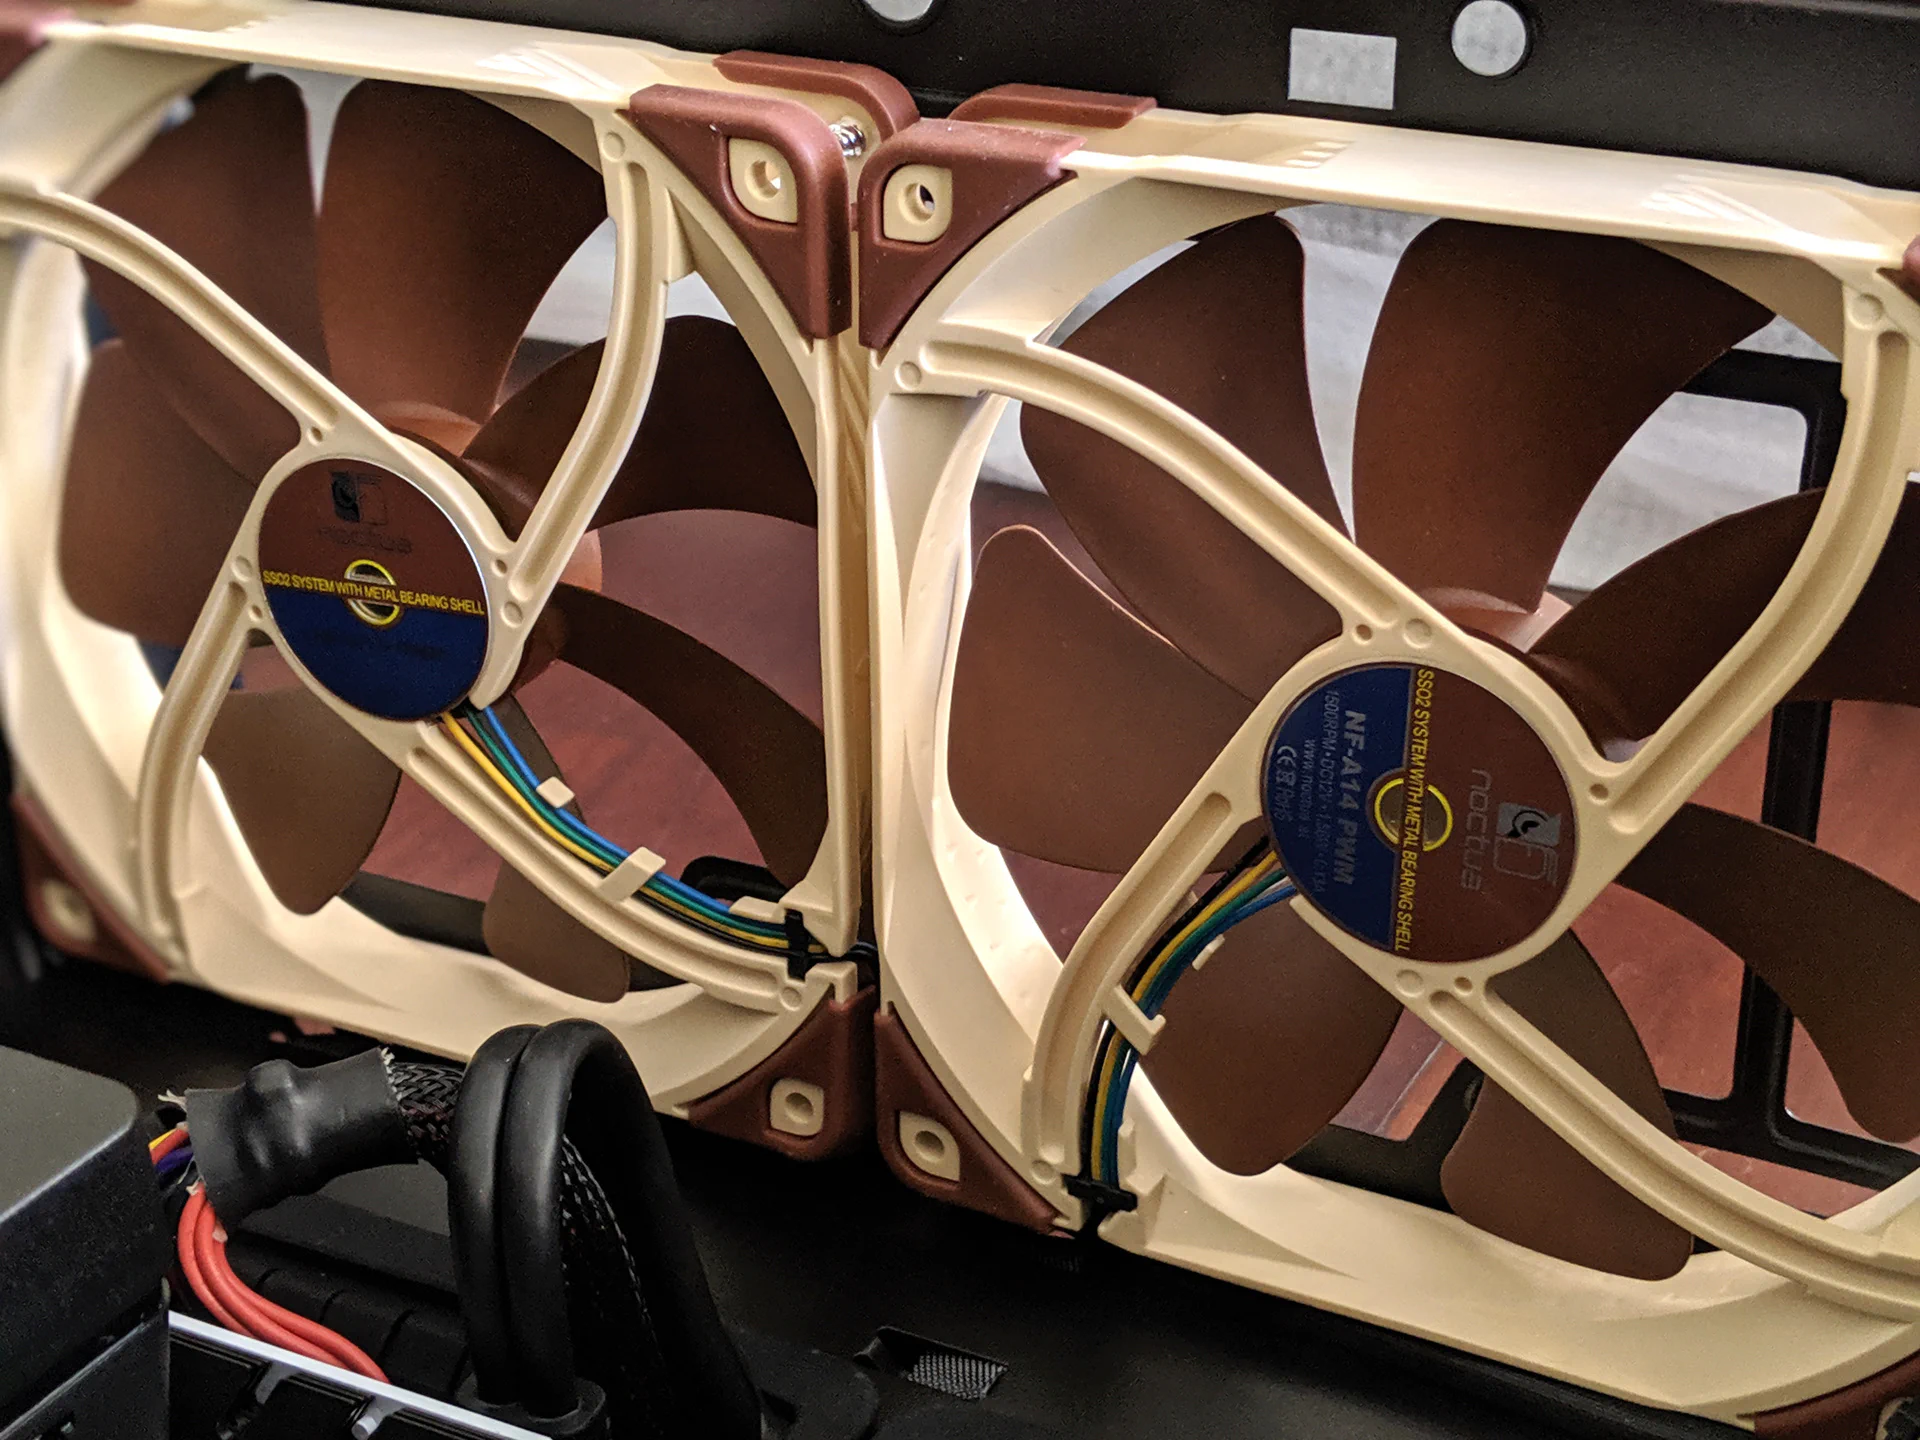
The Noctua fans also come with silicone “pins” (as well as screws) that can be used to mount them to the case. Since the Noctua fans already have silicone pads on the corners, I opted to go with the regular mounting screws for now as they are far less maddening to deal with and work better with the mounting-slot design the case uses.
Installing the Power Supply
Installing the power supply is relatively simple. There’s a small mounting plate that comes with the case. It’s simply removed from the case with the two thumbscrews and then mounted to the power supply.
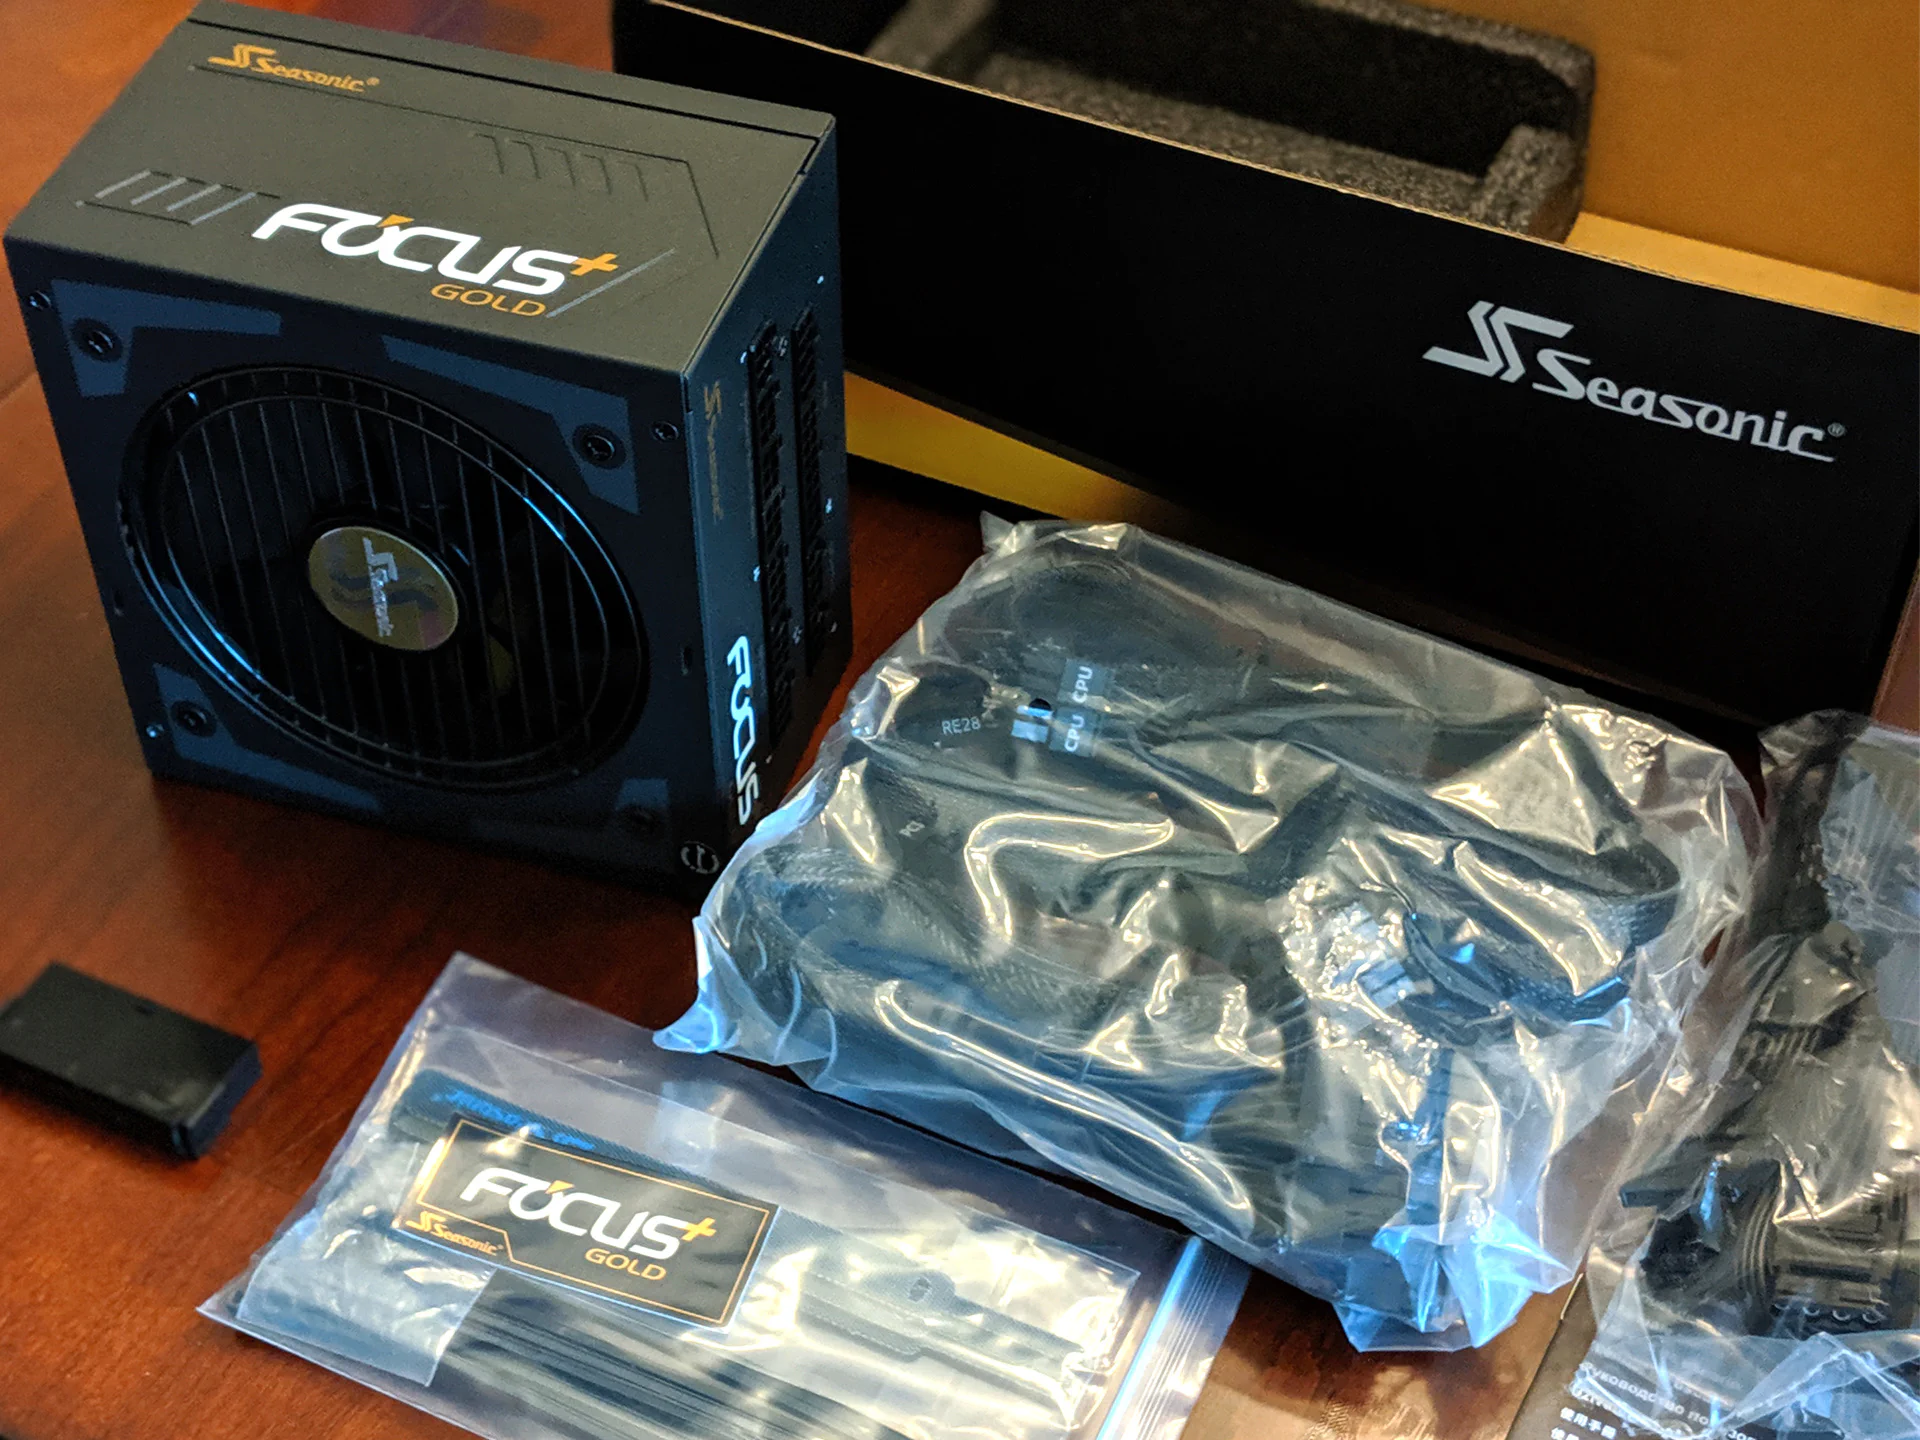
The power supply is then slid back into the case with the fan facing down. I did find it easiest to connect the required power cables after inserting the supply just slightly into the case. After inserting it fully and tightening the plate back down, it was time to install the motherboard.
Installing the Motherboard
Installing the motherboard is pretty easy as well. The motherboard comes with a small driver bit which is used to screw the included brass standoffs onto the case. After inserting the included metal backplate, the motherboard can be lowered into the case (aligning the holes in it with the standoffs) and secured with the included screws.
Next, there are several cables that need connecting. Starting along the top left of the motherboard, there is an 8-pin power cable. Then, moving clockwise along the right side by the RAM there is the large 24-pin power cable. Just below that is the USB 3 header that connects to wires from the top-front of the case. Under that are the first set of 4 SATA connections for drives.
In the bottom right are the headers for the case’s power button, reset button, and power LED wires. Next, there are another set of 4 SATA connections and connections for 2 case fans. Finally, in the lower left is the connection for the case’s top-front audio ports.
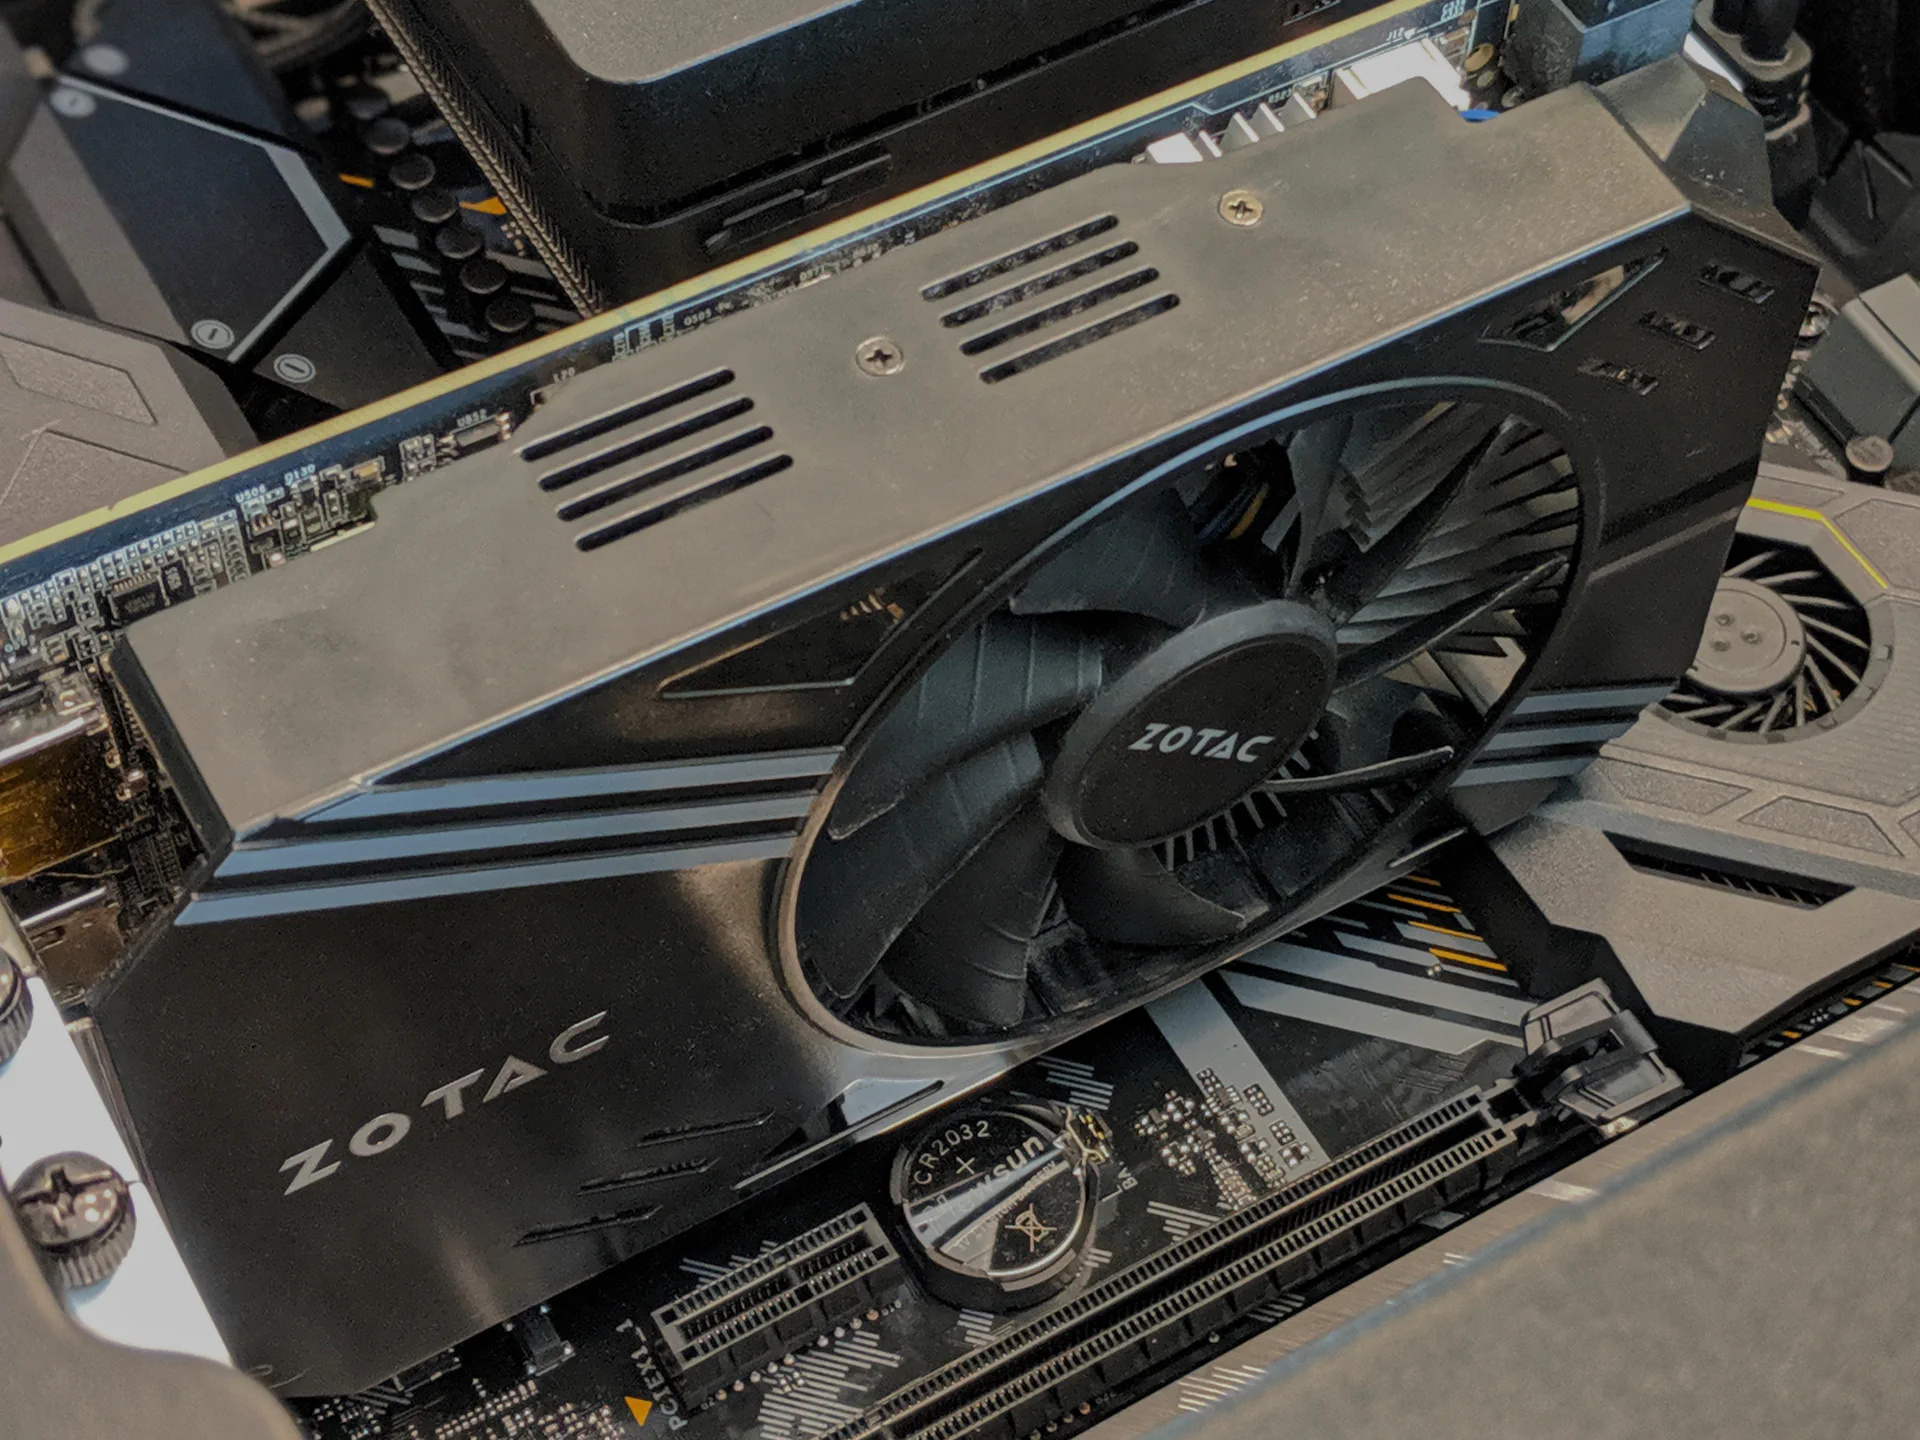
I also went ahead and inserted my existing nVidia 1060 GPU into the top PCIe slot on the motherboard and connected it with a 6-pin PCIe power cable.The additional, unused 2 pins for this connection were zip-tied under the wire making them a bit hard to spot.
Note that the choices listed above for either a nVidia GTX 1660 or nVidia RTX 2060 should work well with the 550W power supply in this build. If you plan to purchase something a bit more powerful like a nVidia 2070 or 2080 or go with a 95W or 105W CPU, it is probably recommended to use at least a 650W power supply.
Installing the SSDs
The Fractal Design Define C case makes installing up to 3 SSD drives along the top of the case easy as there is a small plate that can be removed and drives mounted to it. Unfortunately, I had 4 SSDs that I wanted to use. There’s room for 2 additional SSDs or 3.5" HDDs in the bay shown in the lower left, but my original plan was to remove this and install another 120mm fan.

To solve this issue, I used some heavy duty Velcro strips to attach the drives (the two Intel SSDs seen above) to the lower half of the case. This has worked extremely well so far, but if for some reason the Velcro fails, I’ll simply put the drives in the lower bay as I don’t believe adding another fan will improve temperatures much at this point.
Also note that for most people, this many drives is likely overkill. I use the two Intel drives in a mirrored RAID configuration to avoid losing any data when I work on video editing. The extra Samsung drive is used to store game development projects, and its data is always backed up through version control software.
What About NVMe M.2 Drives?
Since I already had several SATA SSD drives, I decided to hold off buying a NVMe M.2 drive. X570 motherboards support the new PCIe 4.0 standard for even faster speeds, but there are only a few drives available at this time. Gigabyte’s AORUS NVMe PCIe4 M.2 appears to be leading the way currently, but they cost roughly $90 more than PCIe 3.0 drives like the popular Samsung 970 EVO NVMe PCIe3 M.2 which is a good choice for a new drive as its only about $10 more than the Samsung 860 SATA SSDs used in this build.
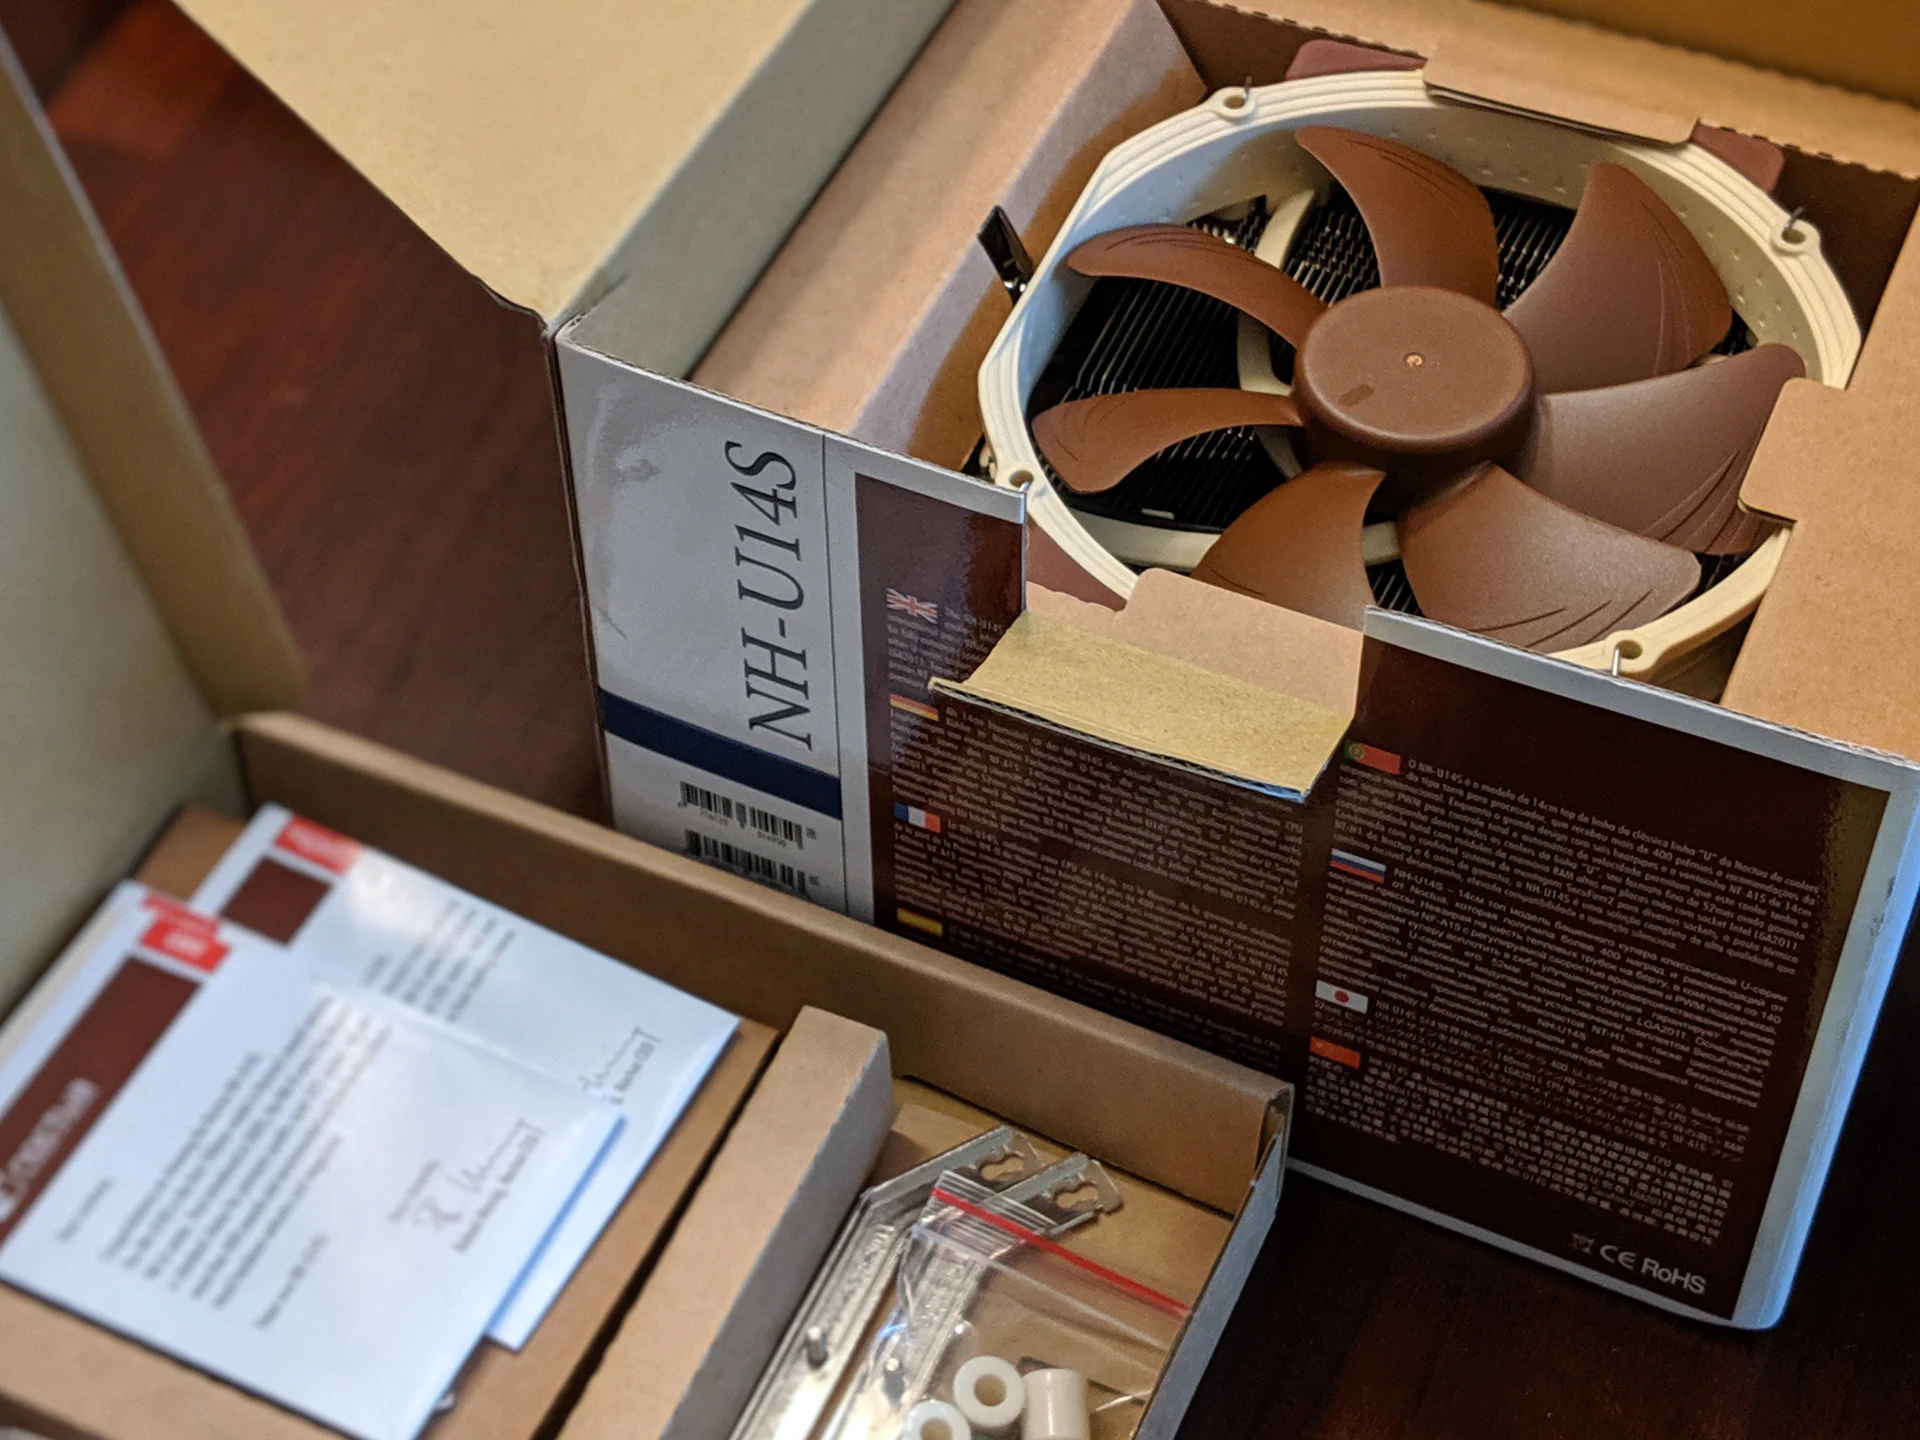
Installing the Noctua NH-U14S CPU Cooler
My quest for silence hit a small snag when I first heard AMD’s stock CPU fan as mine made a scraping noise which was annoying to listen to even at low RPMs. I’m assuming it was just a small defect as others report having quieter fans, though they do all seem to be a bit noisy under load.
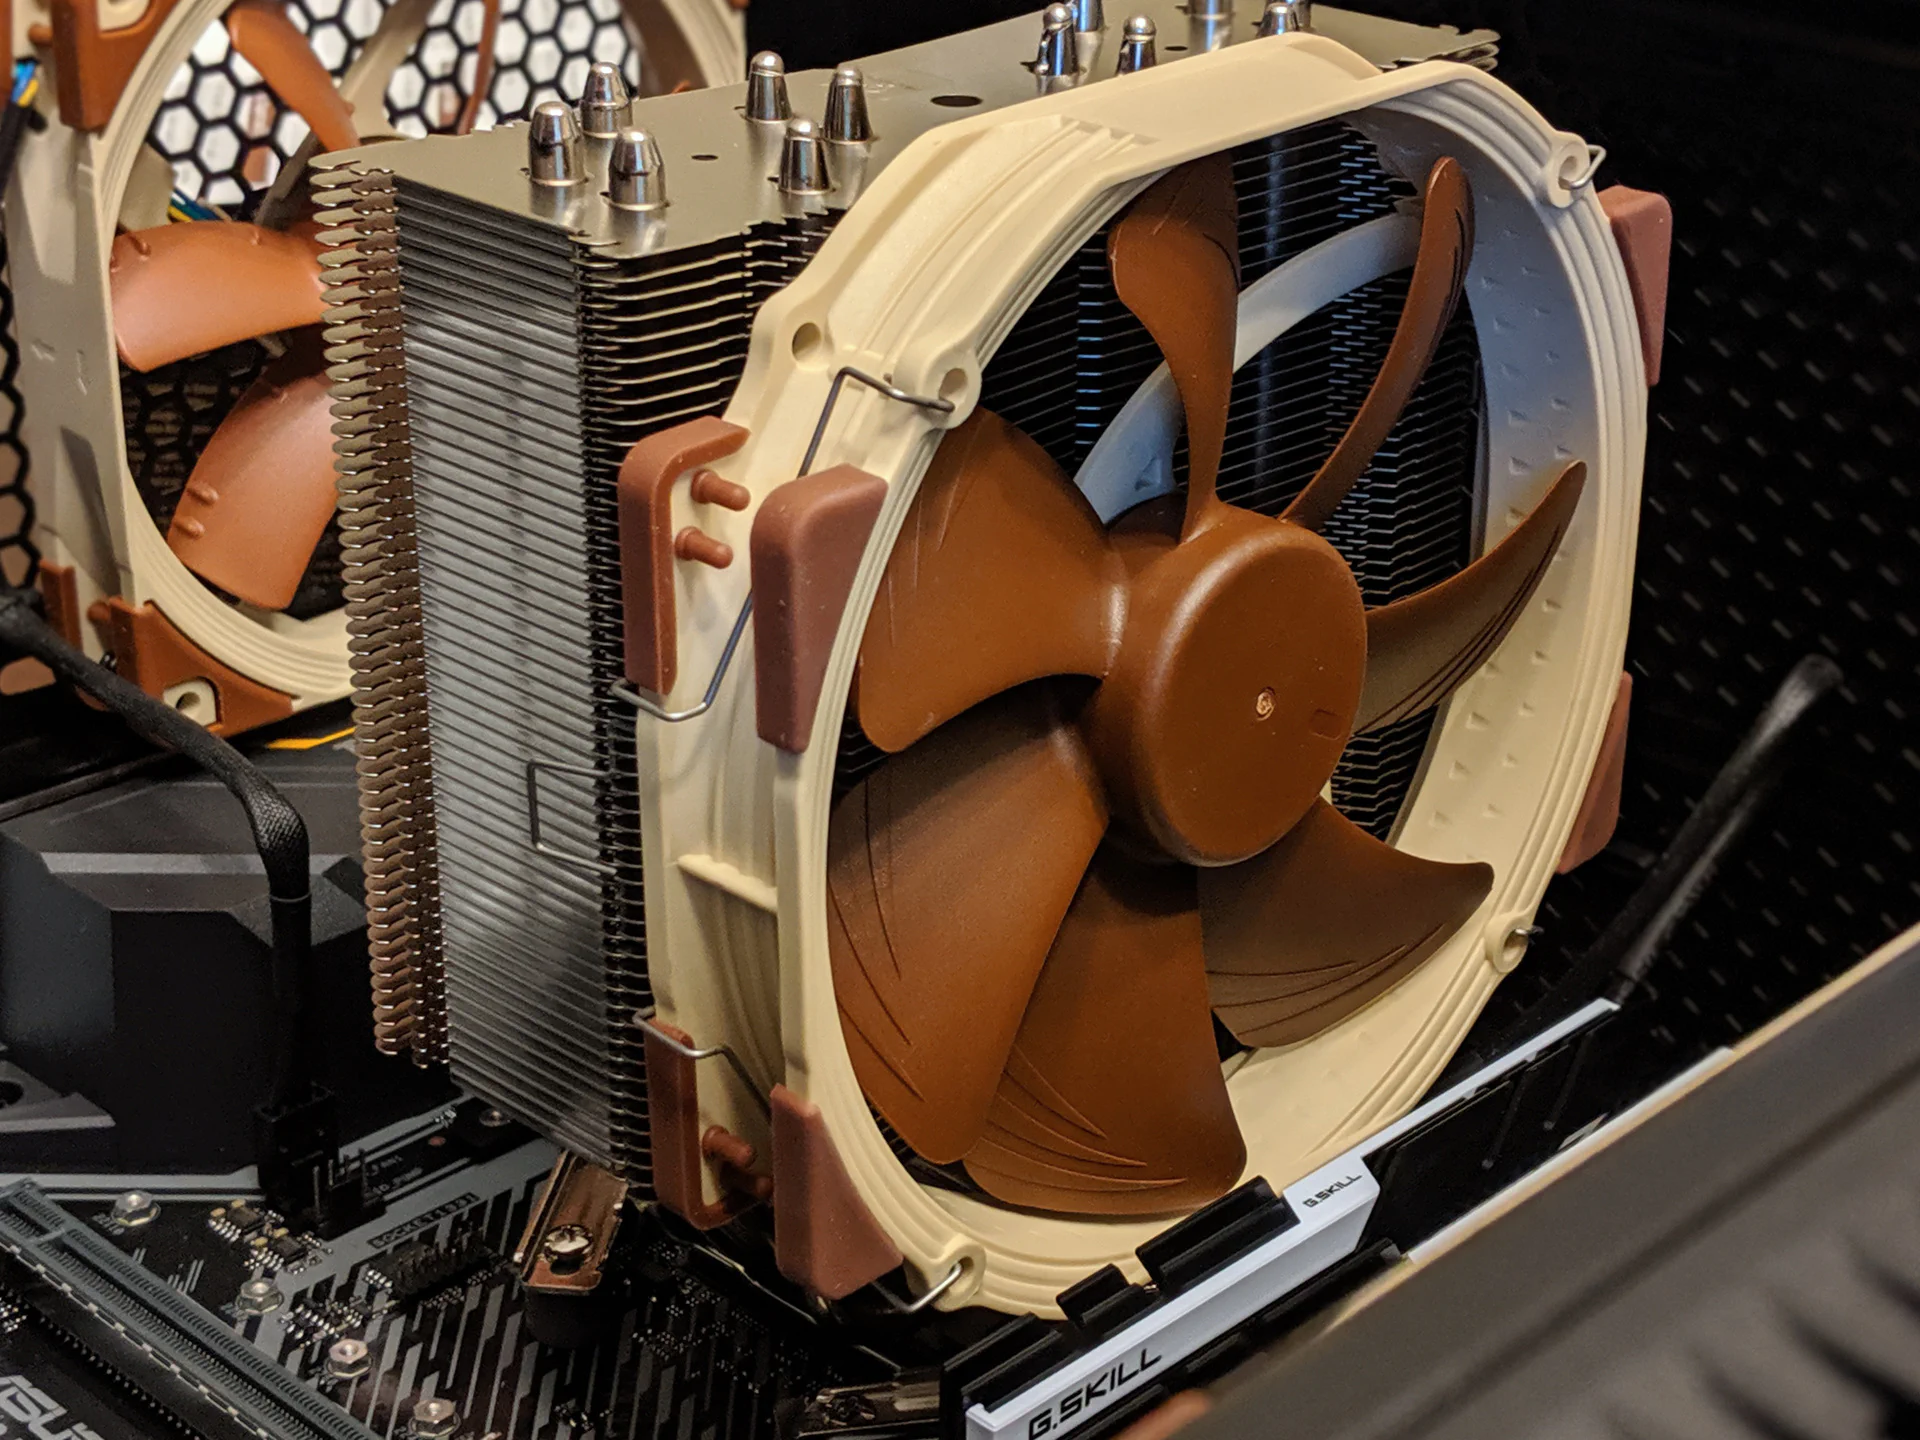
In my previous machine, I used a Cooler Master Hyper 212 EVO. I thought about reusing it, but that would have required contacting Cooler Master for new mounting brackets (ours were older than AM4 sockets). Instead, I decided to continue my trip into Whoppers-land and go with a ginormous 140mm Noctura NH-U14S (they do make a 120mm version for cases with less room as the NH-U14S needs 165mm of clearance).
Noctua has a great installation video showing how to install the cooler for AM4 motherboards. Just note that if all four screws are removed from the original plastic retention brackets, the metal backplate on the back of the motherboard will likely fall off.
To avoid this, remove the two rear screws completely and loosen the front two. Then, swing the brackets out of the way enough to install one of the Noctura mounting bars. Finally, remove the old brackets and mount the second Noctura bar.
After cleaning the old thermal compound off the CPU with a rag dampened slightly with isopropyl alcohol, apply new thermal compound to the CPU. There’s several theories on the best way to apply thermal compound, but usually a pea sized dot in the center is recommended as the pressure from attaching the heatsink will spread it out nicely.
One last thing to point out with the 140mm Noctua cooler is that the clearance between it and the rear RAM slot is extremely tight. There aren’t any issues when using just two RAM modules as in this build, but it’s something to keep in mind if you decide to go with 4 modules.
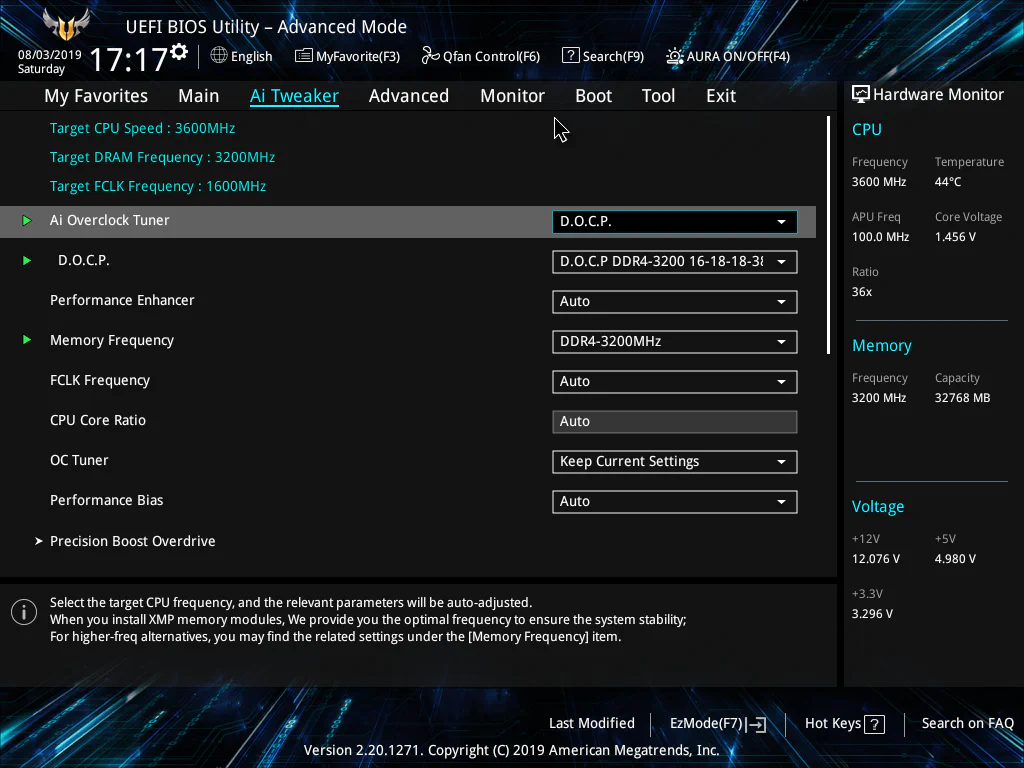
BIOS Adjustments
To configure the BIOS to use the proper timings for the RAM used in this build, press F2 to enter the BIOS setup when booting. Click the “Advanced” button in the lower right (F7 key) and then select “AI Tweaker” on the top menu (right arrow key).
Then, set “Ai Overclock Tuner” to “D.O.C.P.” and the “D.O.C.P.” setting to “D.O.C.P. DDR4-3200 16-18-18-38”. Also verify that the “Memory Frequency” option now says “DDR4-3200MHz” as shown below. Finally, click “Exit” and save the changes to apply the proper timings.
Installing Windows and Updating Drivers
Installing a clean copy of the latest version of Windows 10 is strongly recommended if you happen to be reusing drives. The latest drivers and BIOS updates for this motherboard can be found here:
The latest AMD chipset drivers can be found here (ASUS should have these as well, although their install file includes additional chipsets making it quite large):
Fan Curve Adjustments
I’m not a huge fan of installing ASUS’s “Armory Crate” installer/updater software, but their “AI Suite” which includes “Fan Xpert” is handy for adjusting fan curves. (Note that the fan curves can also be set in the BIOS if desired.)

Here you can see that I’m running a pretty simple curve with a 3.6 second spin up time and a 6.3 second spin down time. I use similar curves and spin up/down times for the case fans as well. This has kept things running cool and quiet so far and prevents any small CPU temperature fluctuations (future BIOS updates should fix these) from causing the fans to quickly ramp up and down.
Results
So far I’ve been really pleased with this build, especially with how quiet it is. Under normal loads, I can’t hear anything from the case and the Seasonic power supply is even able to operate without running its fan.
Temperatures remain between 30-36°C during normal use. With all 8 cores (16 threads) under 100% load, the temperature maxes out at 63°C while the fans run at around 75% max RPM.
So far the improvements for things like video encoding speed, compiling, and gaming have been great! CPU-Z’s single-threaded score comes in at 527, and its multi-threaded score is around 5545.
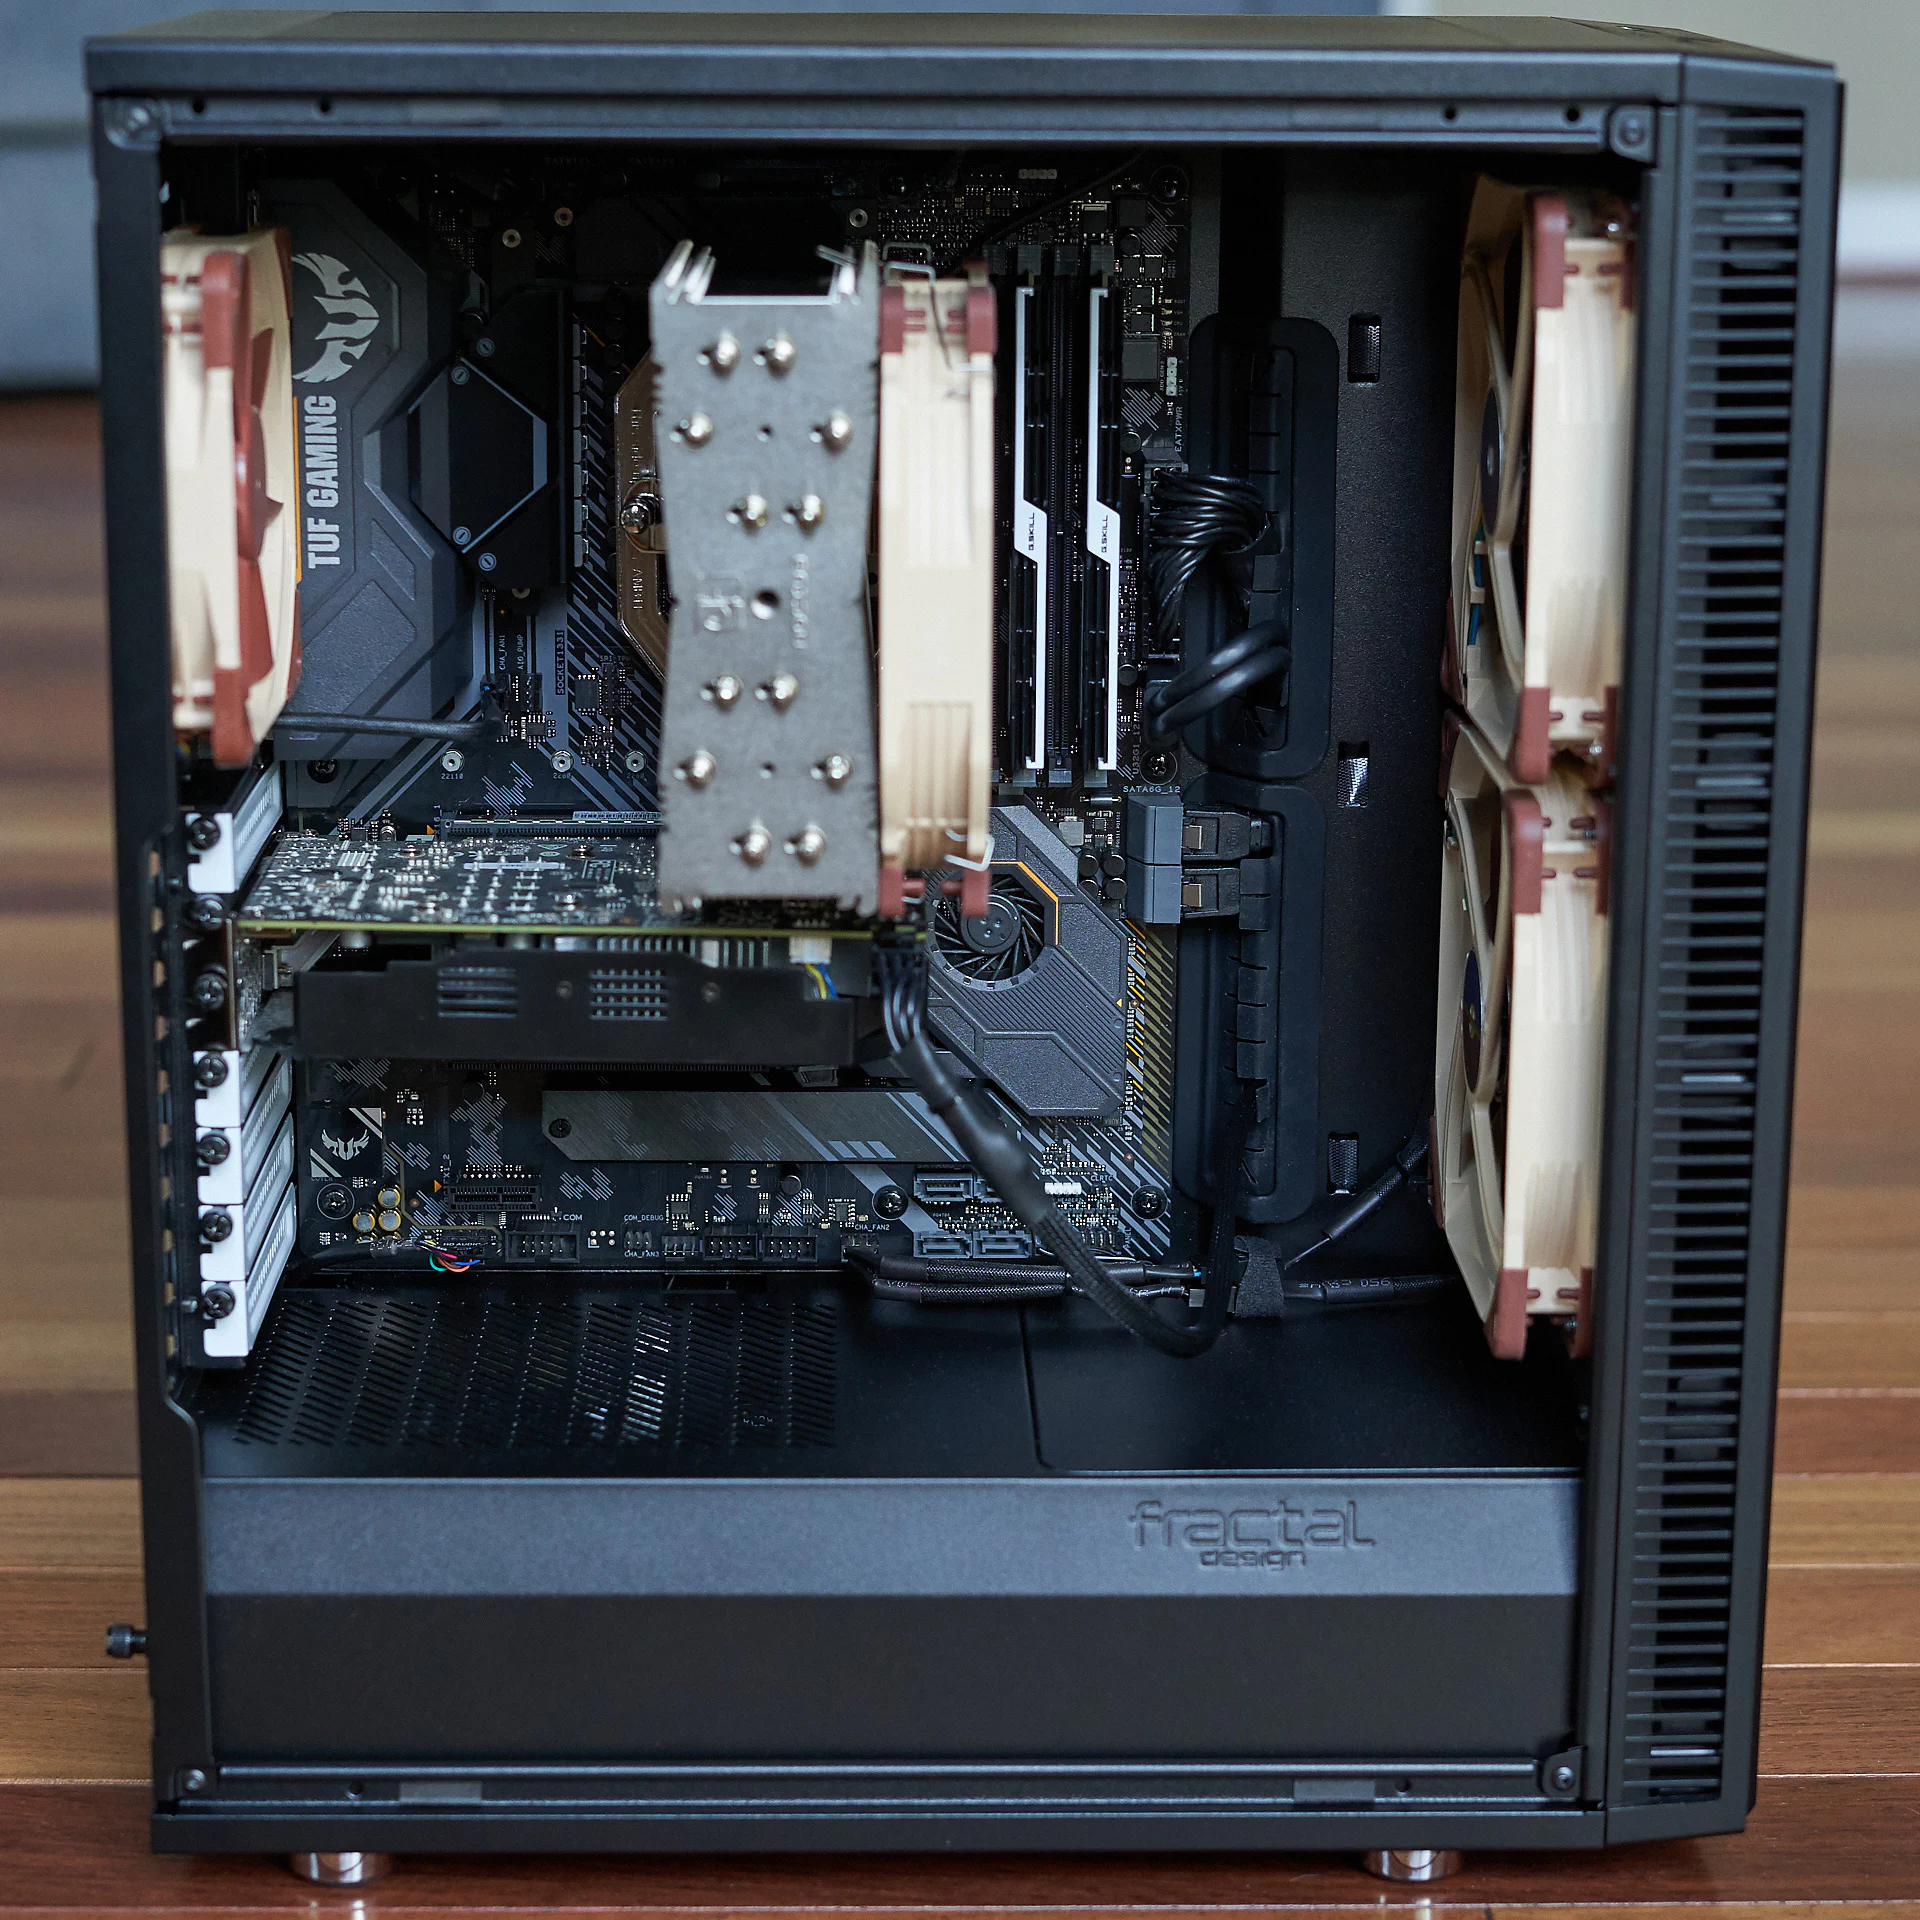

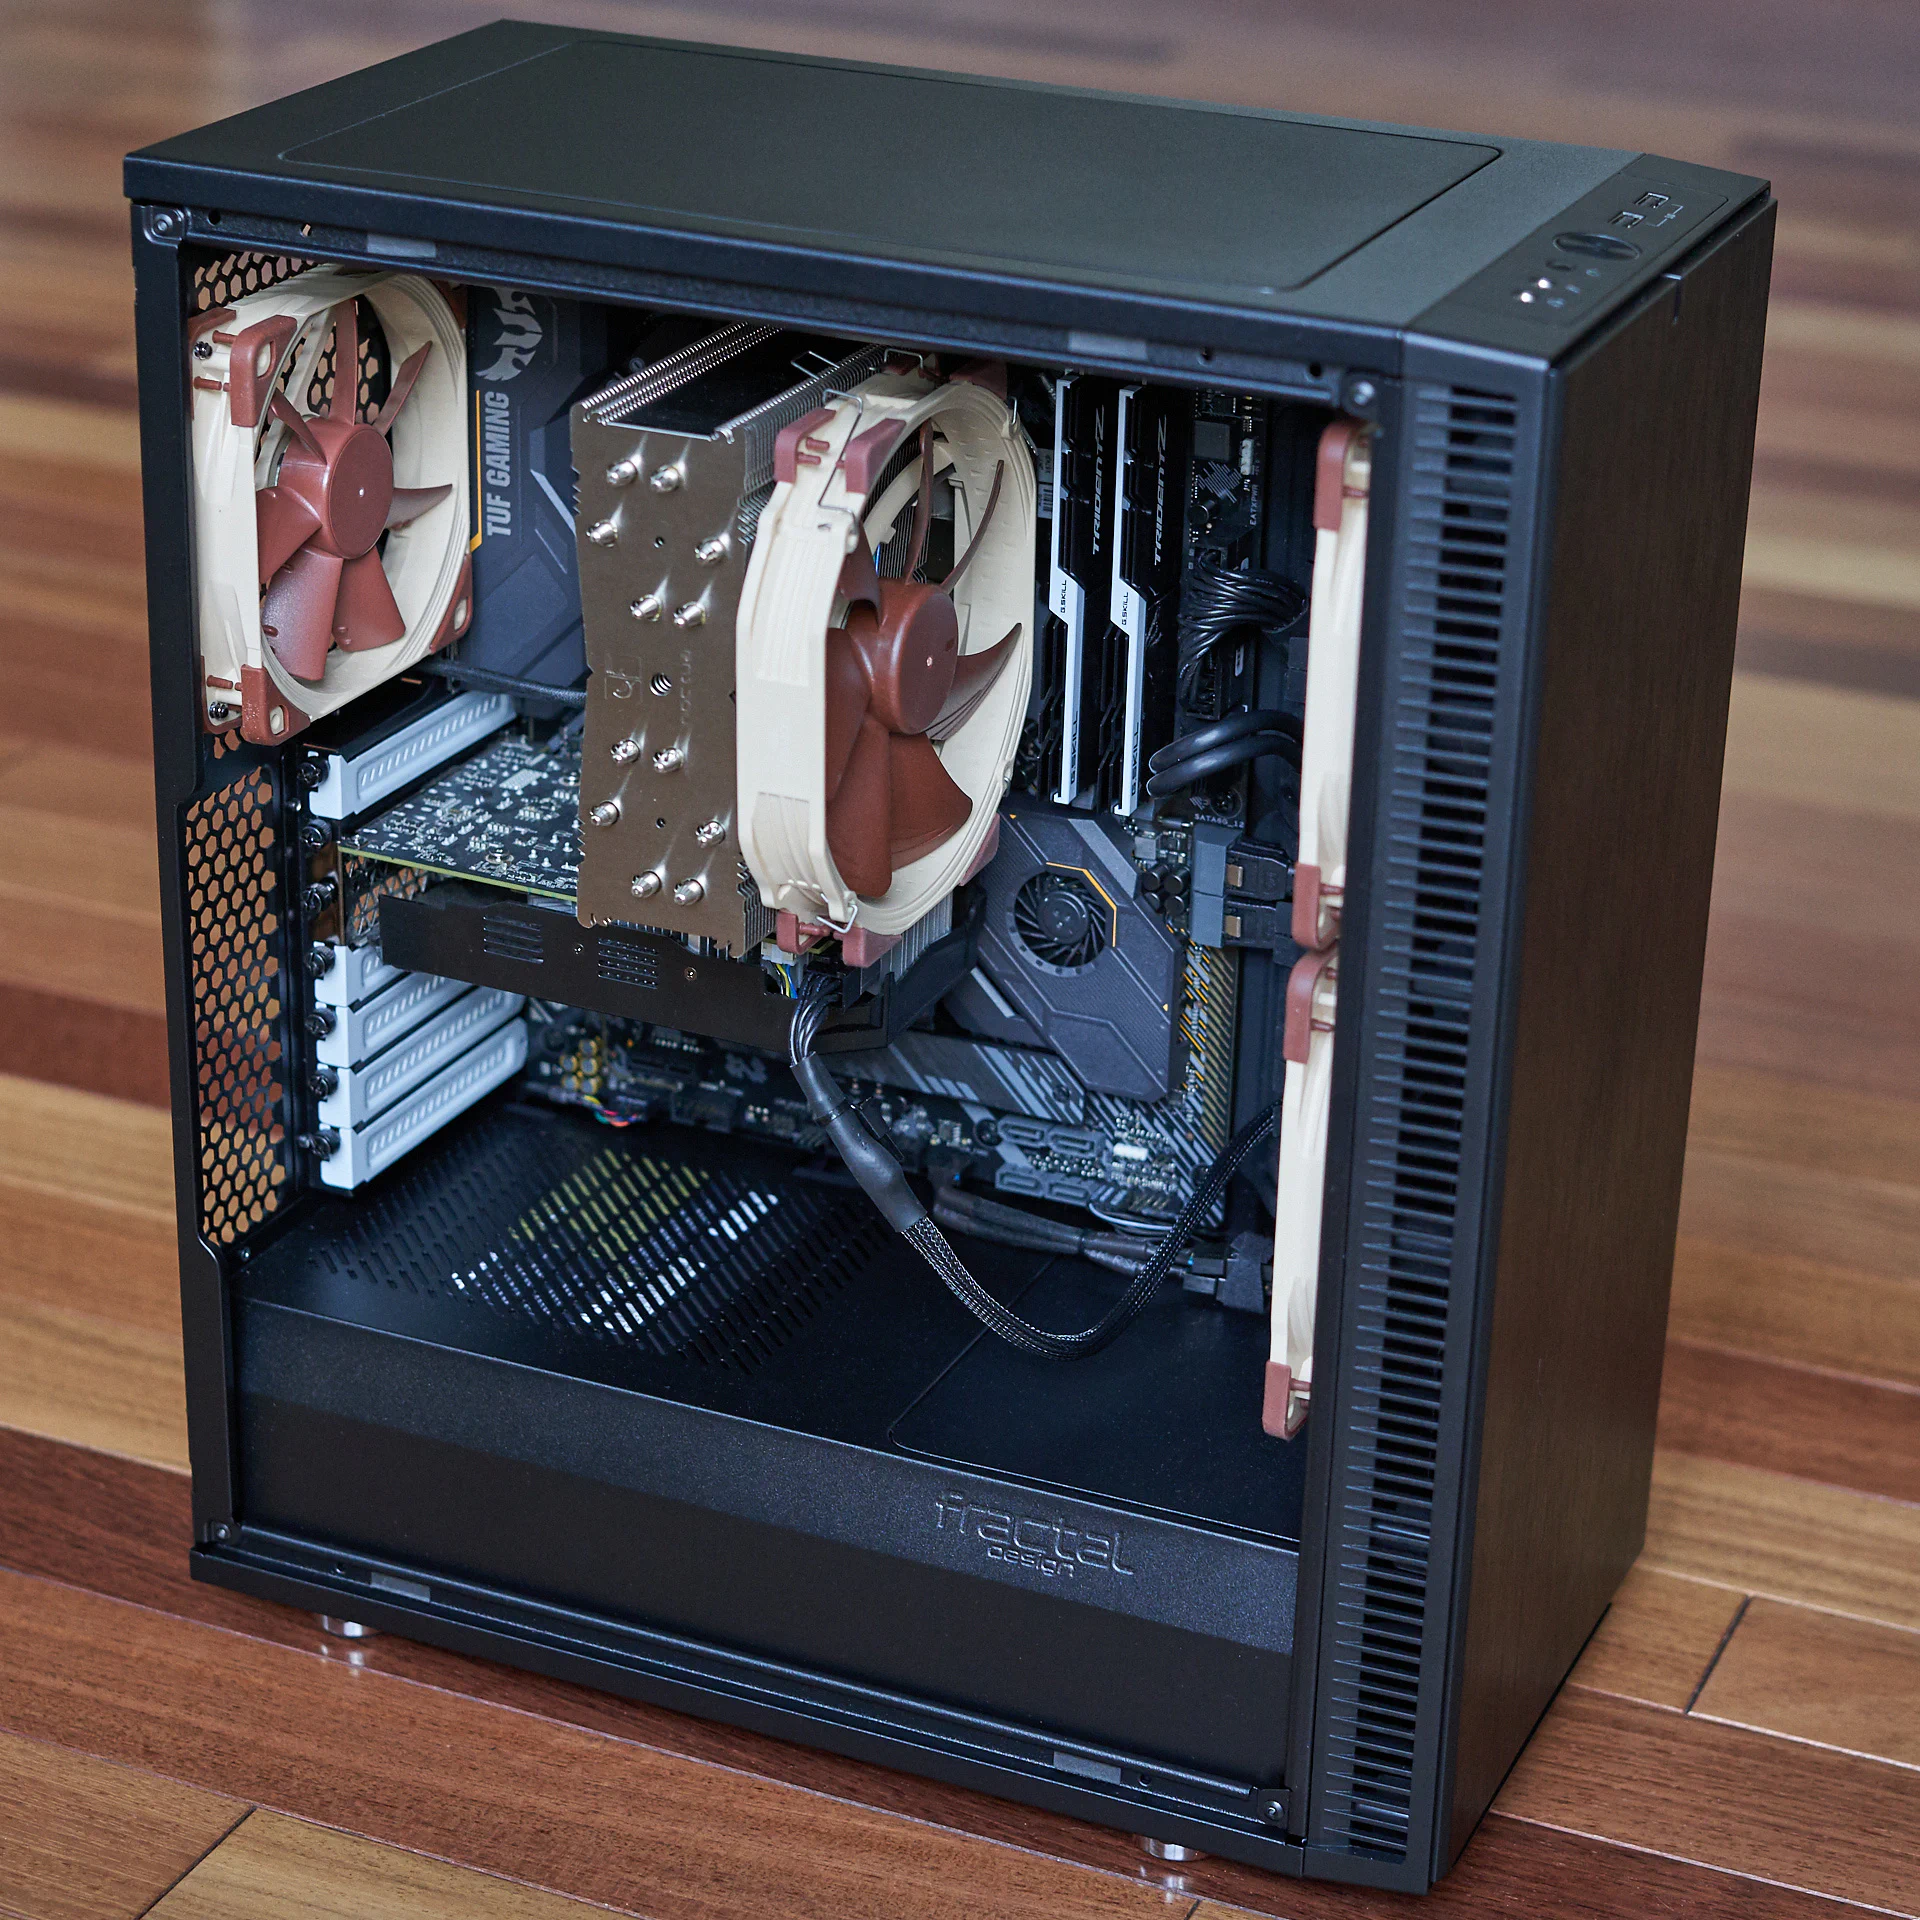
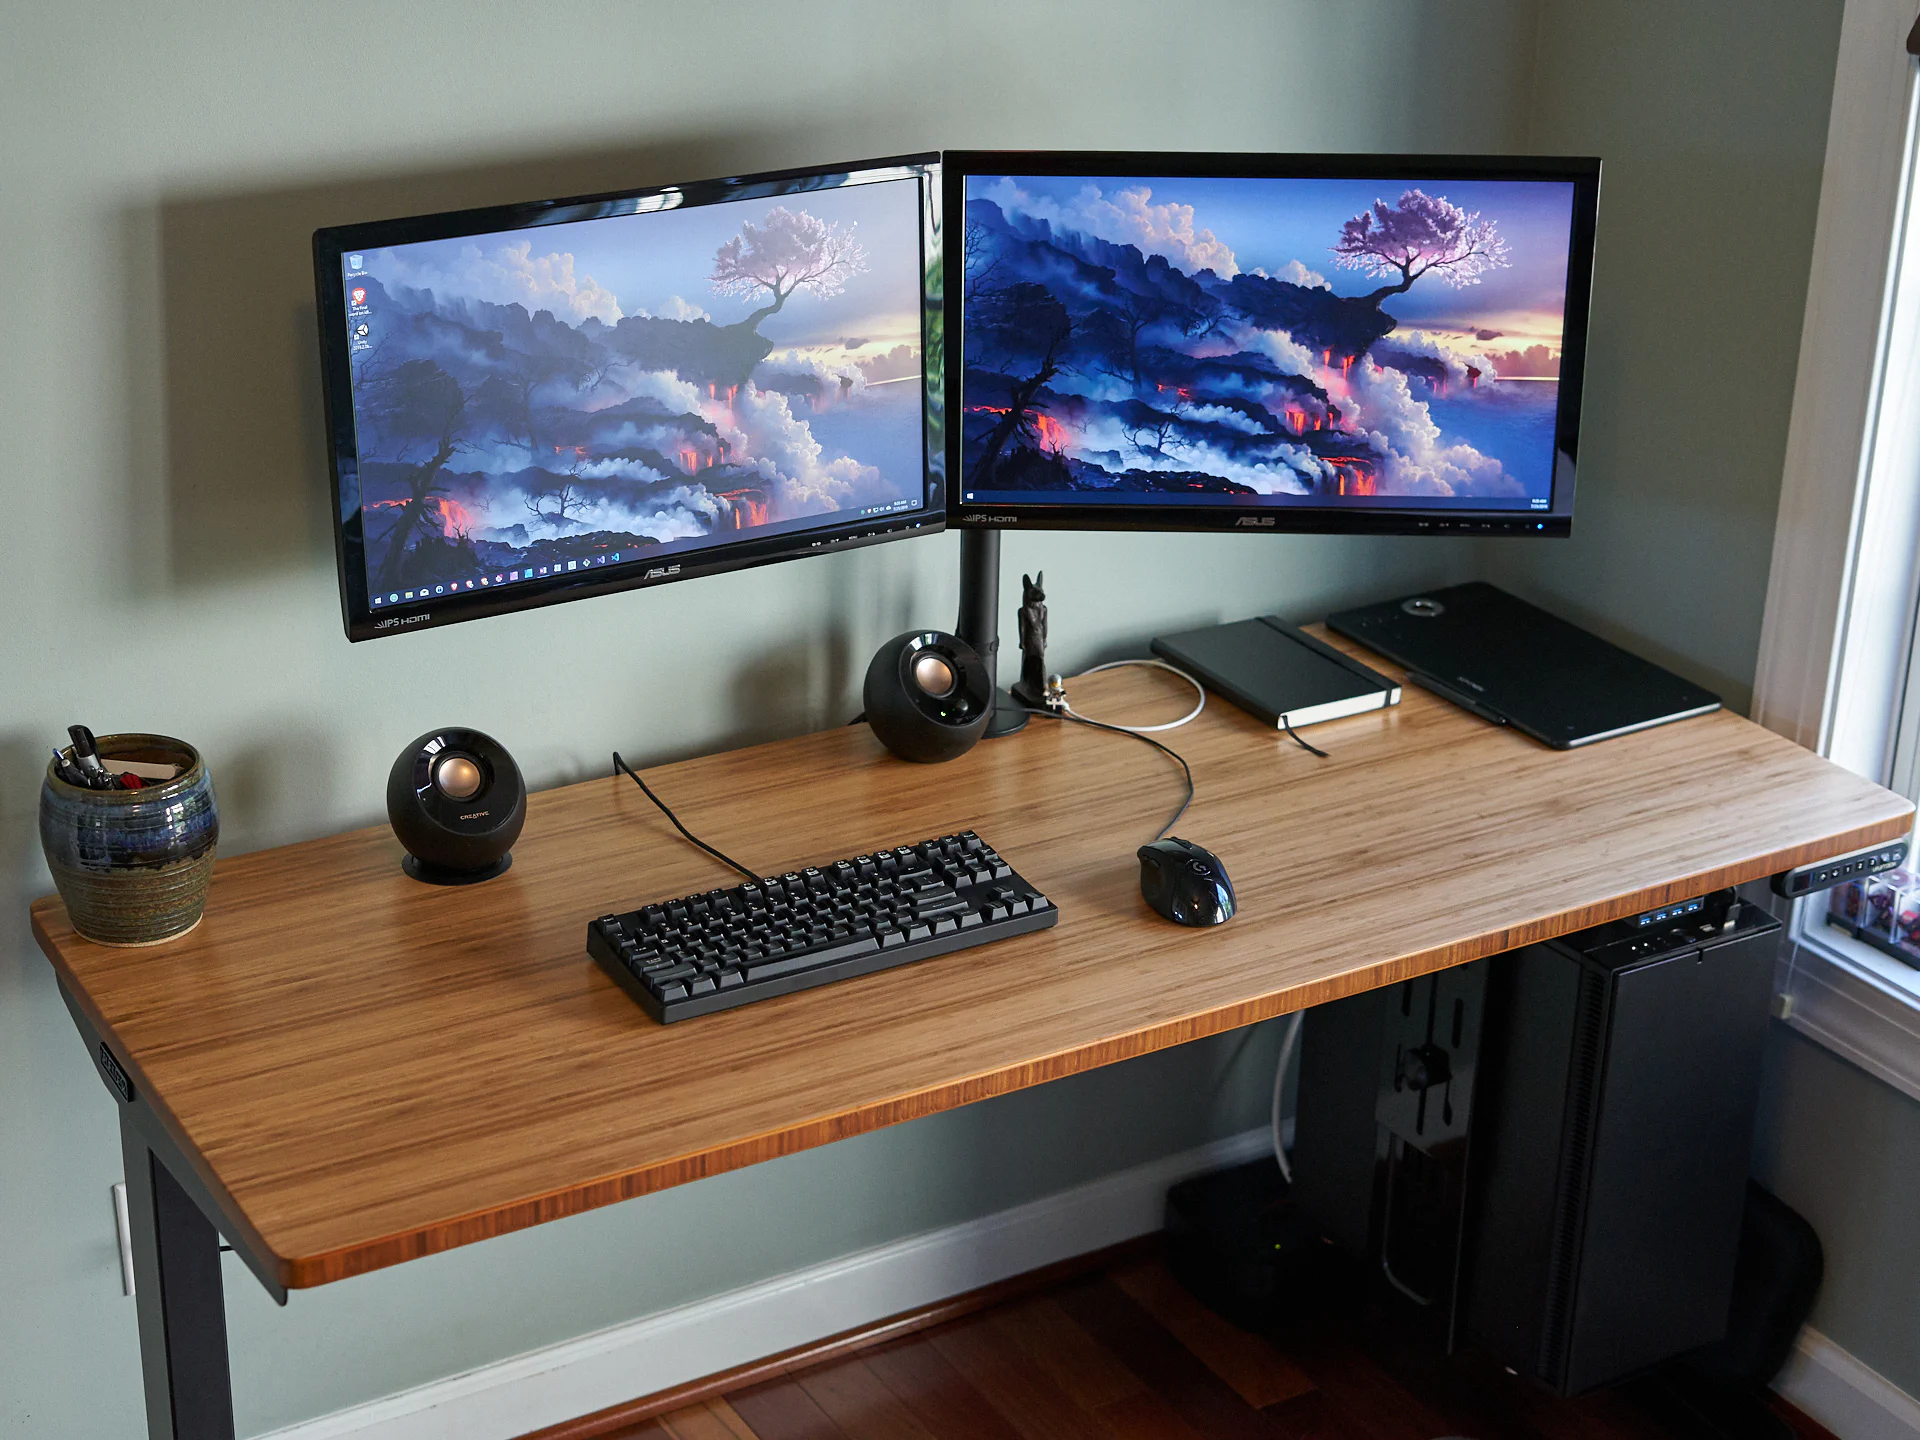
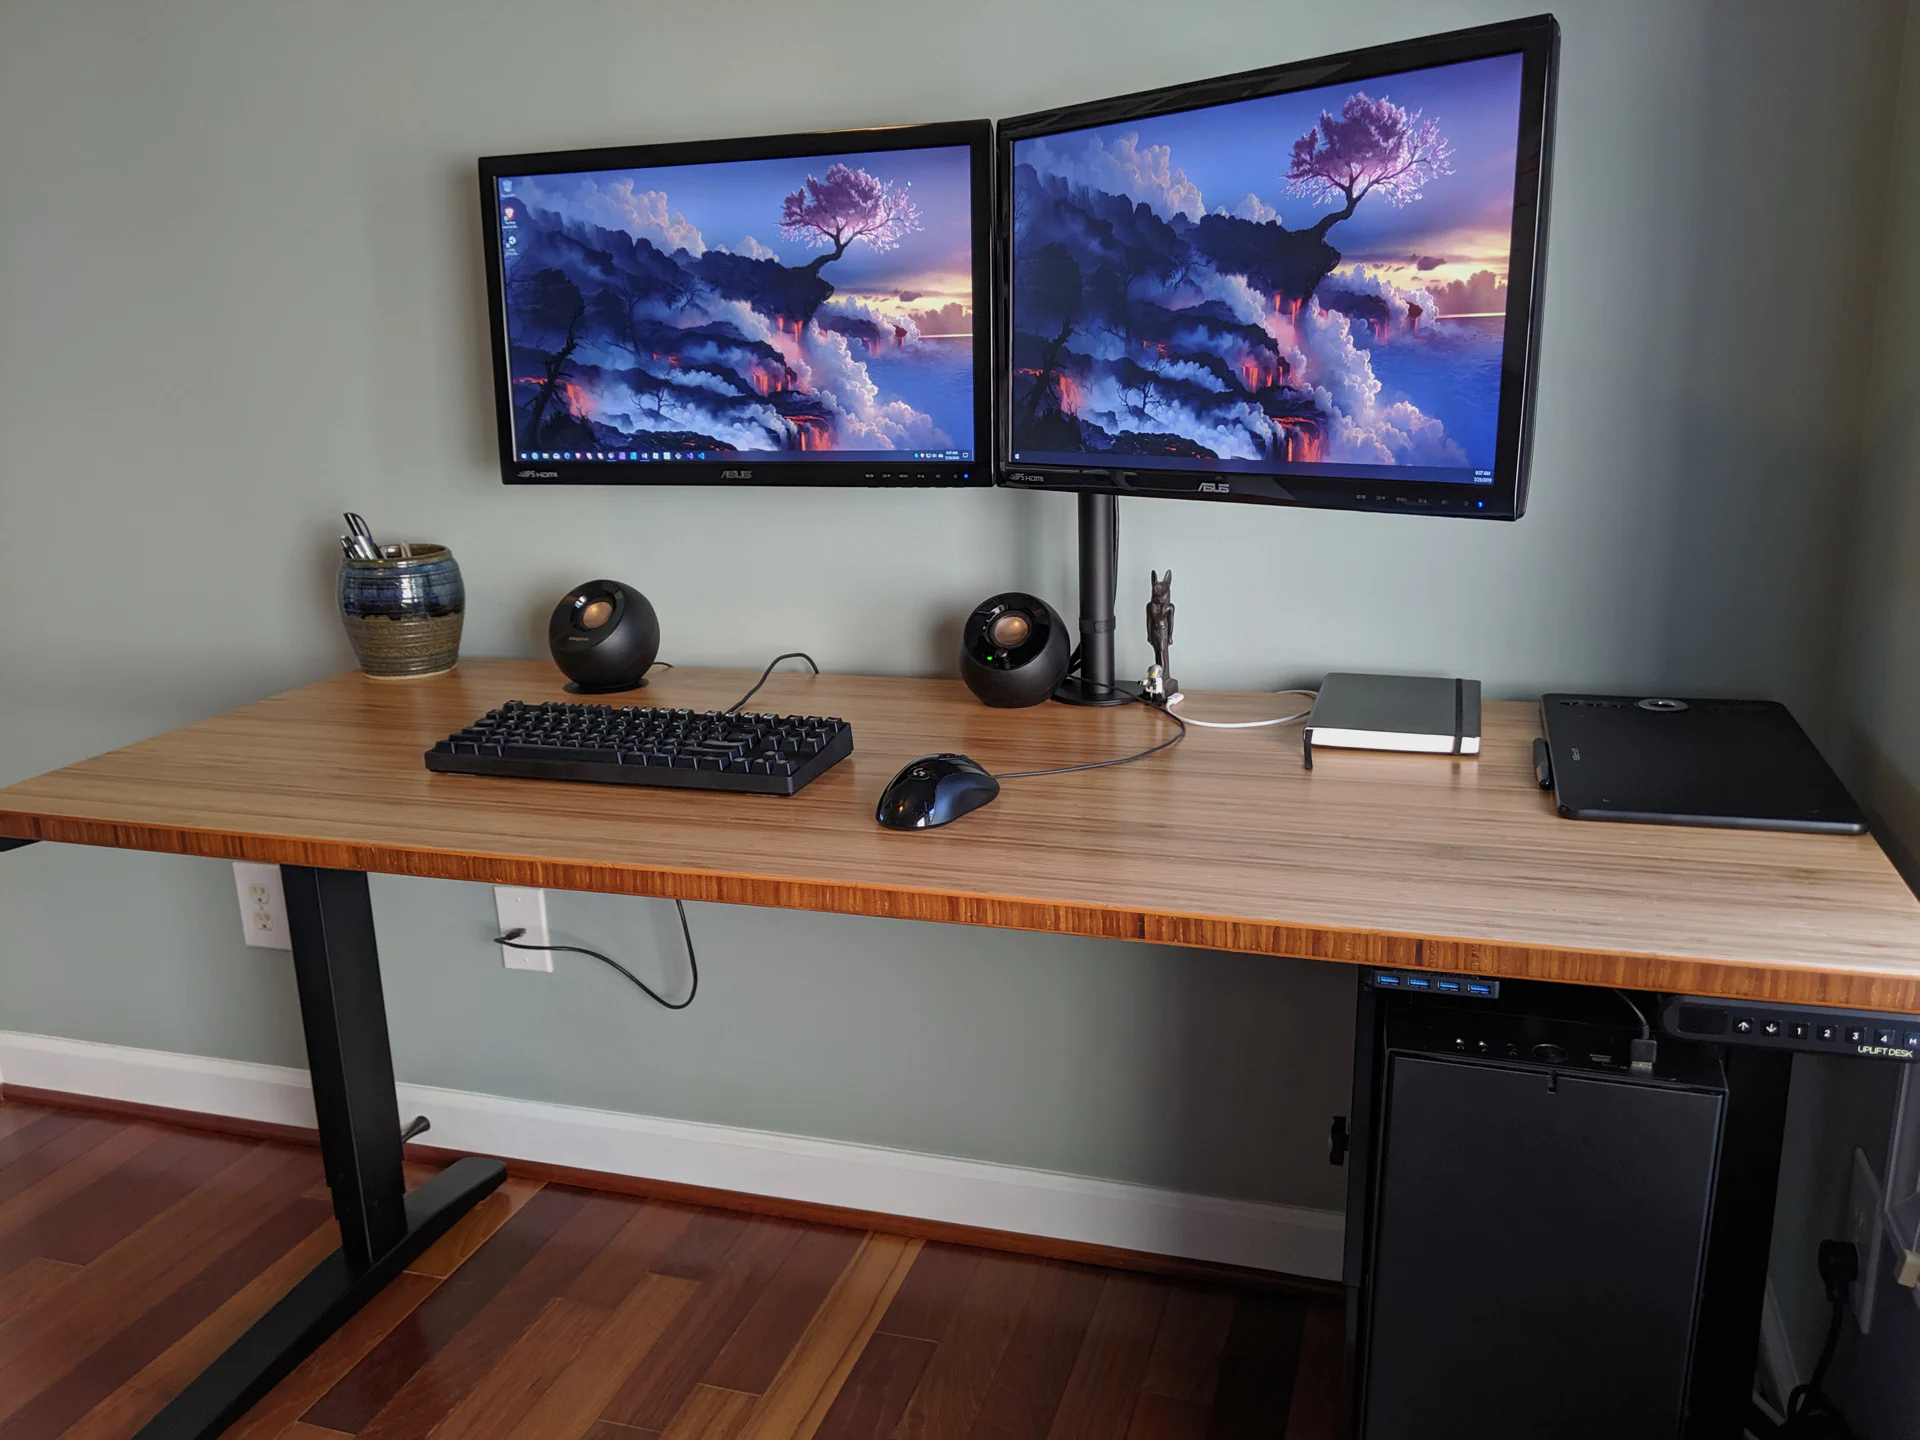
Here are a couple of final shots showing the computer mounted in its new home under the top of an UpLift adjustable height desk. If you have any questions about the build, feel free to leave a comment bellow!